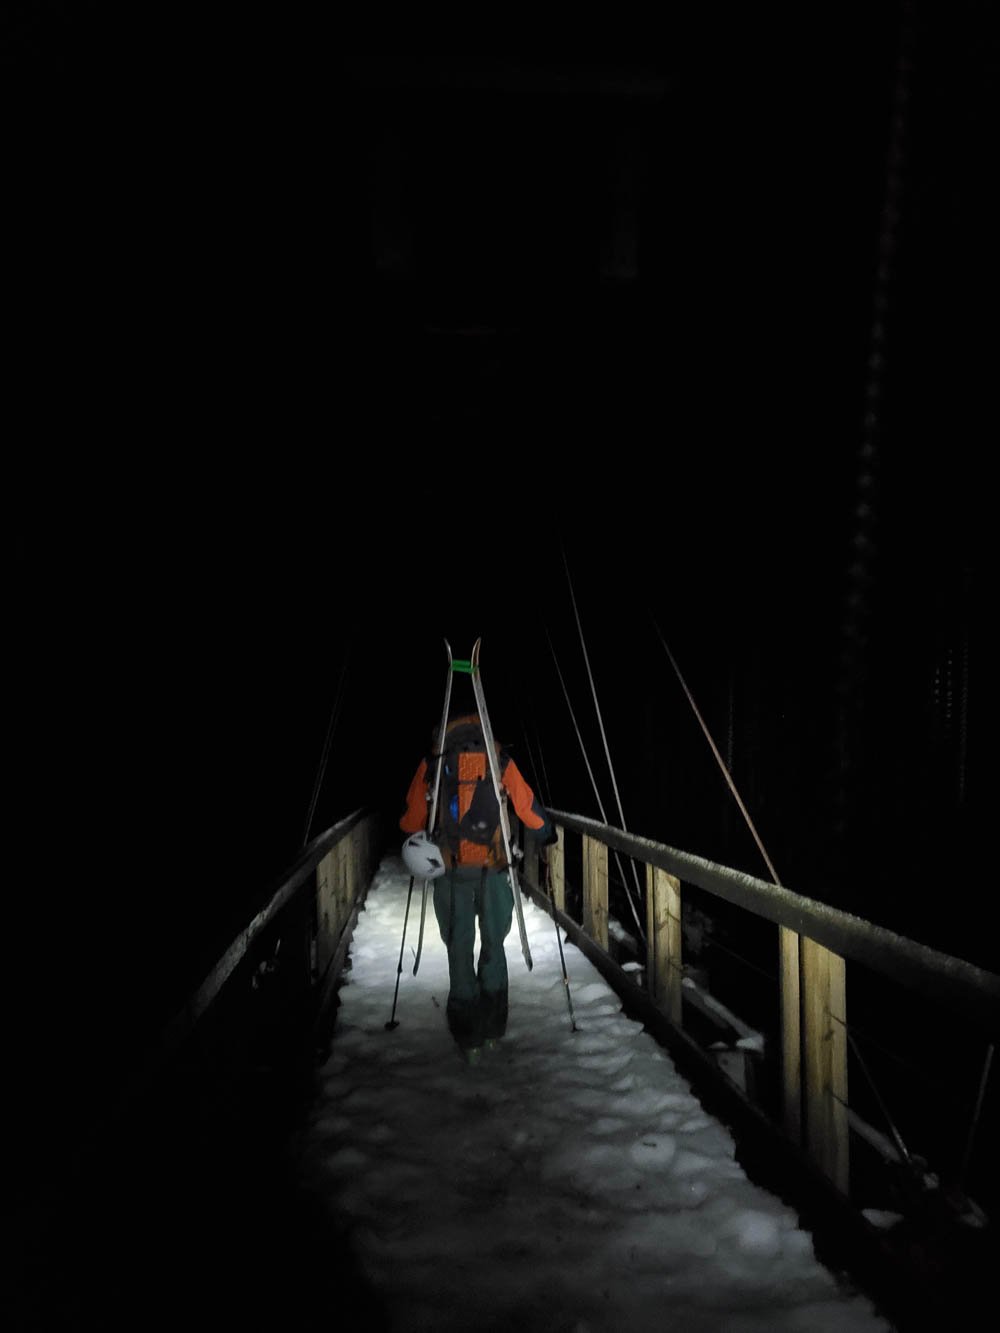
Matt and I had a grand time skiing Kyes last weekend. I had always wanted to visit Monte Cristo, and it seemed like a great weekend for it. We brought mountain bikes for the road, and left the car at Barlow Pass at 15:30 on Saturday afternoon. It was fun but slow going up the old railroad grade, with plenty of blowdown, hike a bike sections, and a few snow patches to keep us busy. We made it to Monte Cristo in an hour and stashed our bikes on the far side of town - super cool to see what remains of the the former railroad and mining operations.
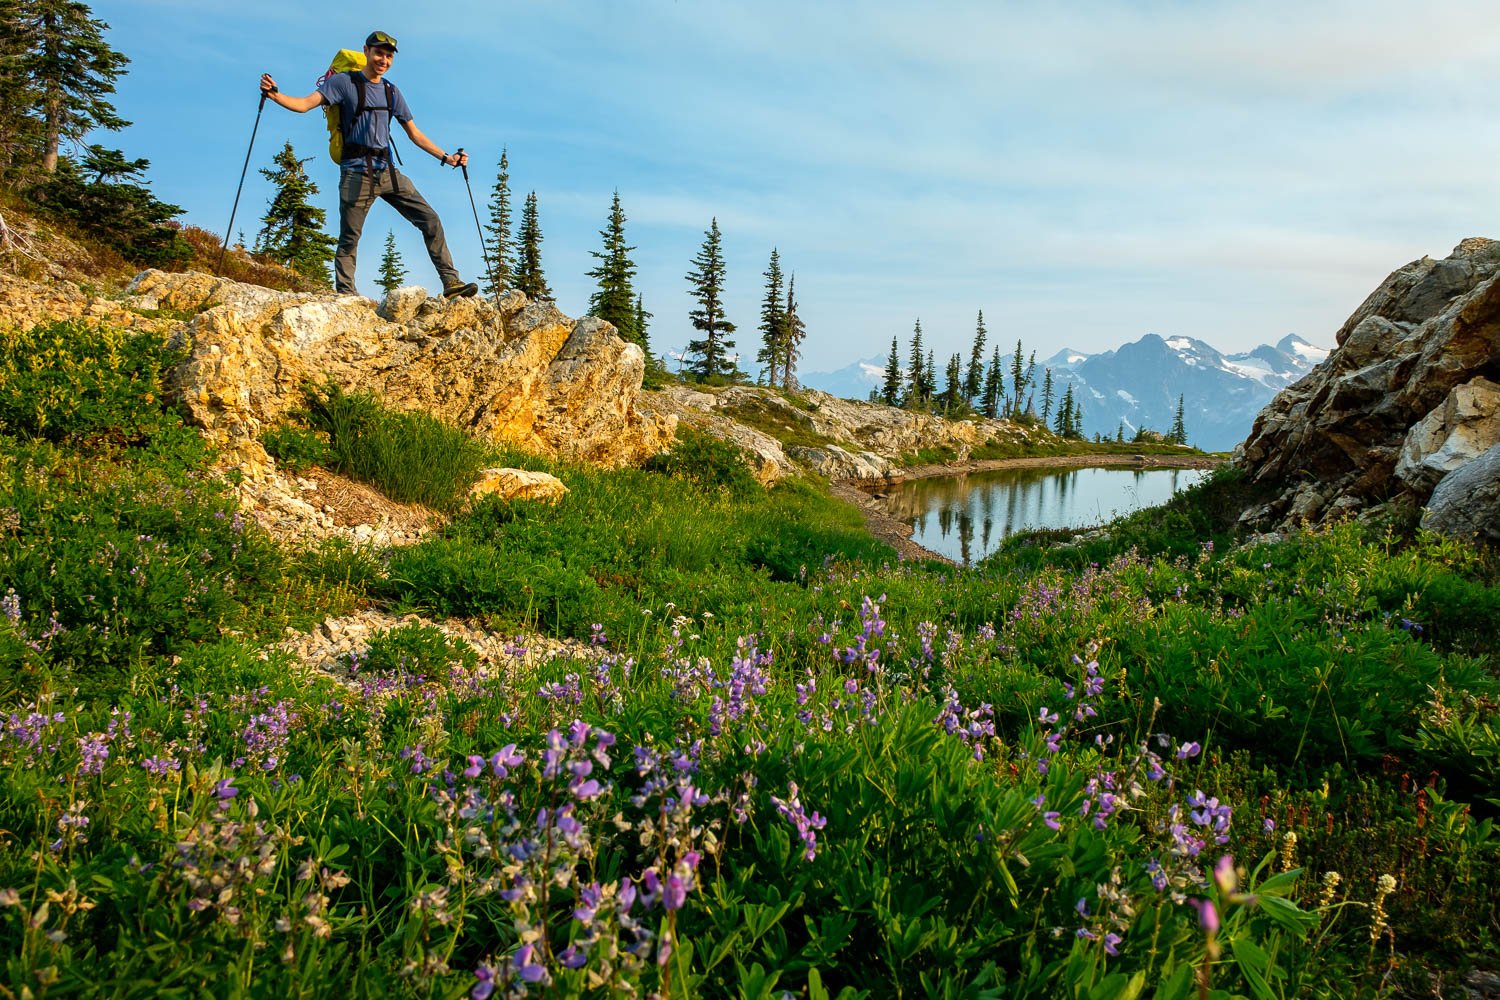
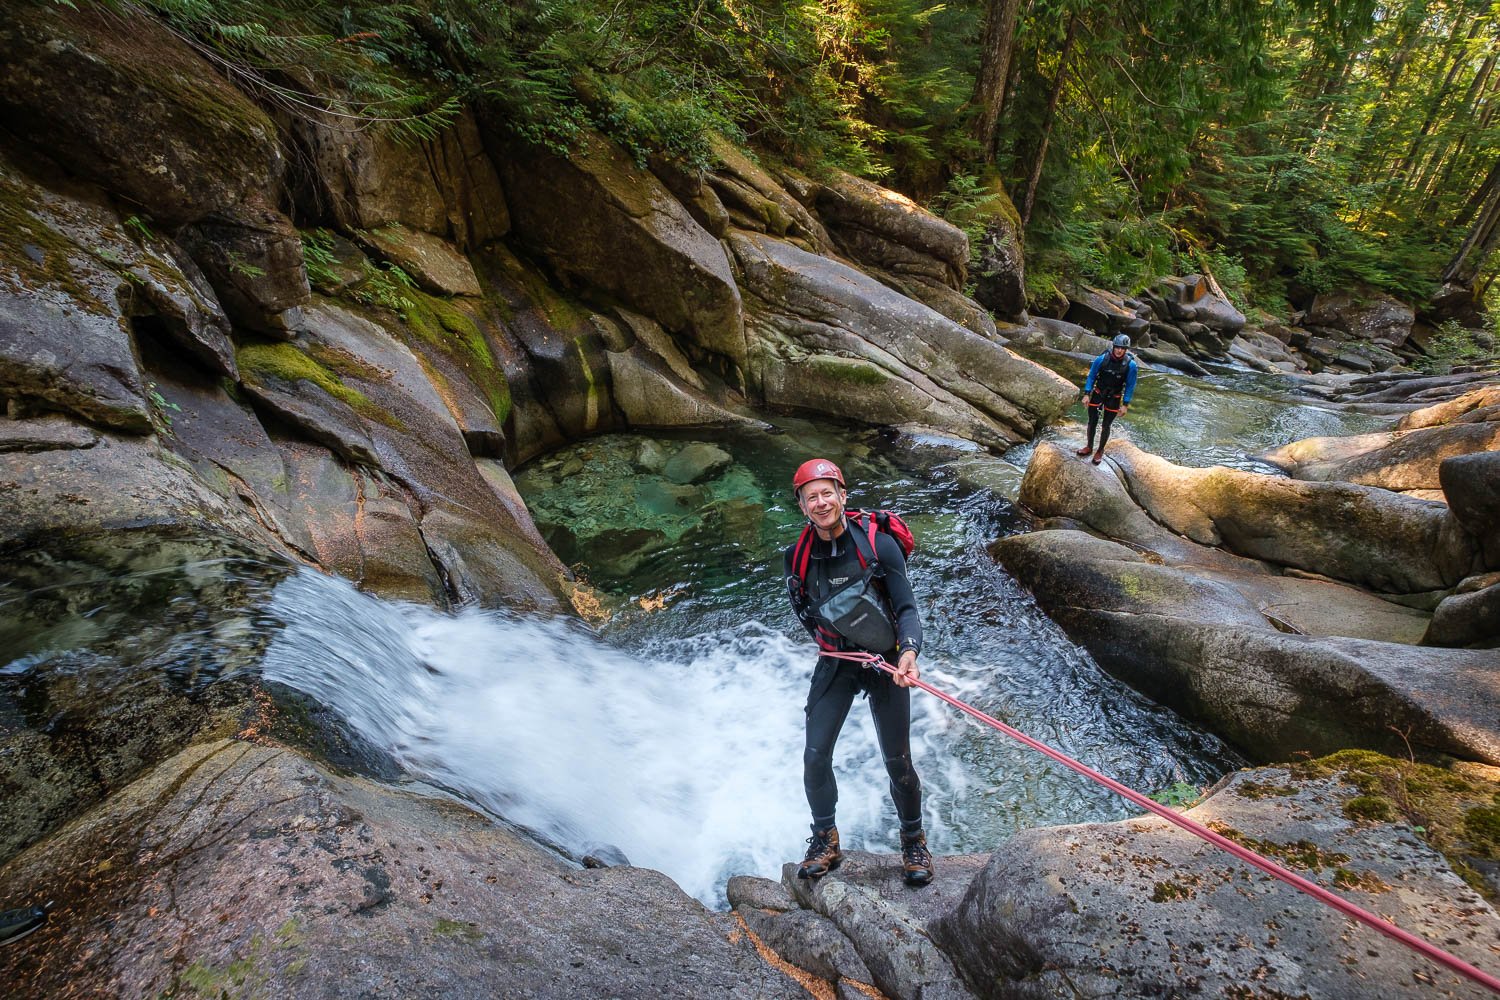
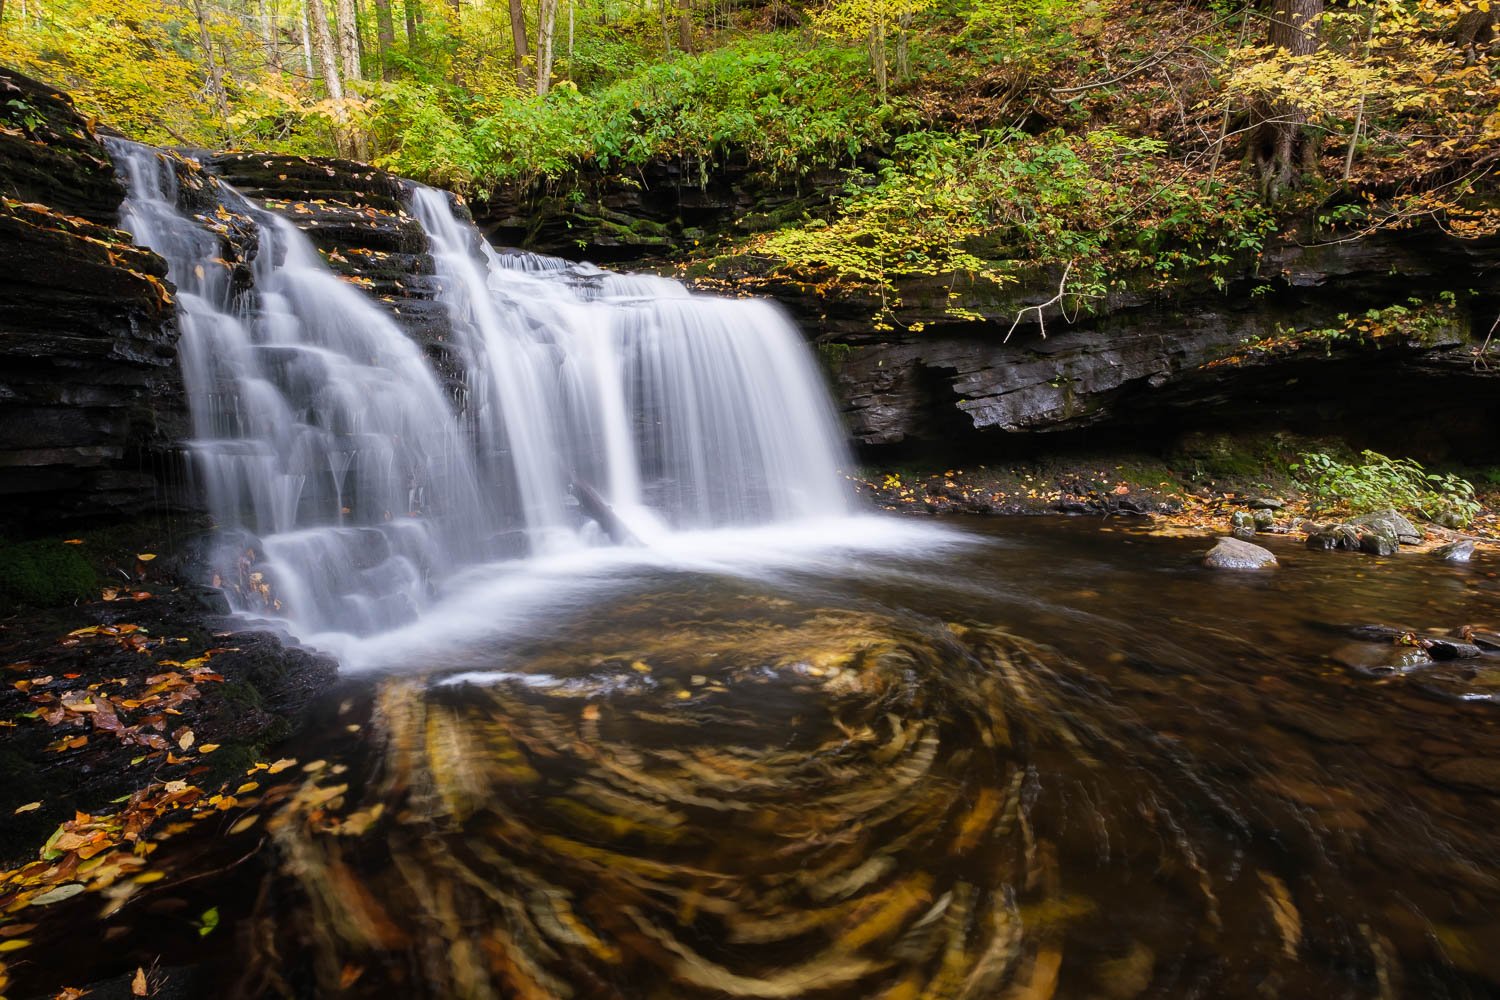
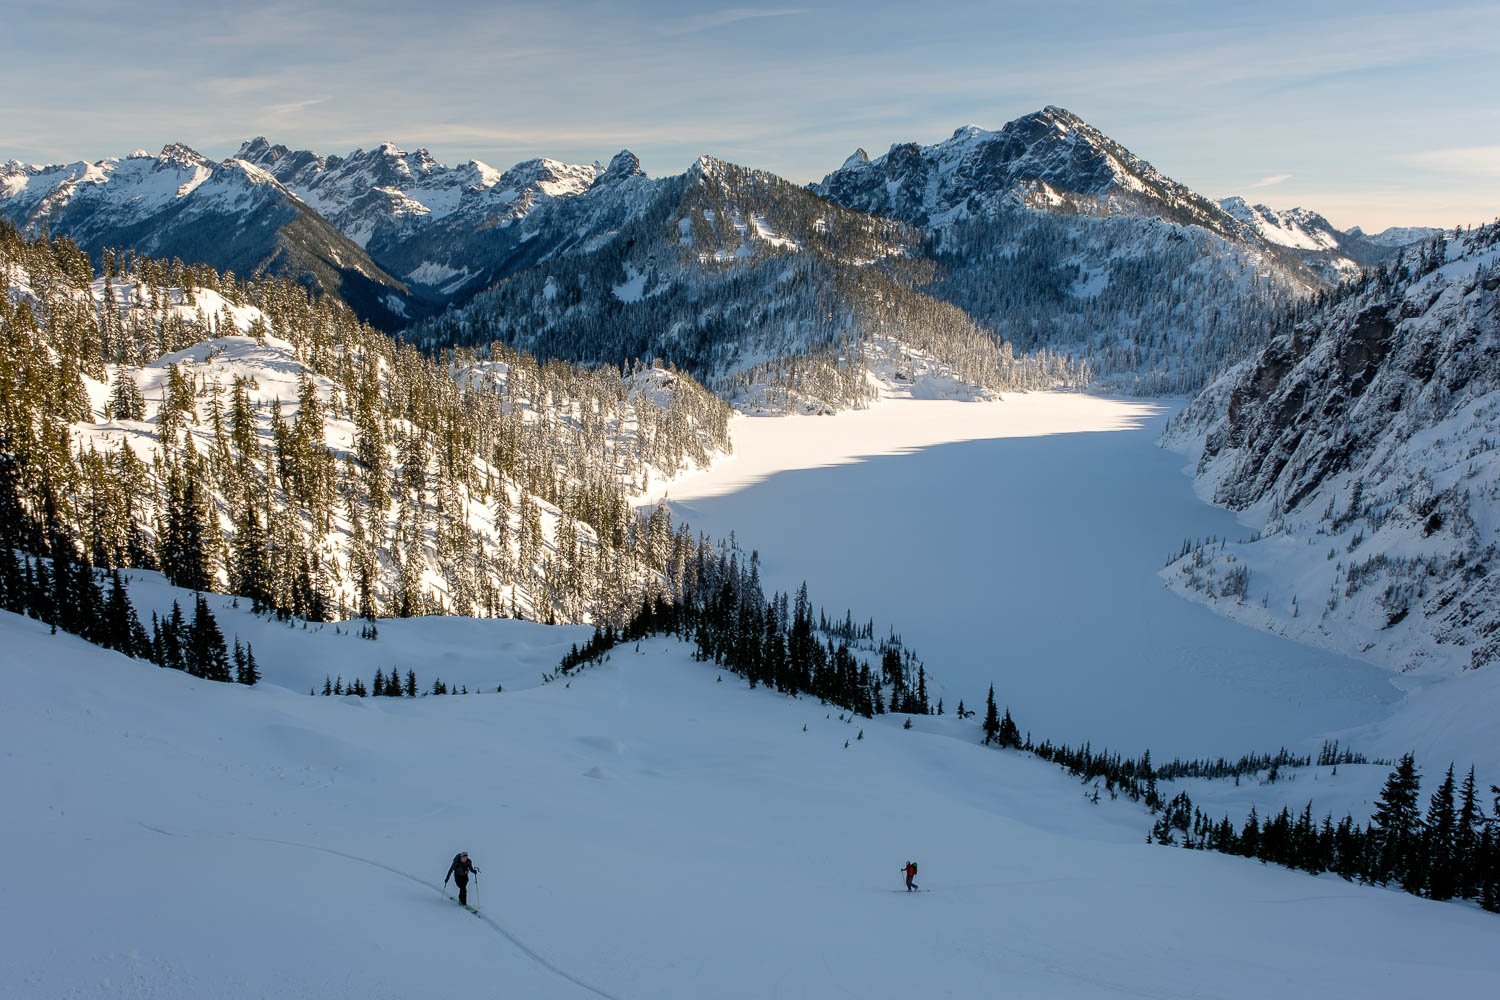
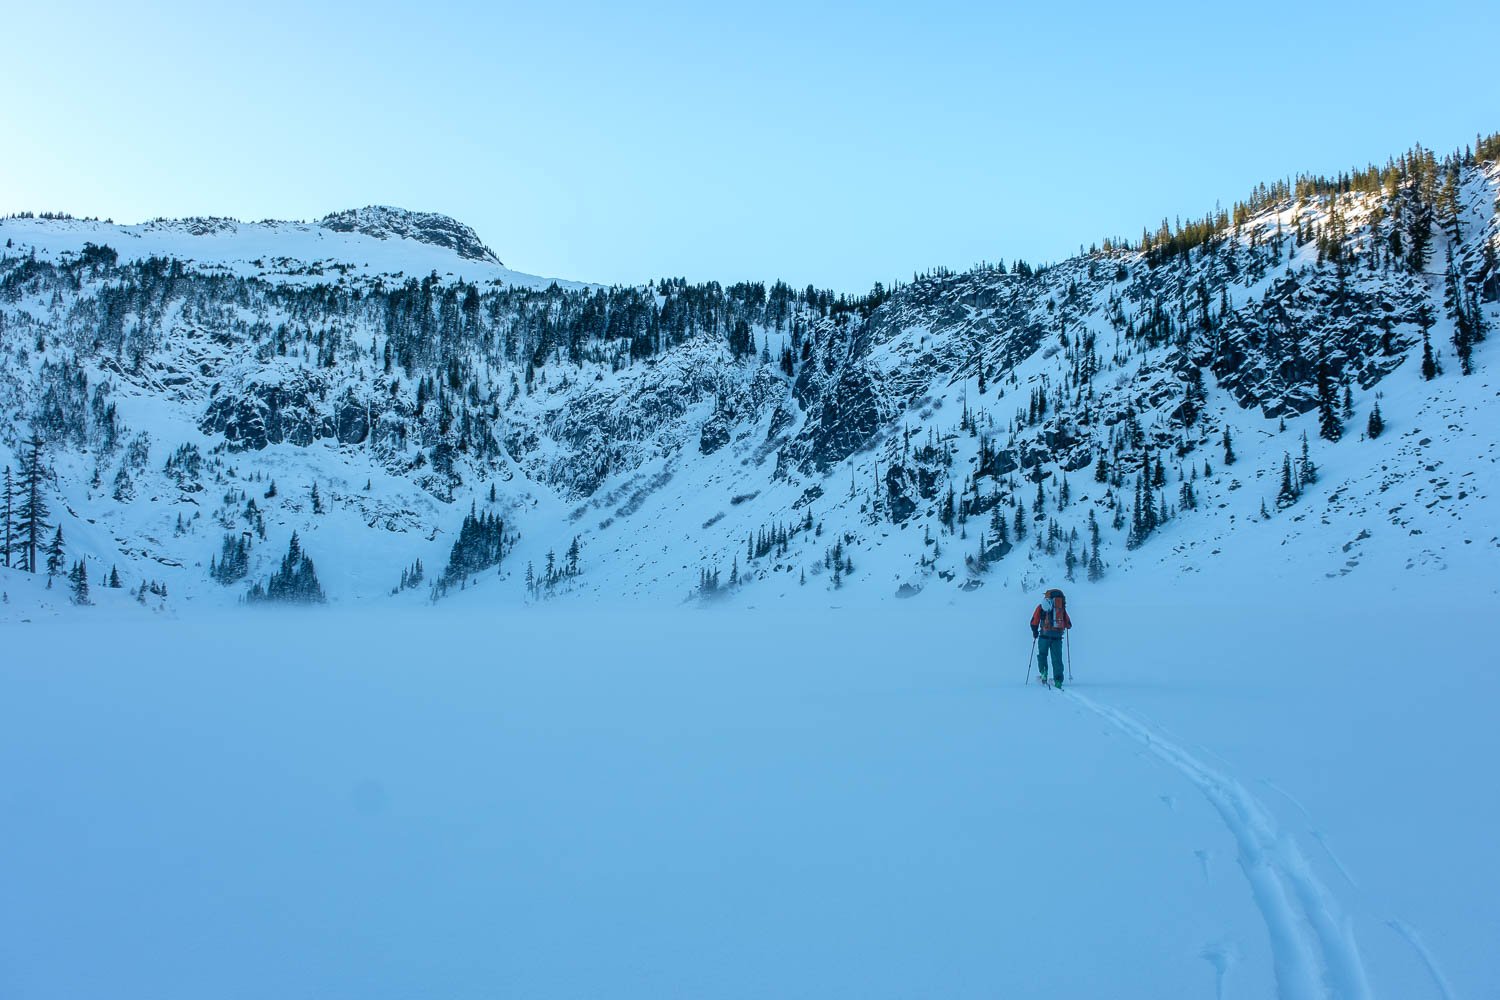
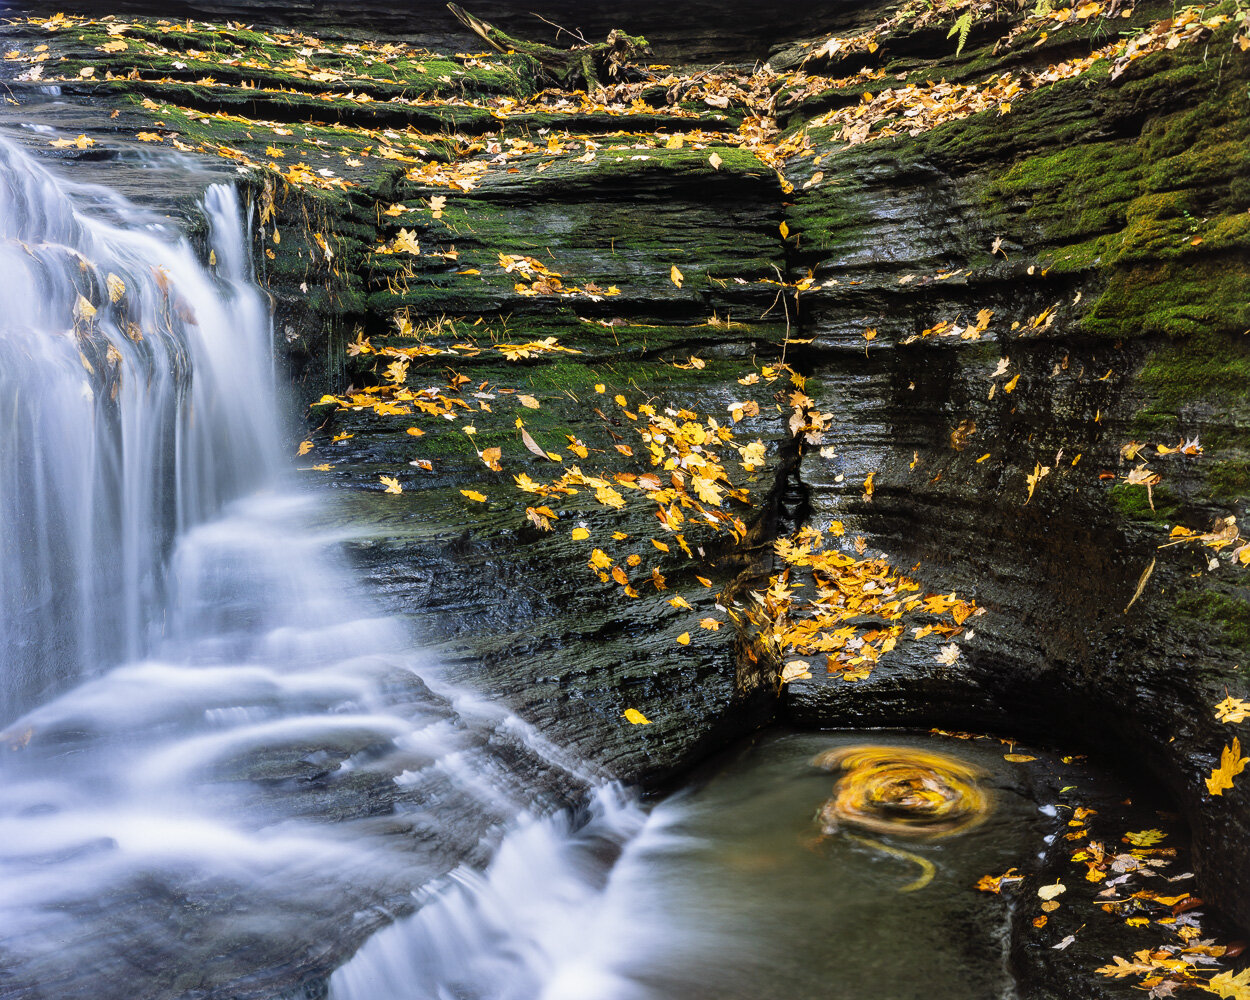
At 16:45 we headed up the trail towards Glacier Basin. It was hot going up the deep rocky and rooty section of the trail next to the waterfall. We hit our first patches of snow at around 3,800 ft and the short section after this was annoying, with the trail bed full of snow, flowing water and post holing. Pretty quickly however, the snow became continuous as the trail wrapped around into the hanging valley at 4100 feet. We dropped 20 ft down to the creek and ditched our trail runners and started skinning up the valley at 18:00.
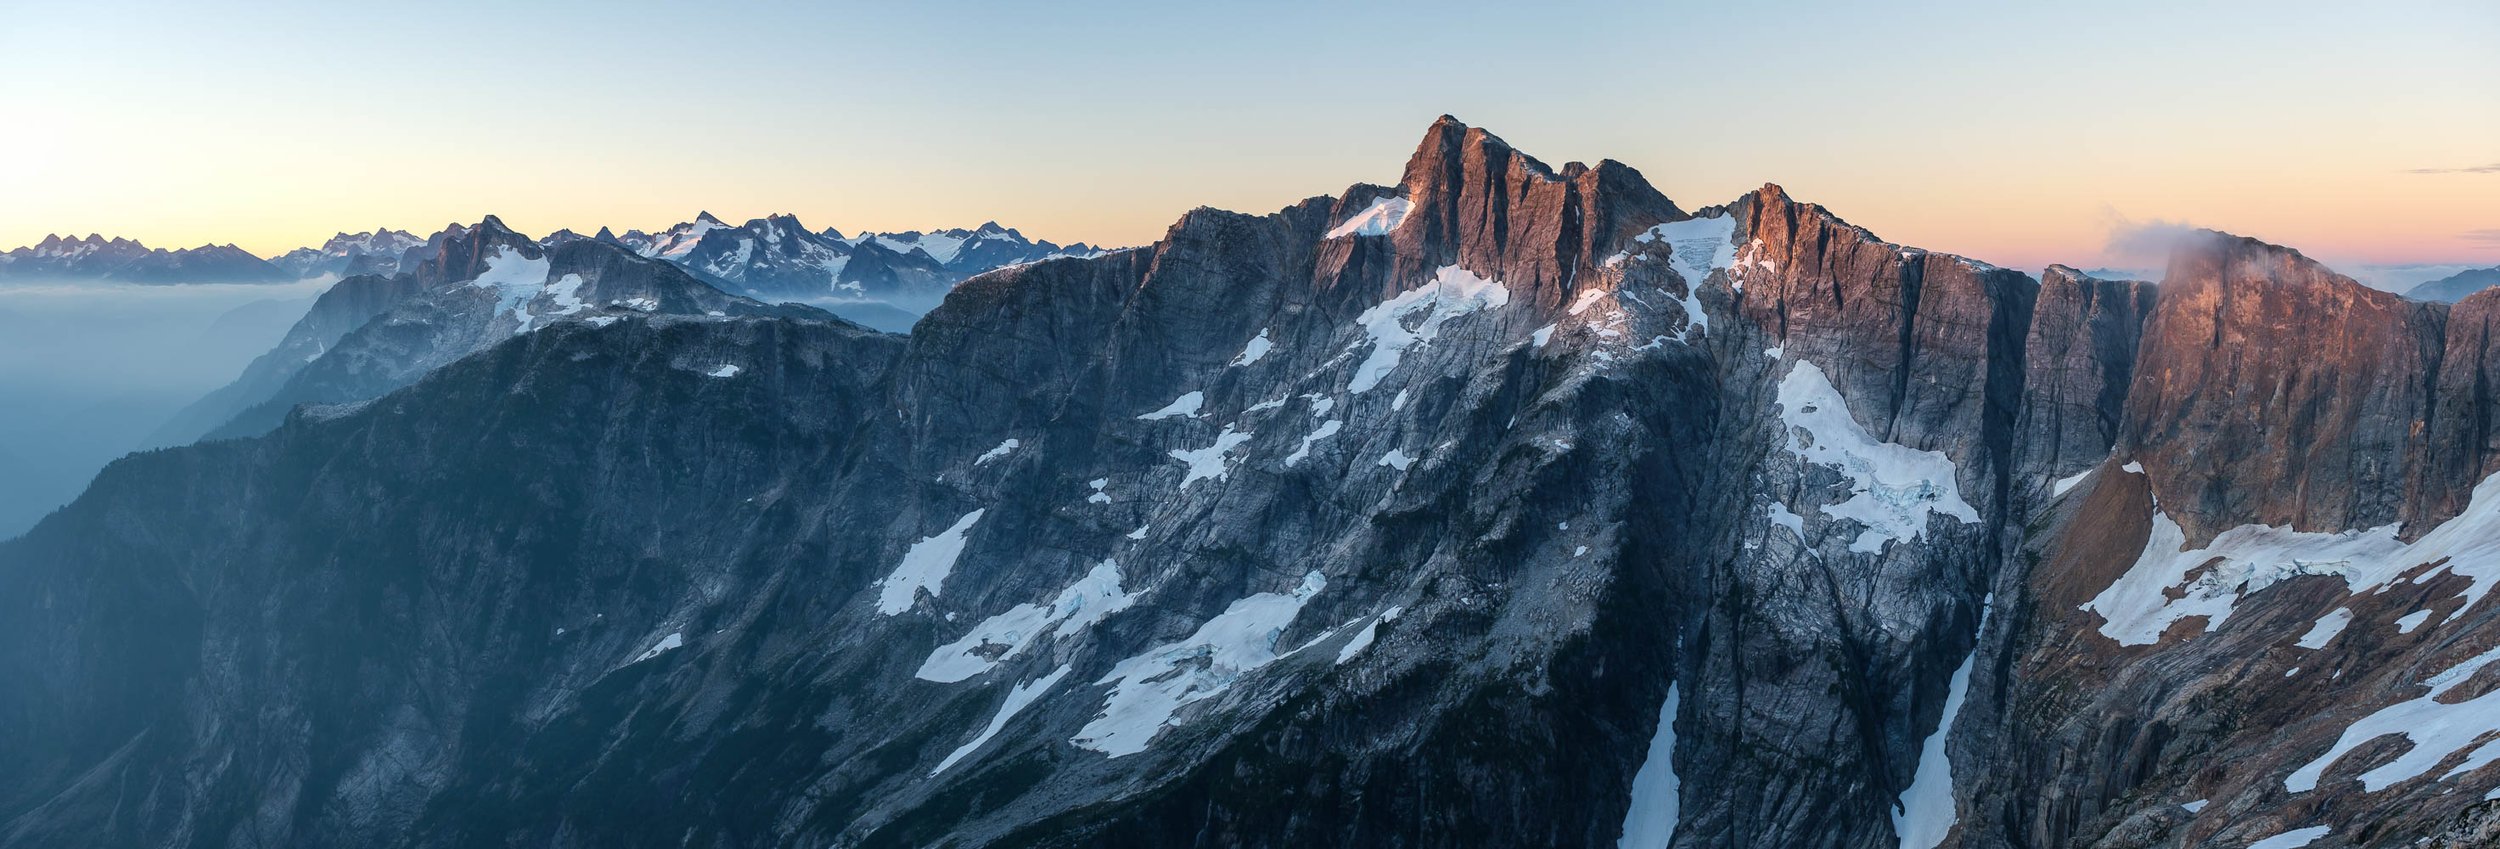
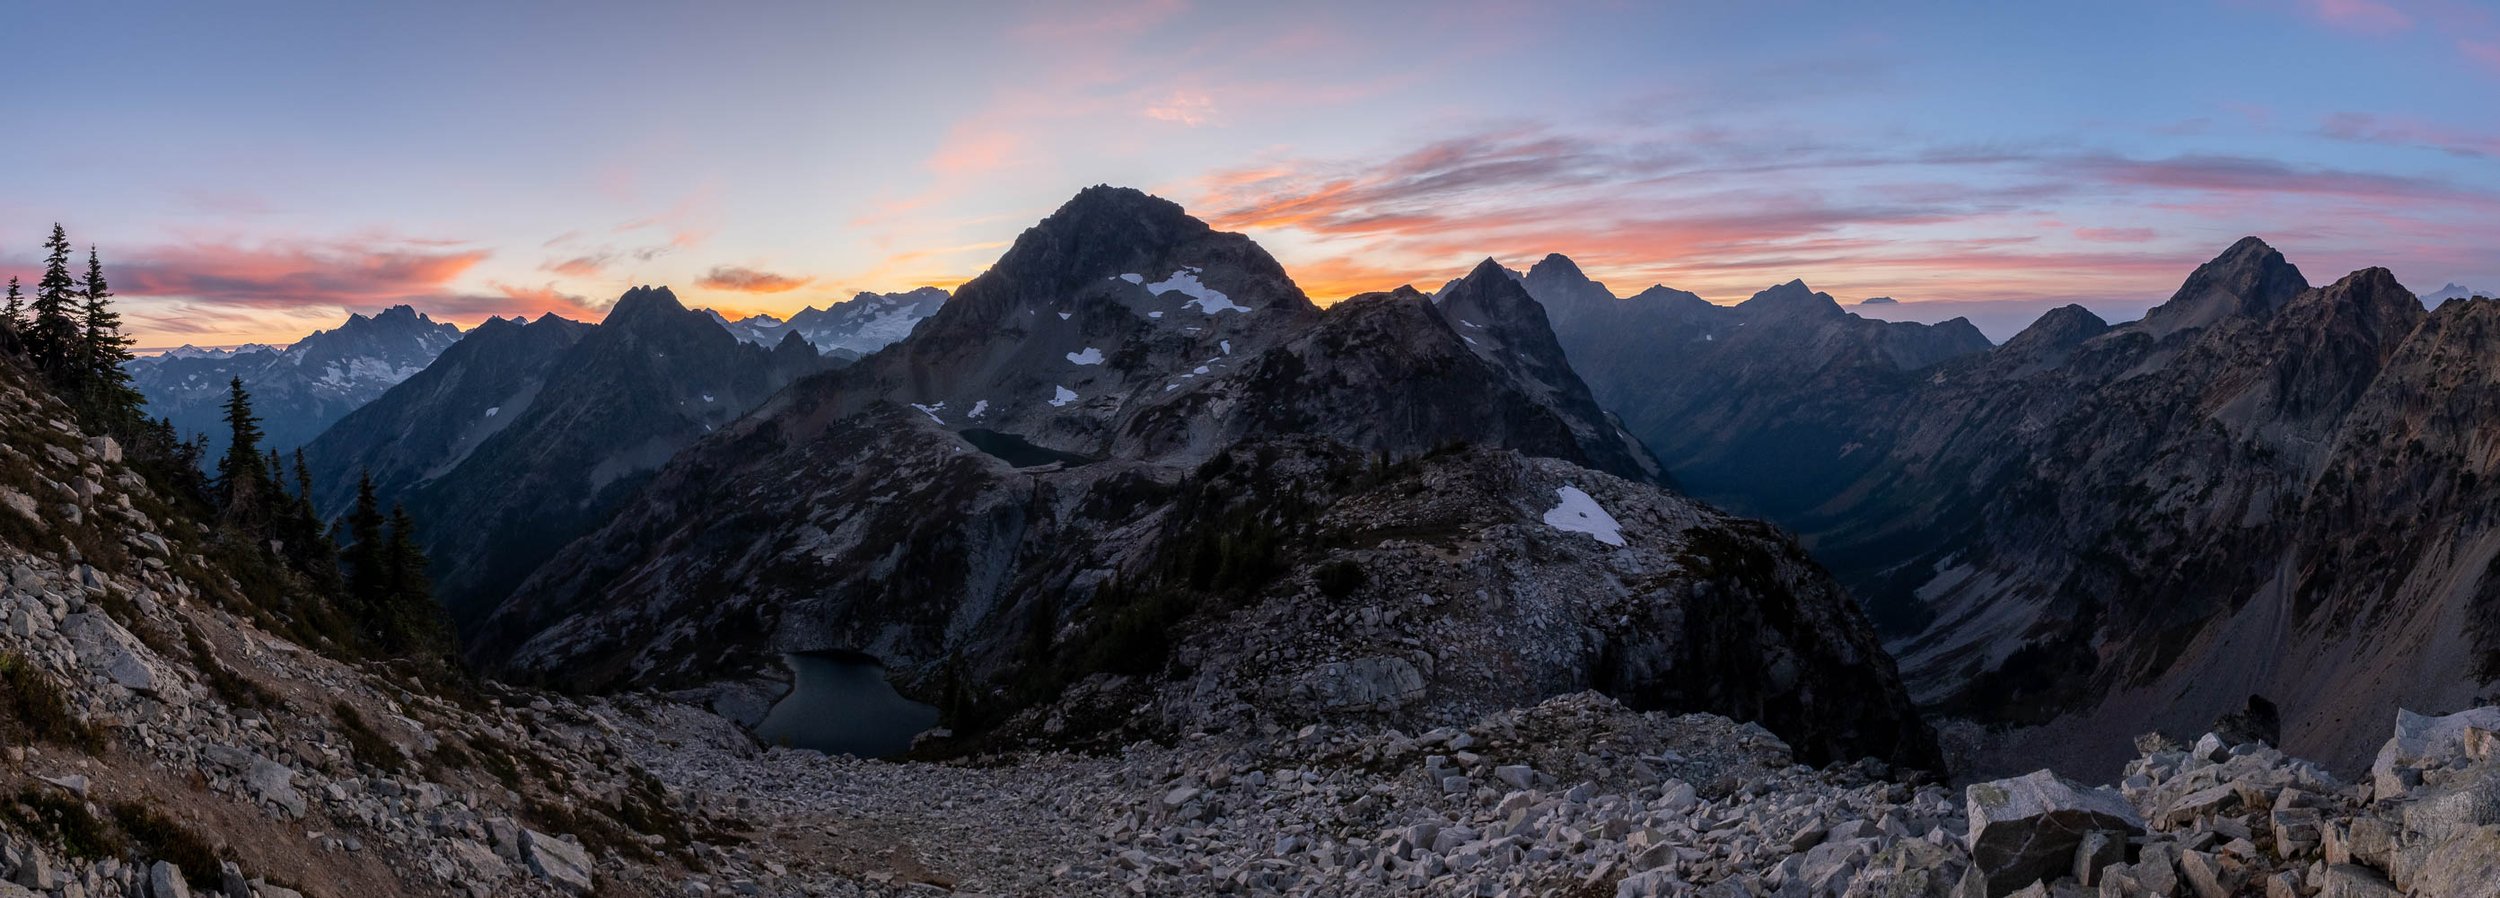
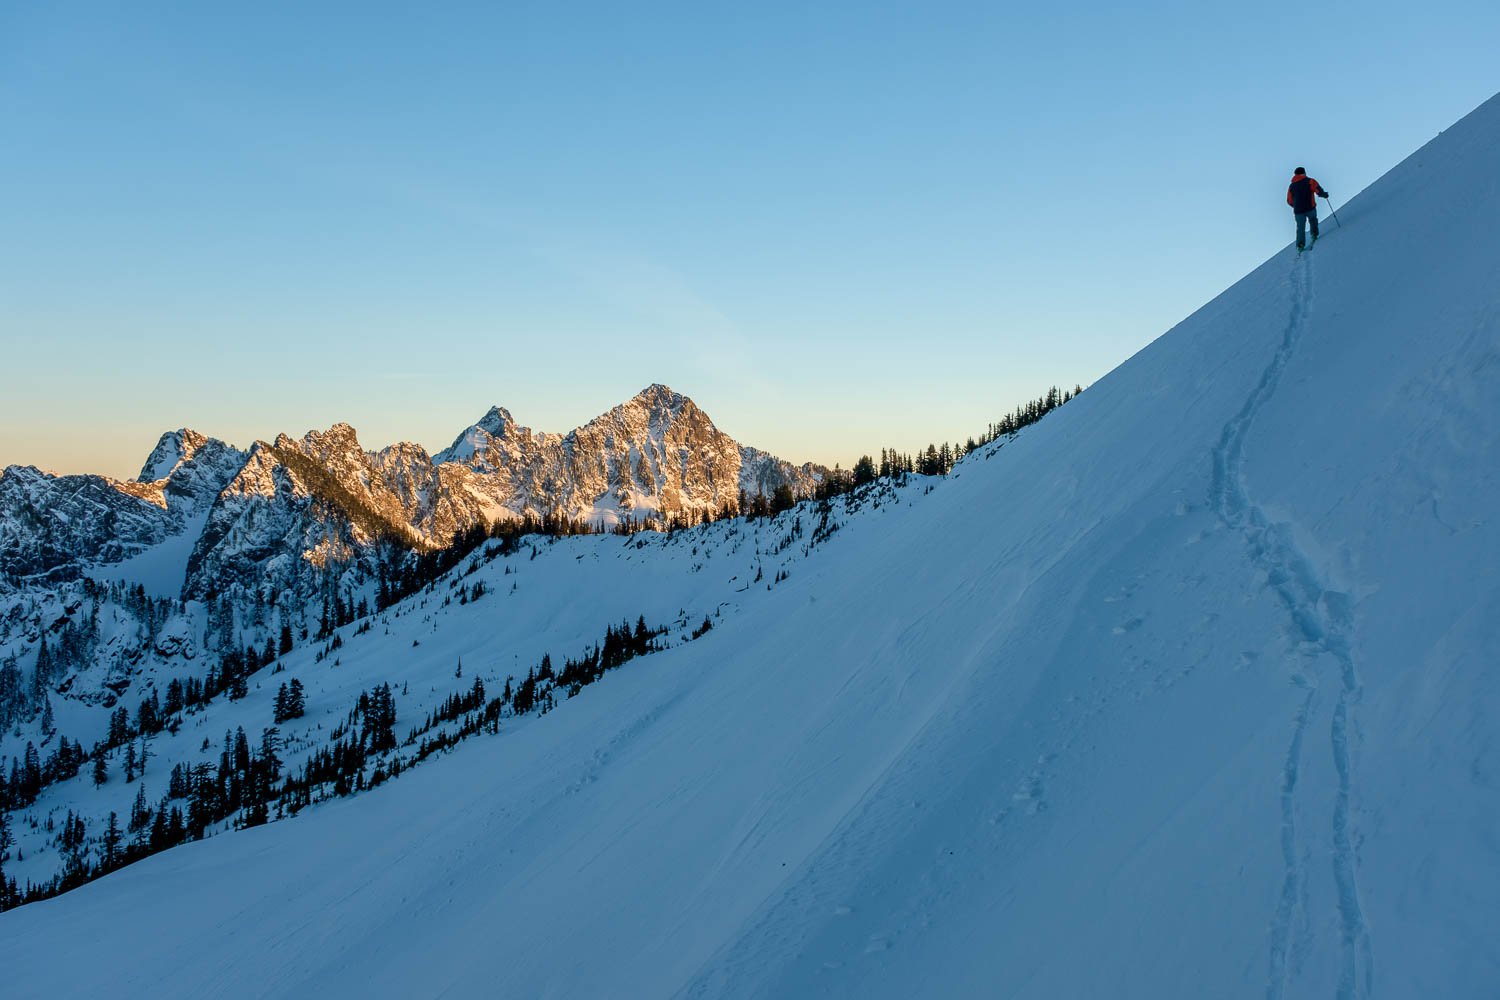
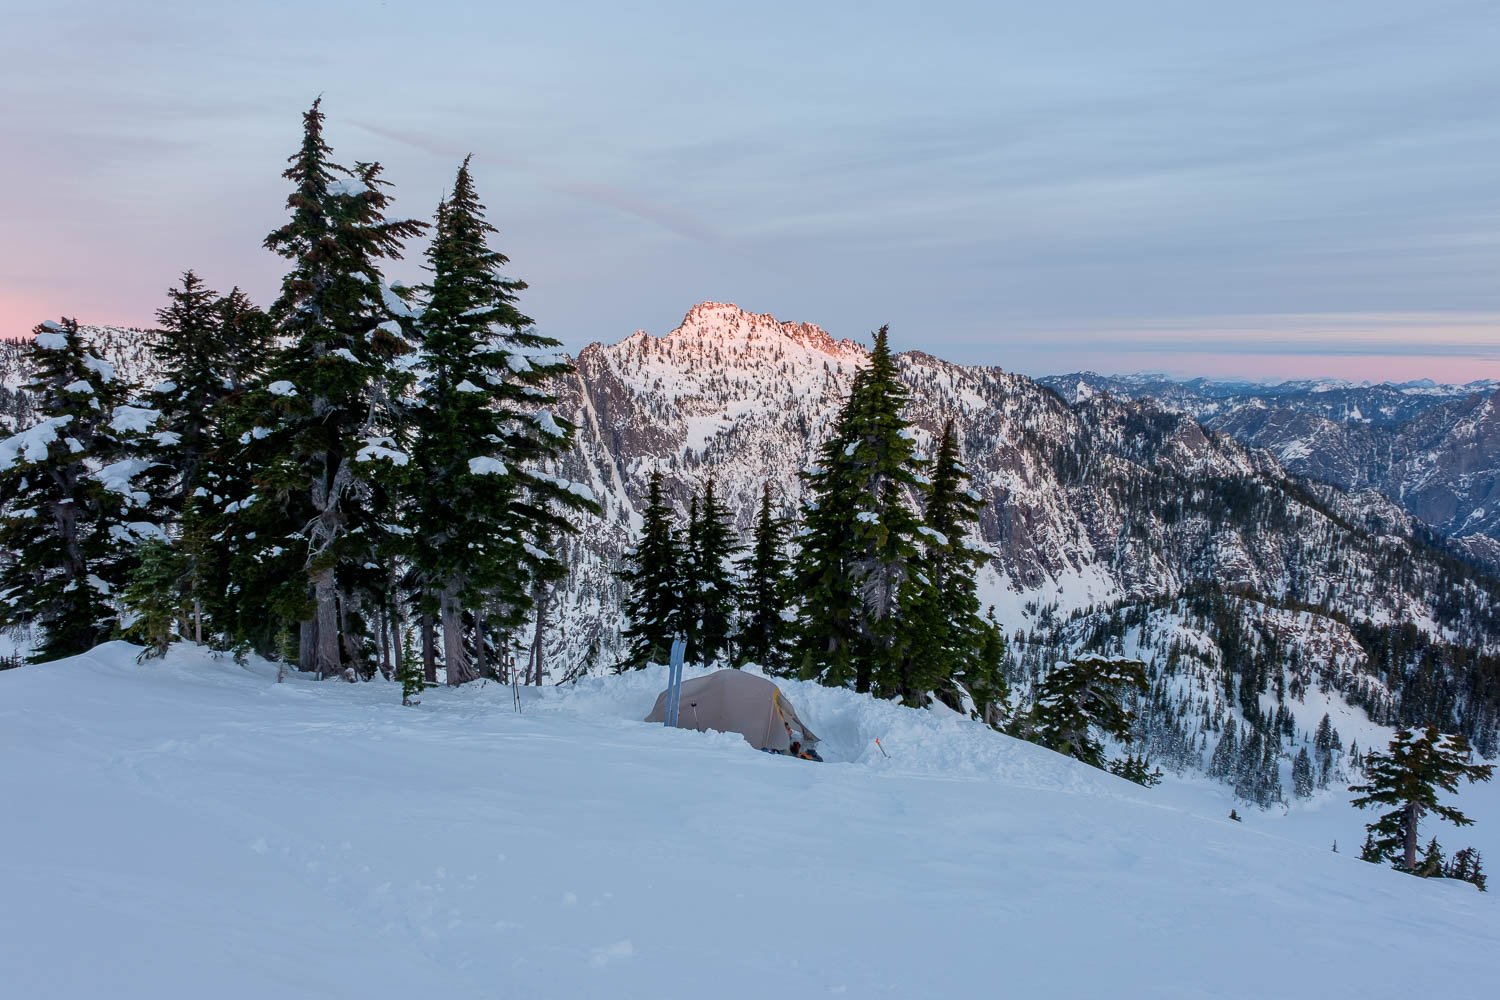
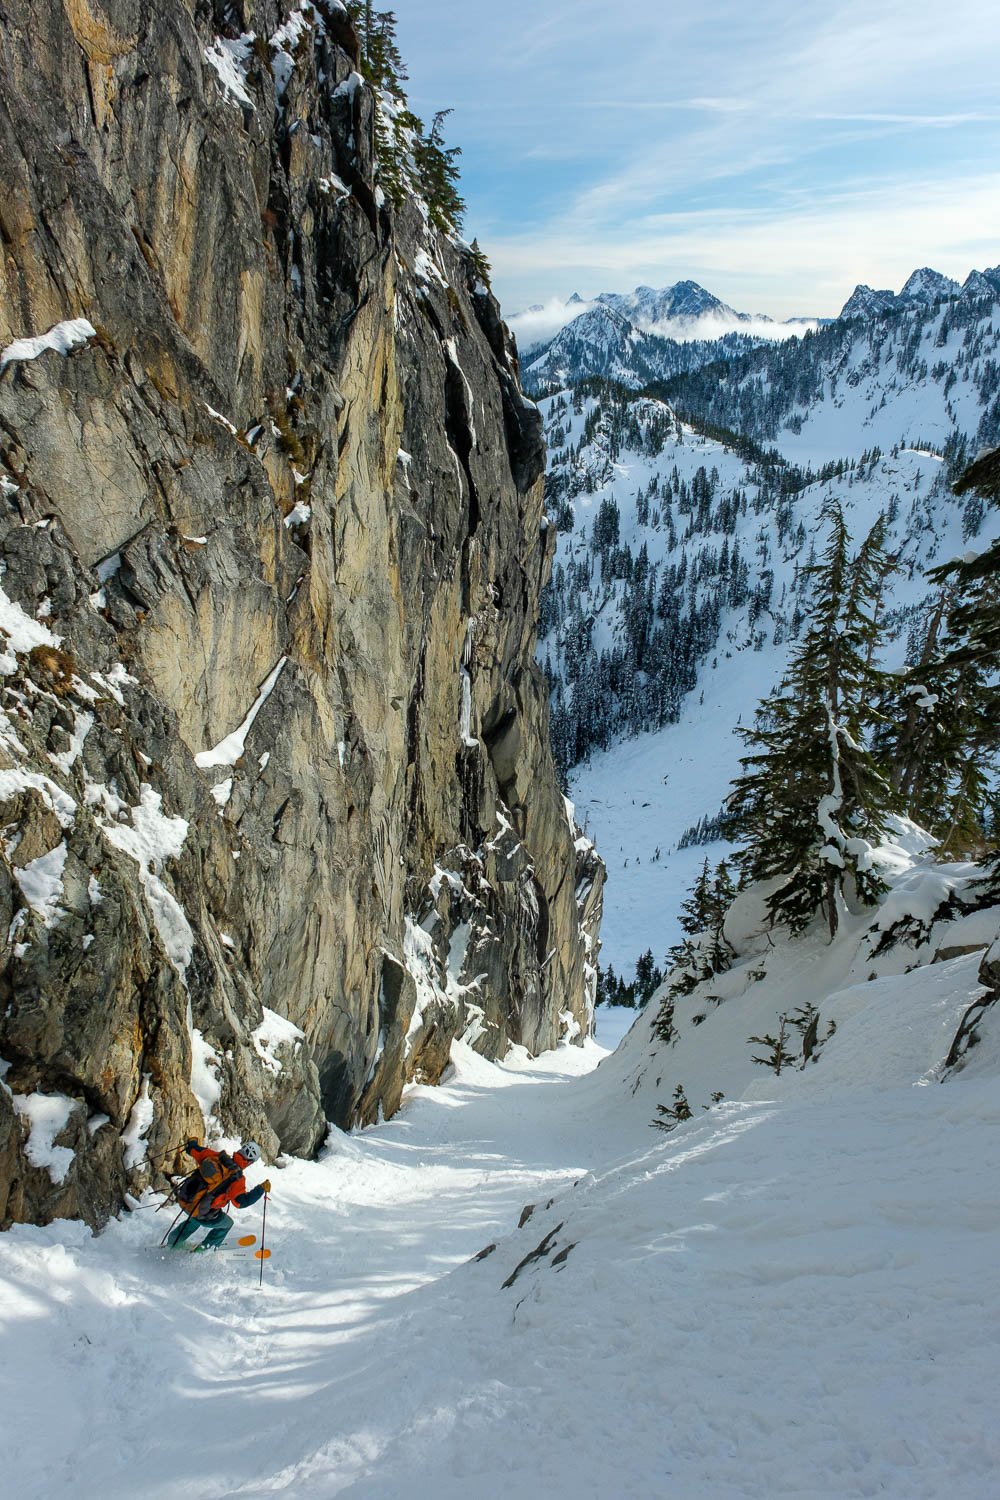
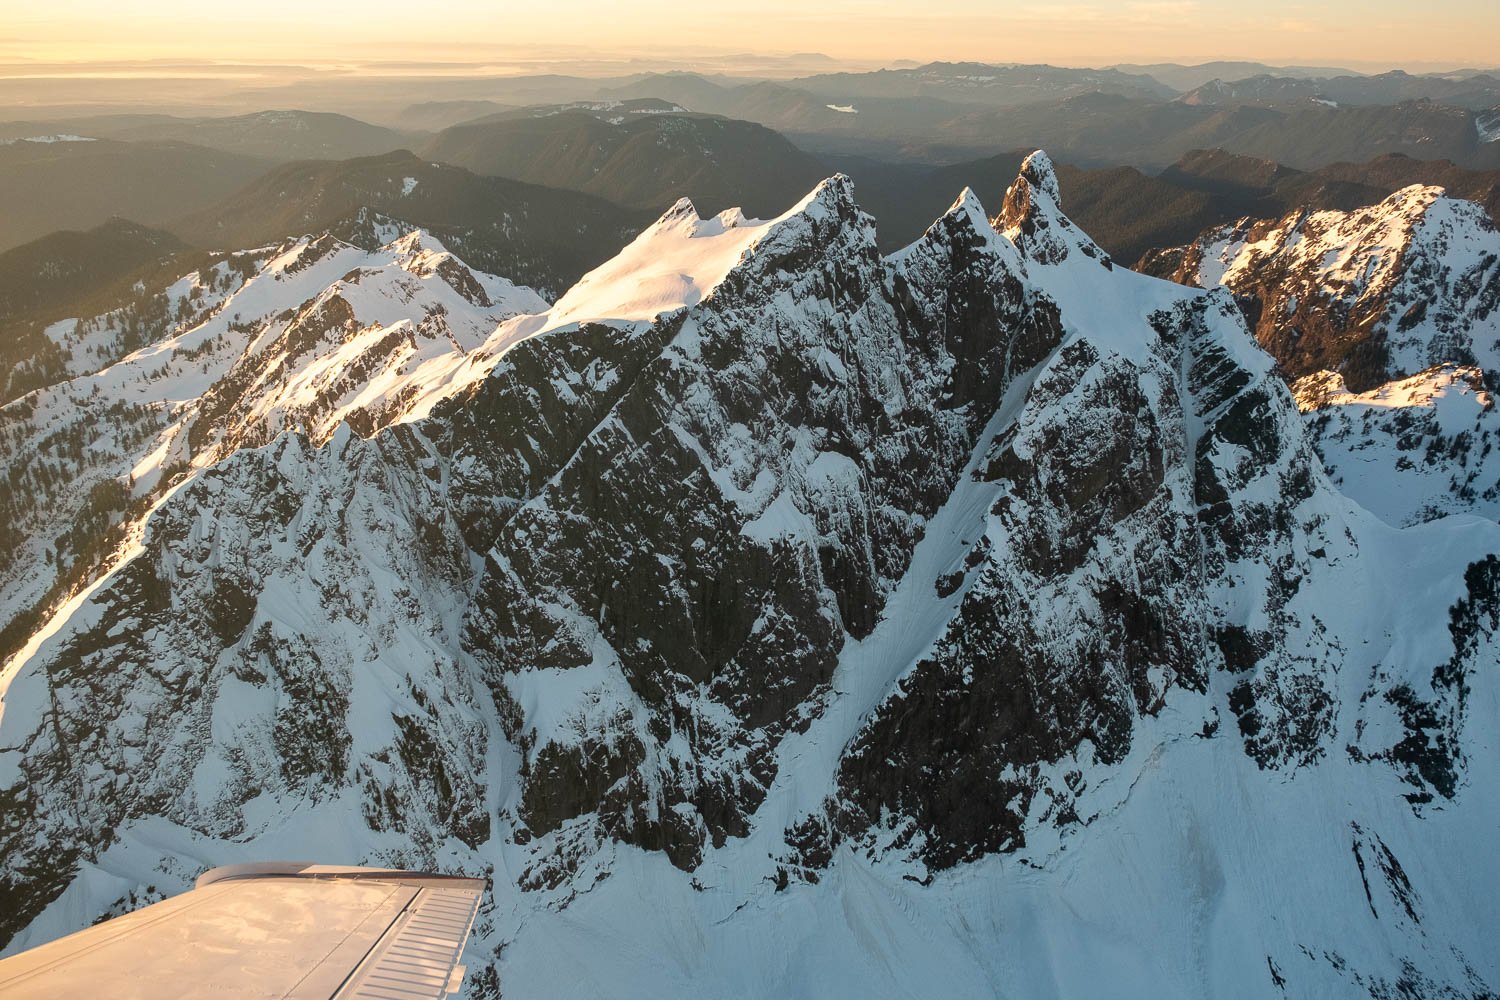
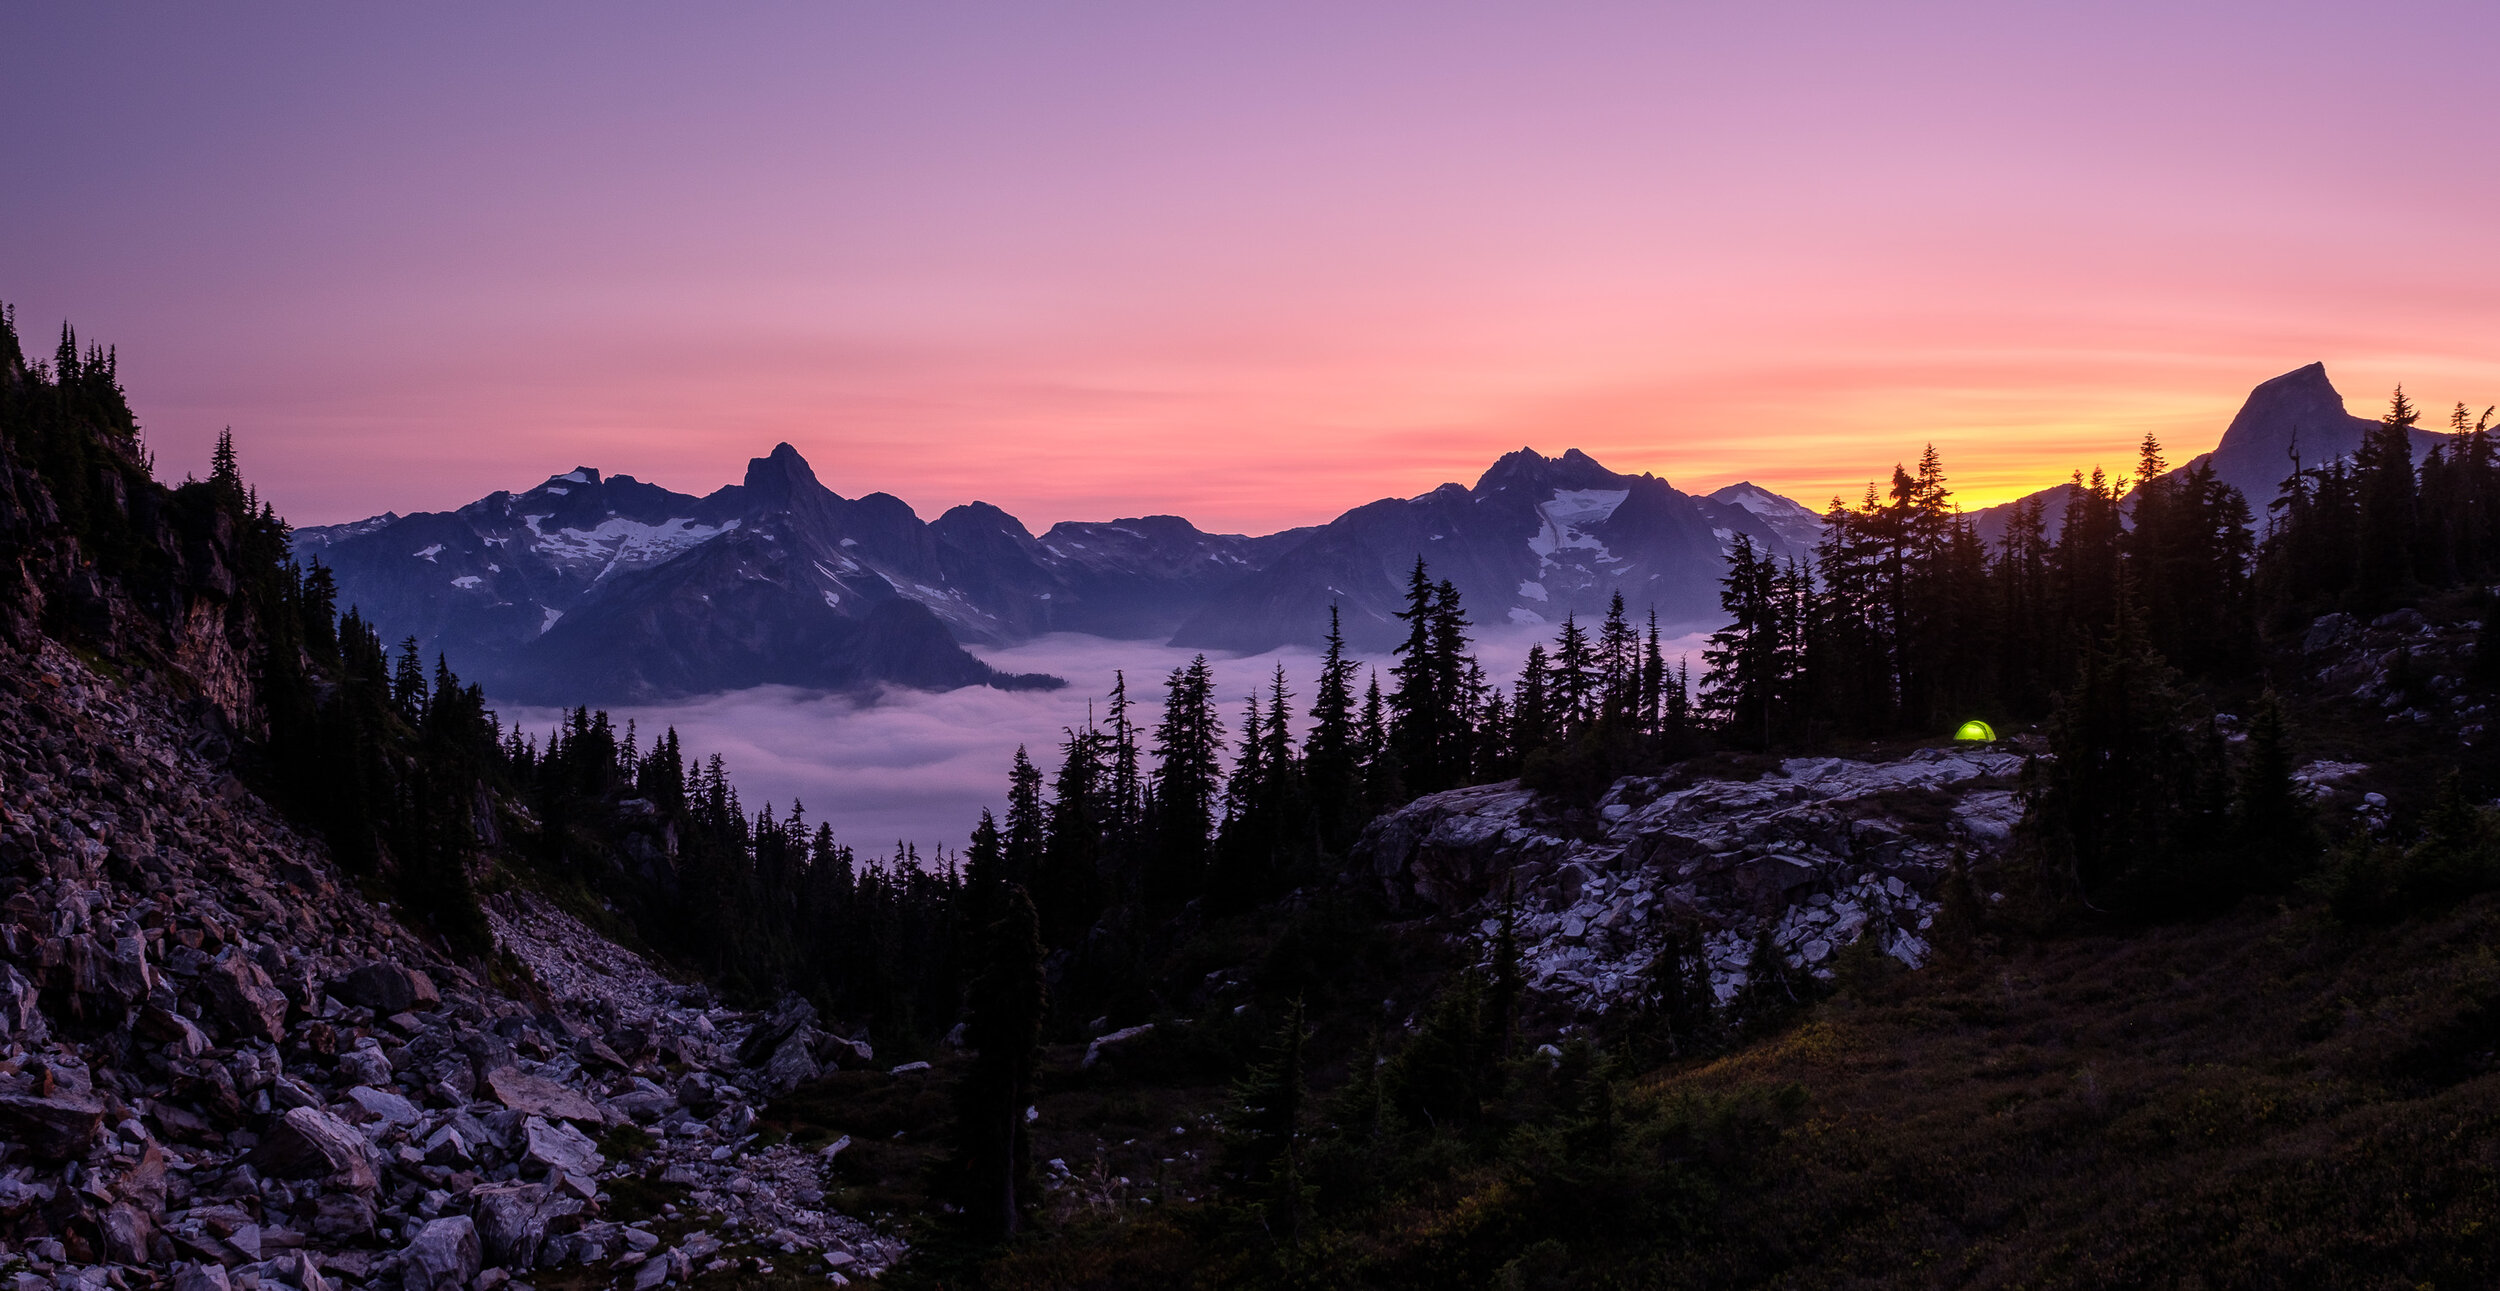
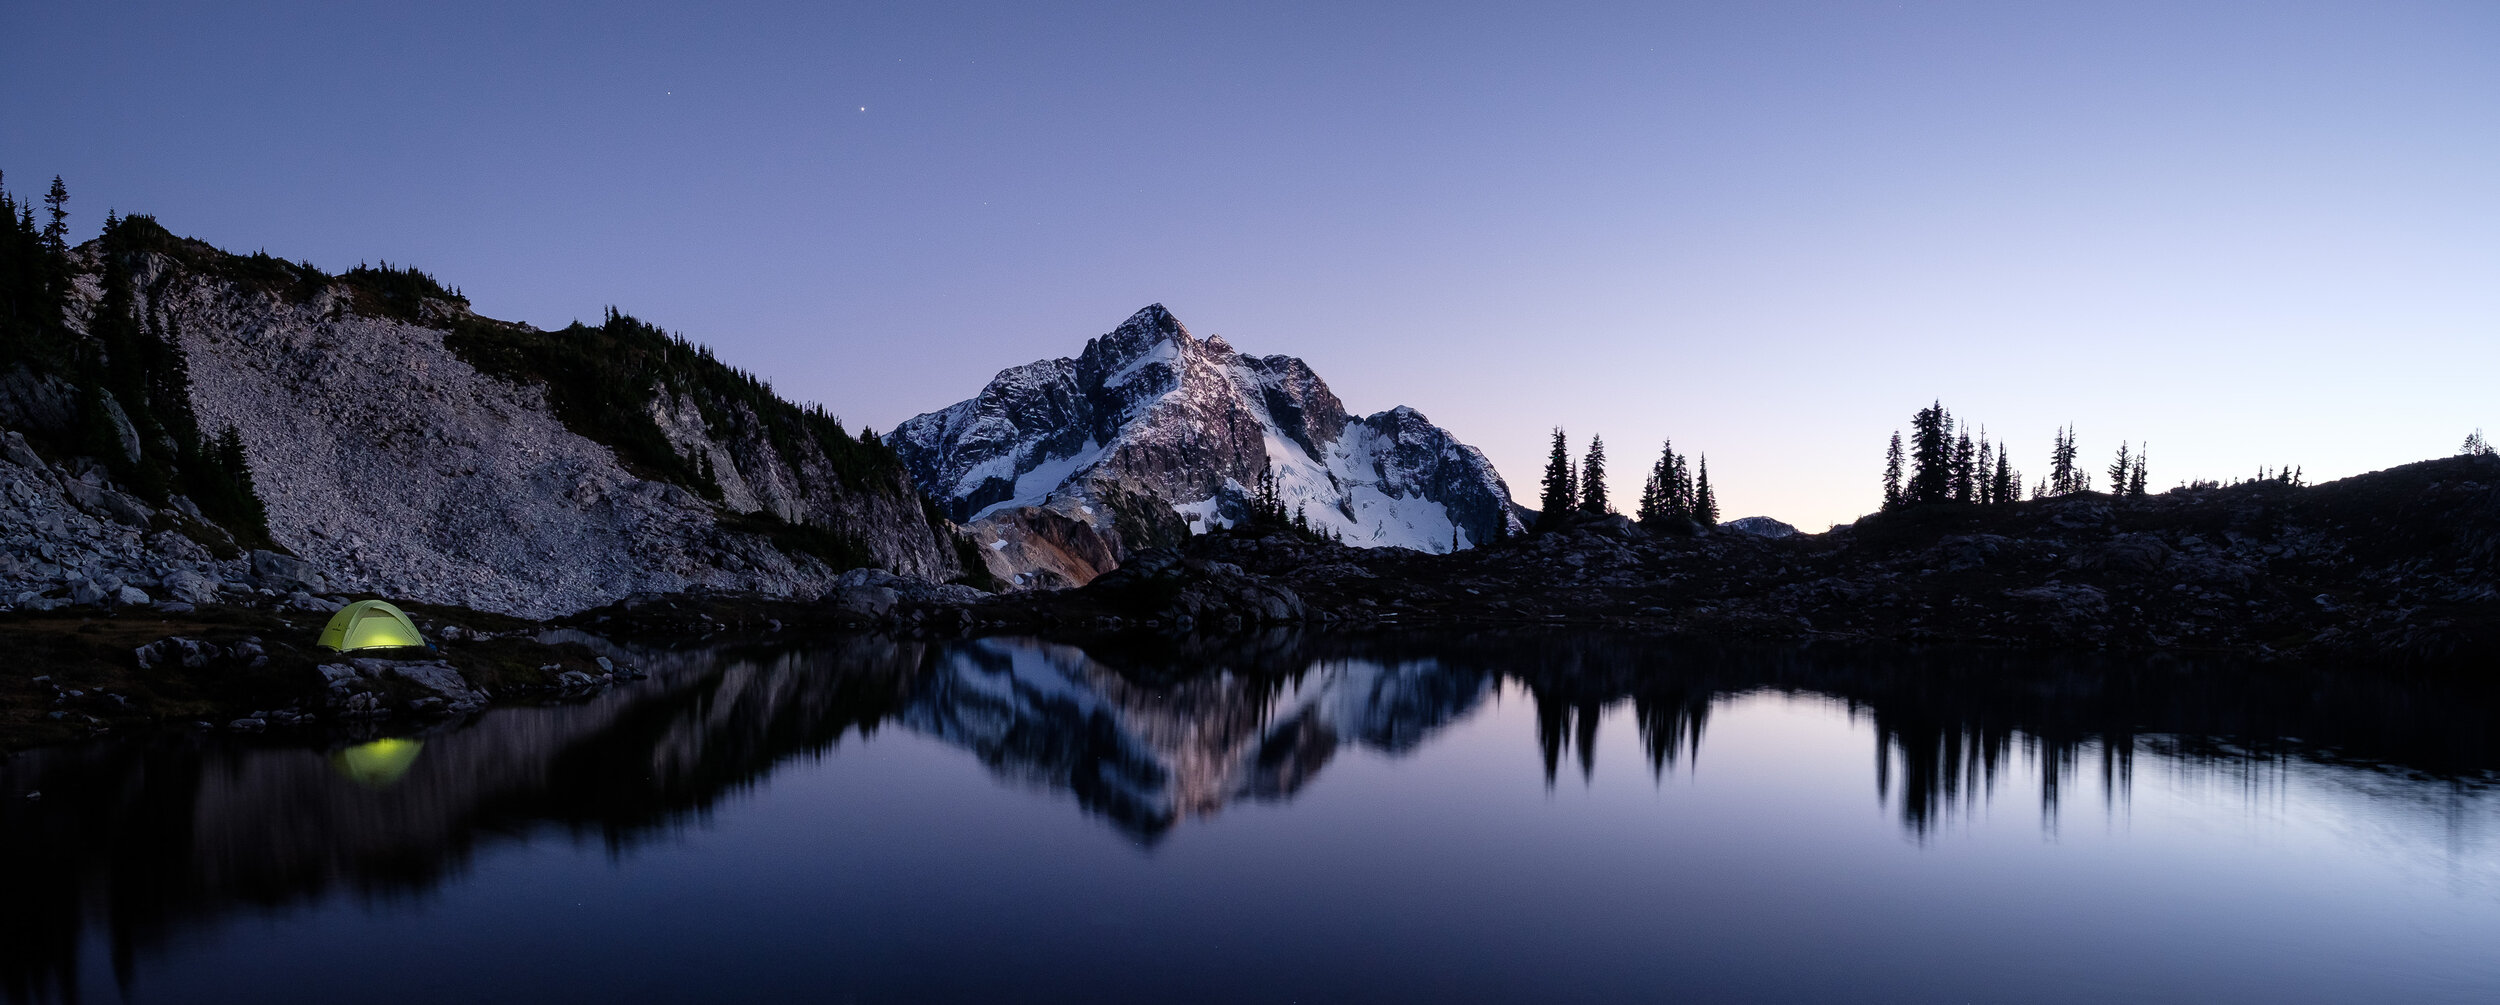
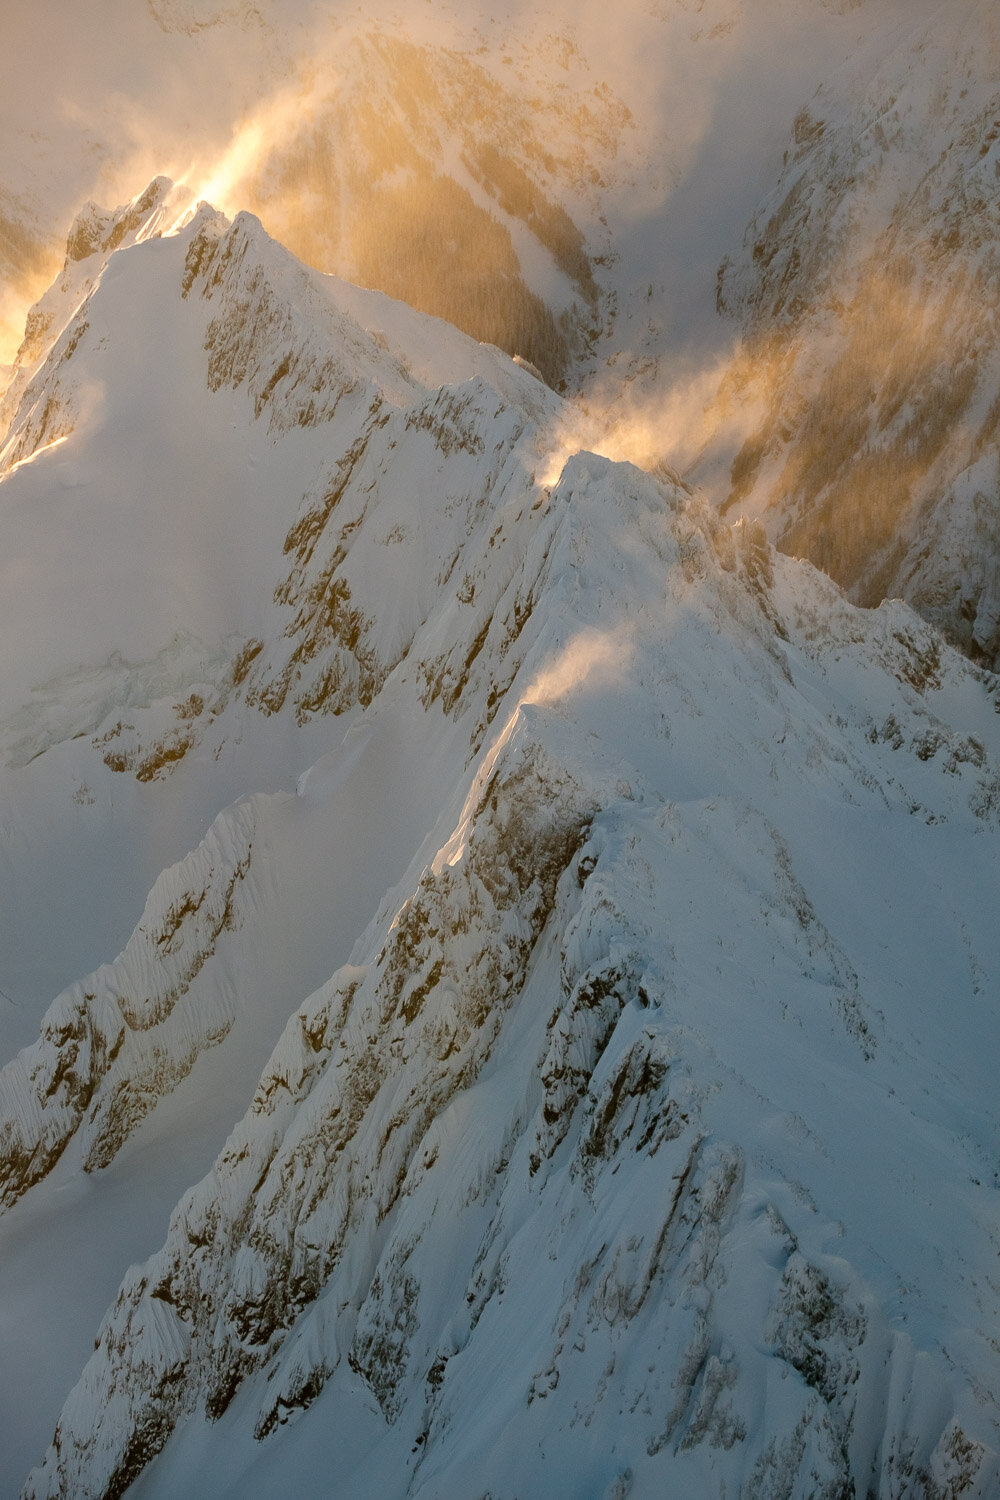
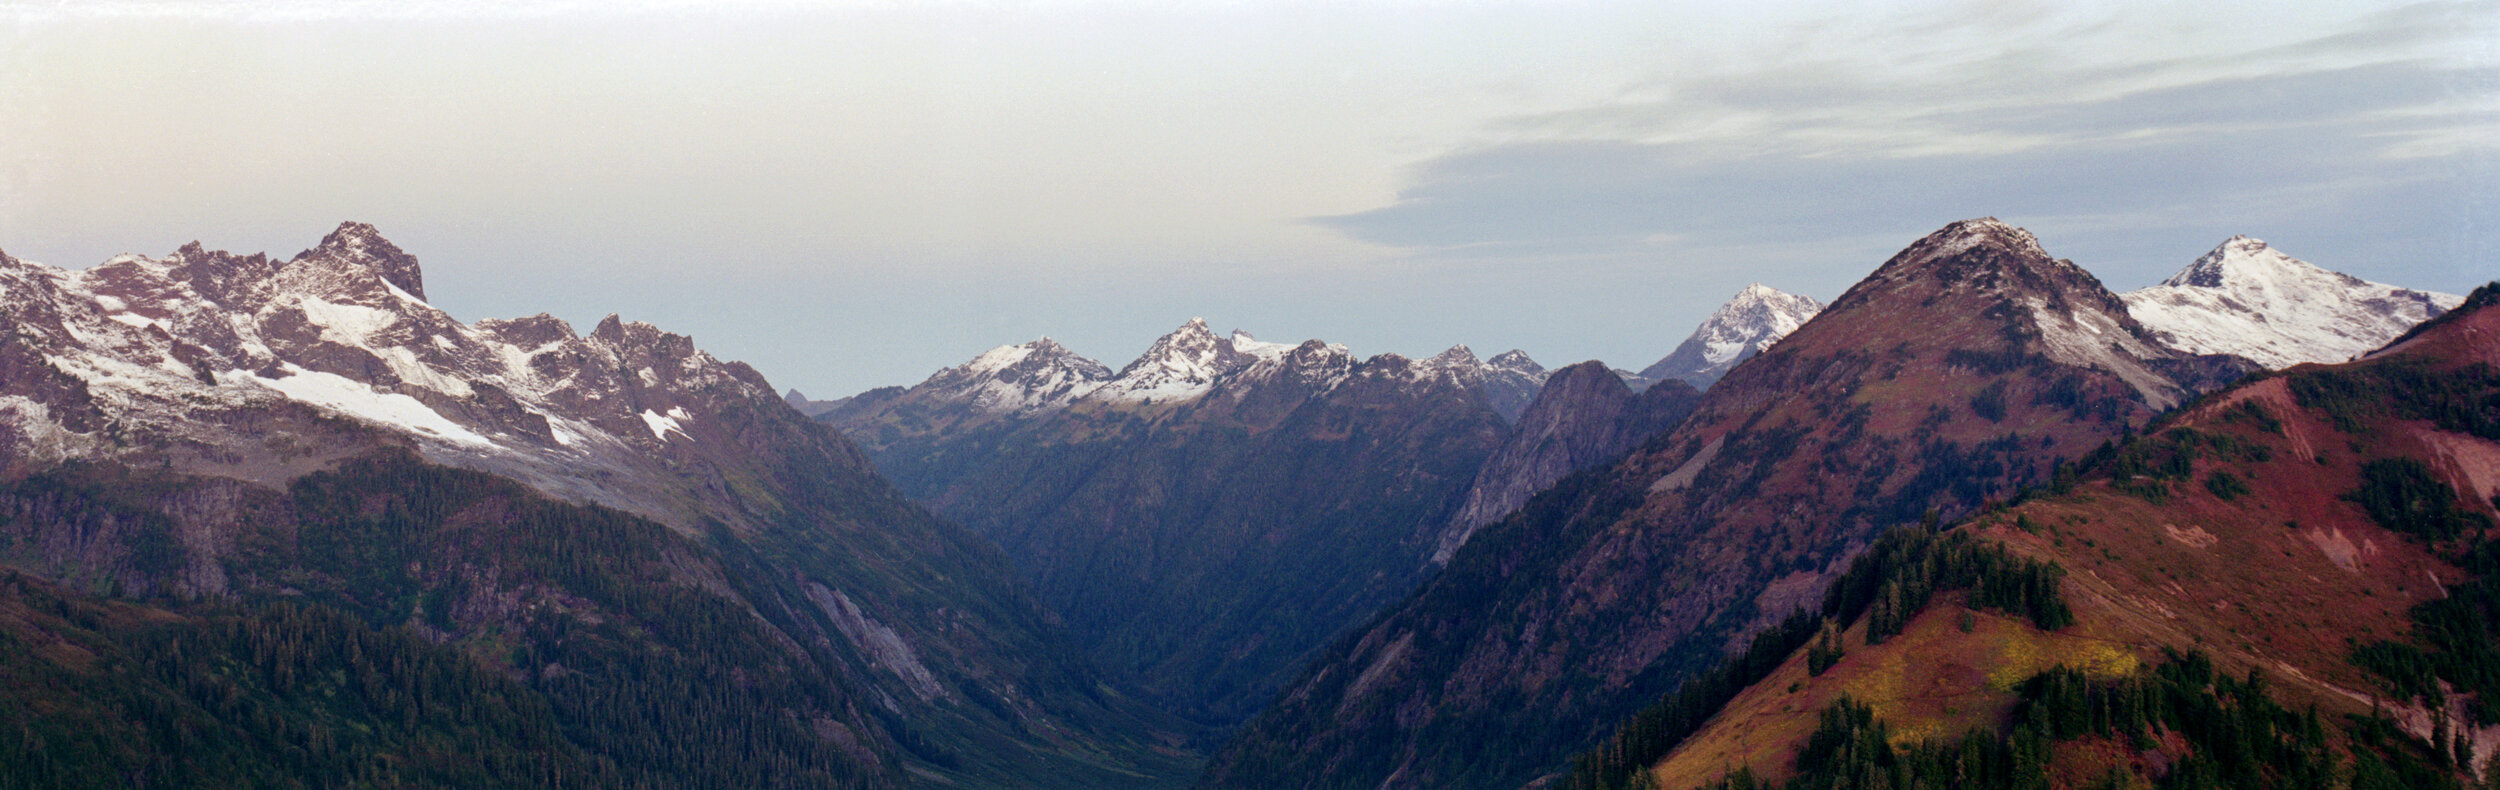
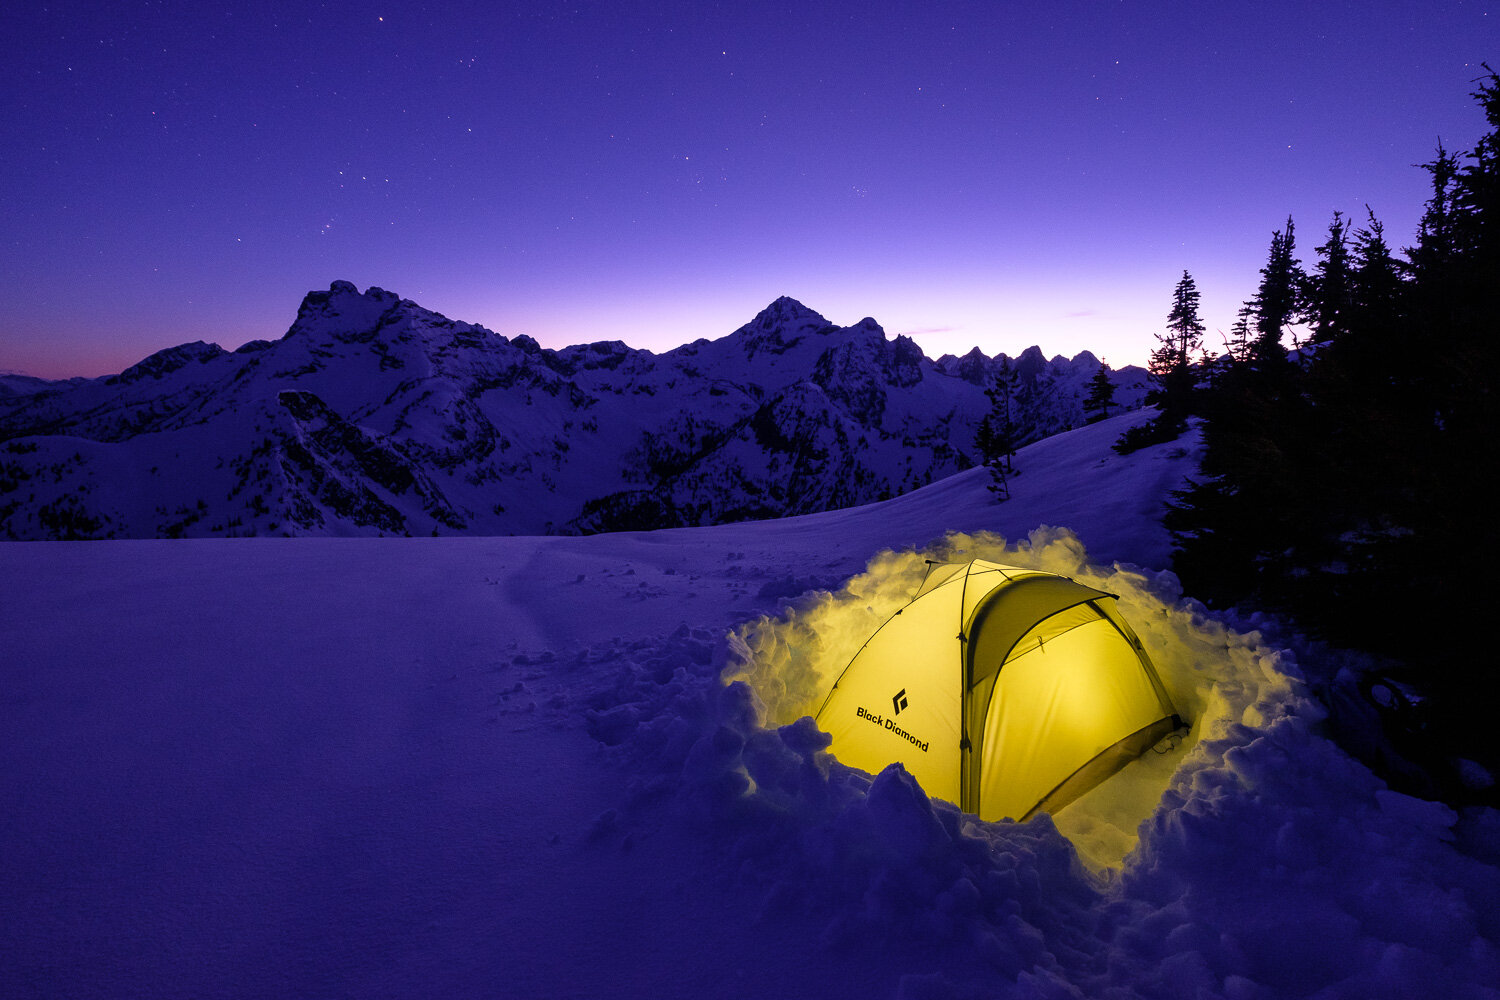
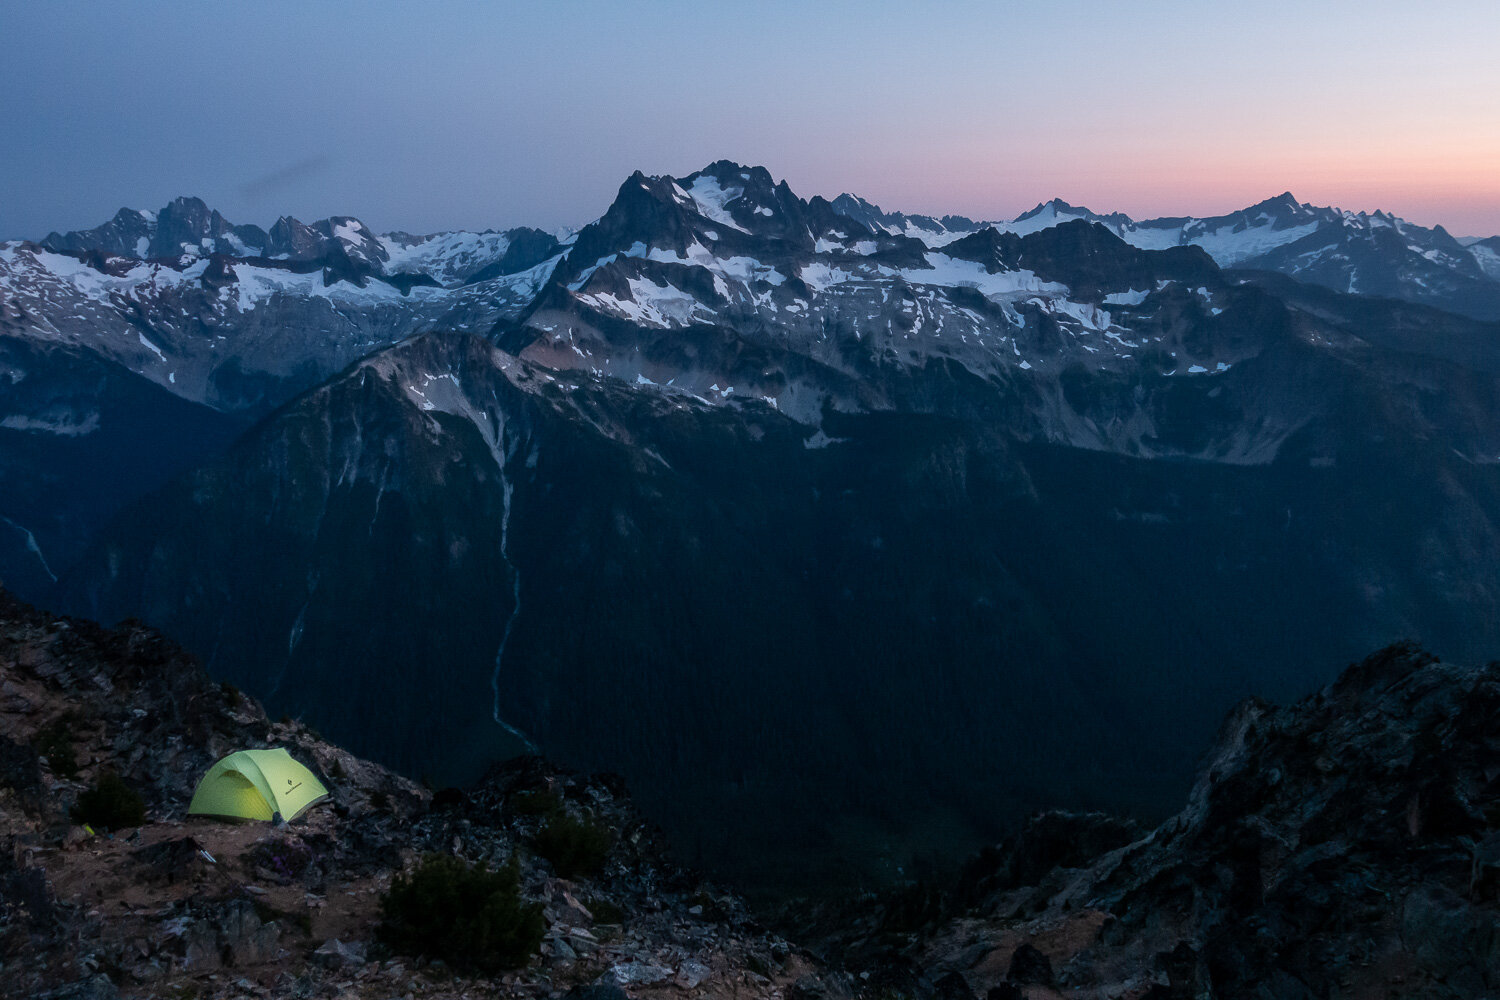
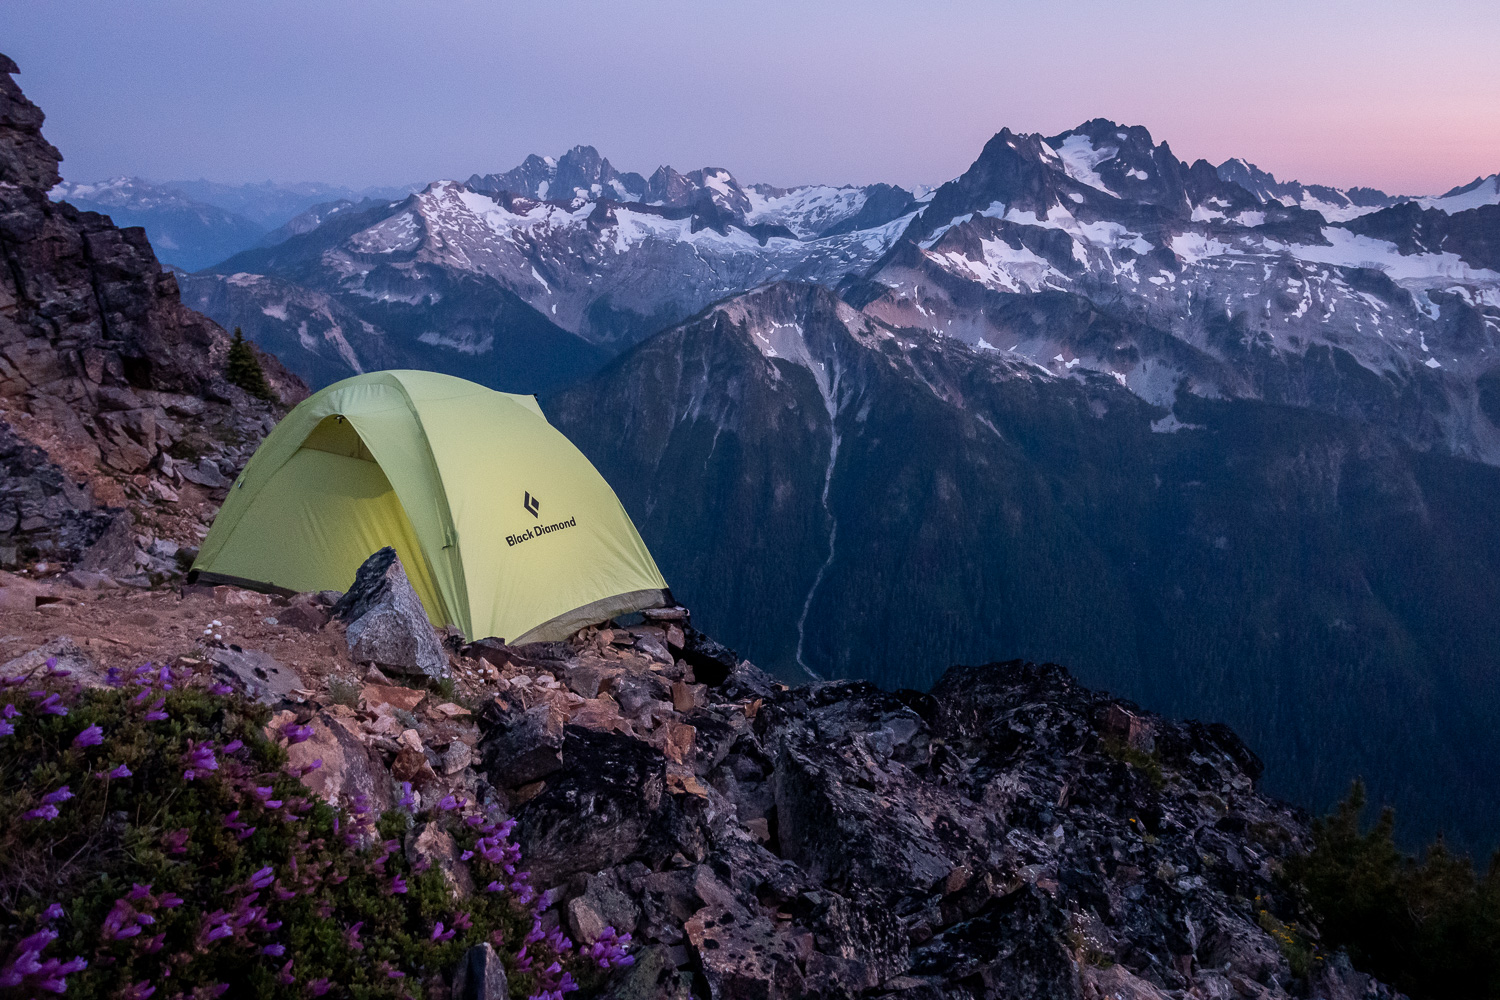
Glacier basin was beautiful and melting out quickly. From below, it wasn't obvious that the route up to Monte Cristo pass would go, although it did without much trouble - nice to not be a week later though. The route has two steeper sections, the first of which gets you into the gentler basin at 5400 ft, and the second of which climbs around a rocky bump and gives you access to the slopes below the pass. The second steeper section we booted the last 30 feet, to find gorgeous views and easy skinning. At 19:30 we reached a lovely spot to camp on the ridge just west of the pass, with both running water a short walk away and a small but dry tent site right on the ridge.
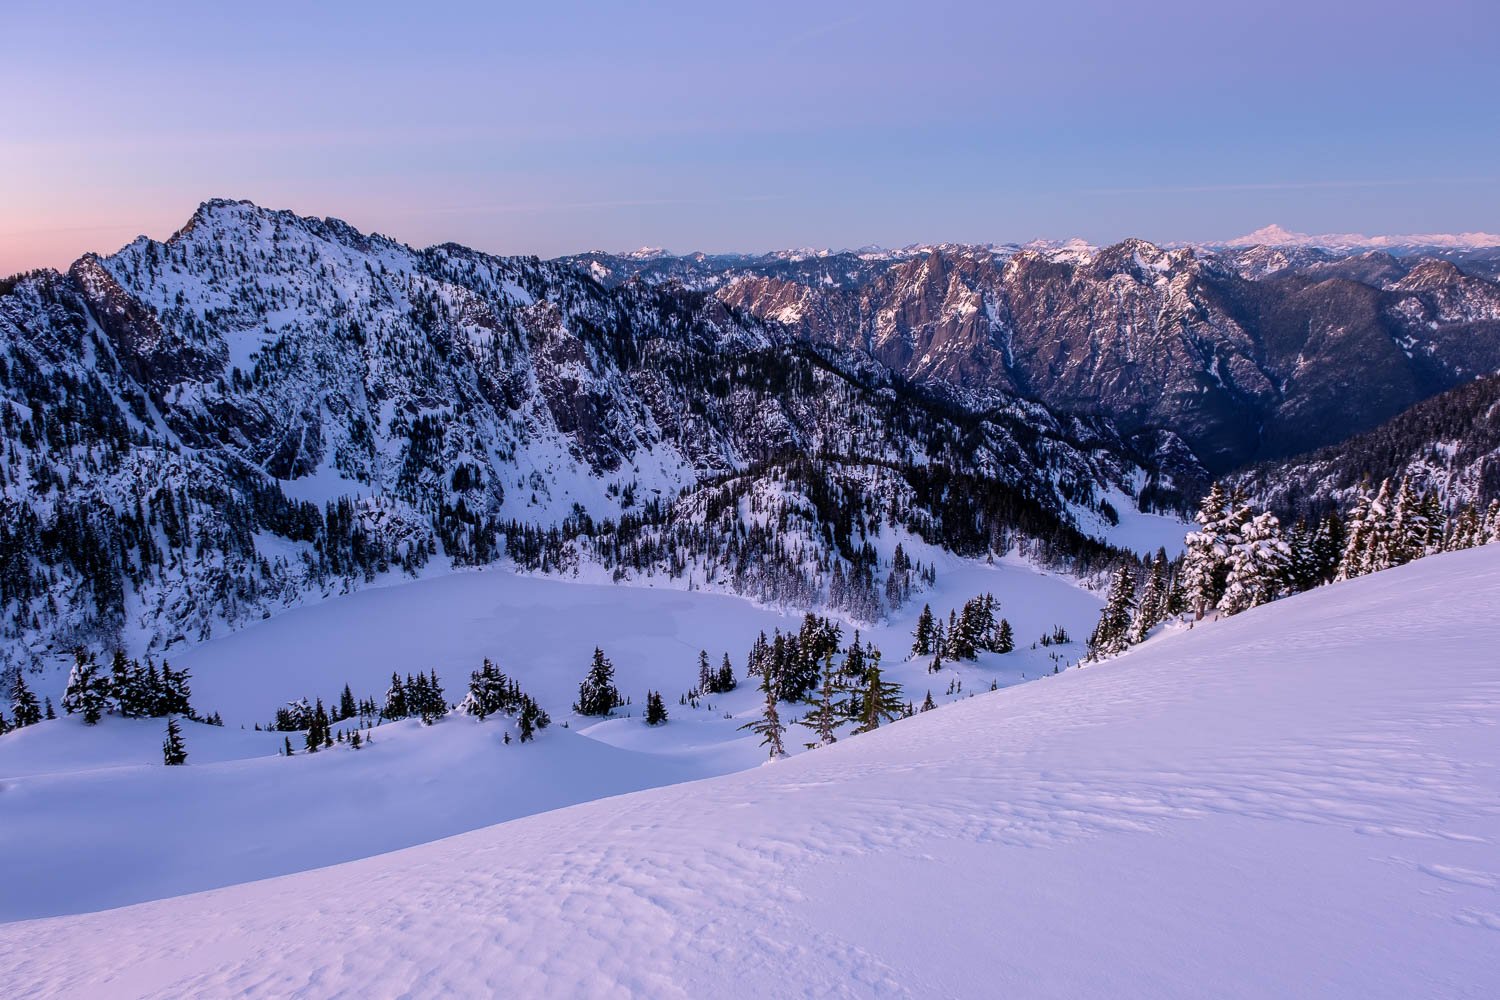
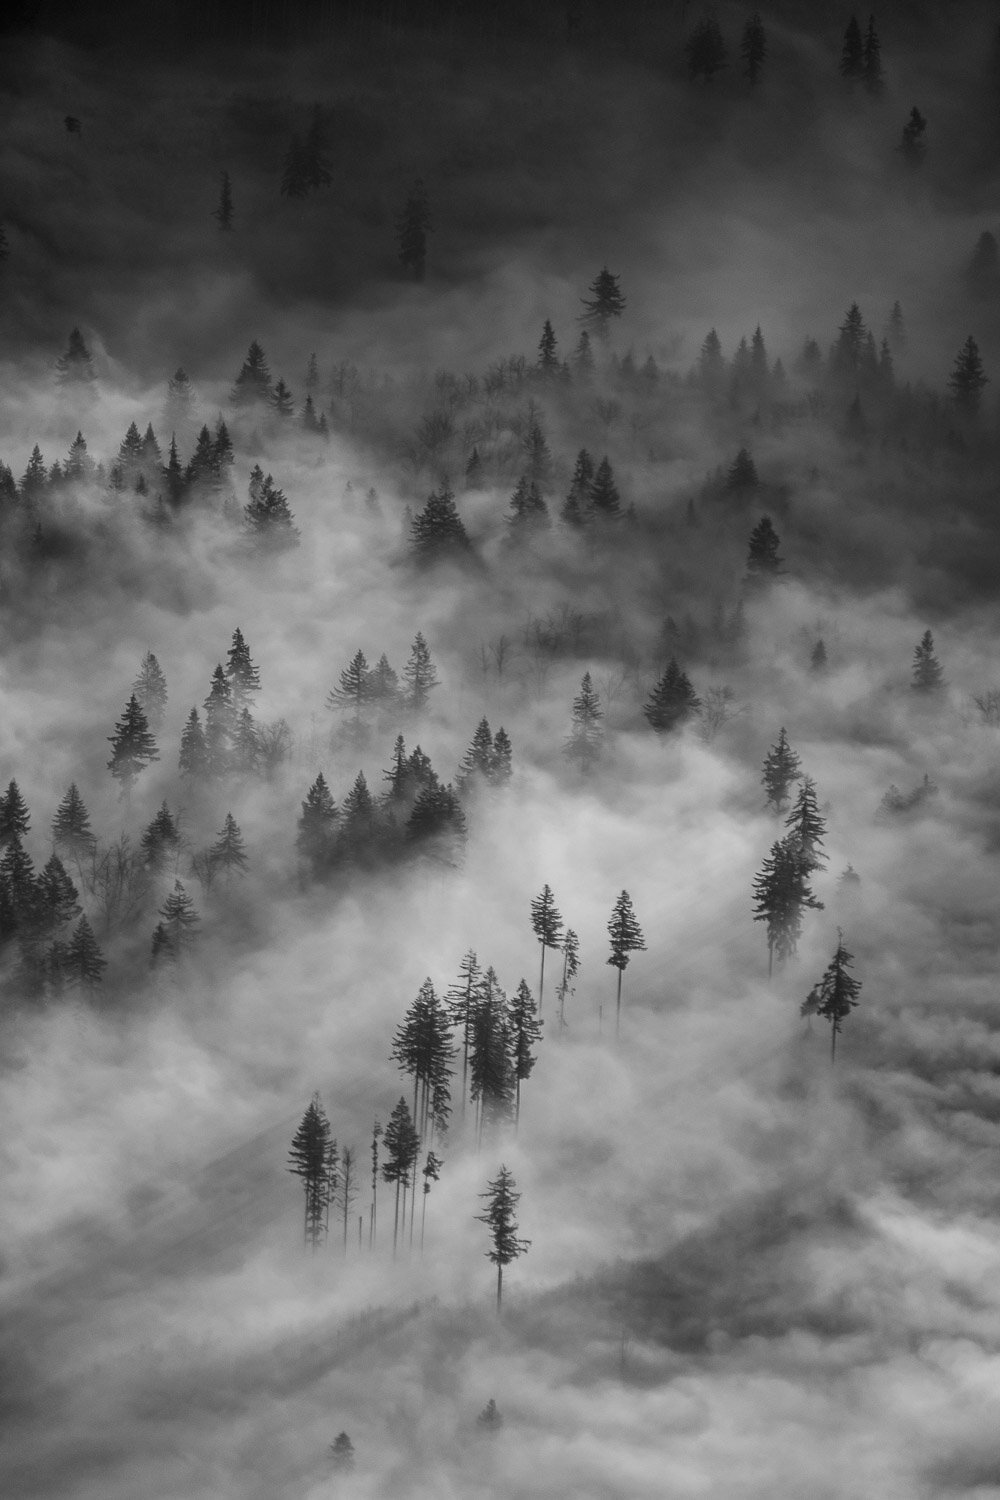
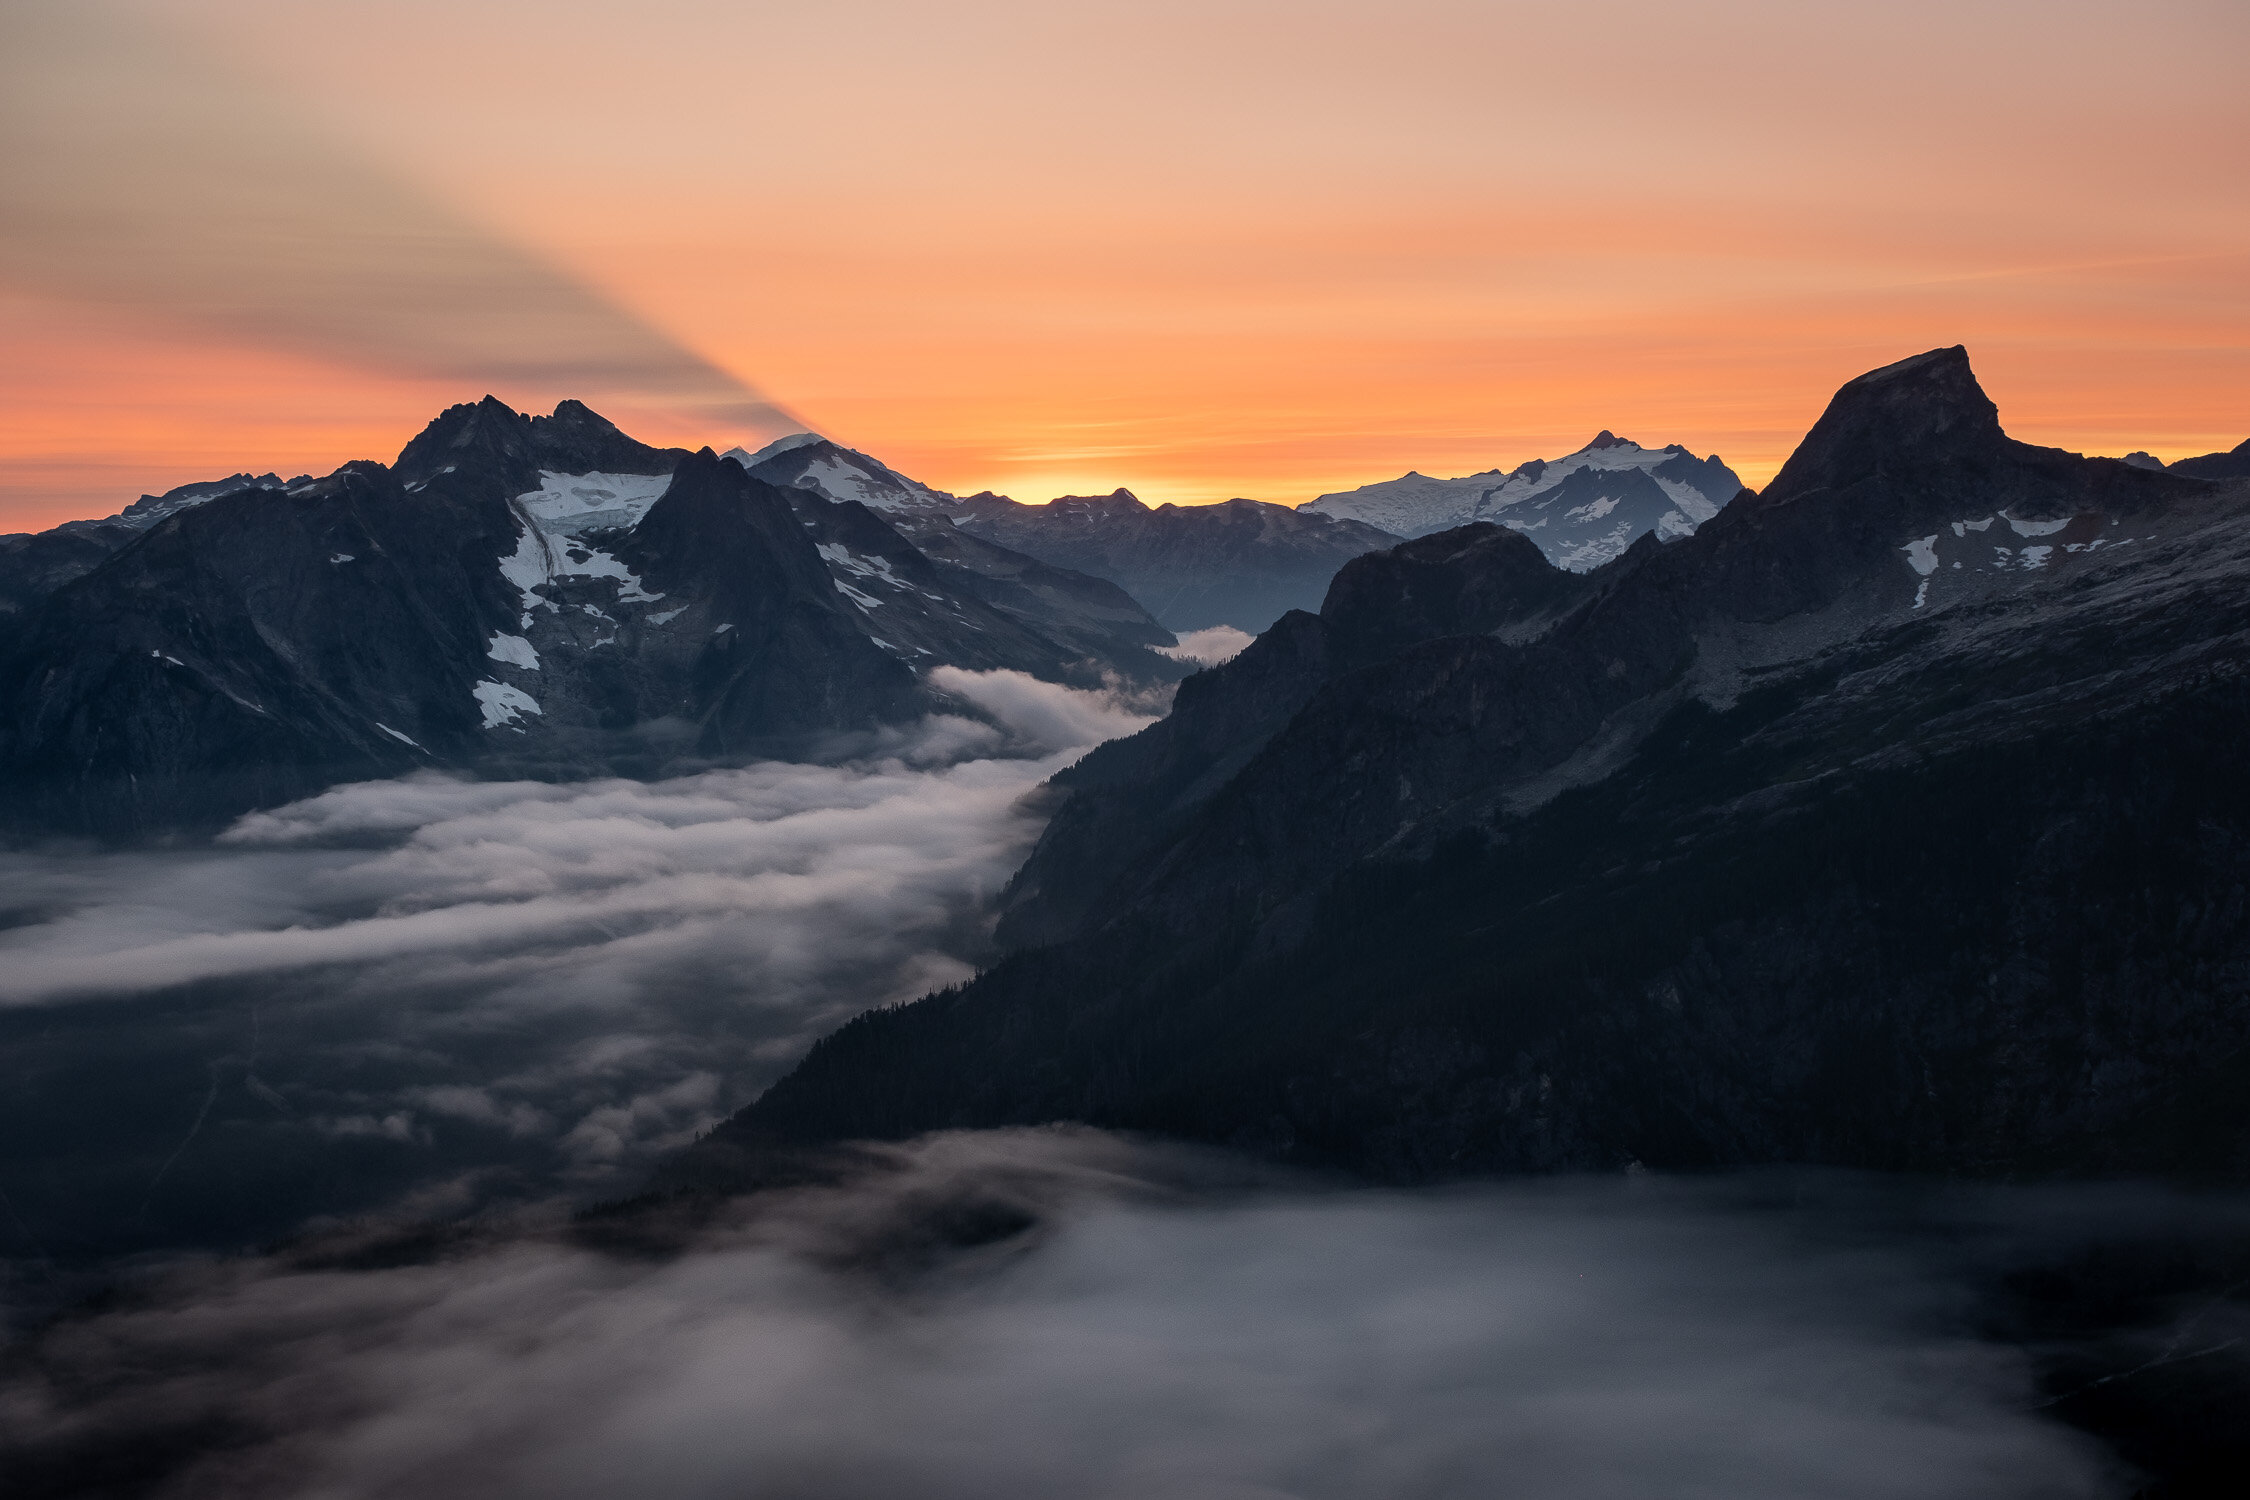
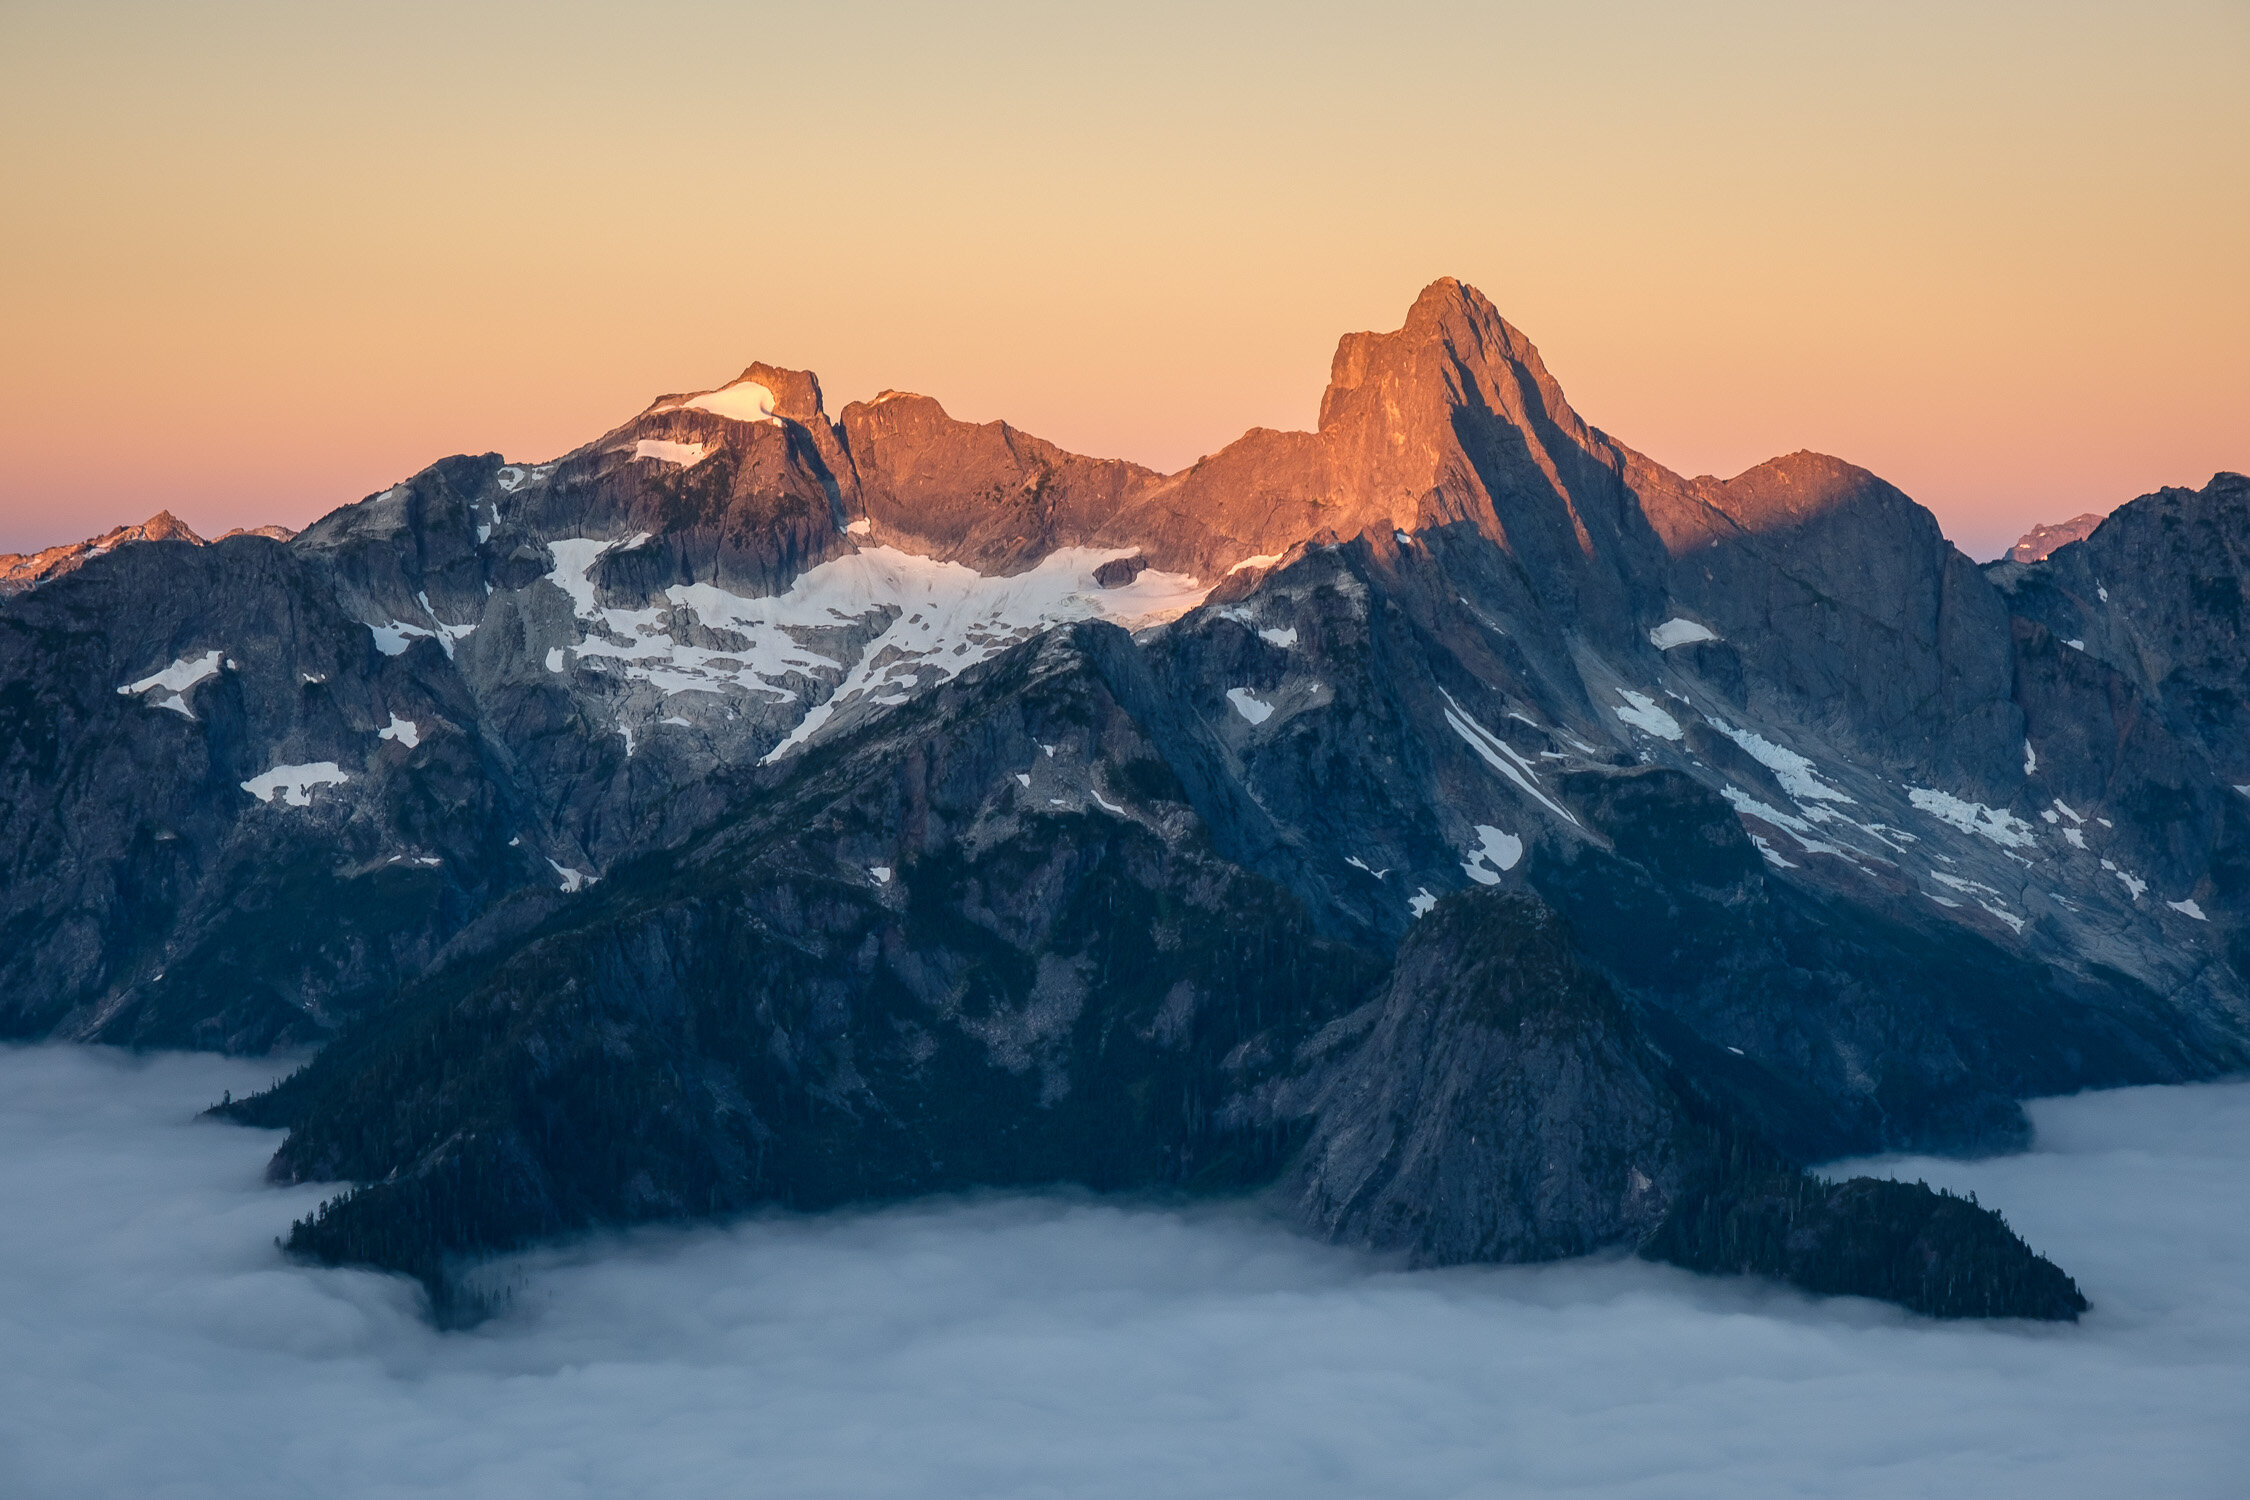
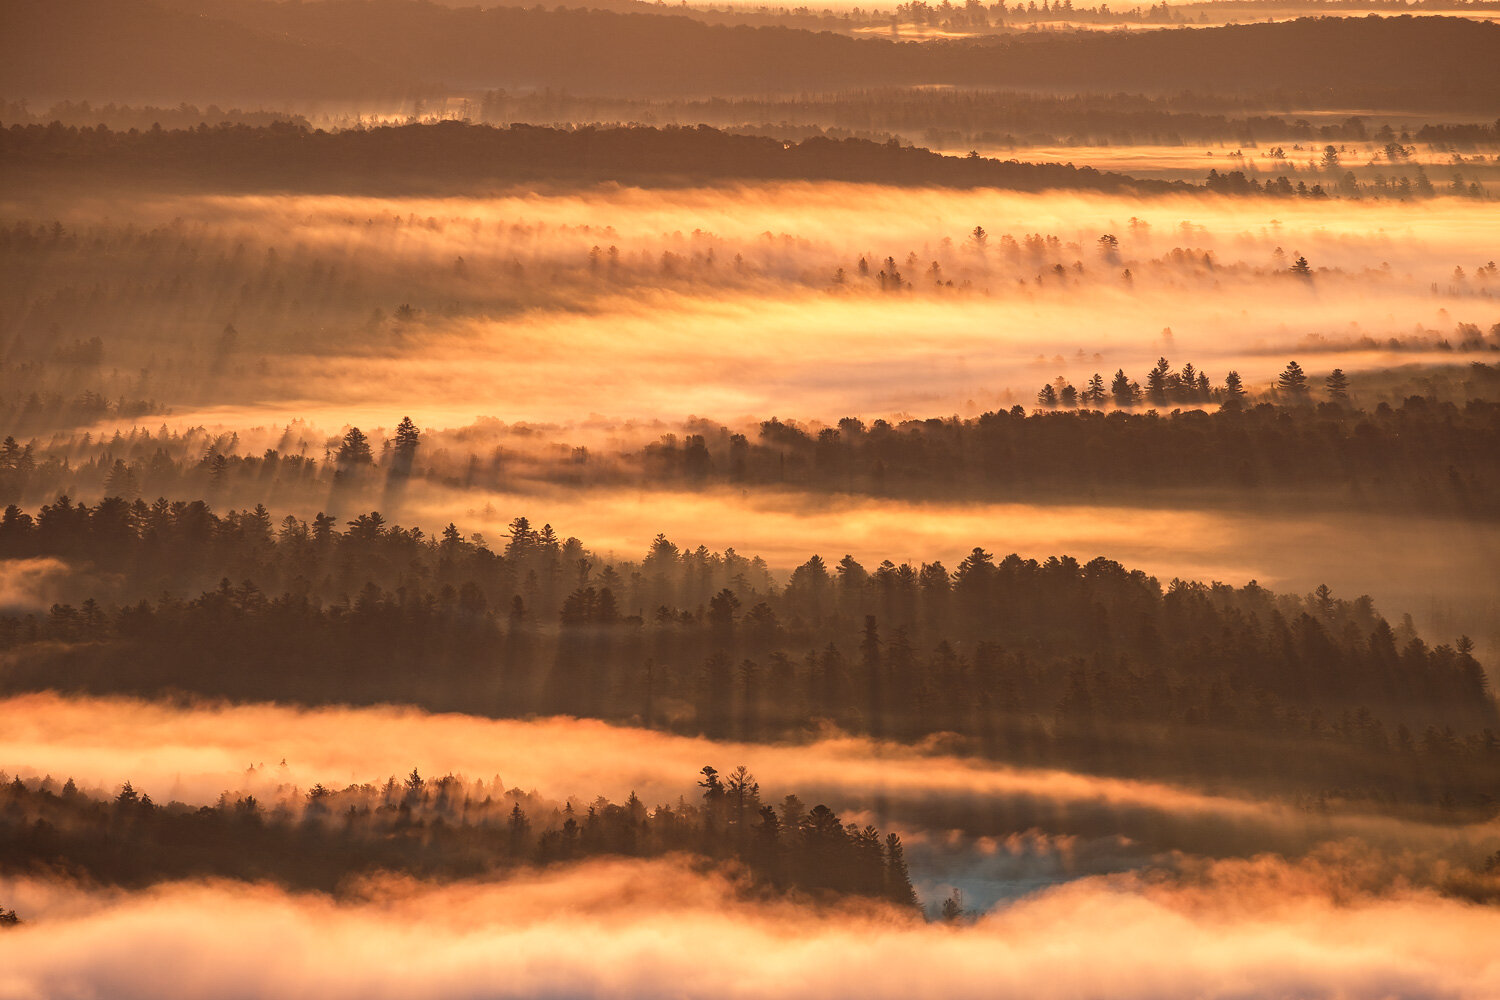
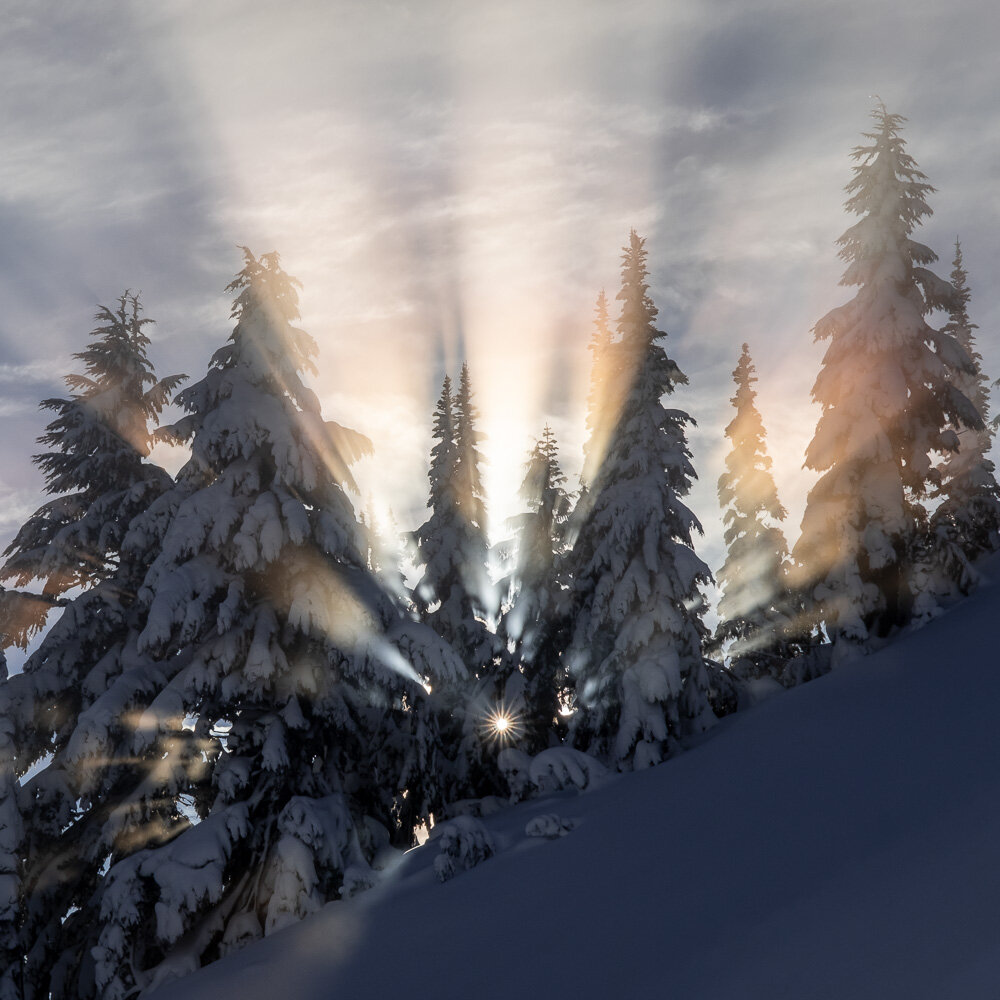
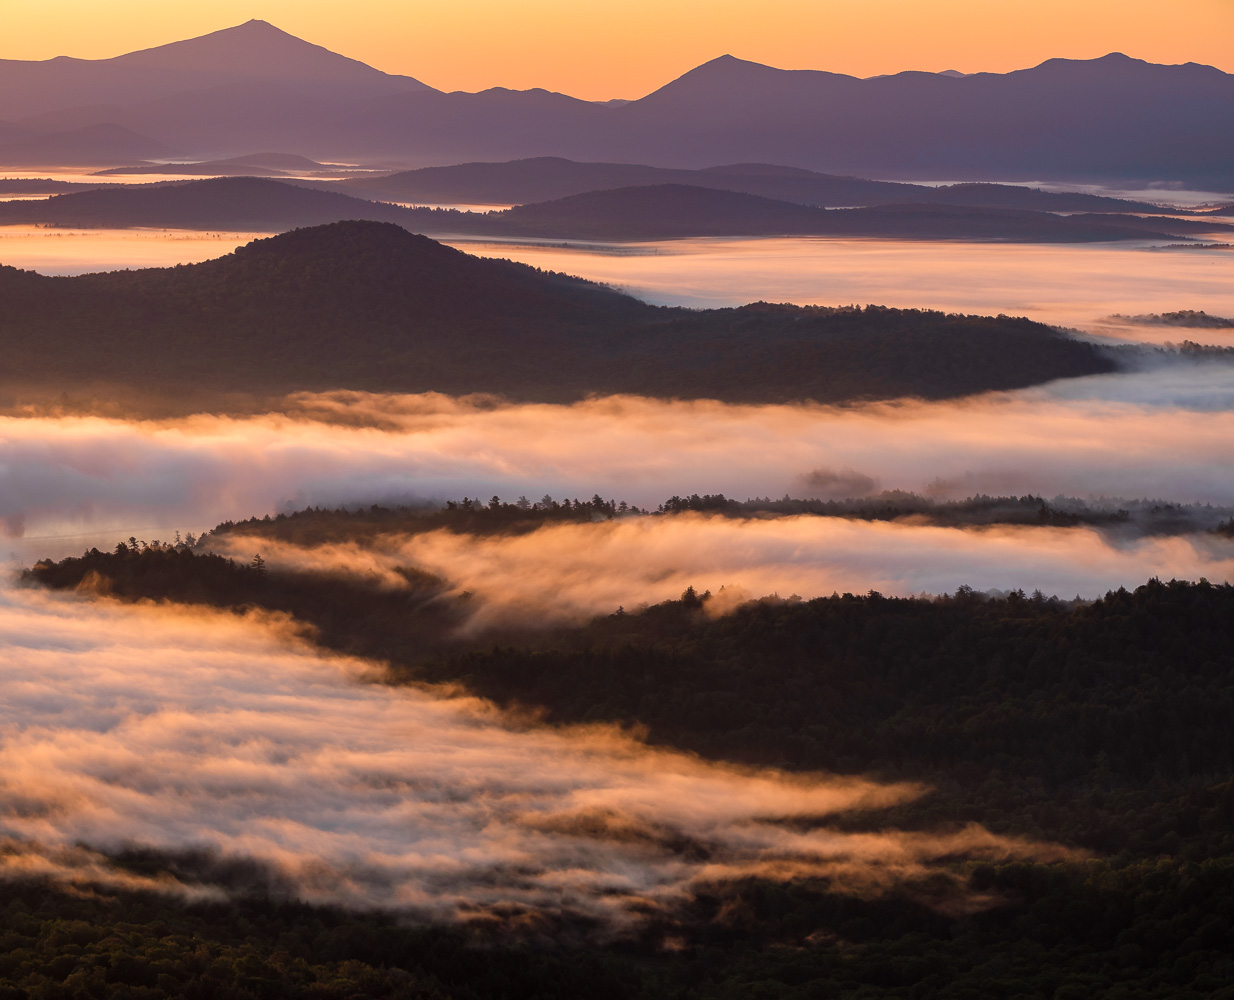
We had an exciting night, getting woken up twice, the first time by lightning and thunder, and to discover that we were in a whiteout, and the second time by rain, which caused us to scramble to hide our things. Nonetheless we awoke at daybreak to find nice weather, with an undercast below us on both sides of the pass.
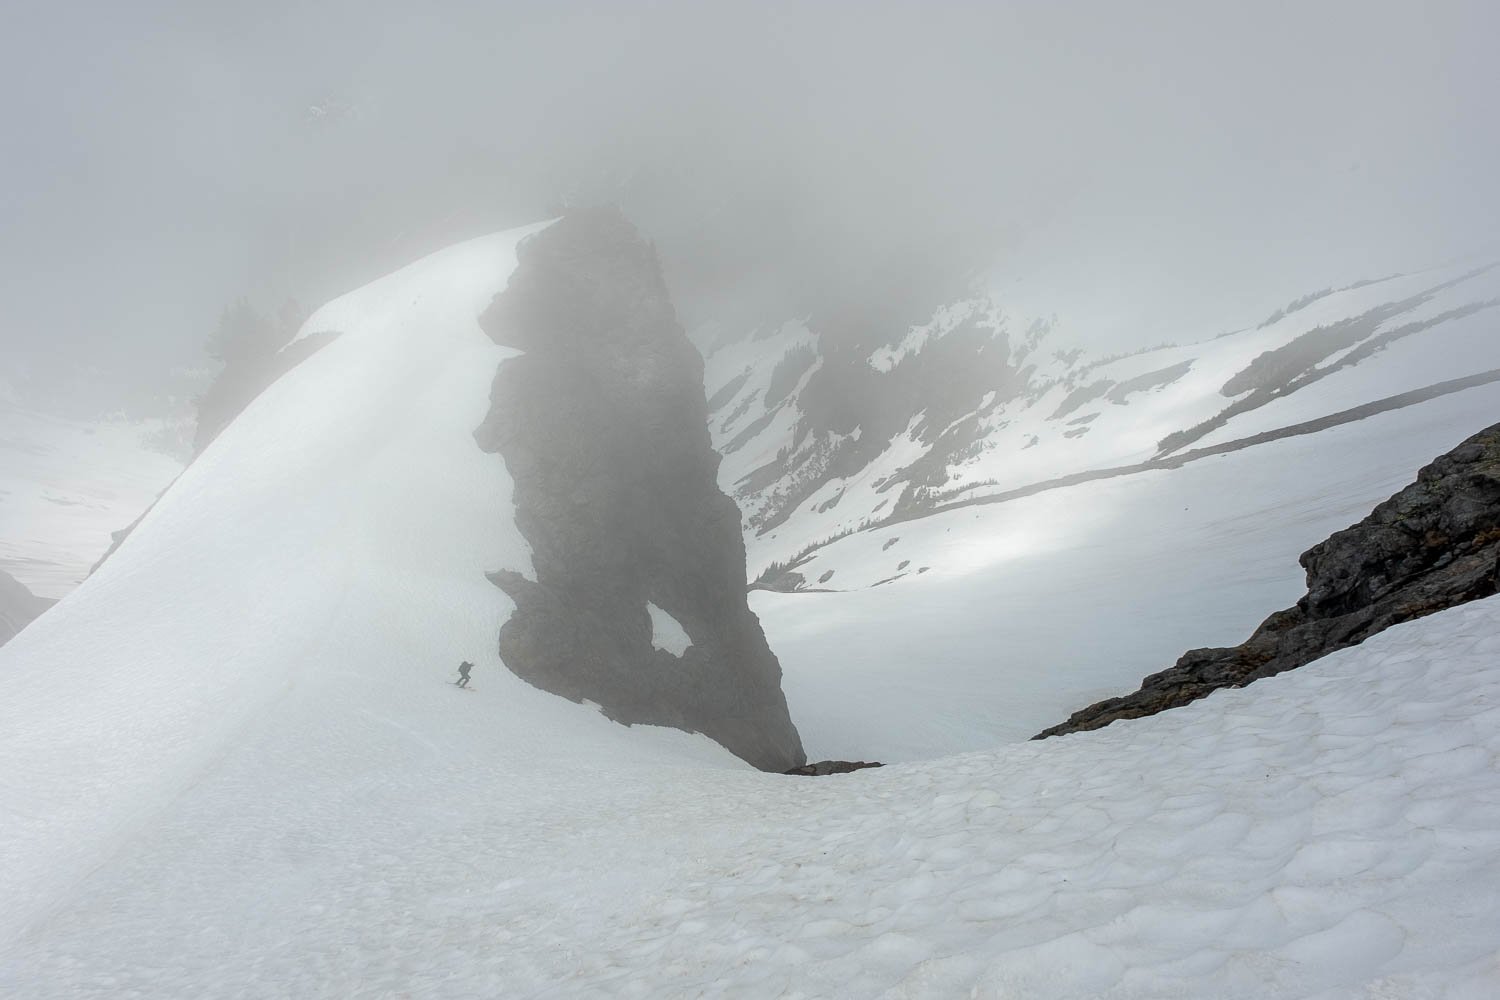
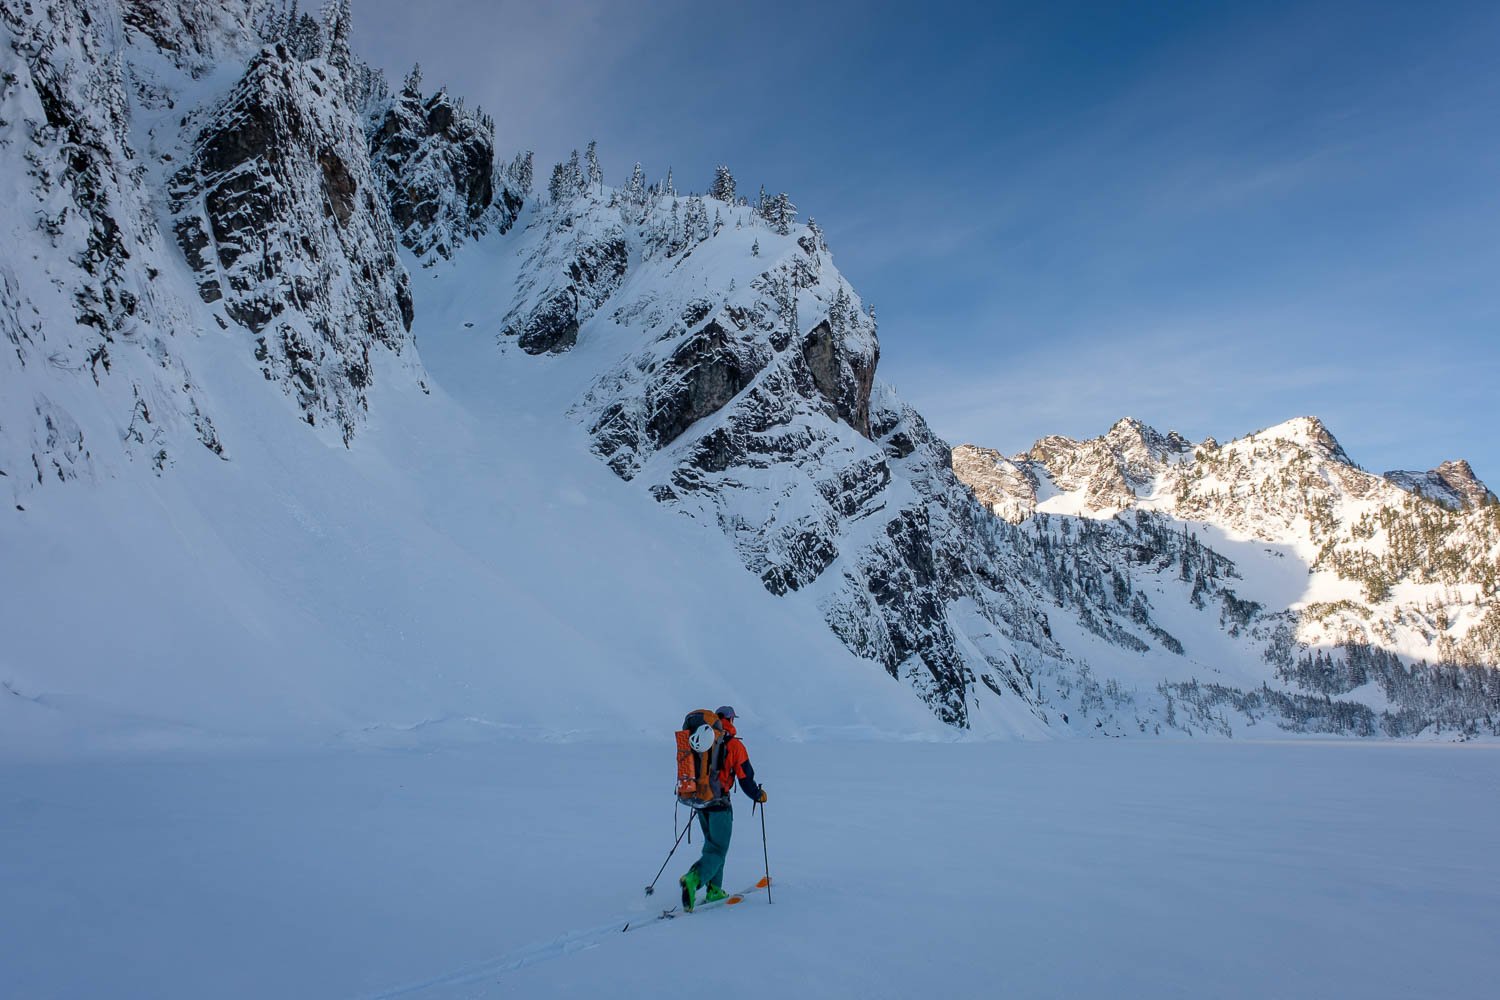
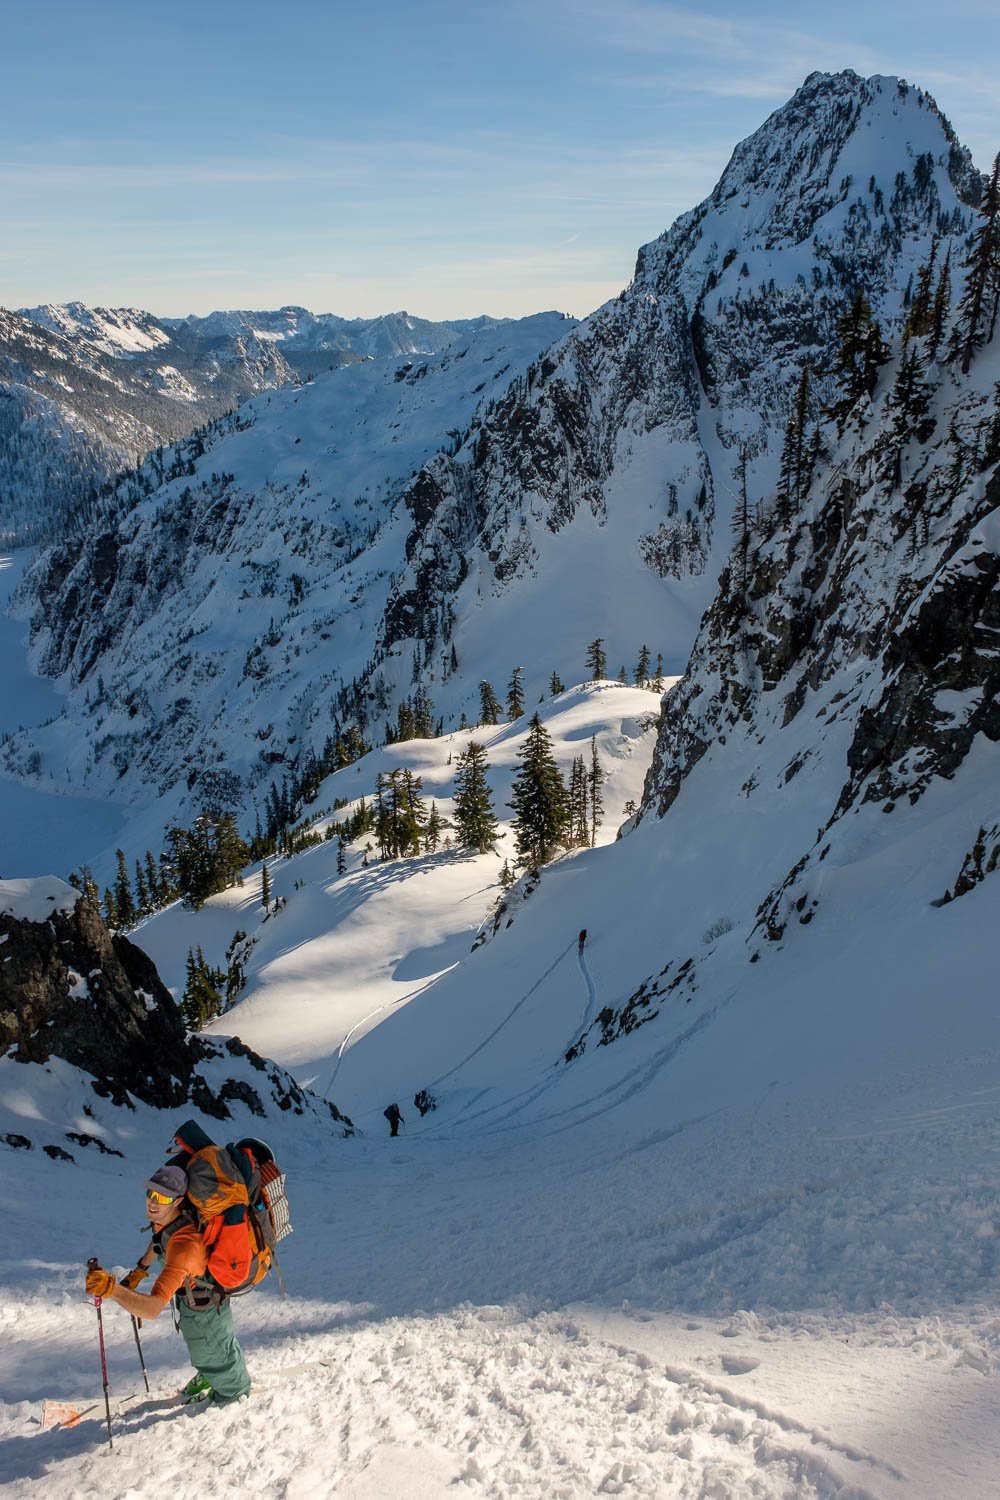
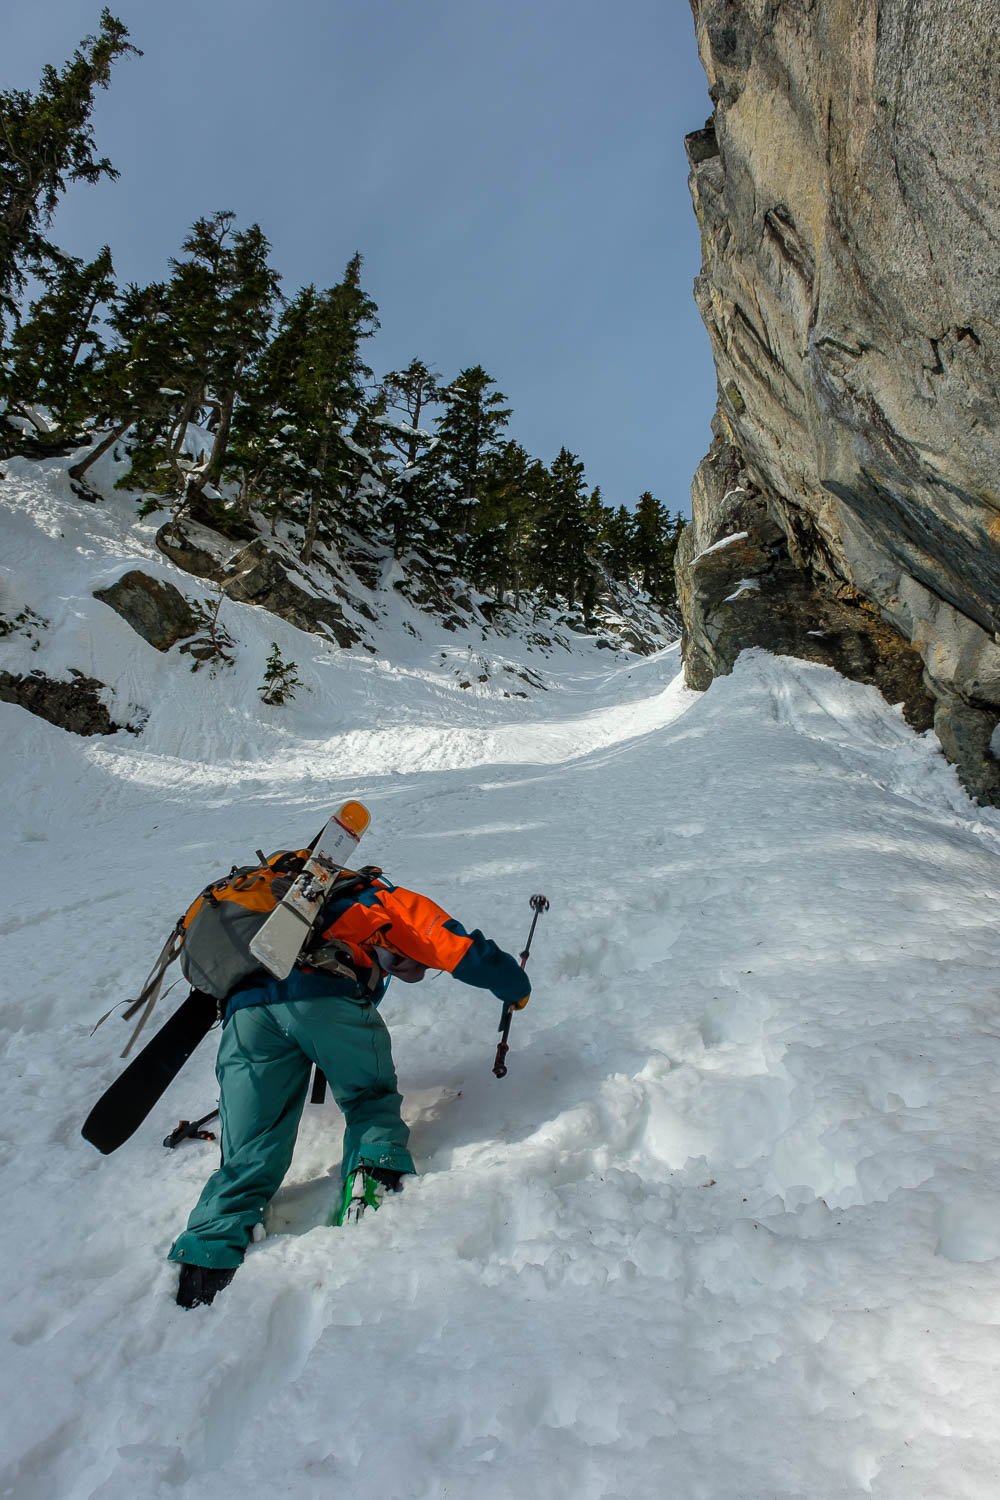
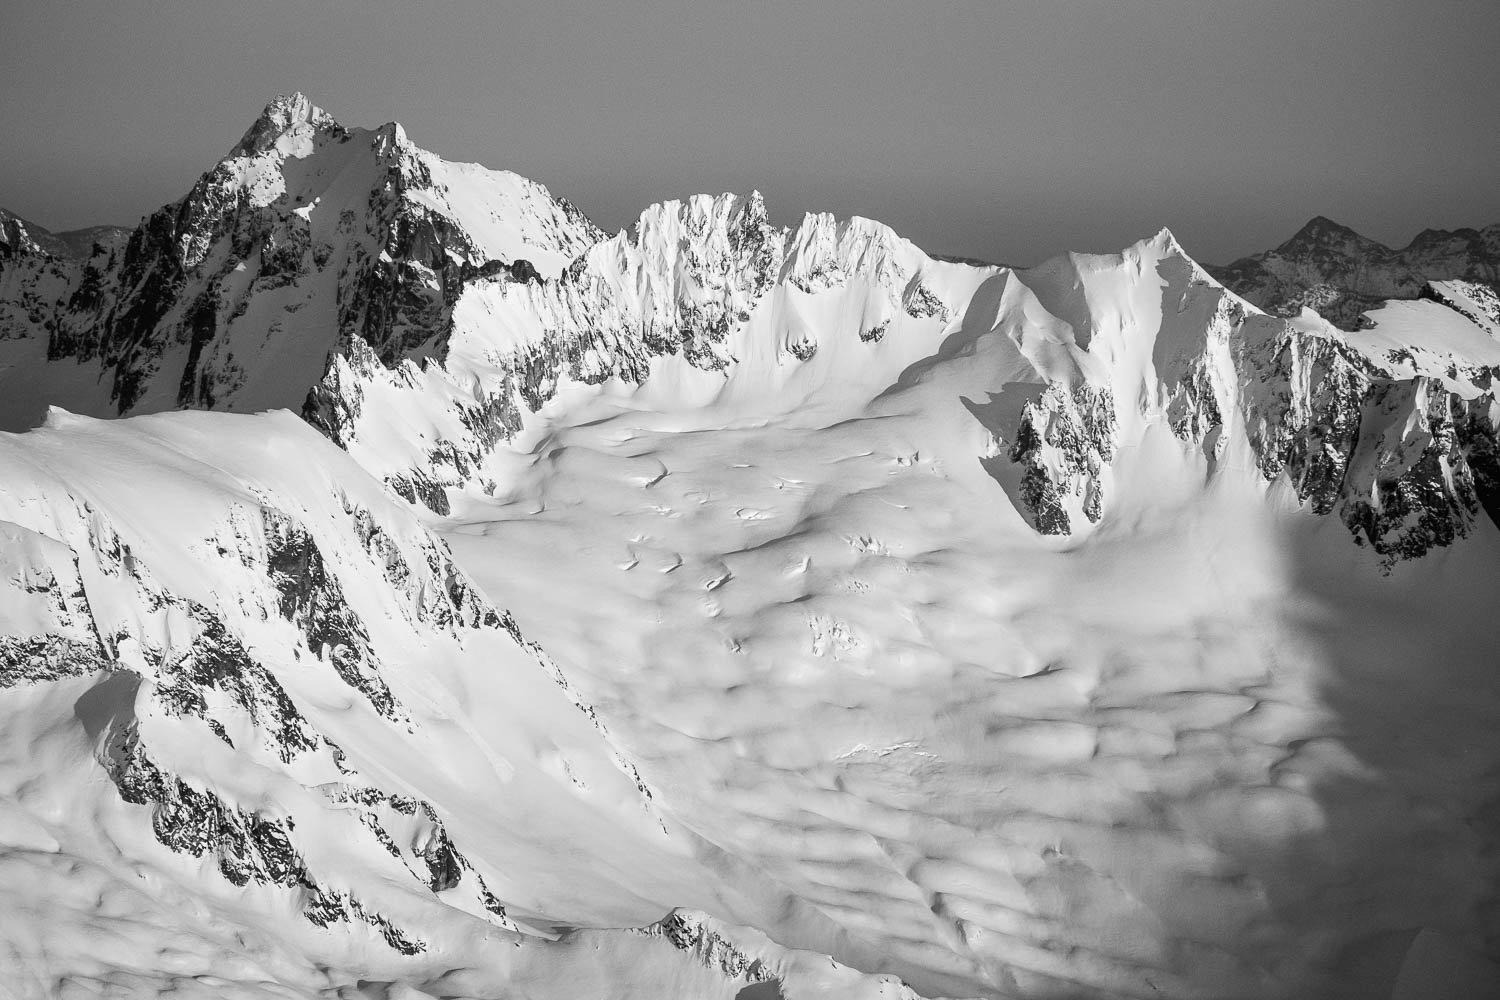
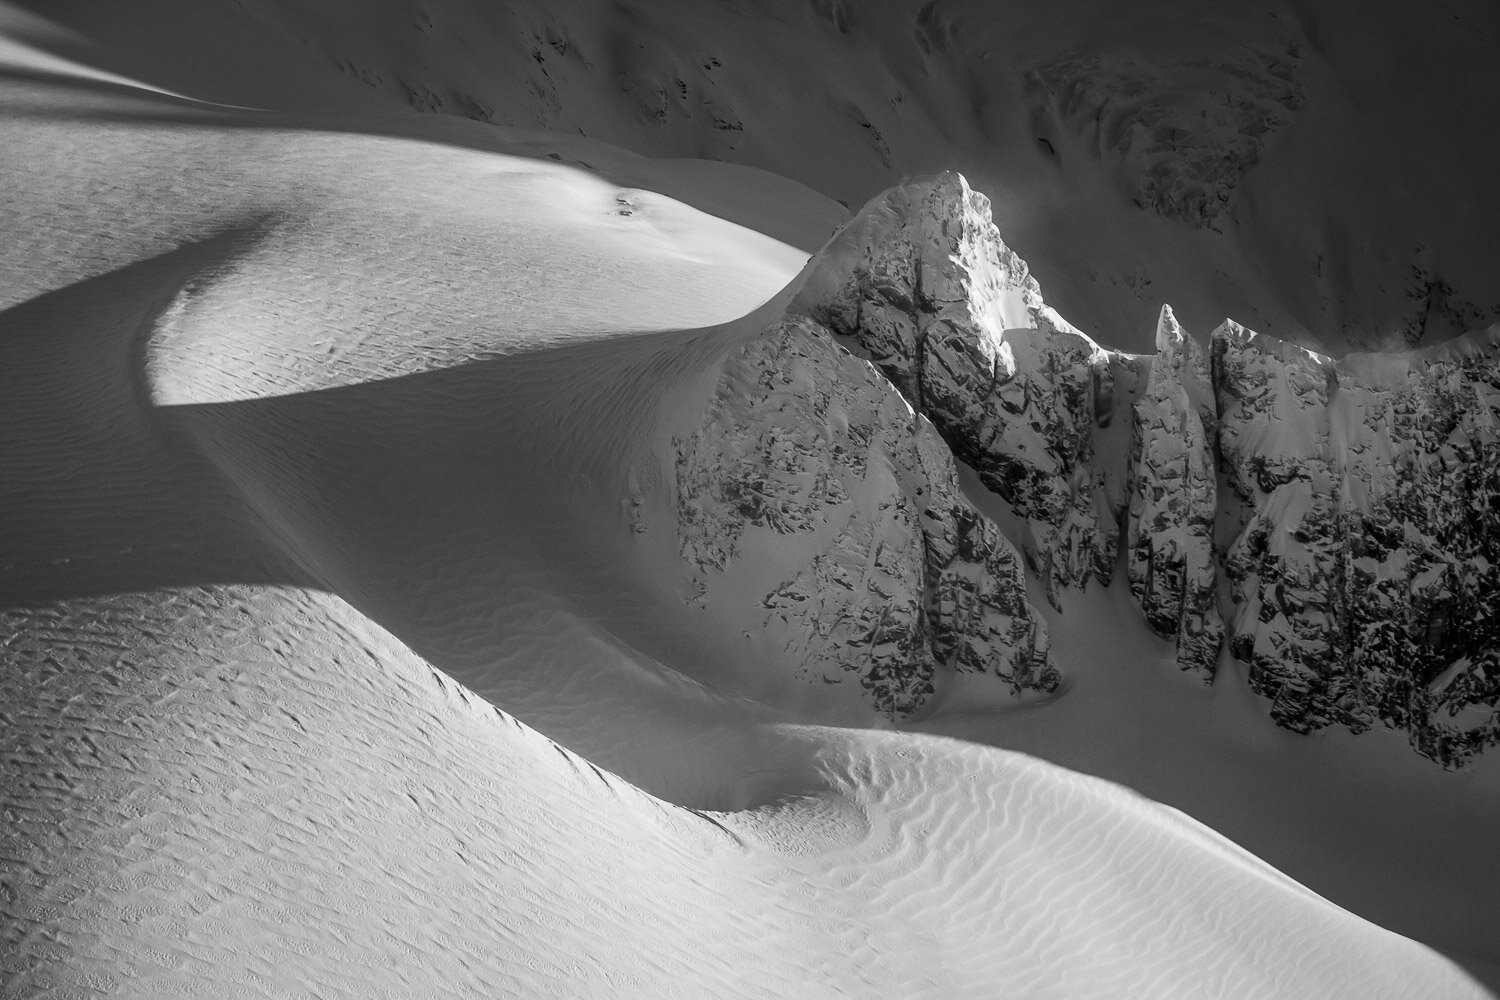
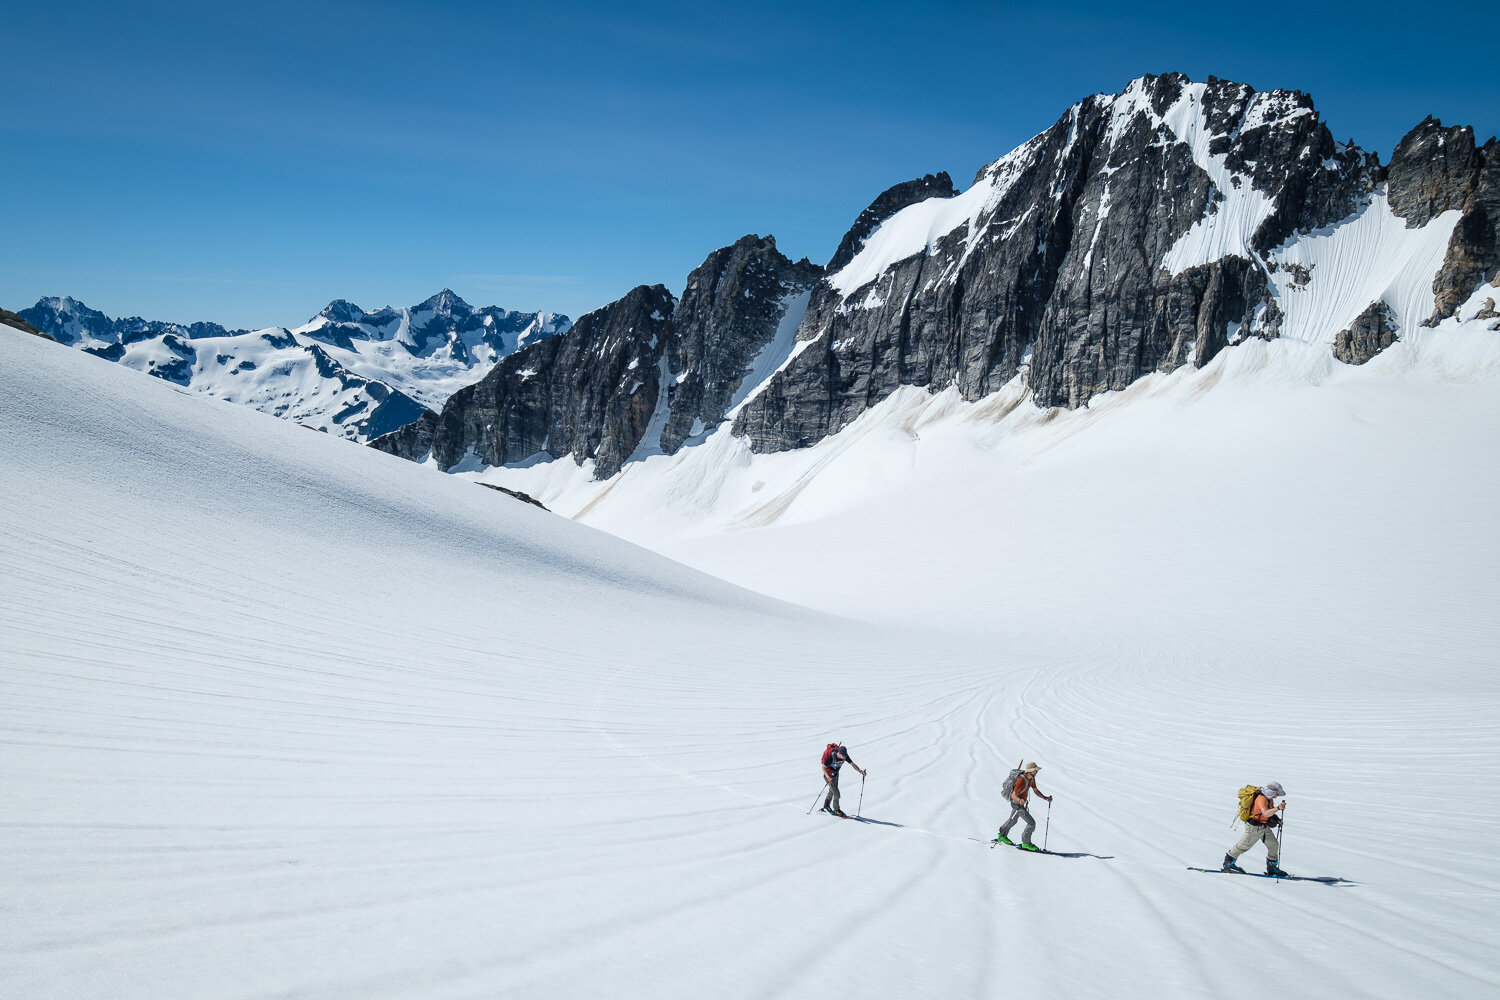
We left camp at 7:20 and booted down heathery ledges and a short bit of snow to avoid some glide cracks, then carefully skied, linking snow ramps to the Columbia Glacier. At 7:45 we put skins on and headed up the somewhat daunting looking route towards the false summit of Kyes, made more daunting by periodic whiteouts blowing in from the fogbank over Blanca Lake.
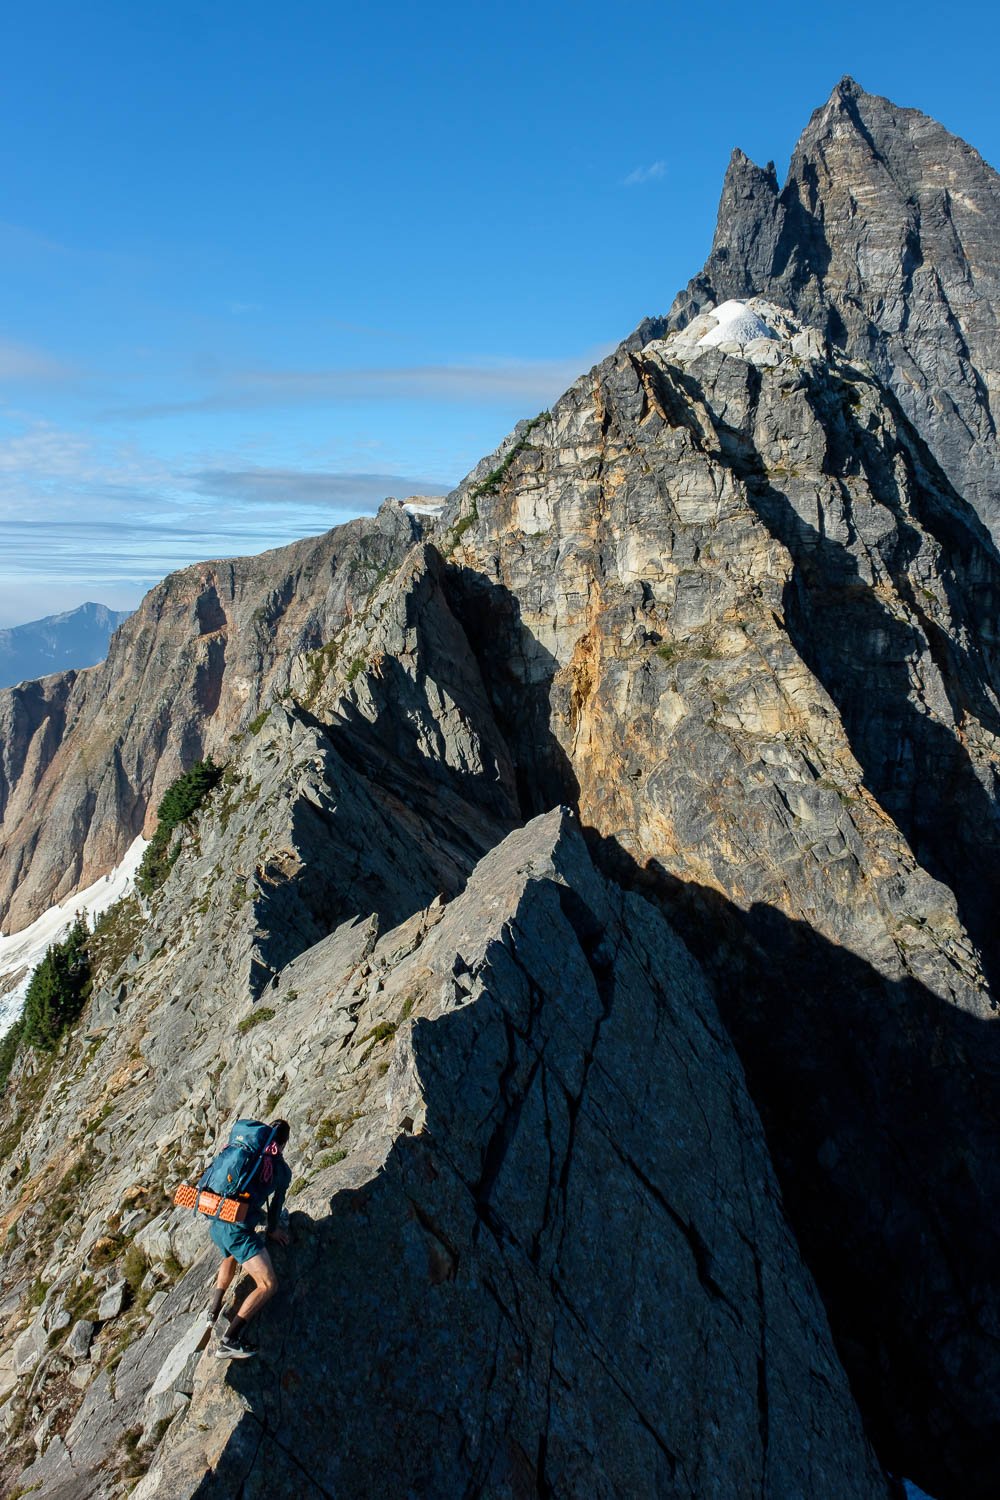
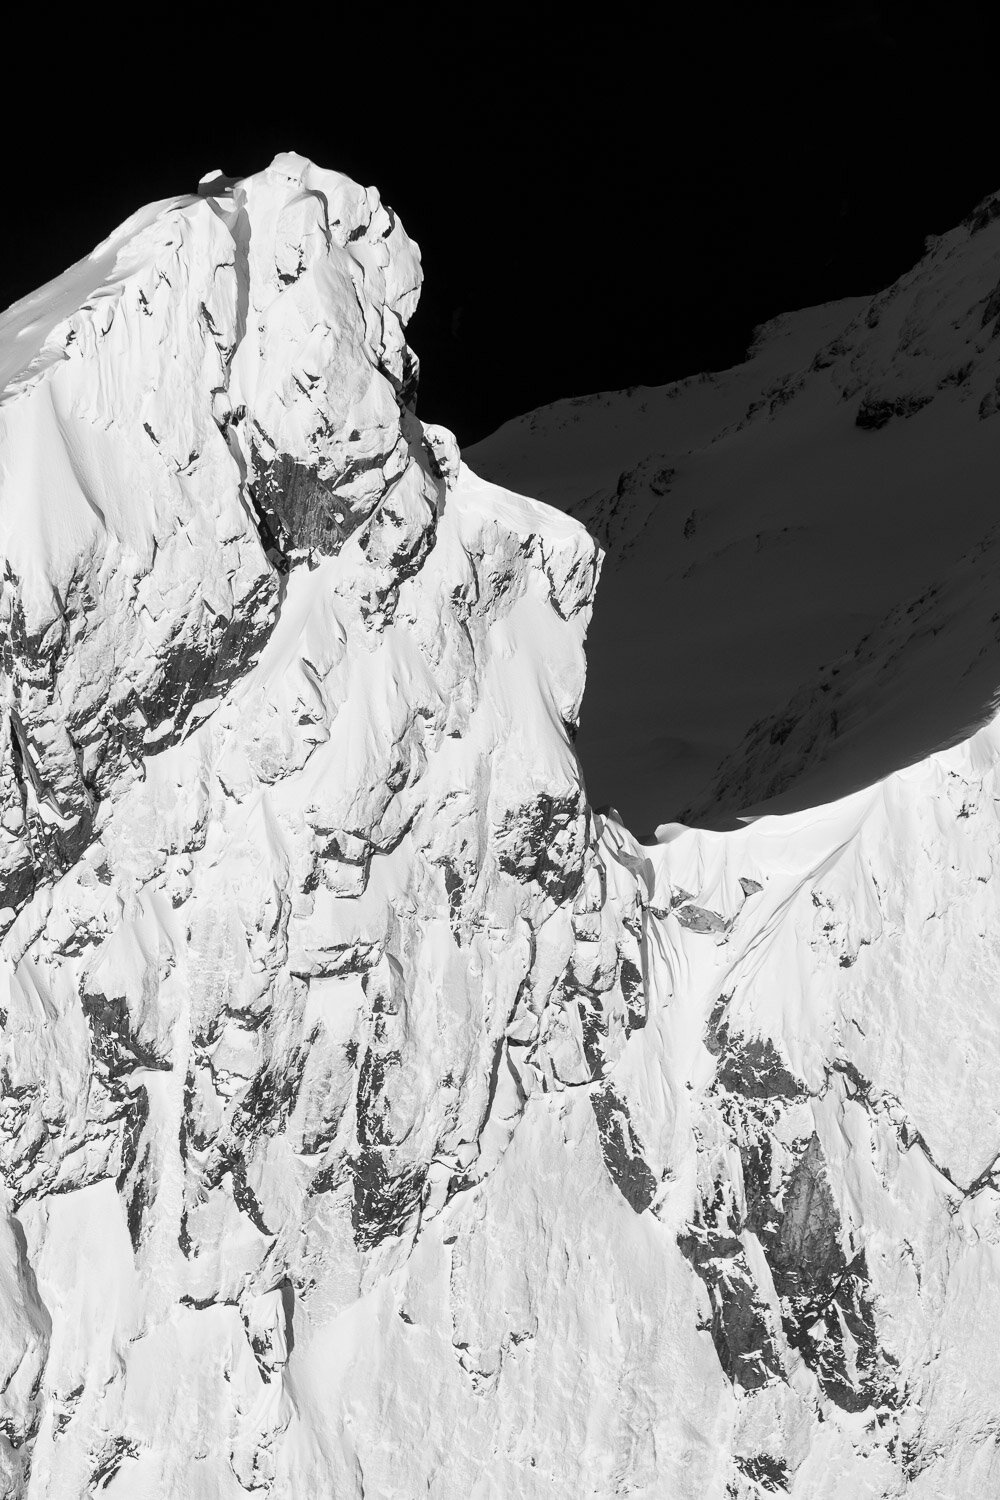
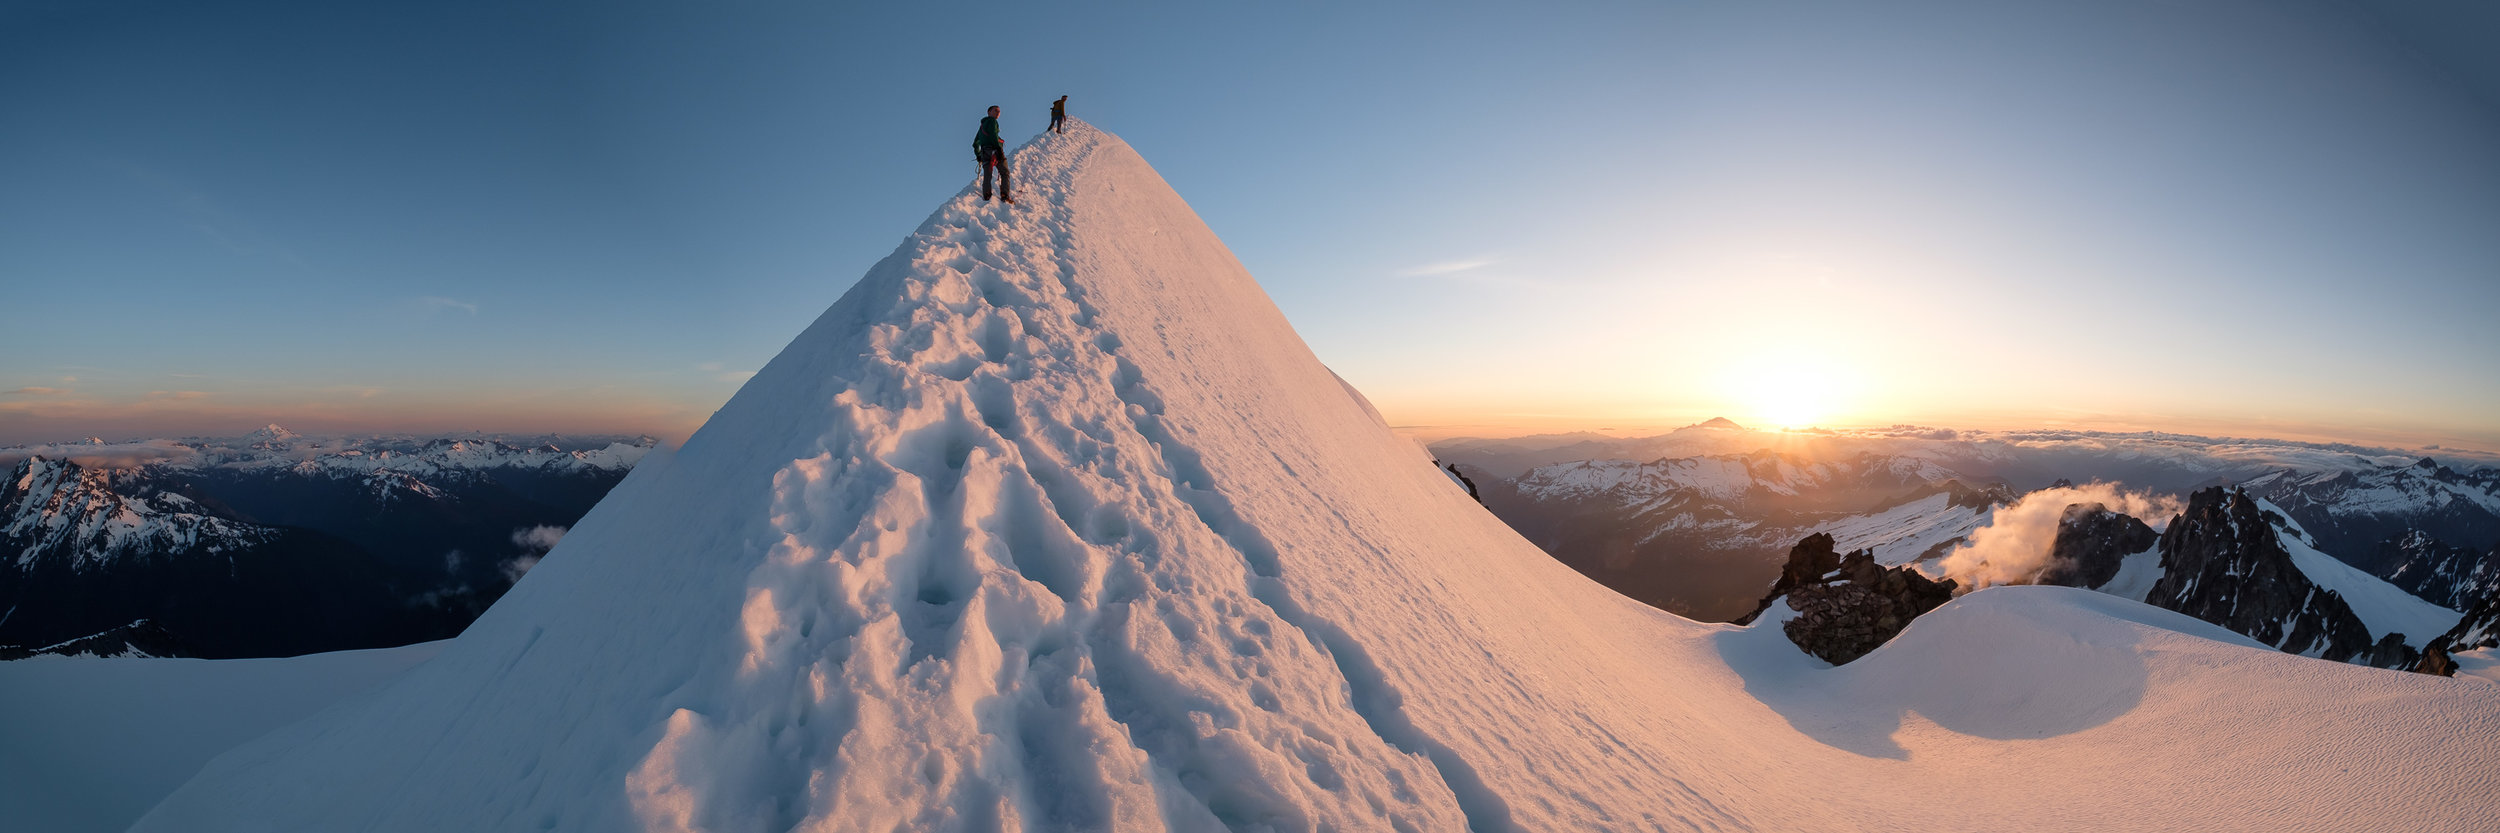
We booted 300 vertical feet of steep snow, crossing a few morainal dirt ribs, then started skinning again once above the melted out waterfalls. From here we made a gently rising traverse to the south to cross the rib coming down from Pt. 7025 at about 5850 feet, which was a bit too high, we should have stayed a bit lower and had to remove skis briefly. Past this we cruised up Pt. 7025's SW slopes to the 6600+ foot saddle a quarter mile south of Pt. 7025, and with a little shenanigans, got onto the snowfield on the far side. From here, easy skinning took us to the base of the summit block in fifteen minutes. It wasn't obvious which scrambling route up to the summit was best, but we opted to stay climbers' left, close to the ridge. 100 feet of easy Class 2 scrambling brought us to the summit at 9:25 - All in all, the route was easier than it looked from below, and we didn't use ice axes or crampons (which we didn't bring). The summit was fun and exposed, however it was pretty overcast which reduced views. Per the summit register, we were the first party on top since September.
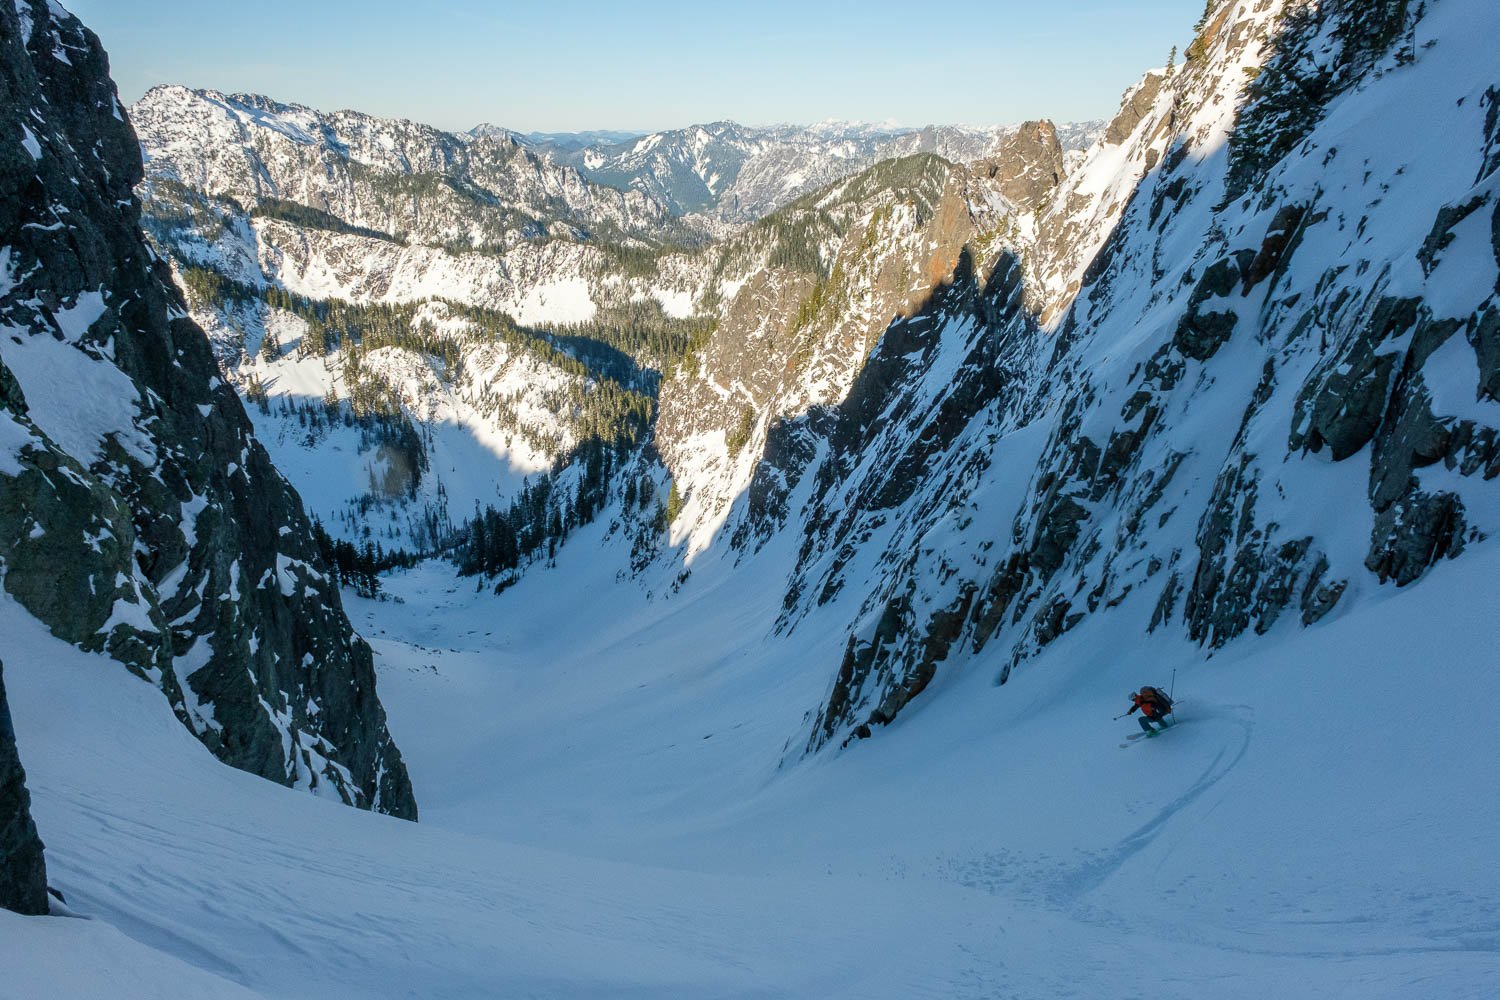
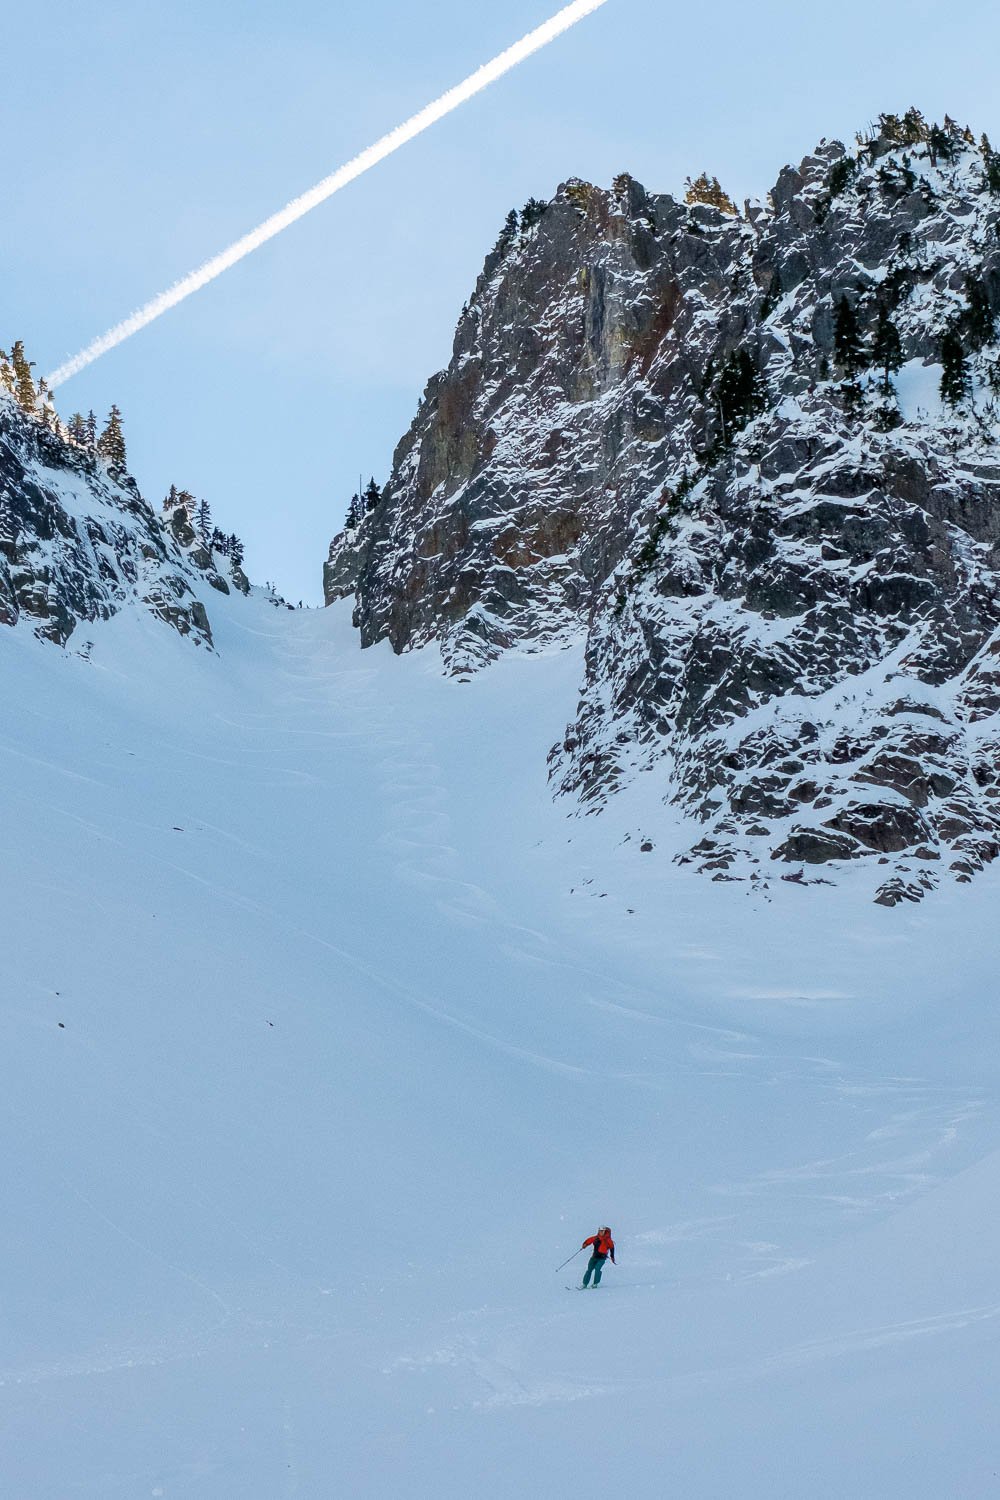
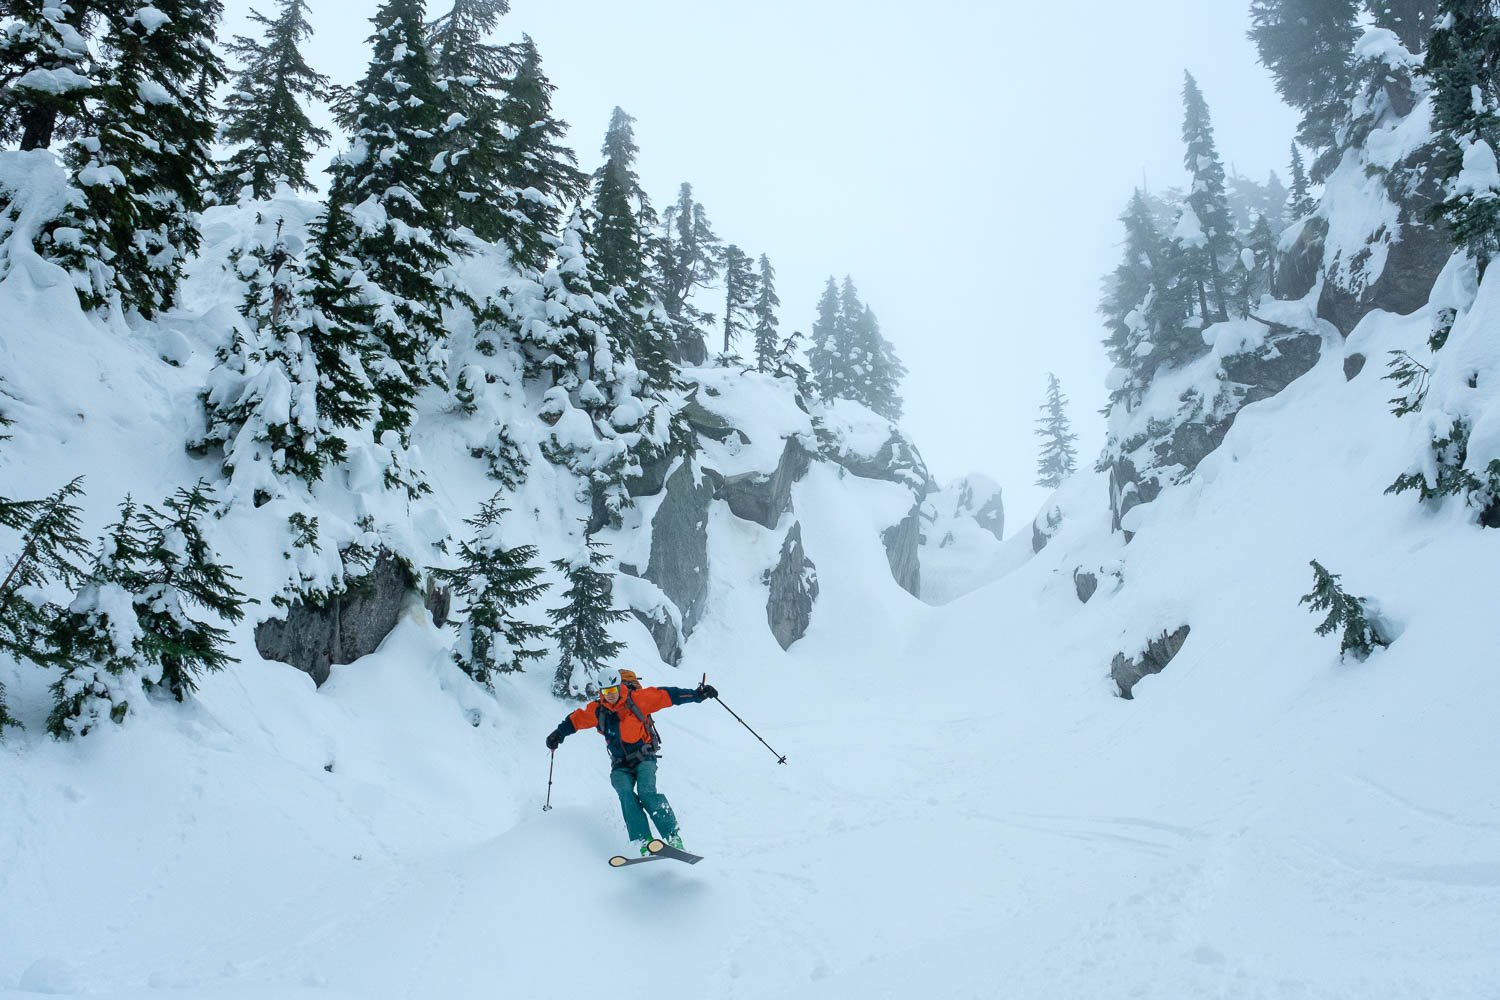
The weather seemed to be coming in, so we scampered down at 9:40. Once back at our skis, we opted for a slightly sportier line, staying skier's right of our uptrack and bypassing the 6600+ foot saddle by way of a fun couloir closer to the summit of Pt. 7025. Below this, we crossed the ridge dropping from Pt. 7025 higher than we did on the way up, at 6400 feet. We enjoyed fun skiing which was unfortunately in a whiteout down and across the morainal rib and down to the glacier, a bit disorienting. We put skins on and followed our tracks back up towards the pass at 10:20. Fortunately the clouds broke enough for us to ski and boot our route back to camp without trouble, arriving at camp at 10:45.
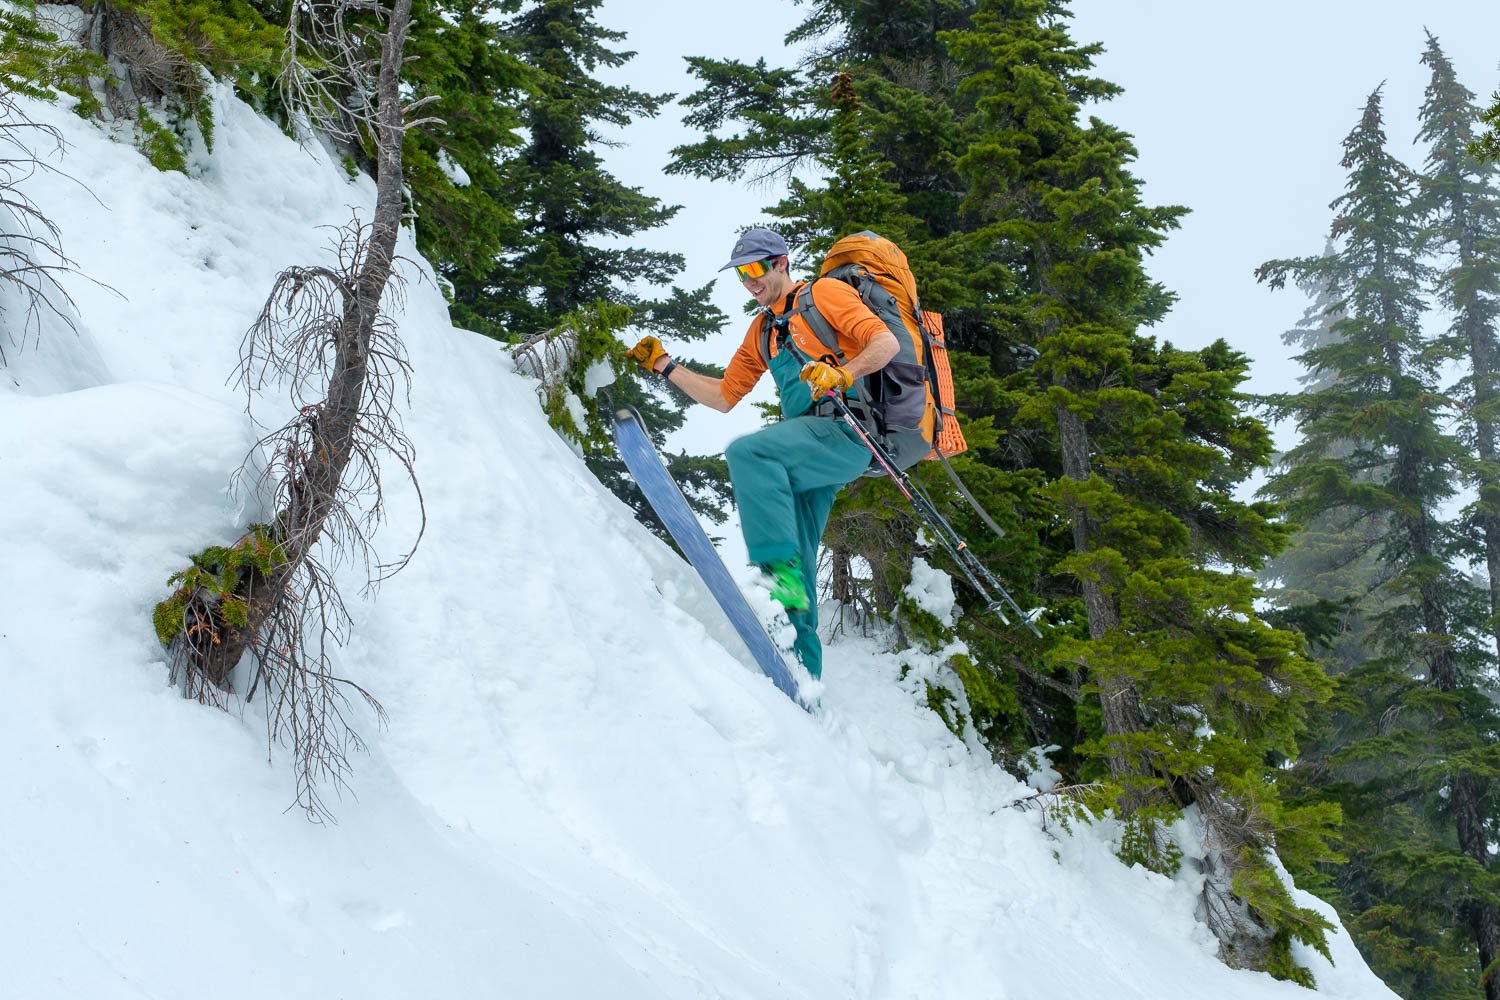
We left camp at 11:15 and had fun skiing down to the bottom of Glacier Basin, where we saw some fresh bear tracks! Then just a small amount of sidstepping and pushing brought us back to our trail runners at 5200 feet at 11:35. Strapped on the skis and headed down the trail at 11:45 and into town at 12:30. We biked out of town at 12:45 and had a lovely ride, punctuated only by the bummer of a friendly passerby telling us my car had been broken into. Bummer. Back to car 13:20.