I’ve thoroughly enjoyed my DaYi 617 for the 6+ months I’ve had it. I love composing in the panoramic aspect ratio, and I love the enormous negatives it produces. However, it has its drawbacks - it’s big, heavy, and essentially impossible to handhold. The past few months I’ve found myself daydreaming after a similar camera, but one that I could actually take with me on a regular basis.
Naturally, I, like just about everyone else, found myself hankering after an XPan. However, I don’t have the 2-3 thousand dollars lying around to drop on such an object of beauty. I had also been toying with the notion of building a camera myself, so these to ideas seemed like a great new project, now that the weather here in Seattle isn’t quite as conducive to outdoor activities.
I decided upon the following specification: I wanted the camera to expose 35mm film at a 3:1 aspect ratio, producing 24x72mm negatives, more than twice as wide as a standard 35mm negative. I also wanted the camera to expose the sprocket holes, which, if don't crop them off, give me that extra hip aesthetic. I purchased a 65mm large format lens from eBay, which has a leaf shutter and aperture built in, meaning that I only needed to construct the body of the camera to hold the lens at the appropriate distance (with adjustments for focus) and to move the film across some sort of pressure plate to keep the film as flat as possible.
The very first version of the camera, cobbled together late at night out of foam-core.
After disassembling a $1.99 35mm point and shoot from Goodwill, I started out by cutting foam-core posterboard with an xacto knife to get a feel for dimensions, then switched over to a CAD application (with guidance from Adam) where I designed a first prototype, laser-cutting the parts out of 1/8 inch plywood. I built a takeup reel and rewind knob to interface with the film canister out of some chopped up nylon washers and dowels.
Laser-cut parts for the 3rd version of the camera, dry-fit and ready to be glued and clamped.
I then tweaked the dimensions a bit and built a second prototype, which held the roll of film firmly but not too tight. I felt like it was now time to try out the camera's light-tightness, so I made a very simple pinhole lens, painted the interior matte black, and built a simple light seal around the back with two interlocking pieces of plywood and some black yarn.
I loaded a roll of T-max 400 and taped over the seam of the back plate with masking tape for good measure. Having measured the diameter of the pinhole using my scanner (~600 µm) and distance from hole to film (24mm), I was able to calculate the f-number of the optical system, f/40. I then could get a decent estimate of exposure using the light meter Becca got me for my birthday (thanks Becca!). I knew that the pinhole I had made was larger than the optimal diameter, but the primary goal of this prototype was to evaluate the camera body, and I could worry about sharpness once I'd attached the real lens.
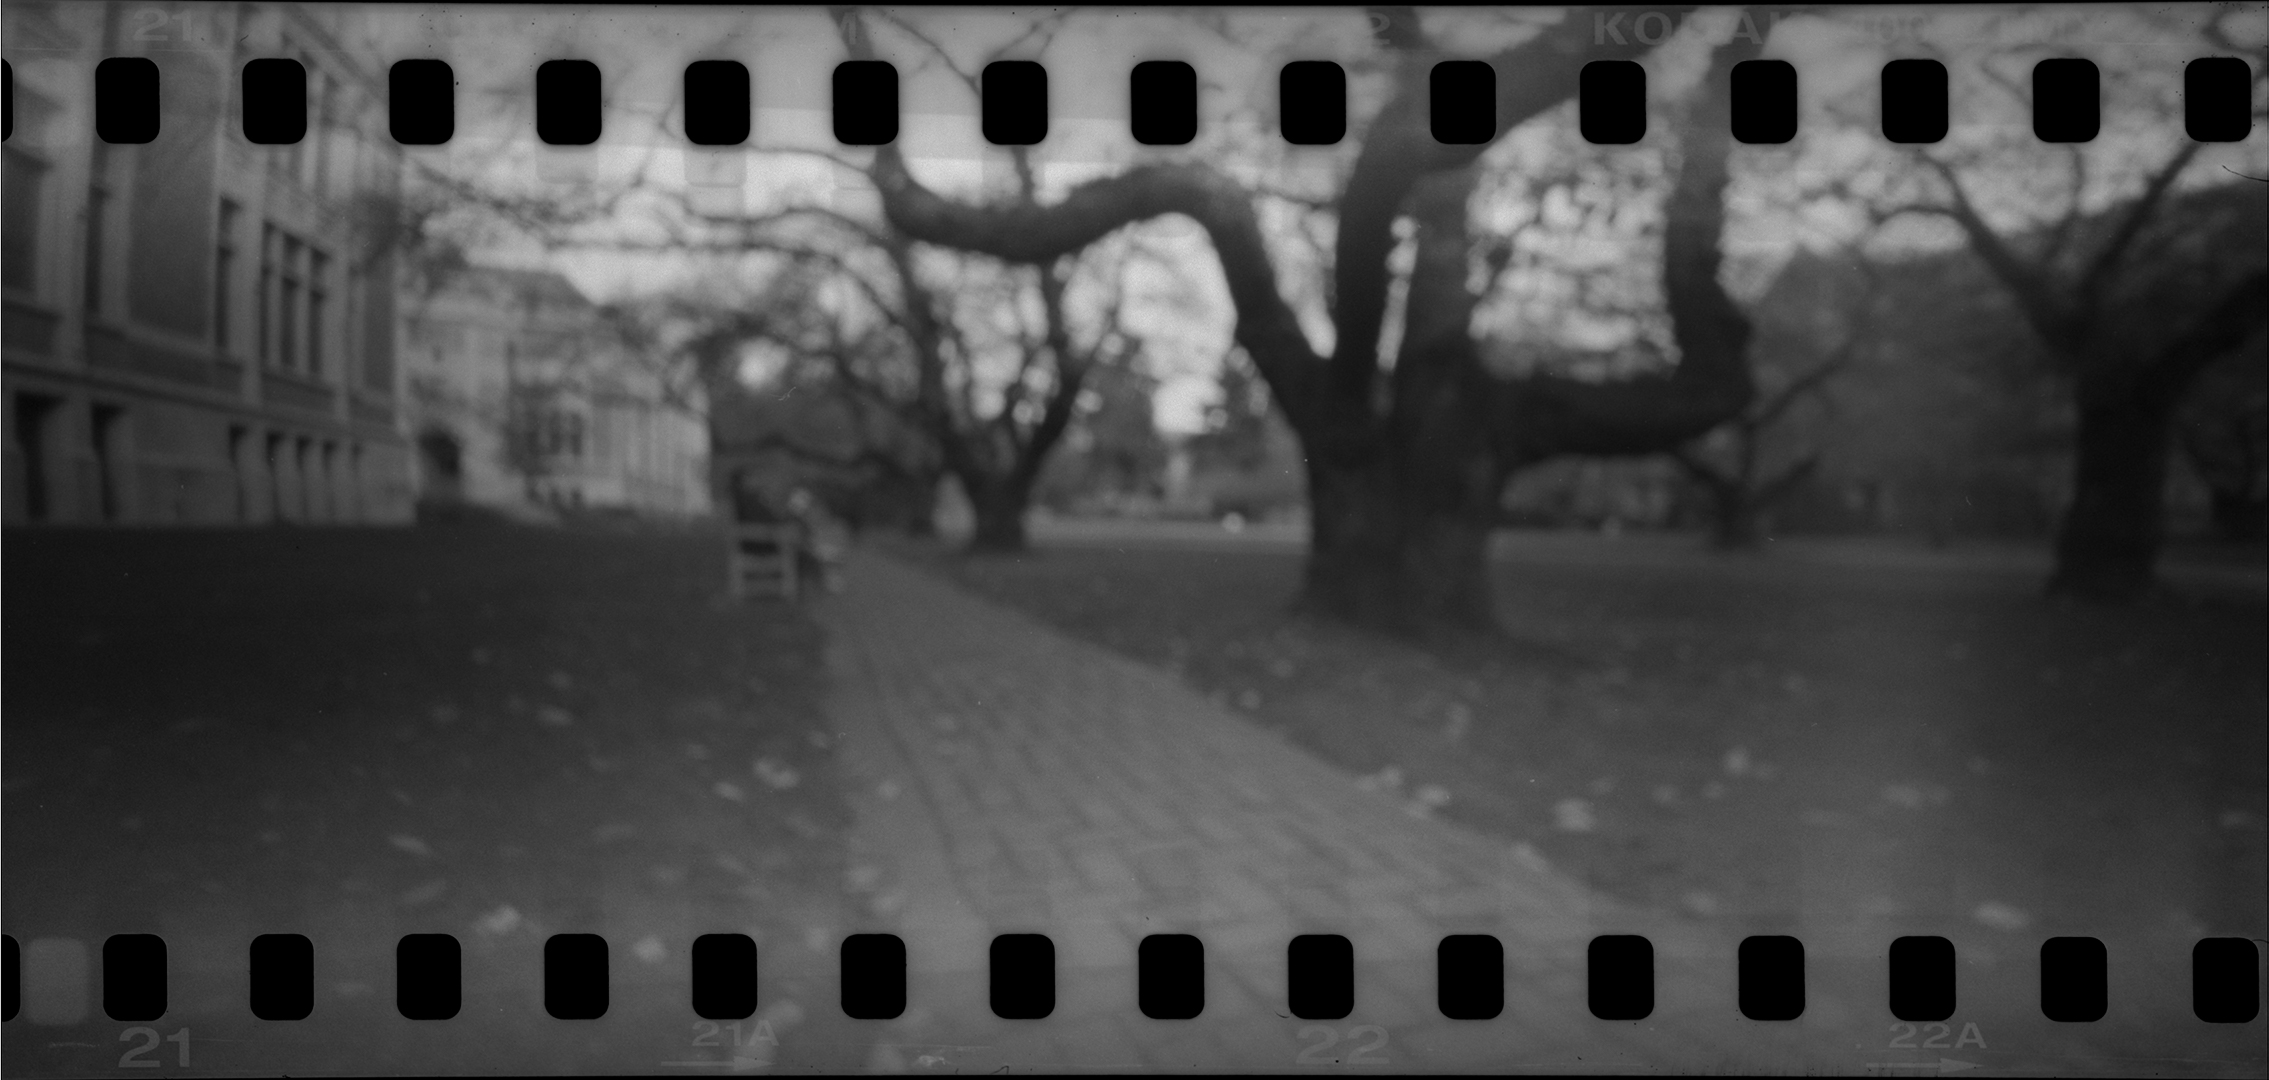
I wandered around UW's campus at lunch time, taking a few photos – I was able to get 9 frames out of a "24 exposure" roll of film, 1 more than I had guessed. I then came home, eager to develop my film and see how things worked!
The first roll of film on my light table. Notice the light leaks and fogging visible between frames.
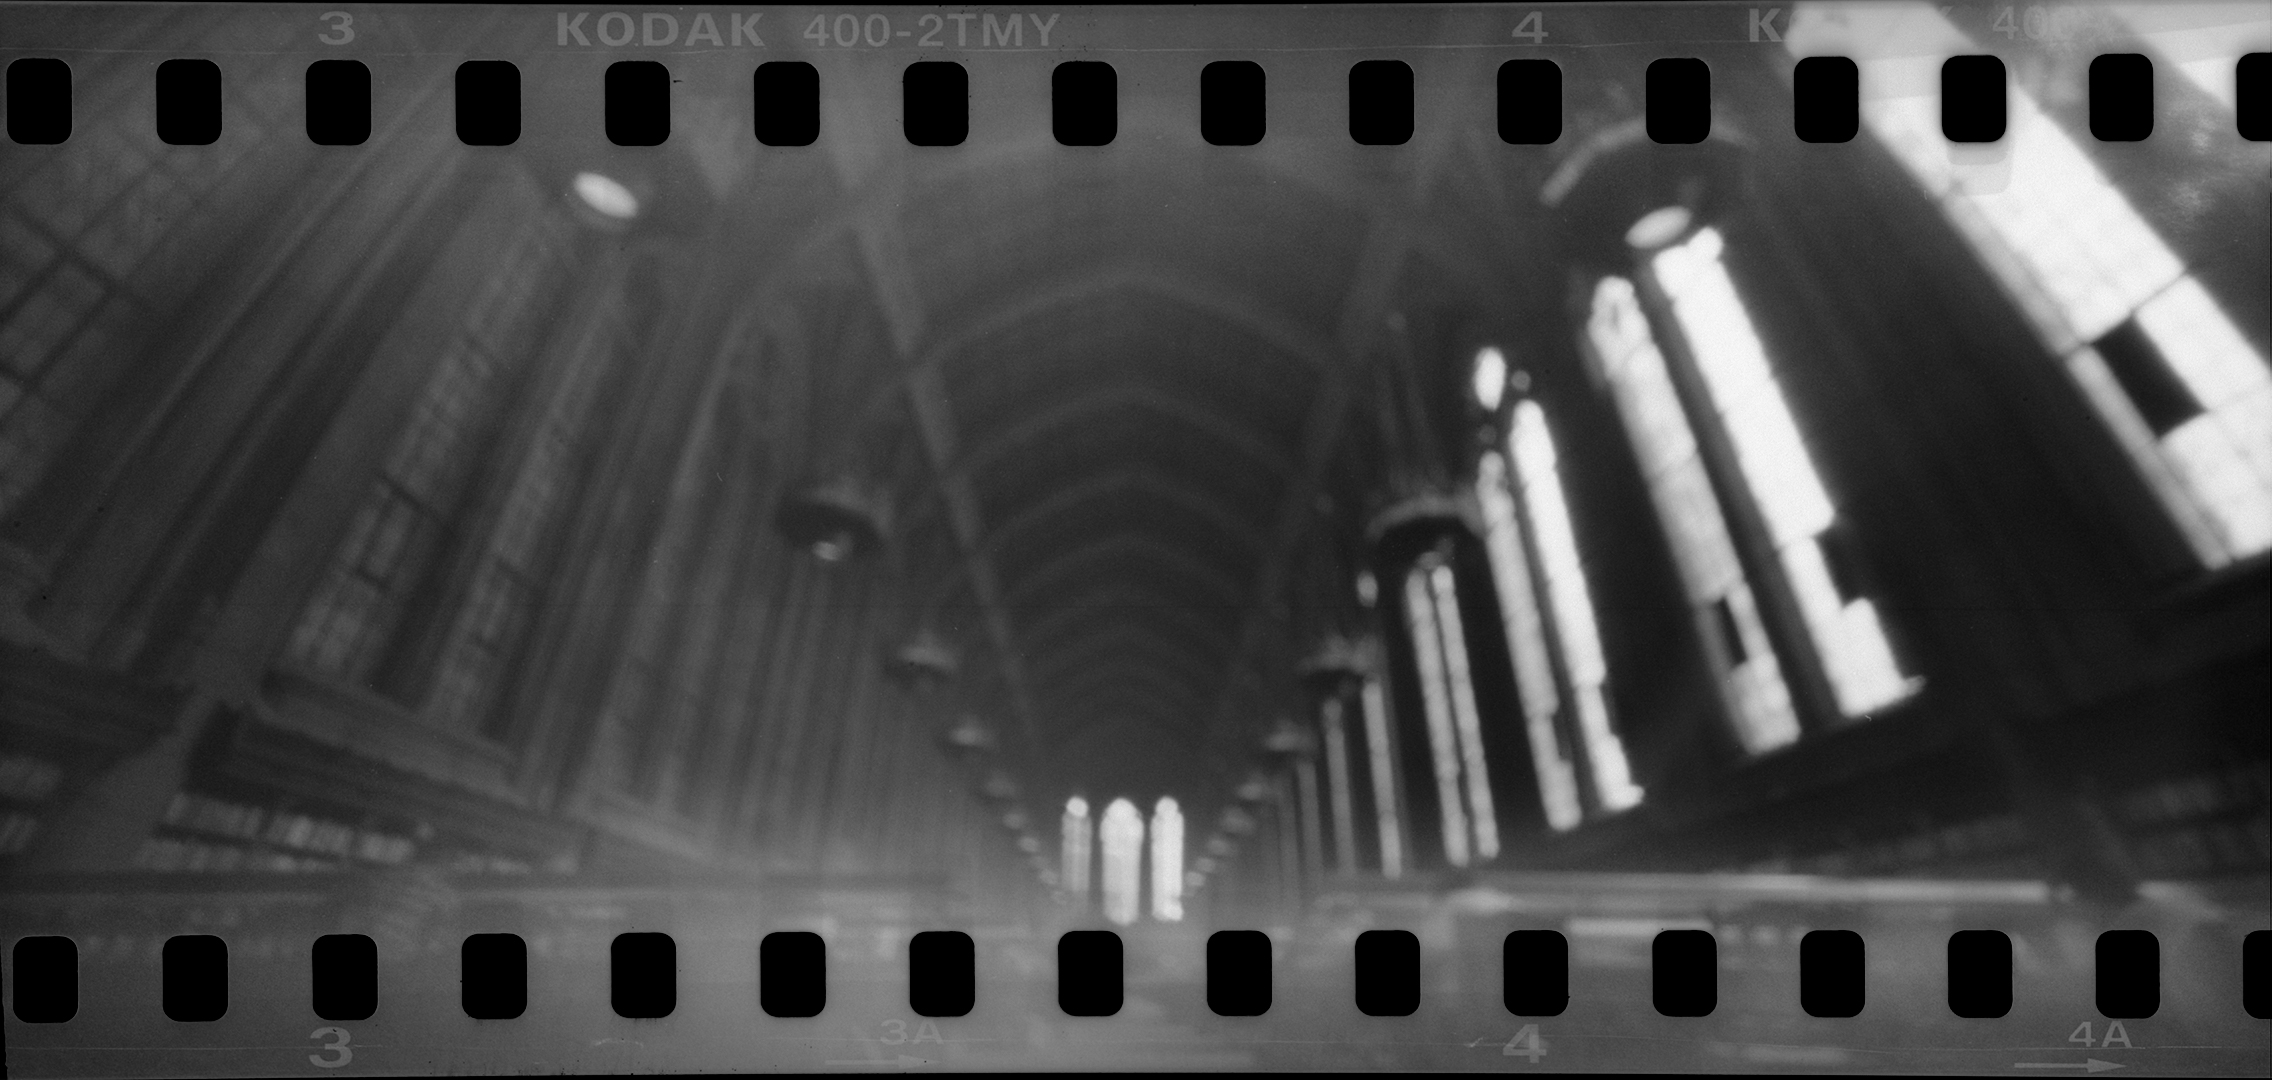
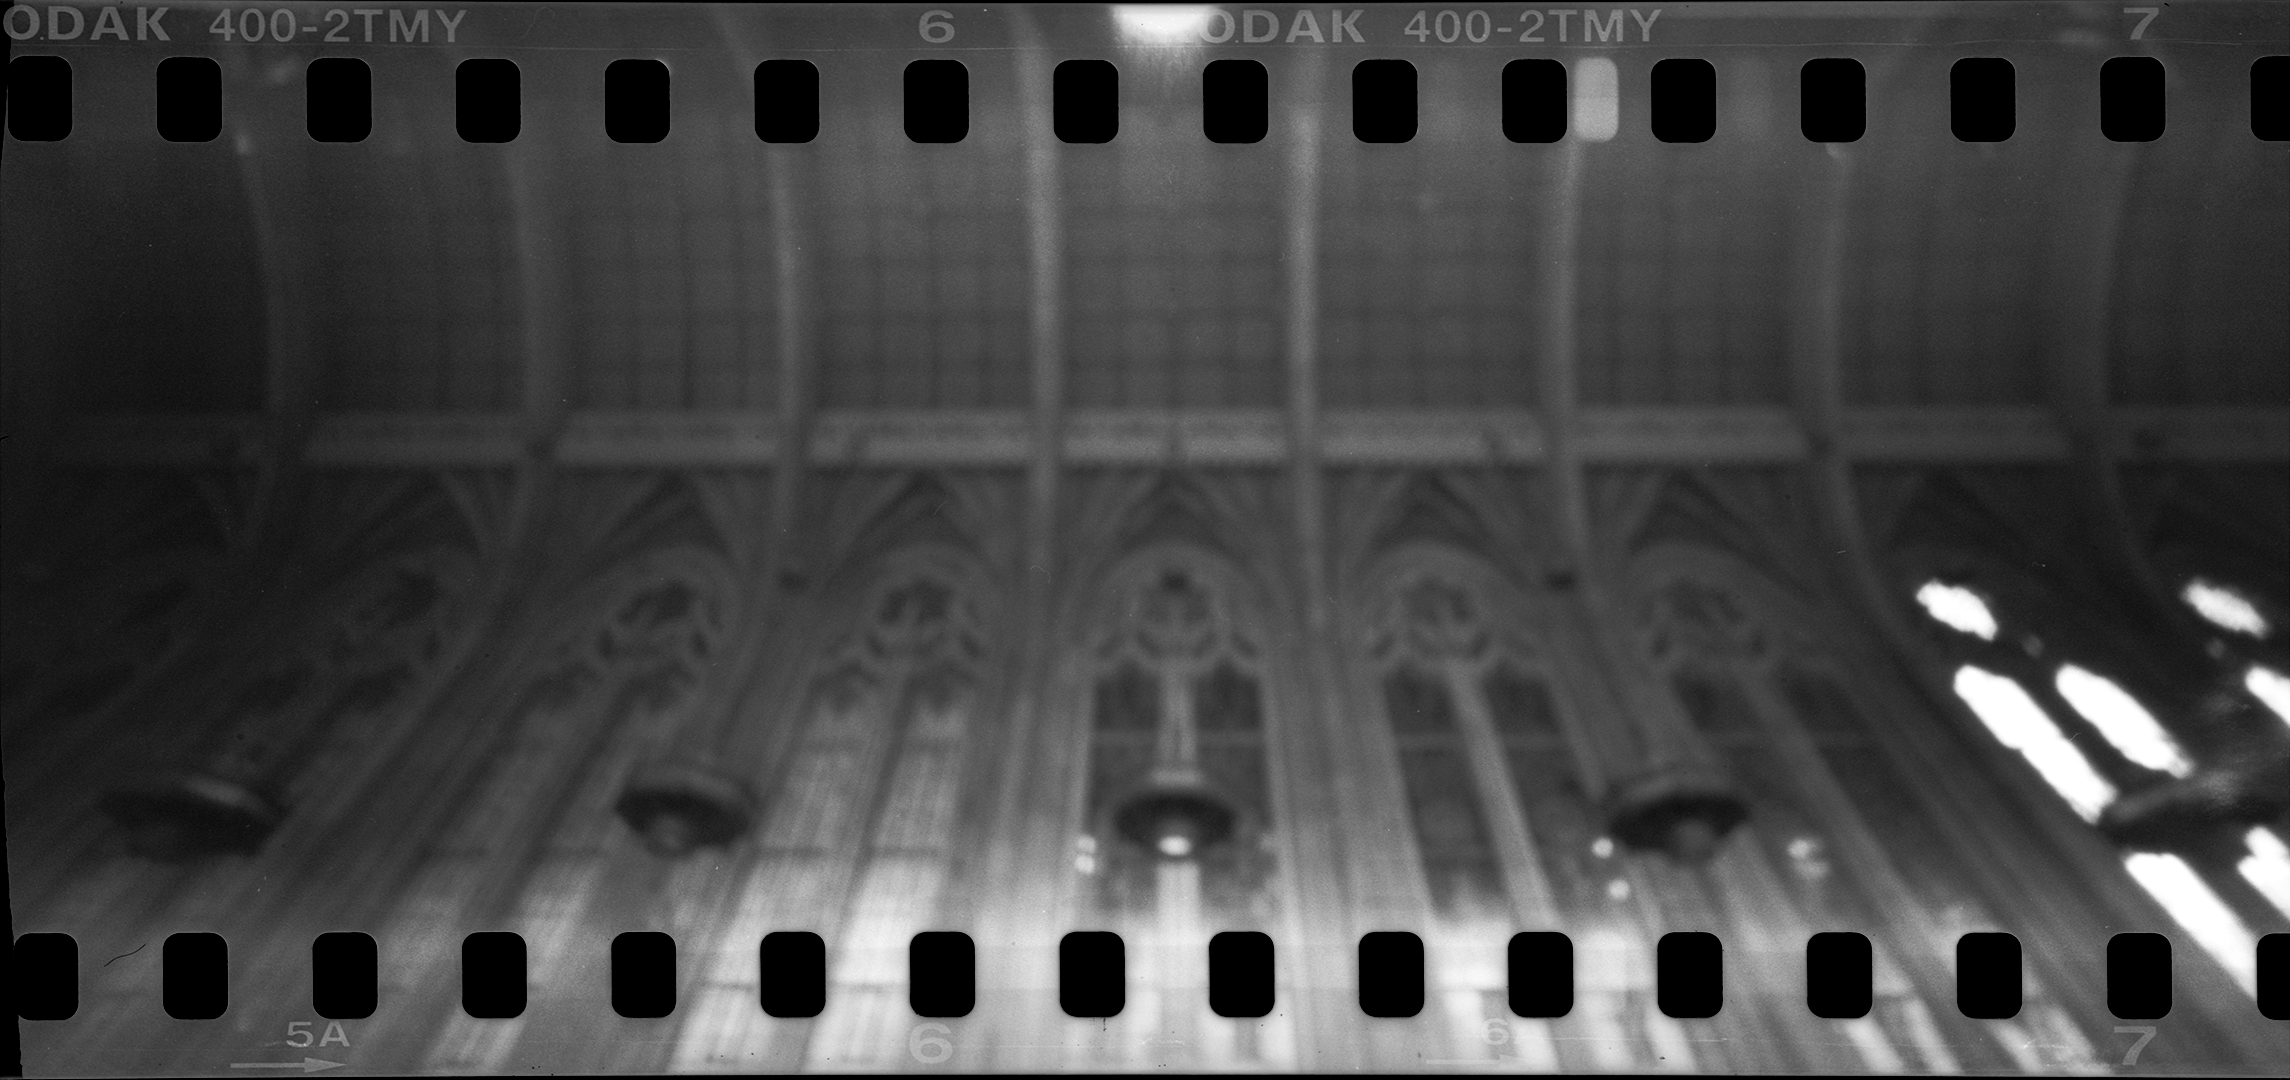
I pulled the roll out of the developing tank and immediately could make out discrete frames, so I knew it wasn't a total failure! As expected, the images were quite soft (appearing out of focus) due to the larger-than-ideal aperture, but they were absolutely recognizable. More unfortunately, there were pretty significant light leaks evident on the film, especially evident as fogging of the film in the areas of the roll that were between the canister and take-up reel when the camera was outside in direct sunlight. Here are a few scans.
All in all, however, I was very pleased with the performance of the first prototype. Today, I designed a new, larger door with a large rim that will fit entirely around the body of the camera, and I will line the seals with black felt and craft foam – hopefully this will take care of the light leaks once and for all. More updates soon!


