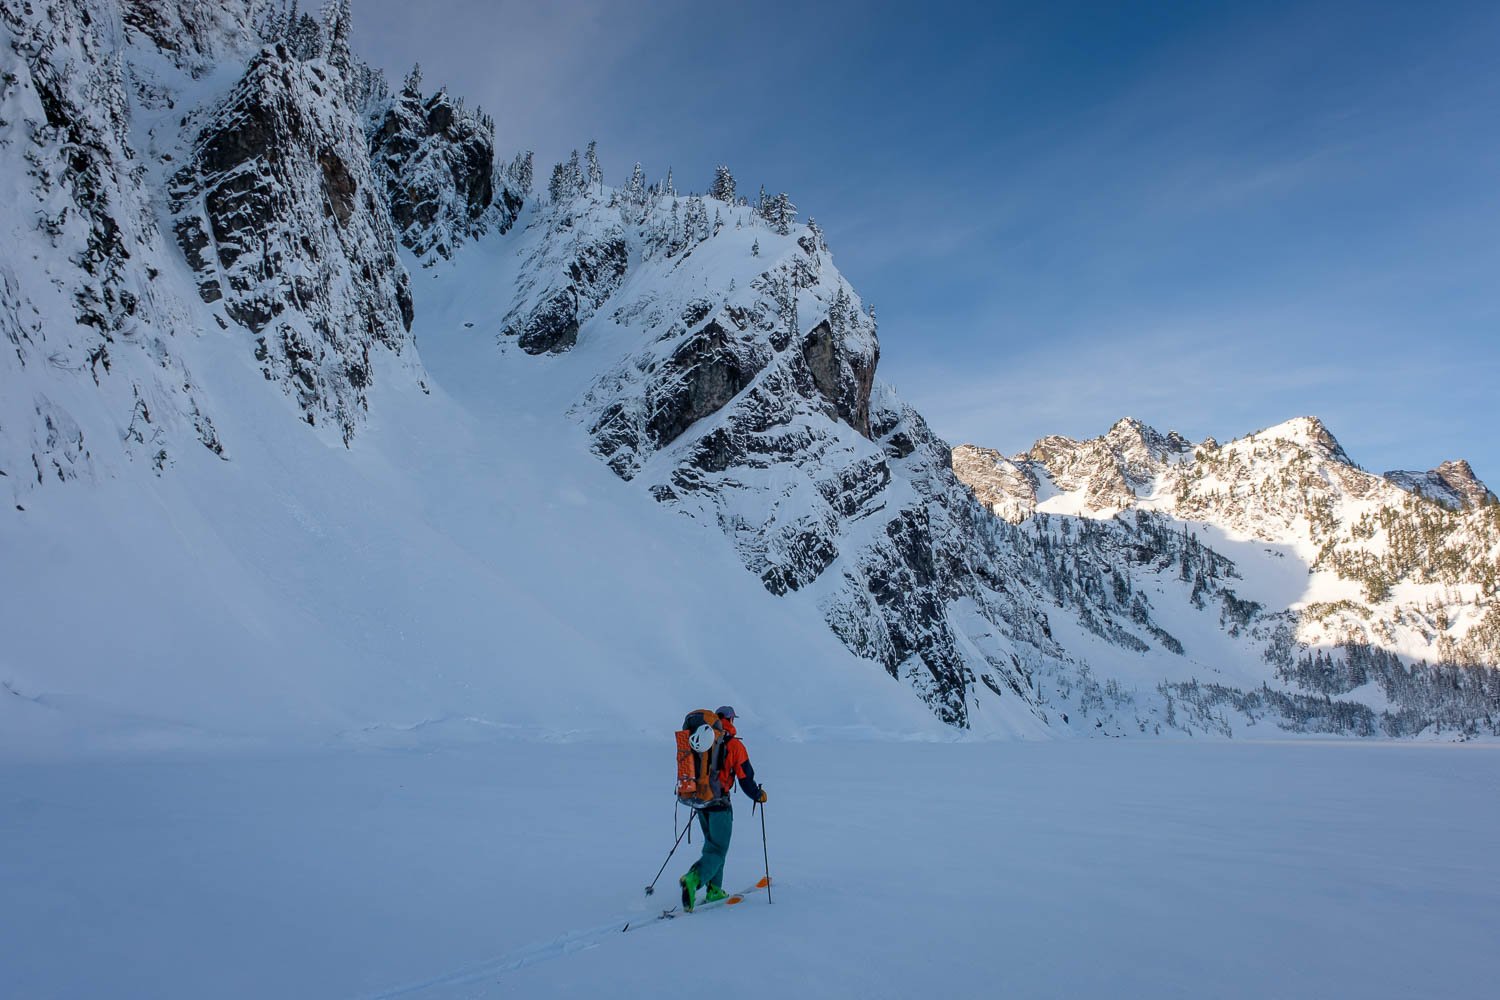
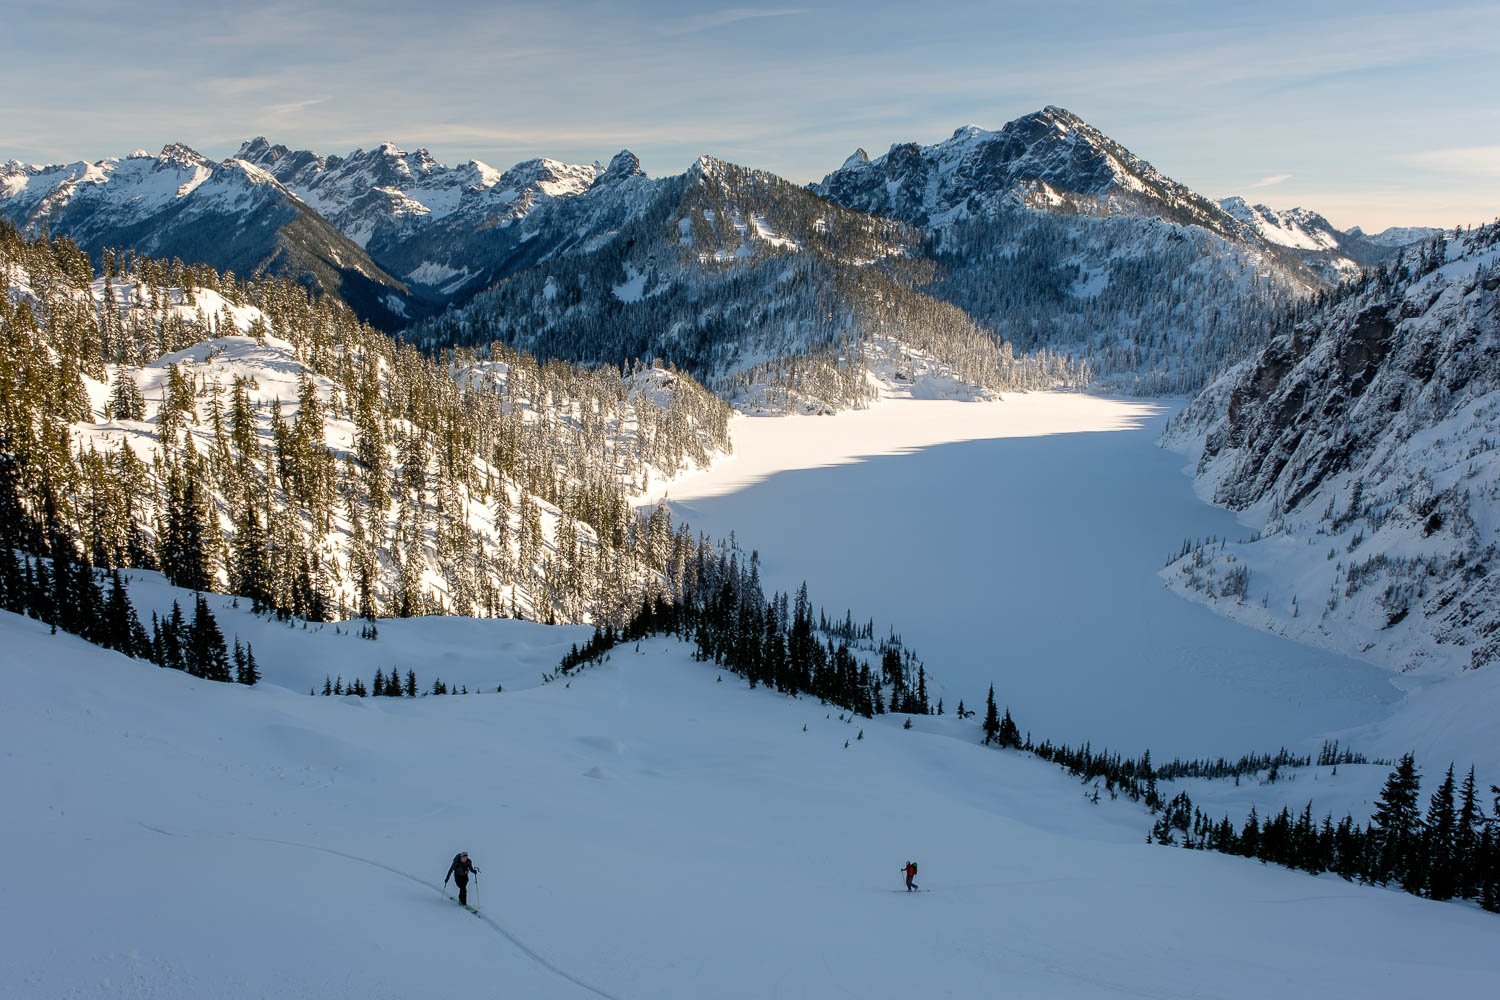
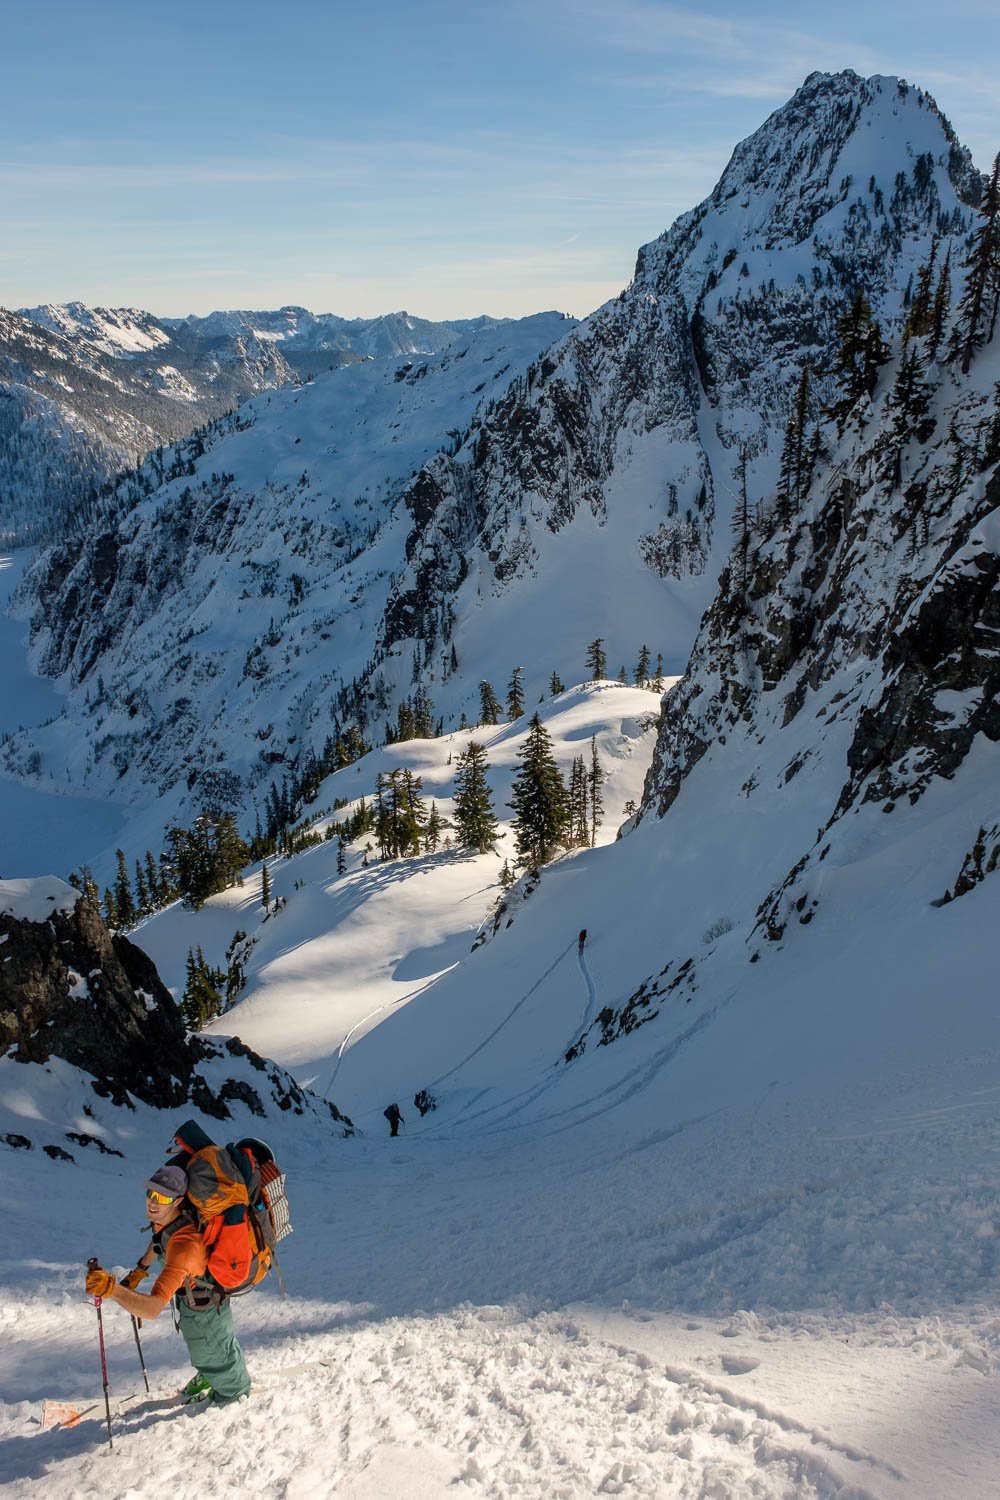
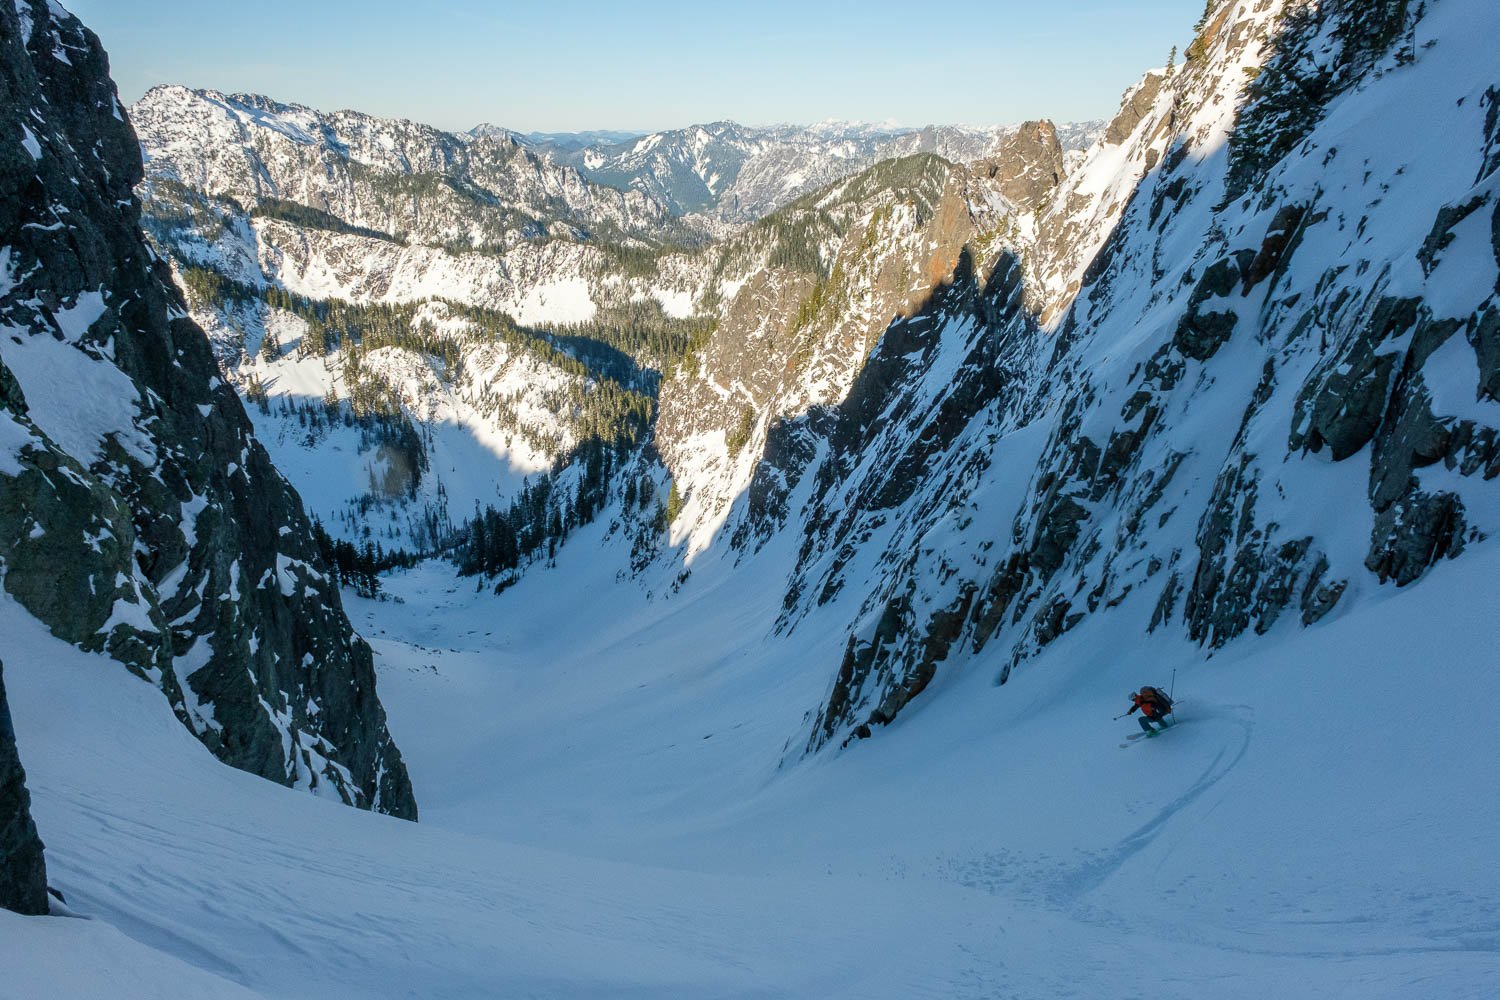
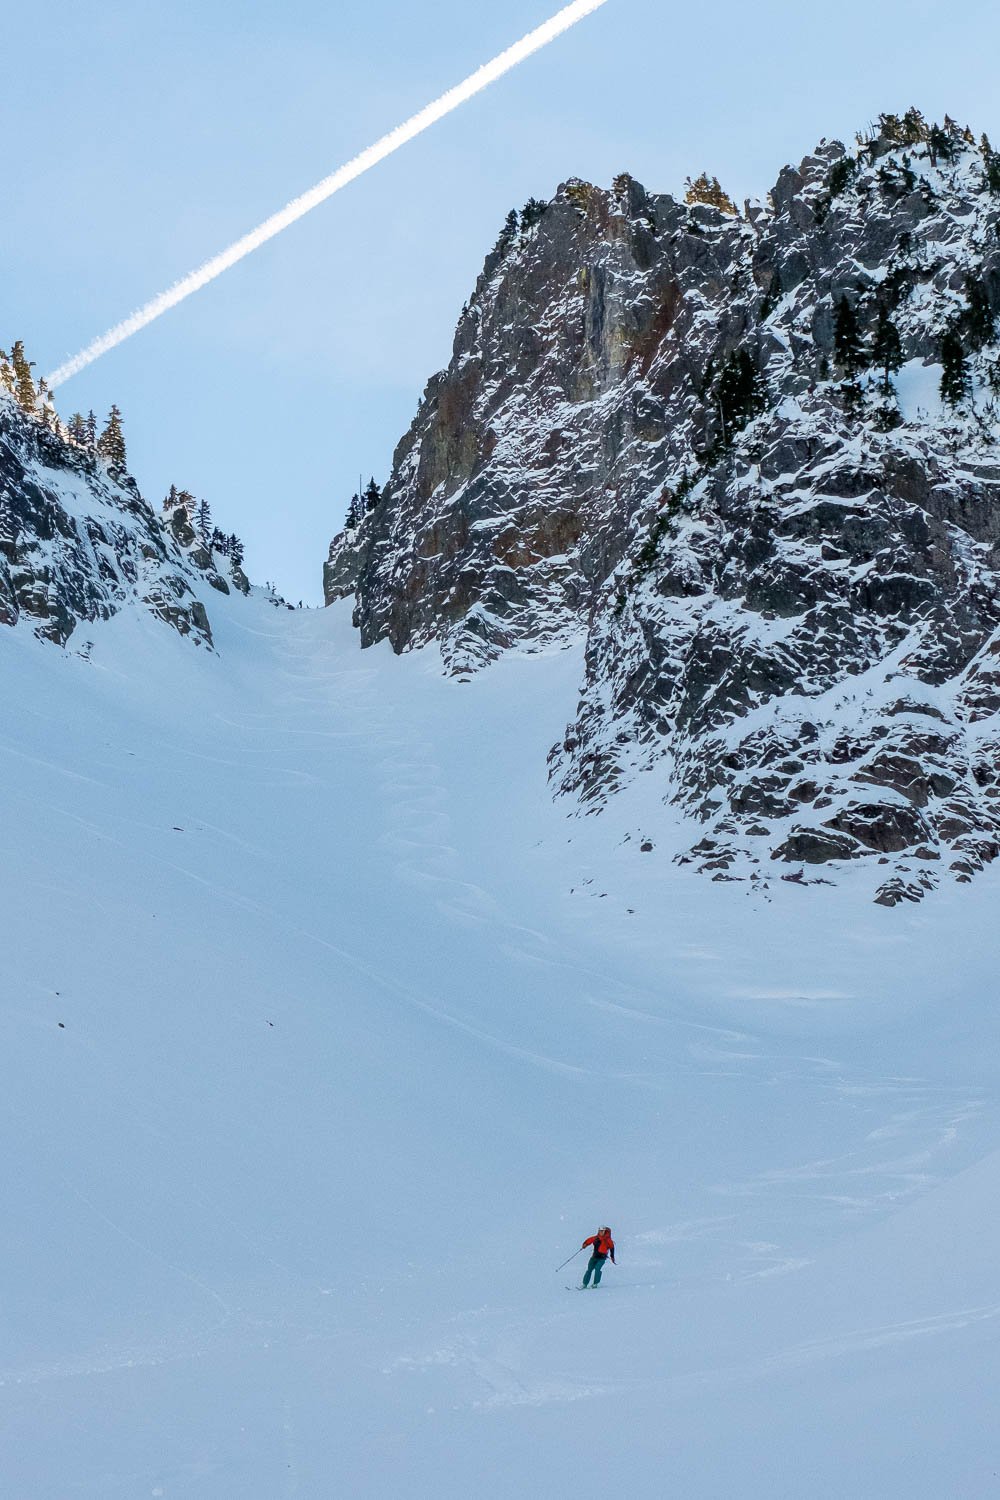
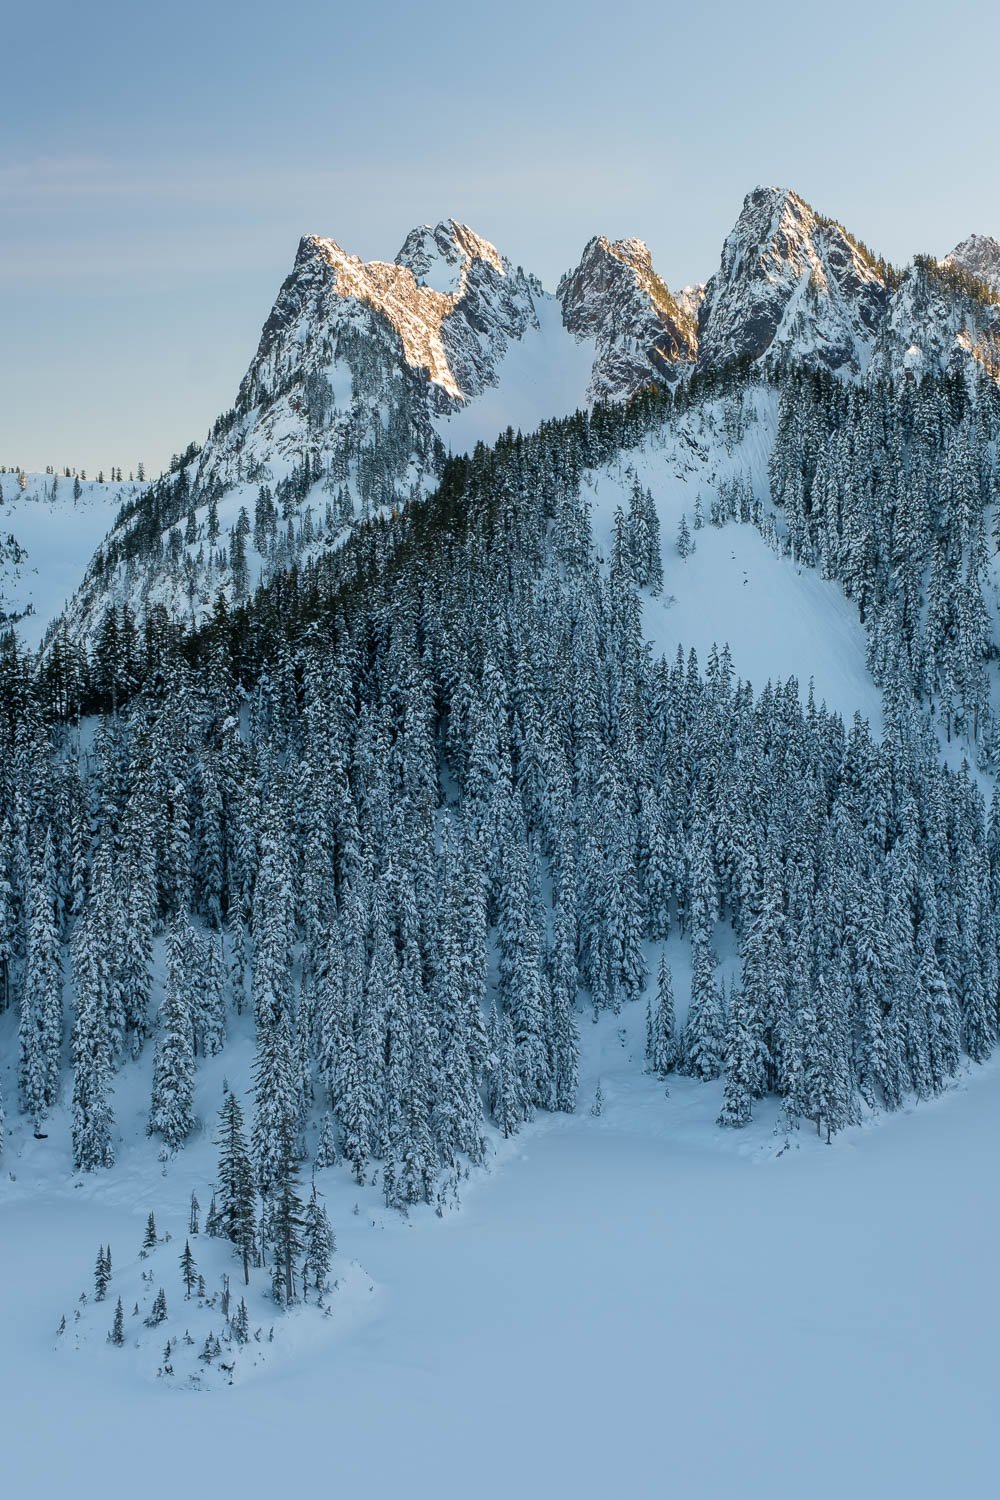
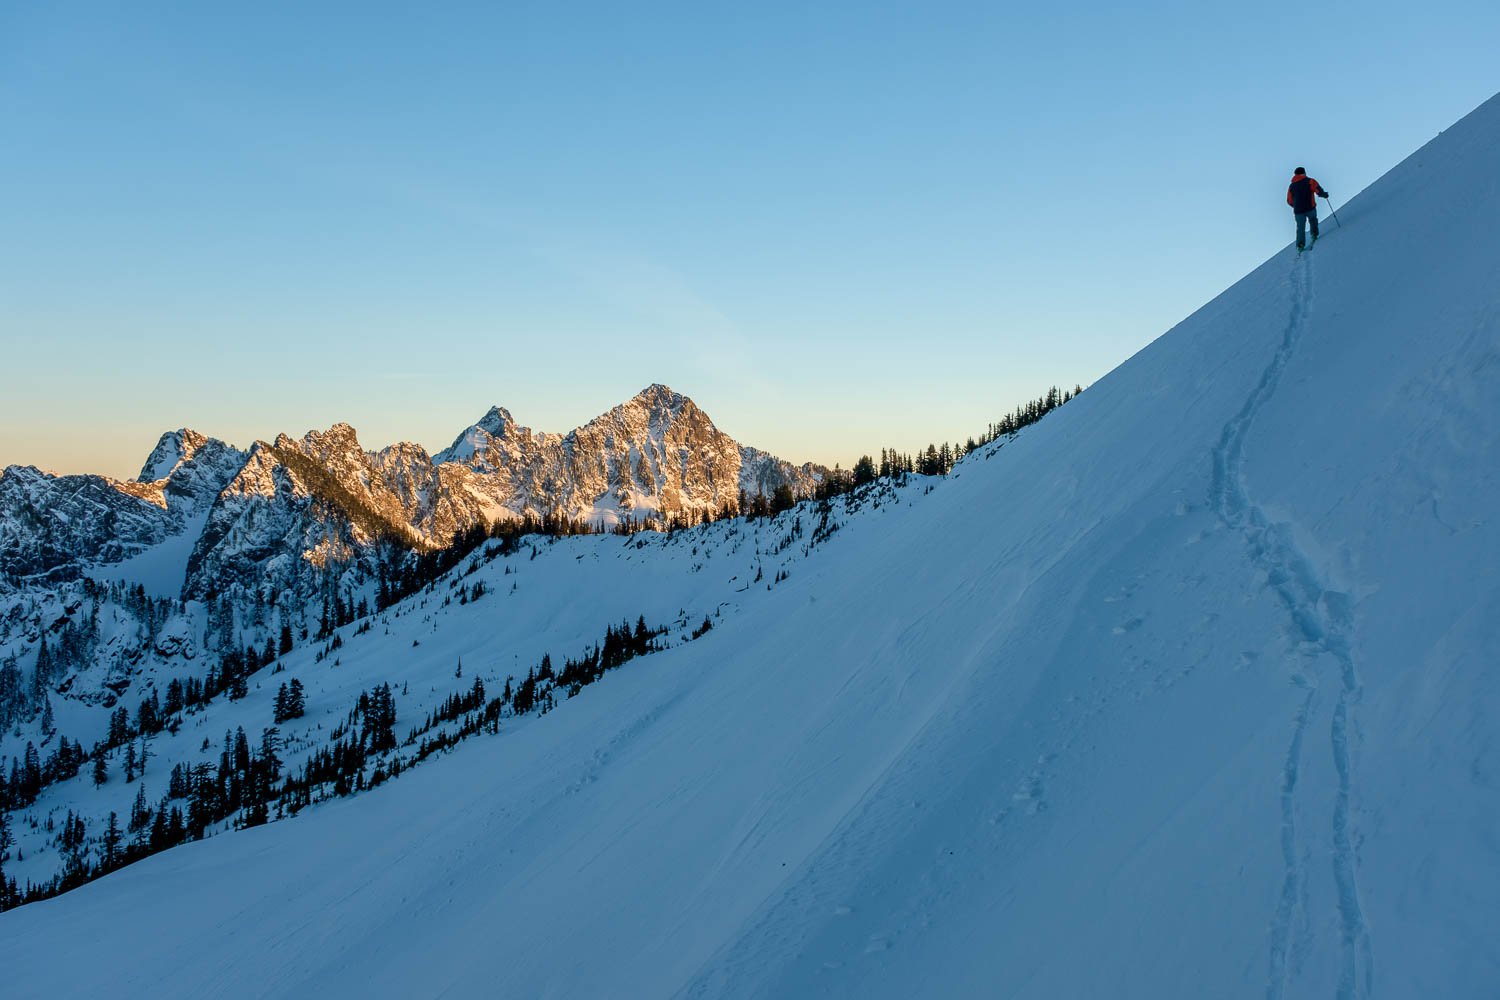
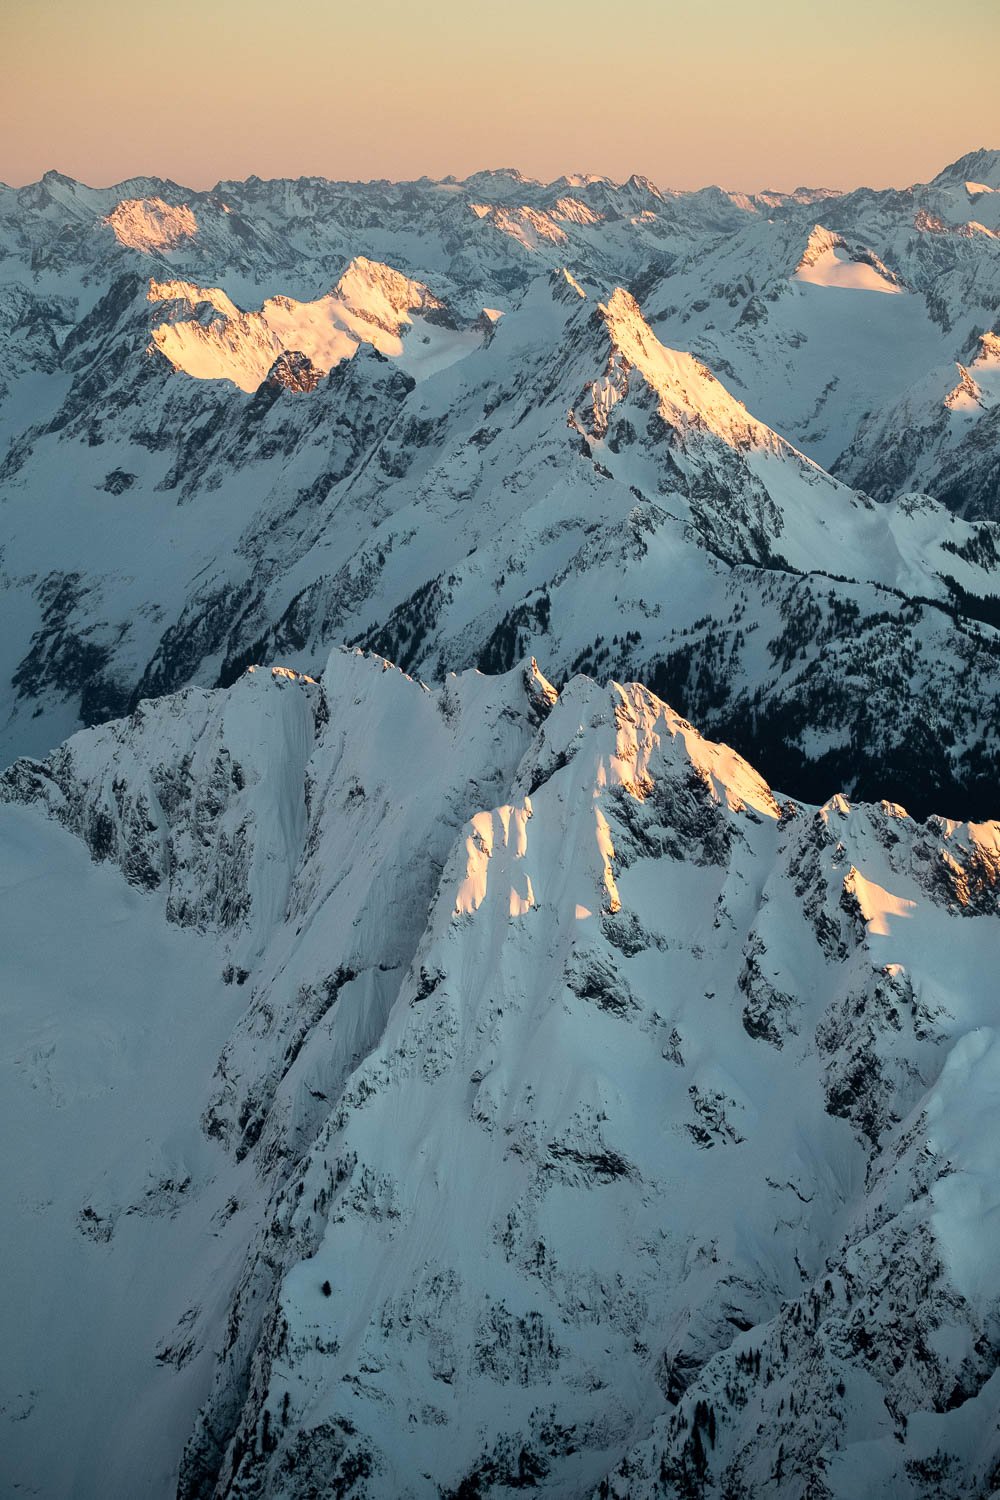
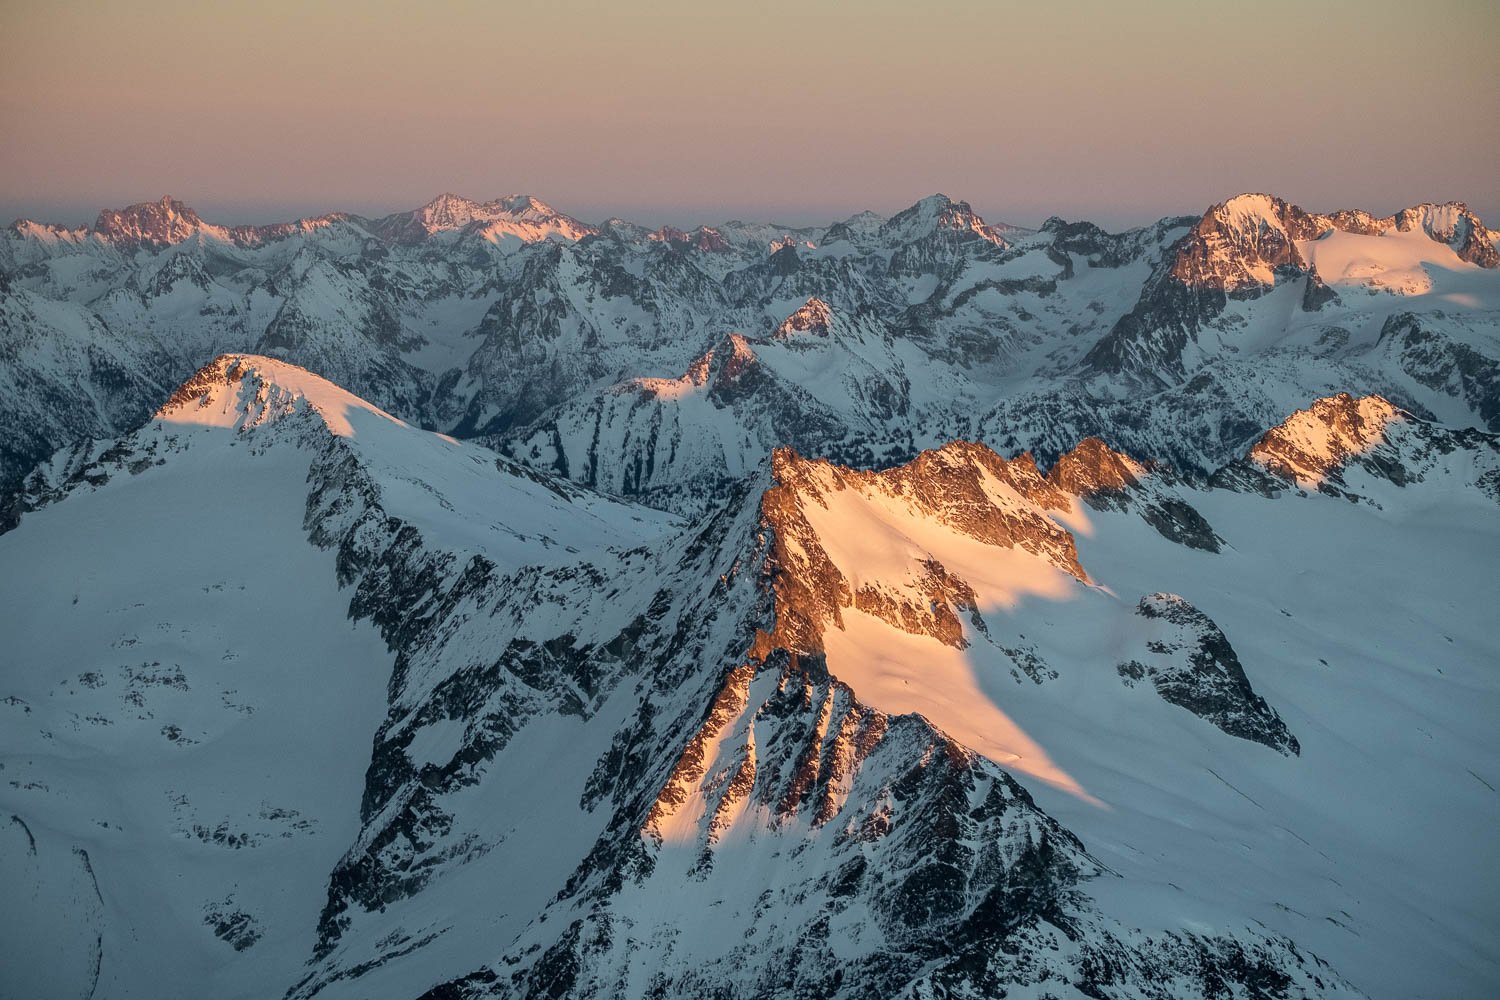
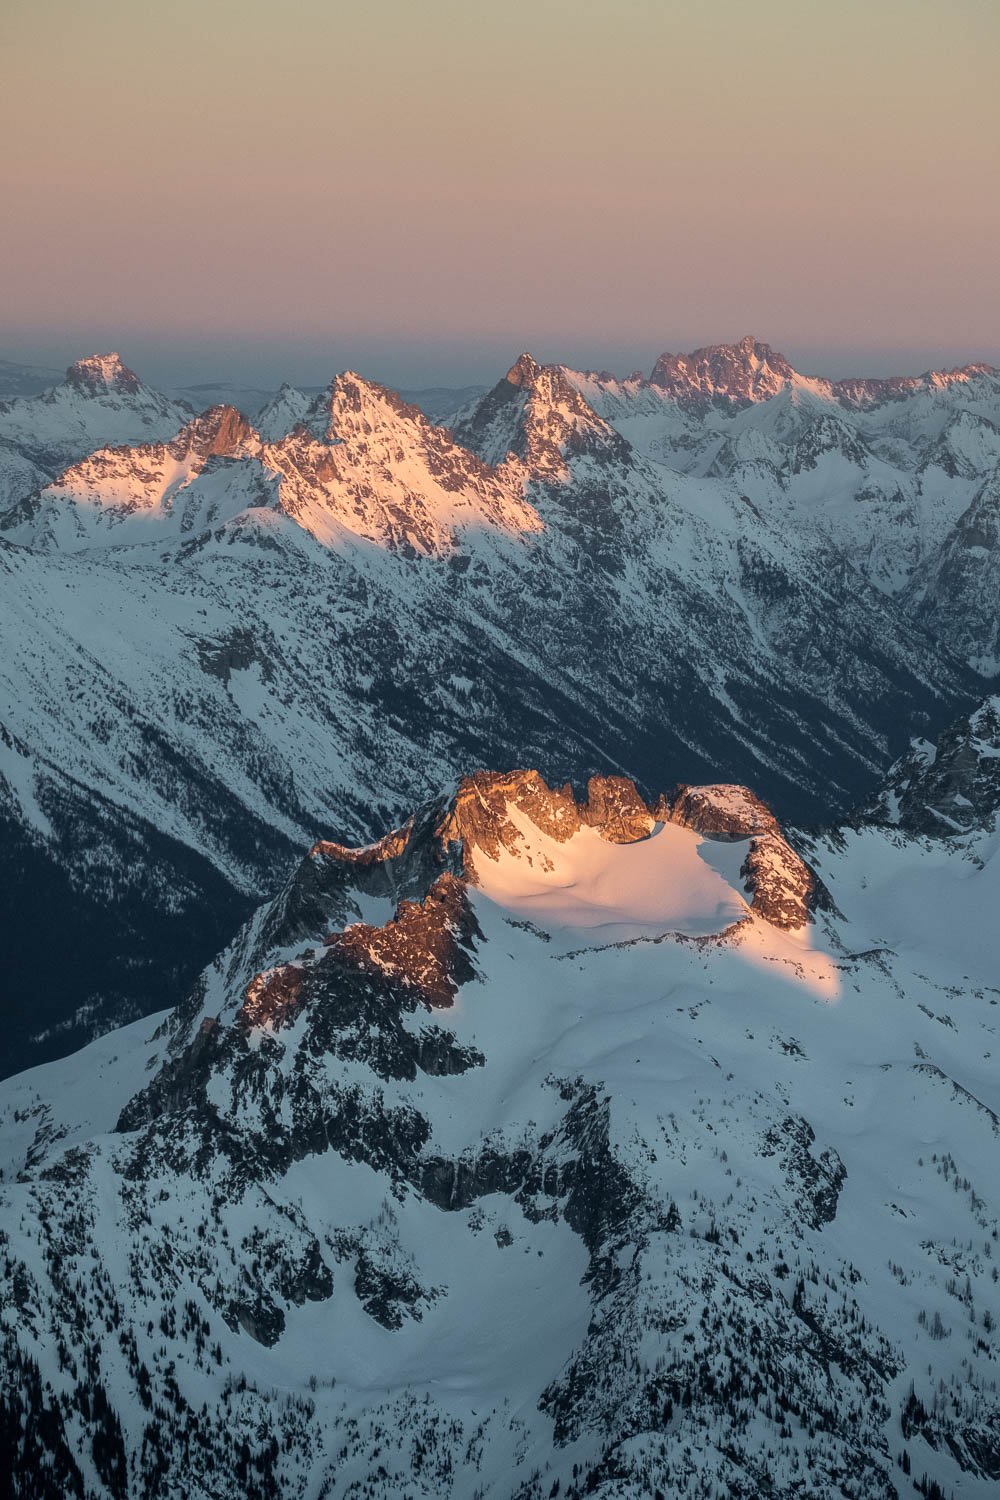
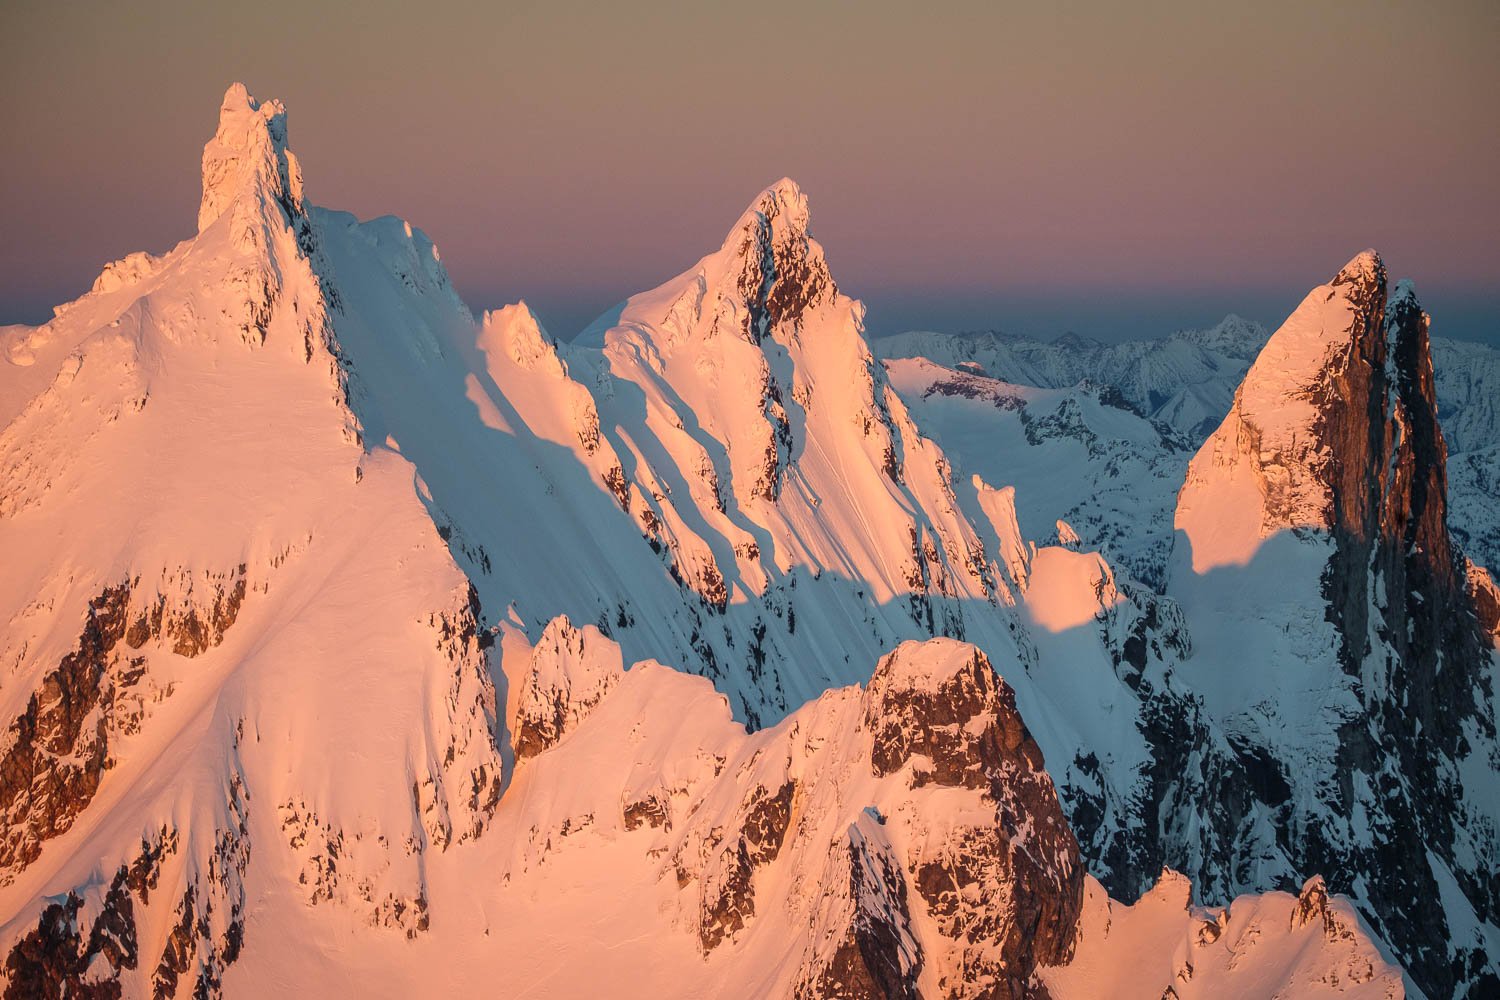
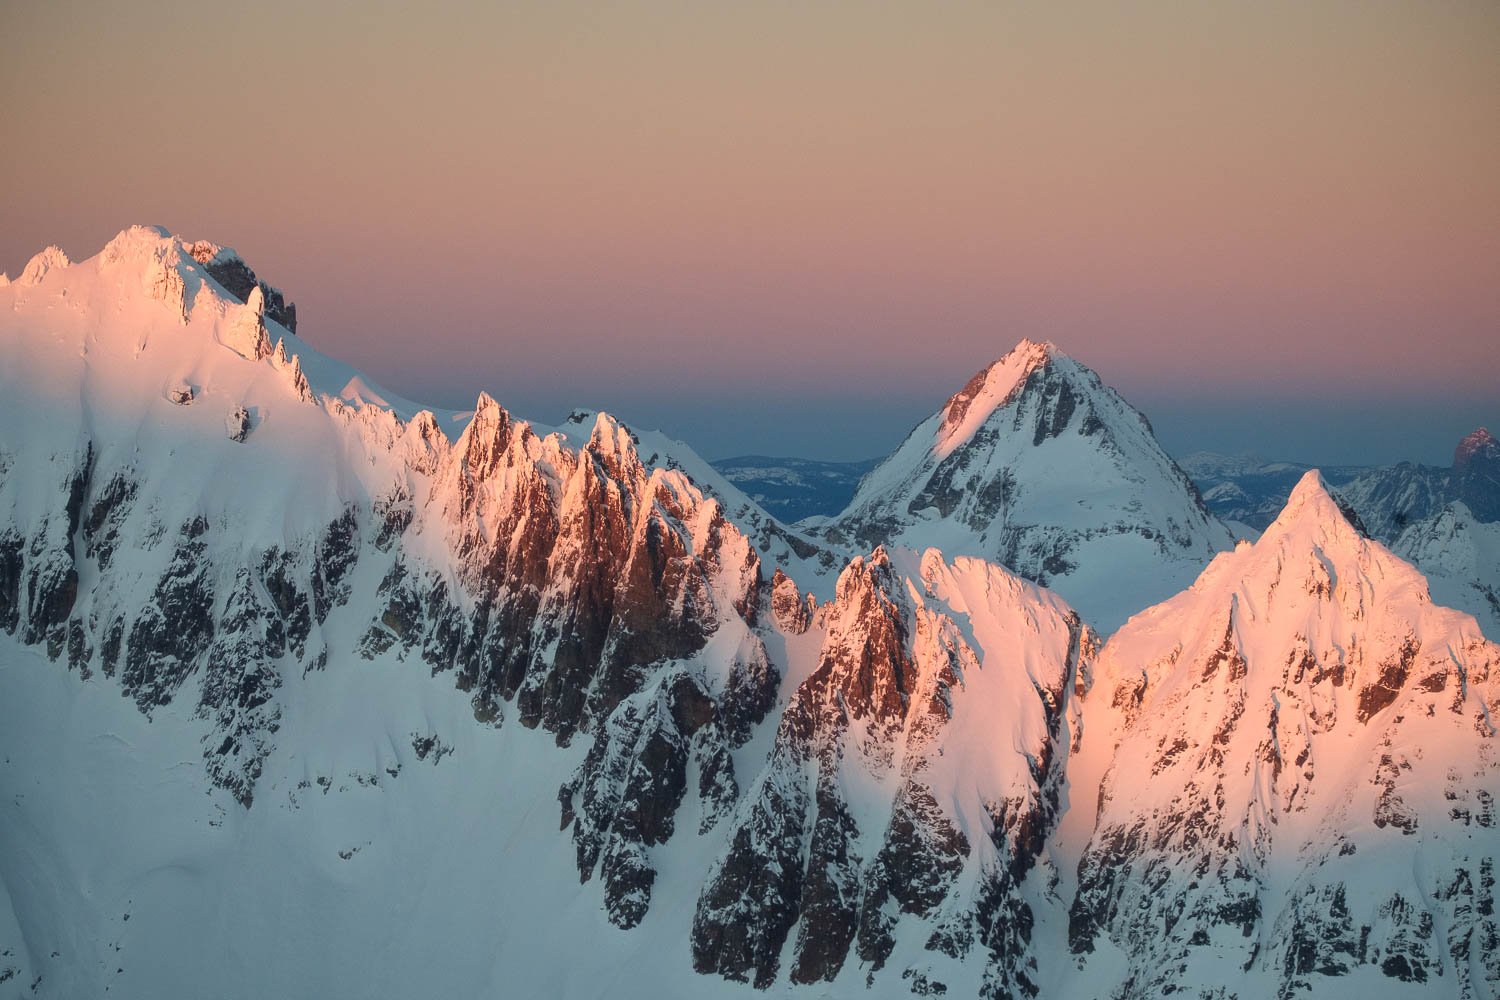
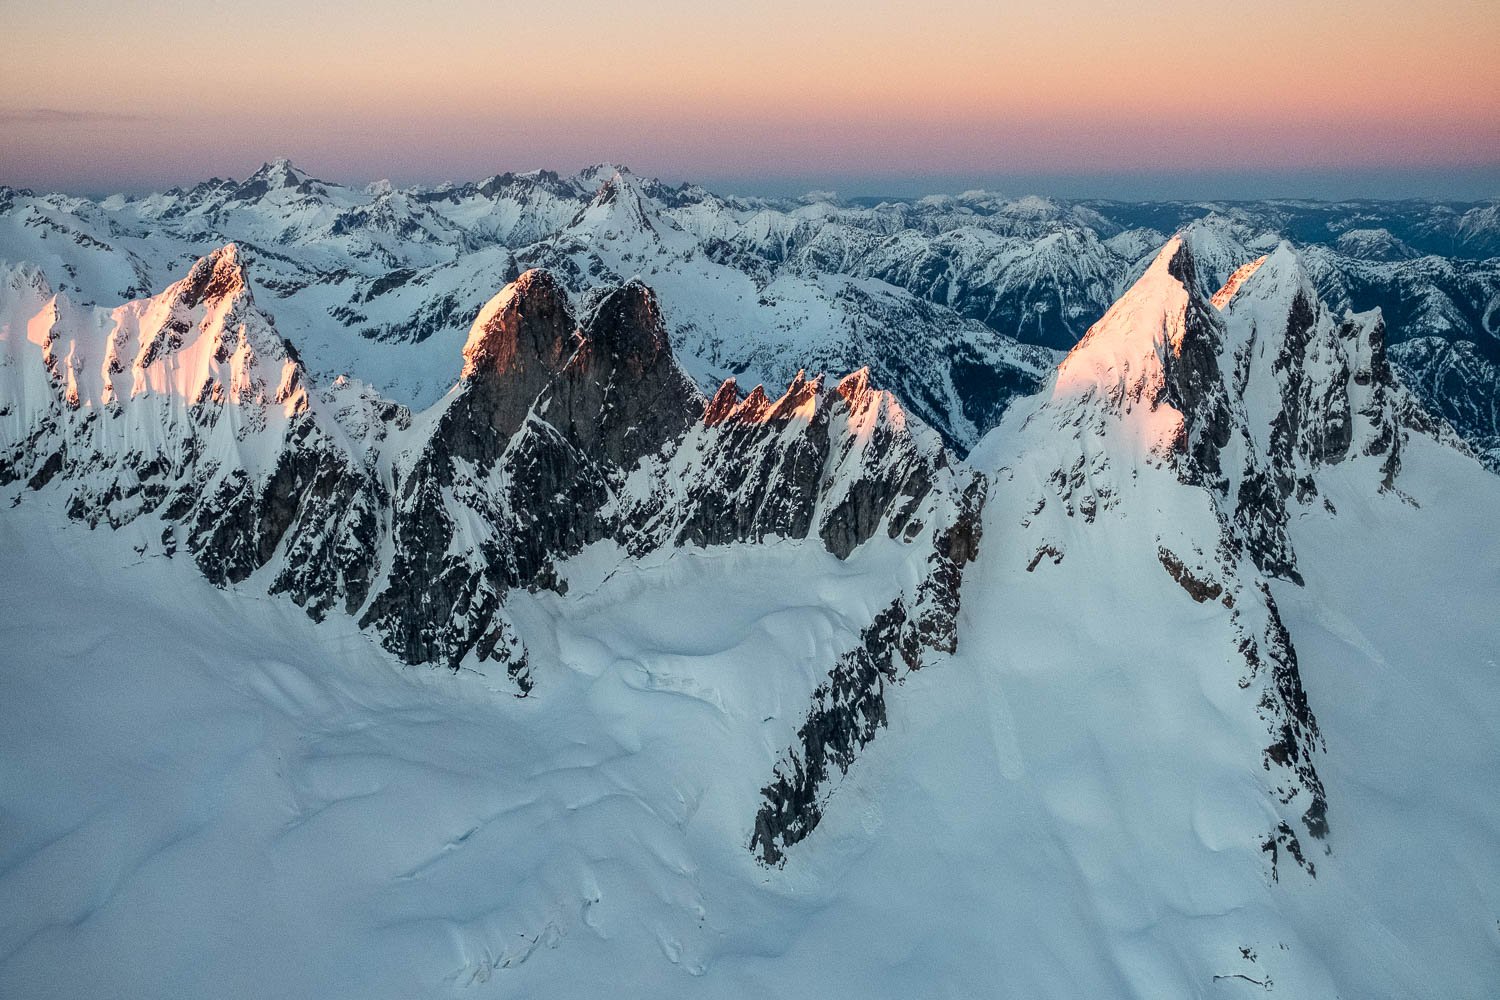
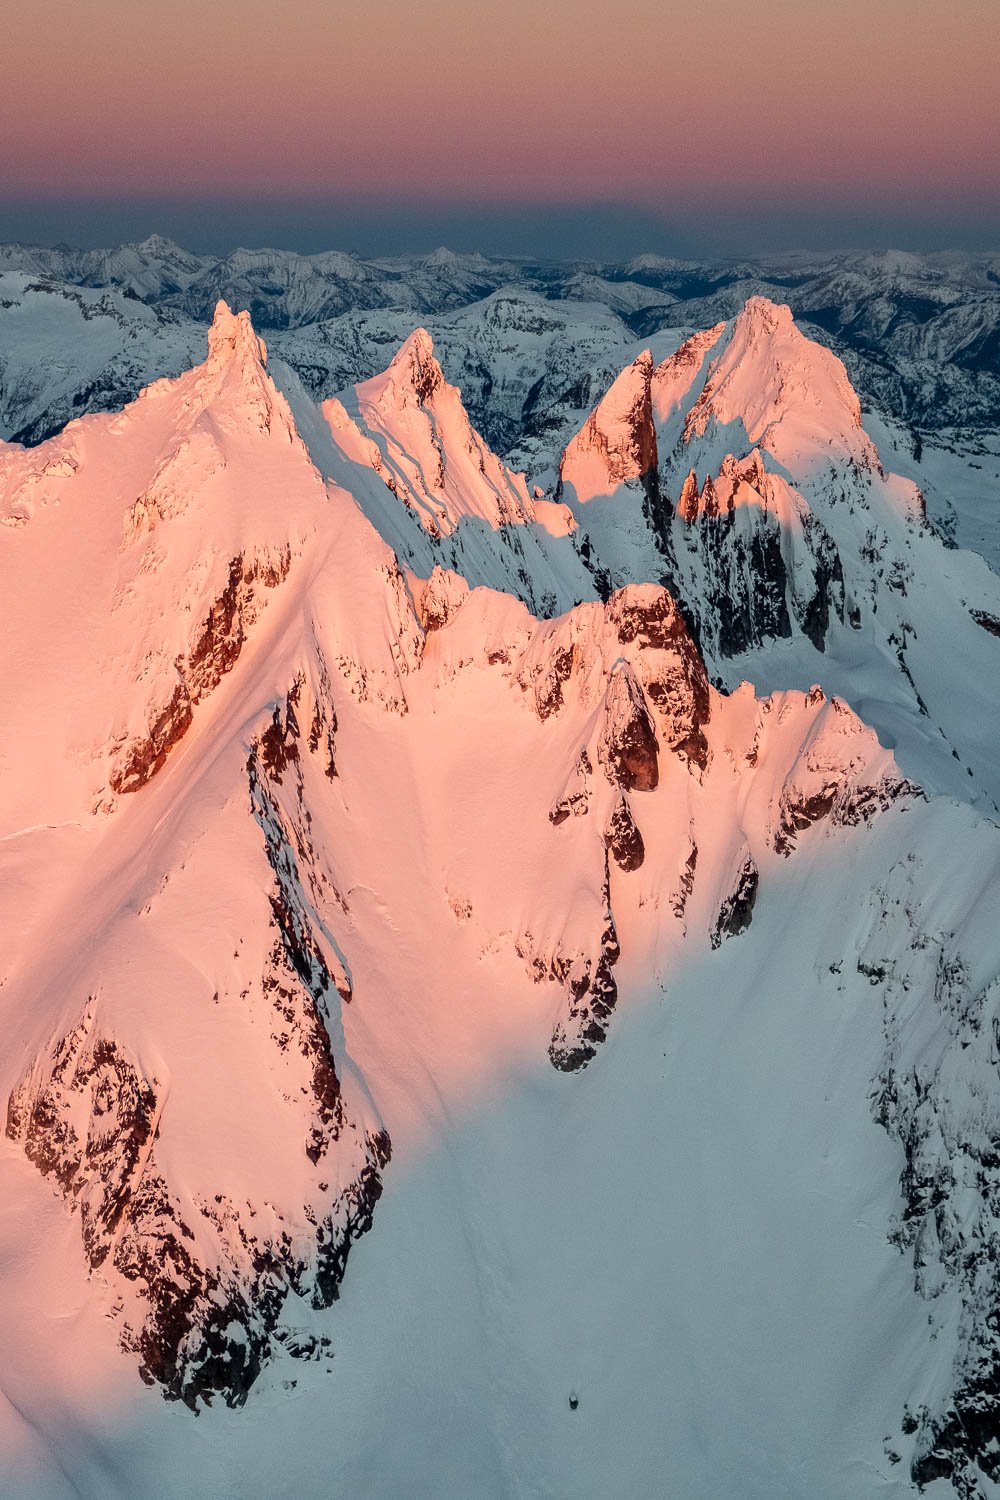
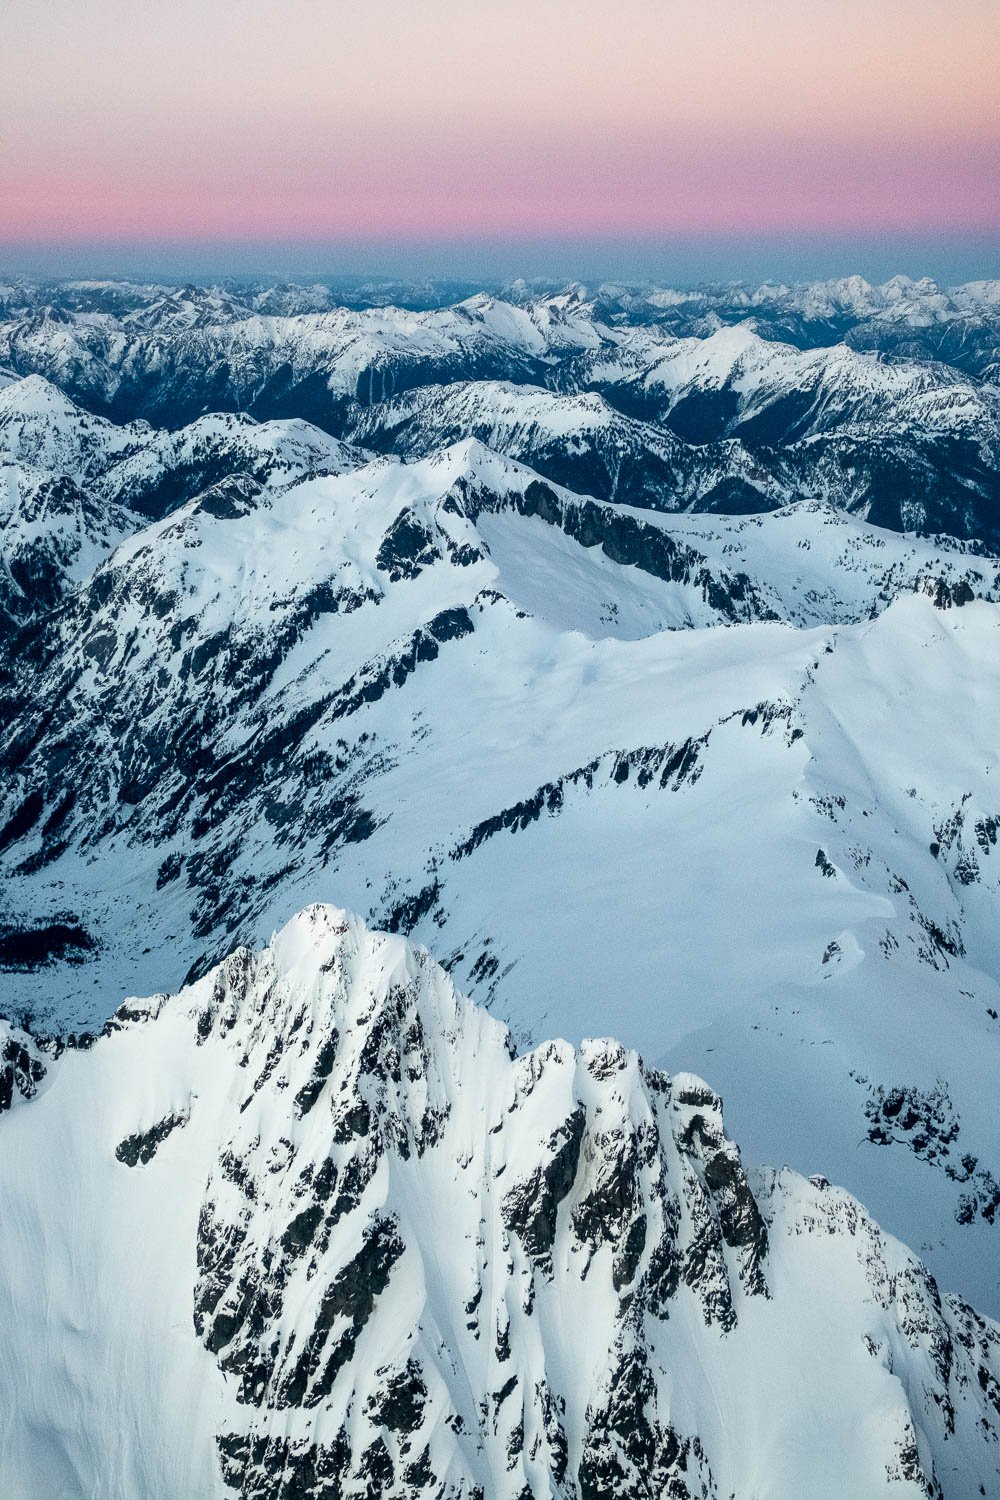
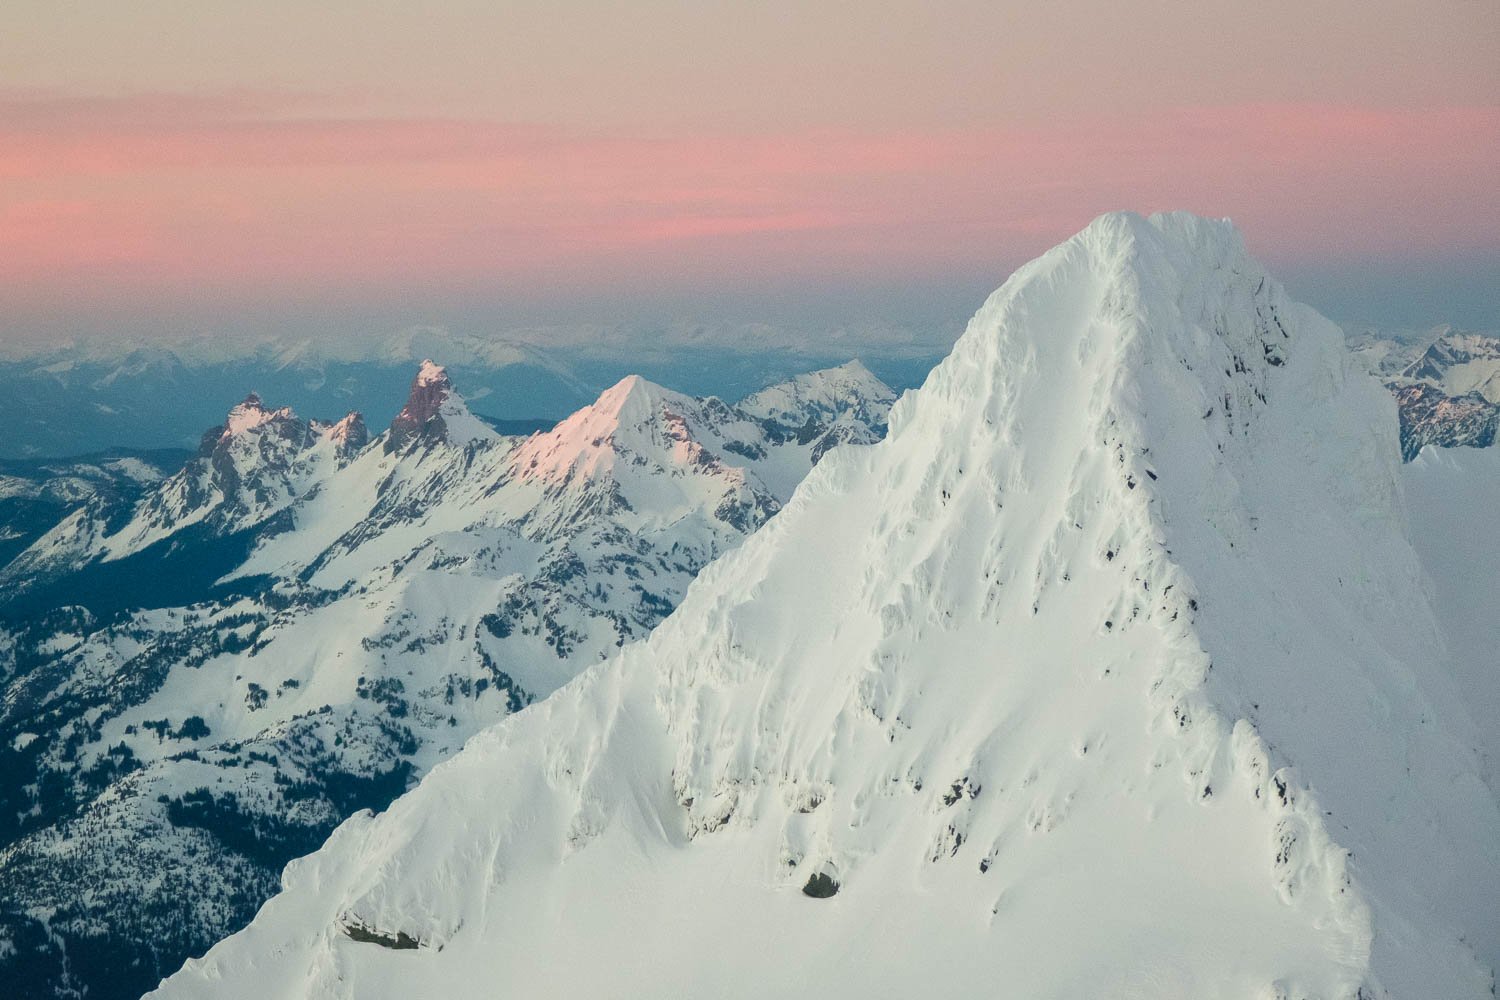
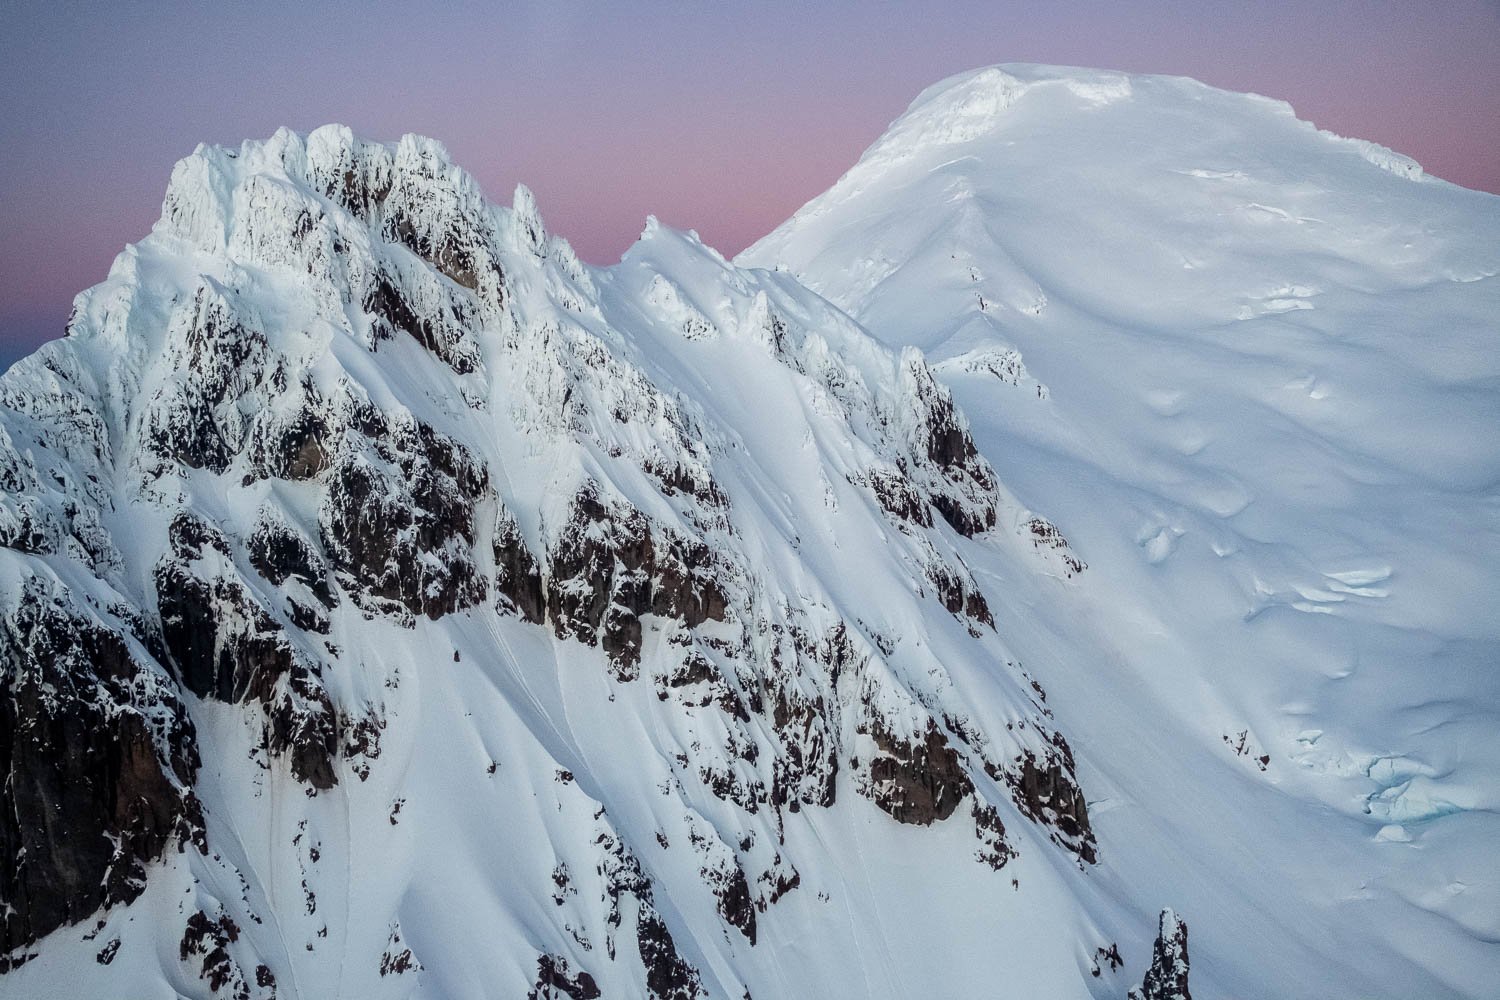
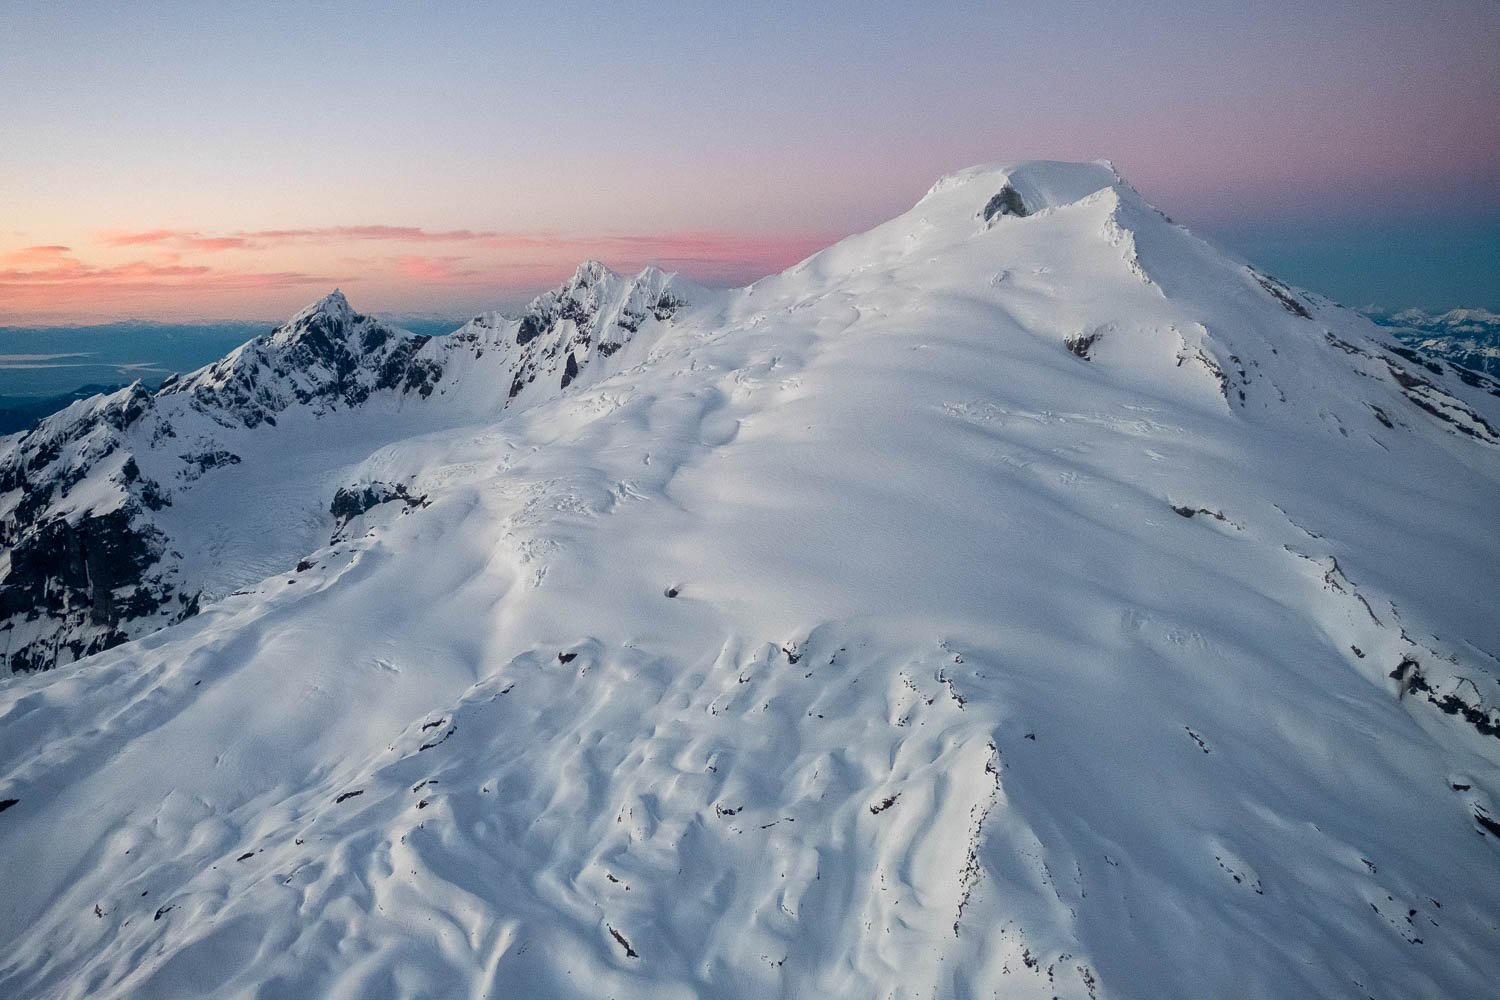
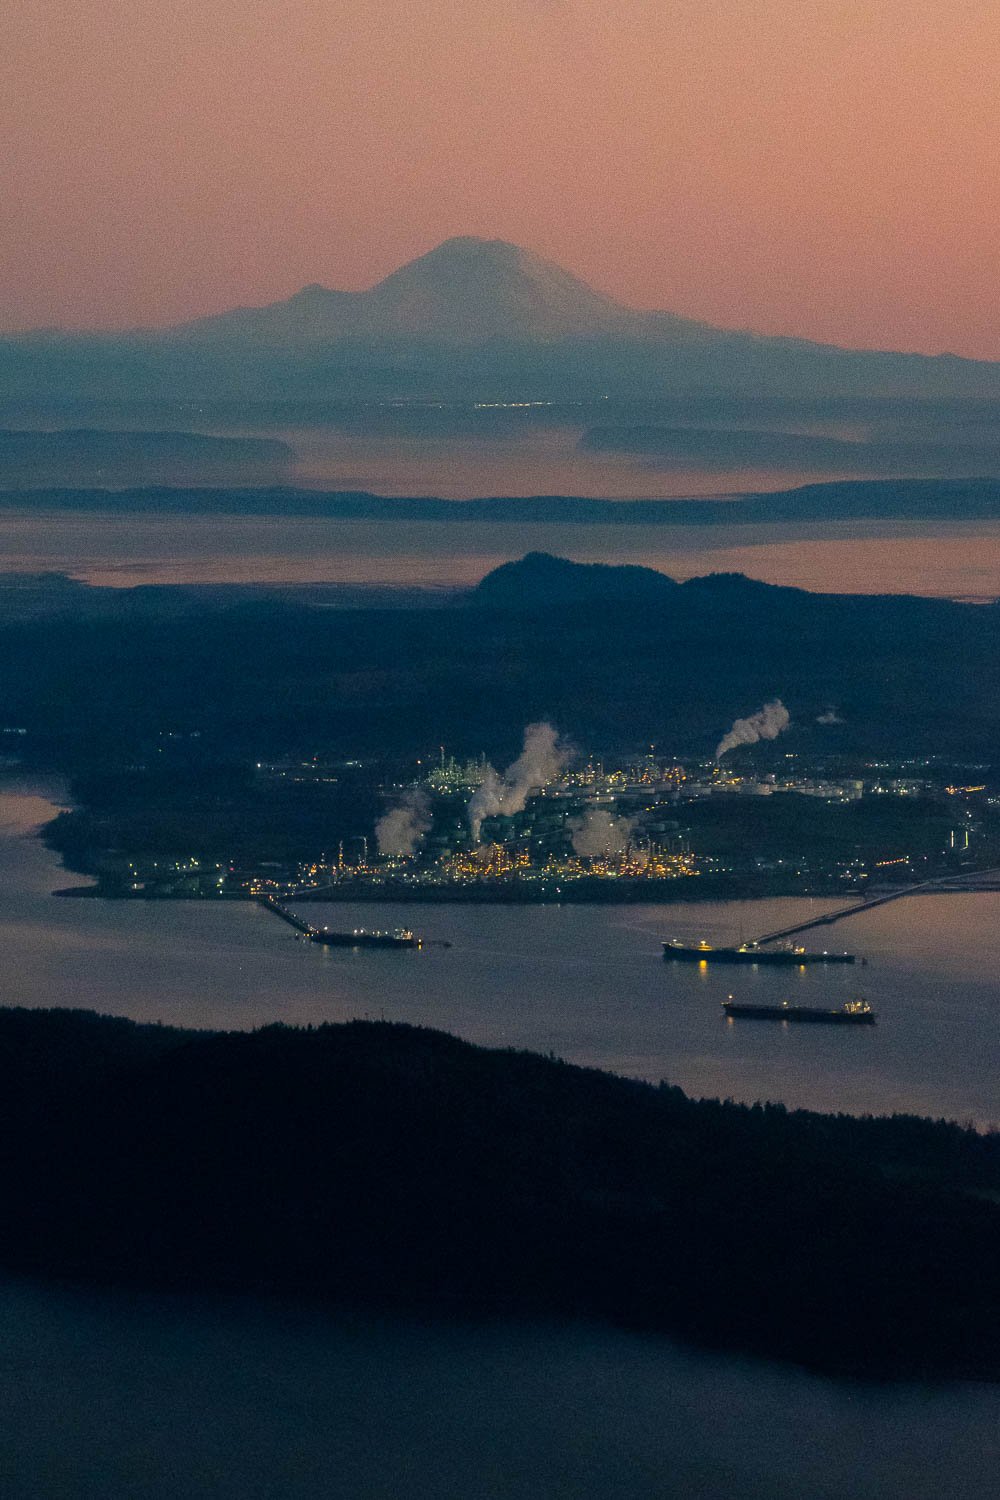
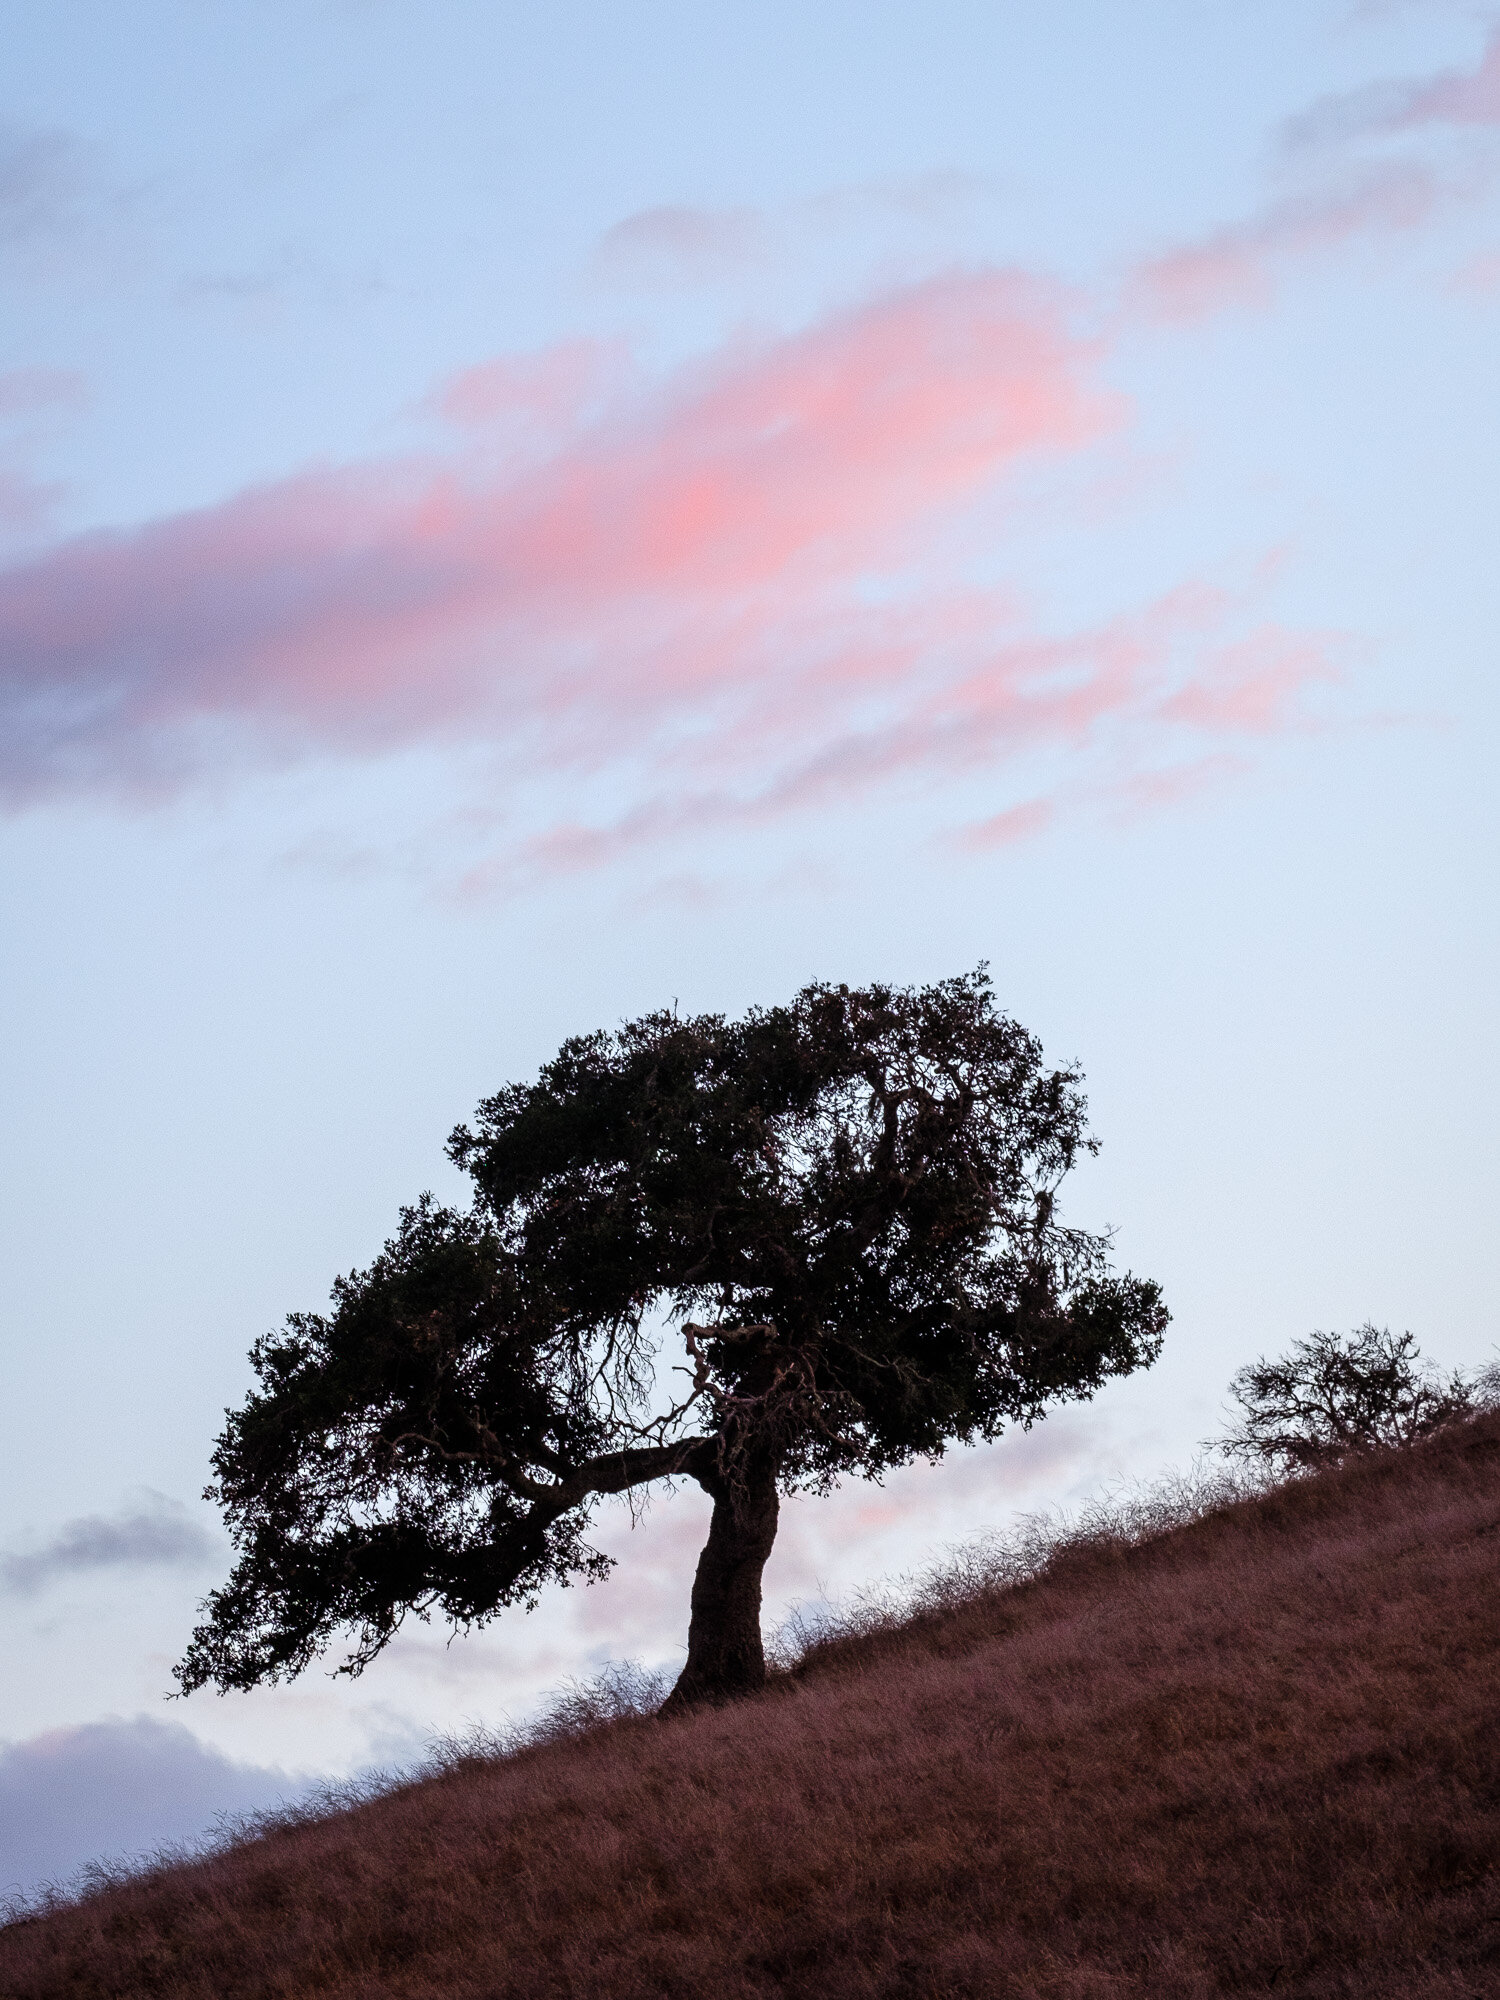
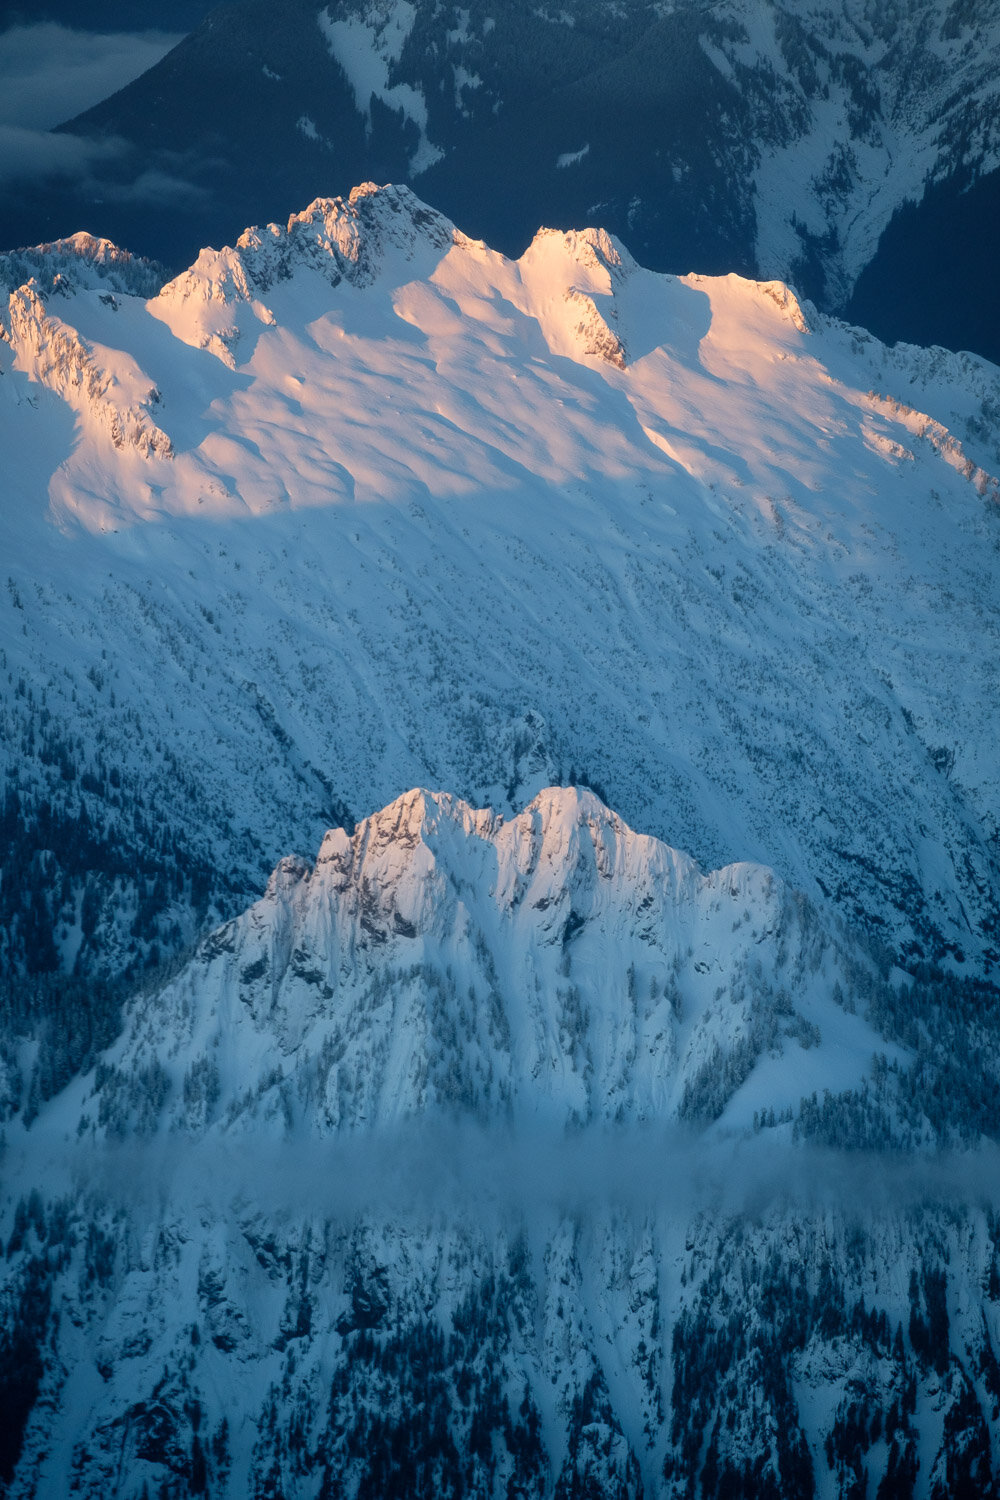
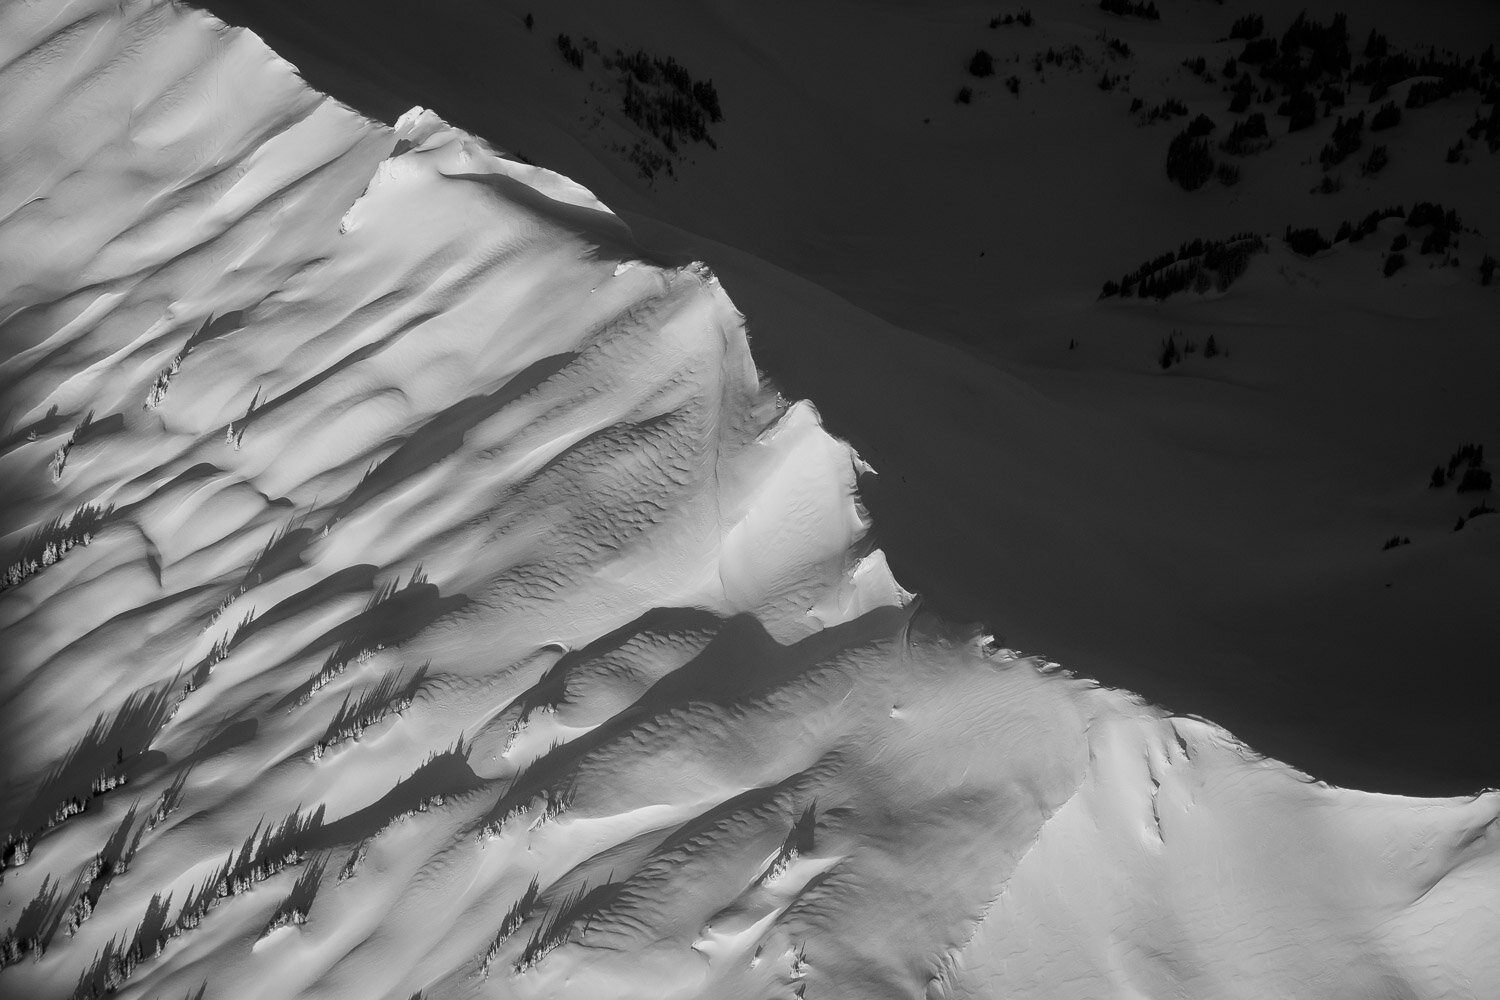
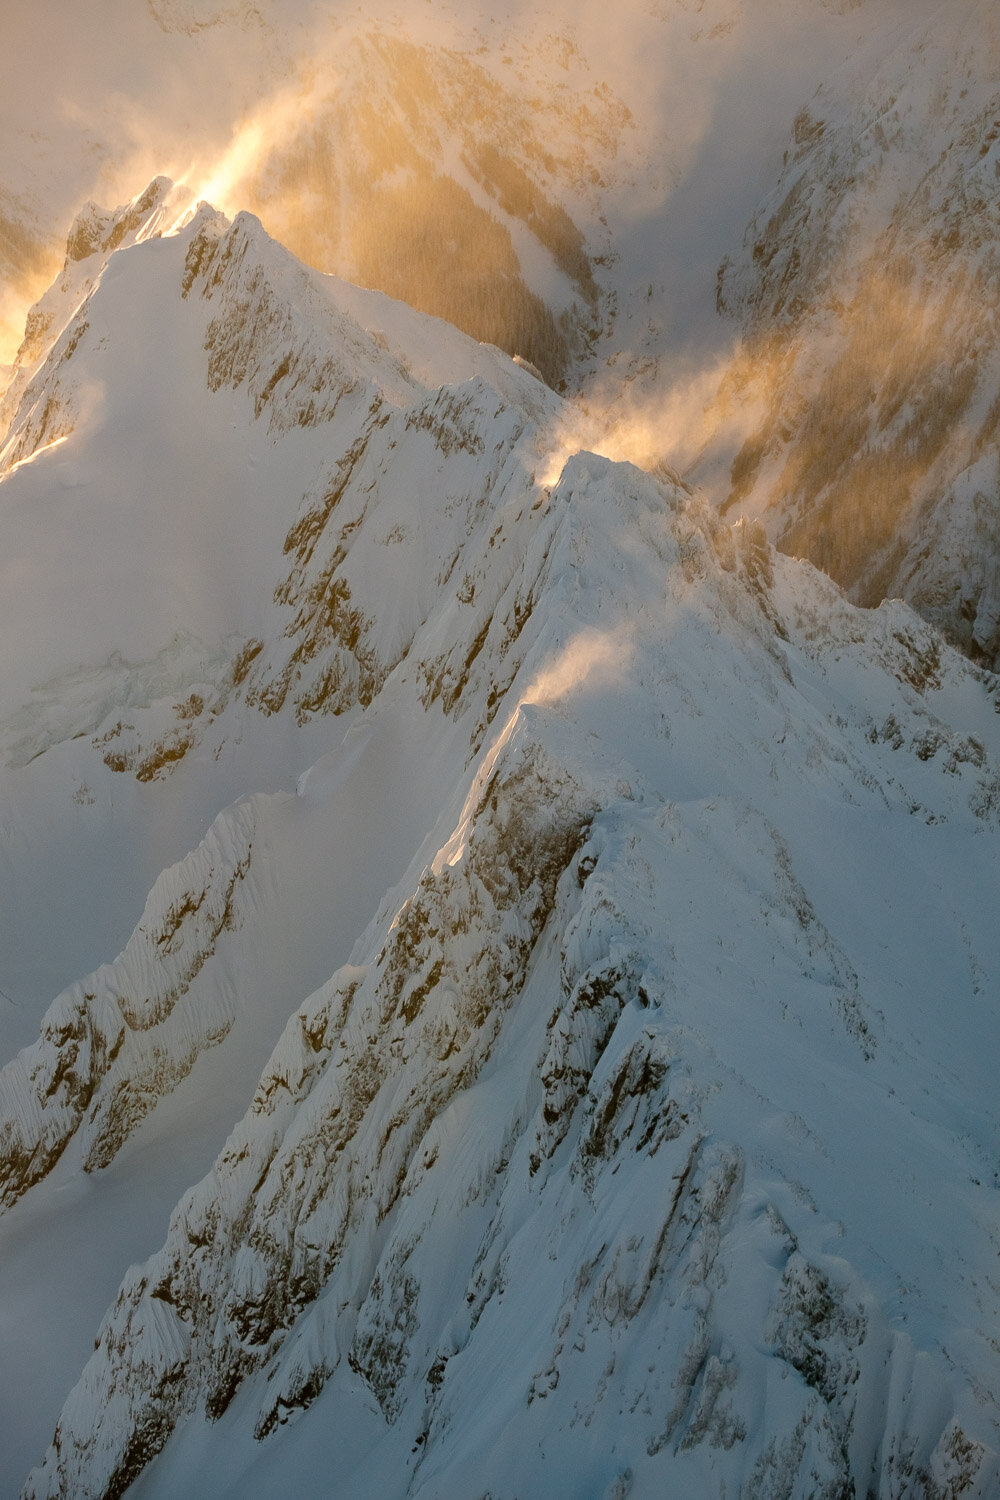
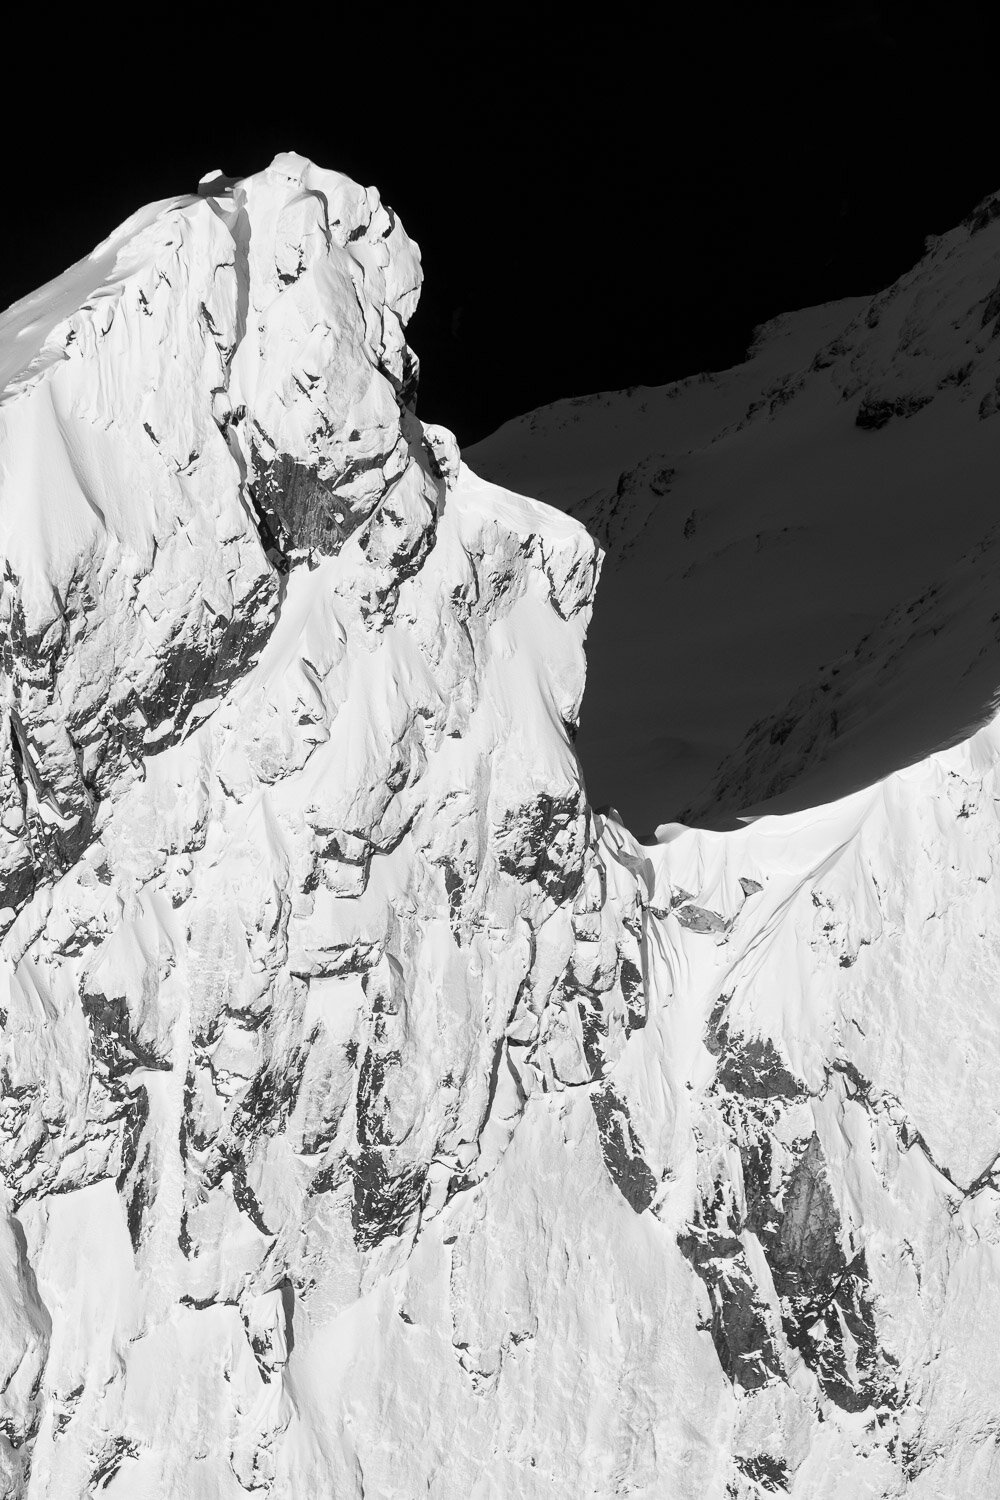
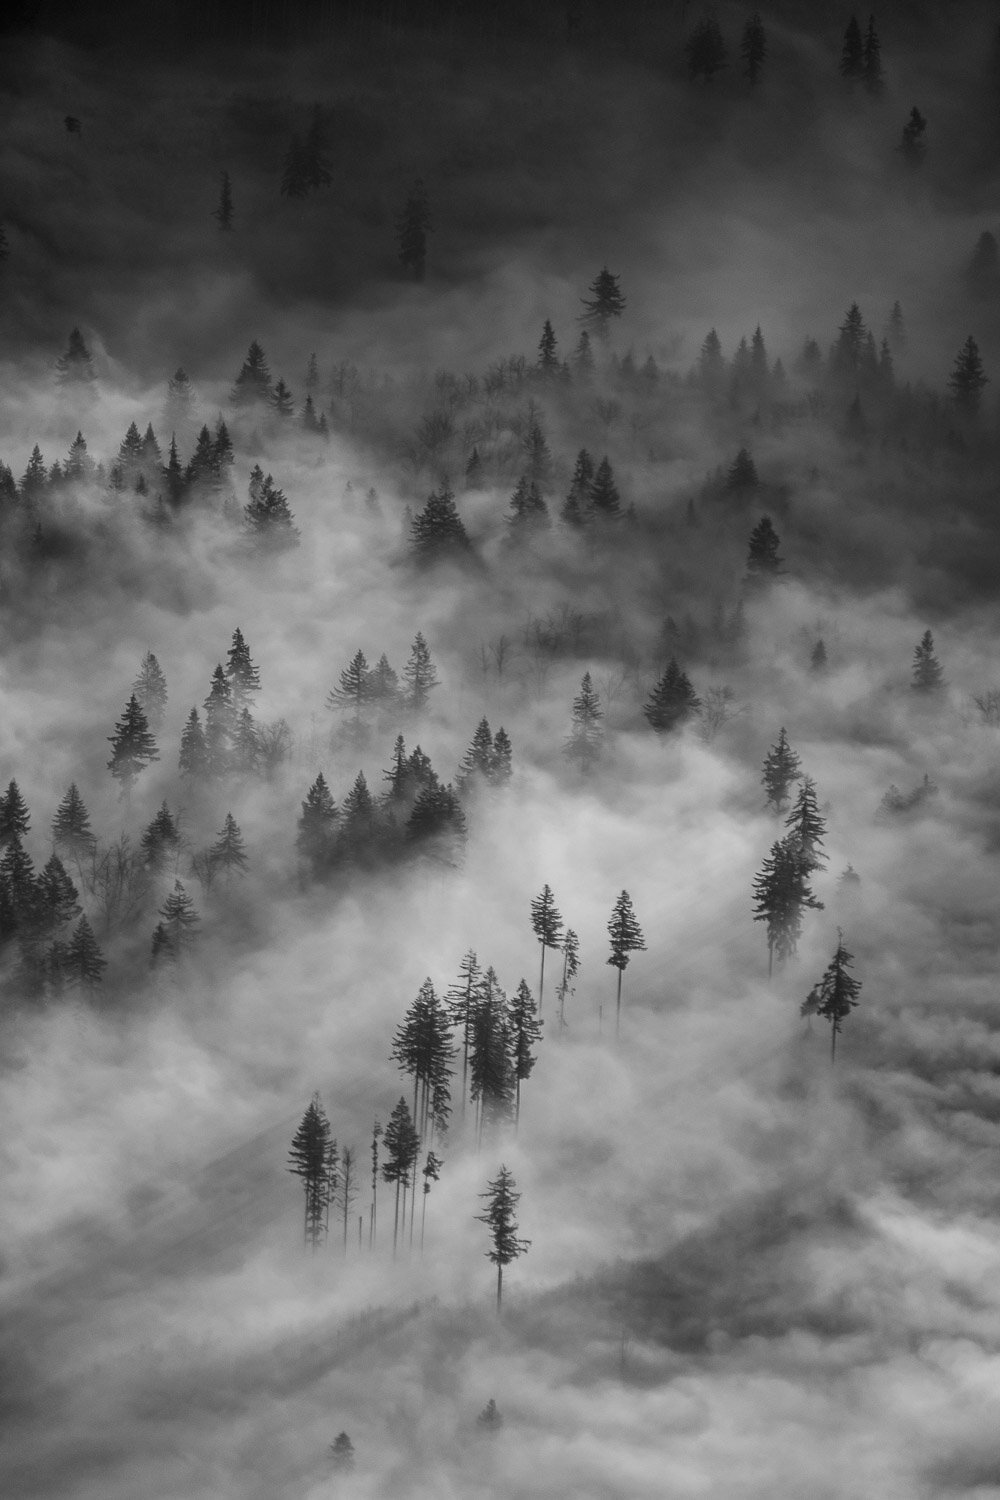
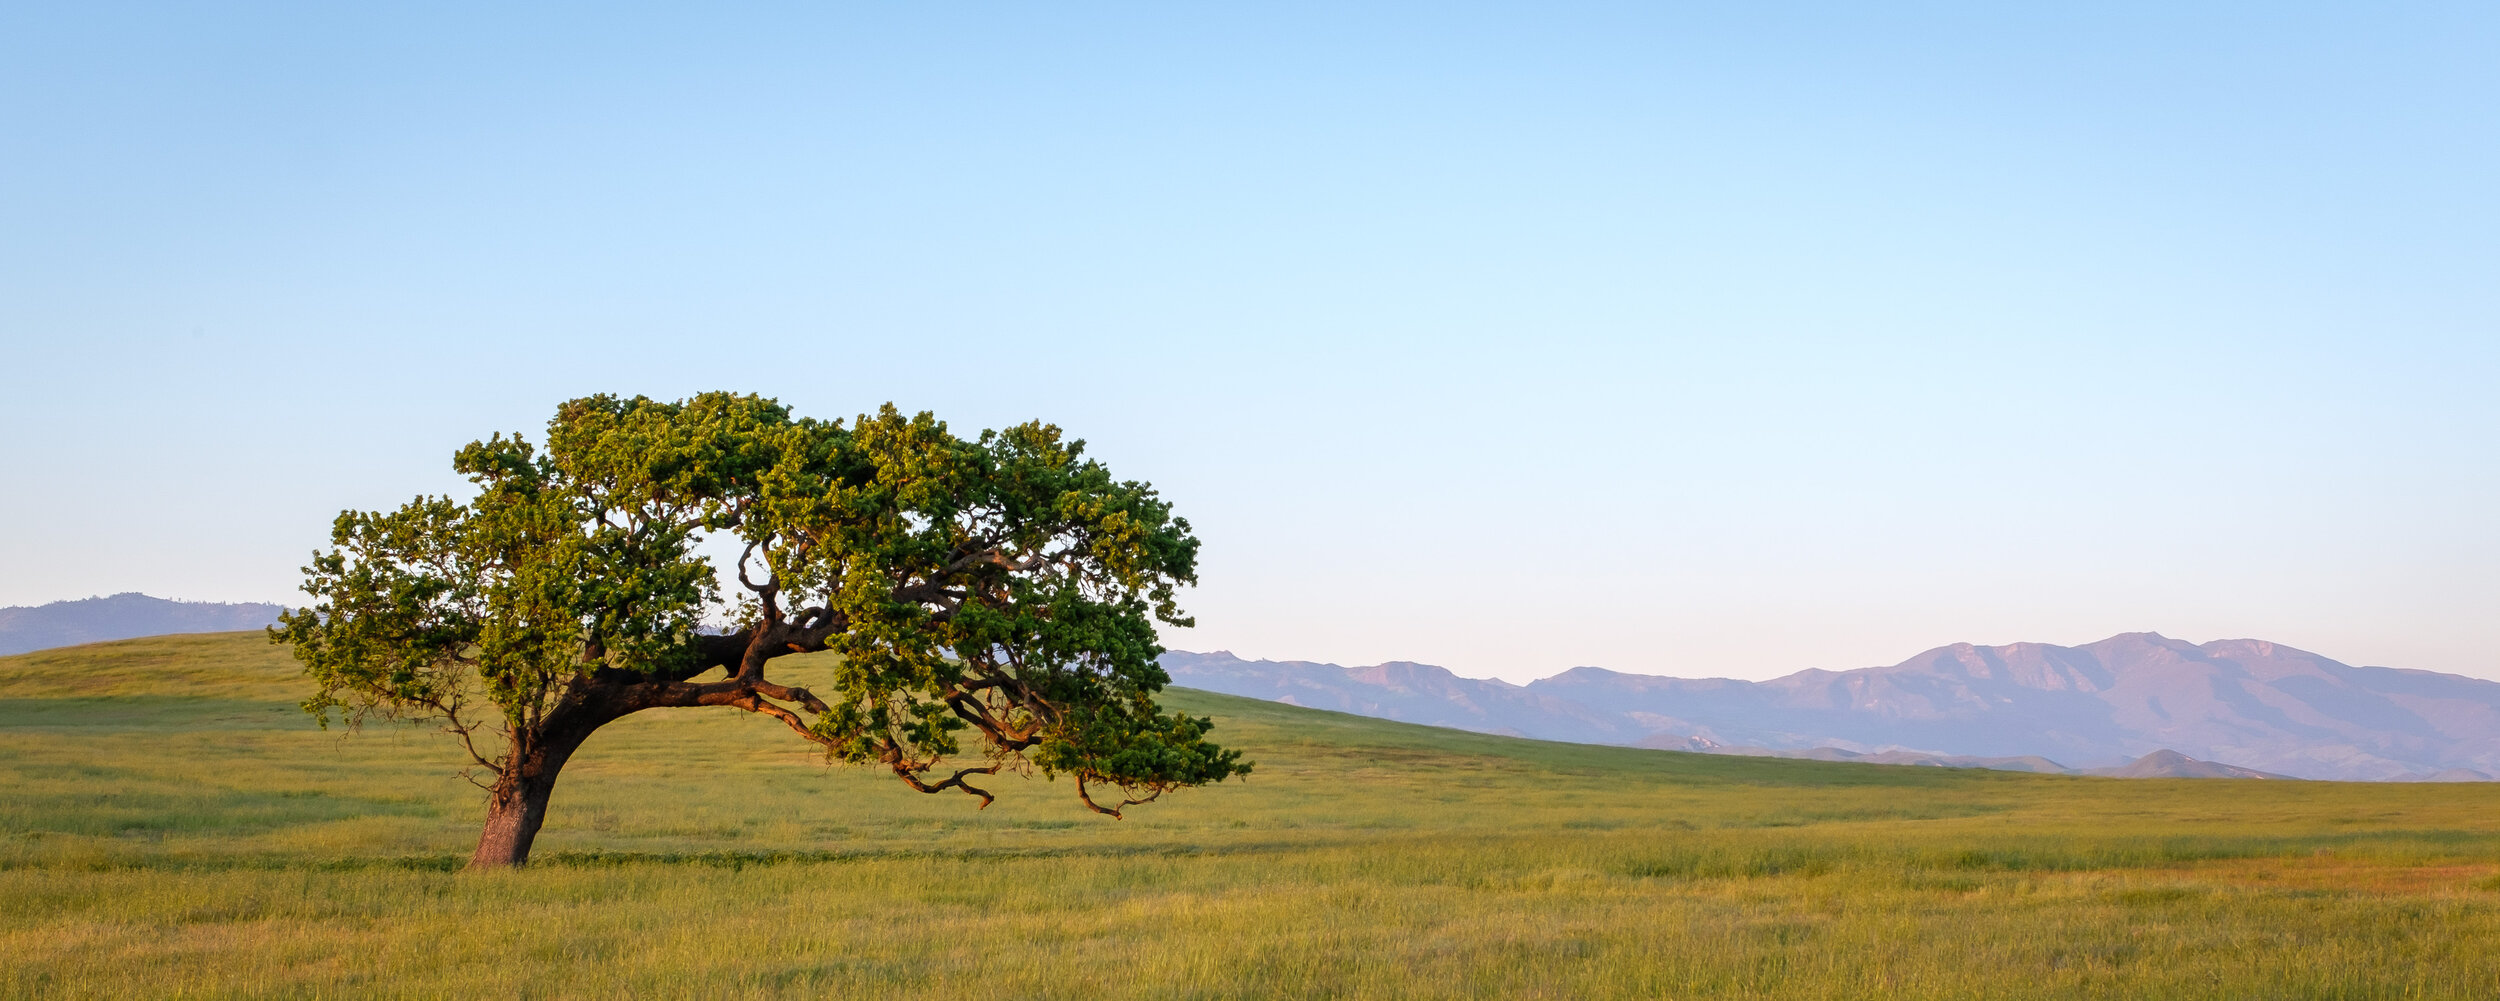
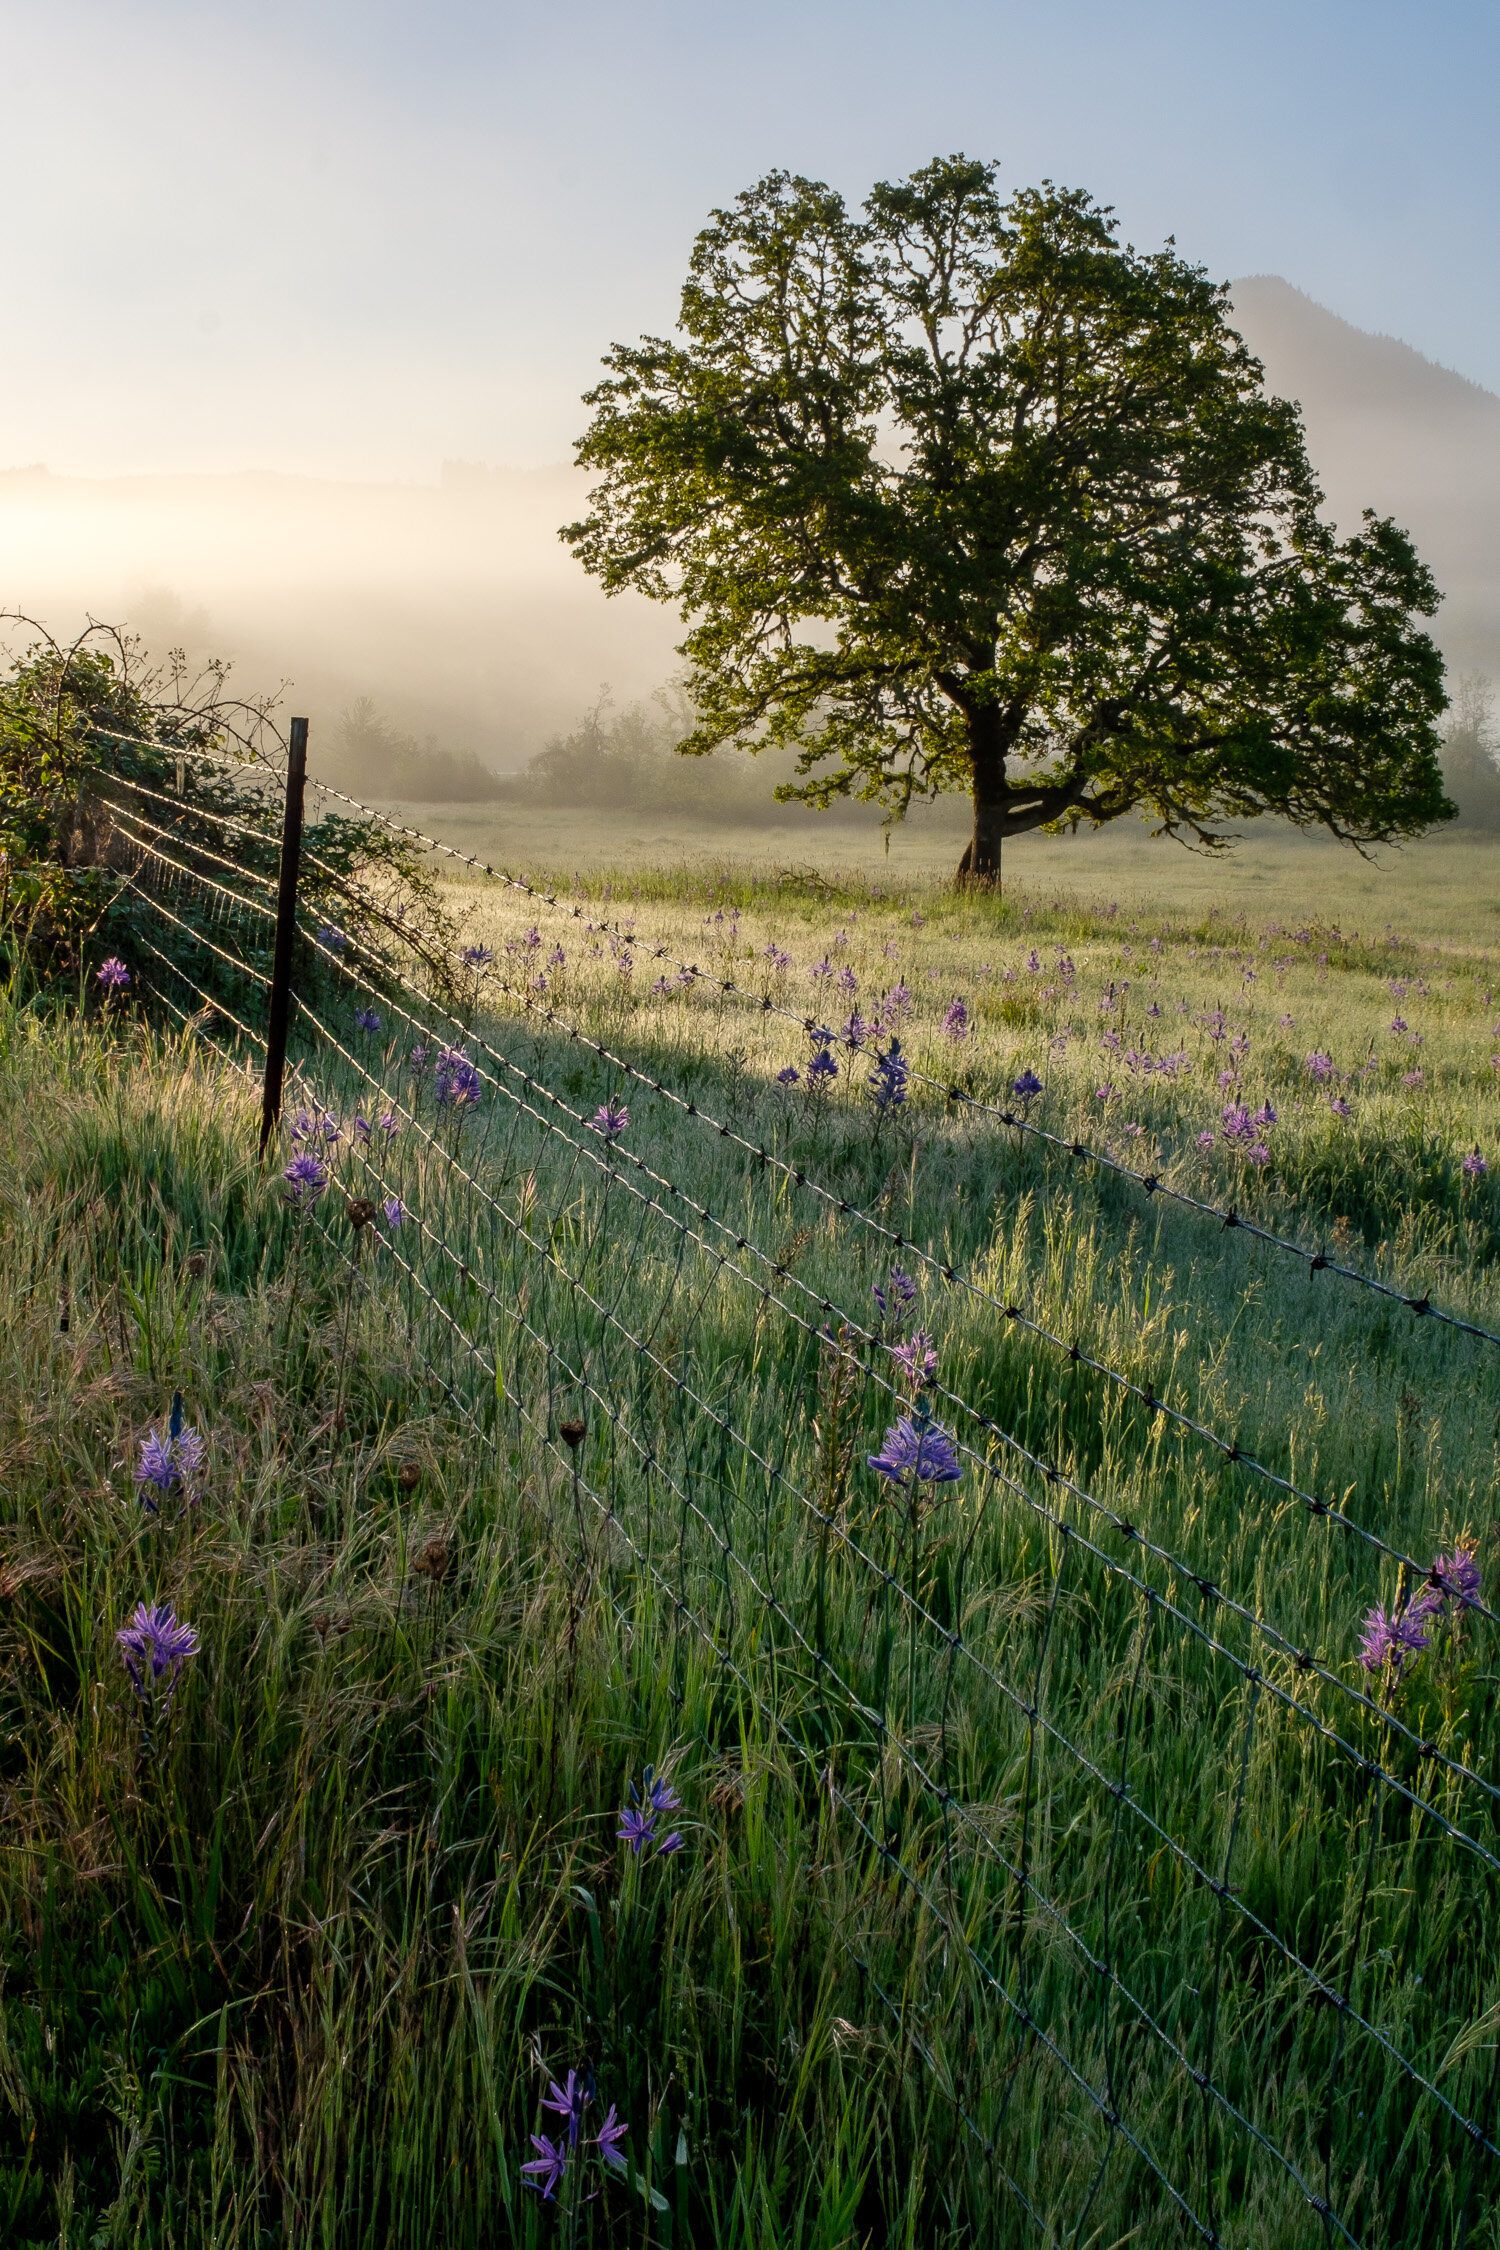
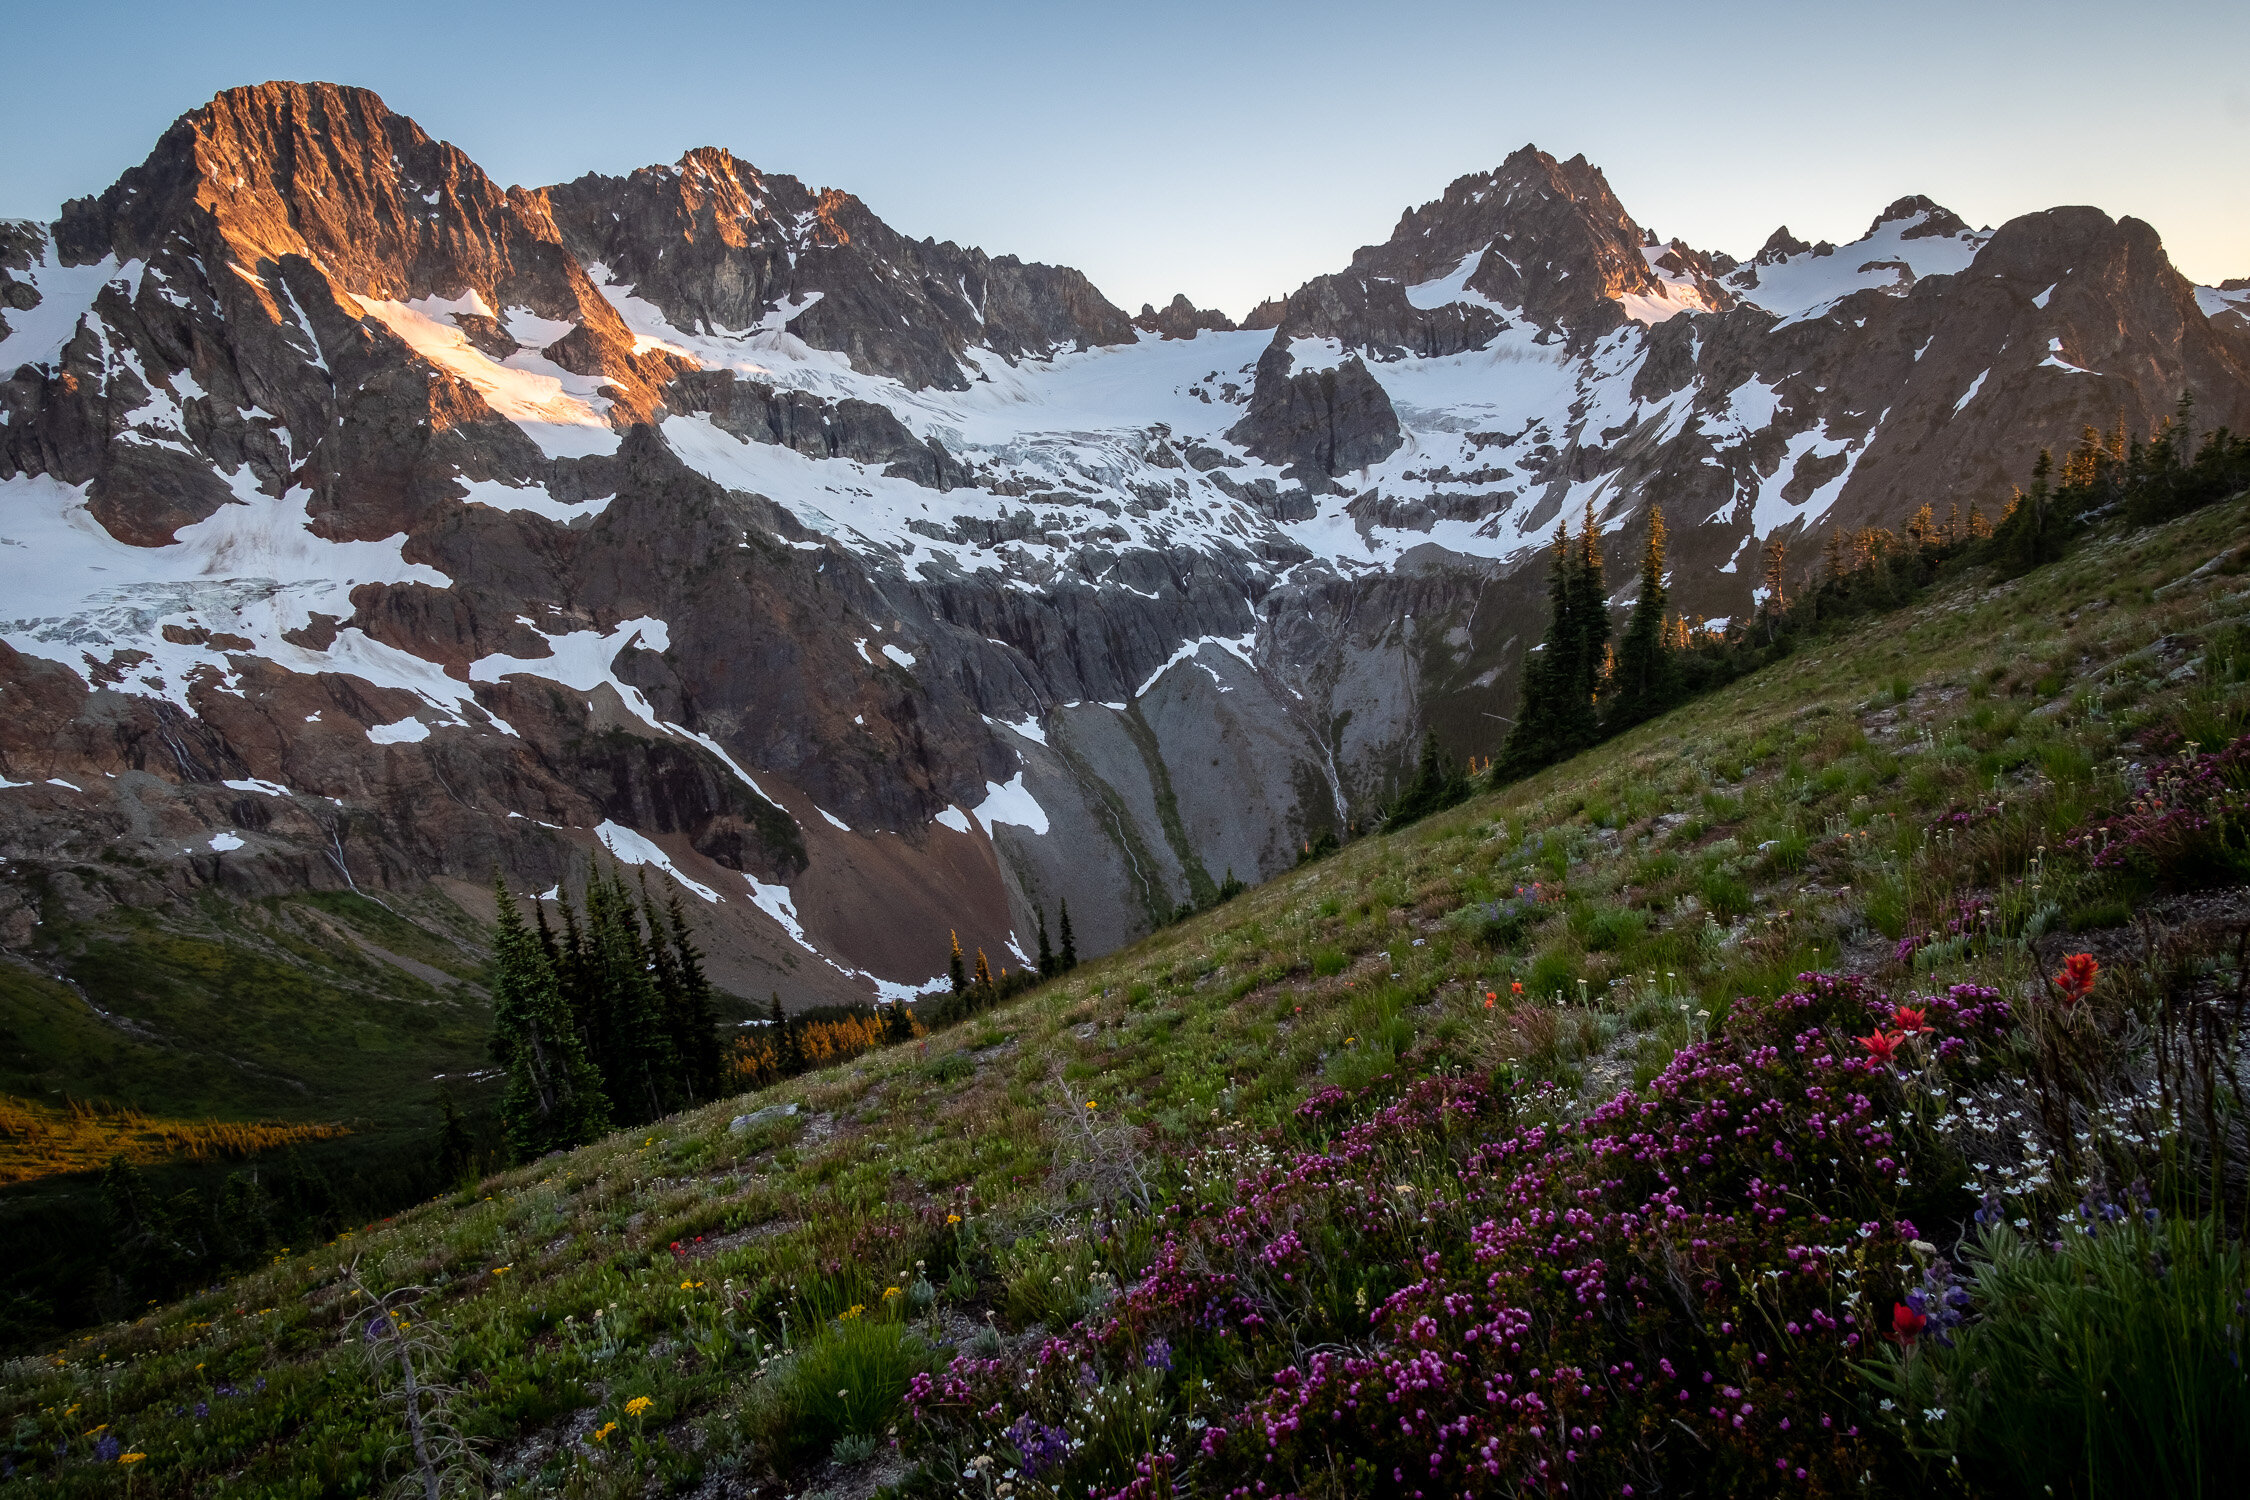
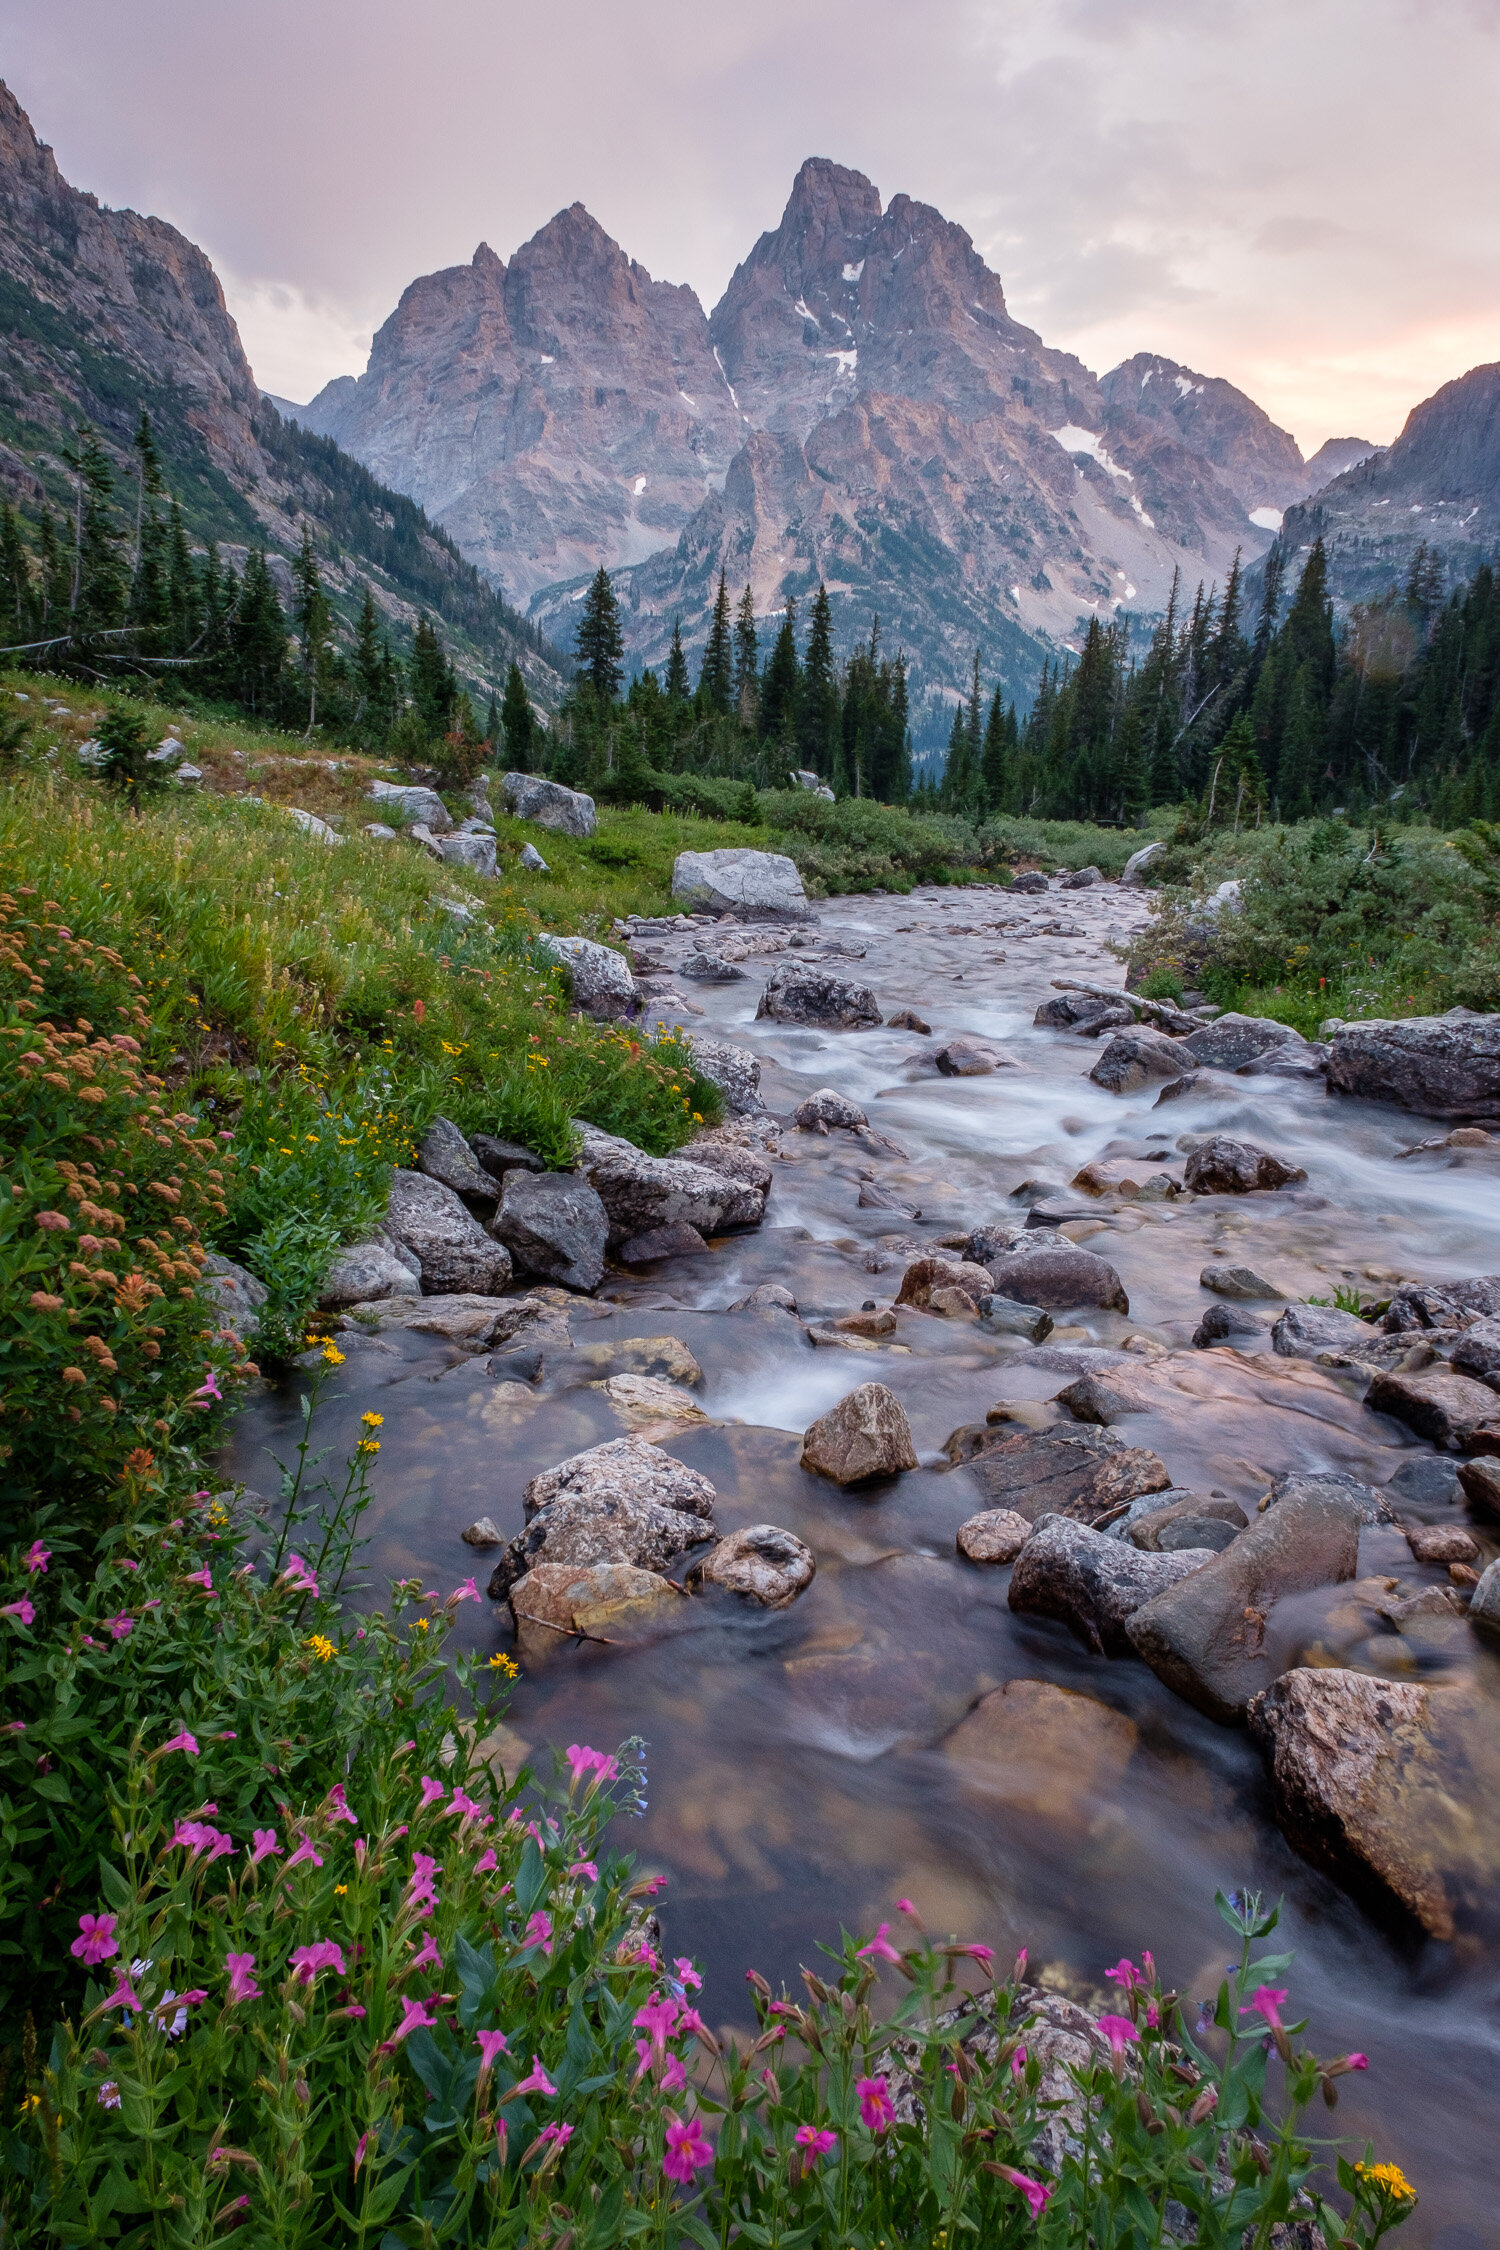
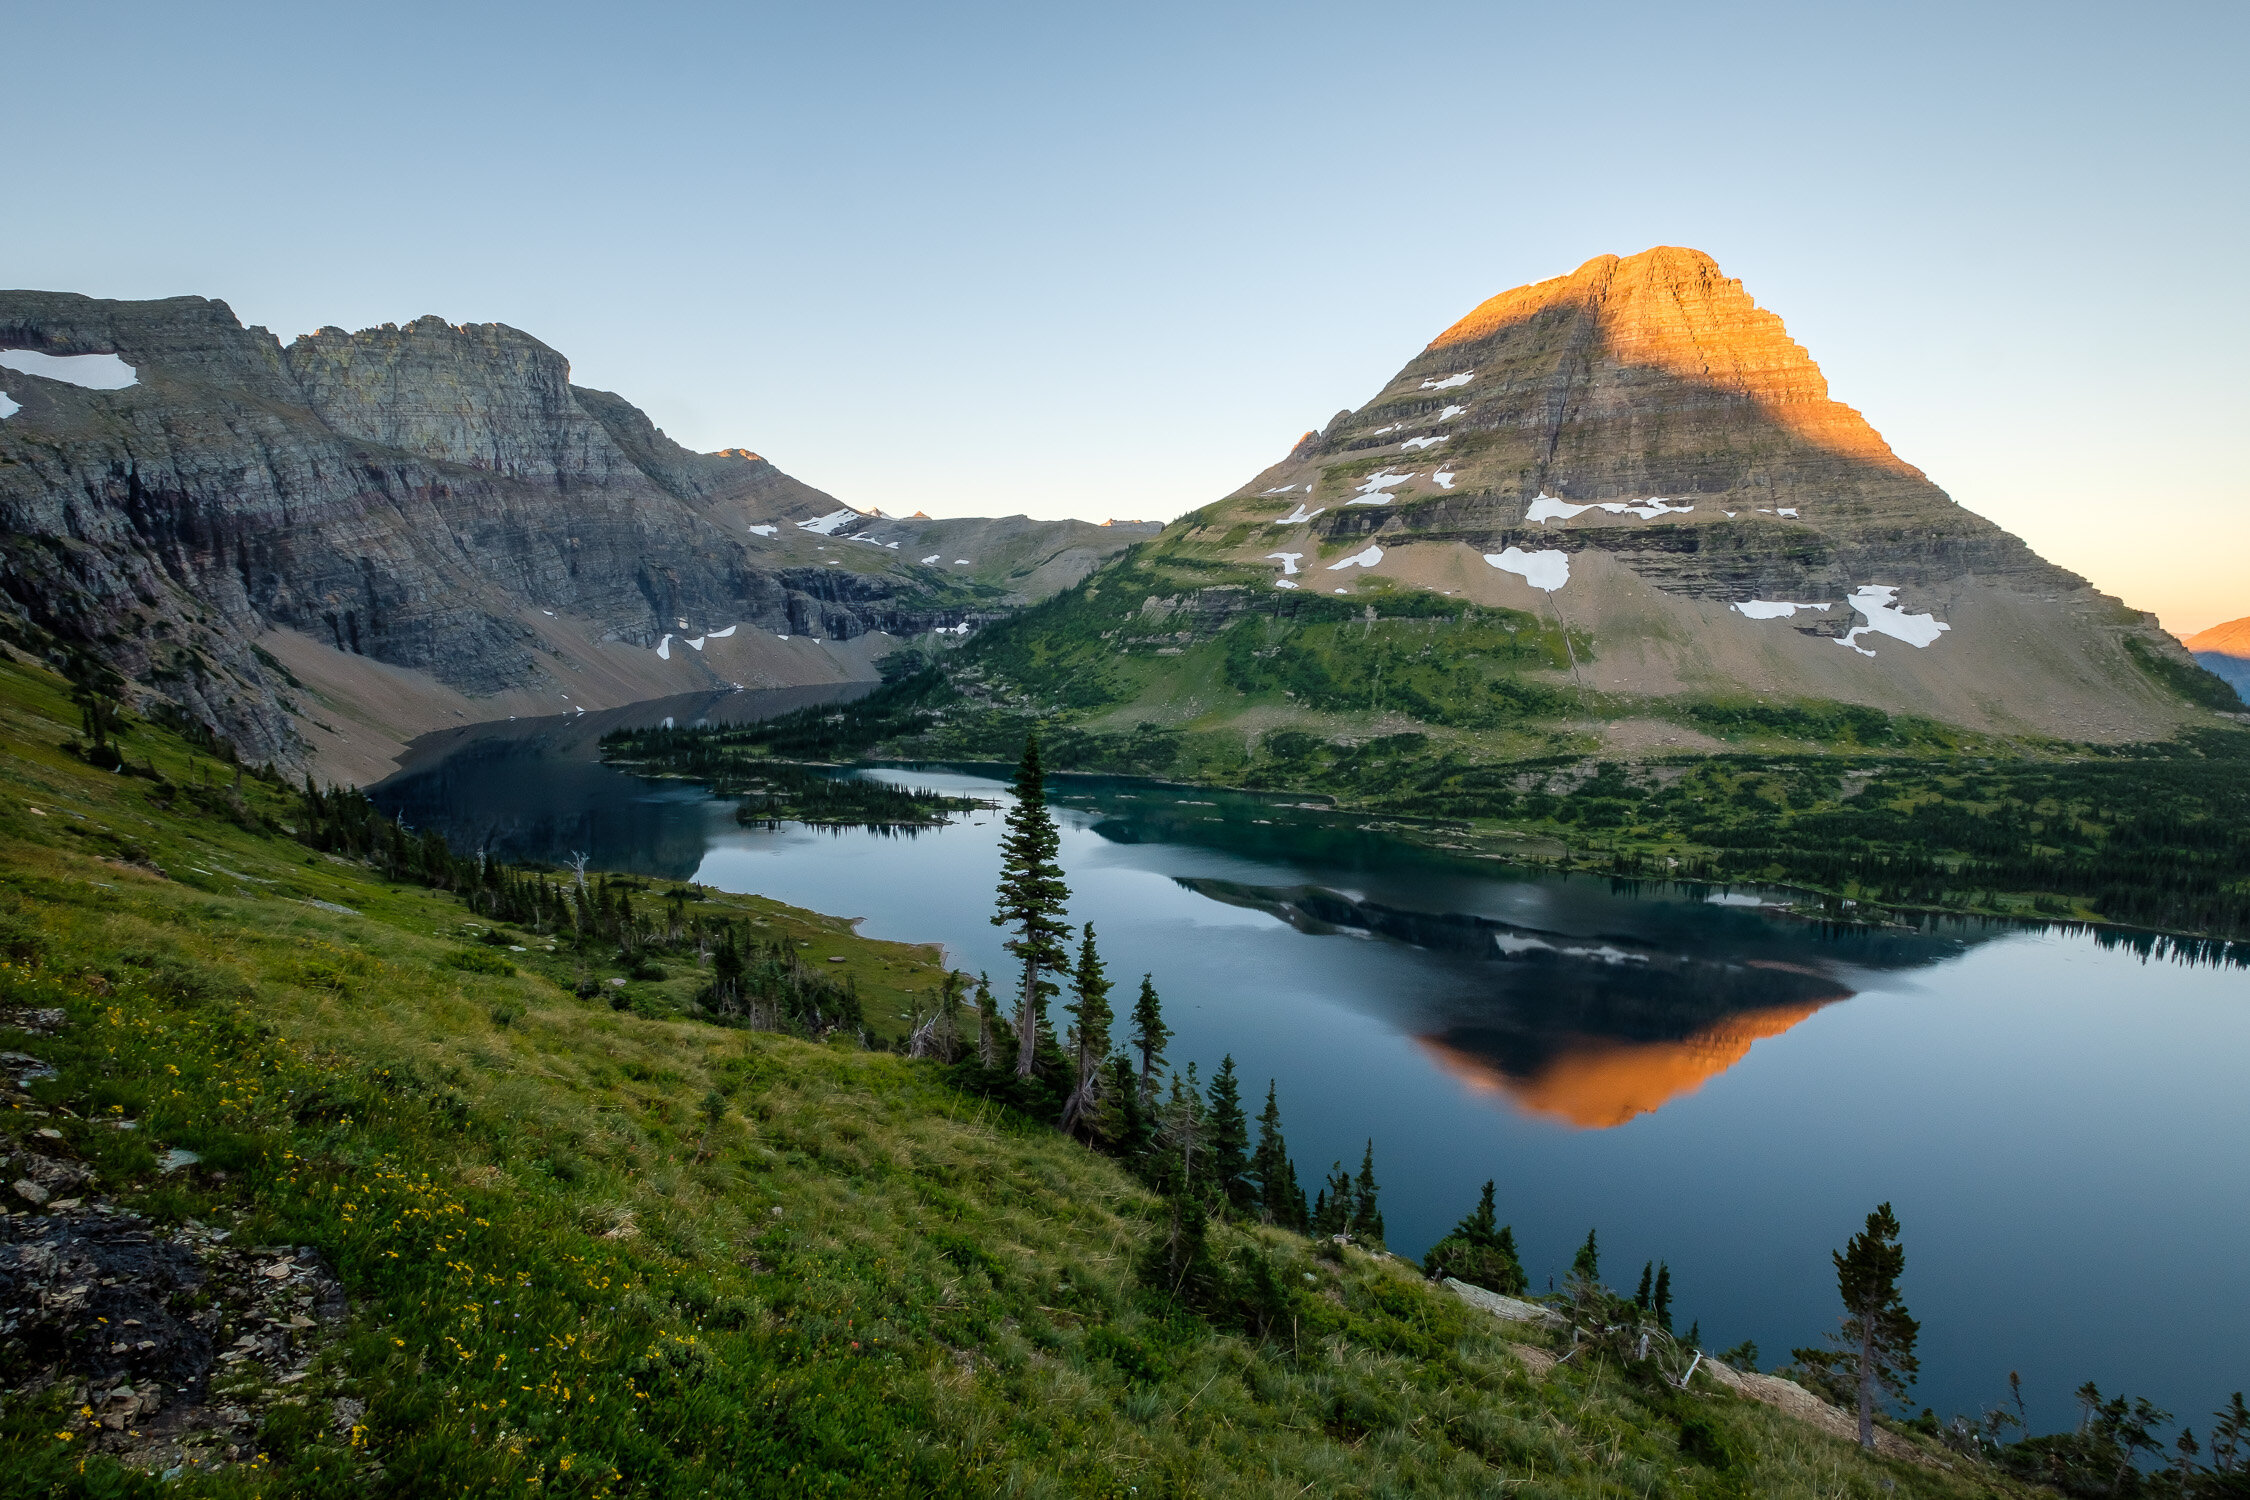
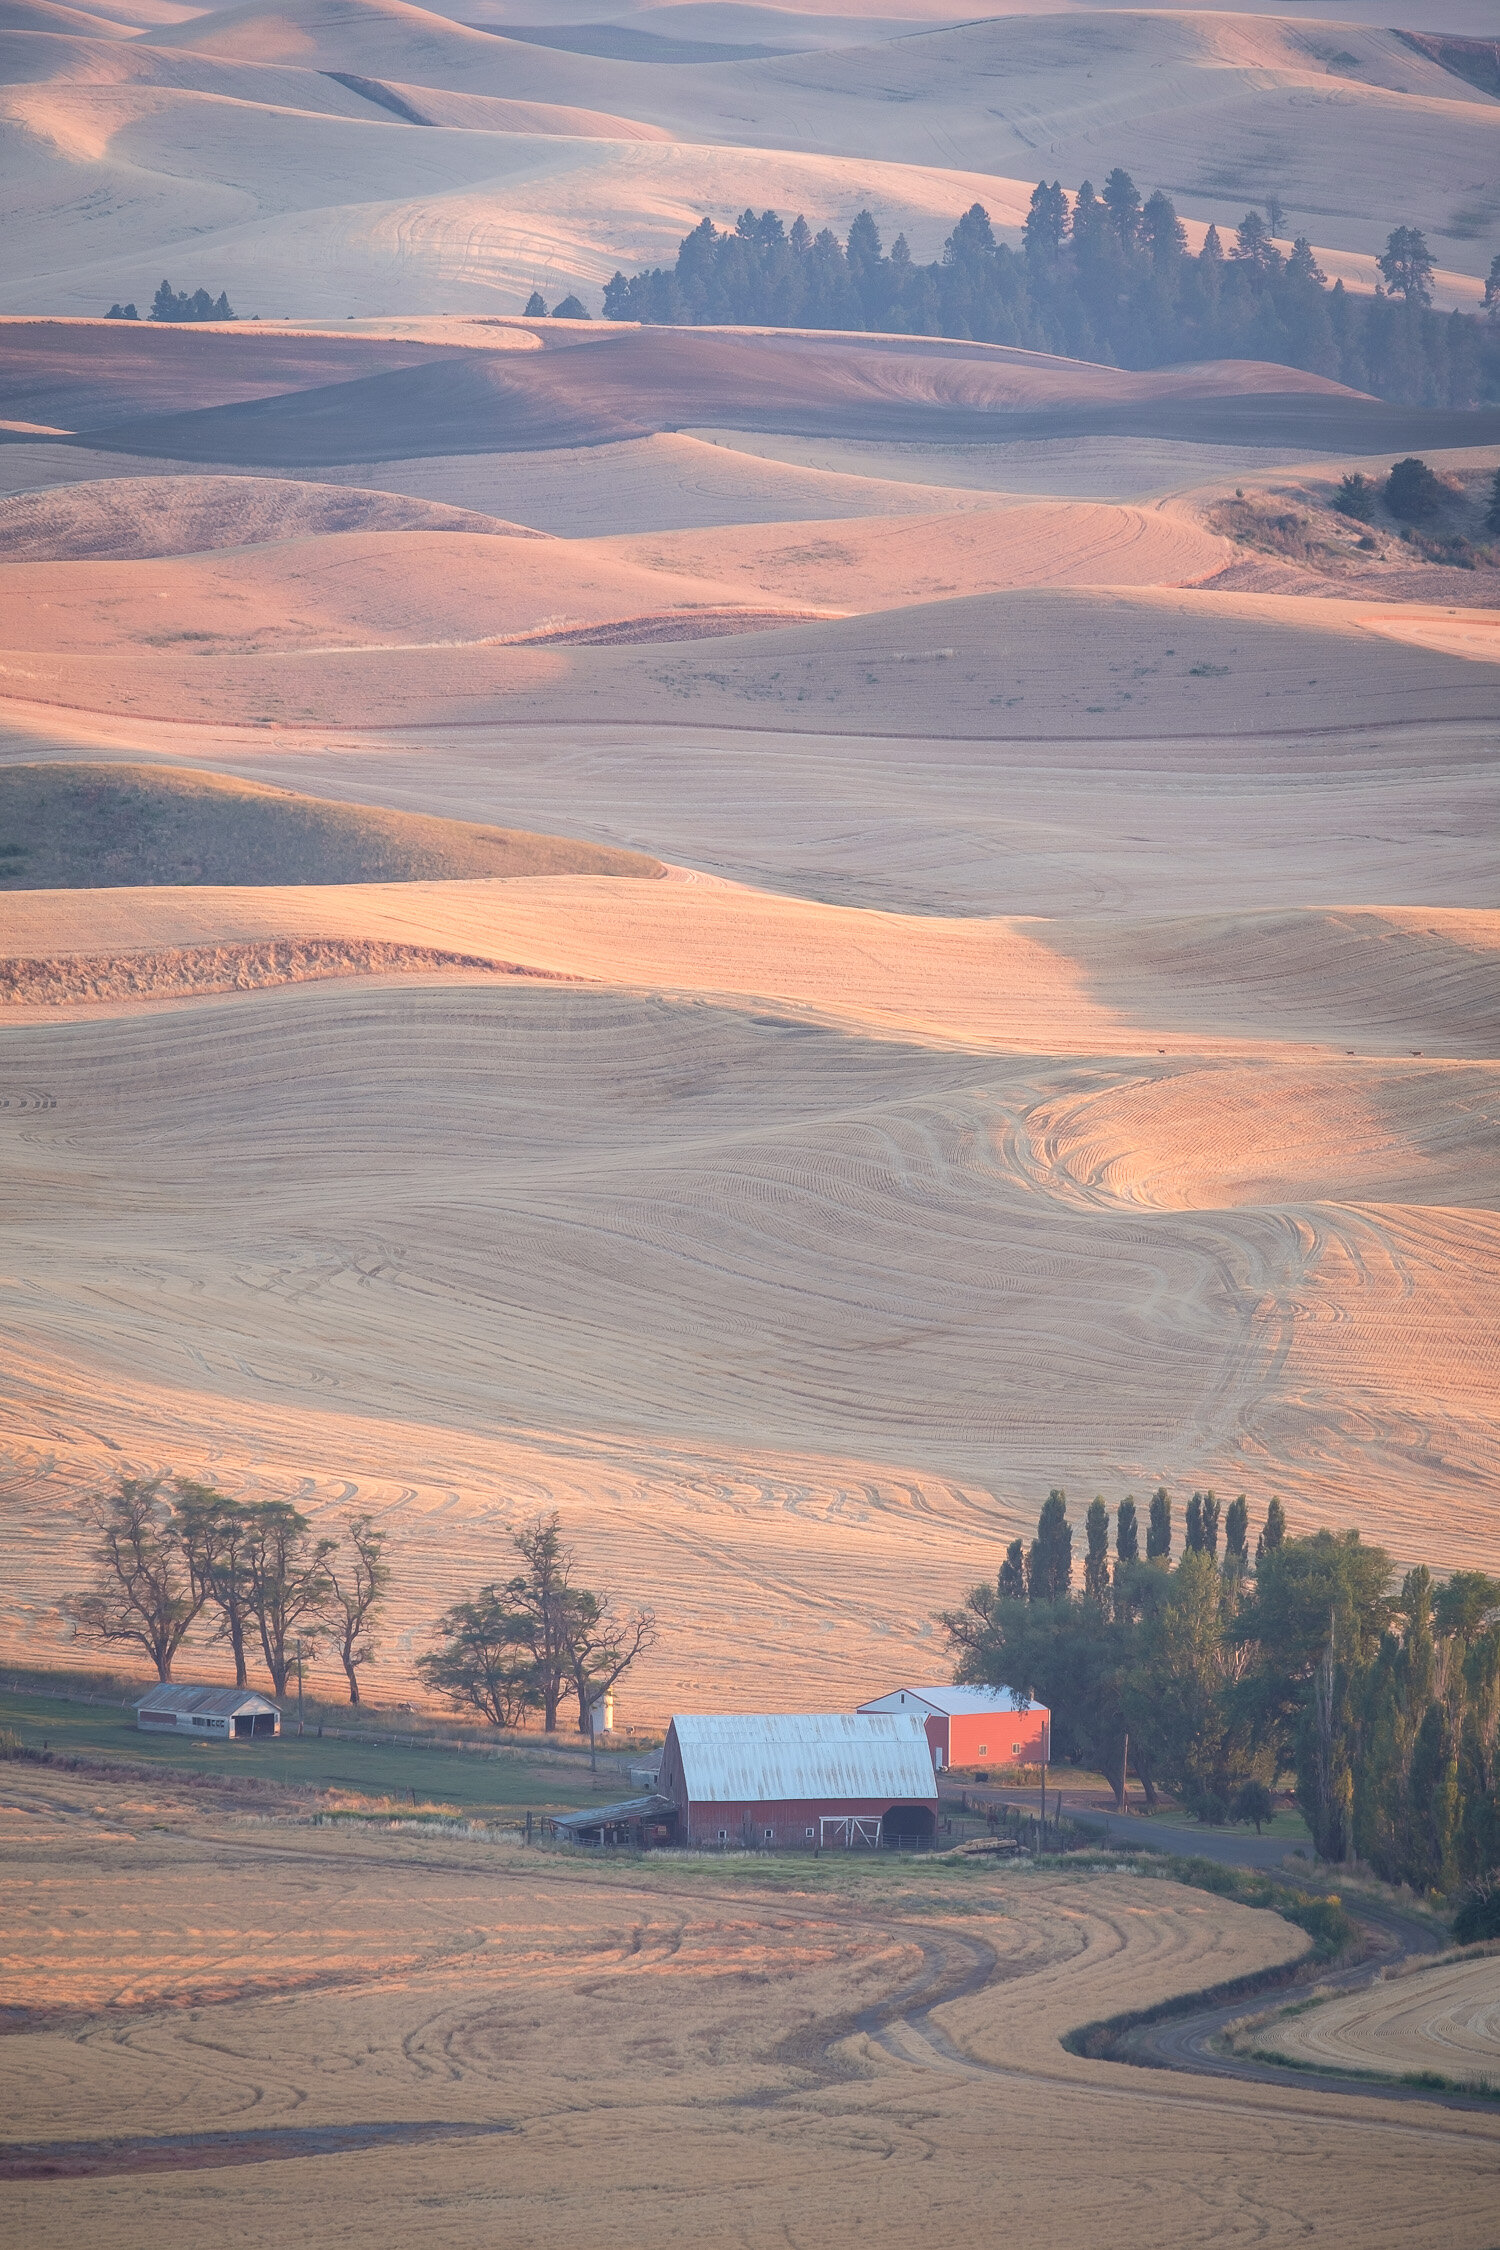
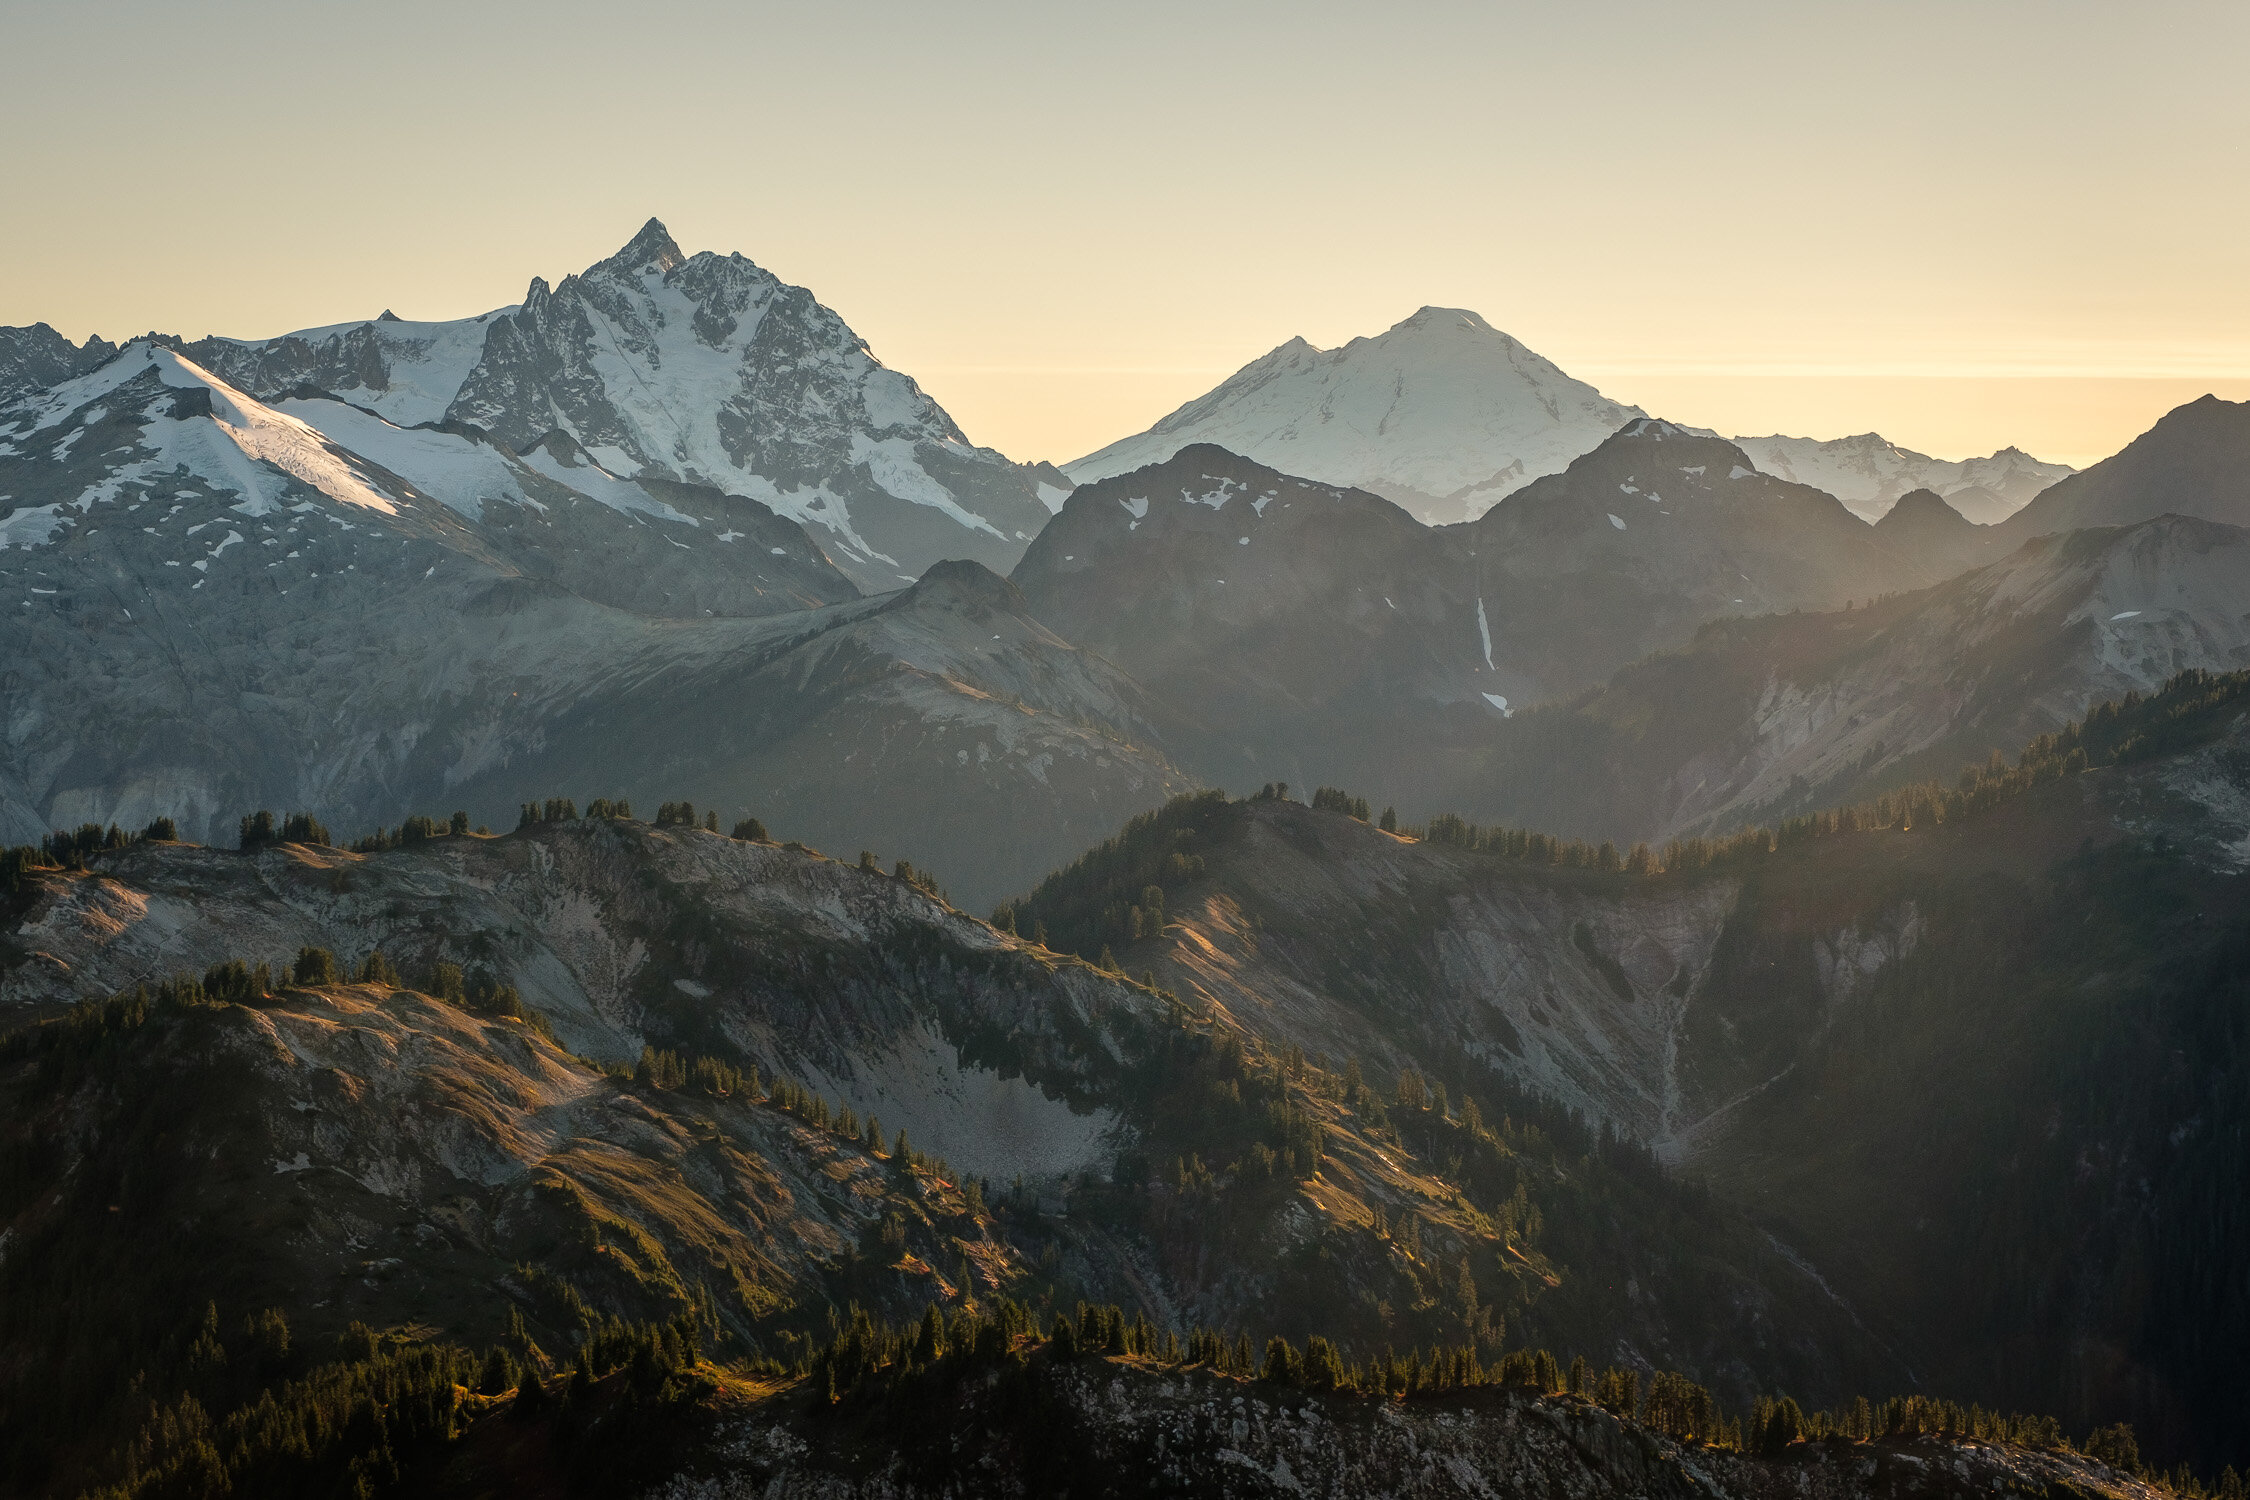
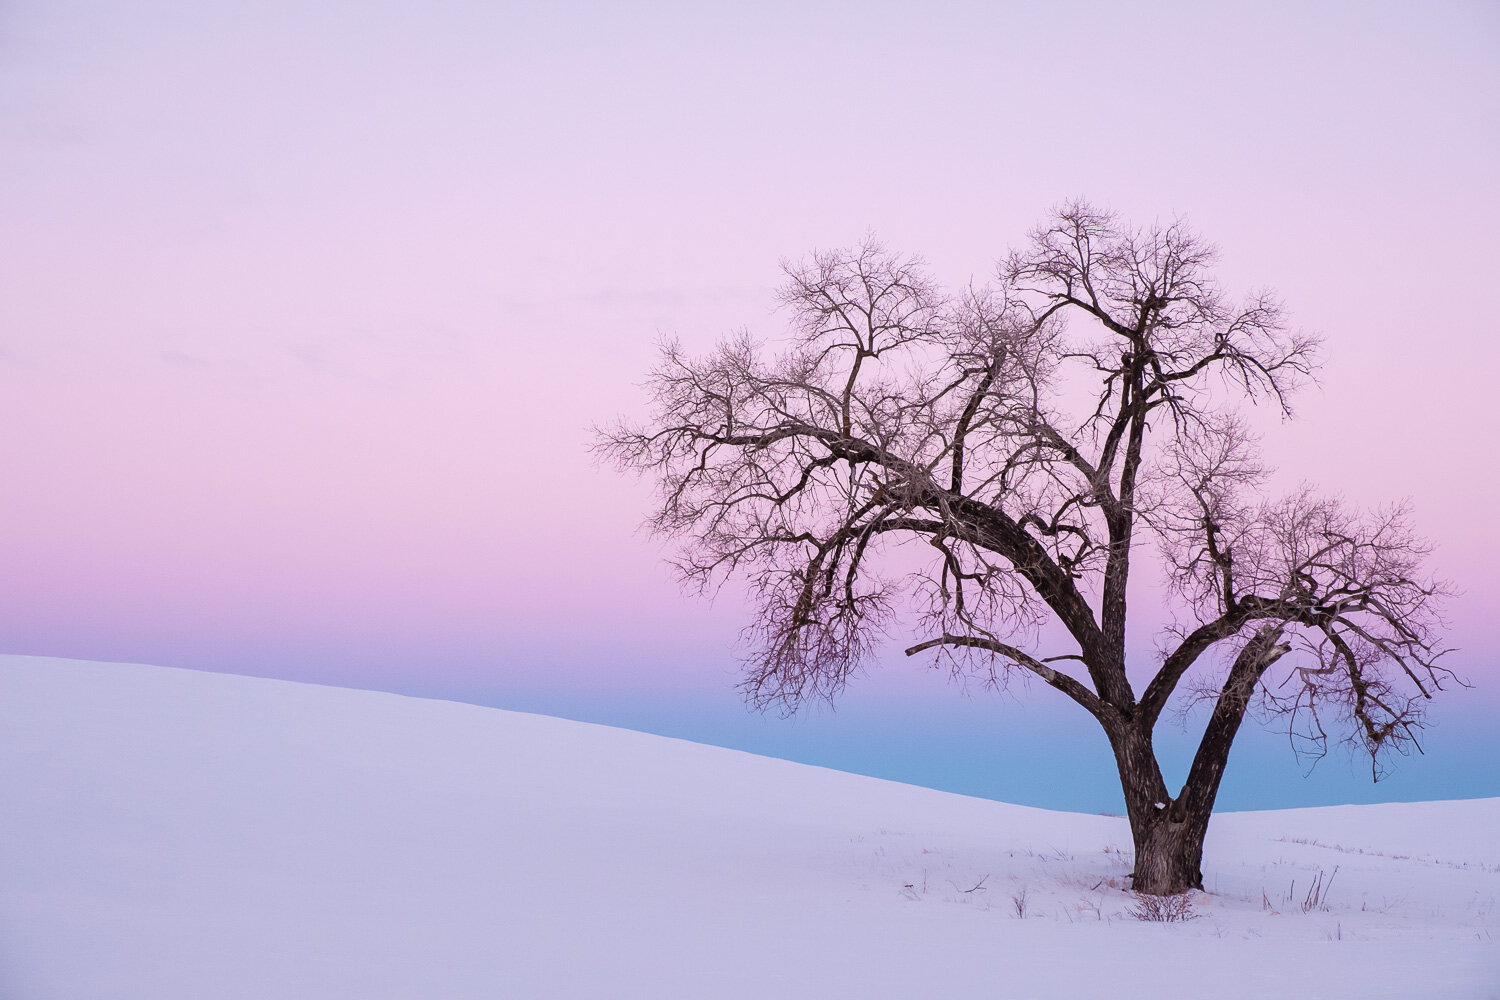
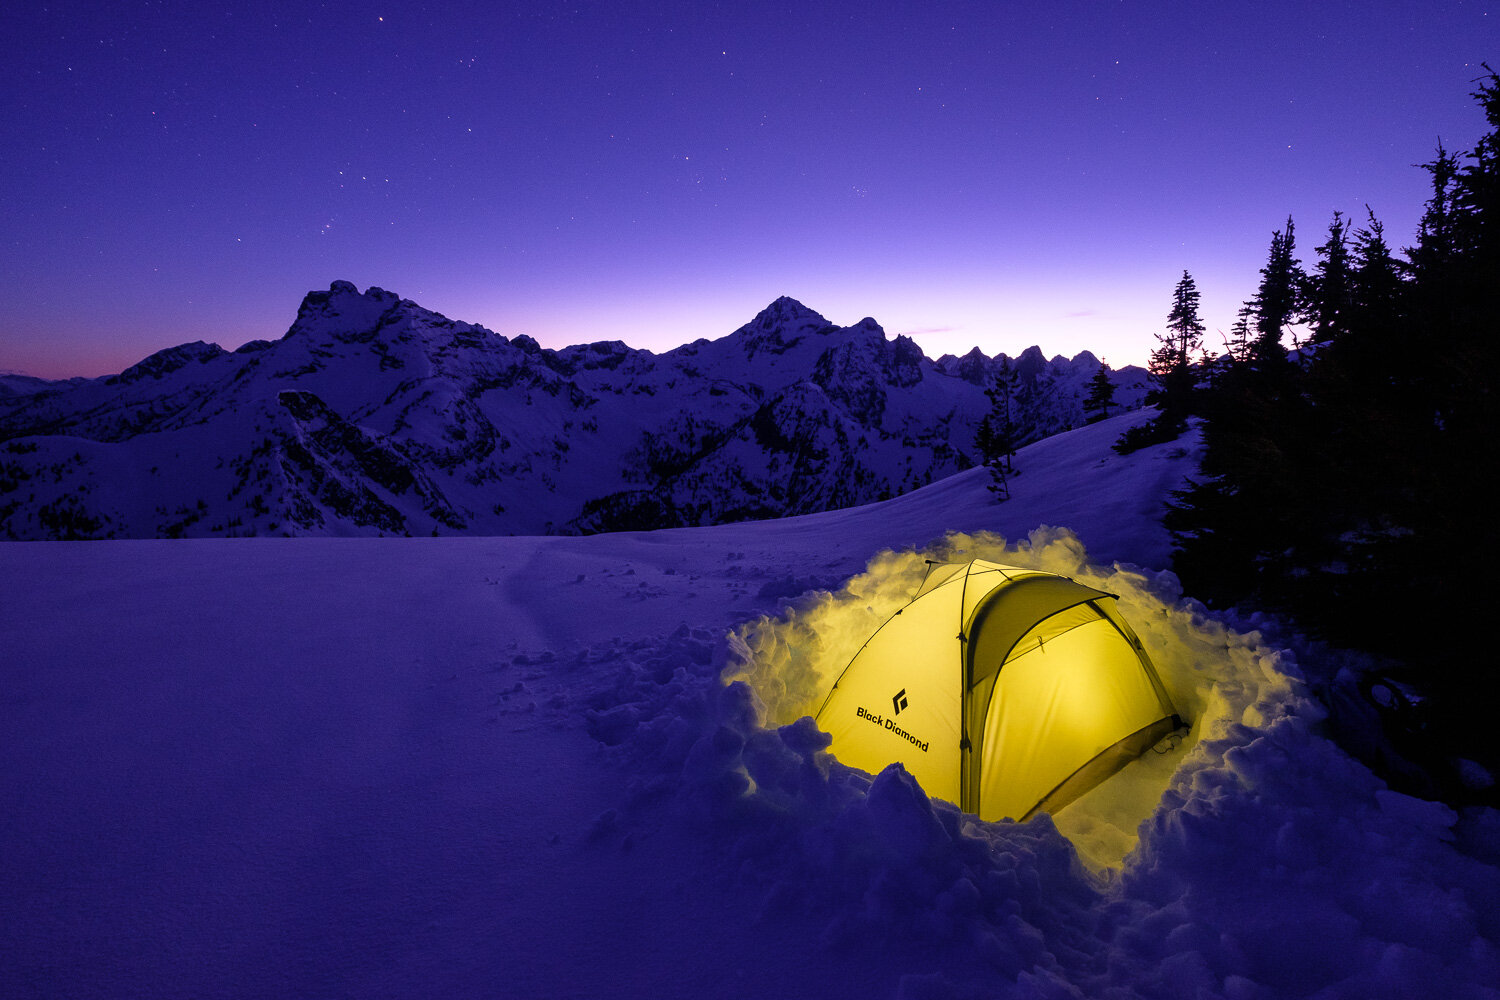
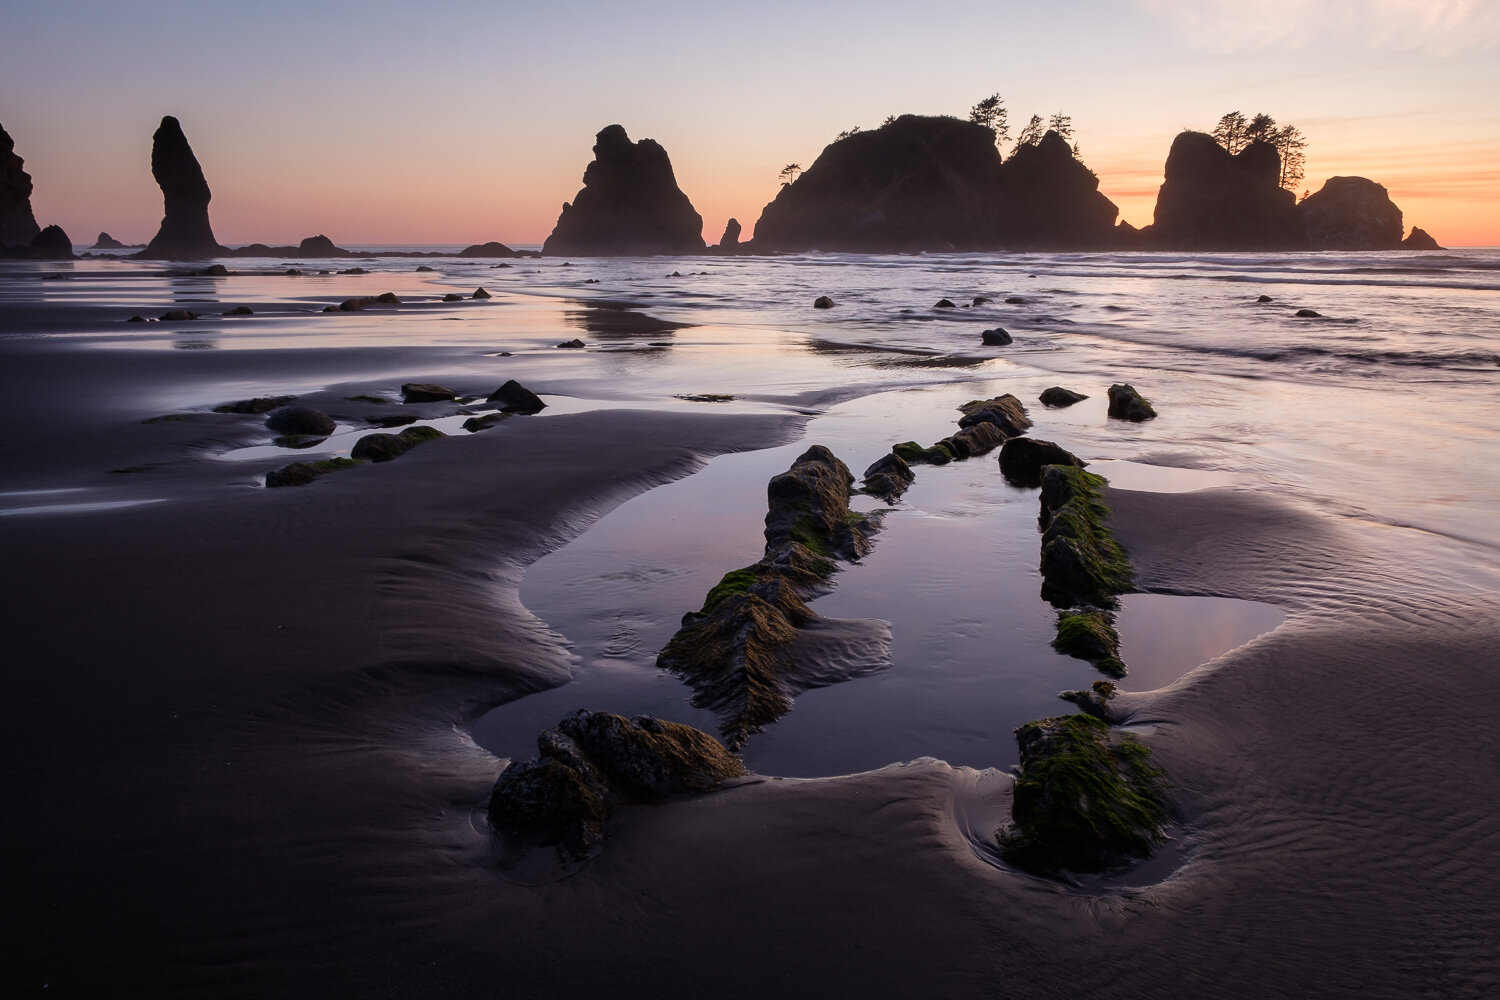
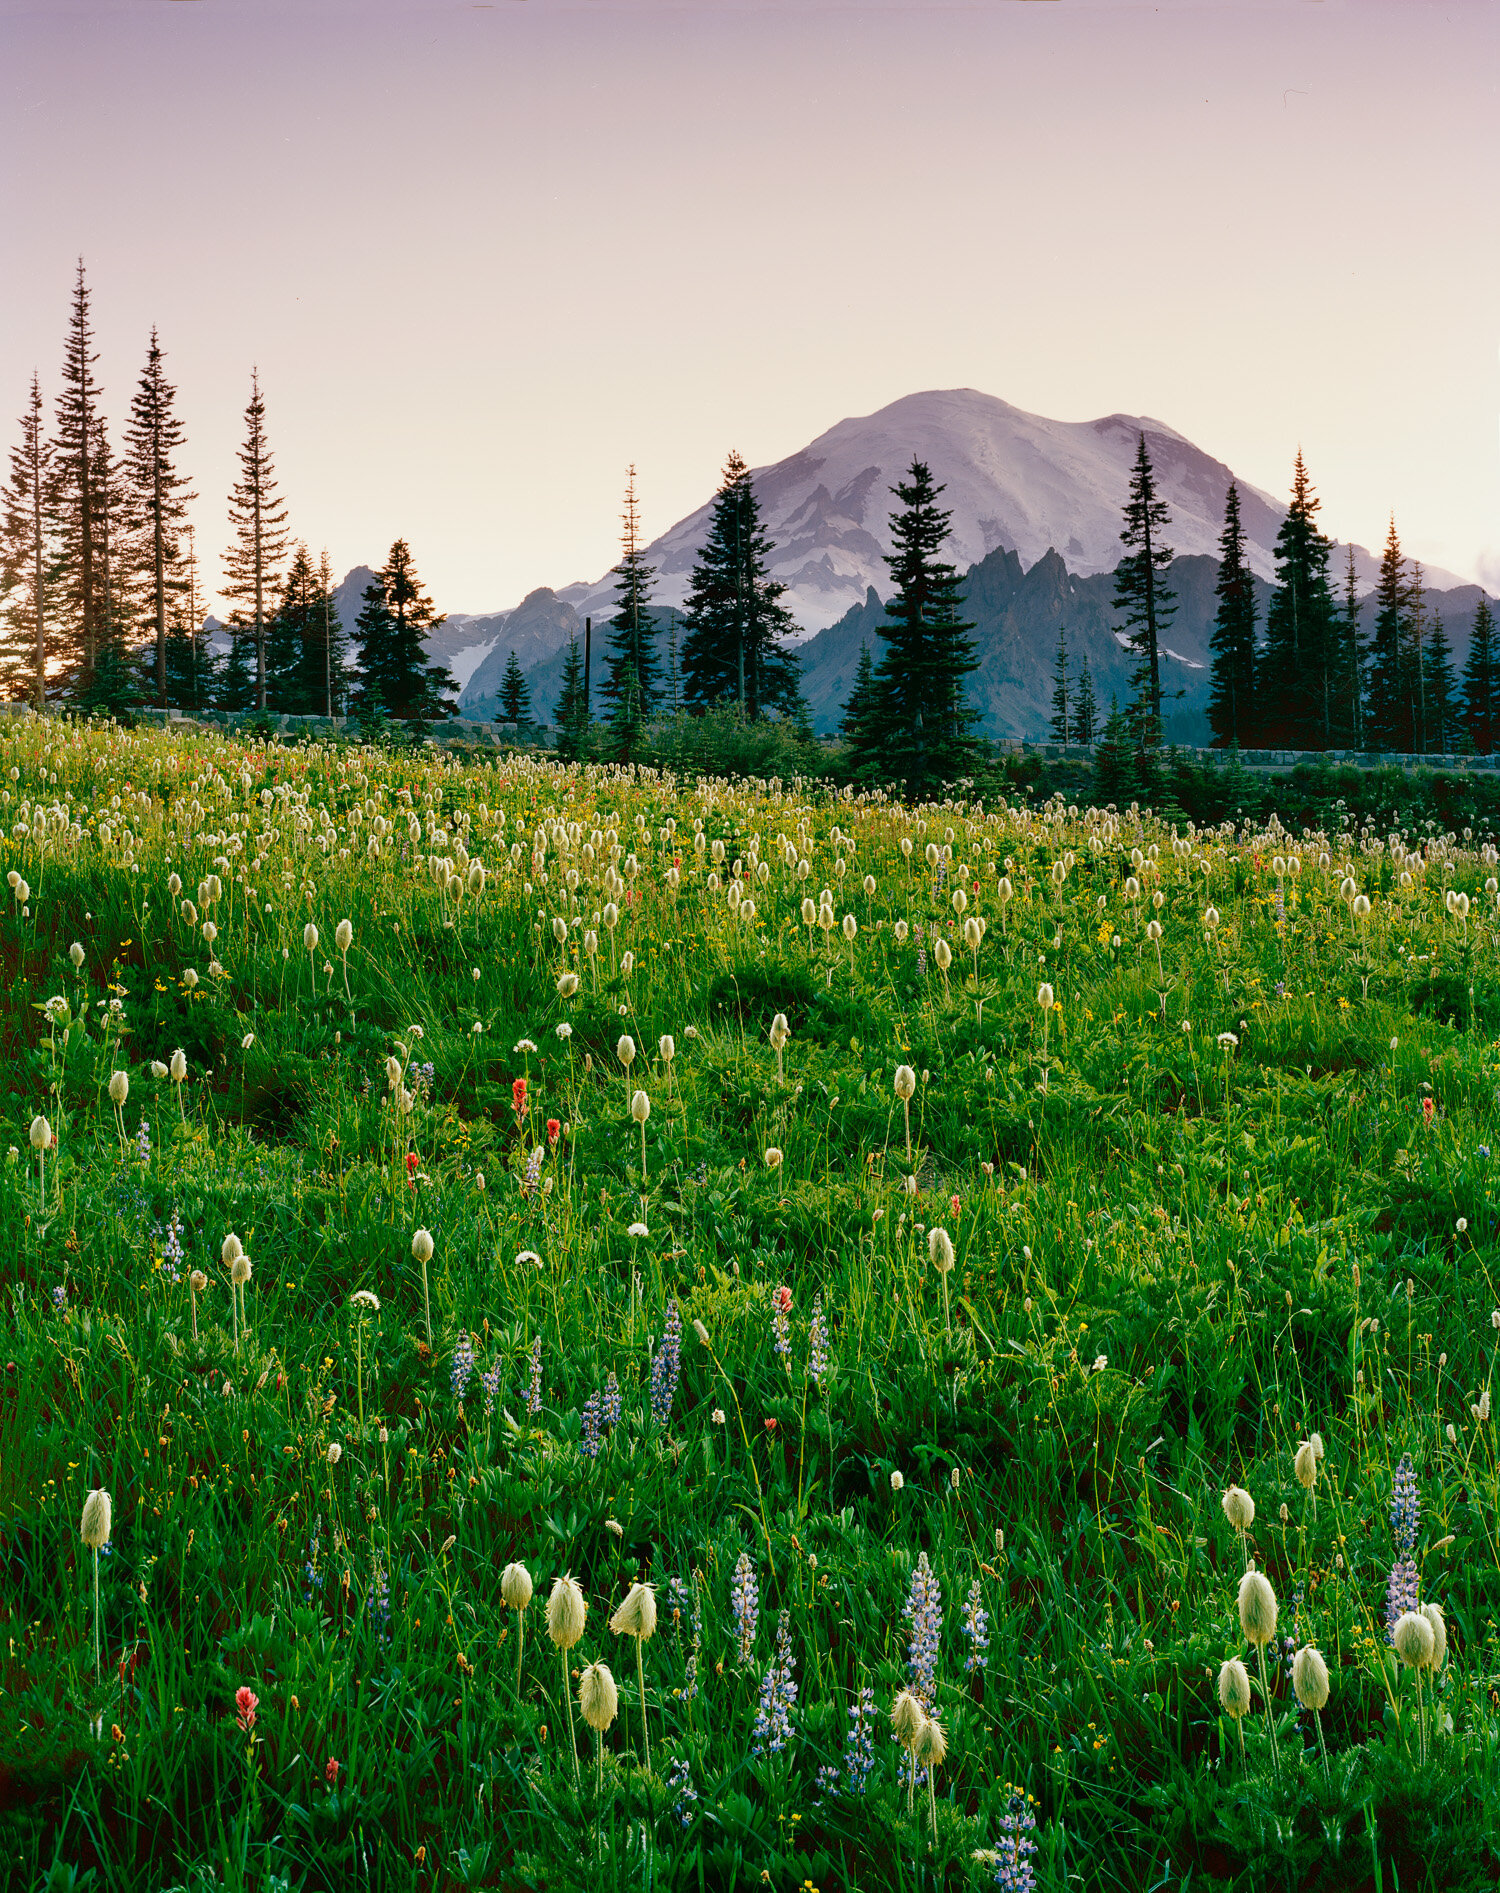
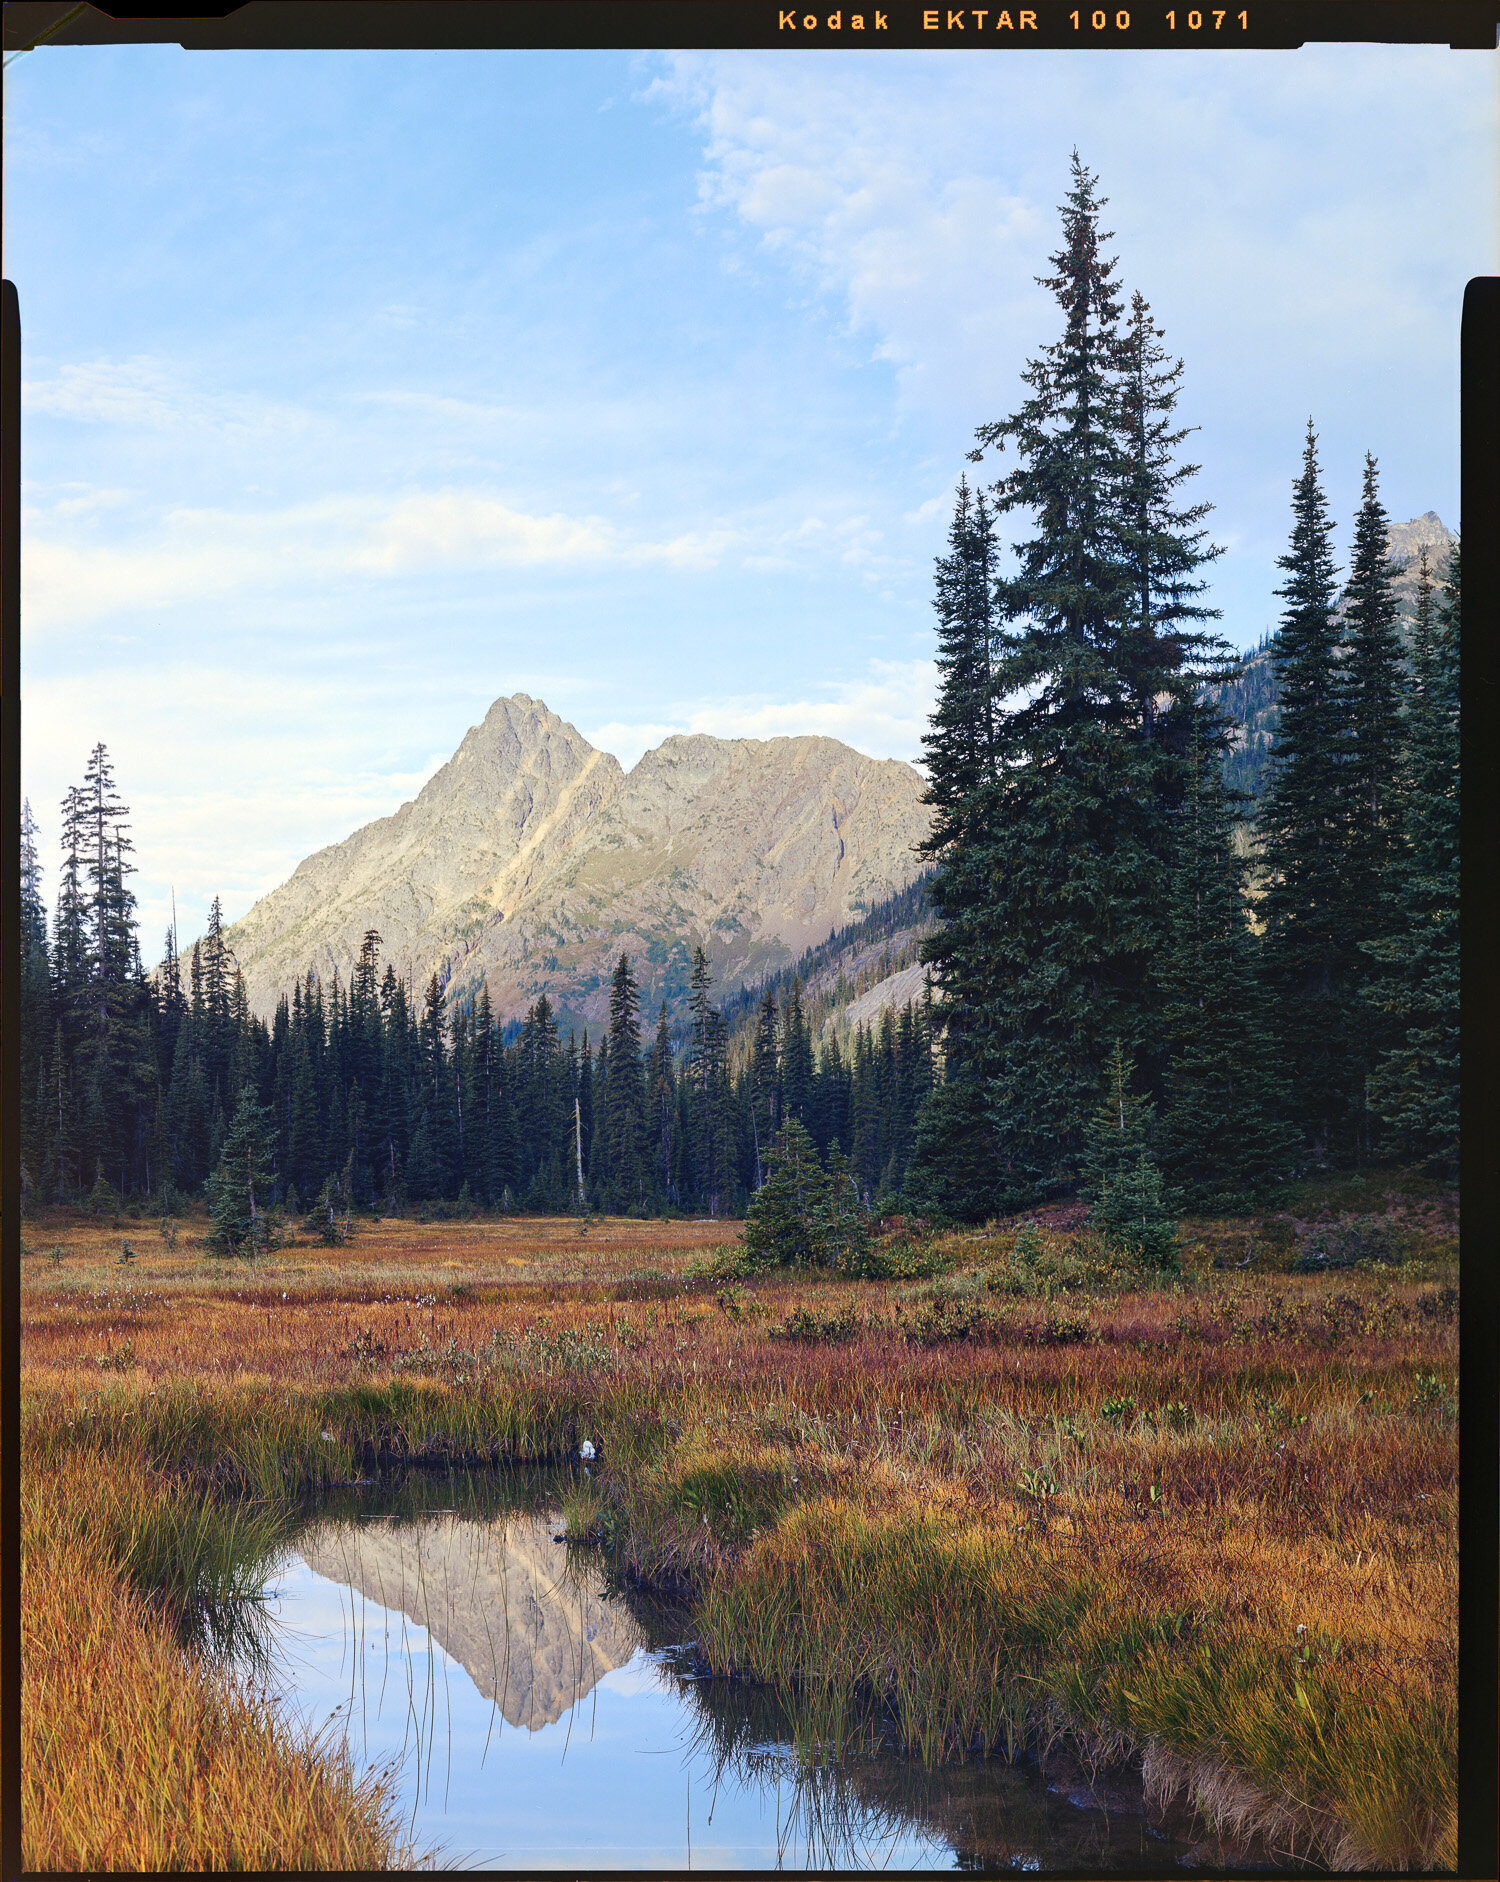
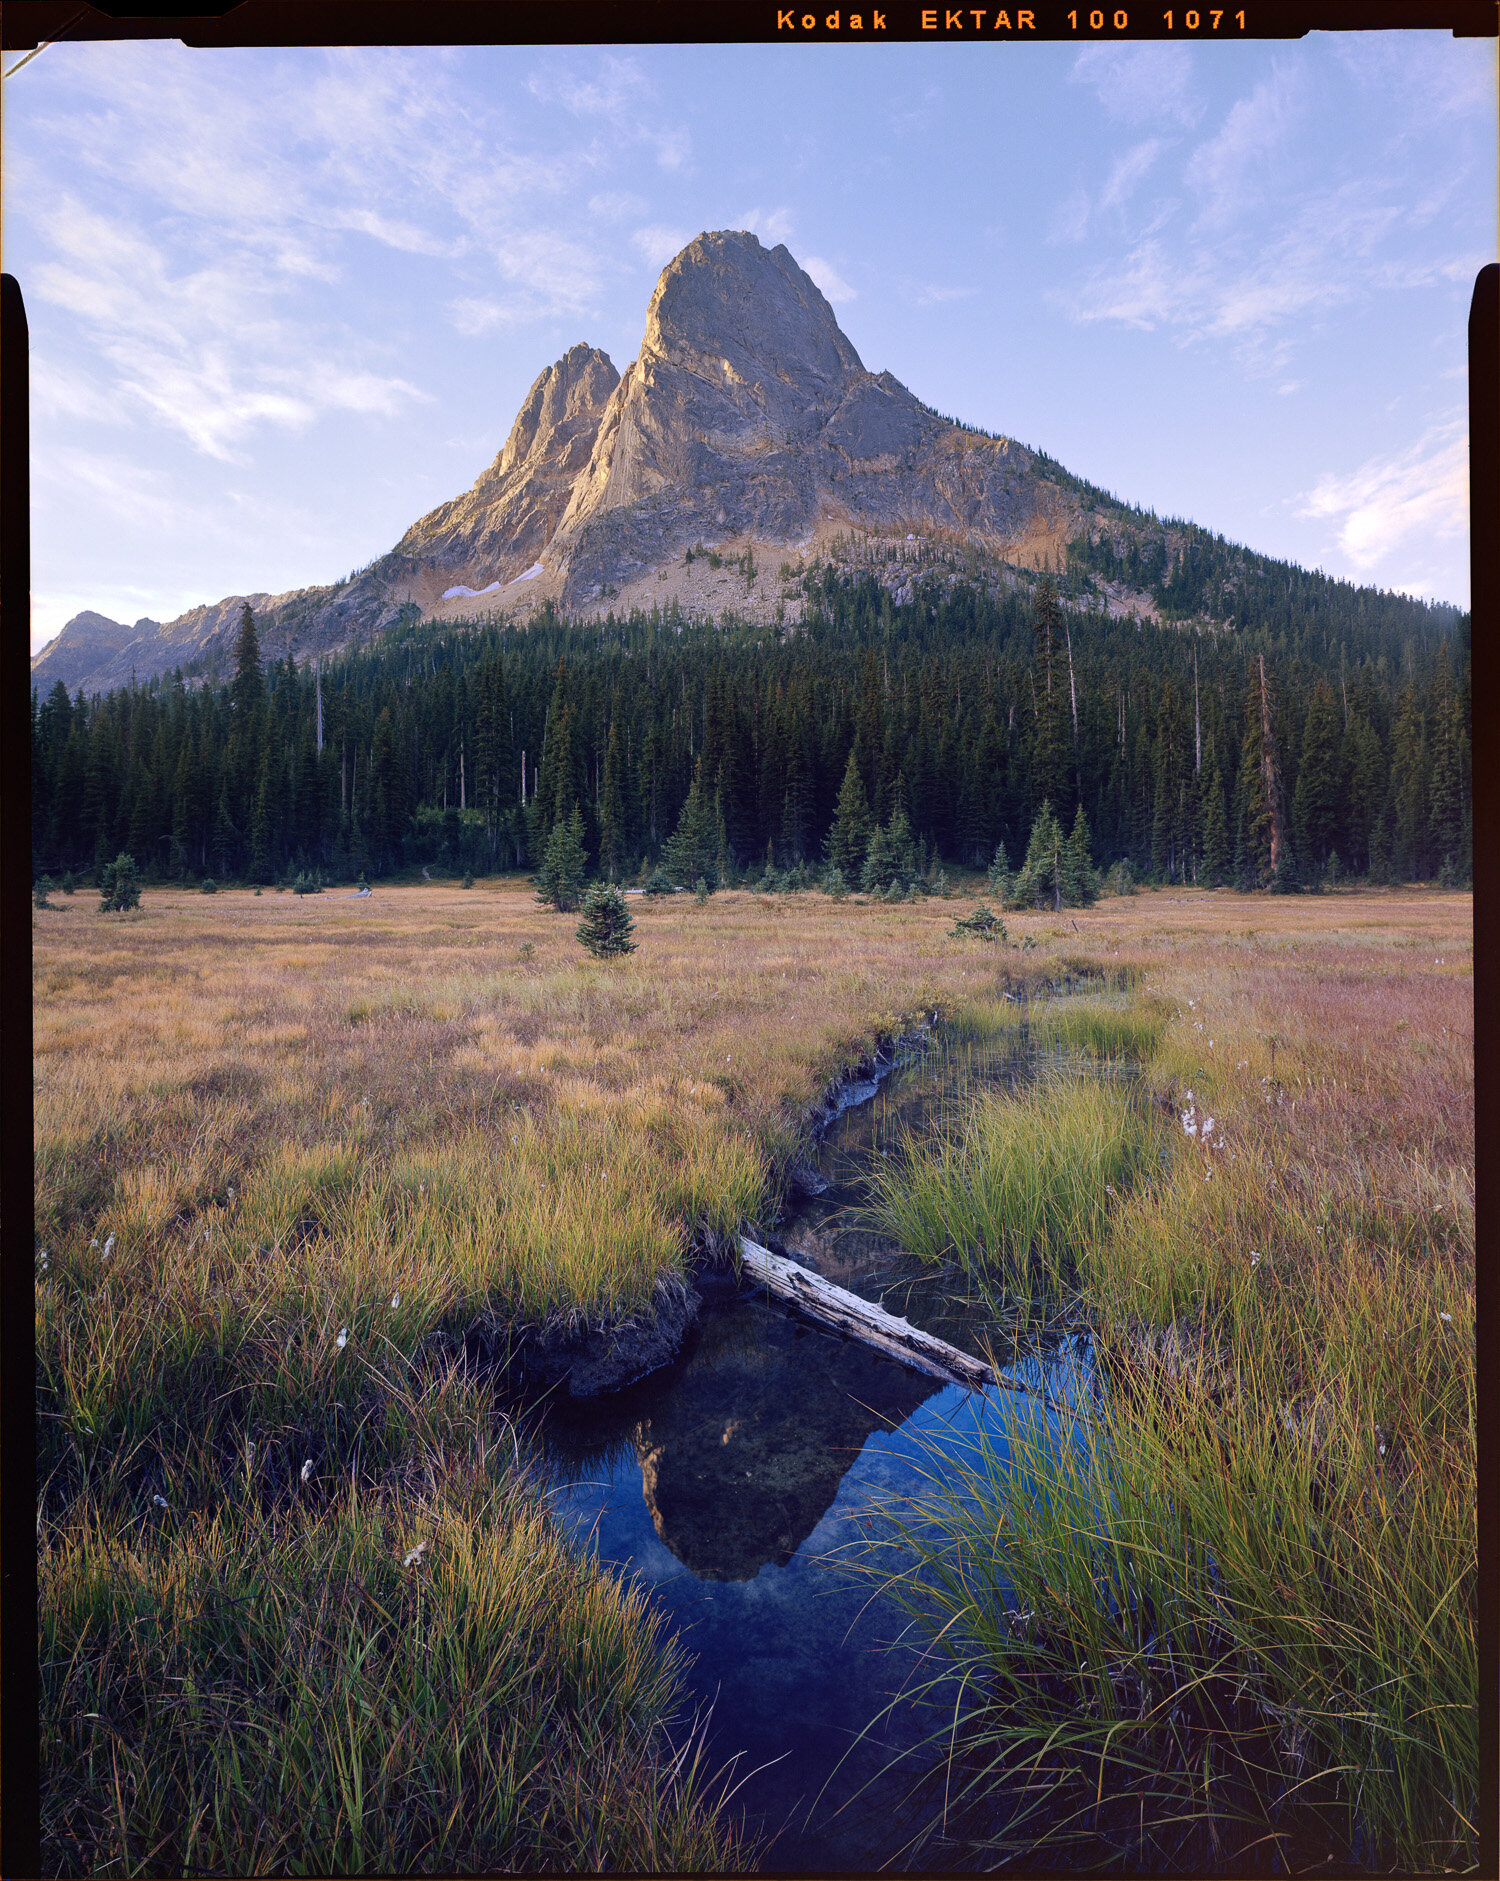
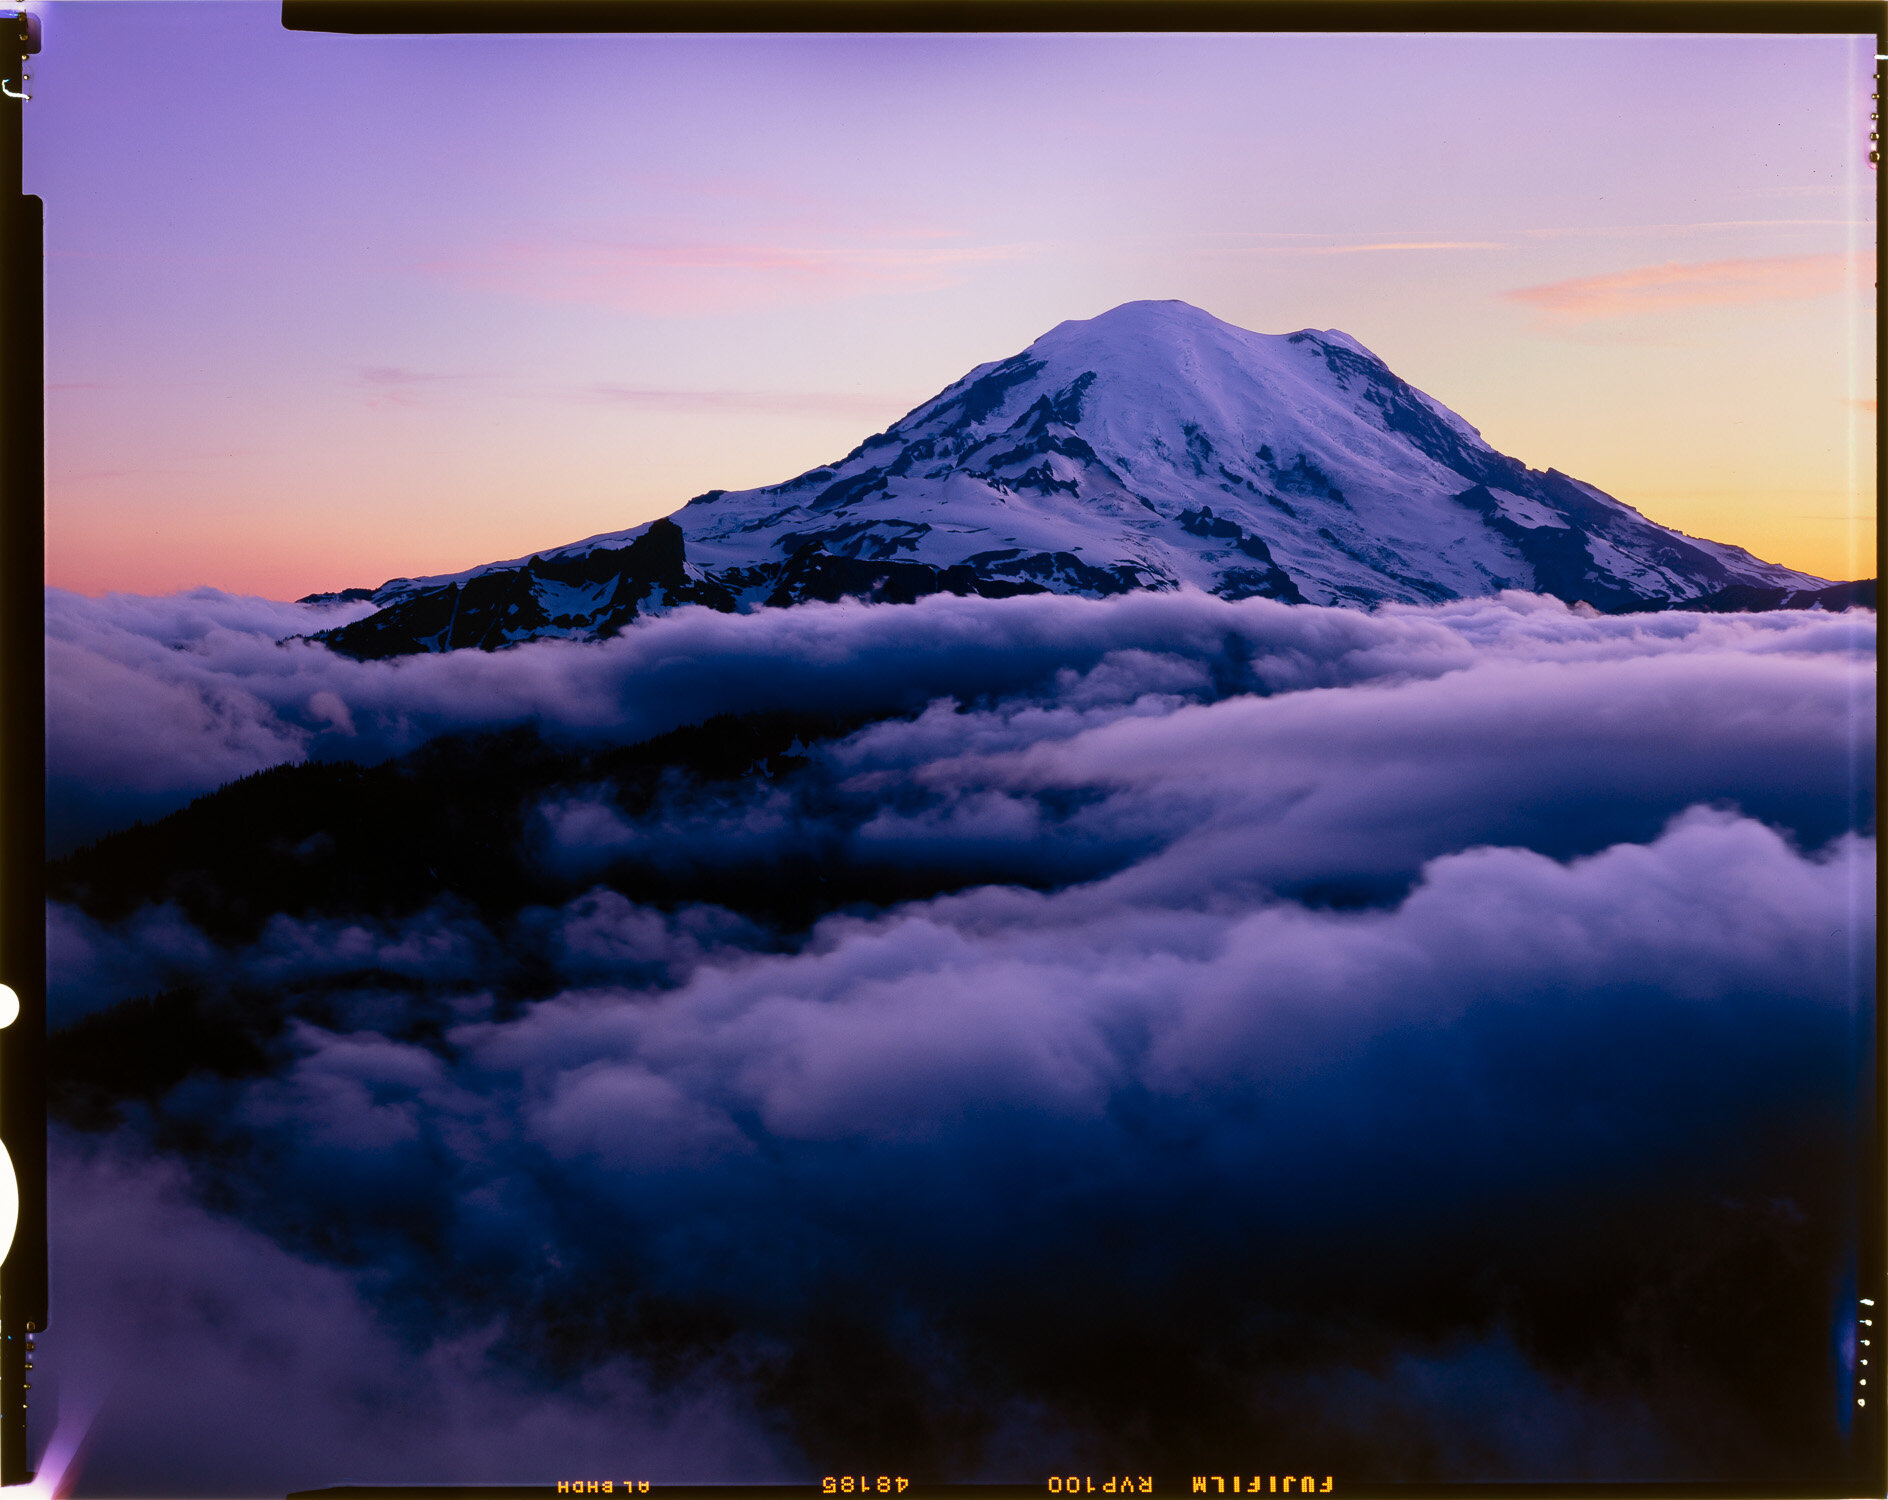
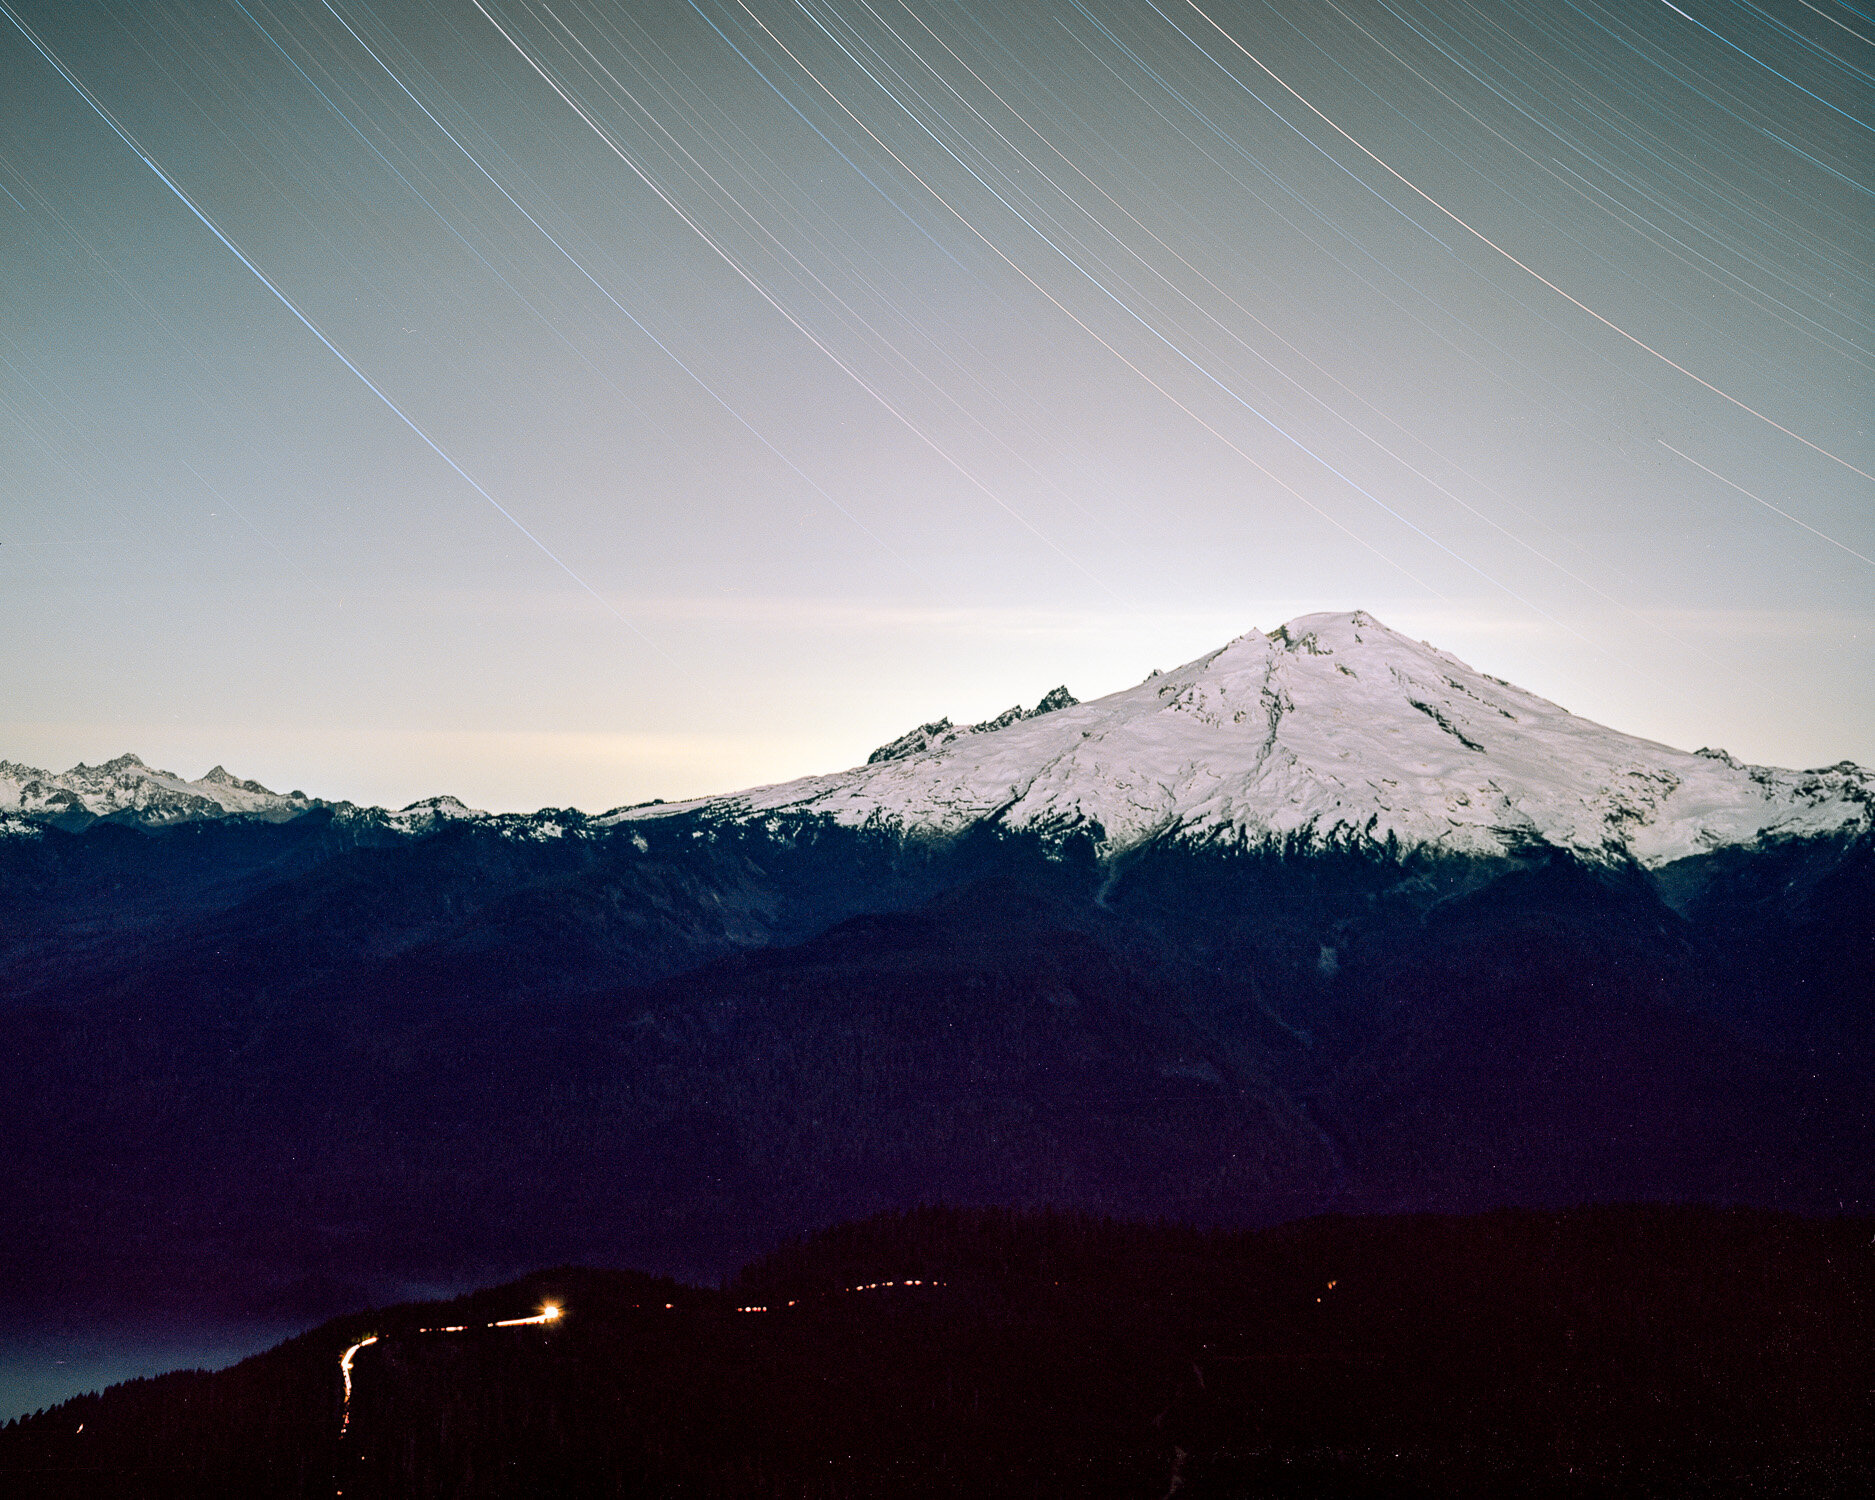
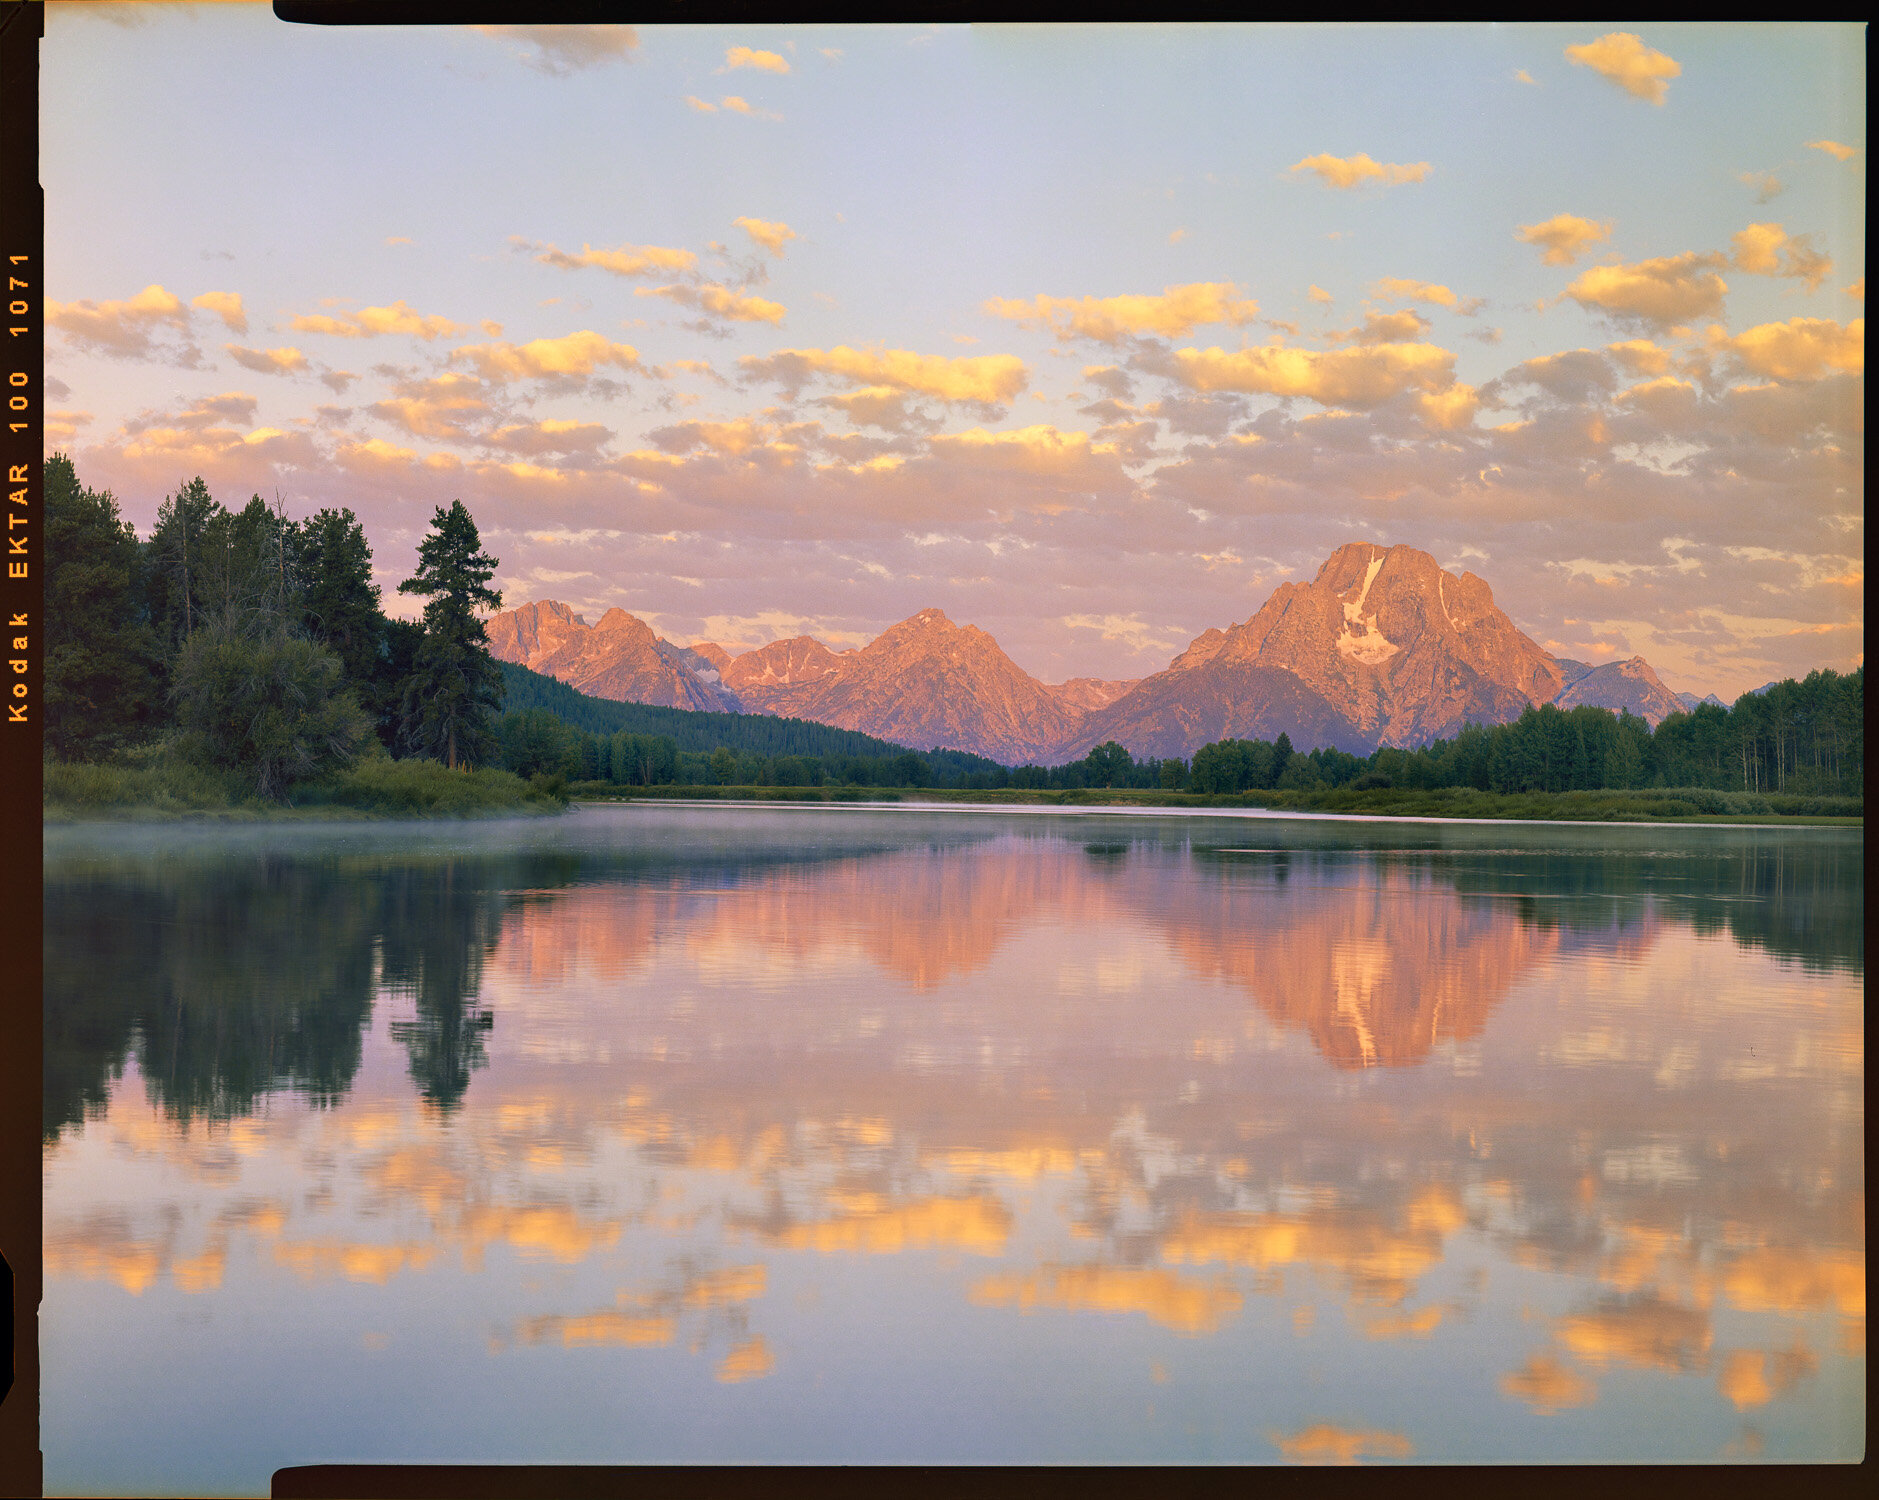
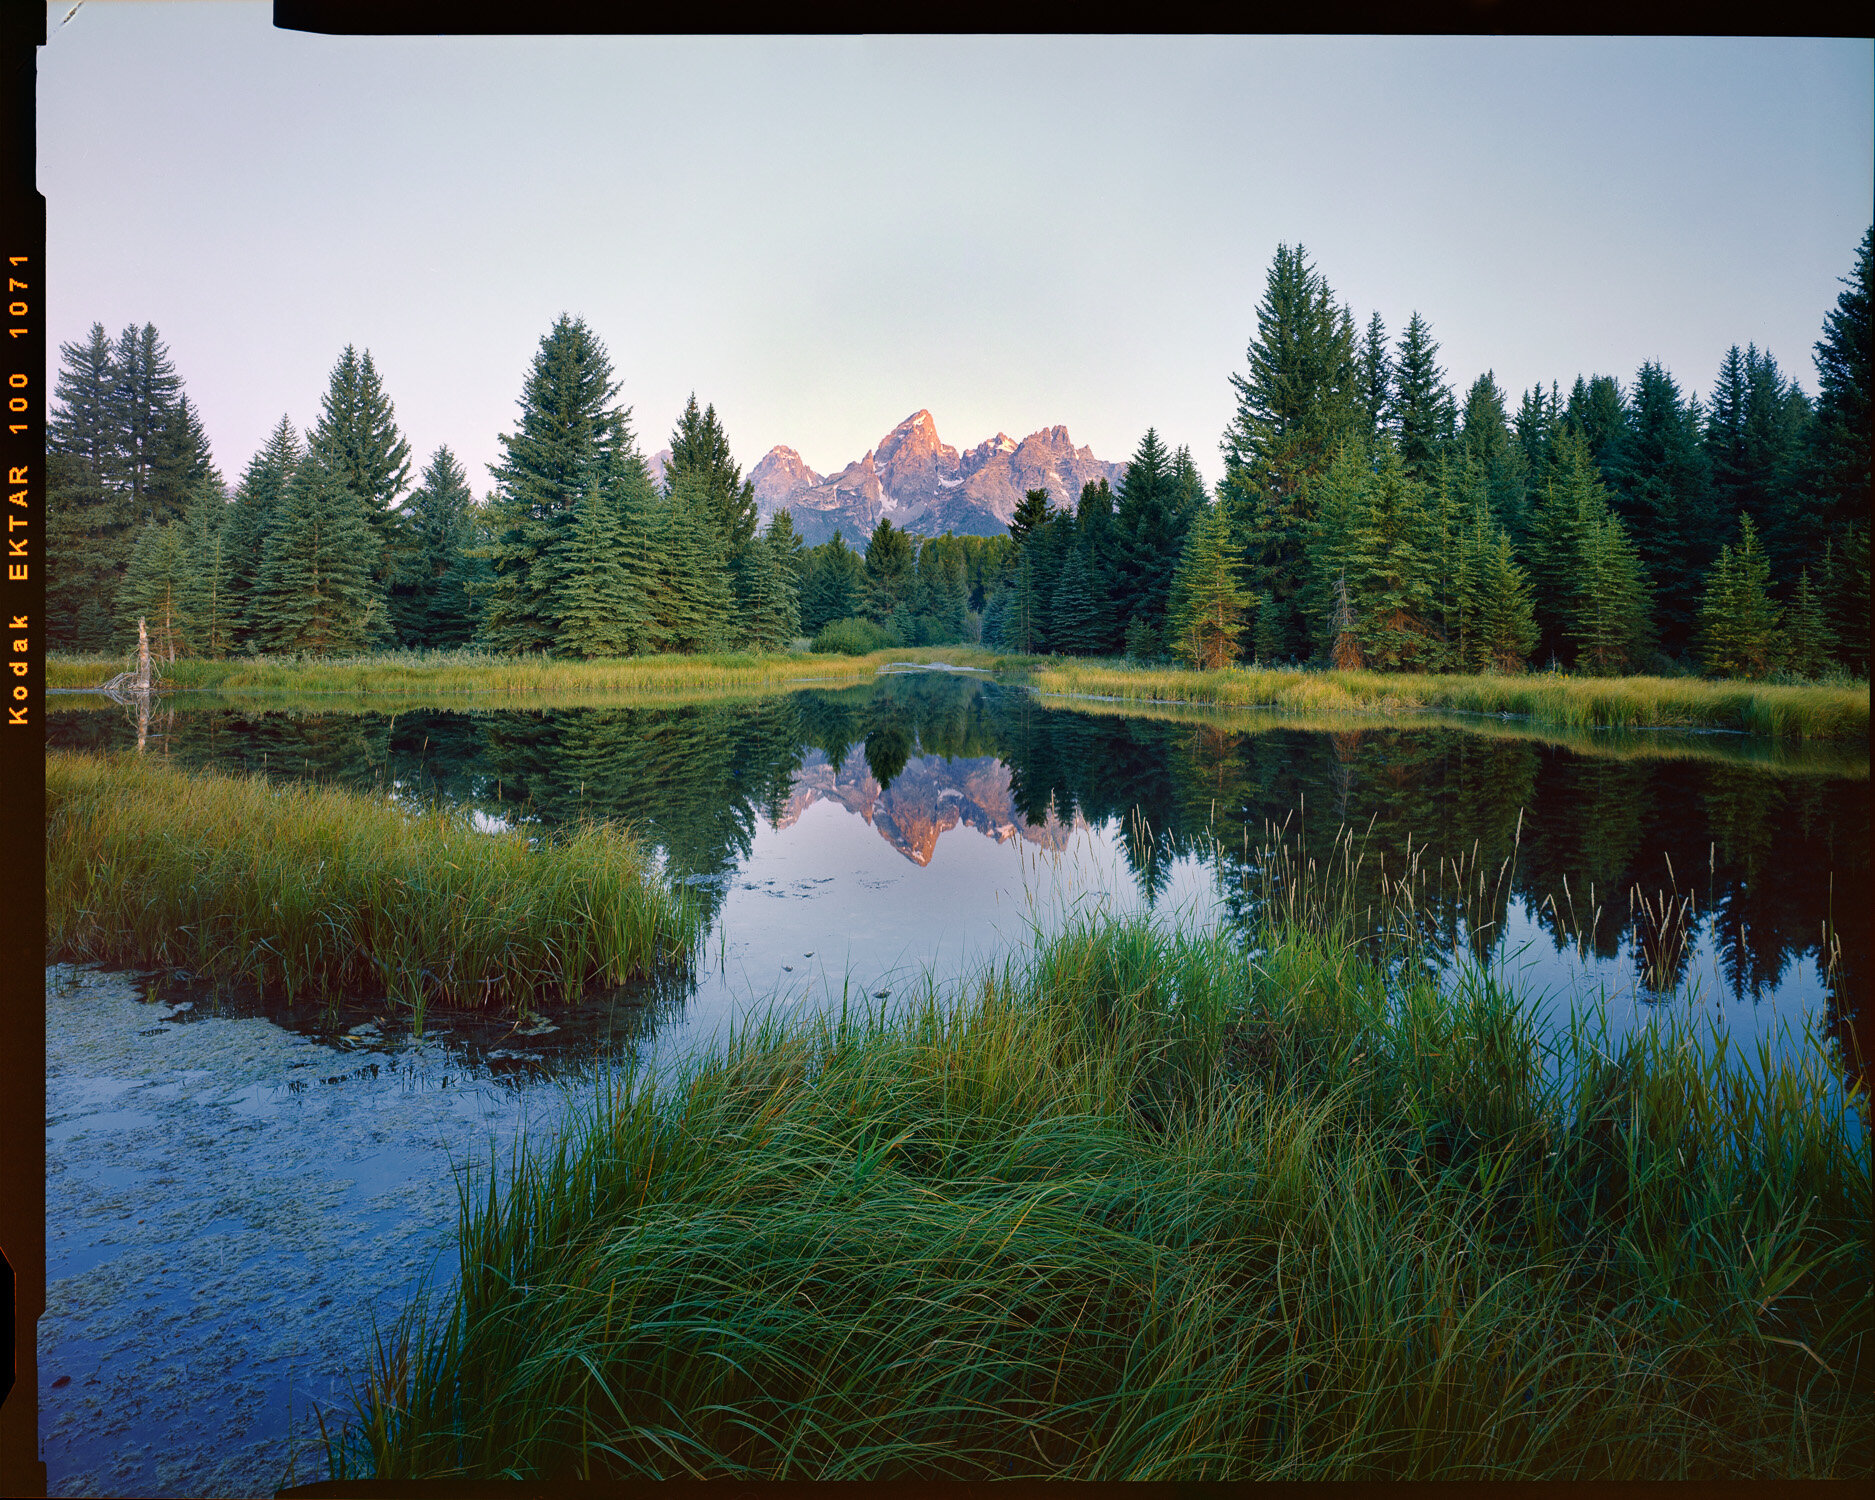
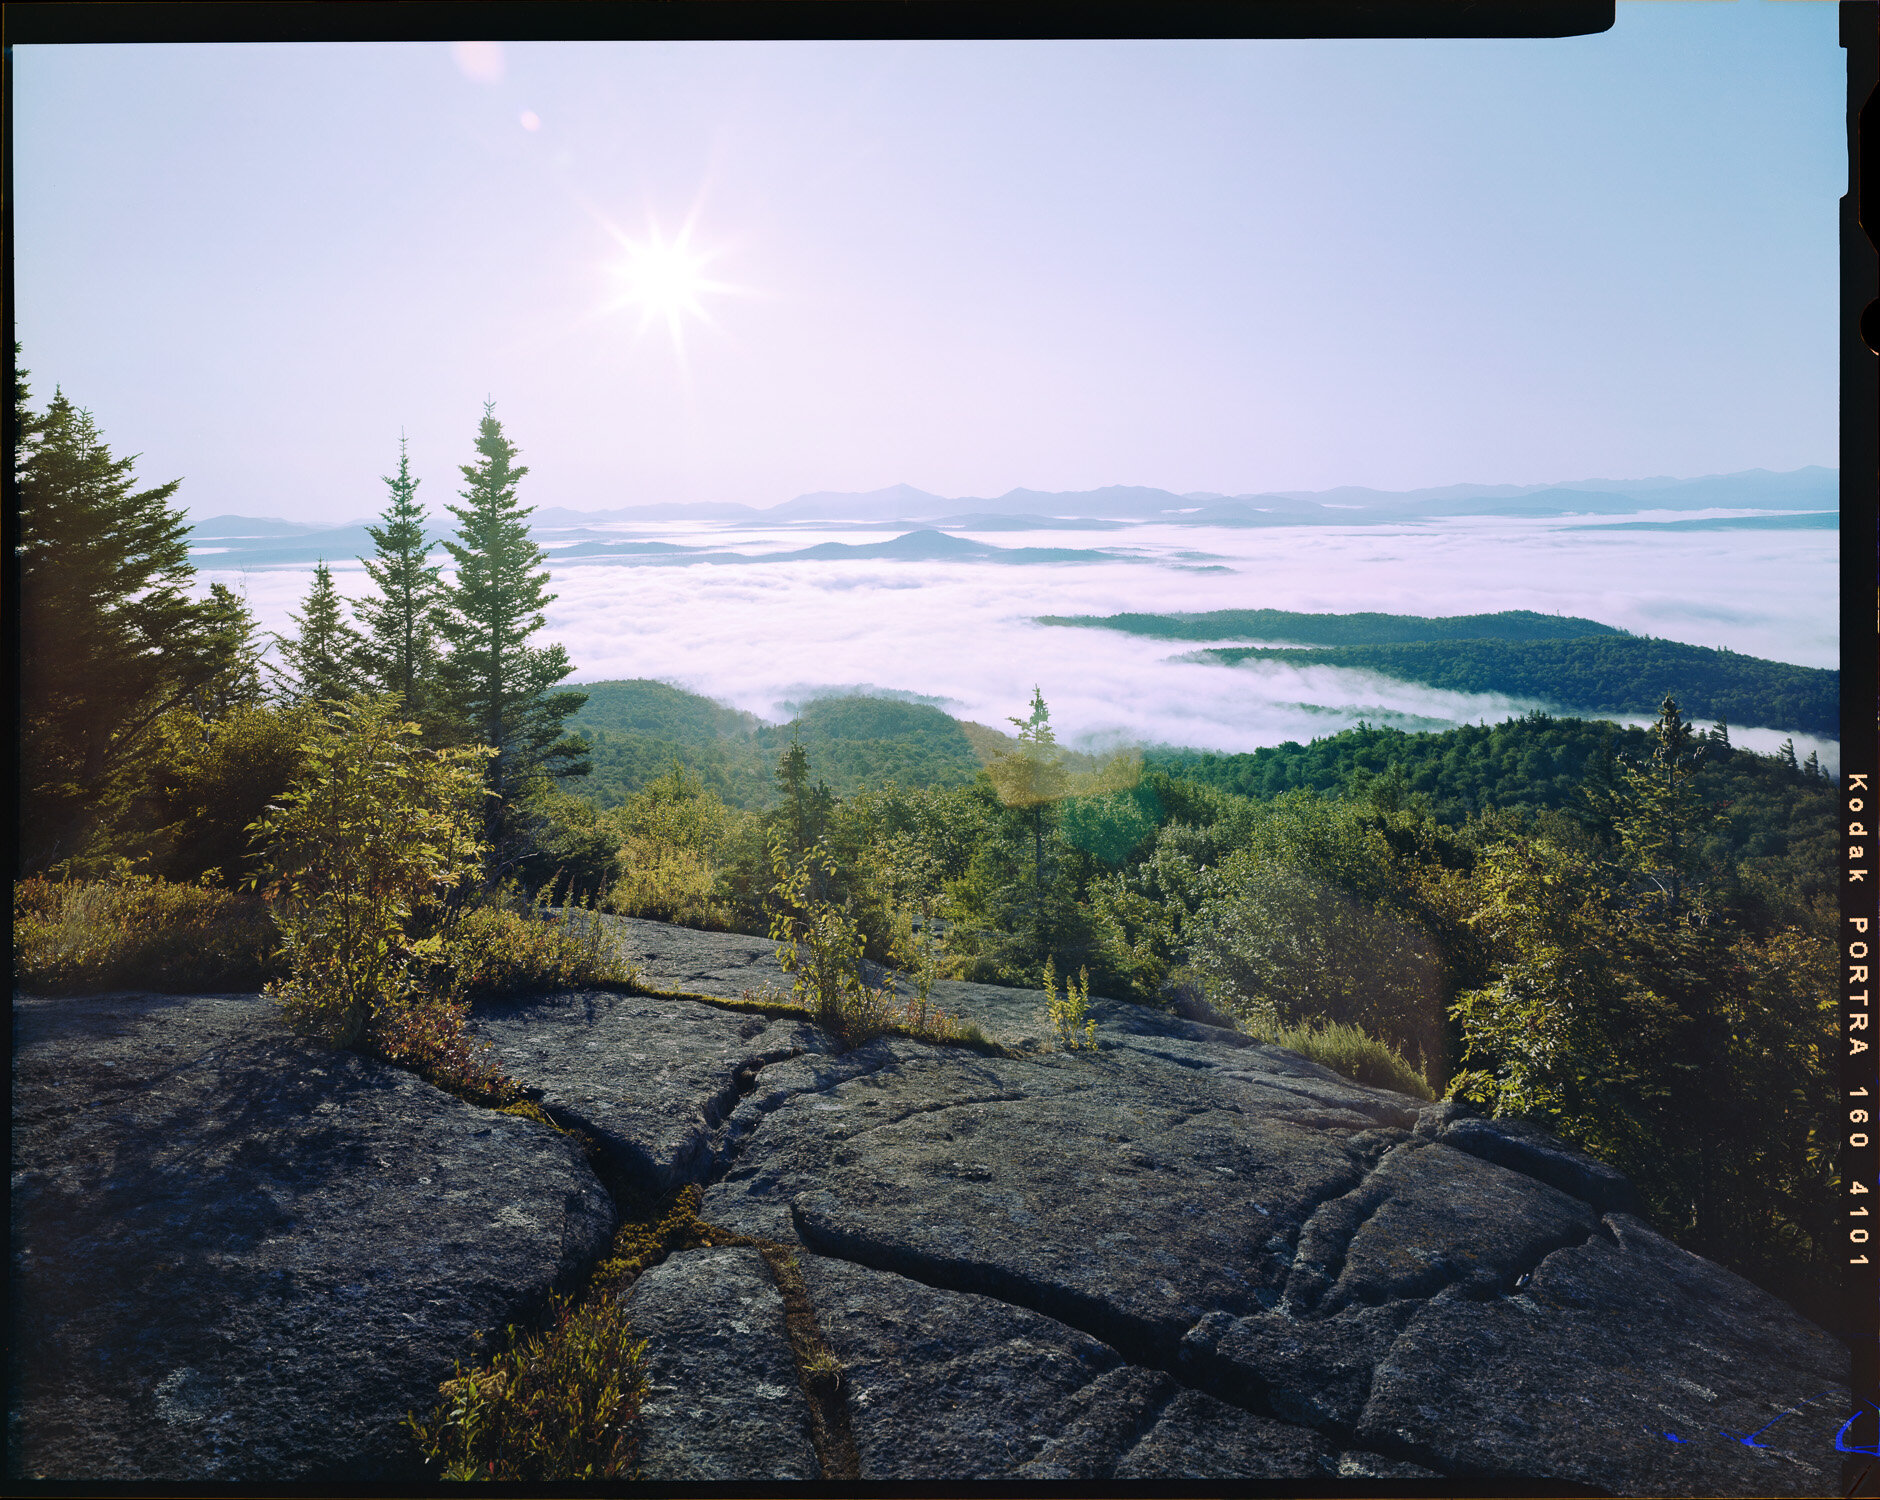
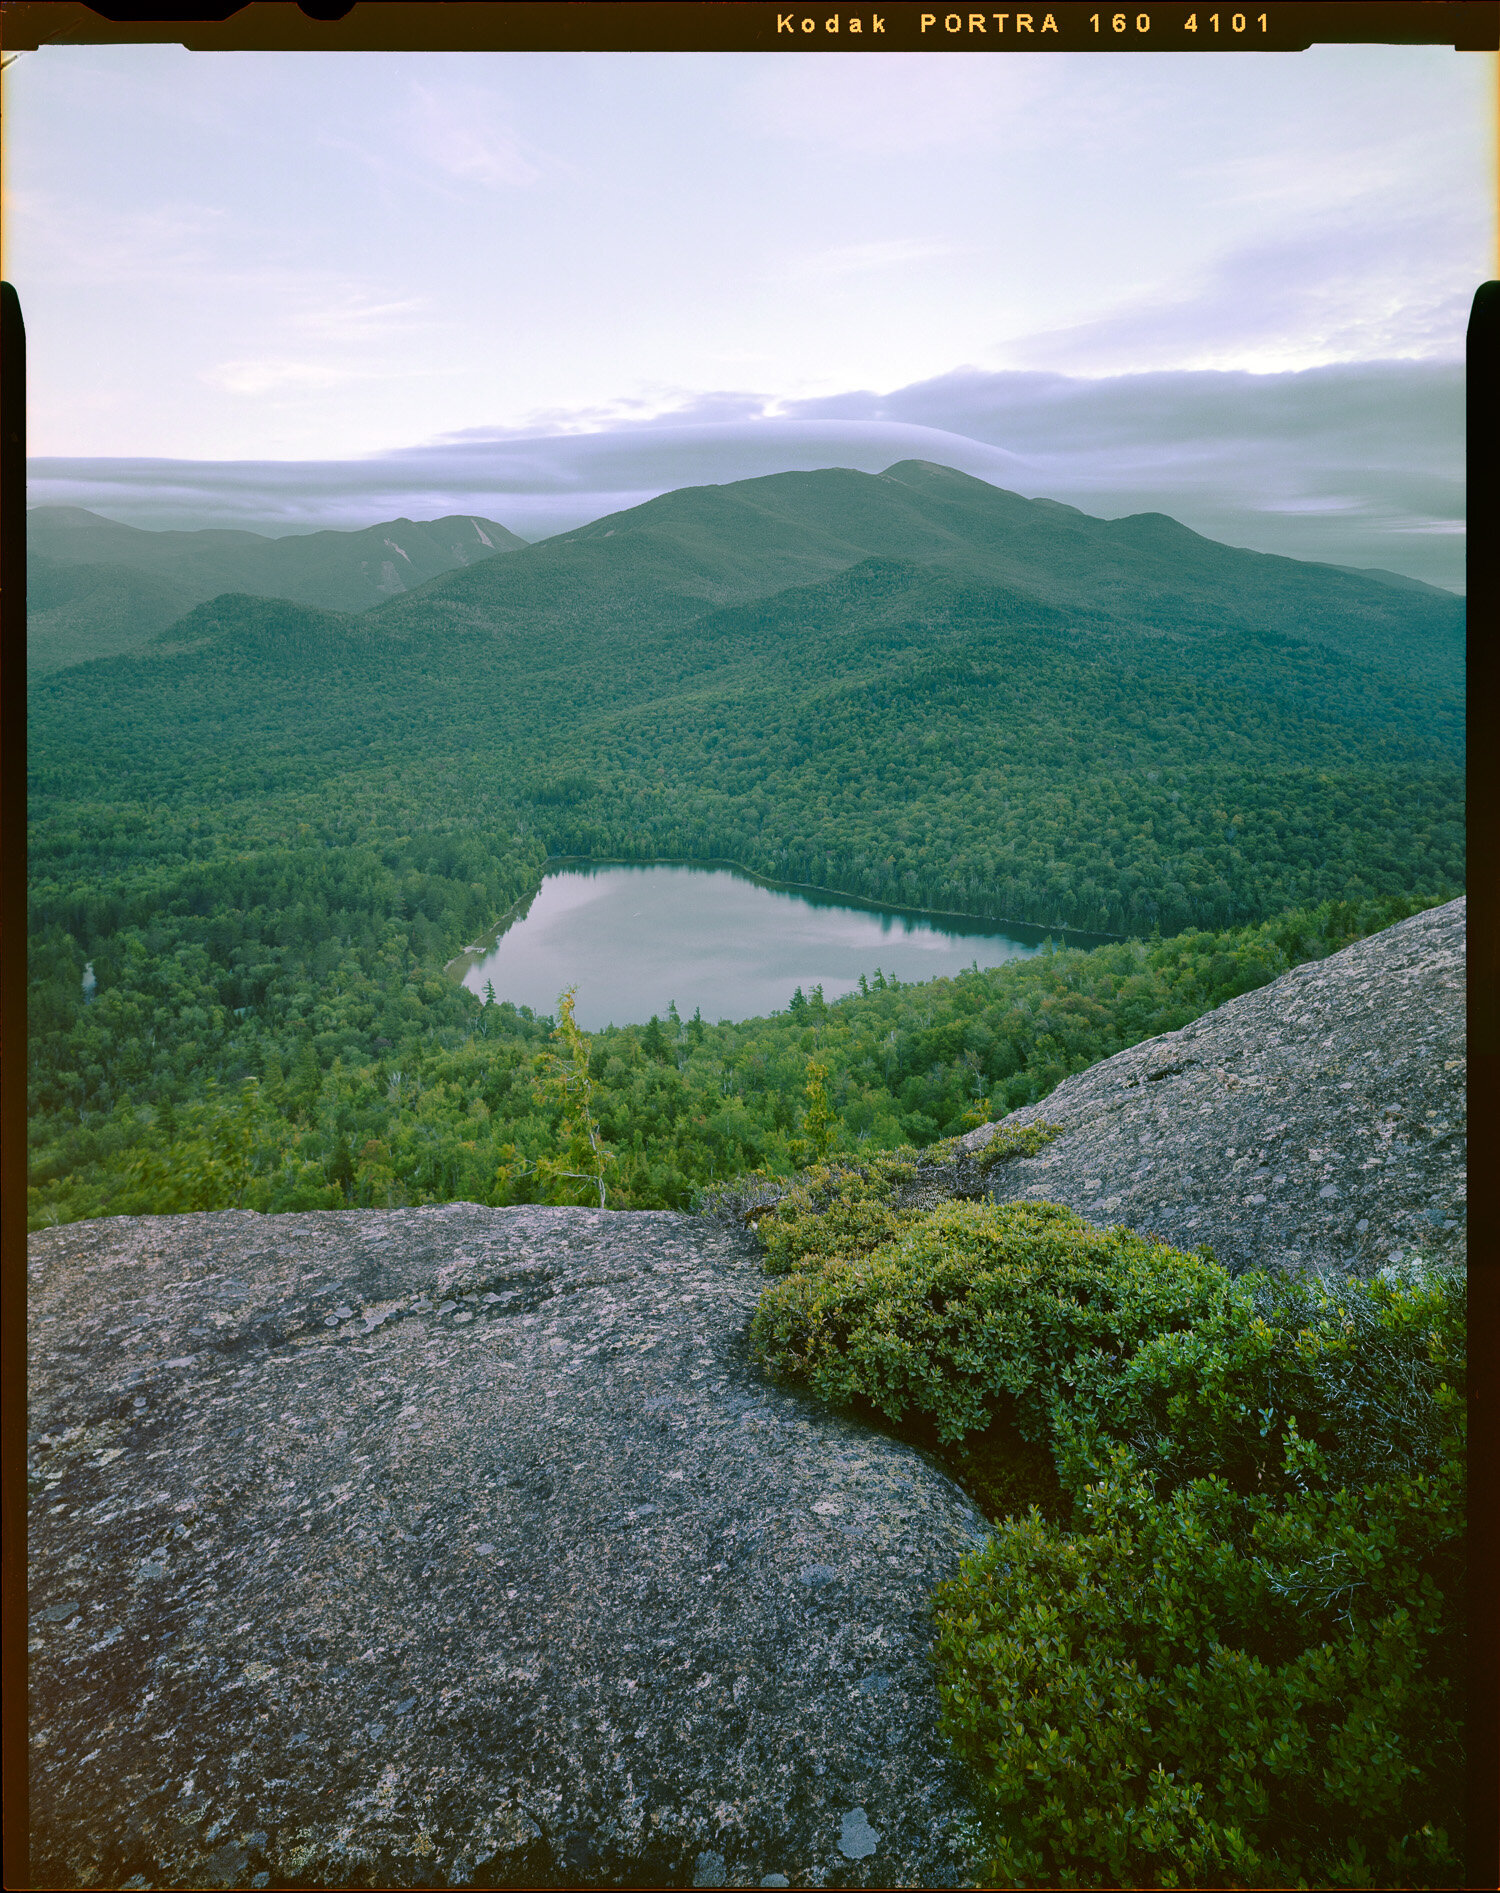
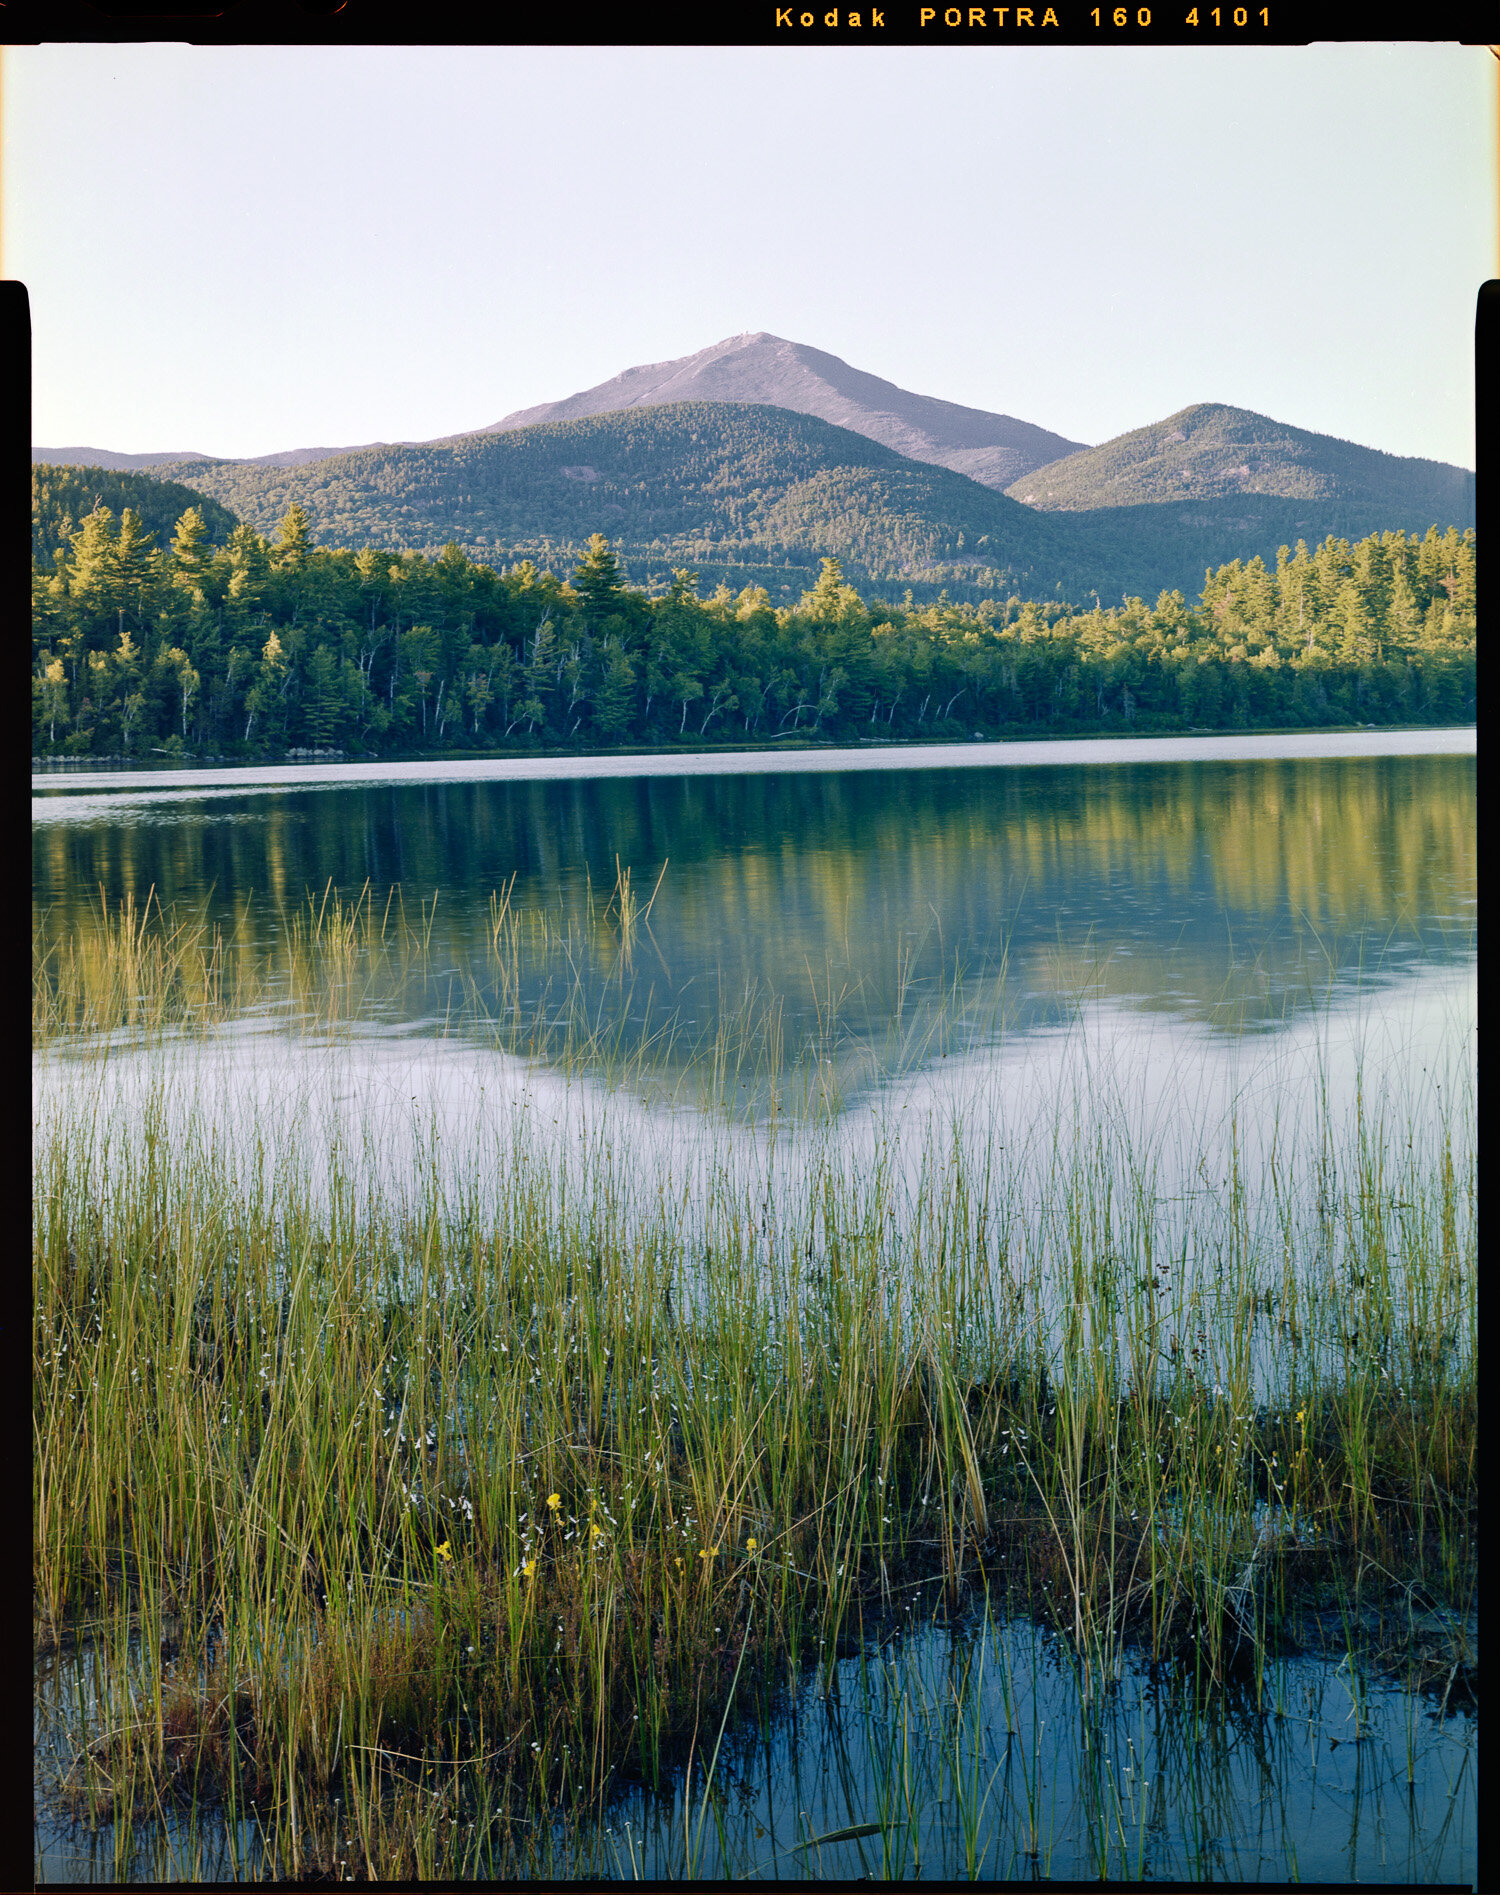
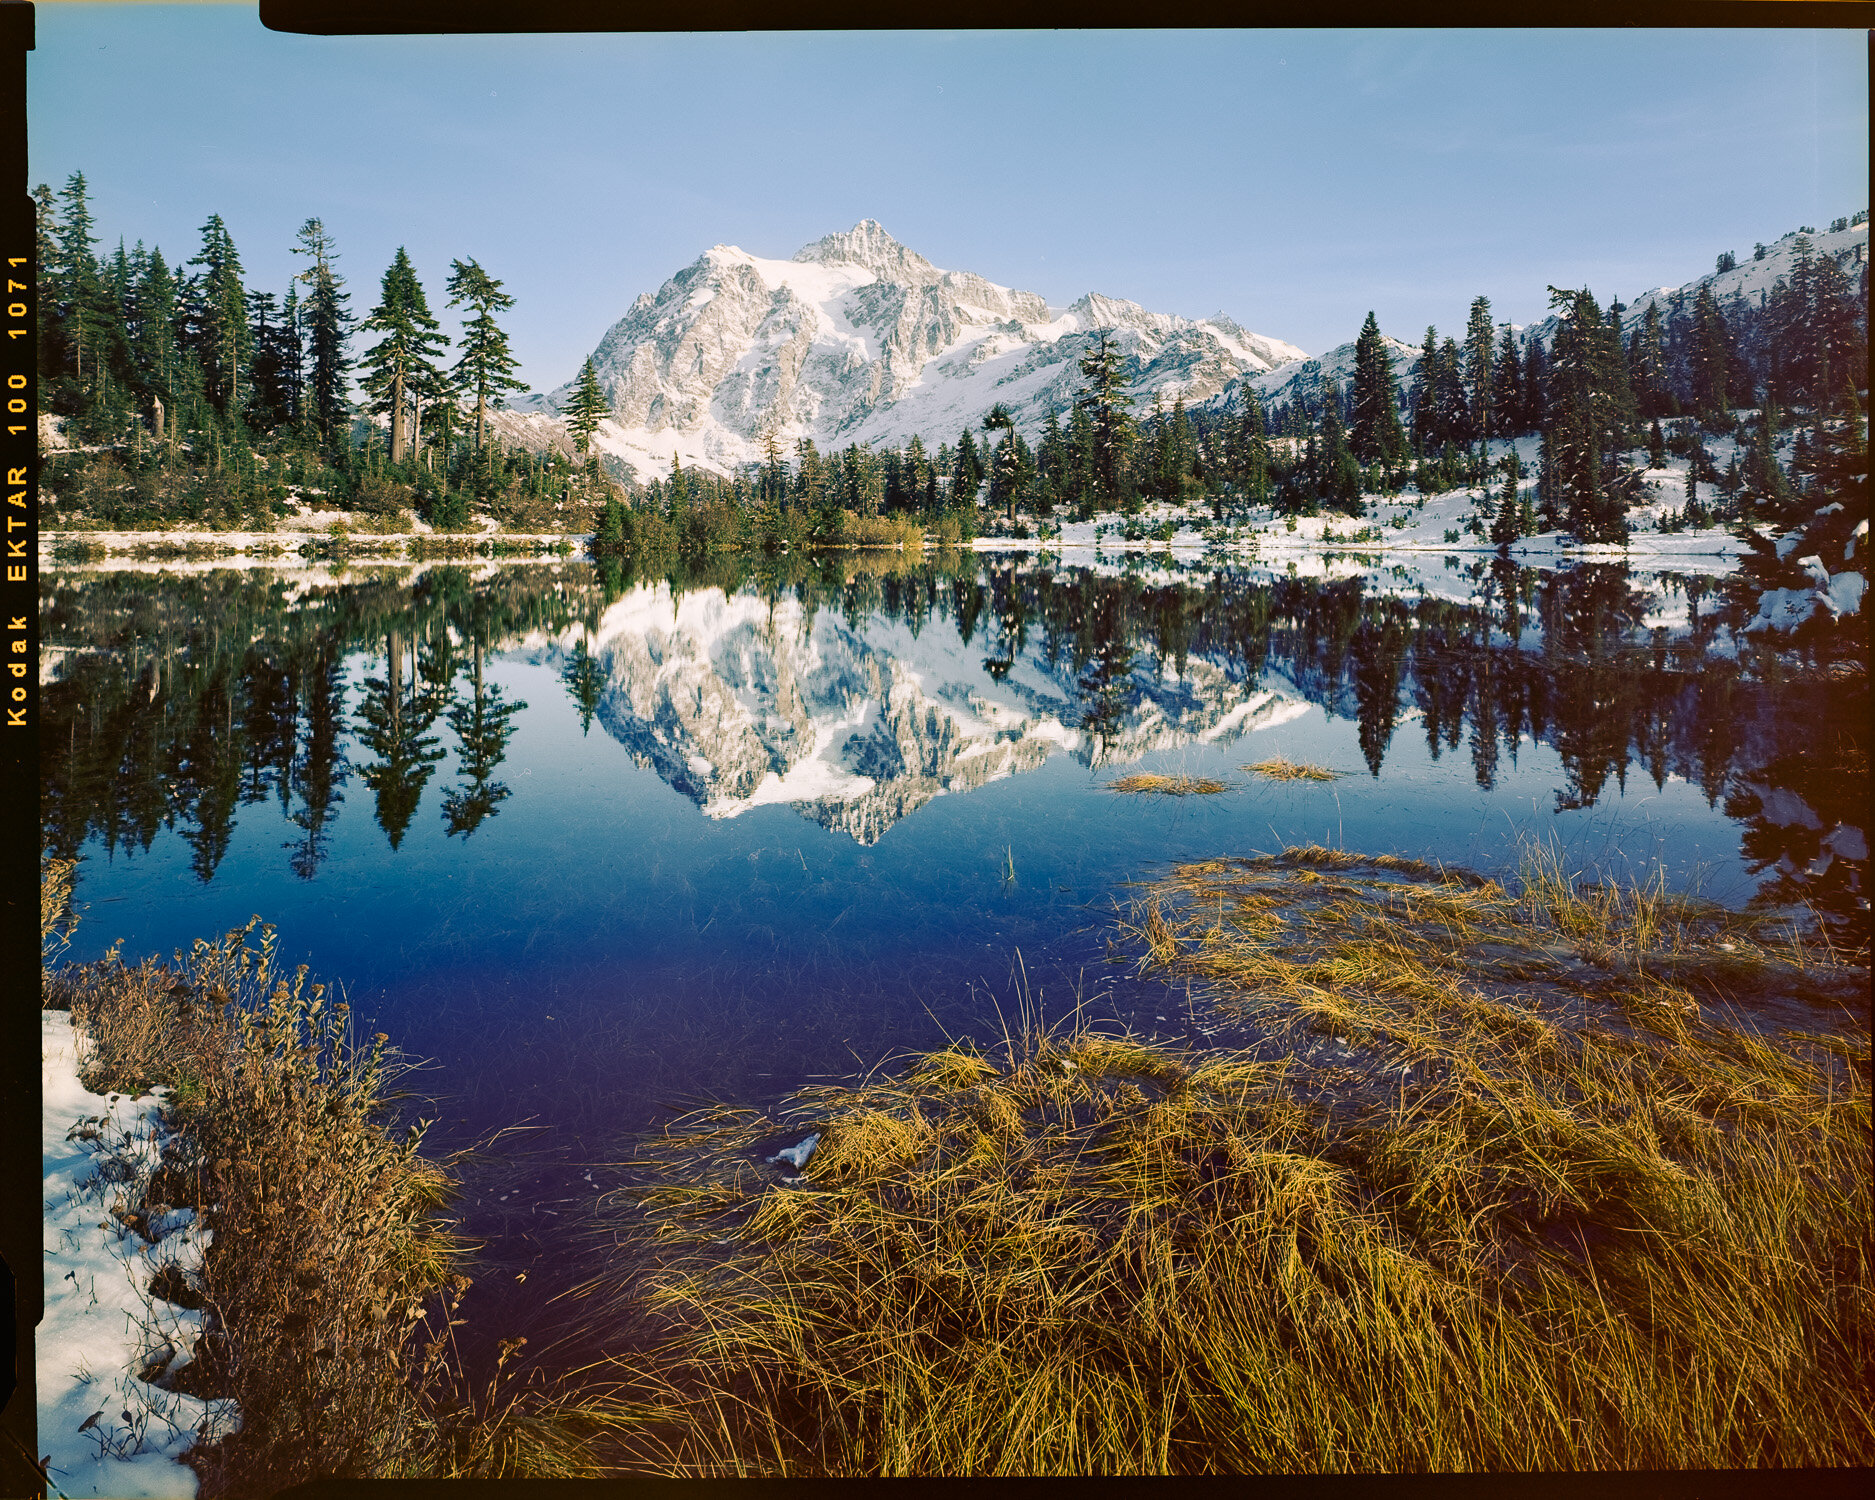
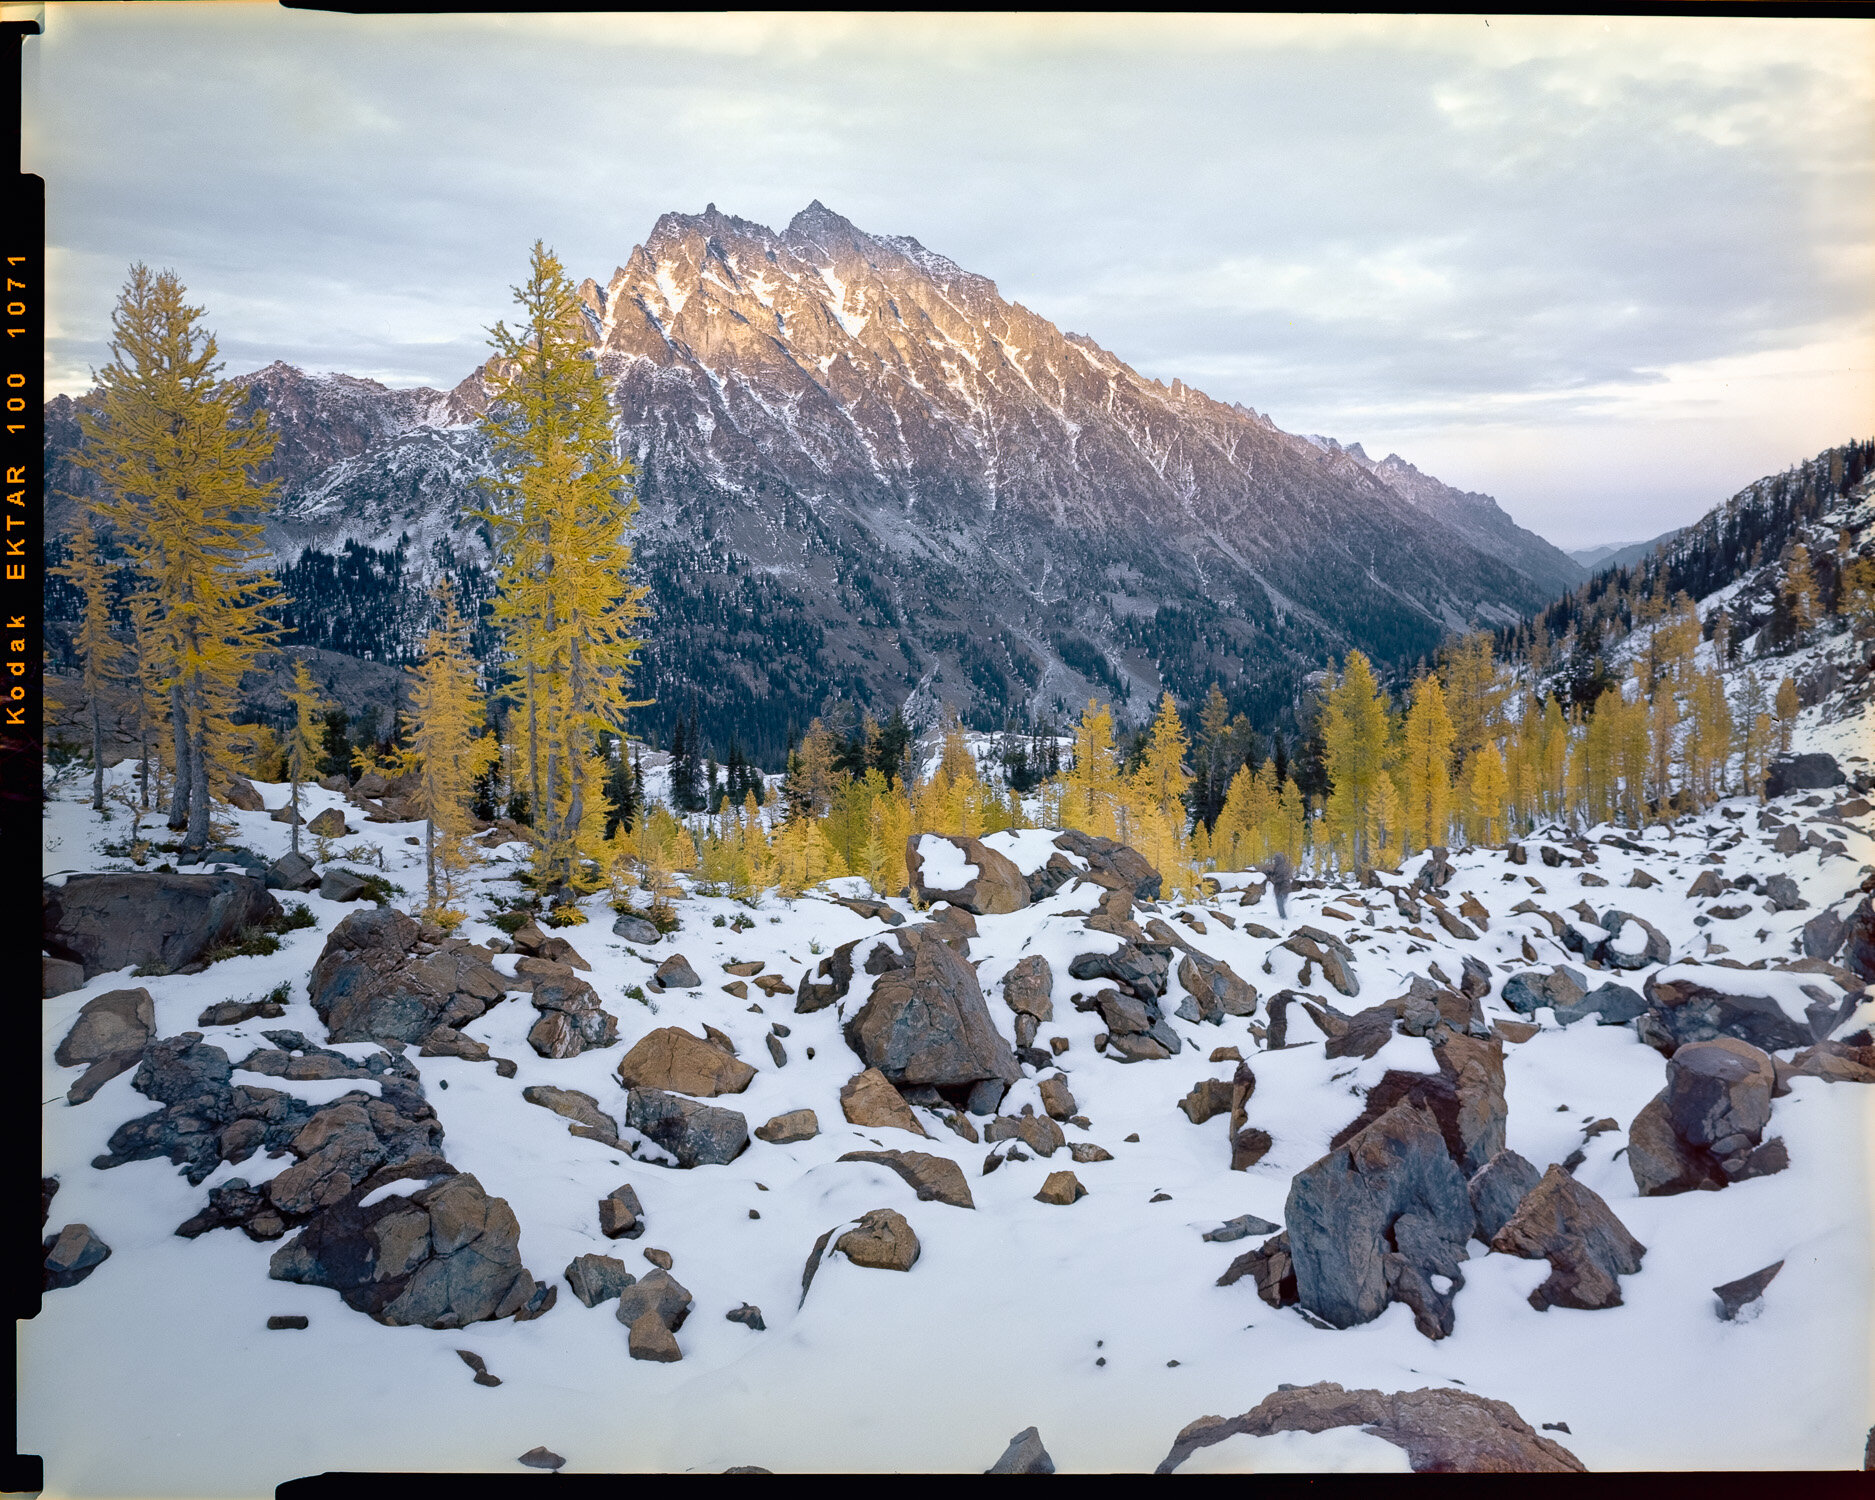
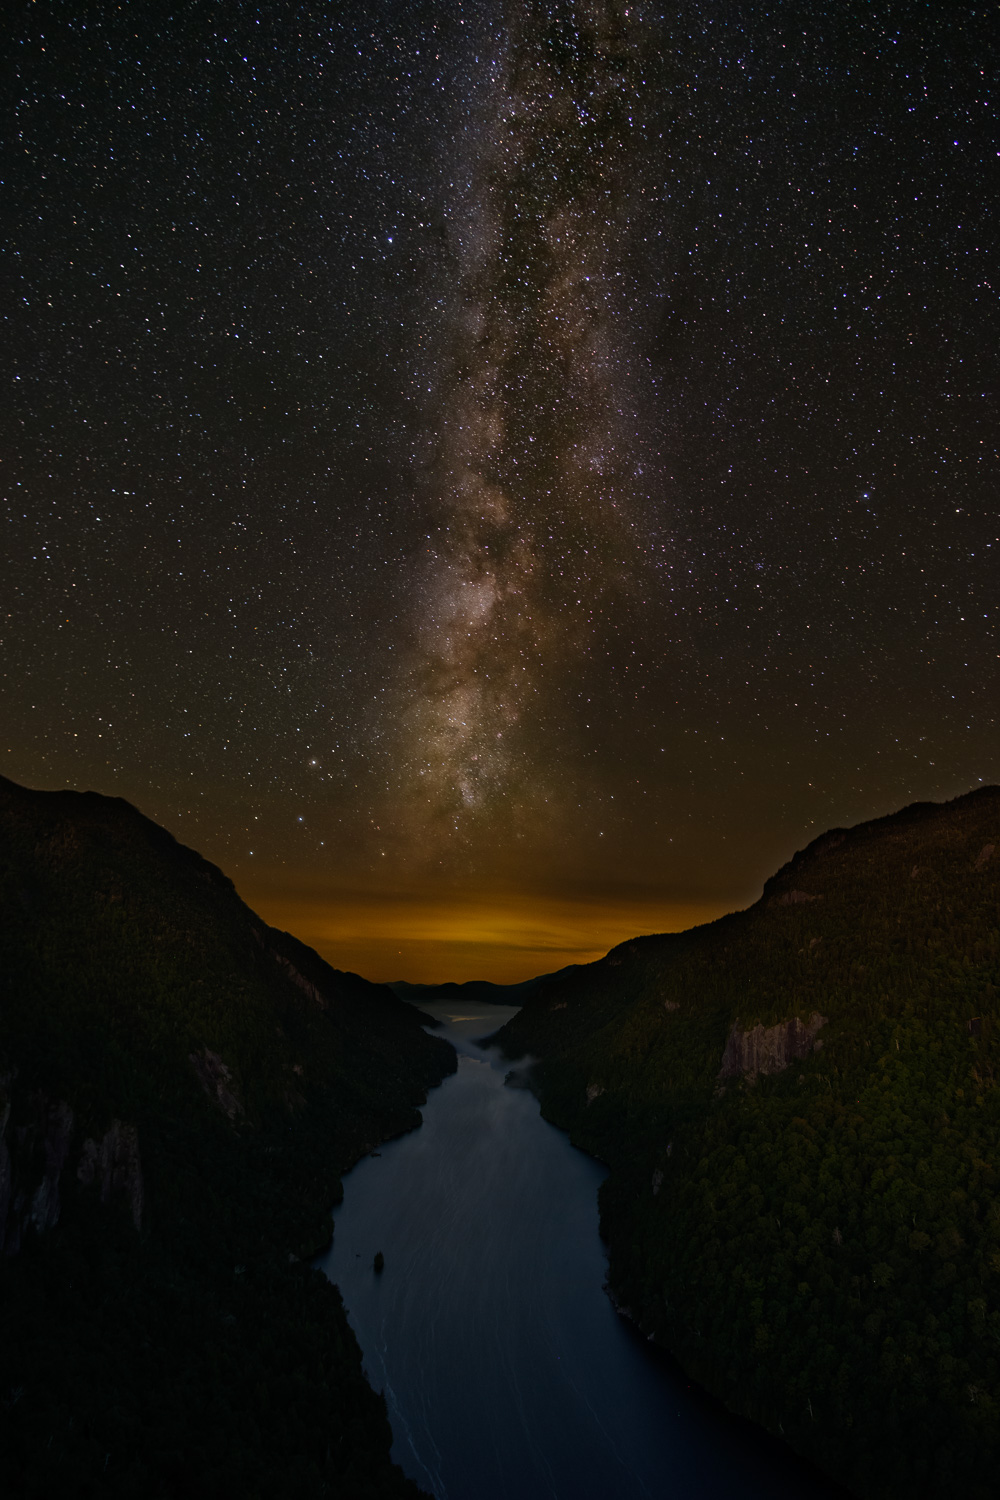
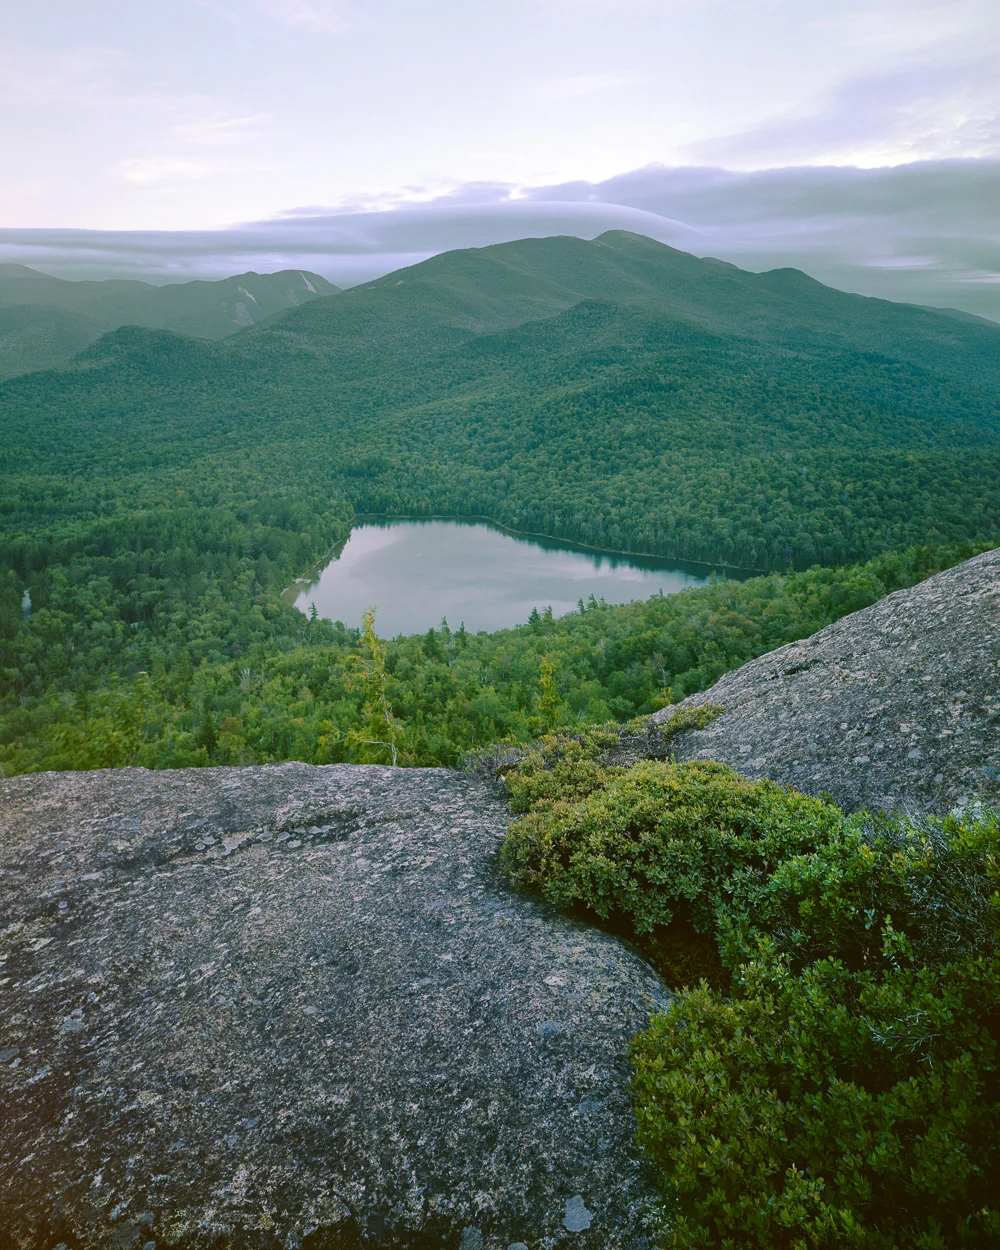
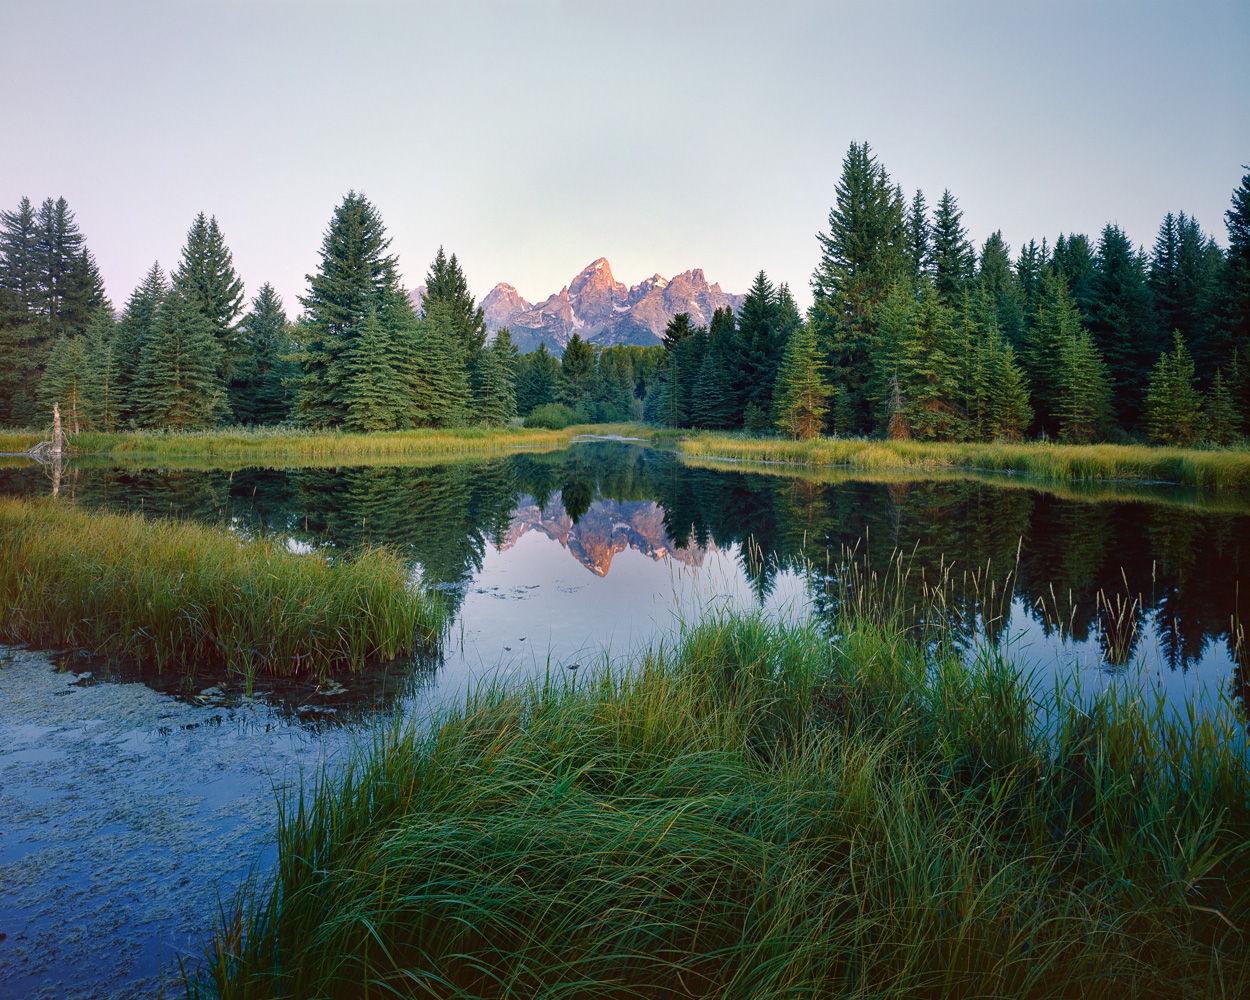
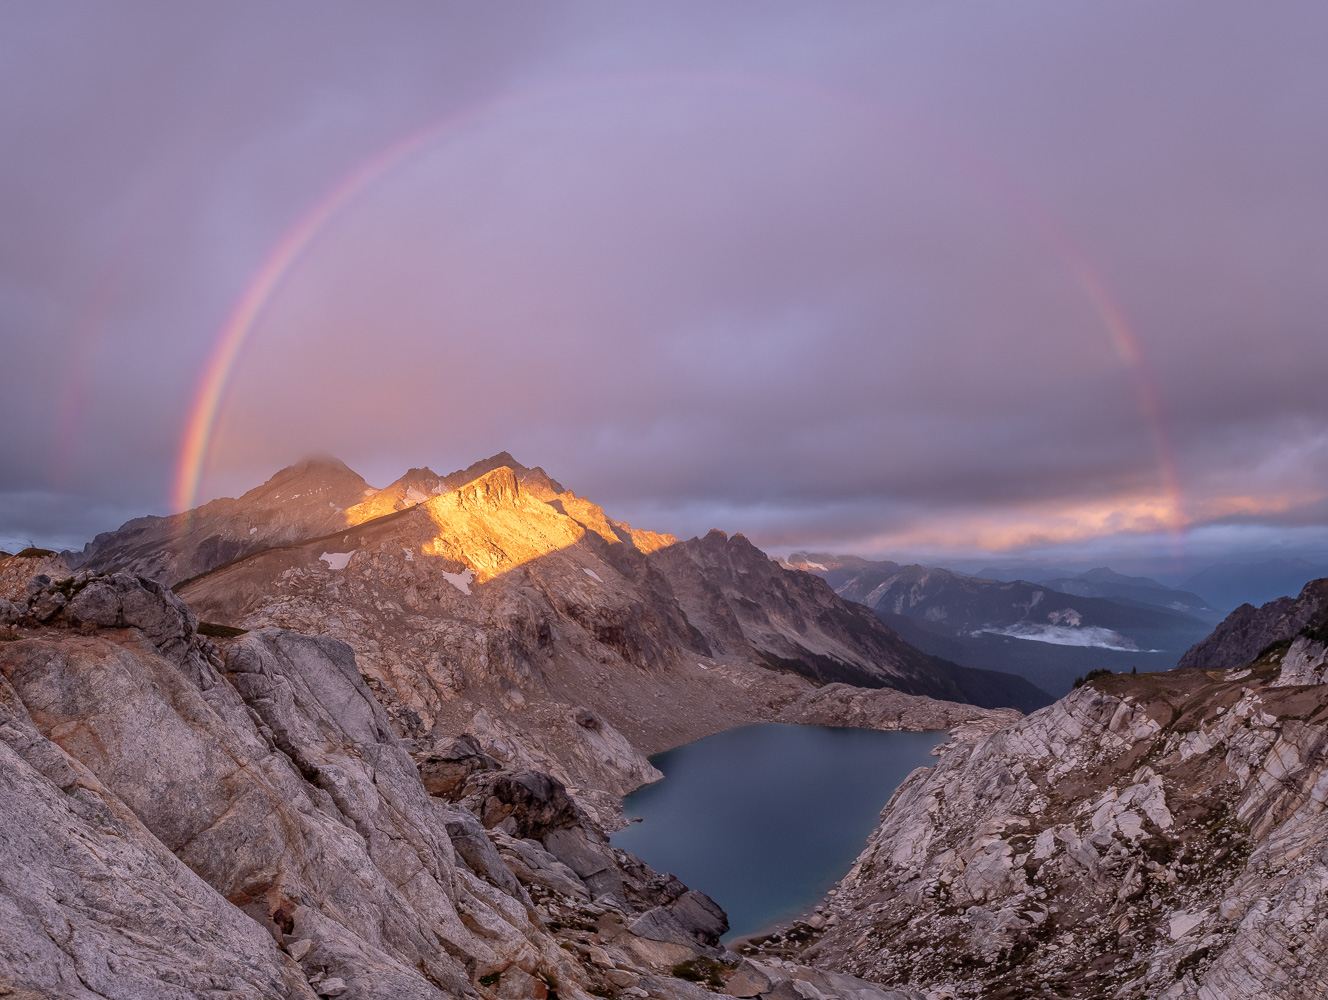
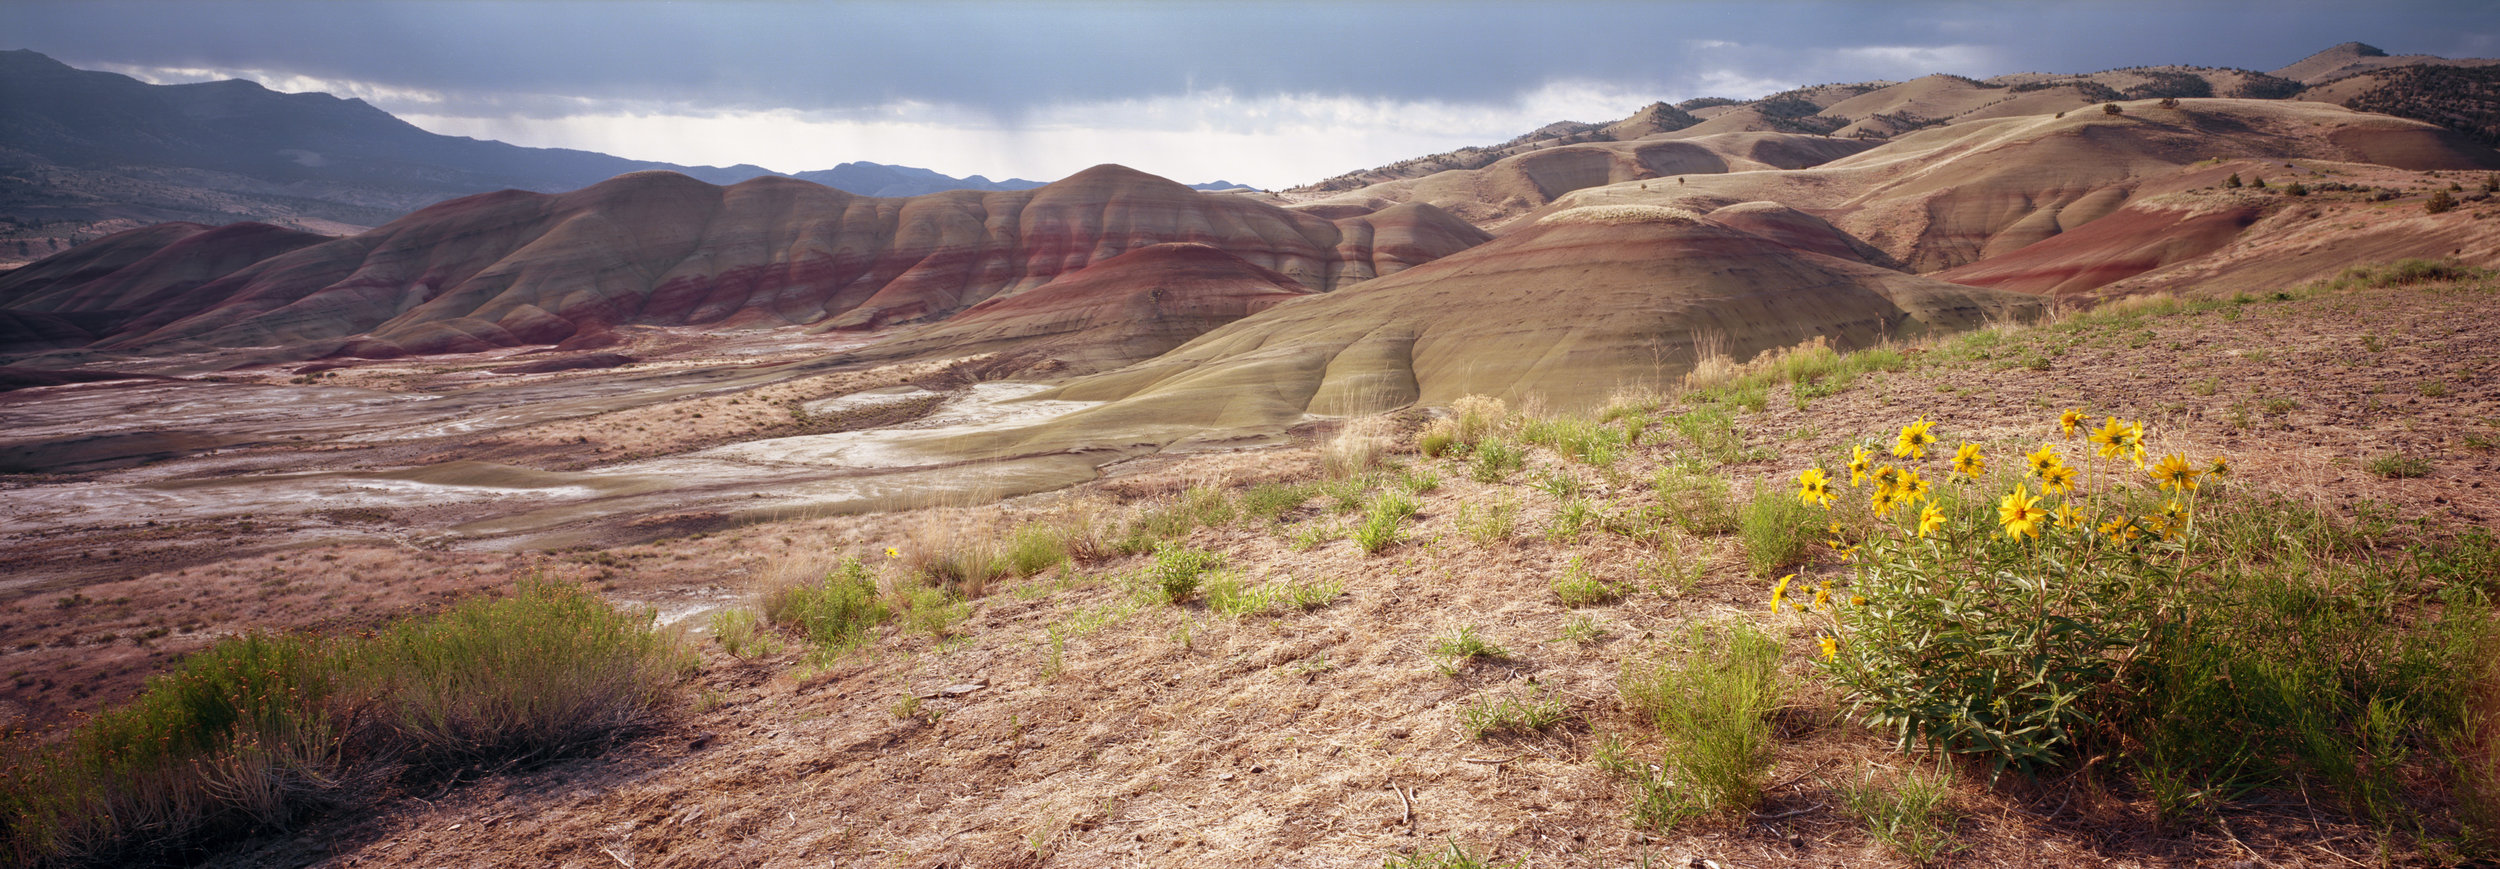
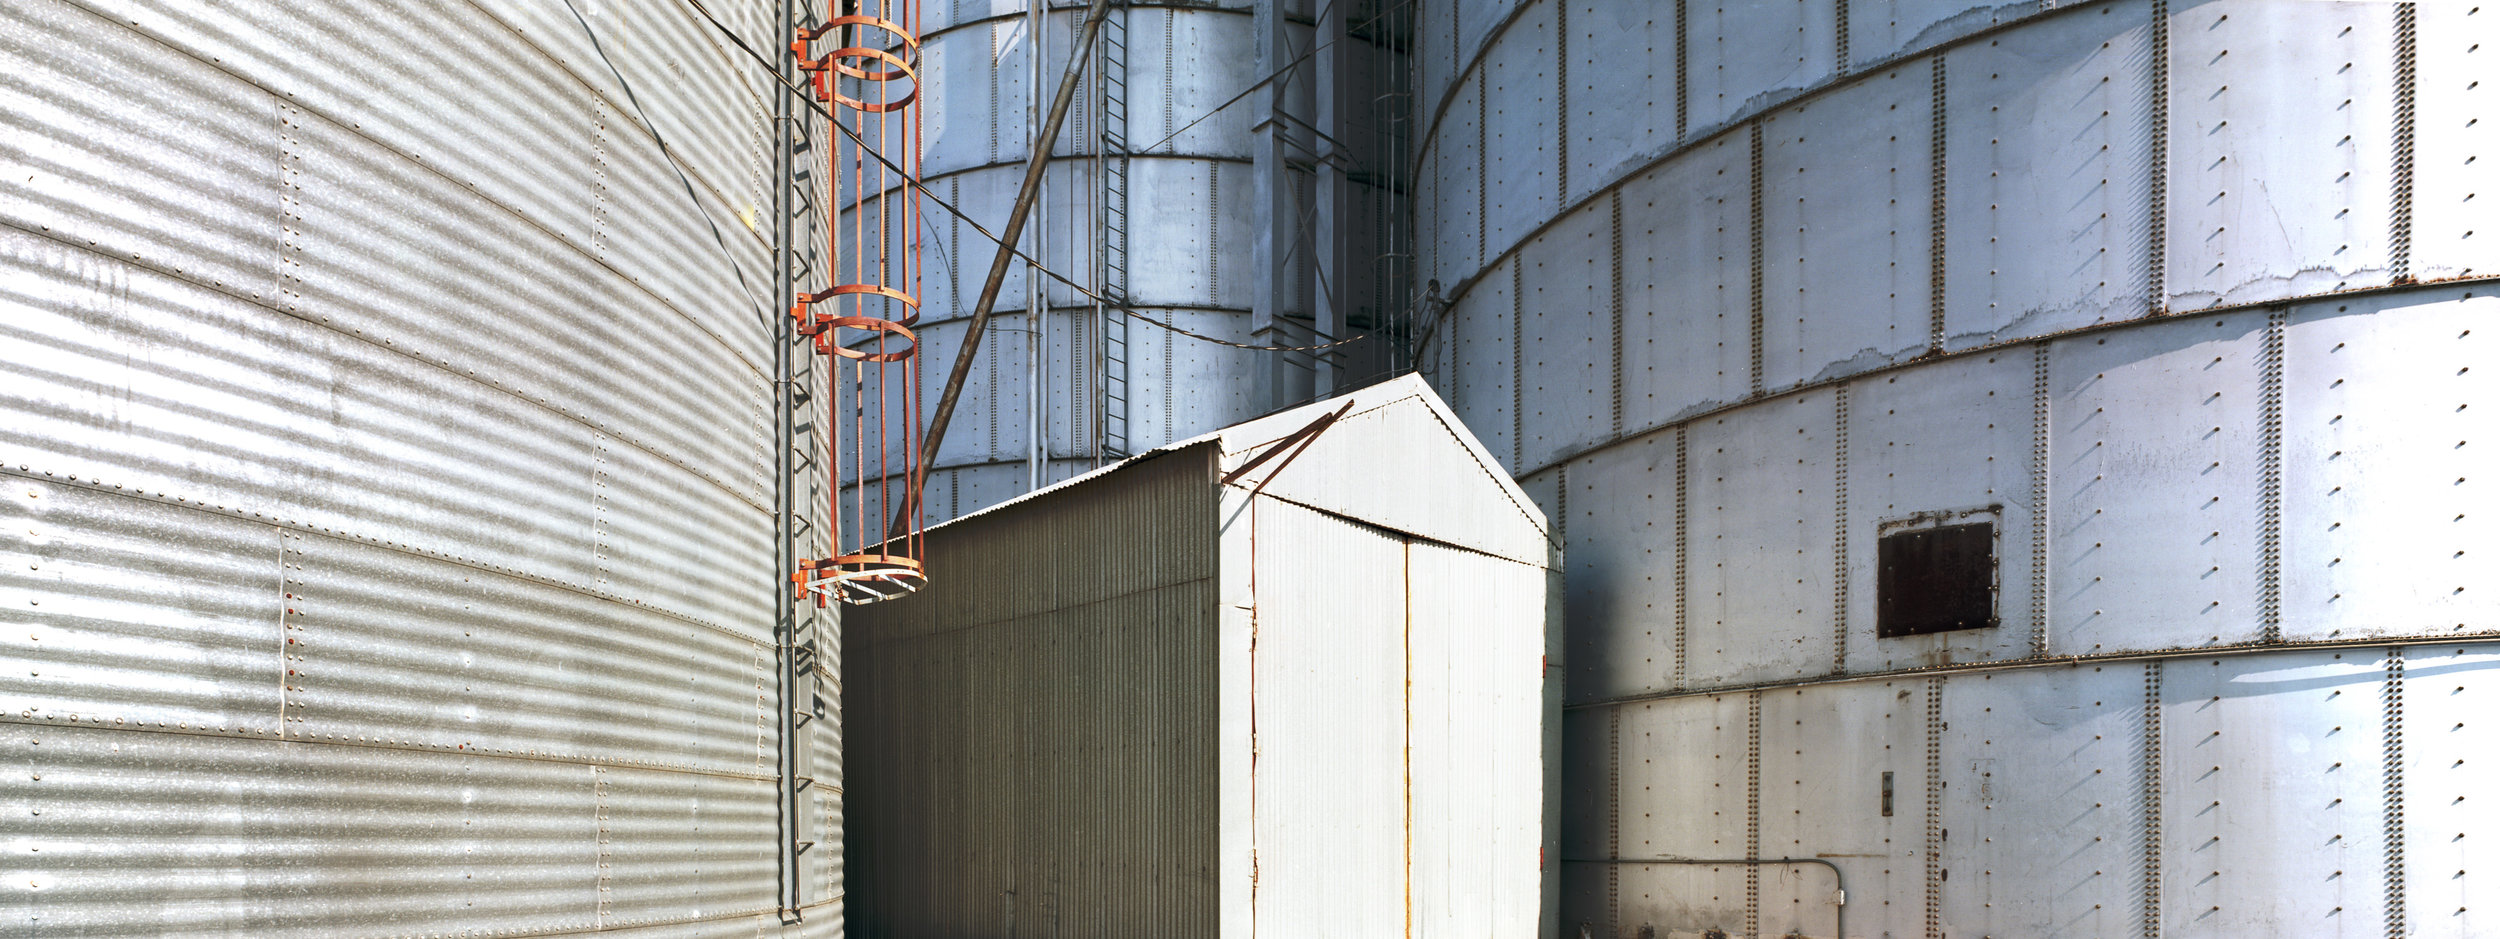
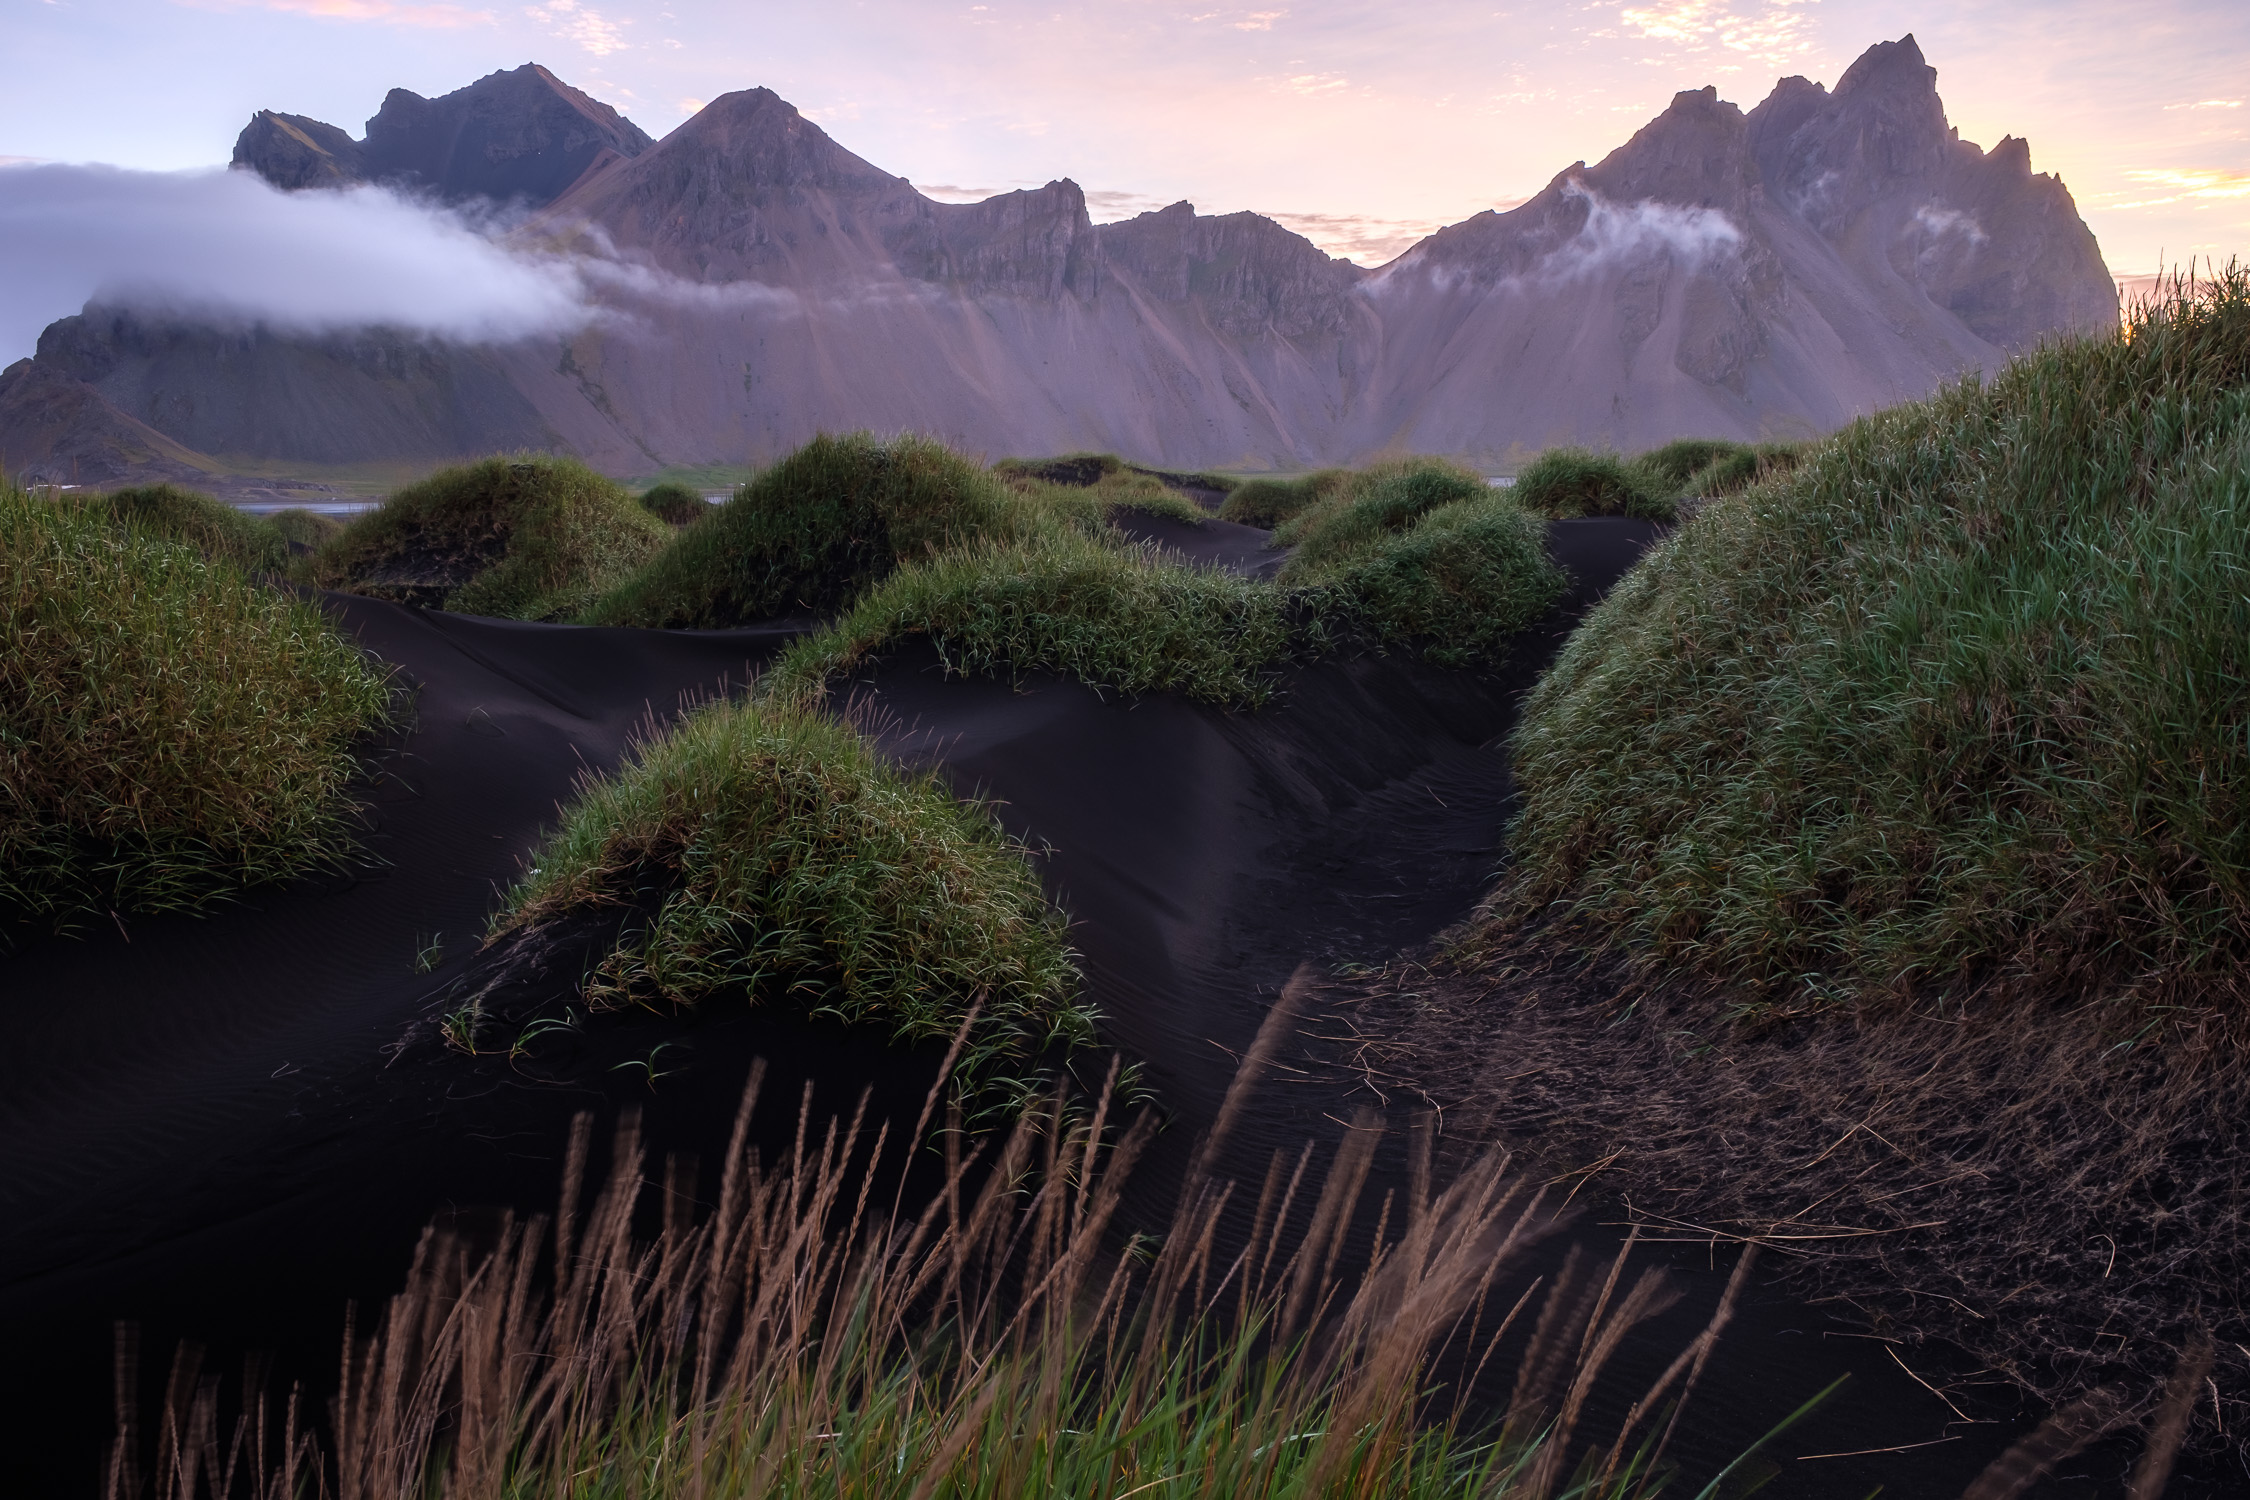
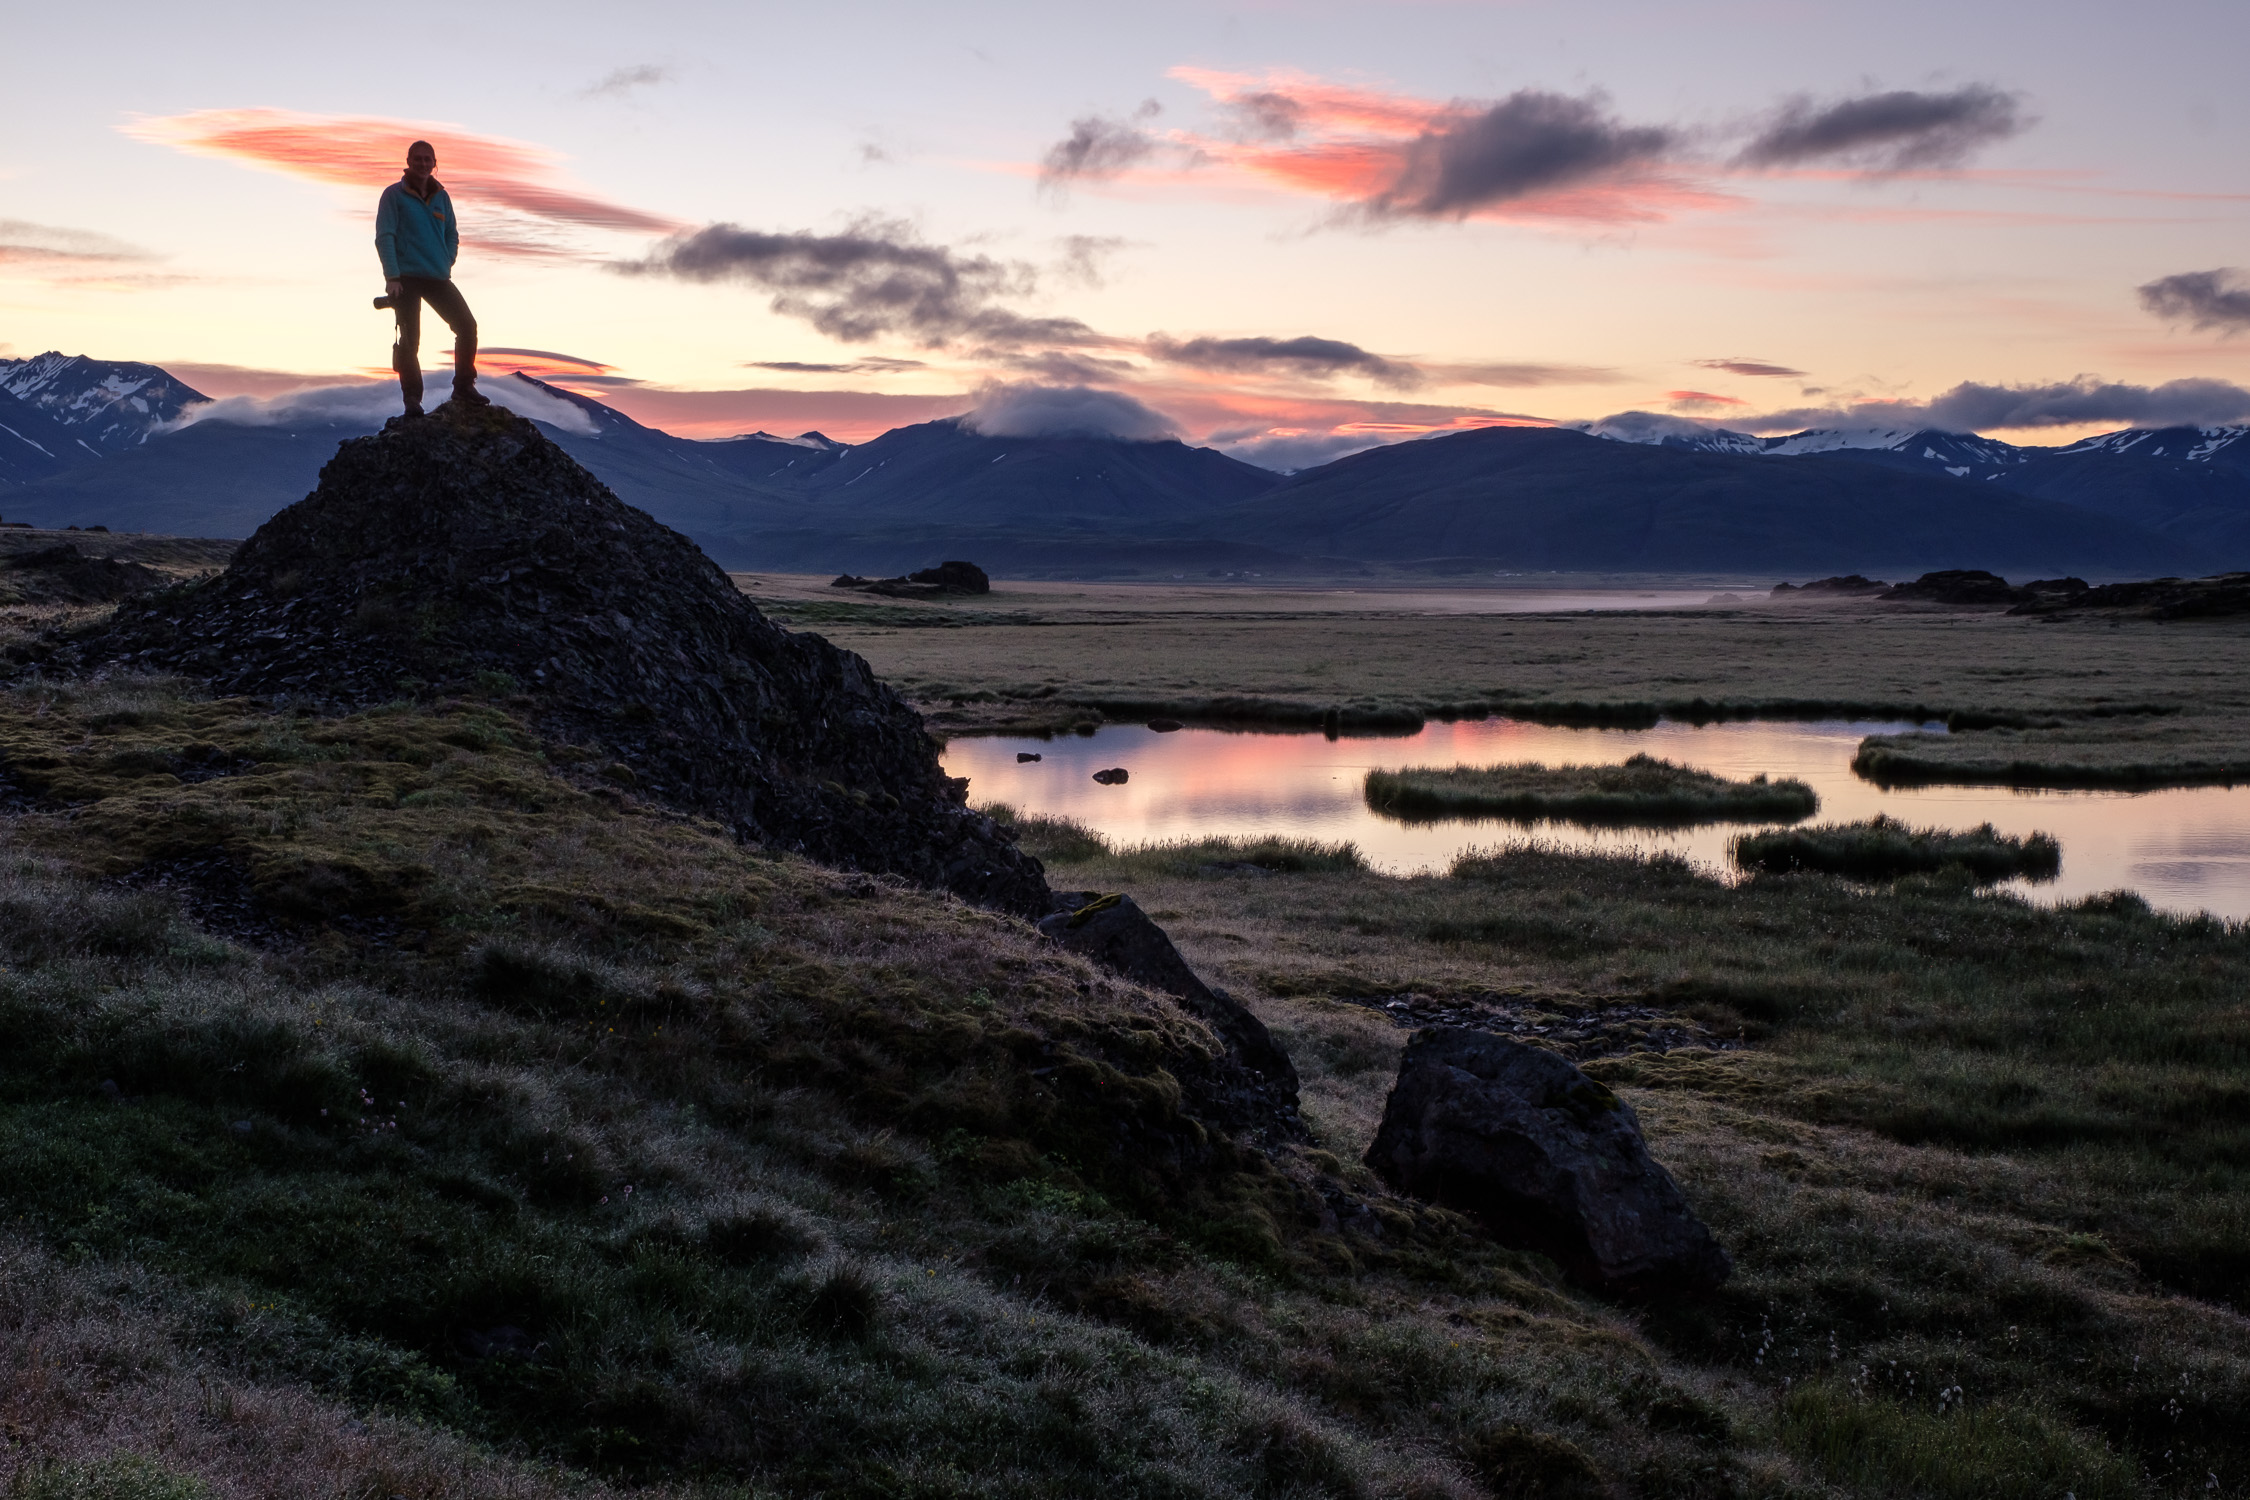
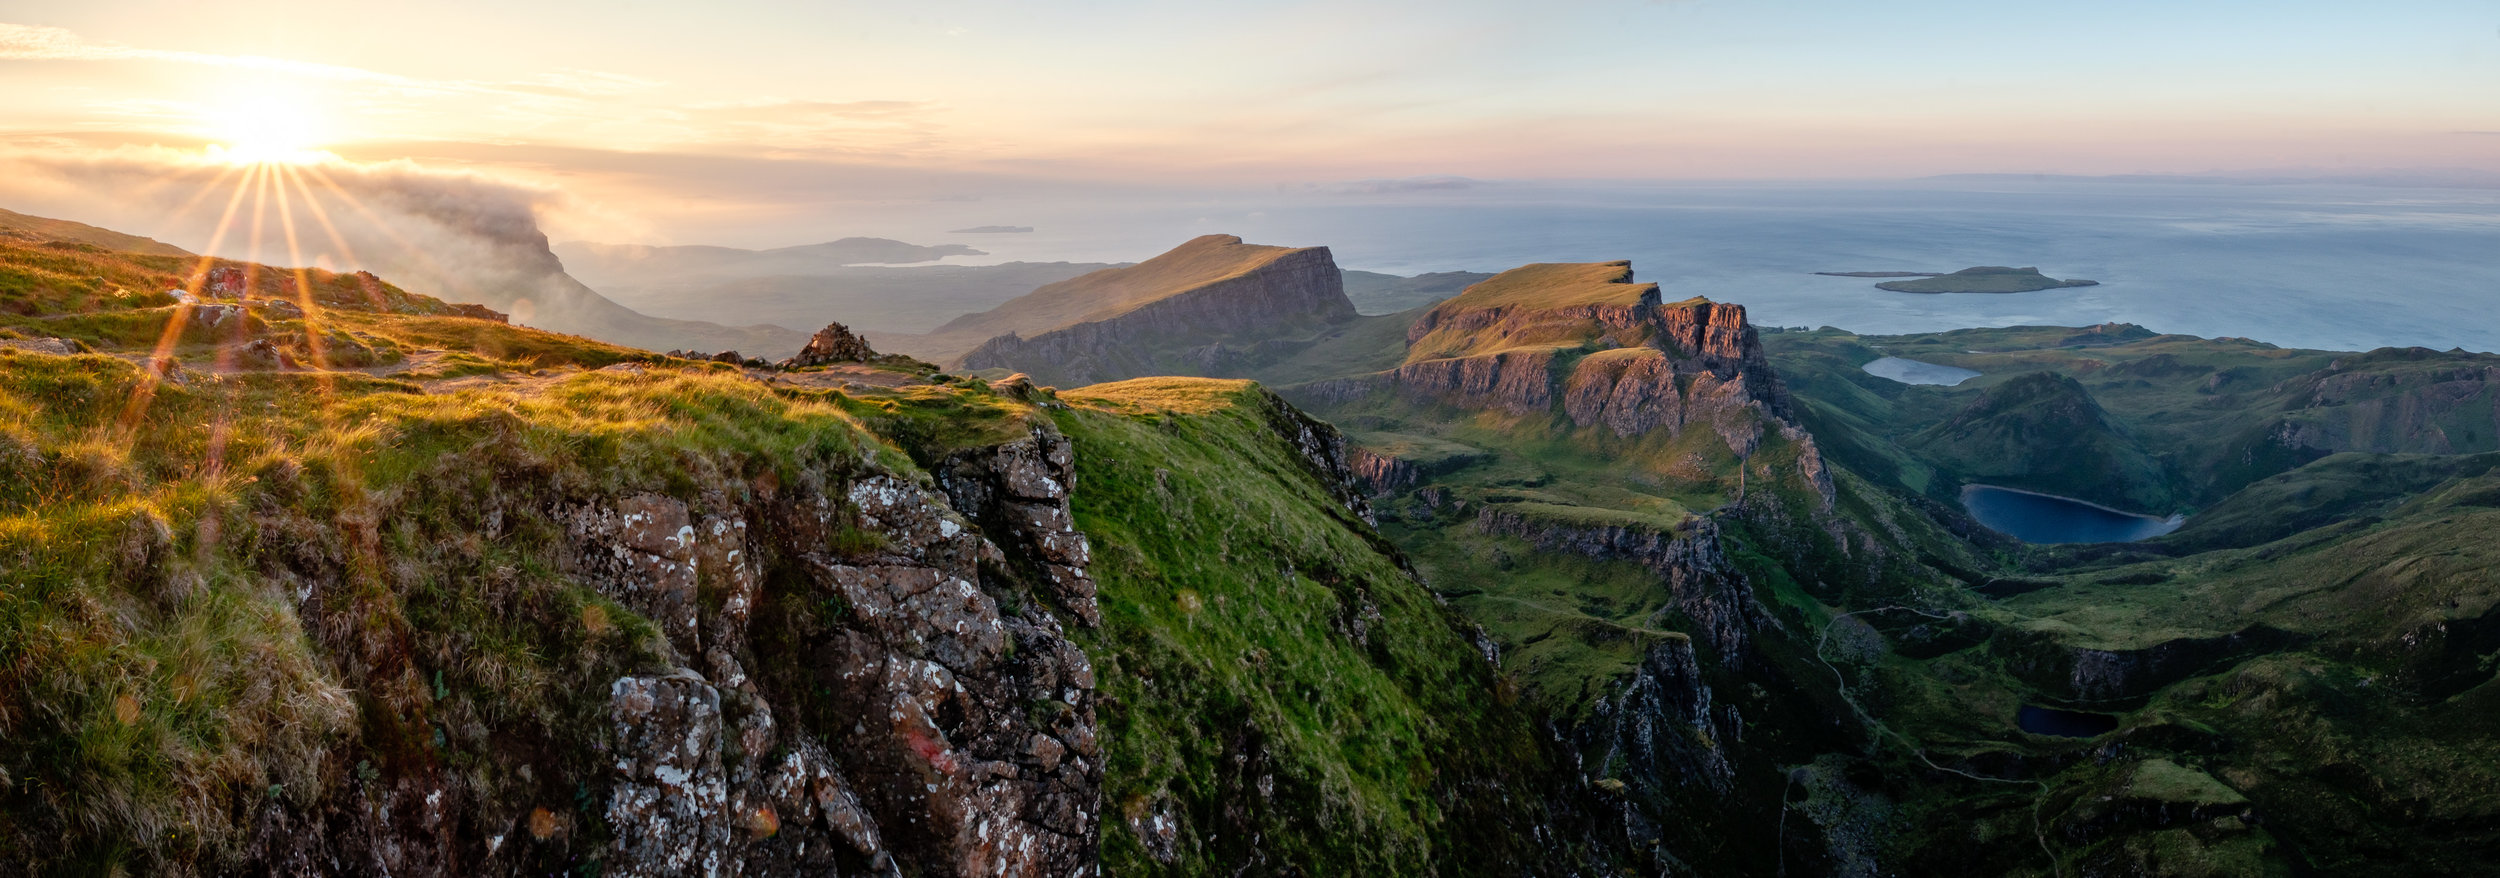
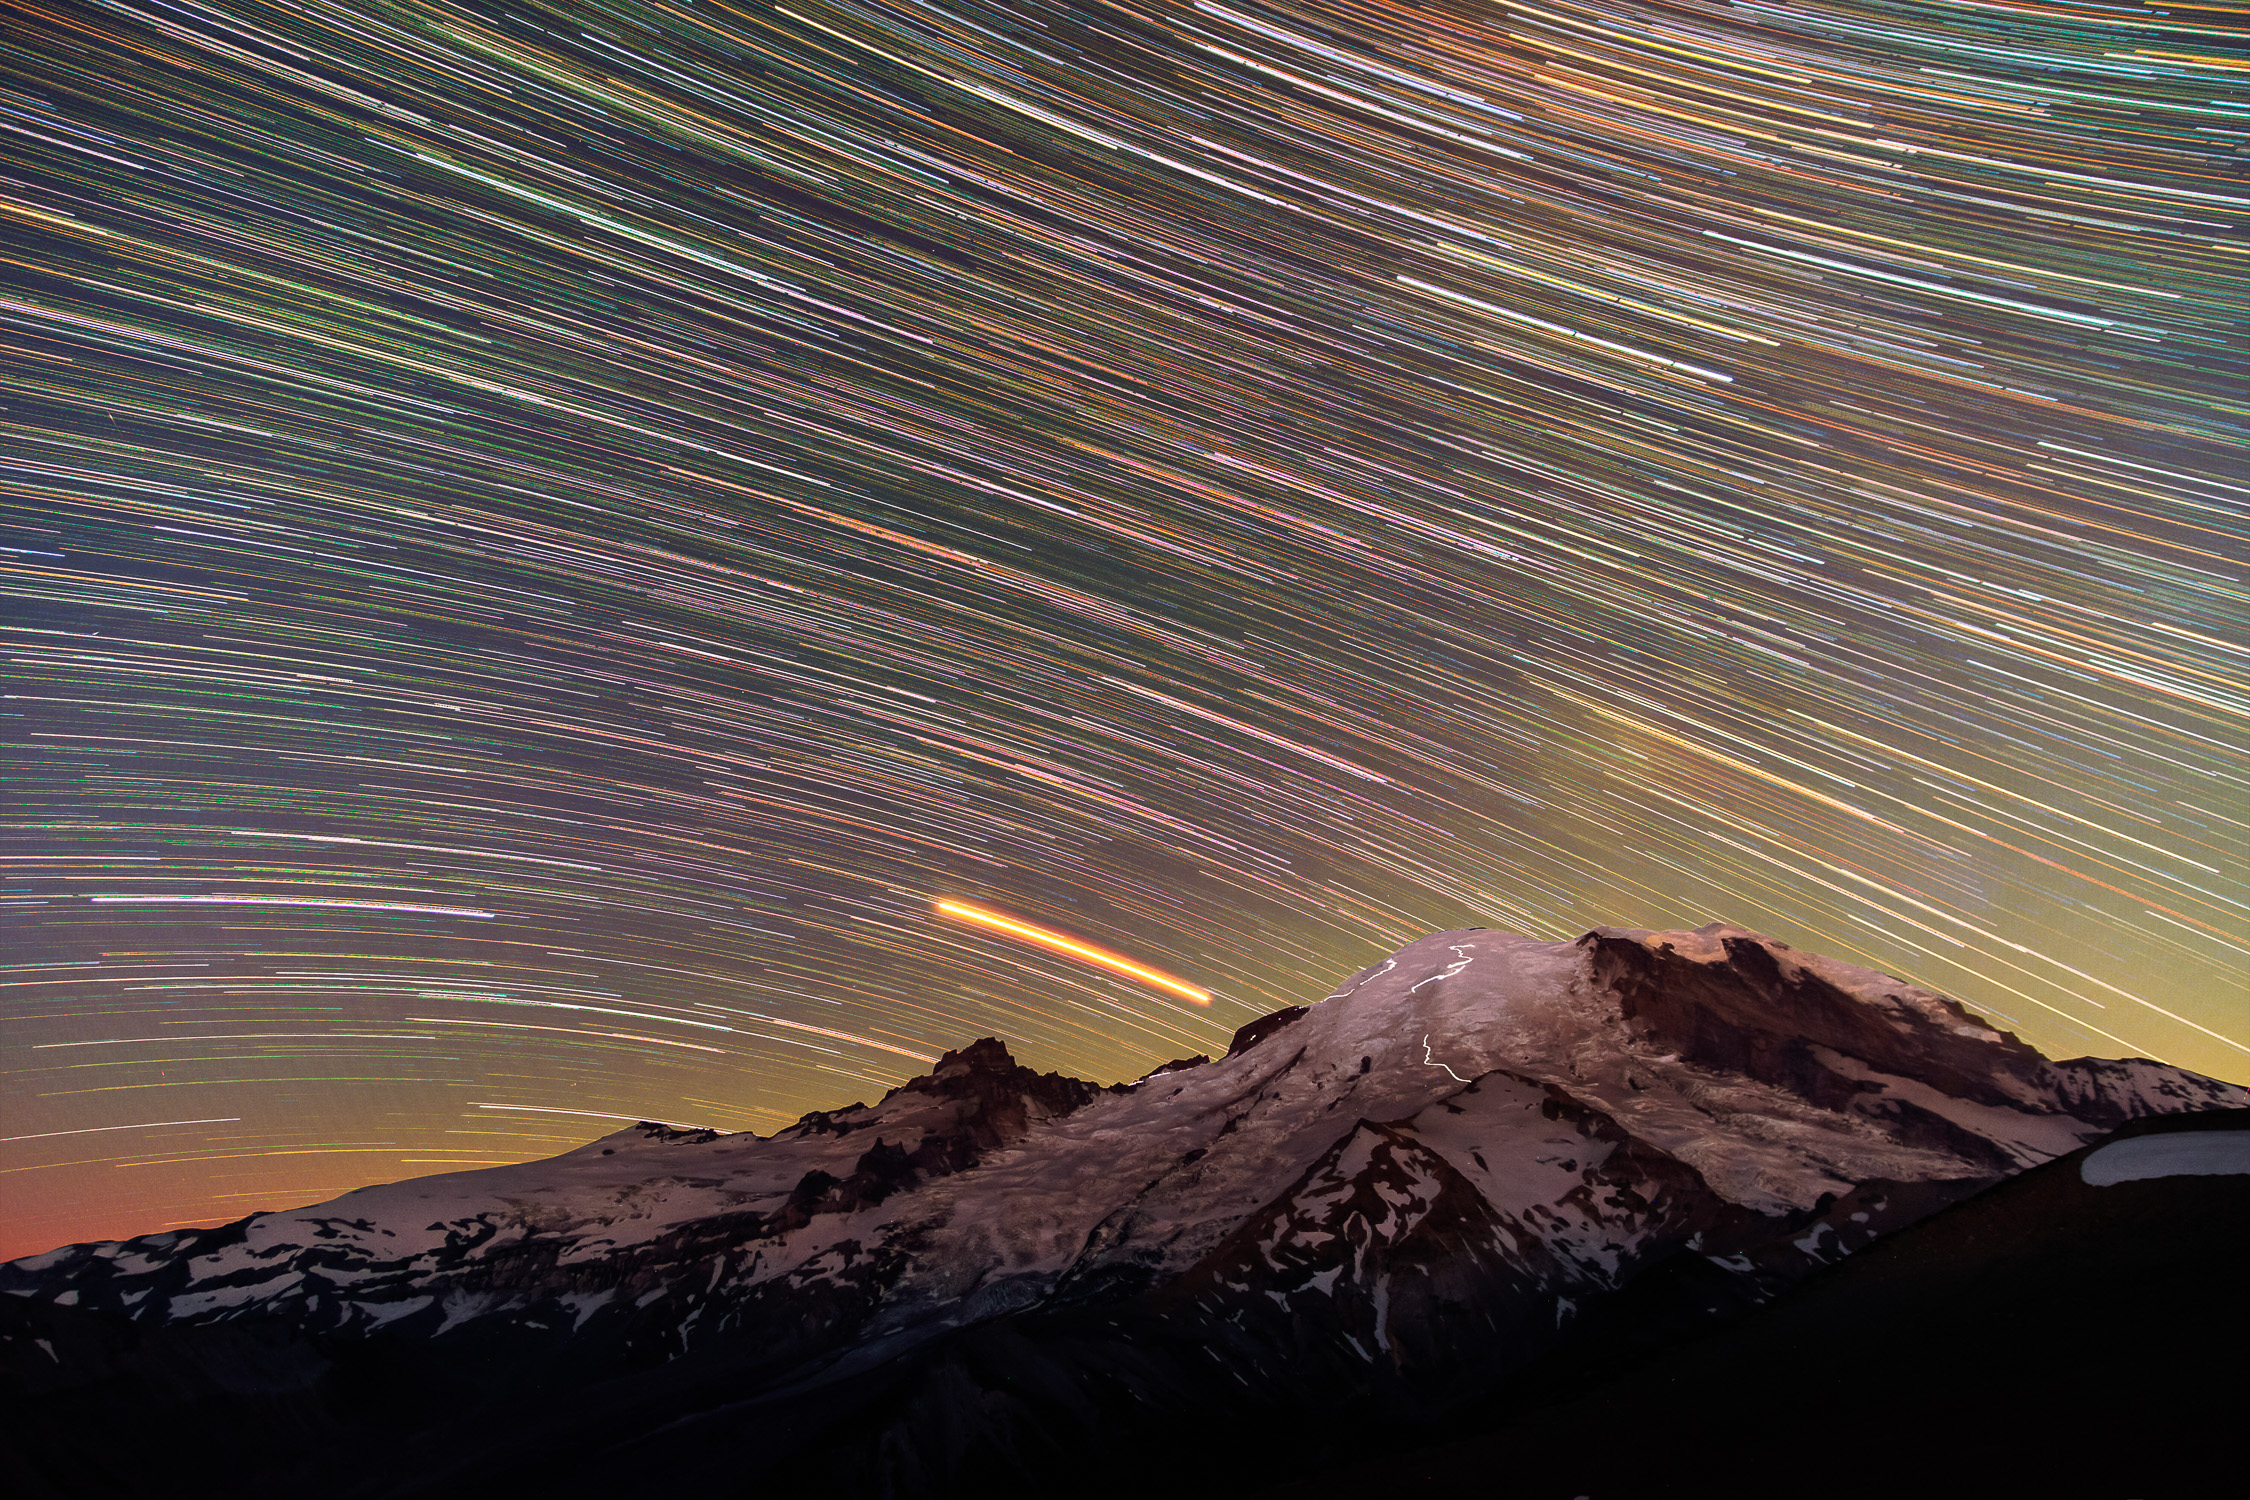
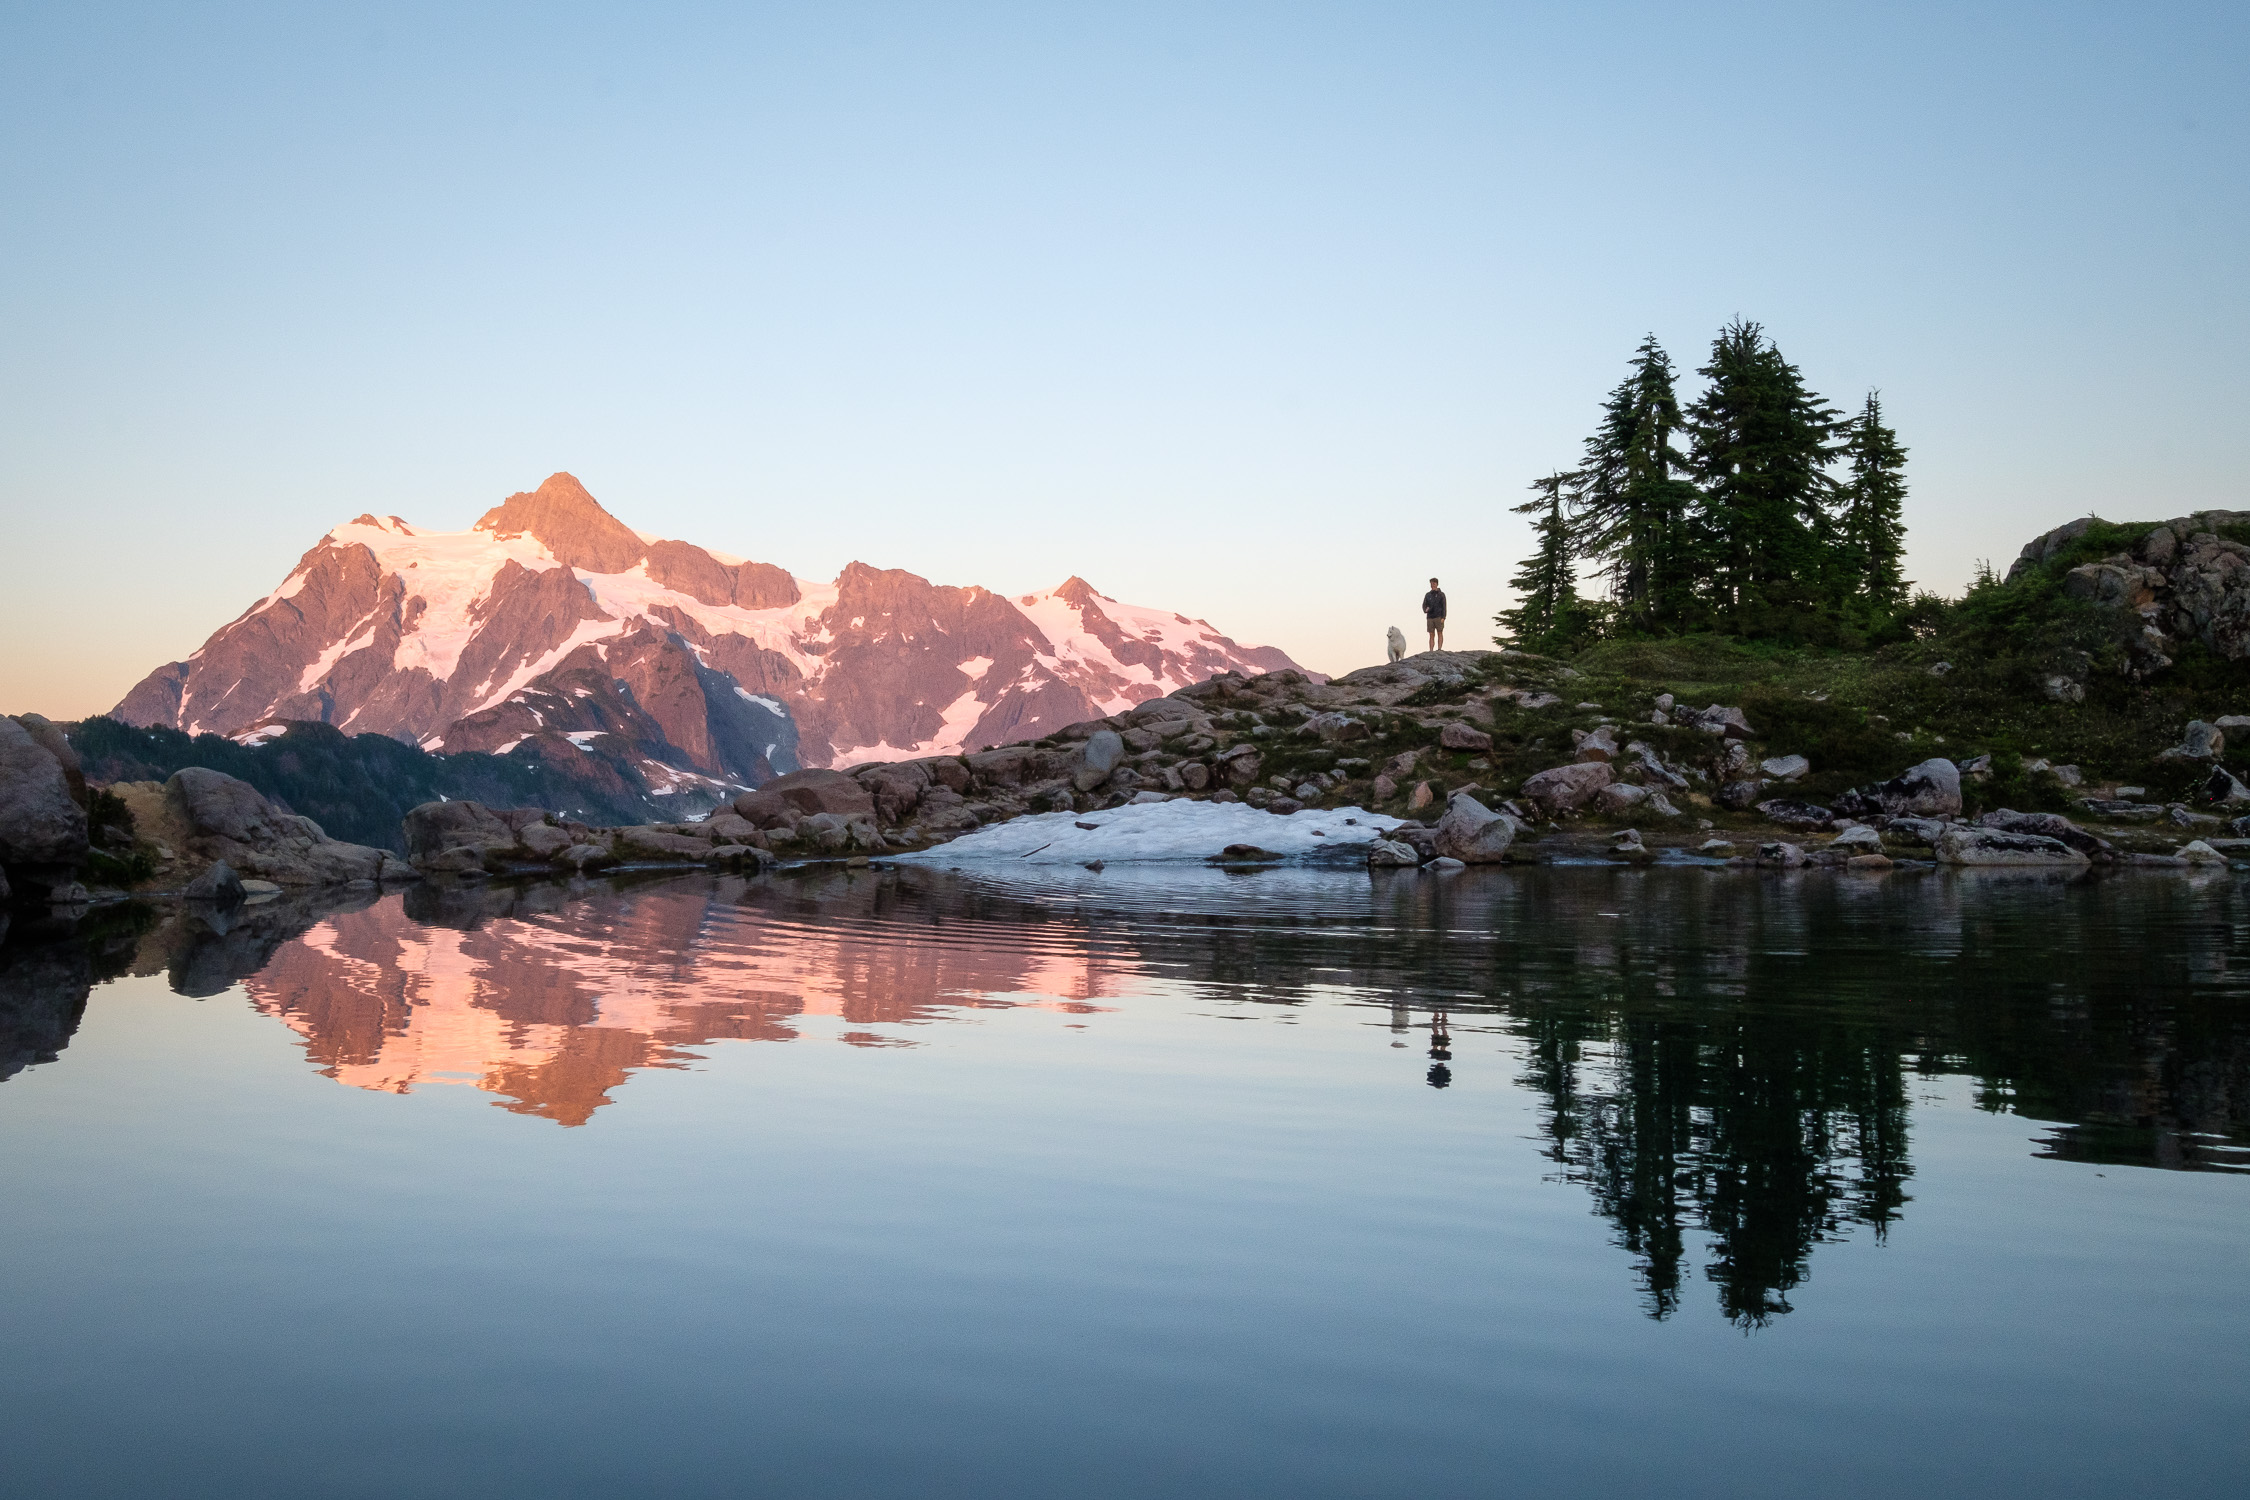
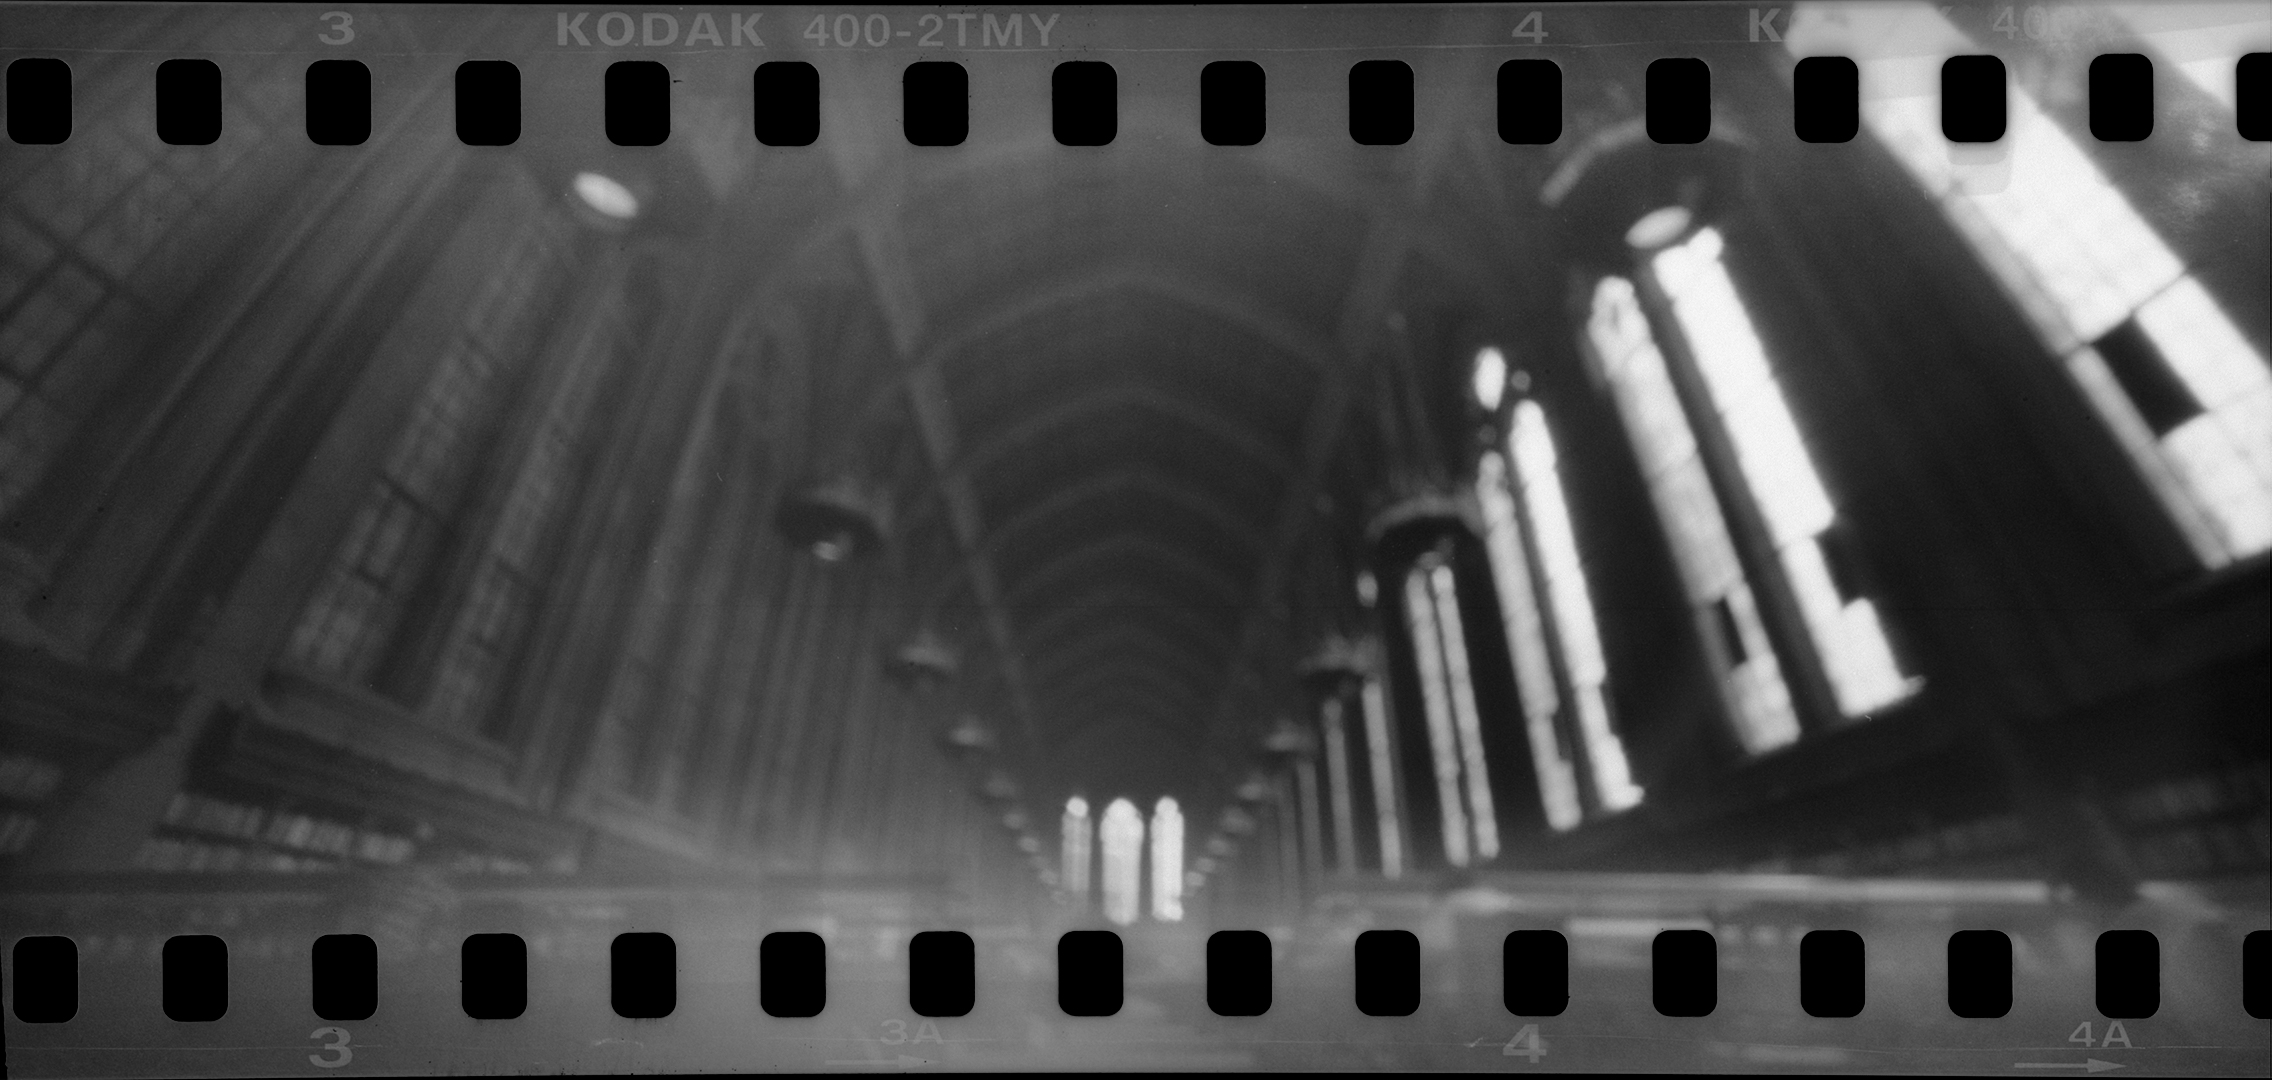
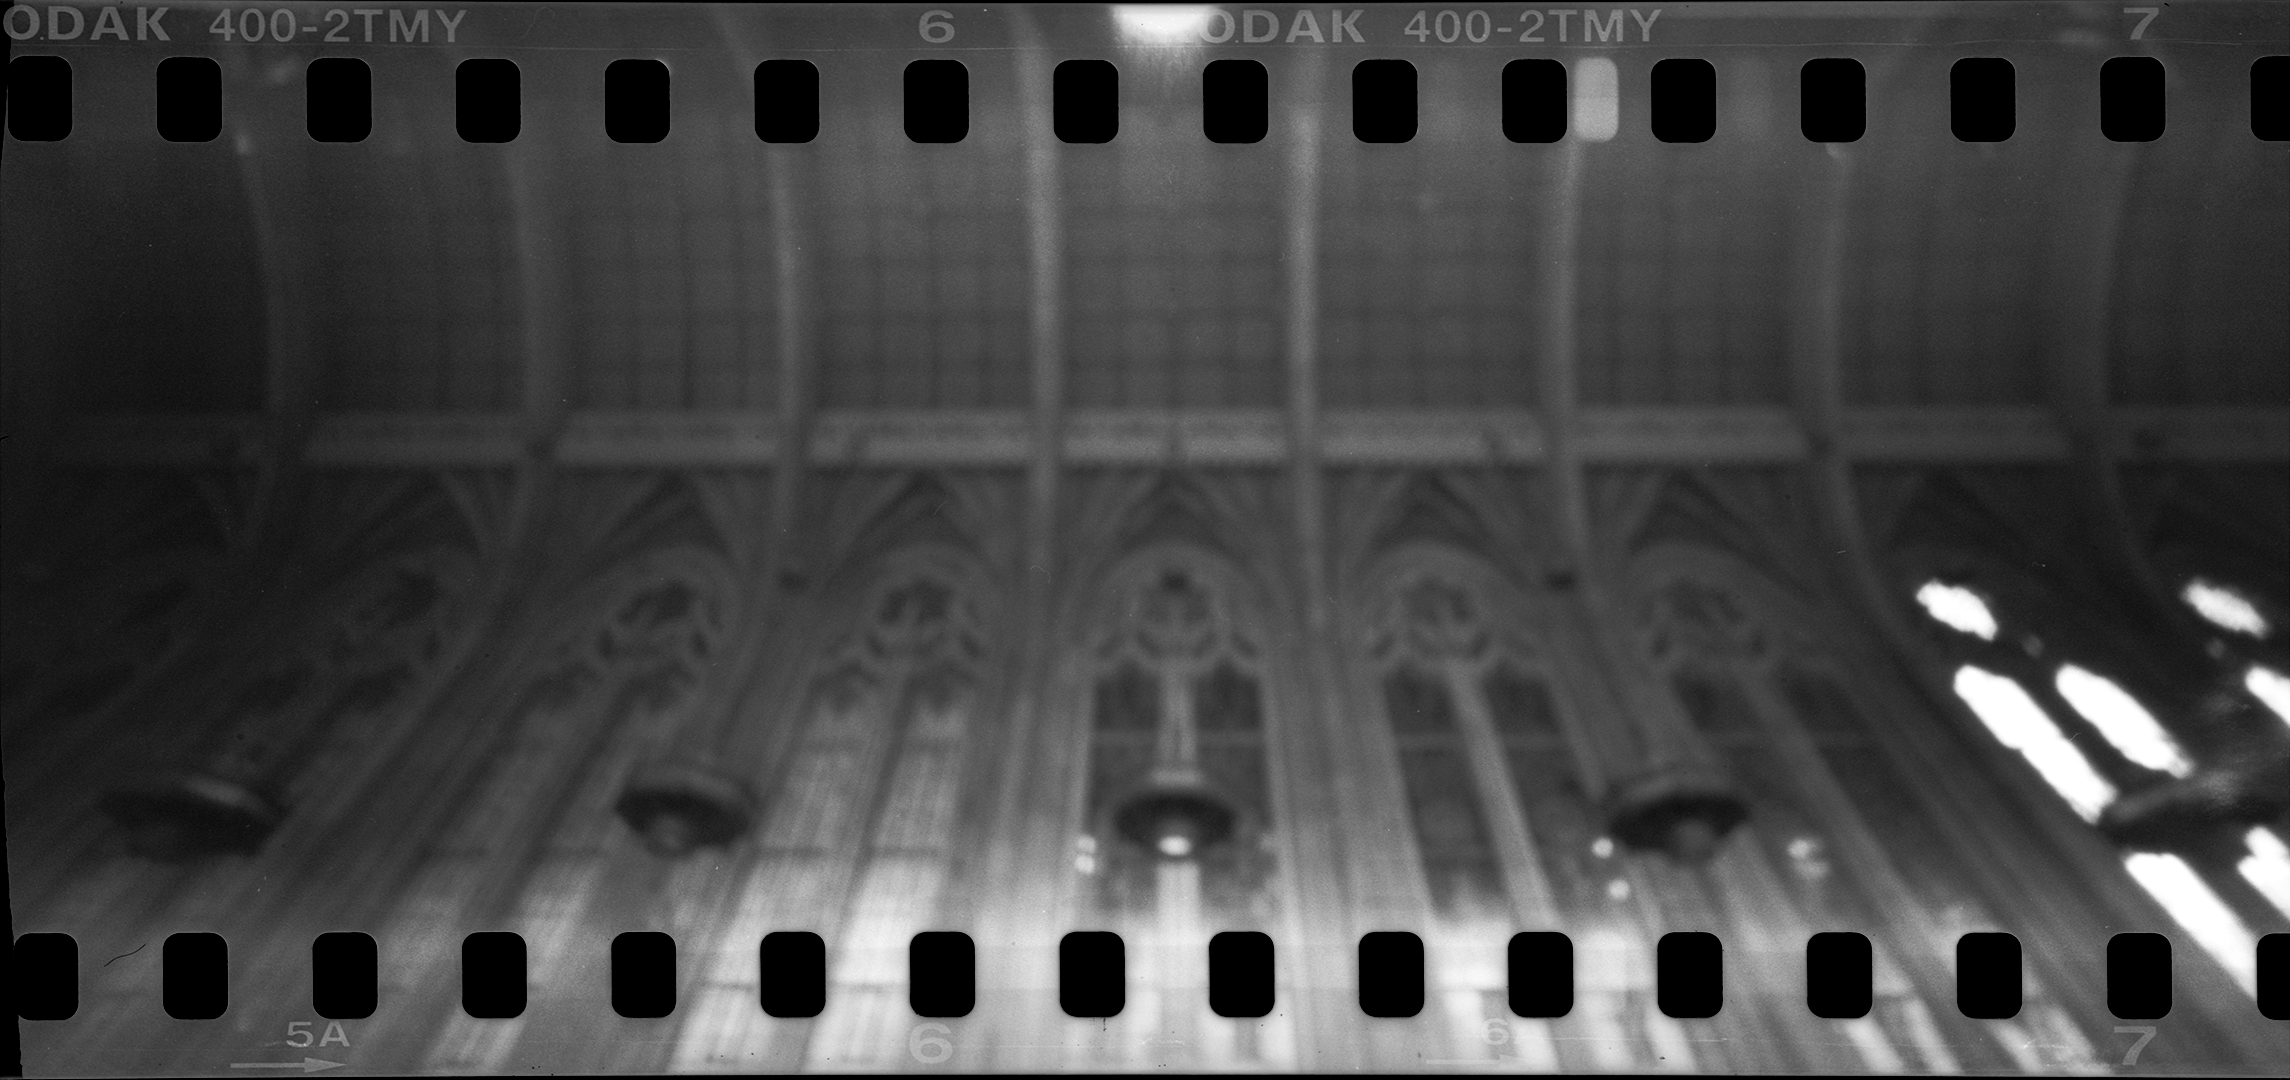
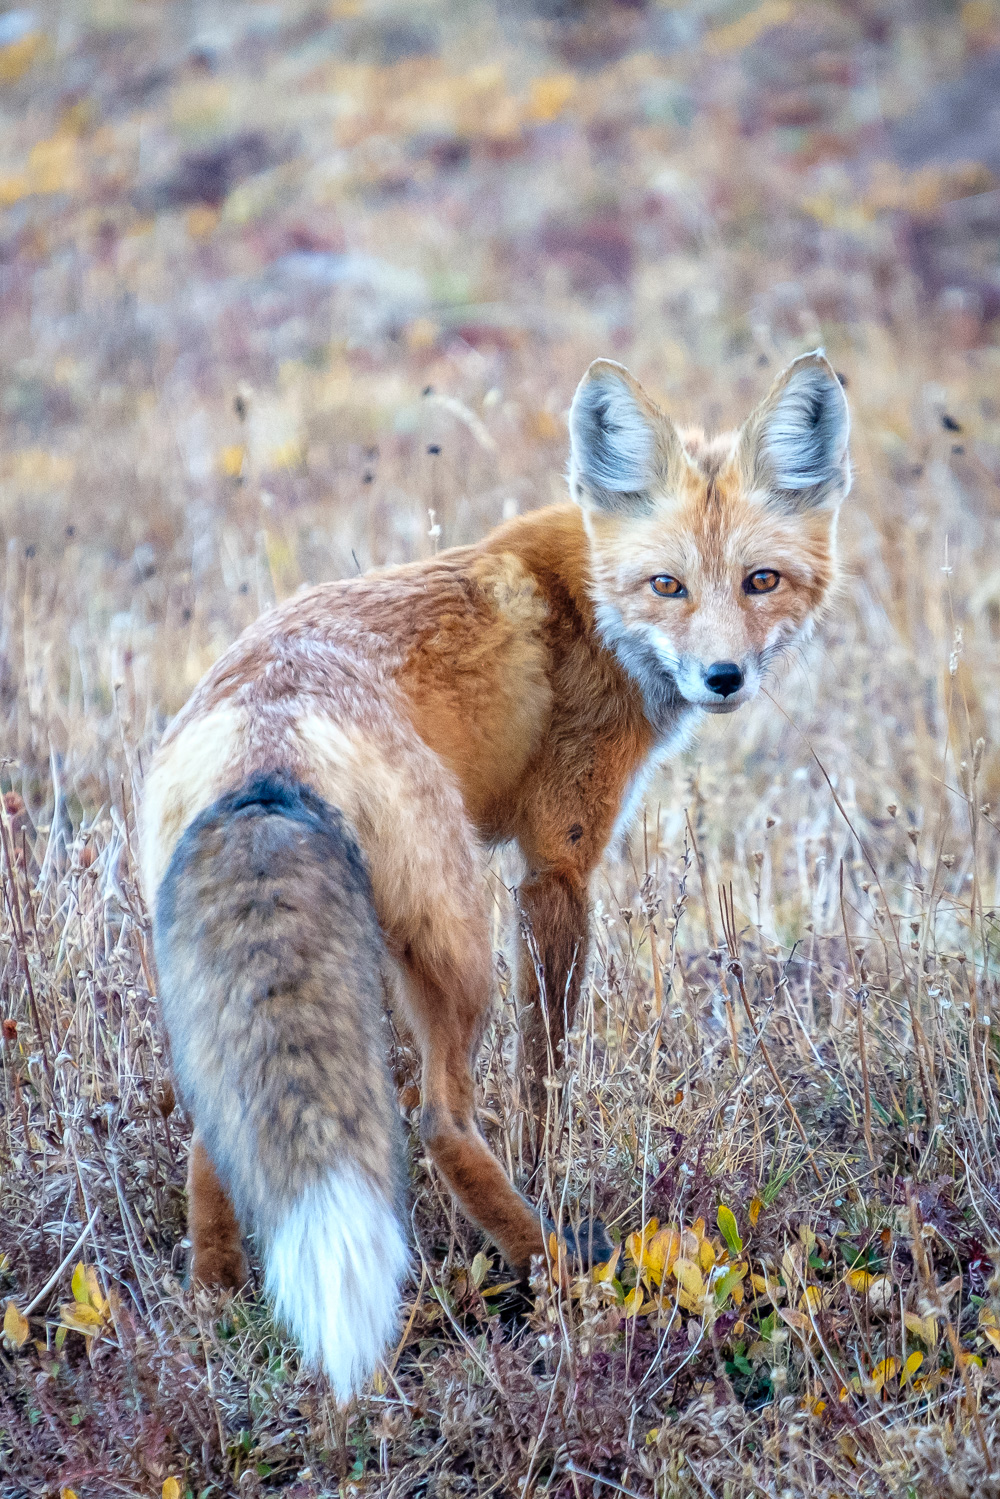
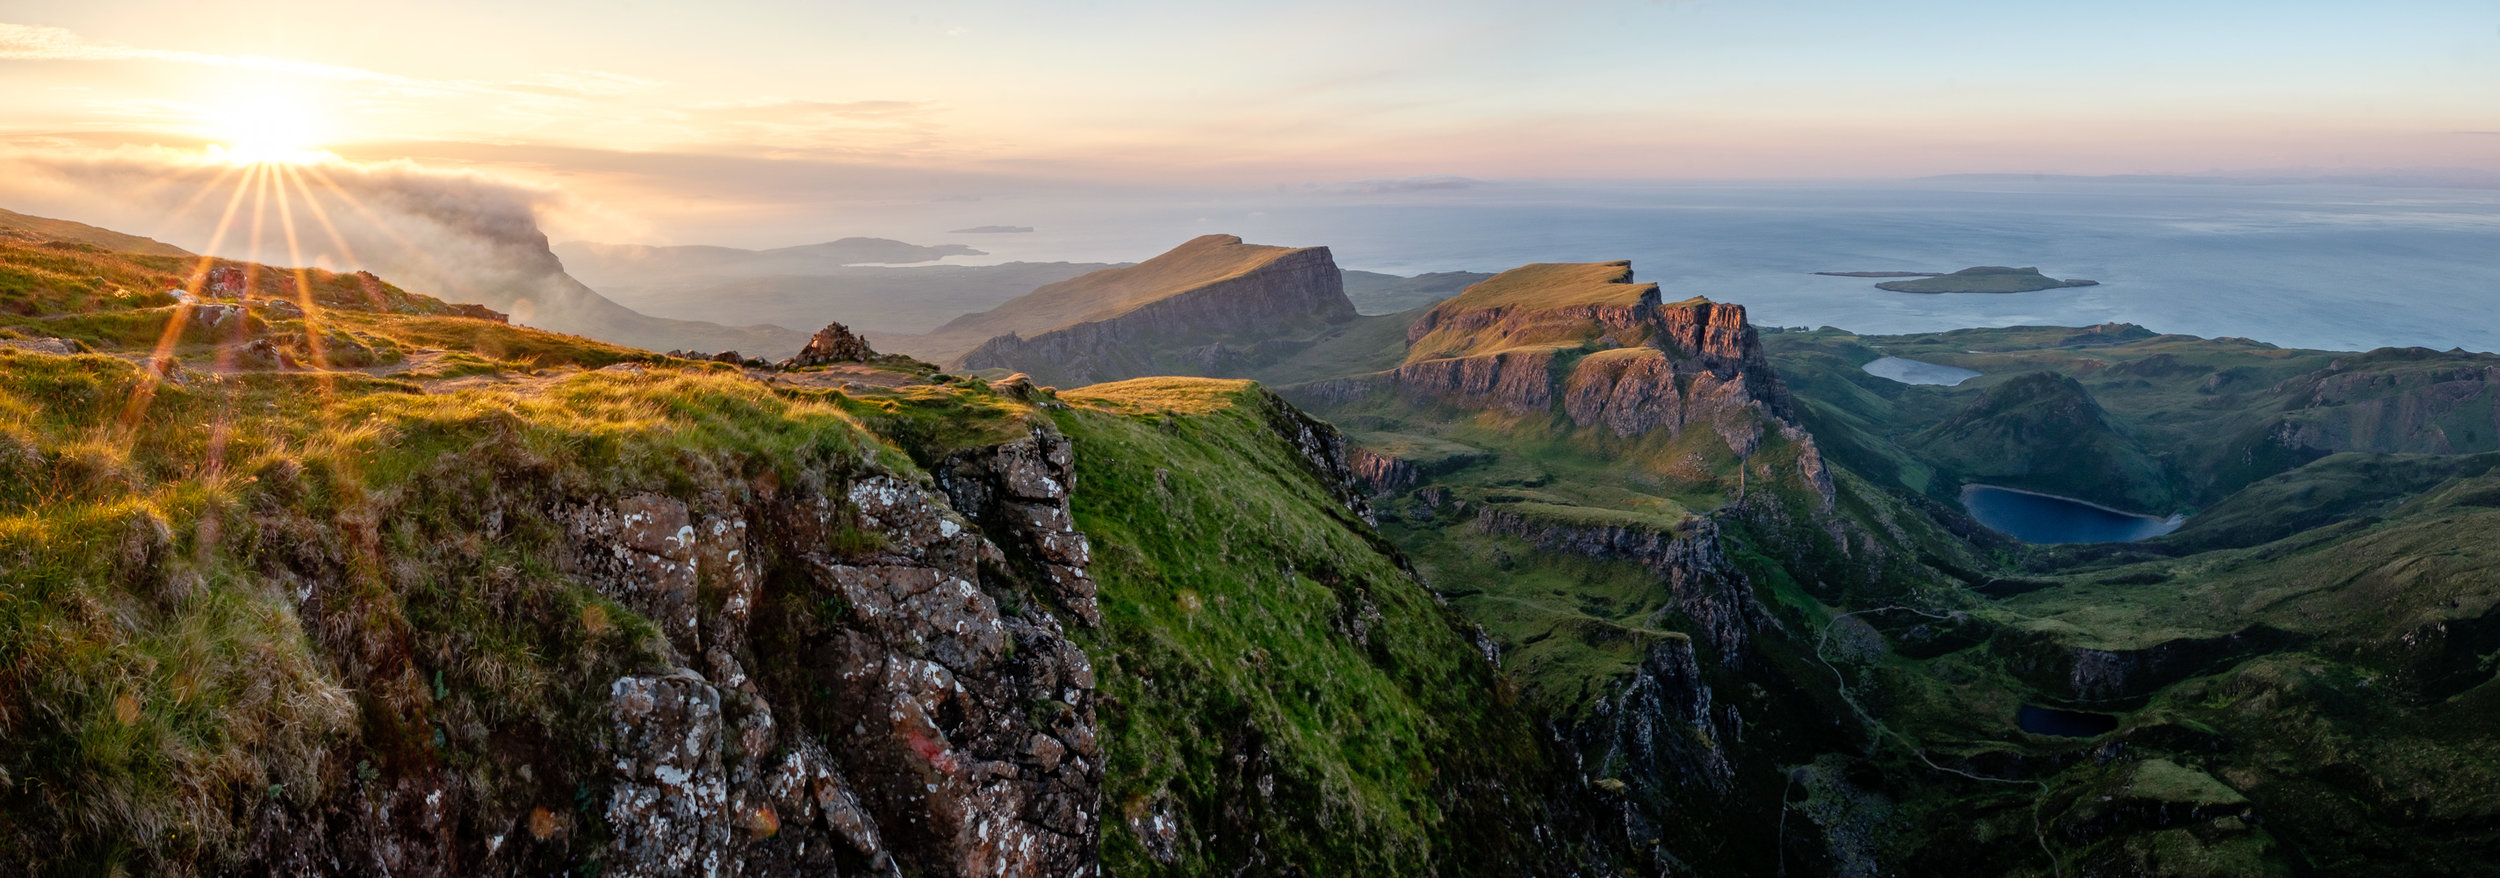
Winter Flight to the Pickets for Sunset

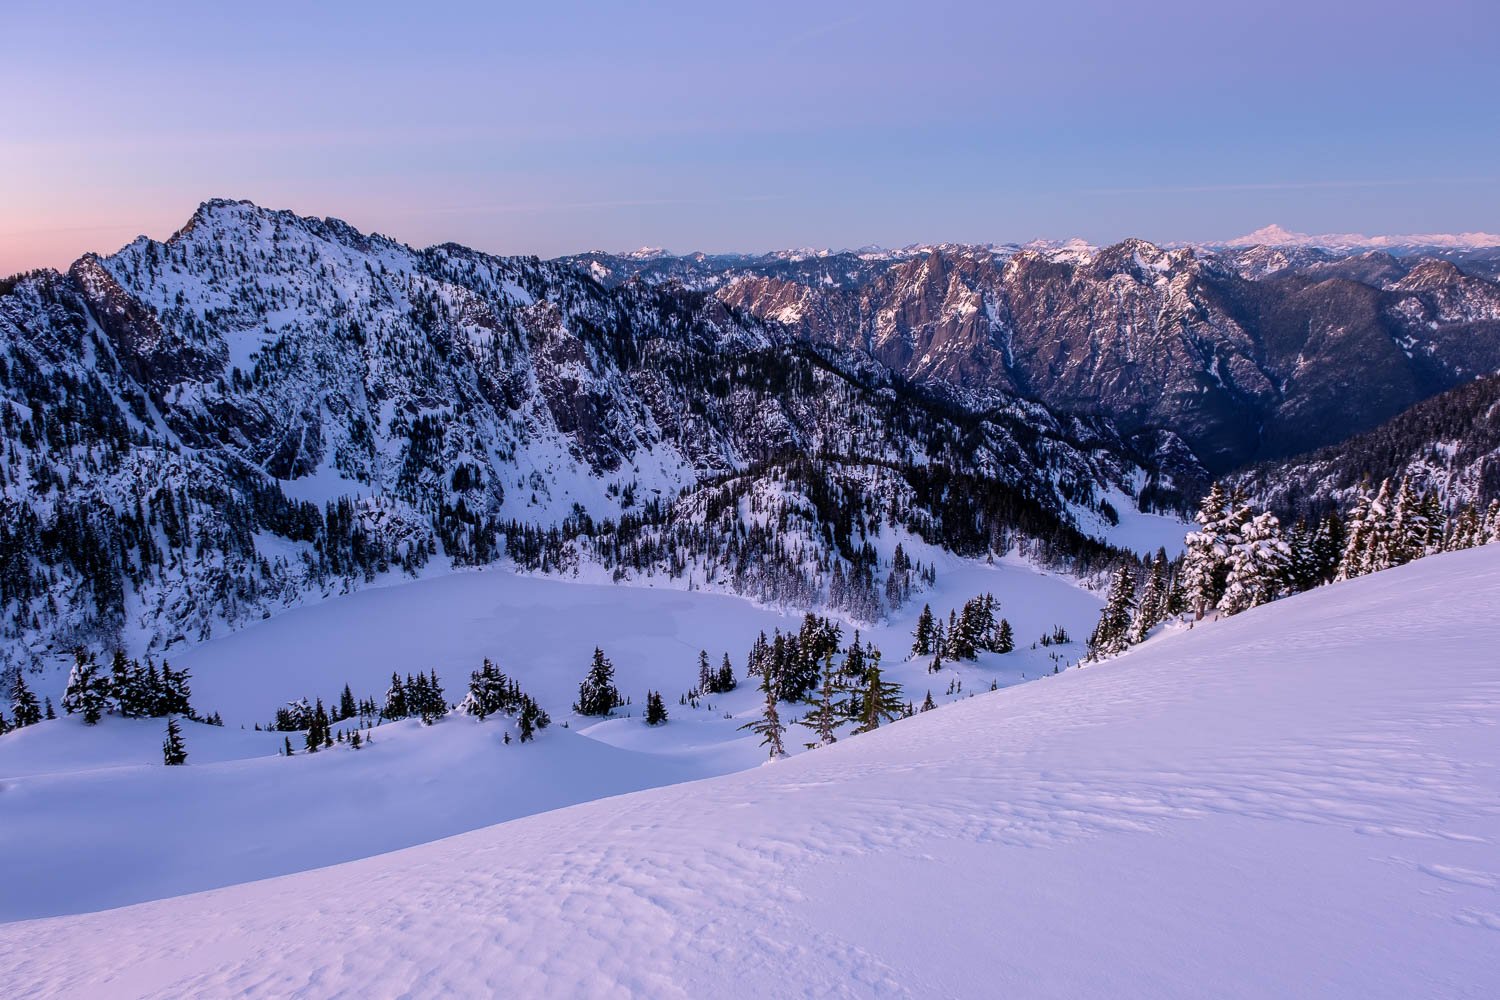
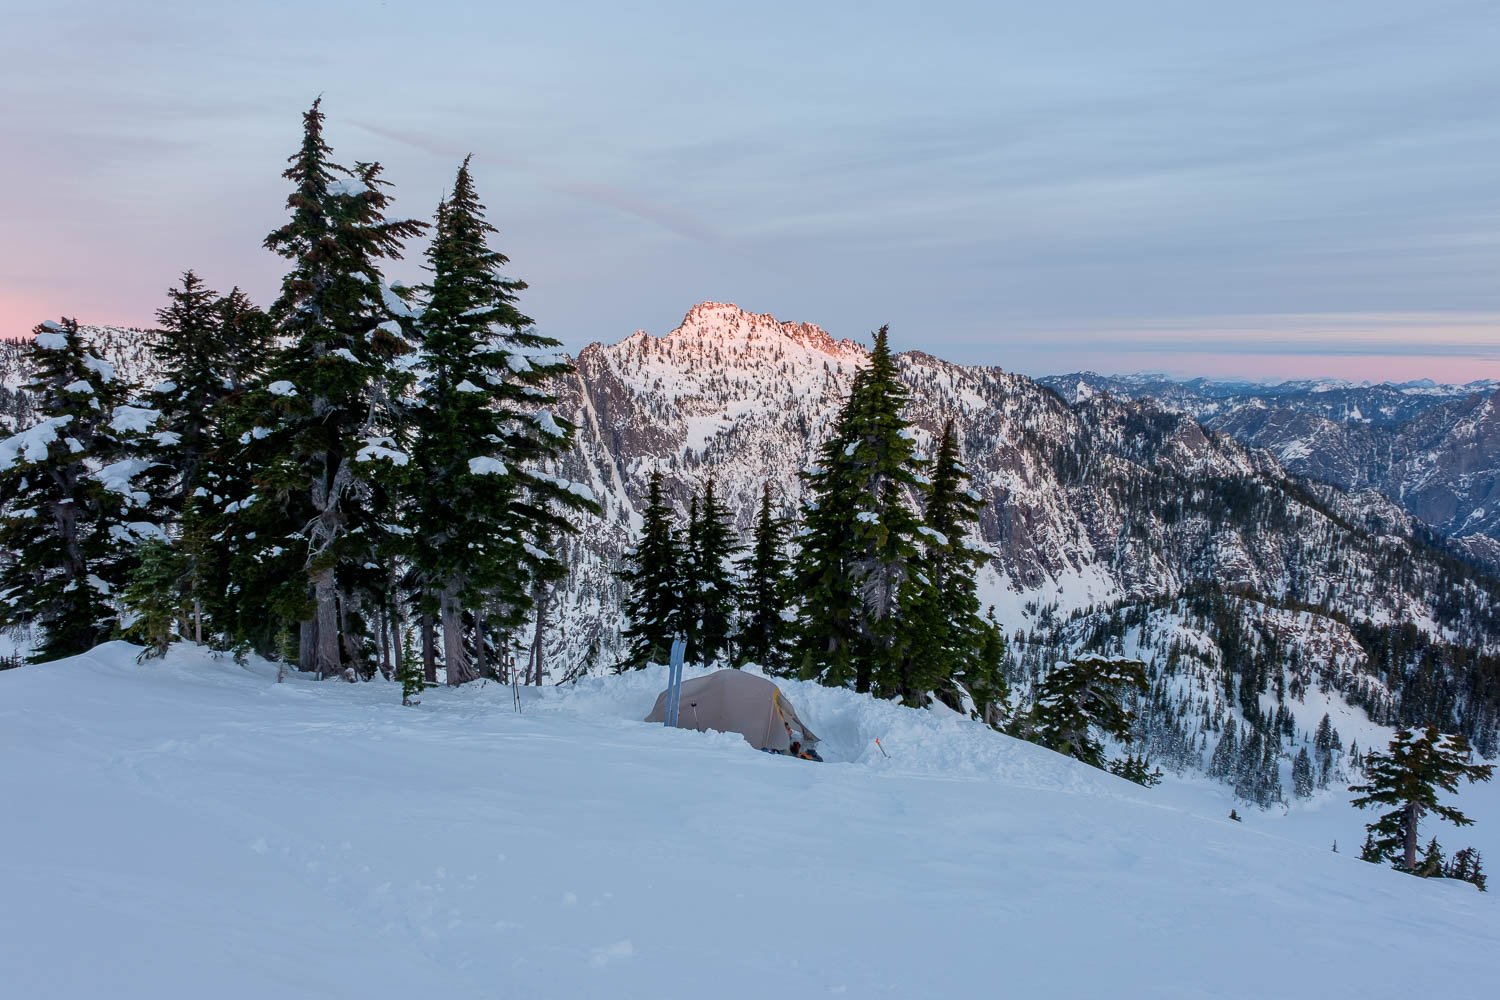
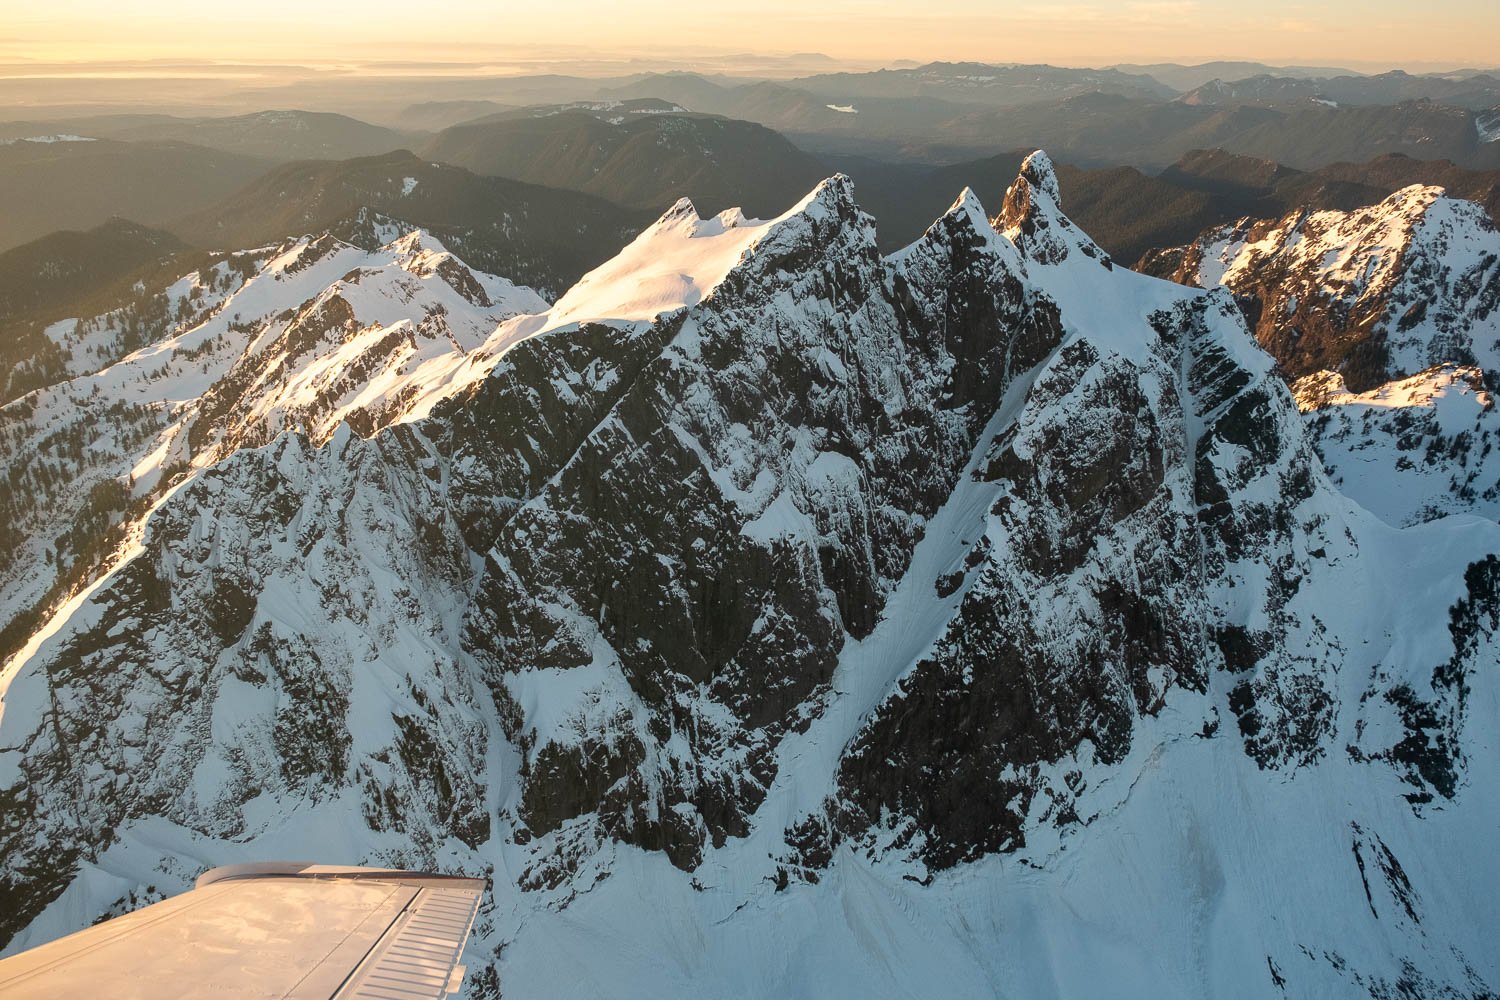
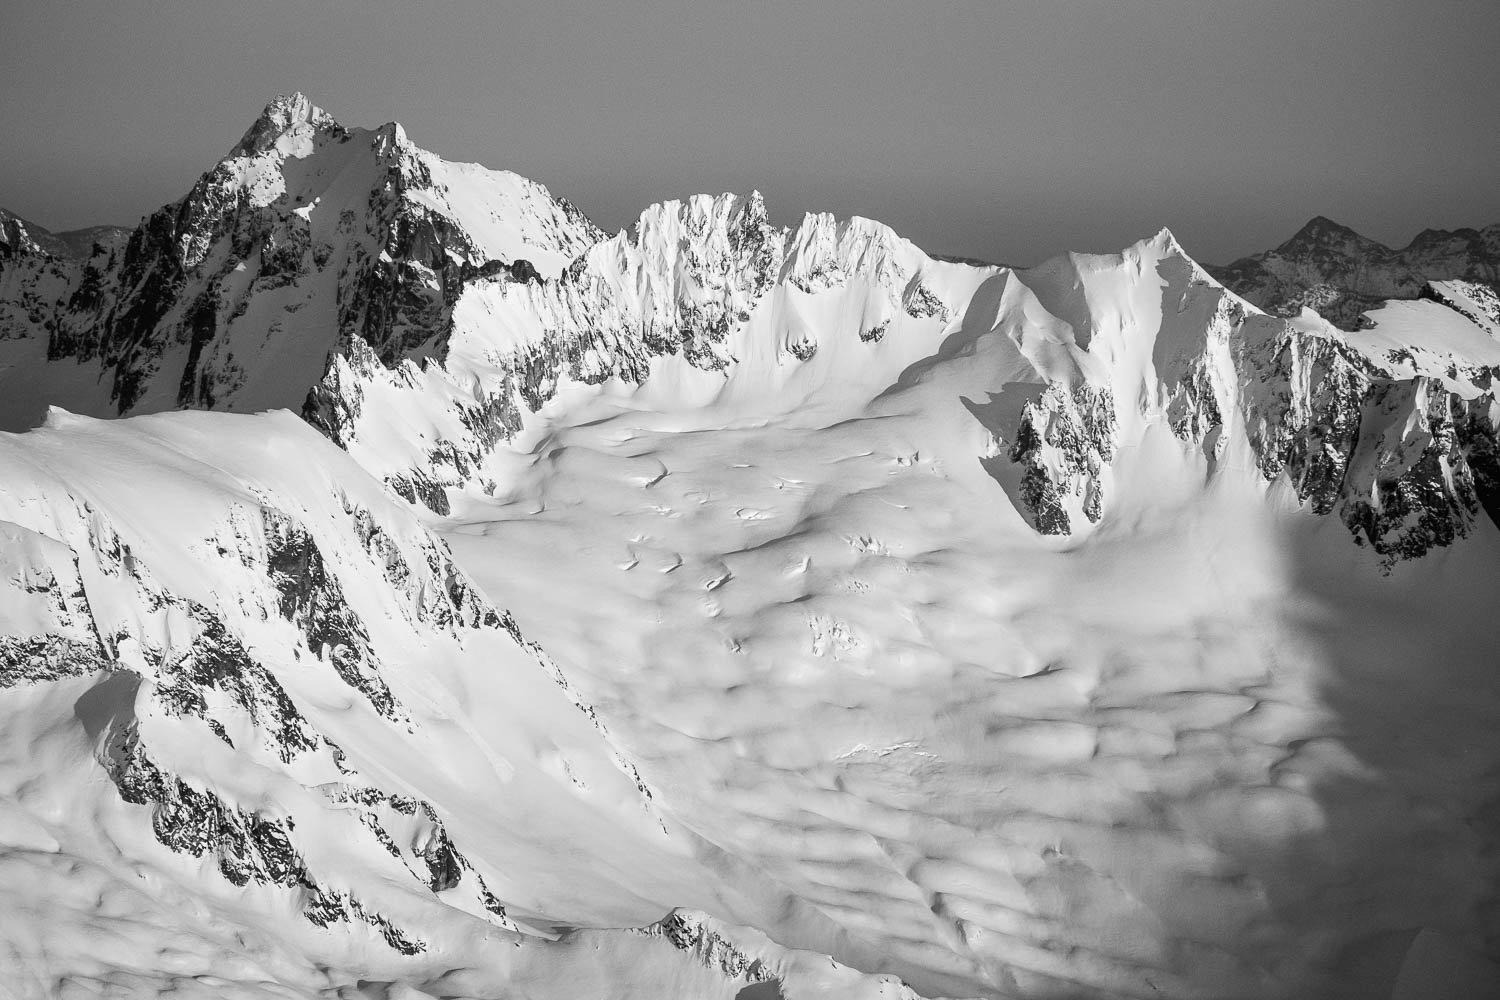
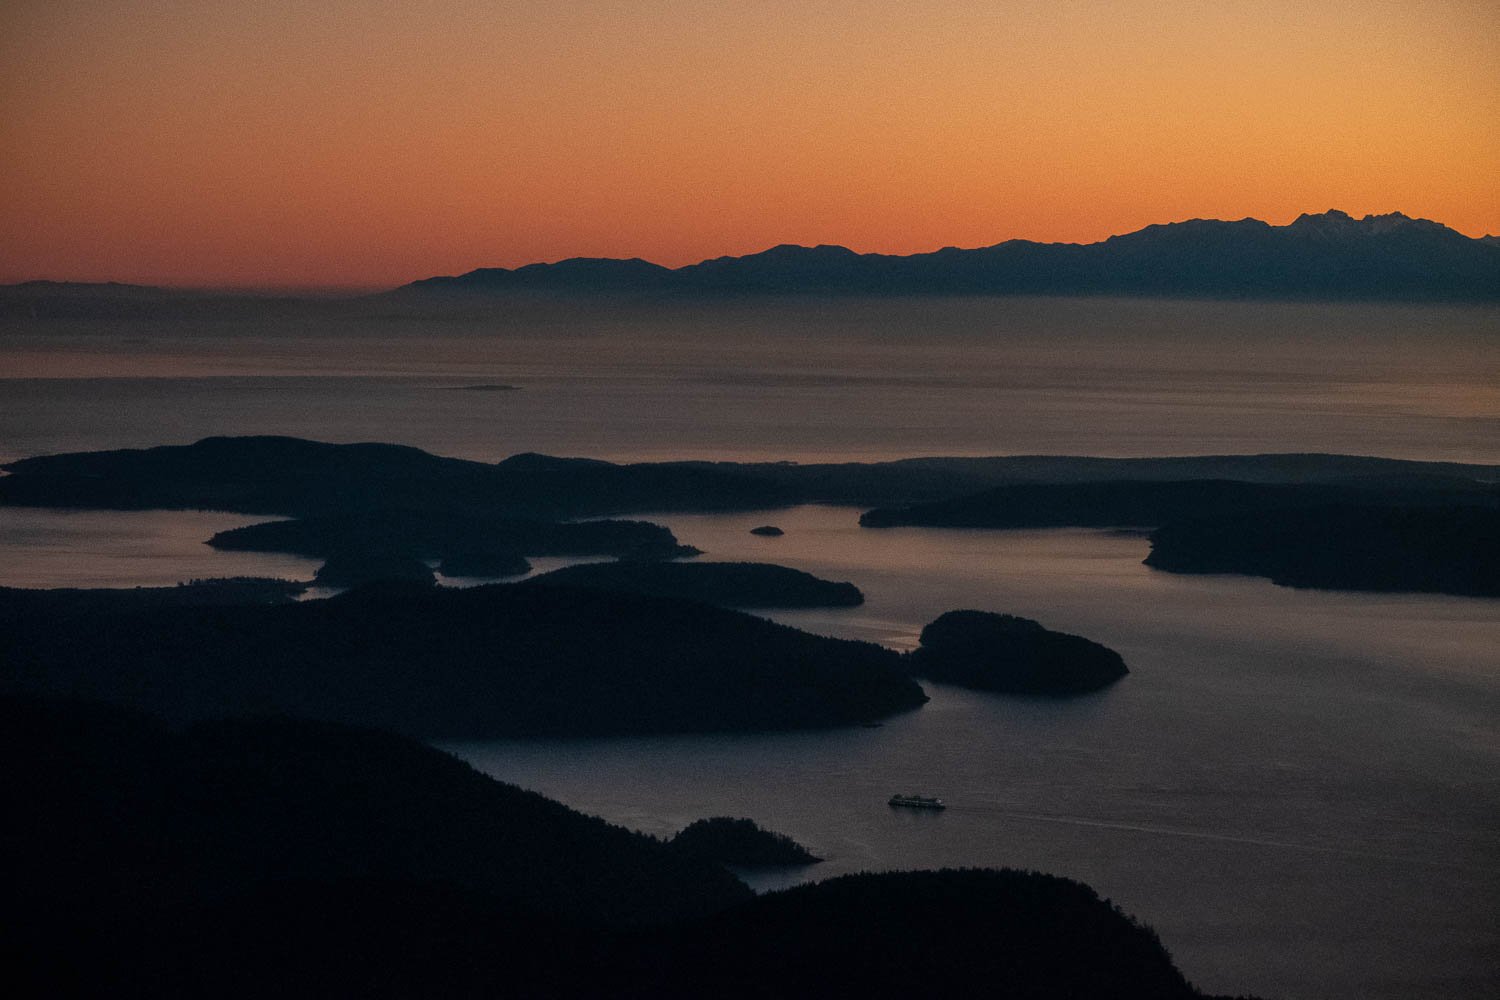
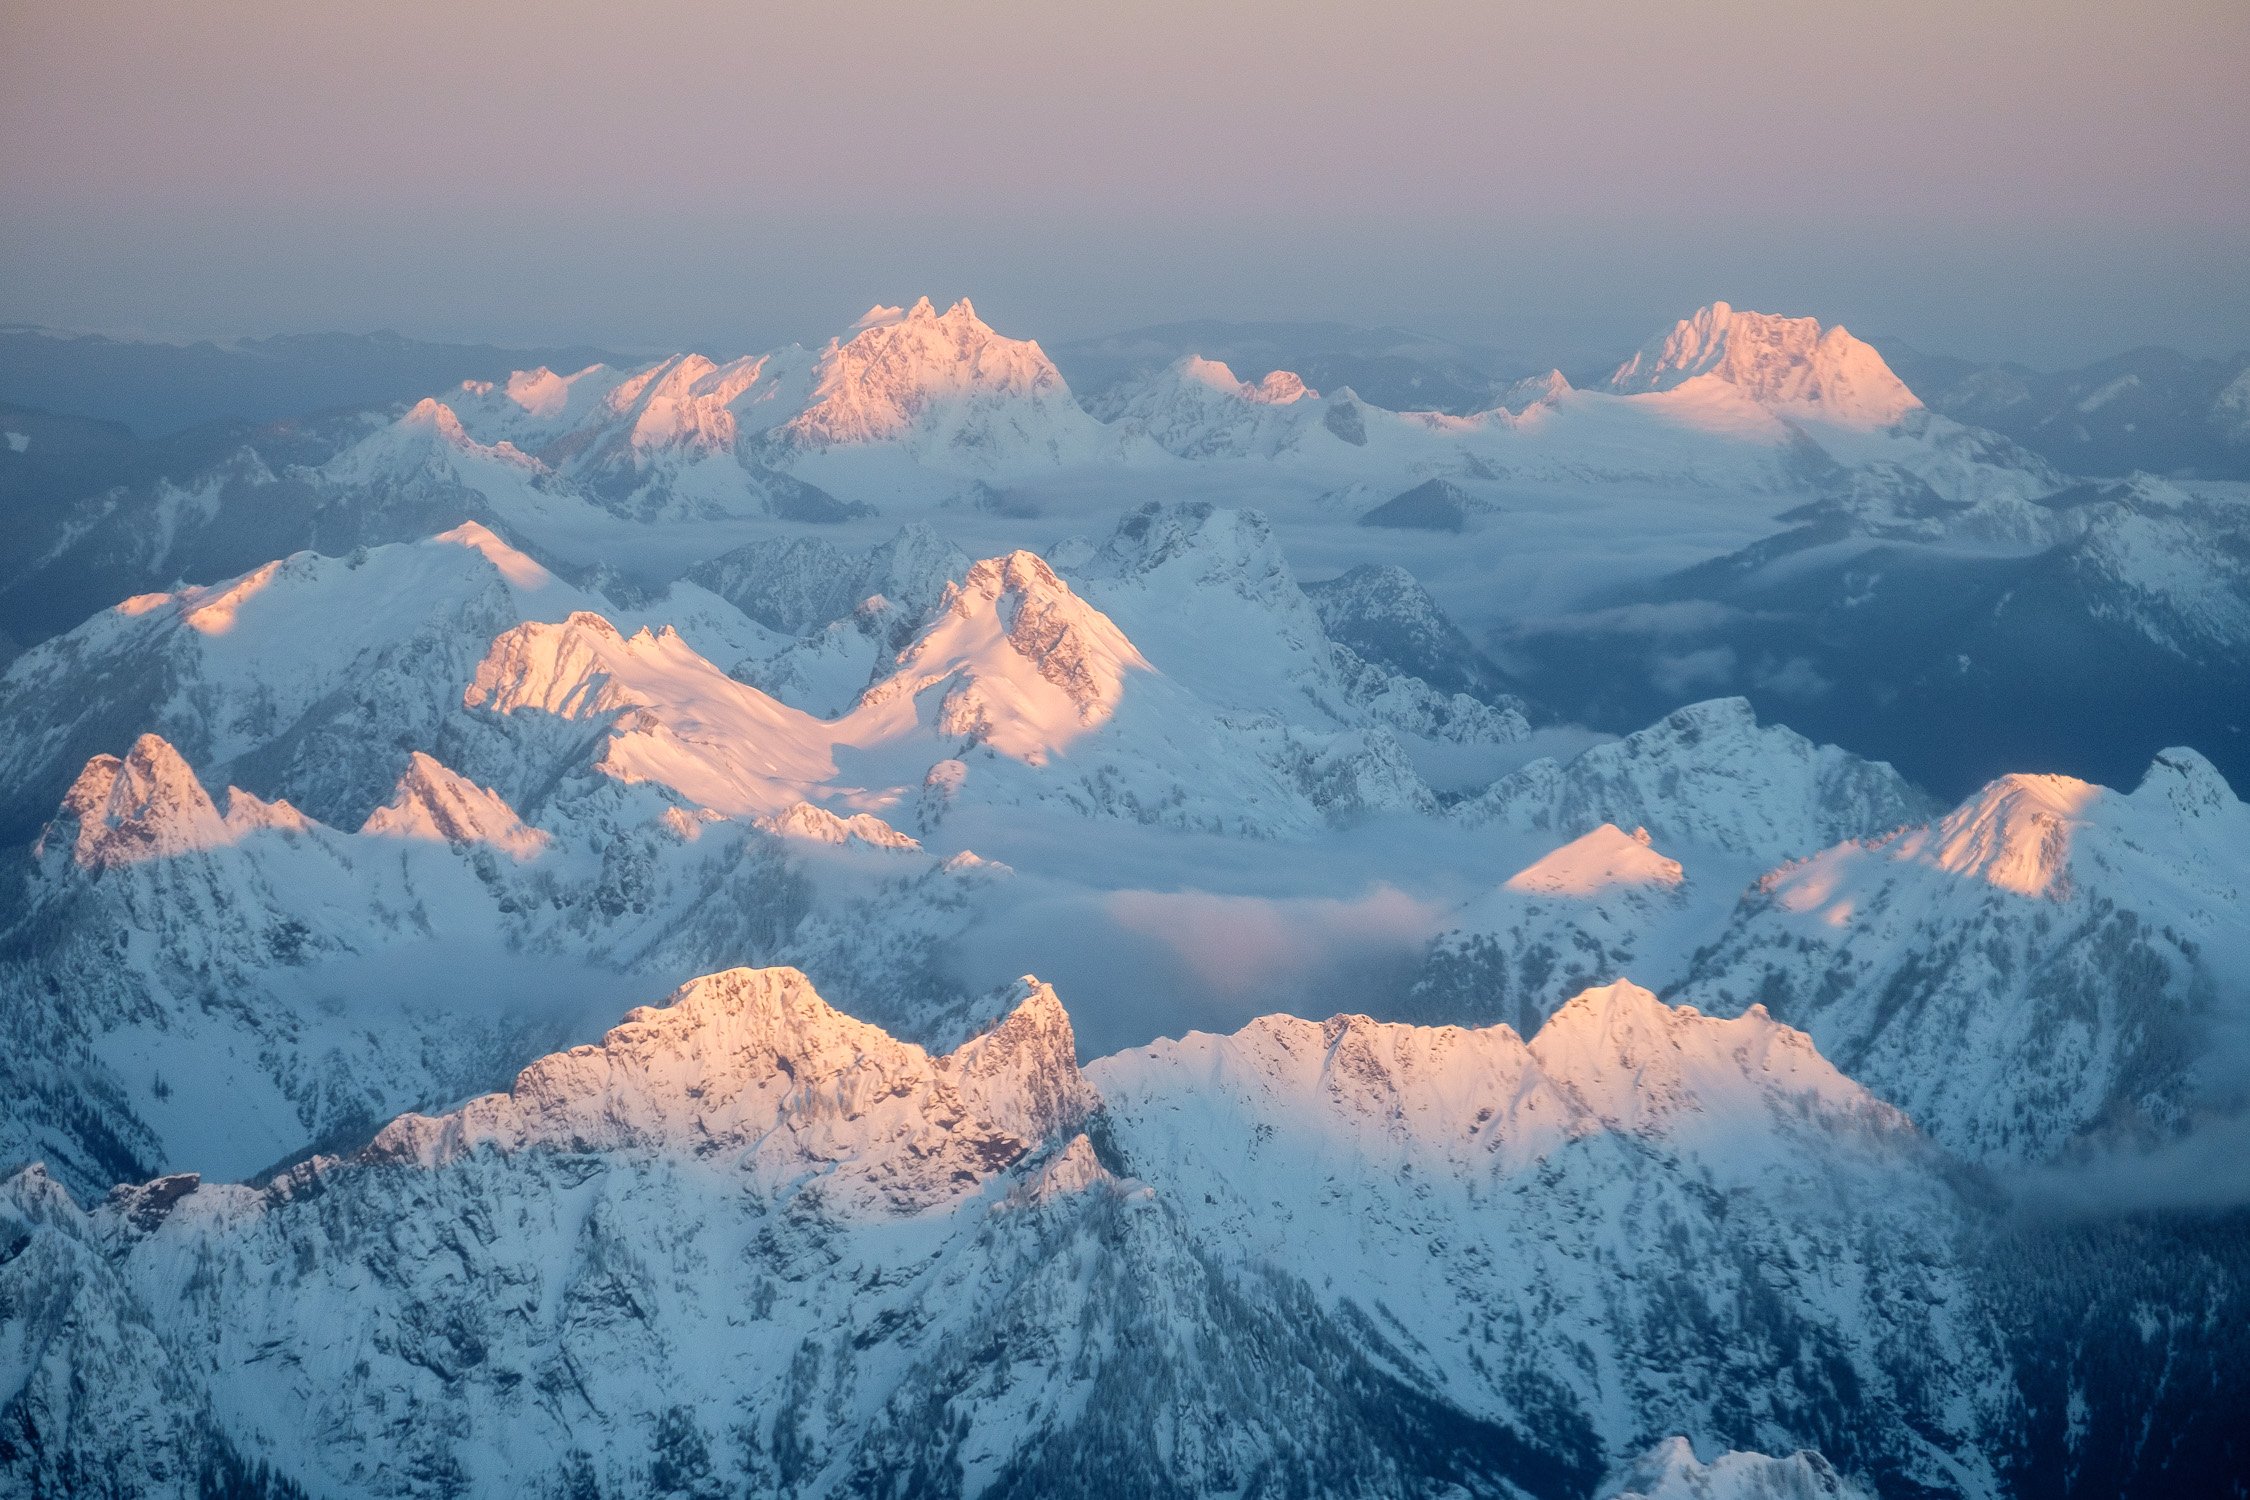
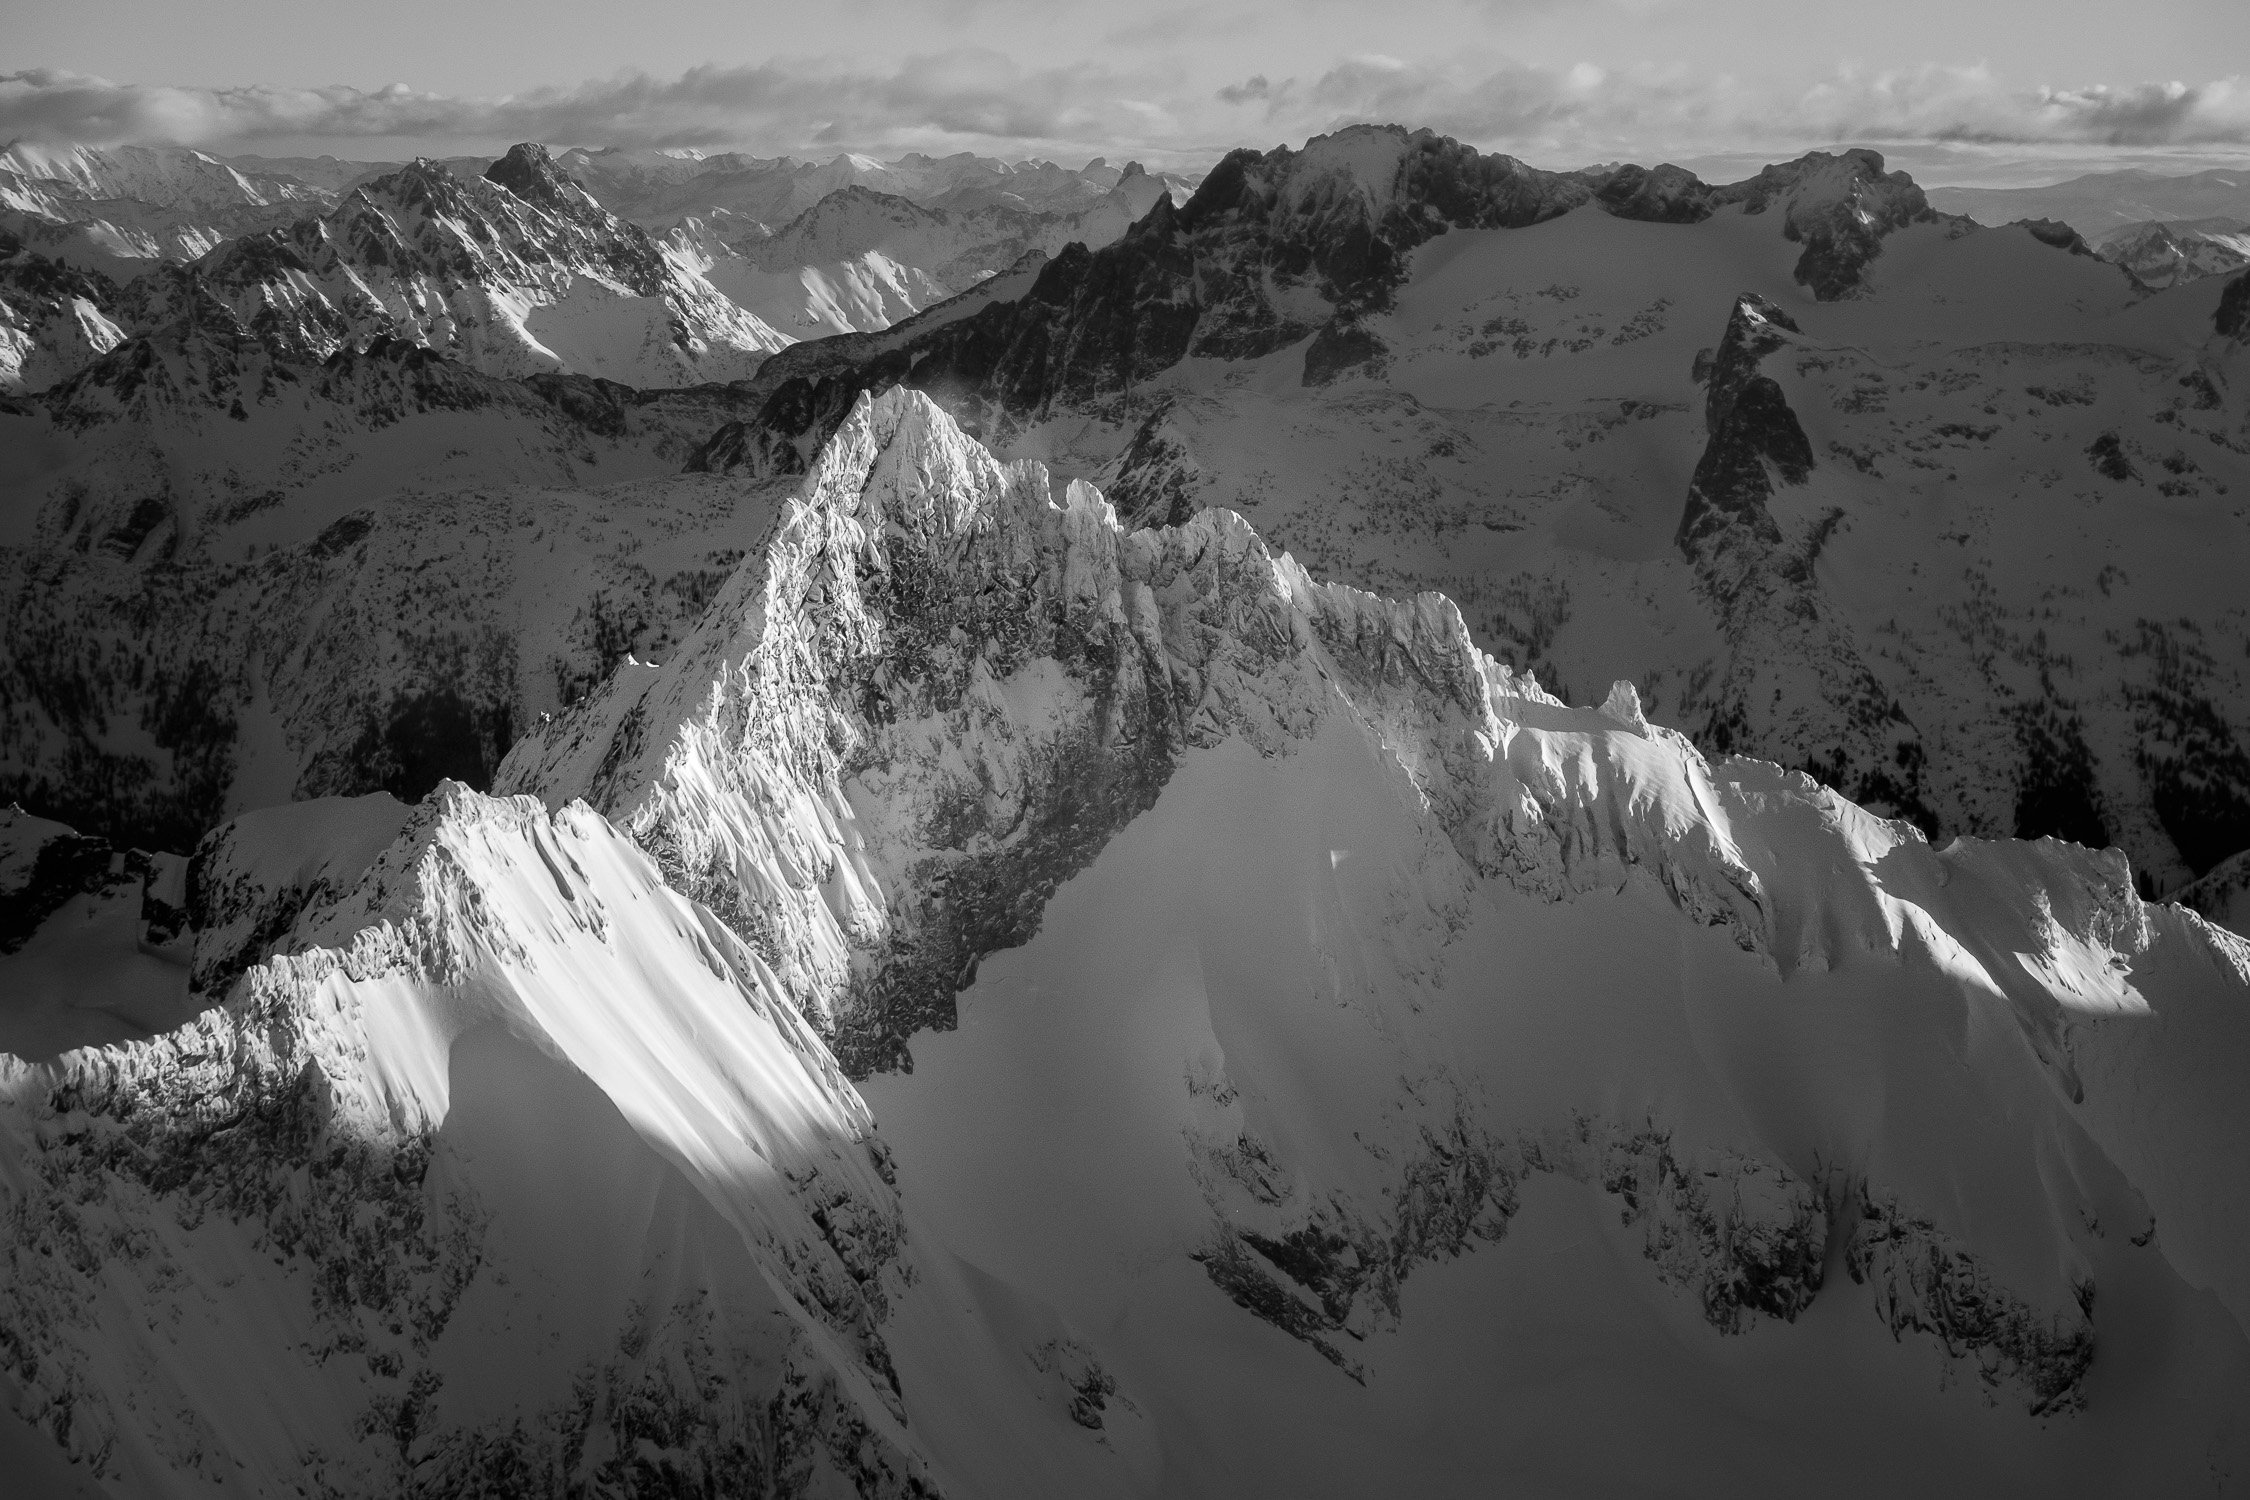
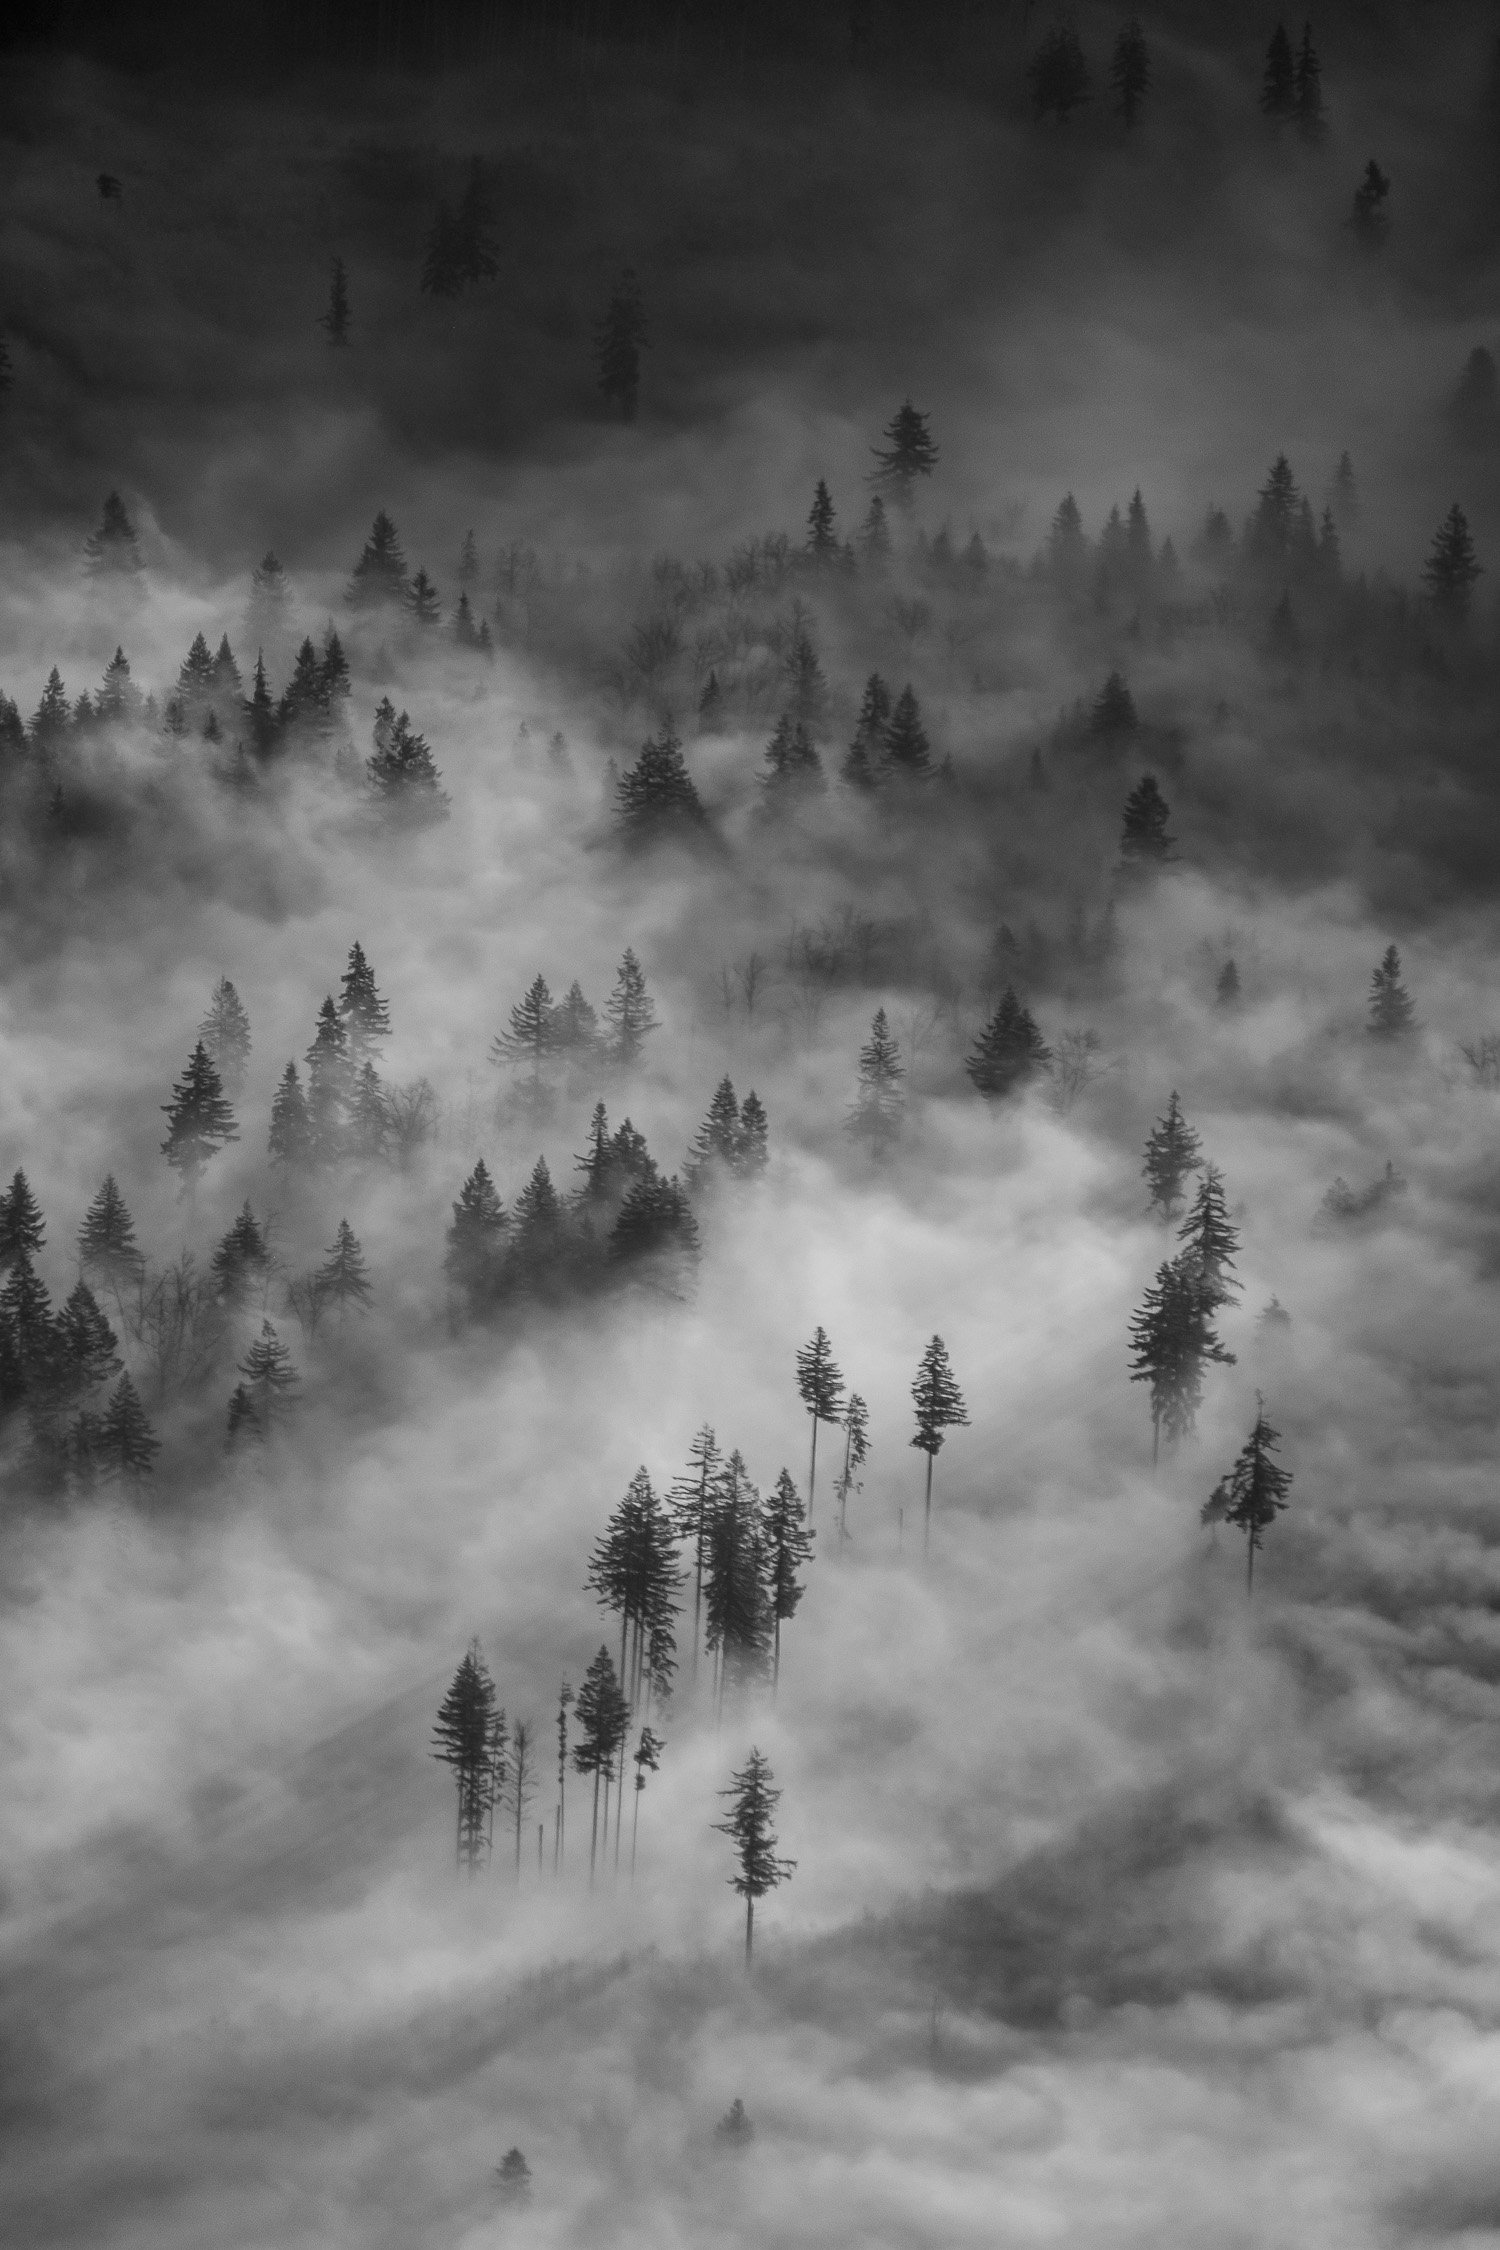
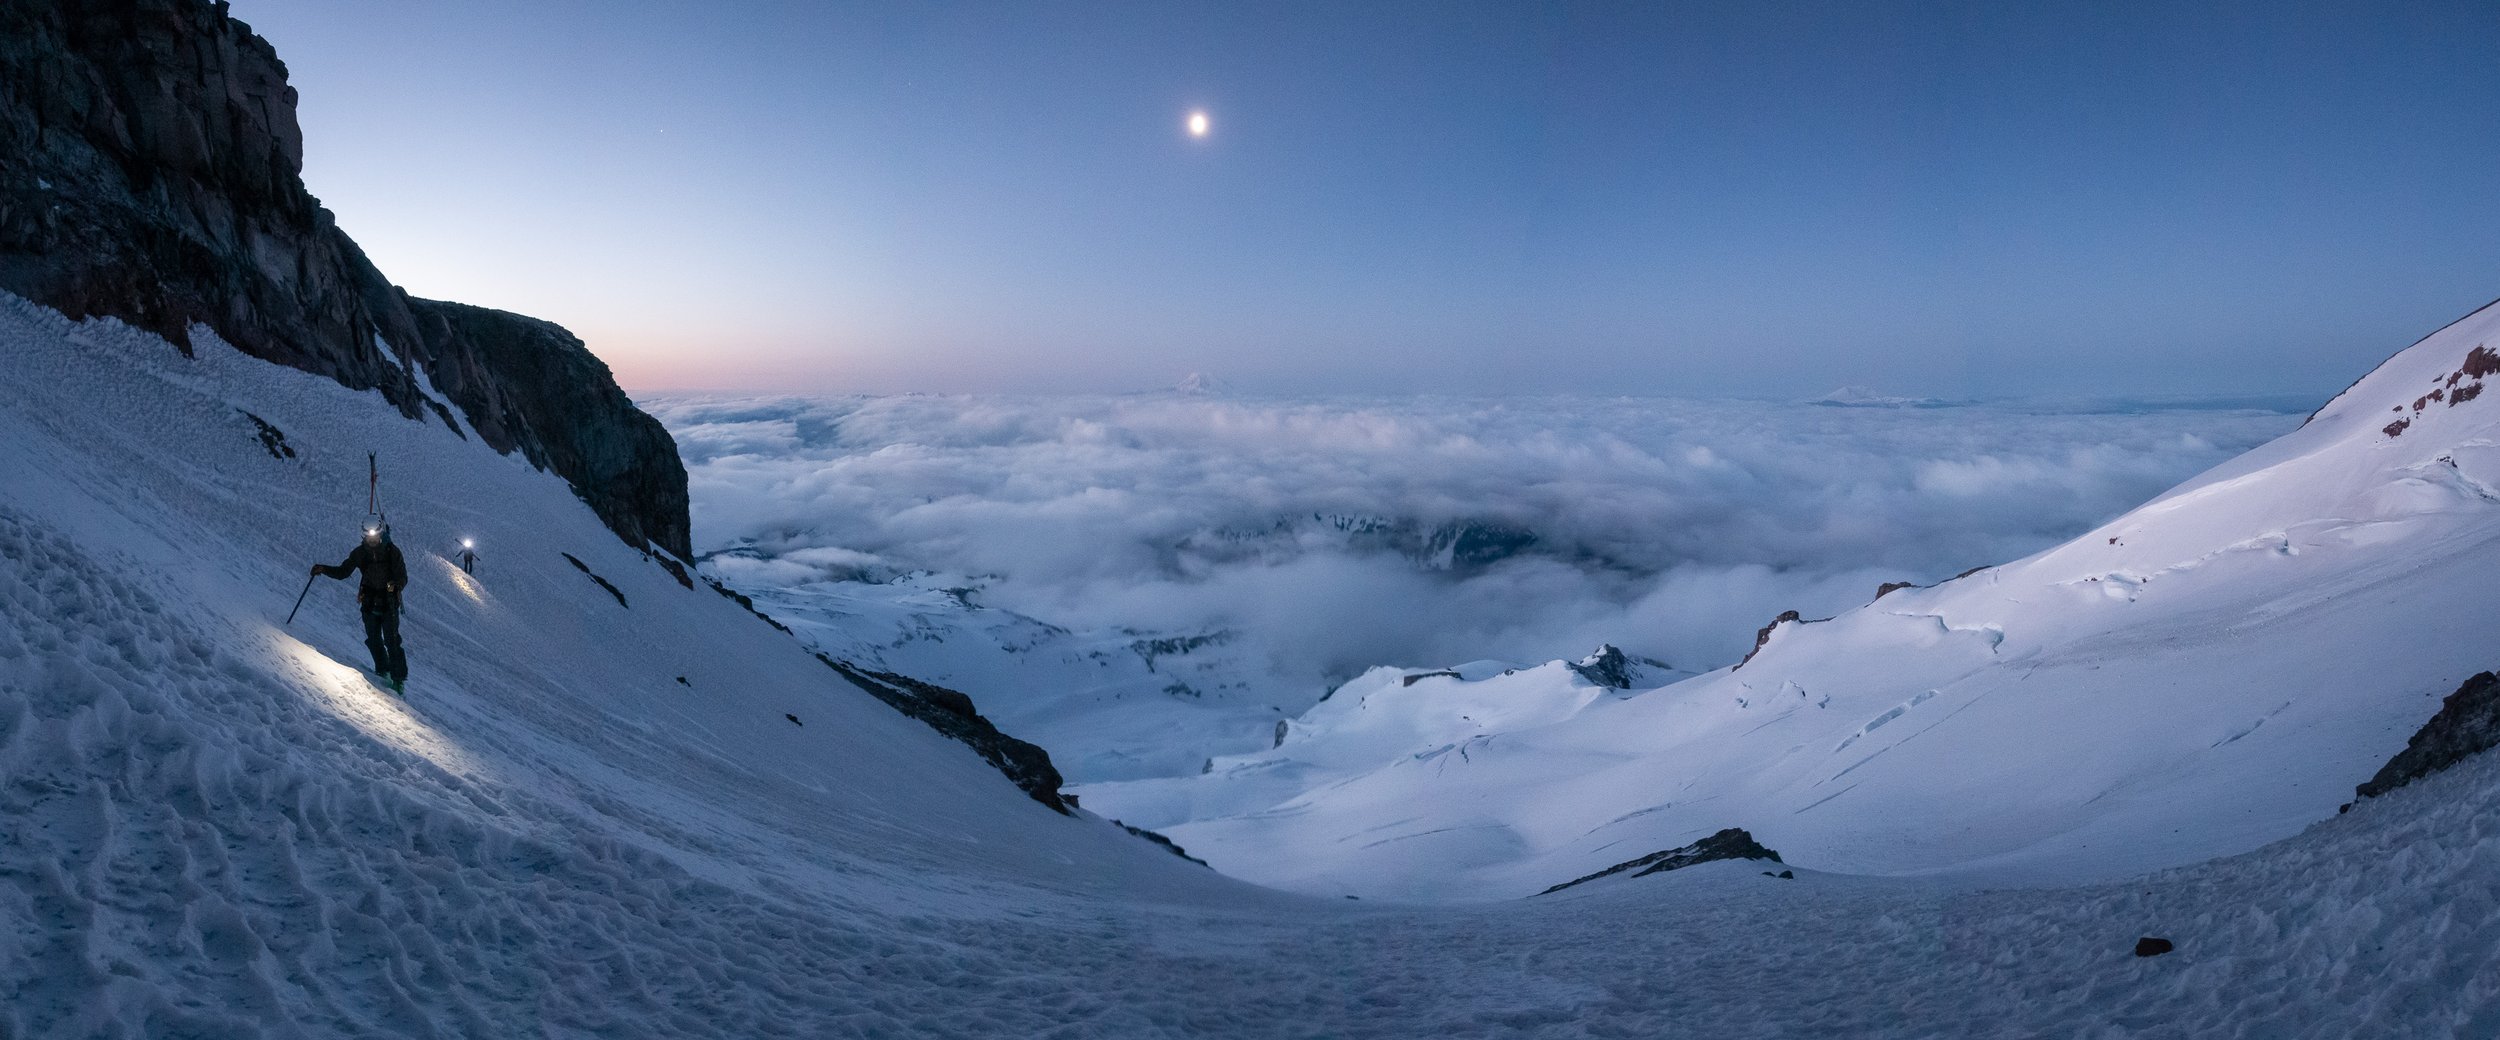
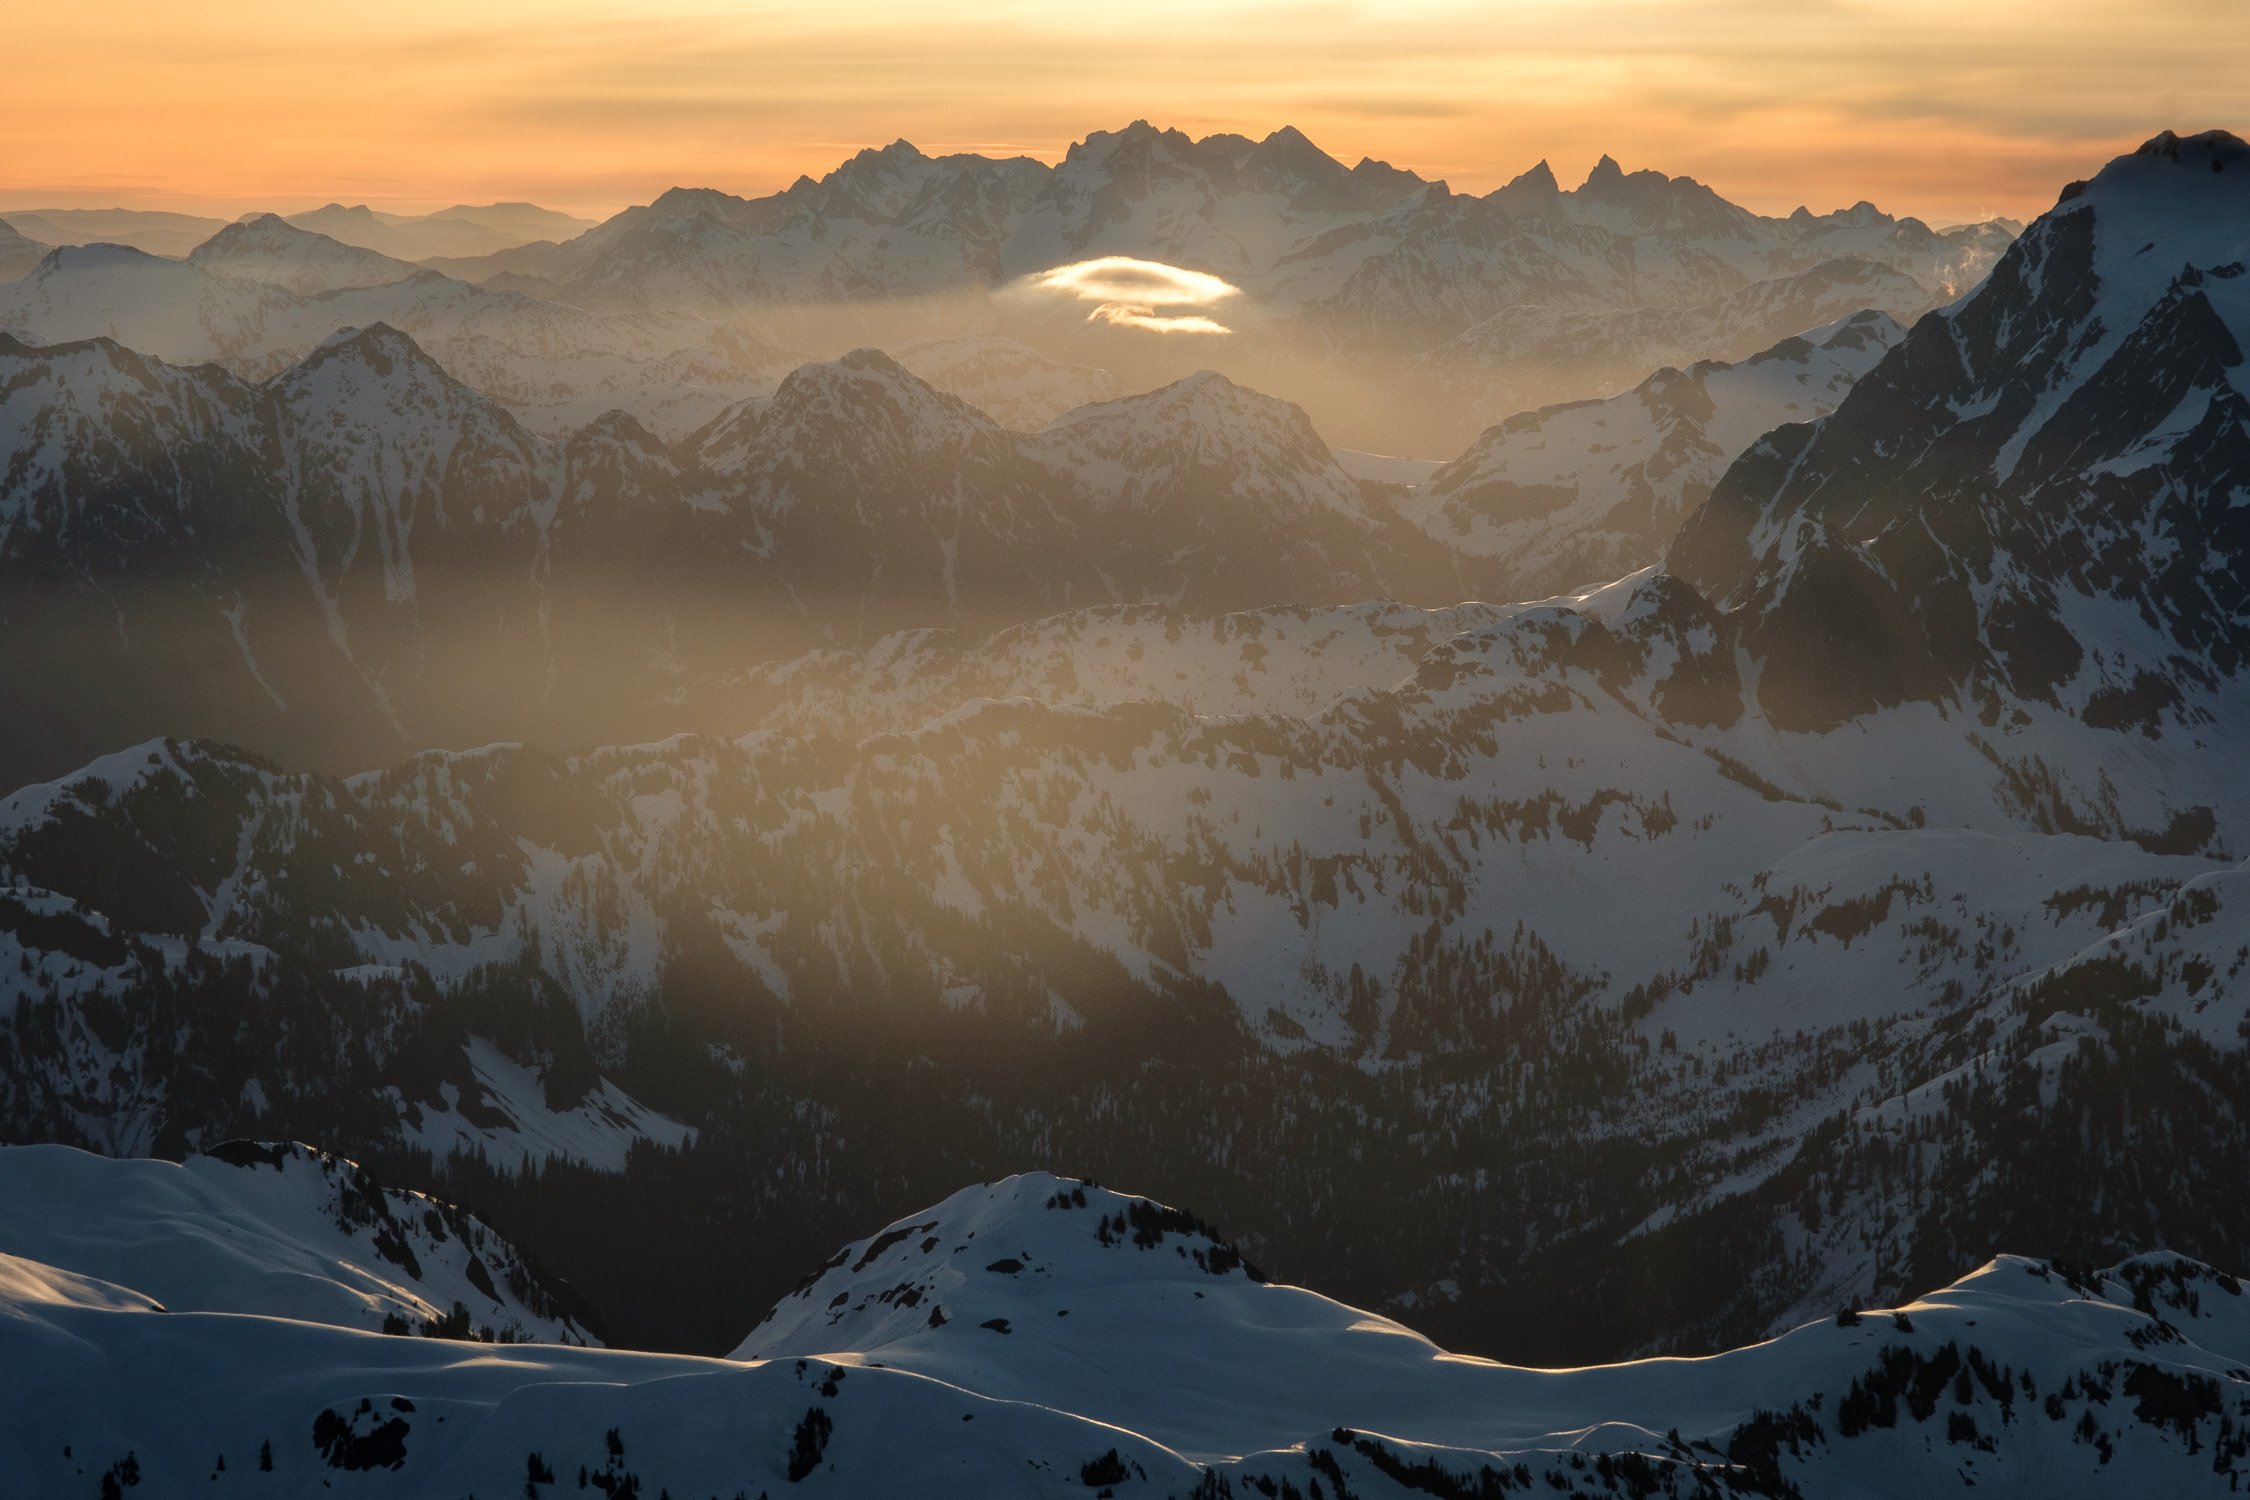
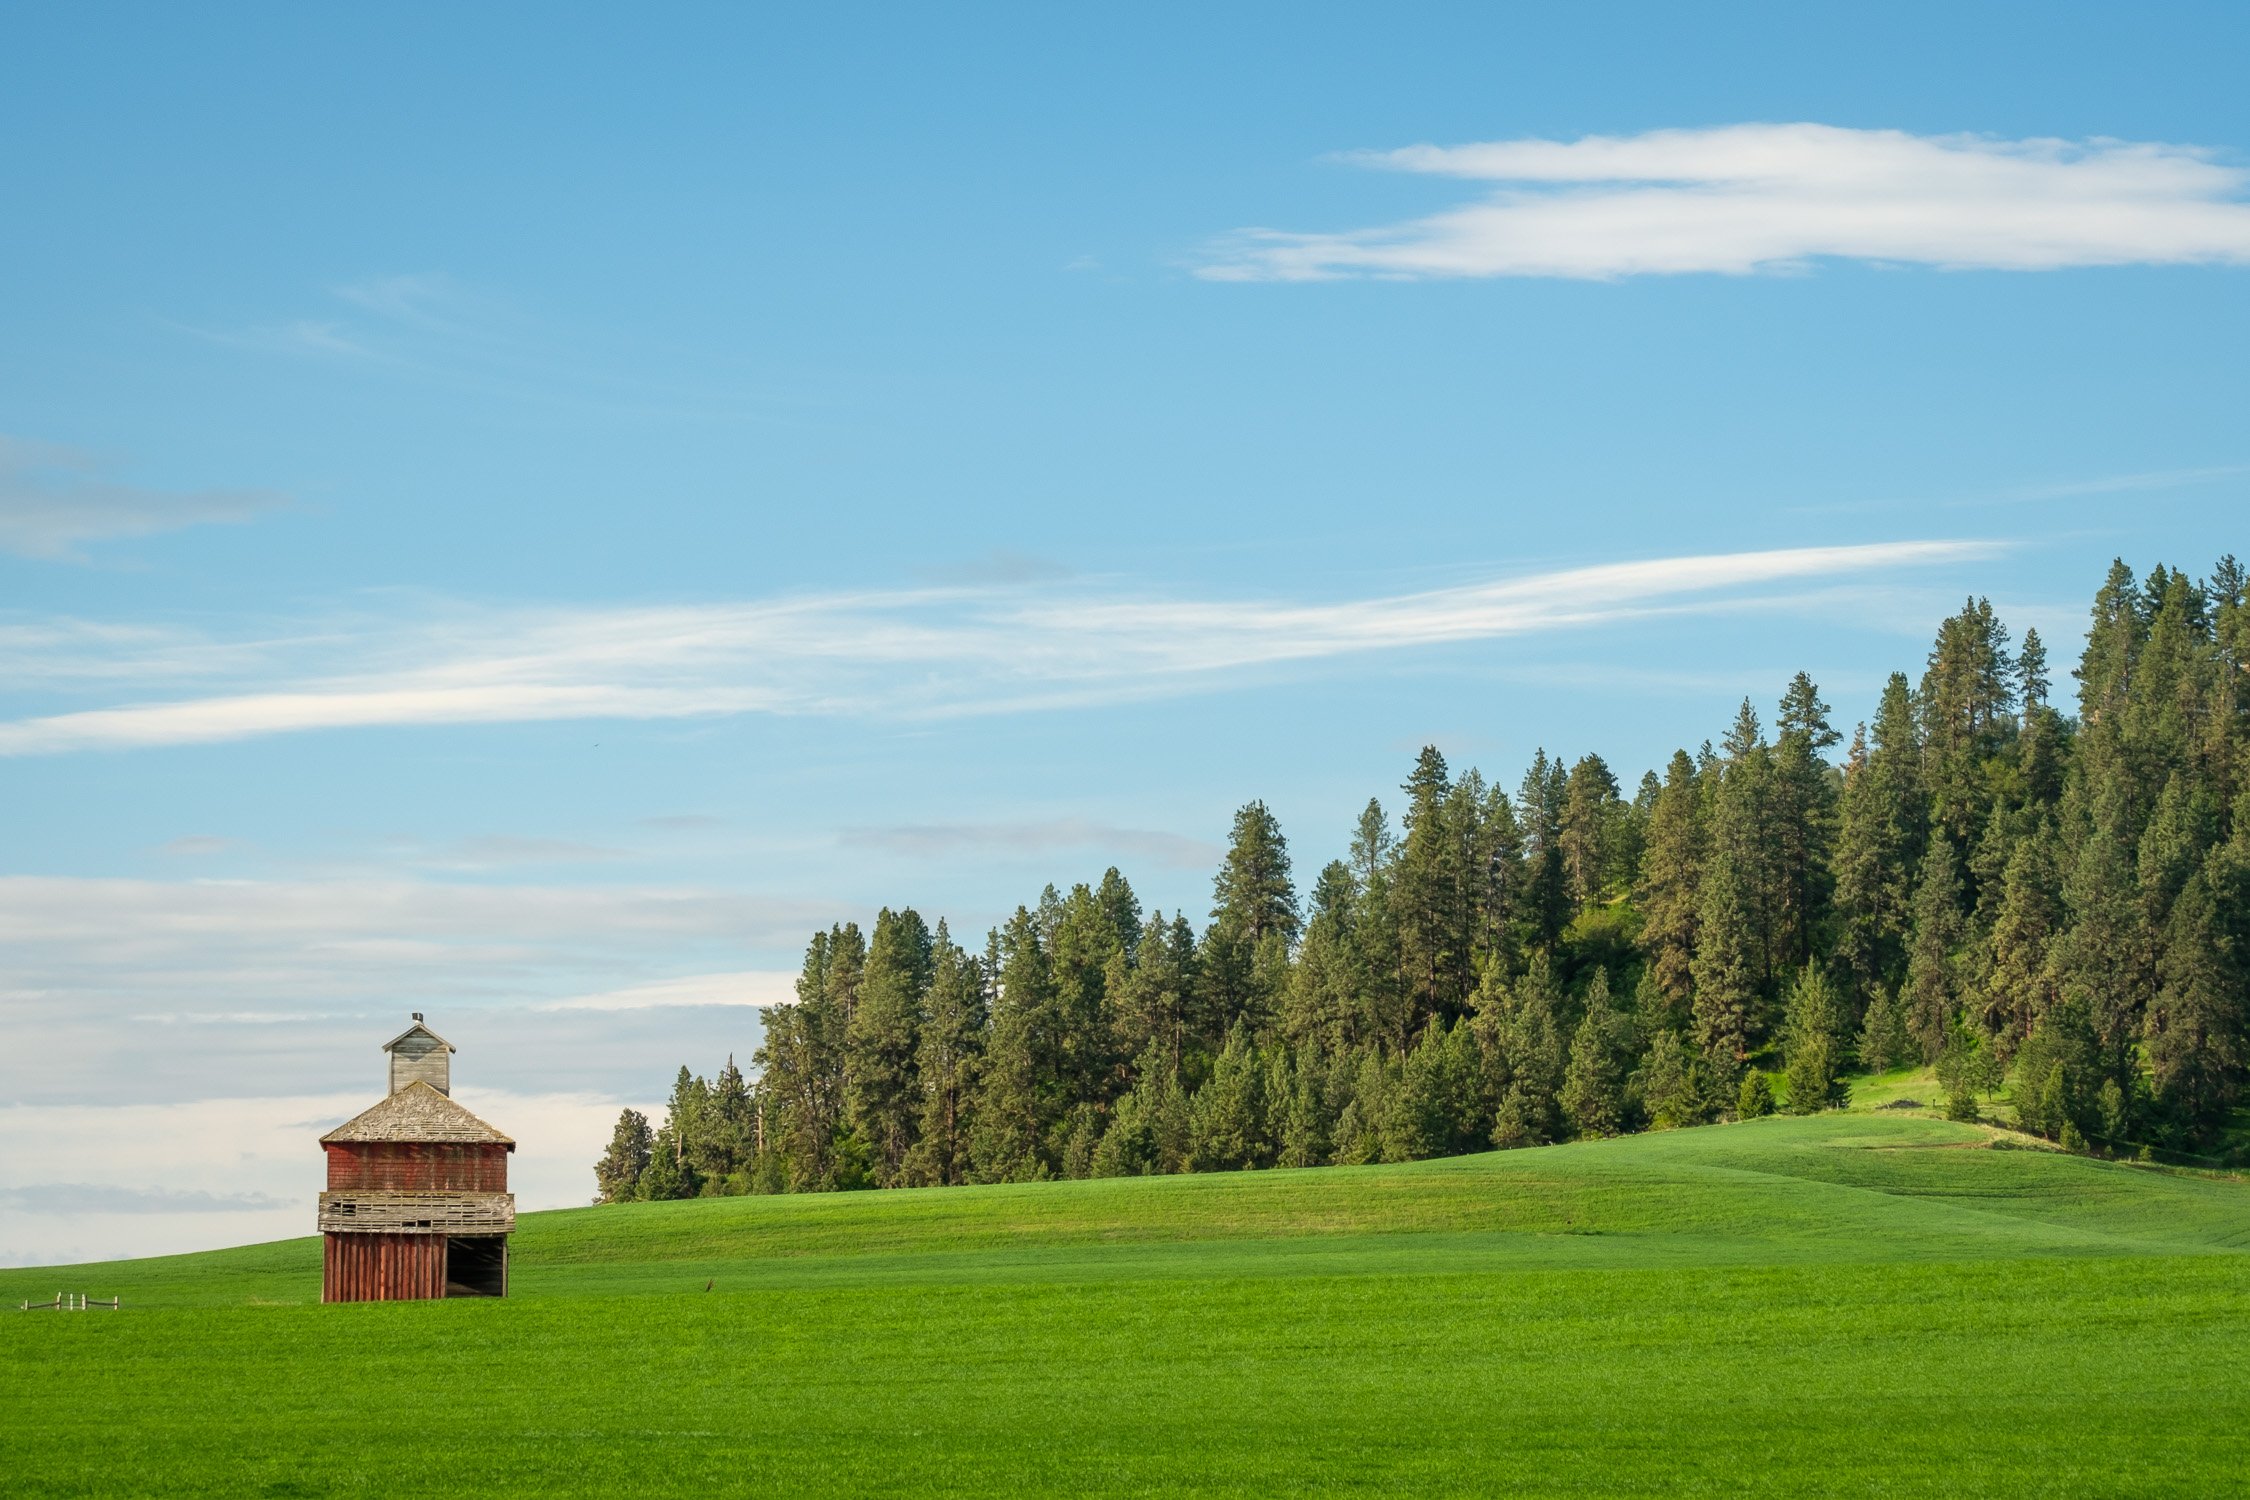
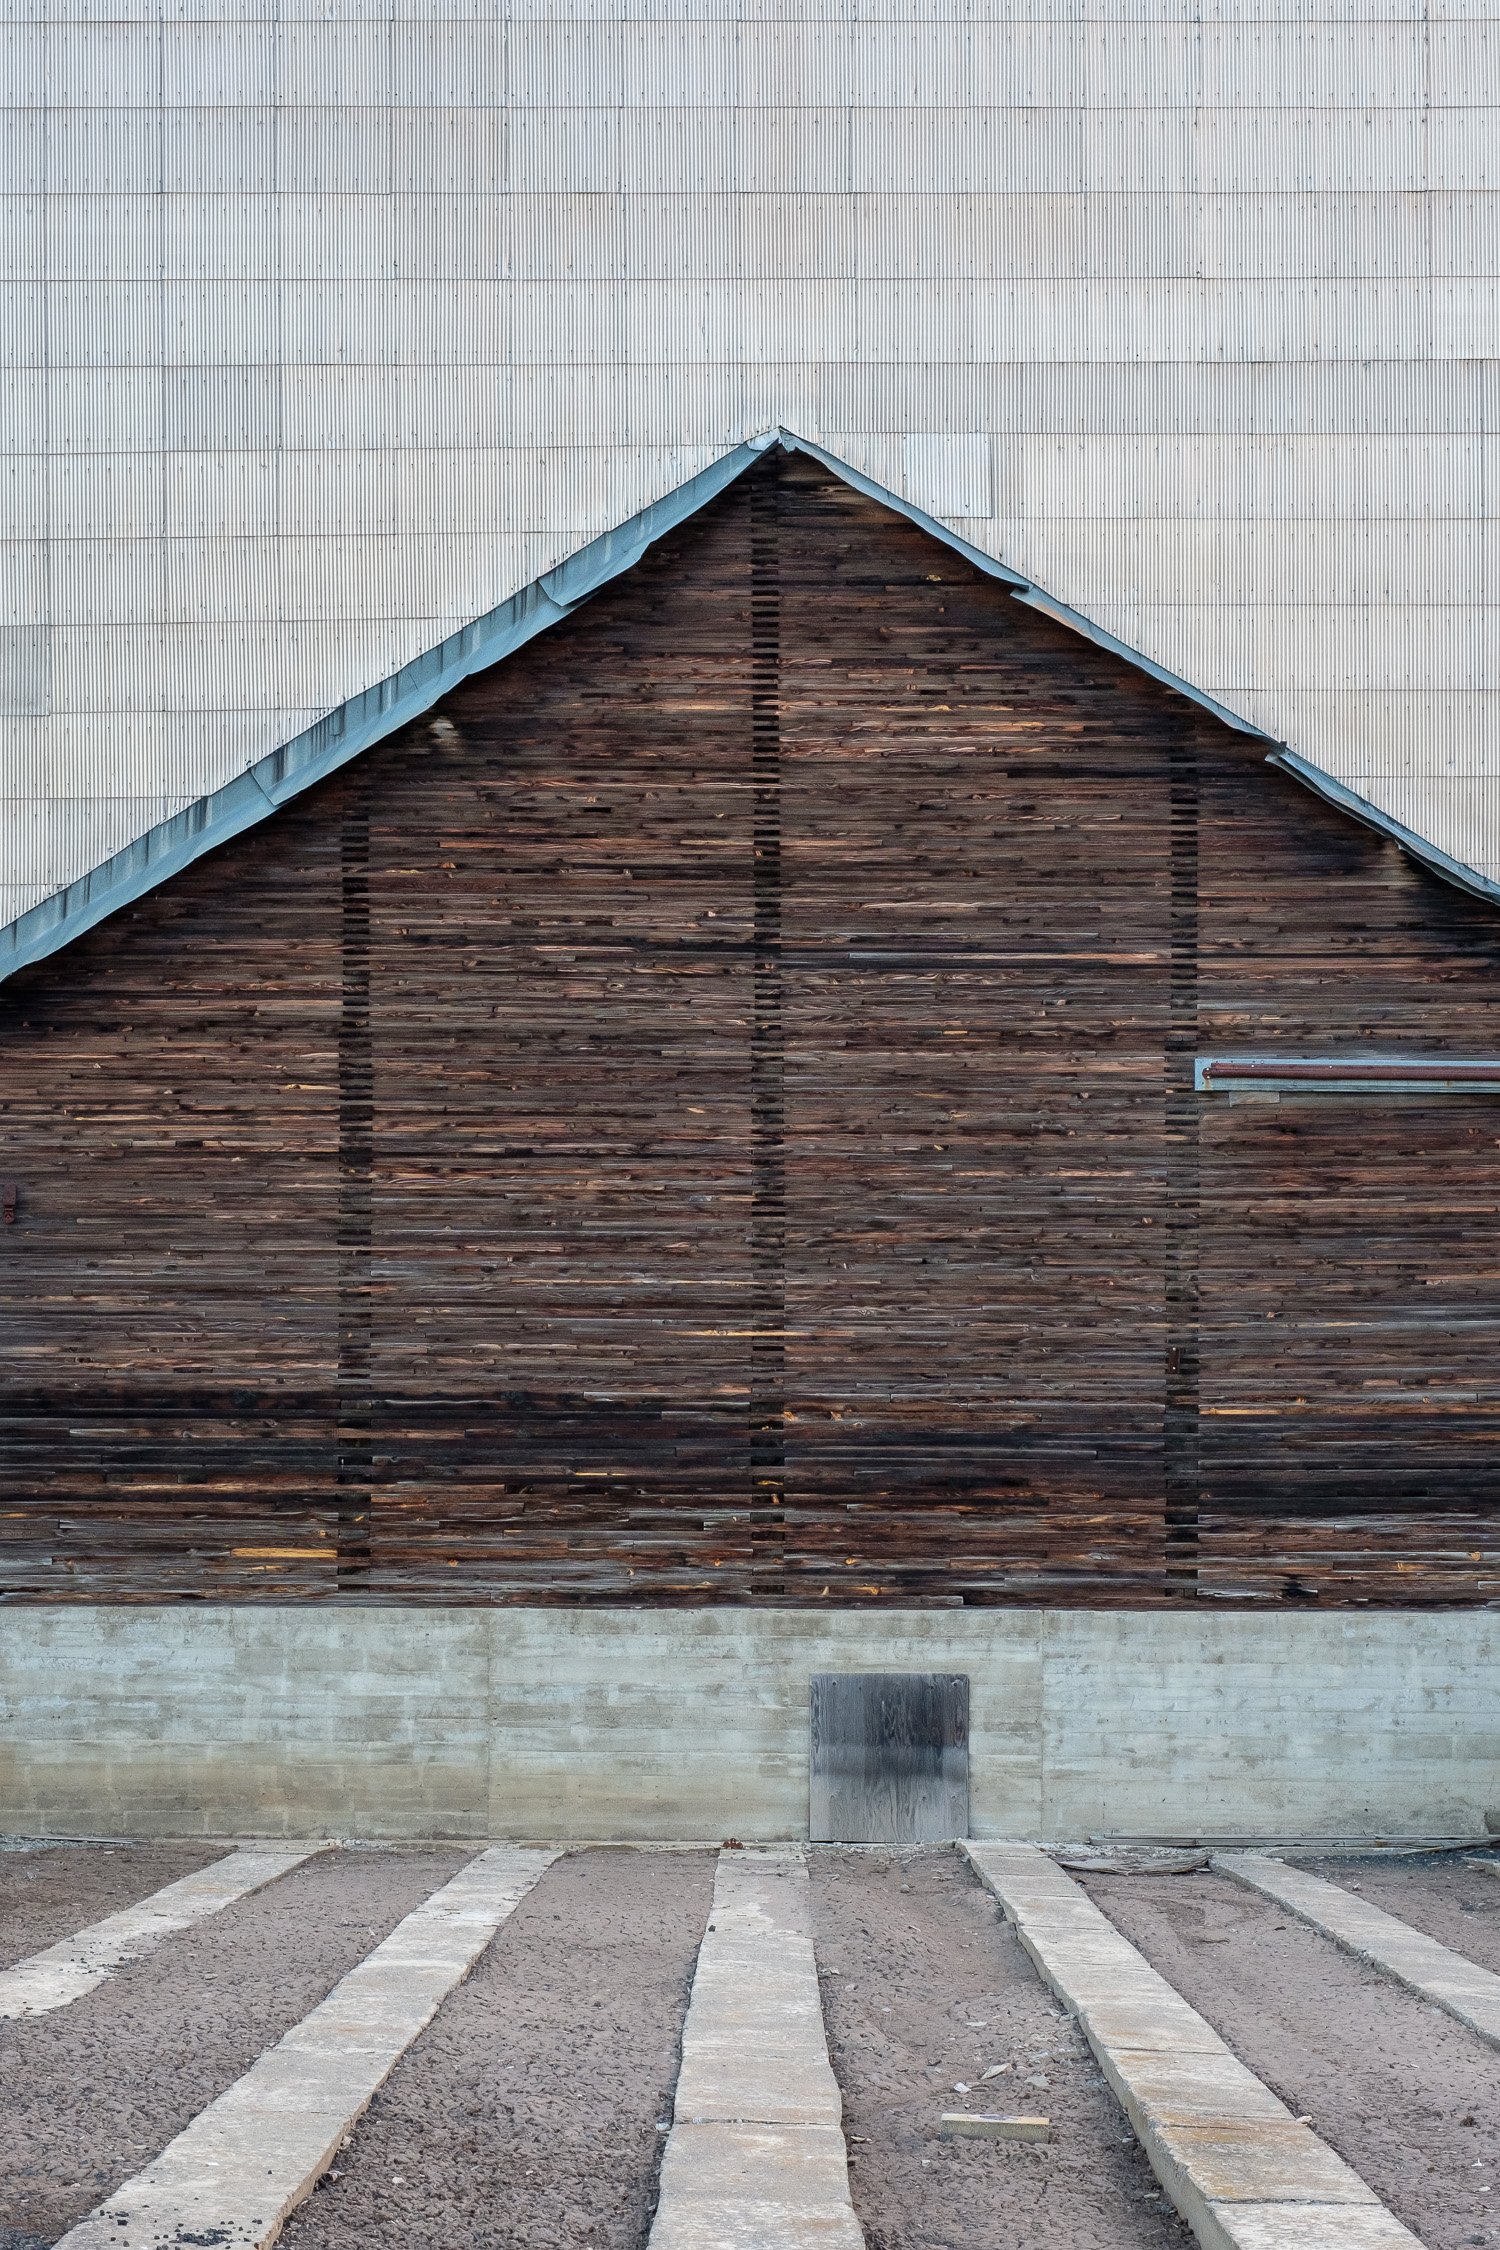
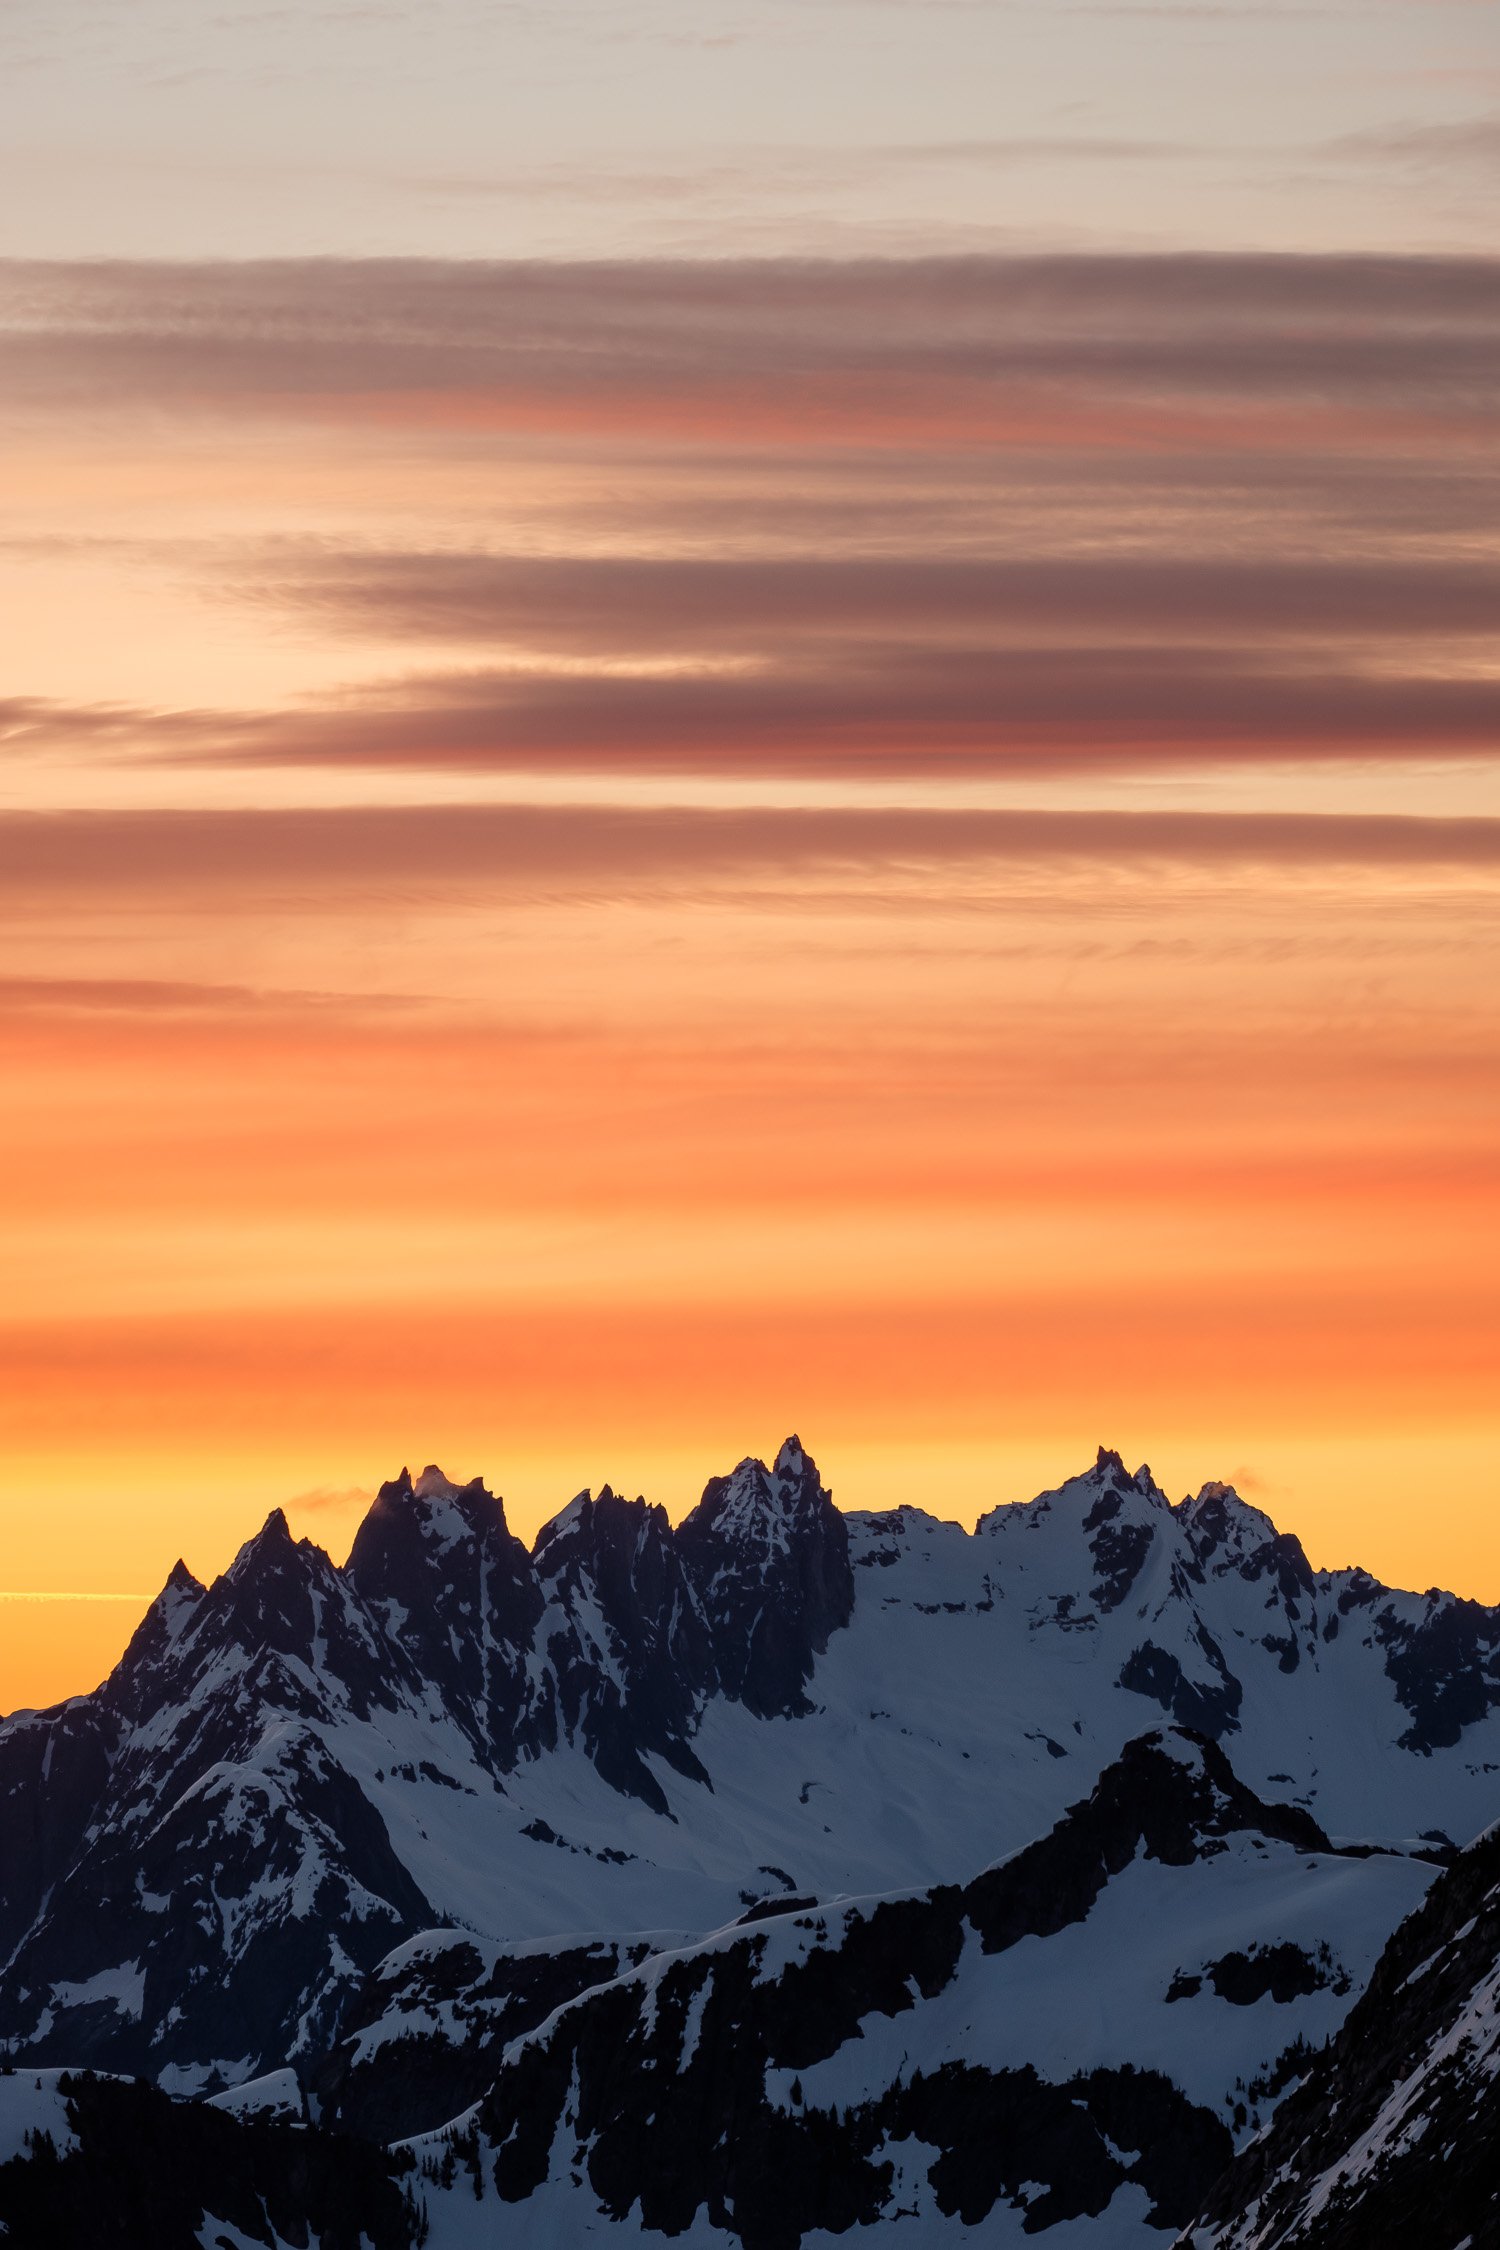
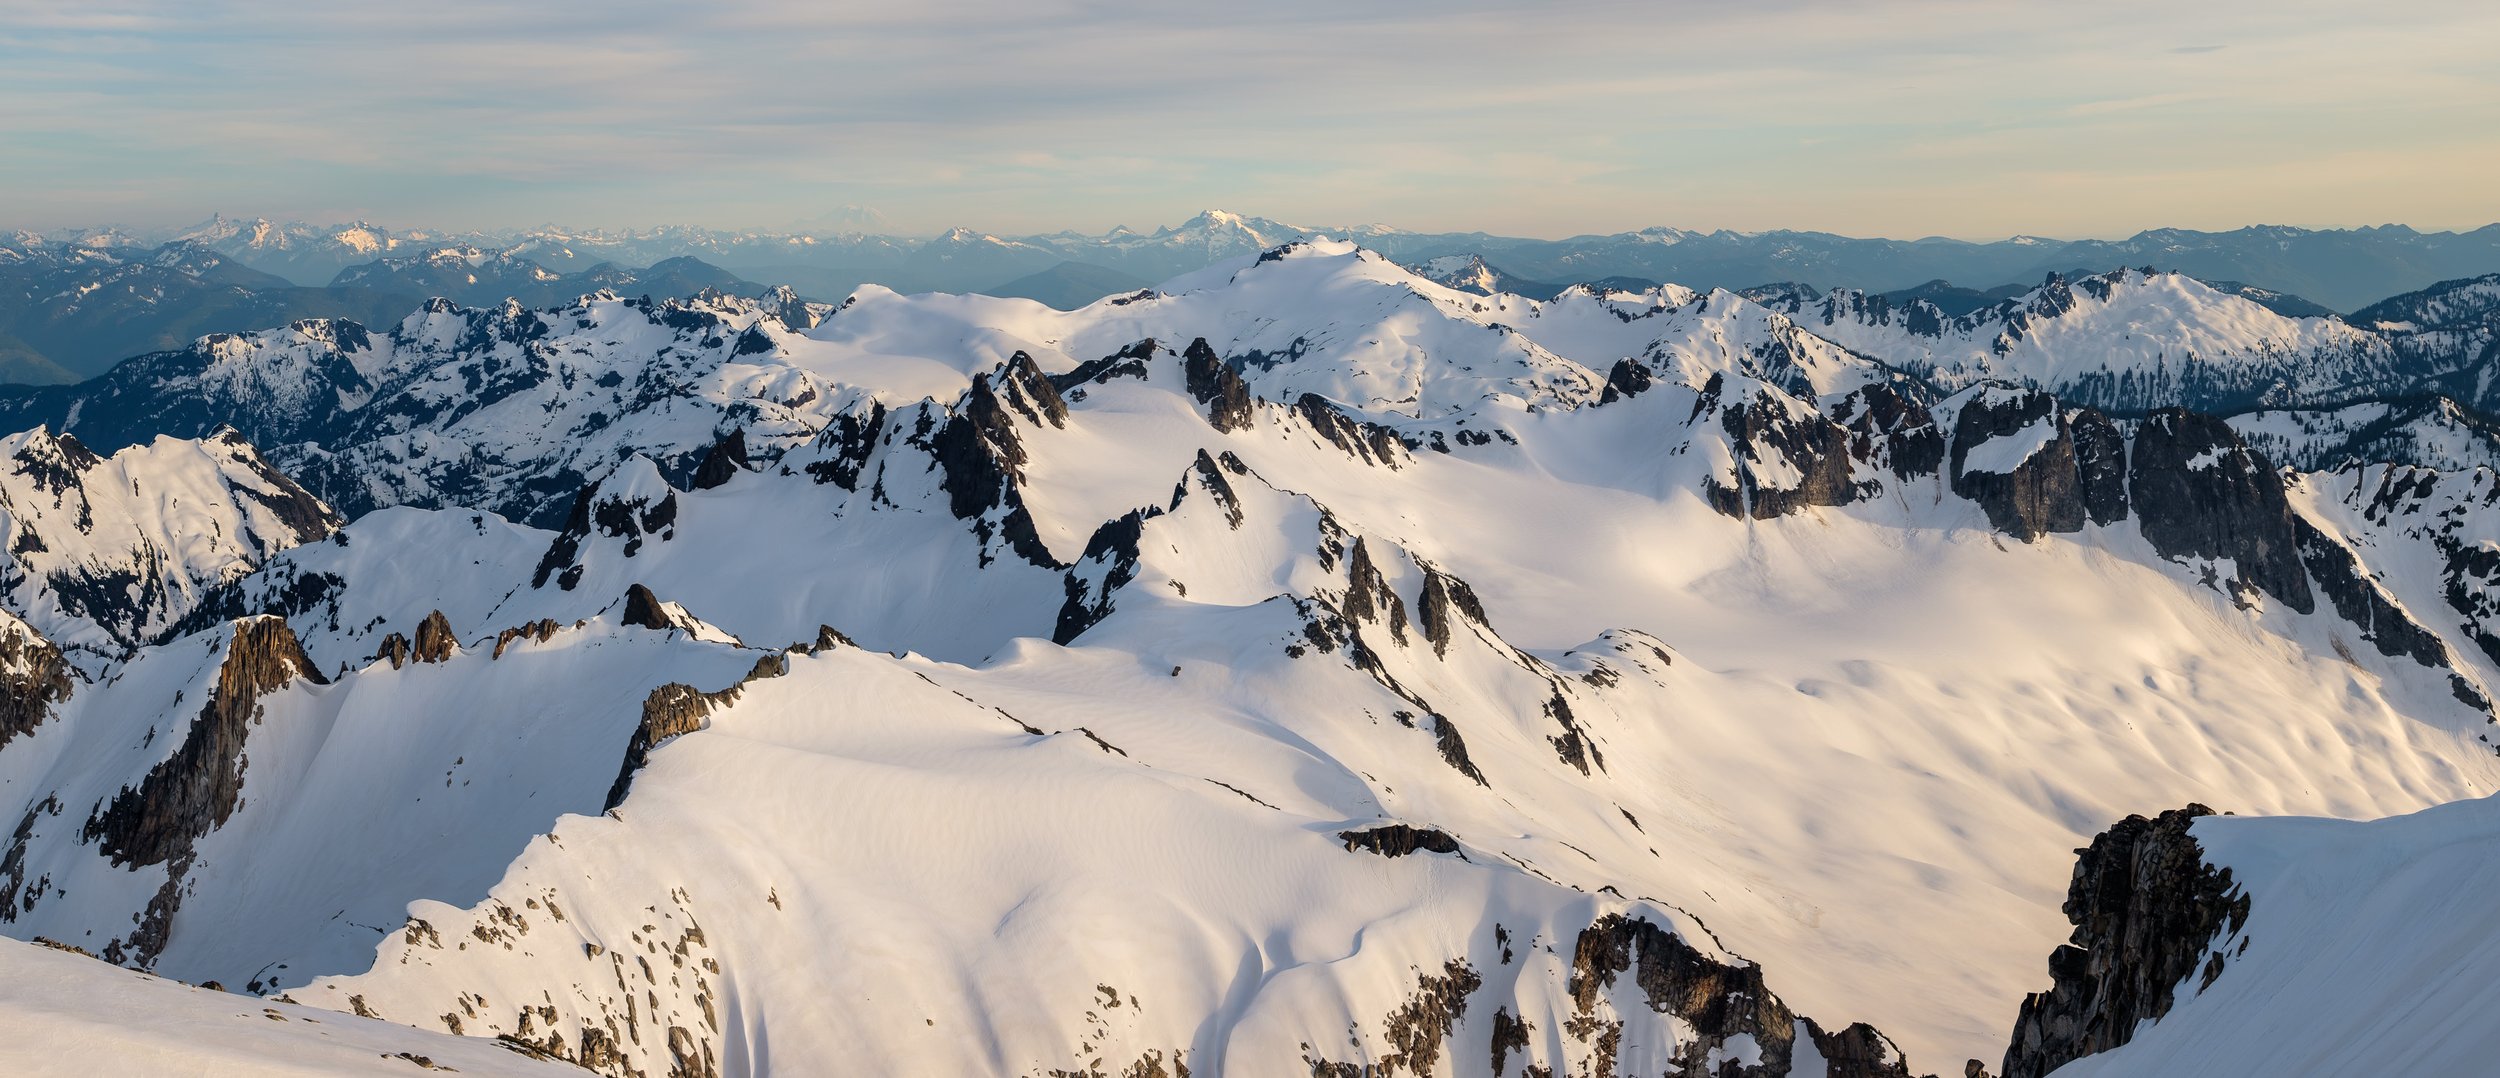
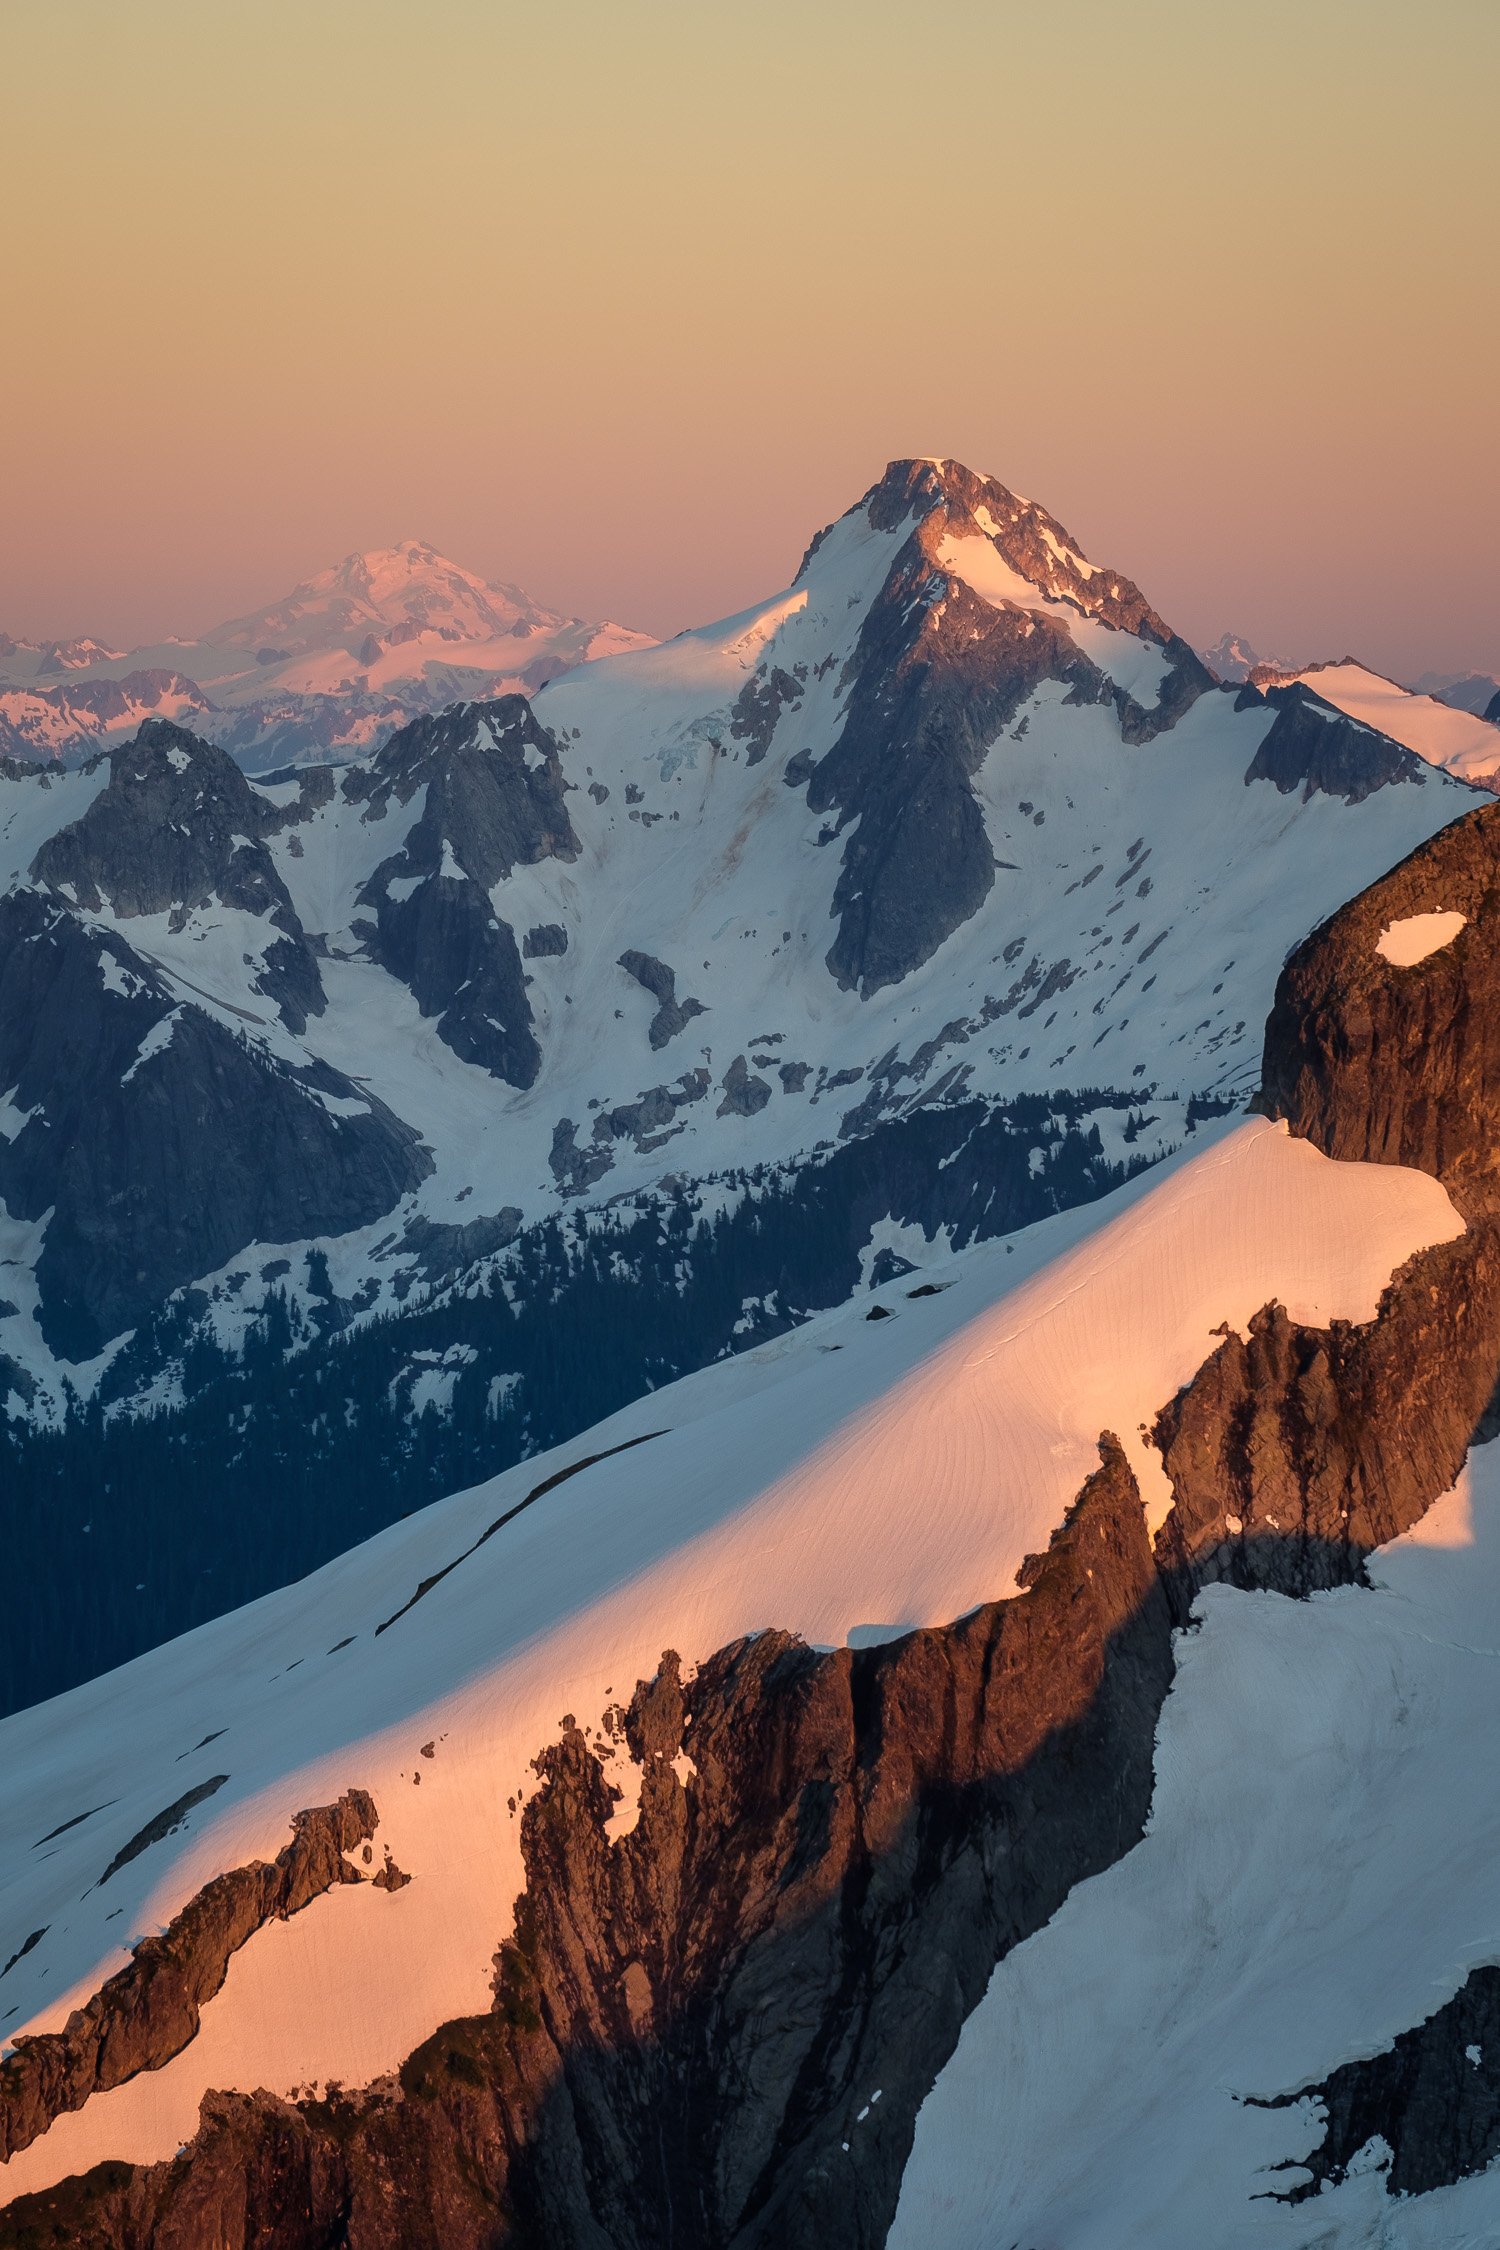
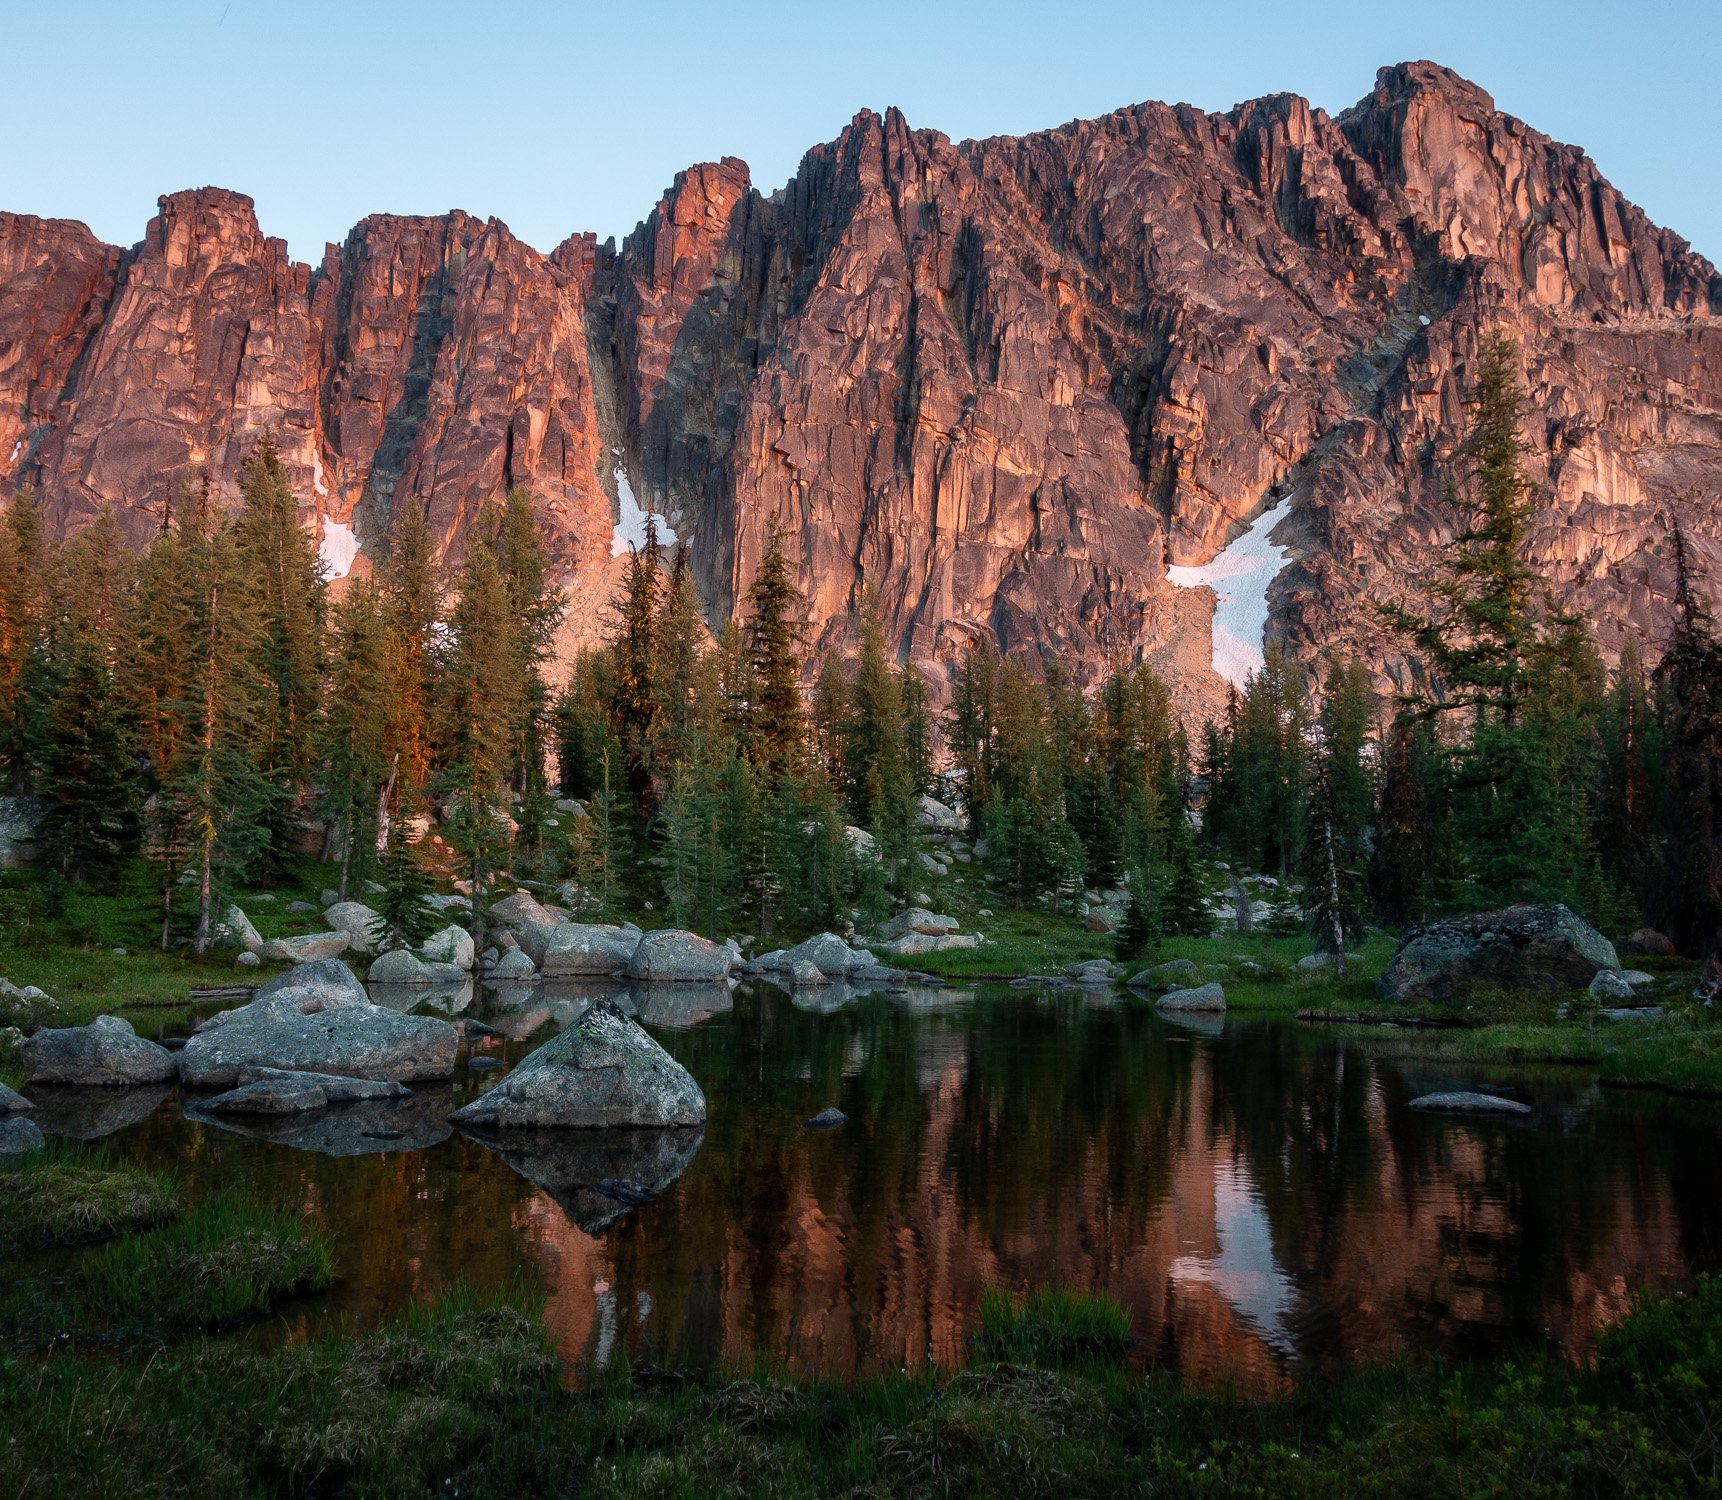
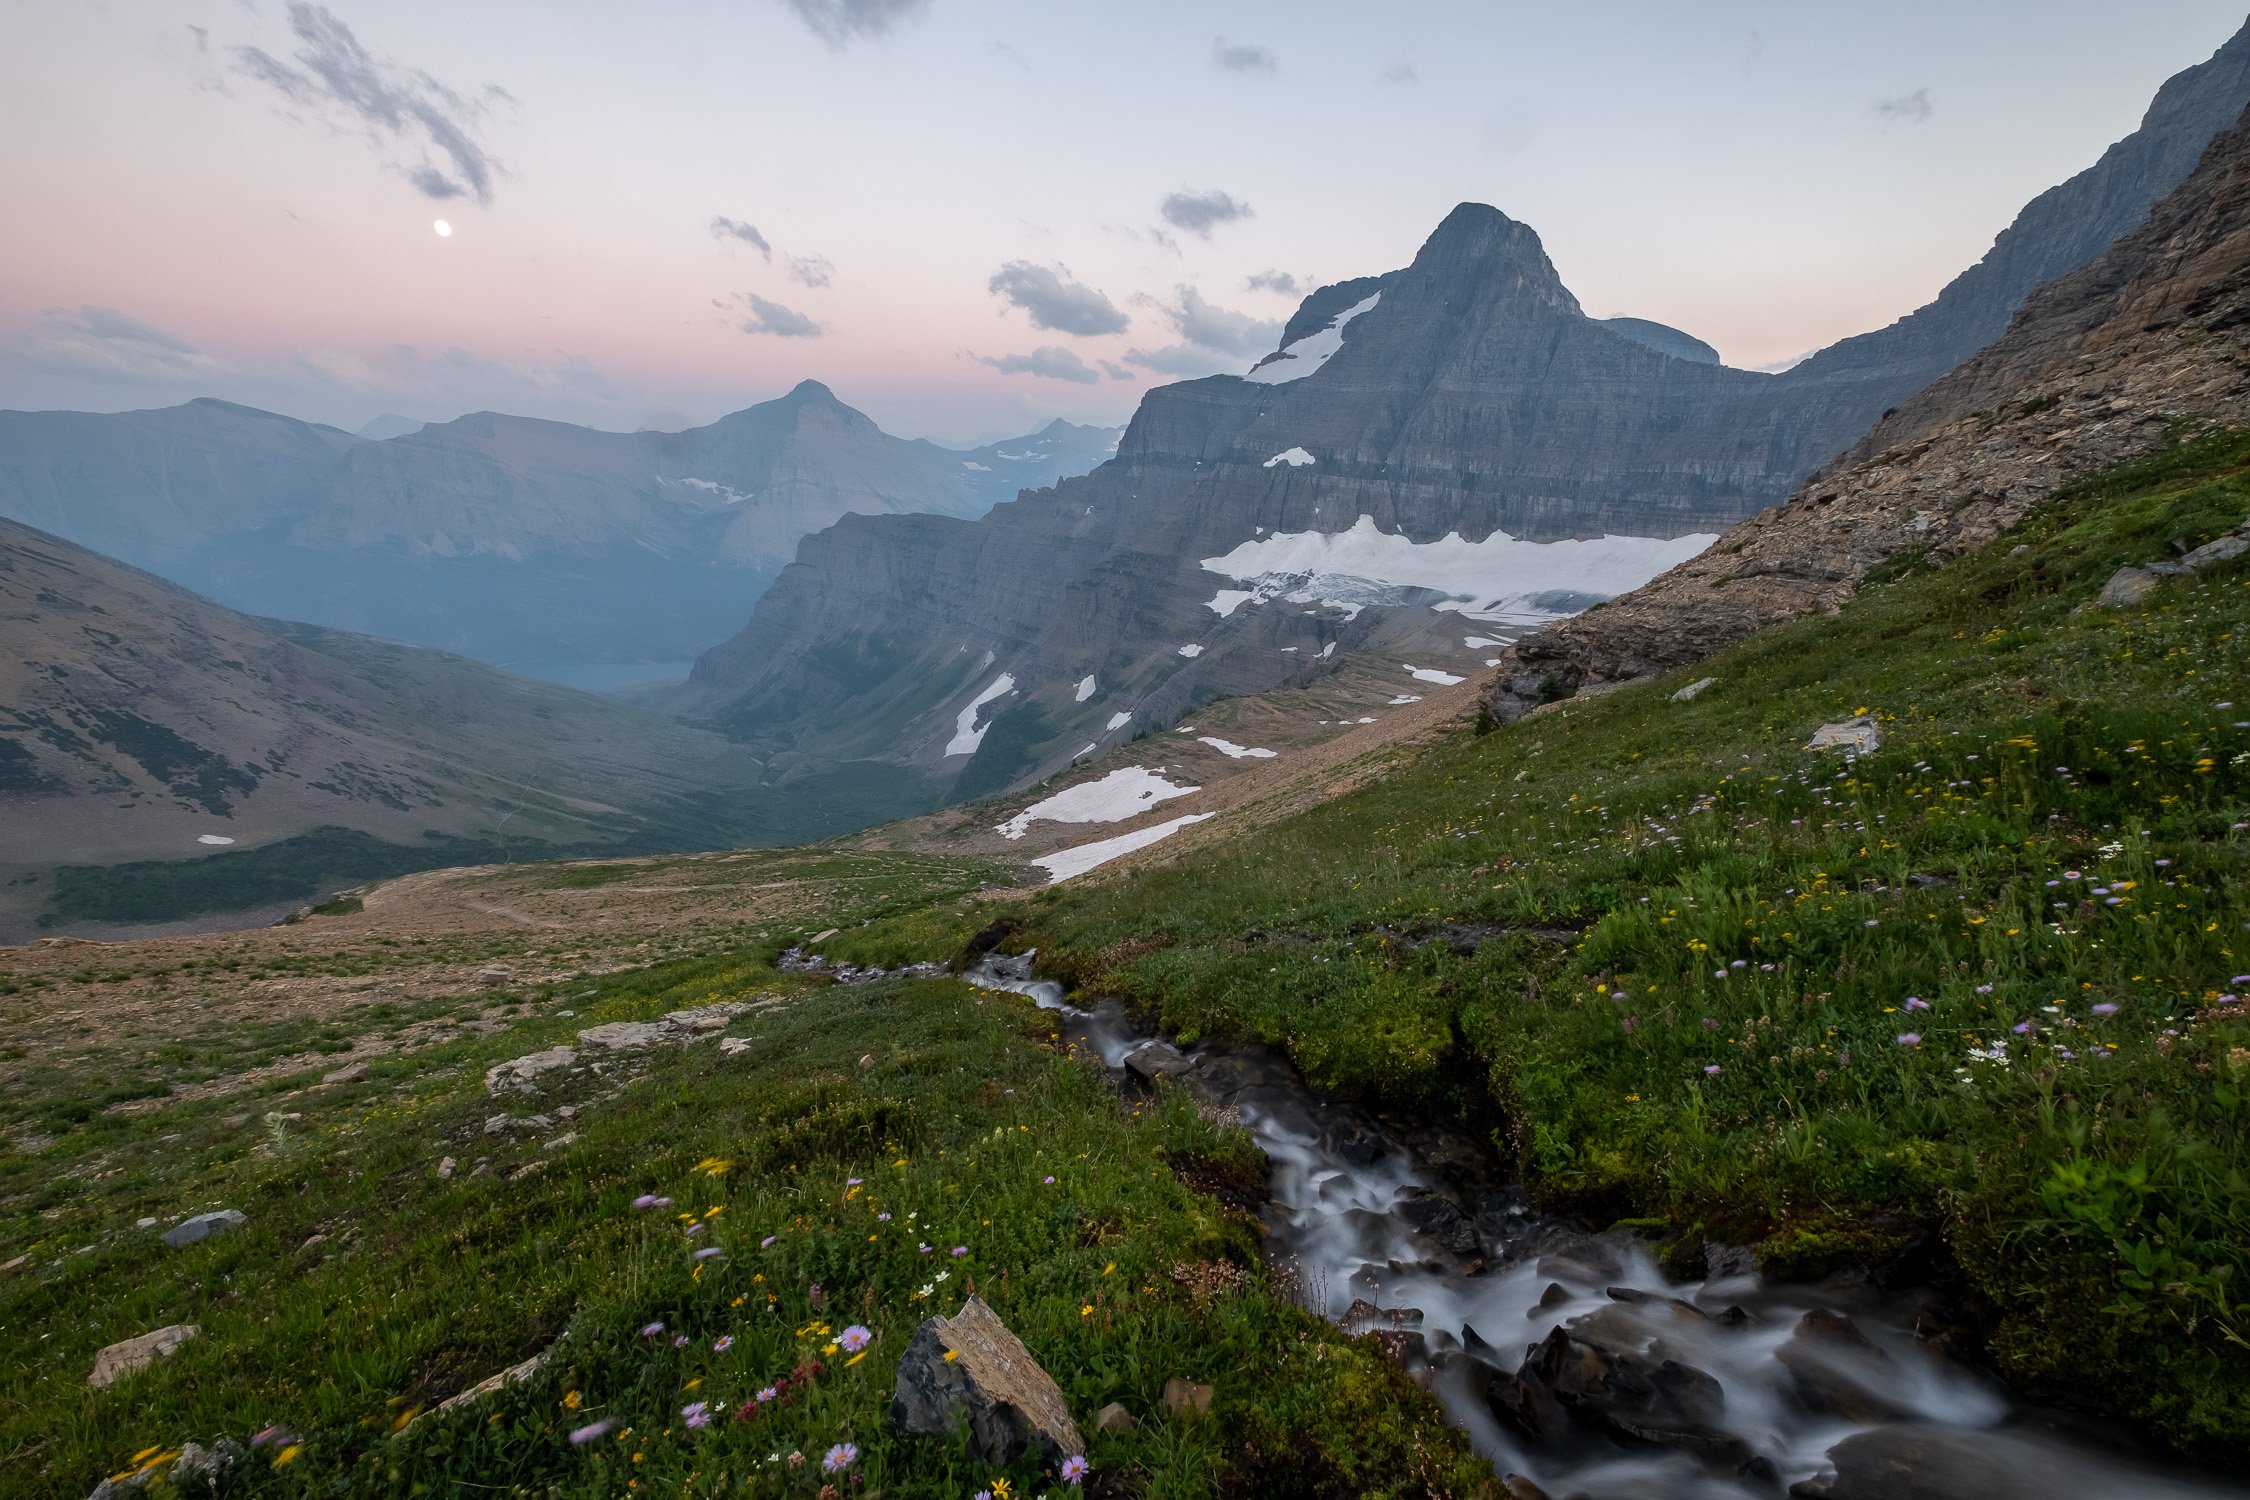
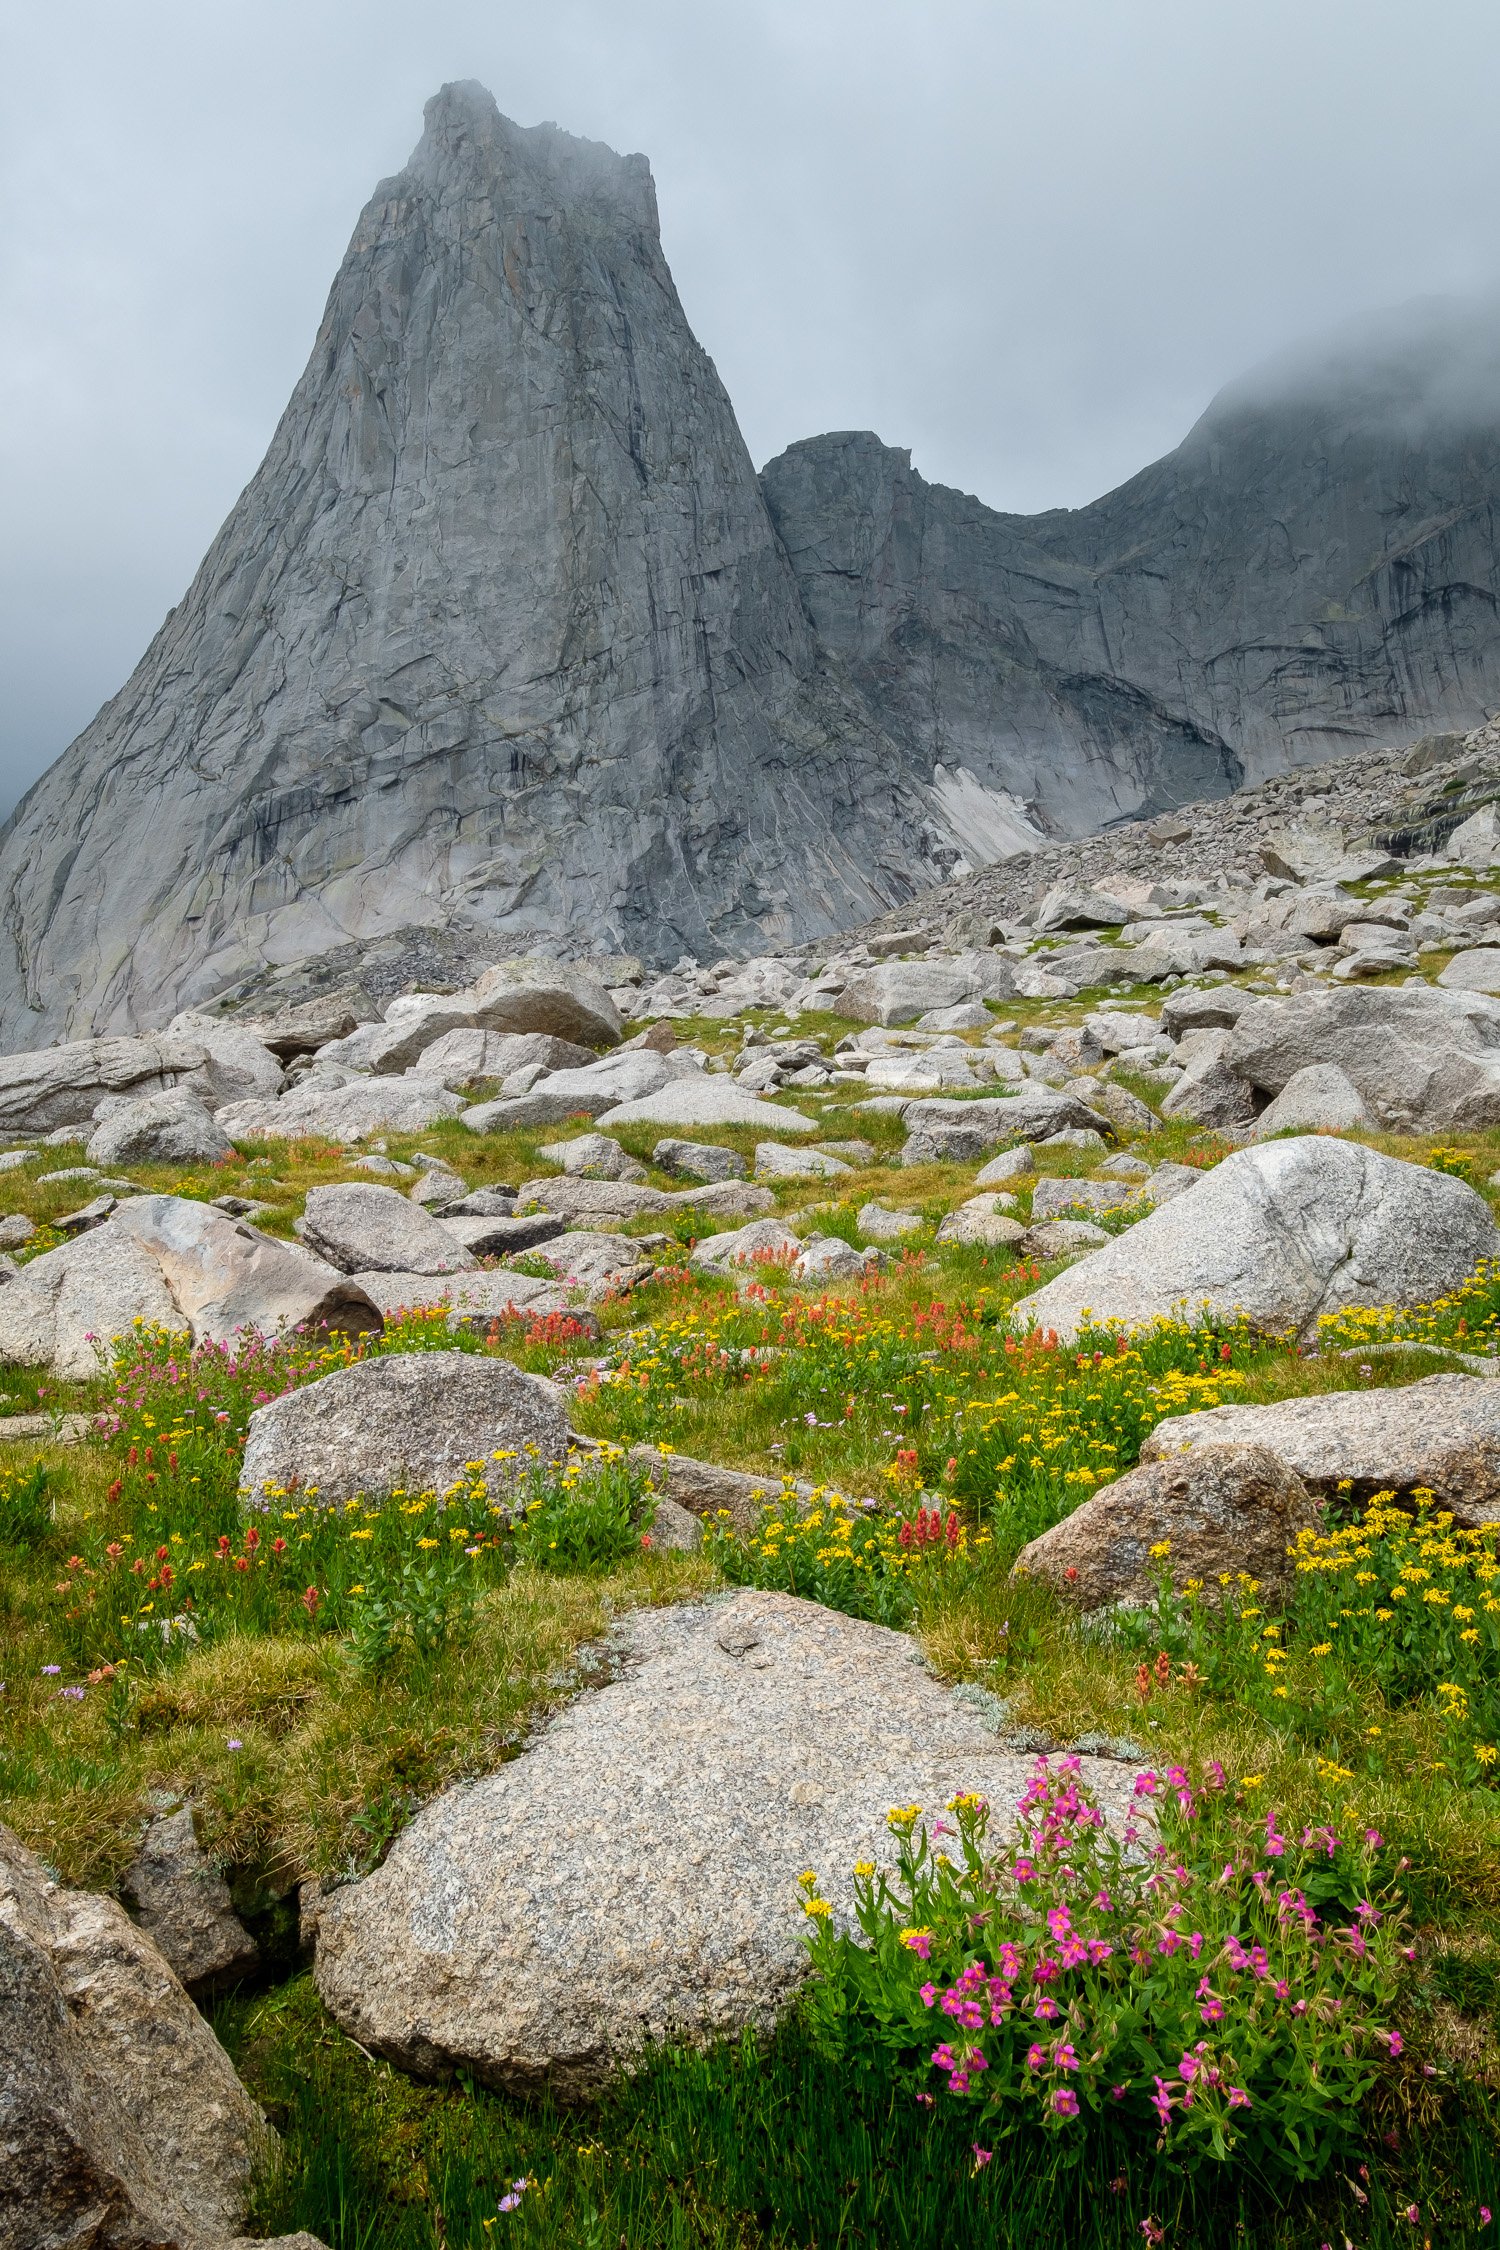
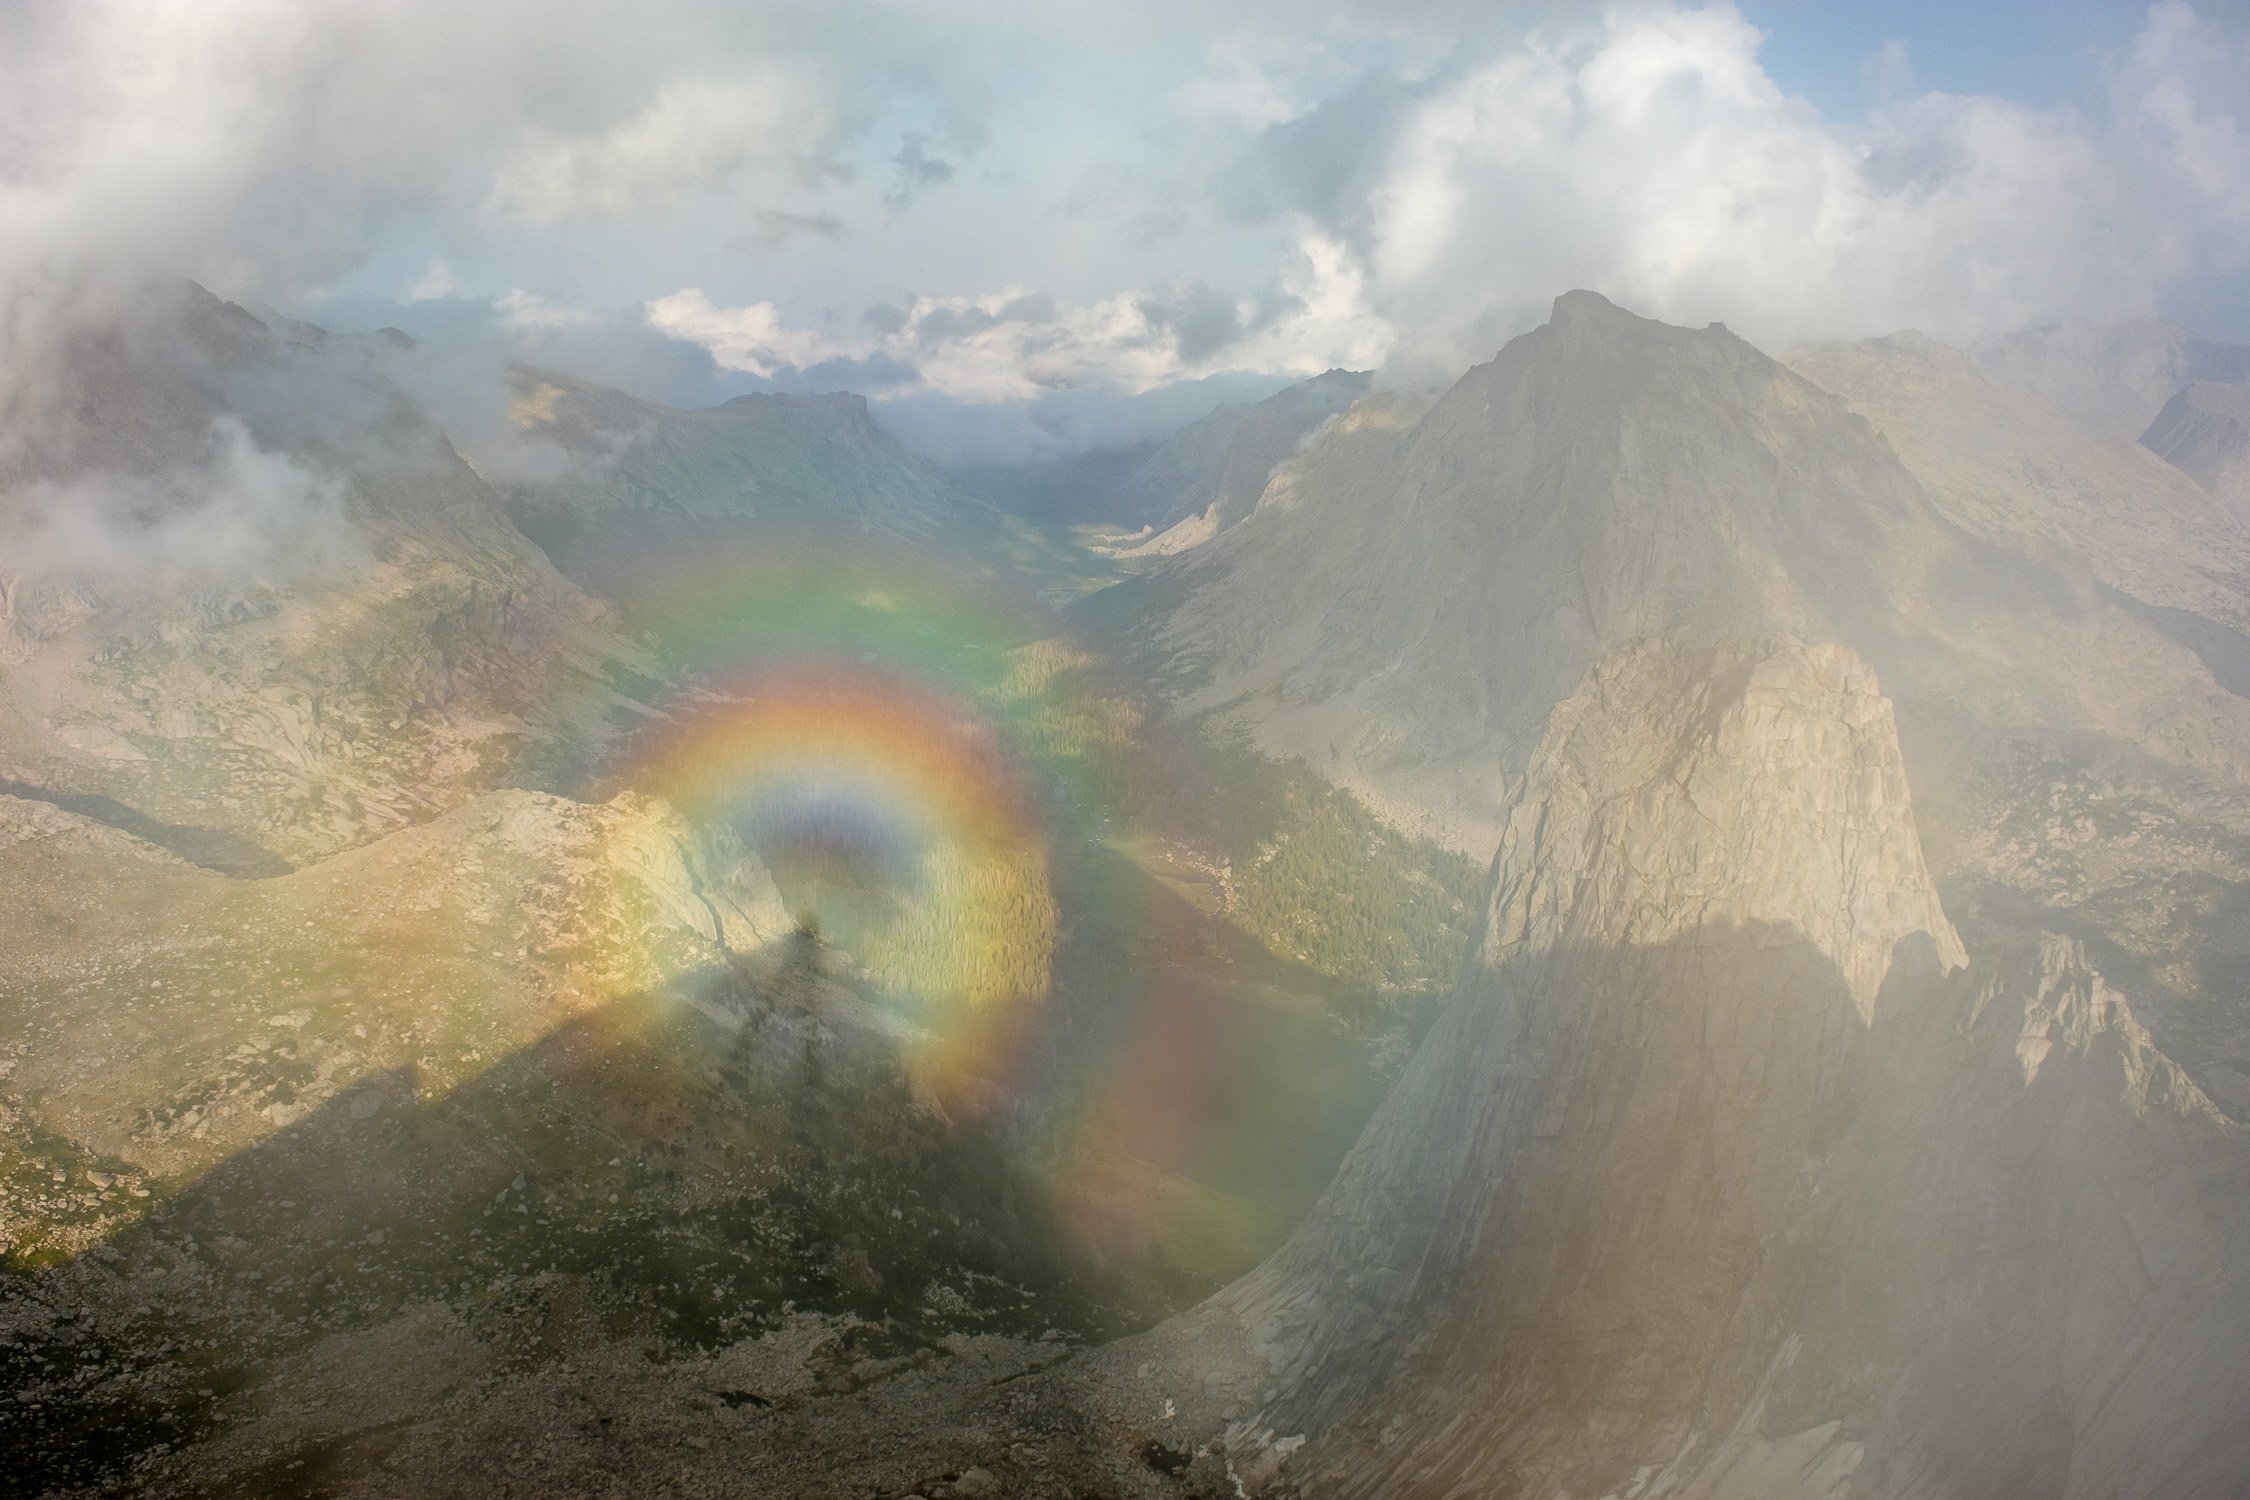
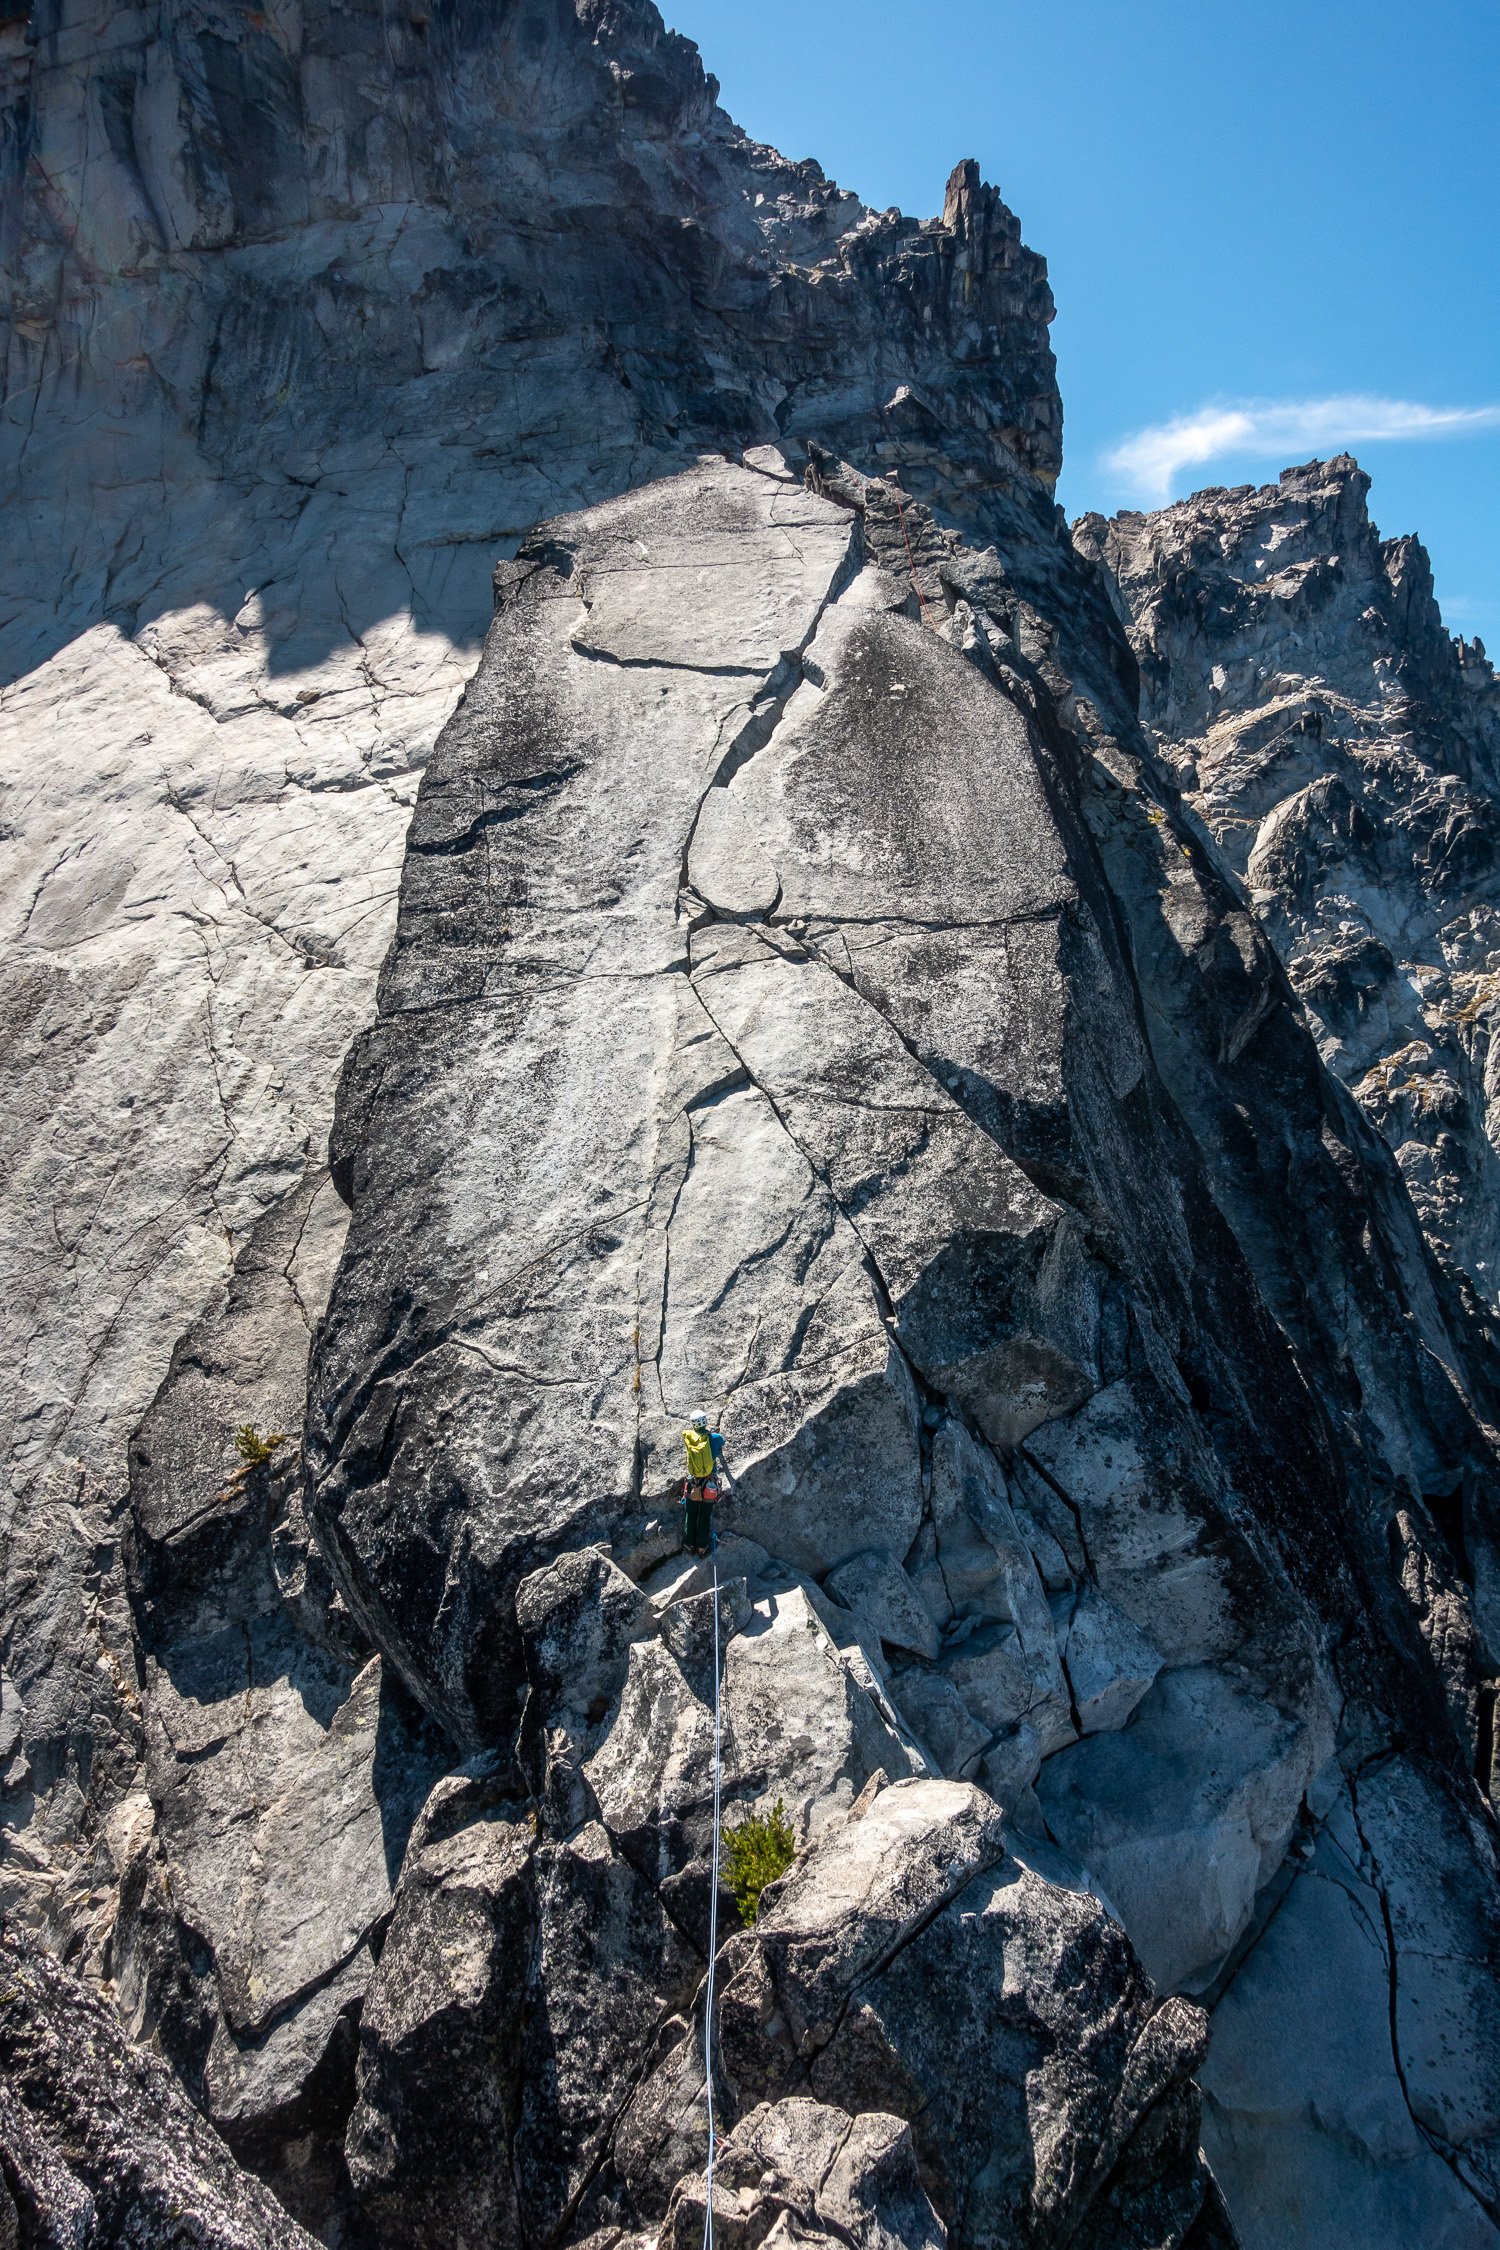
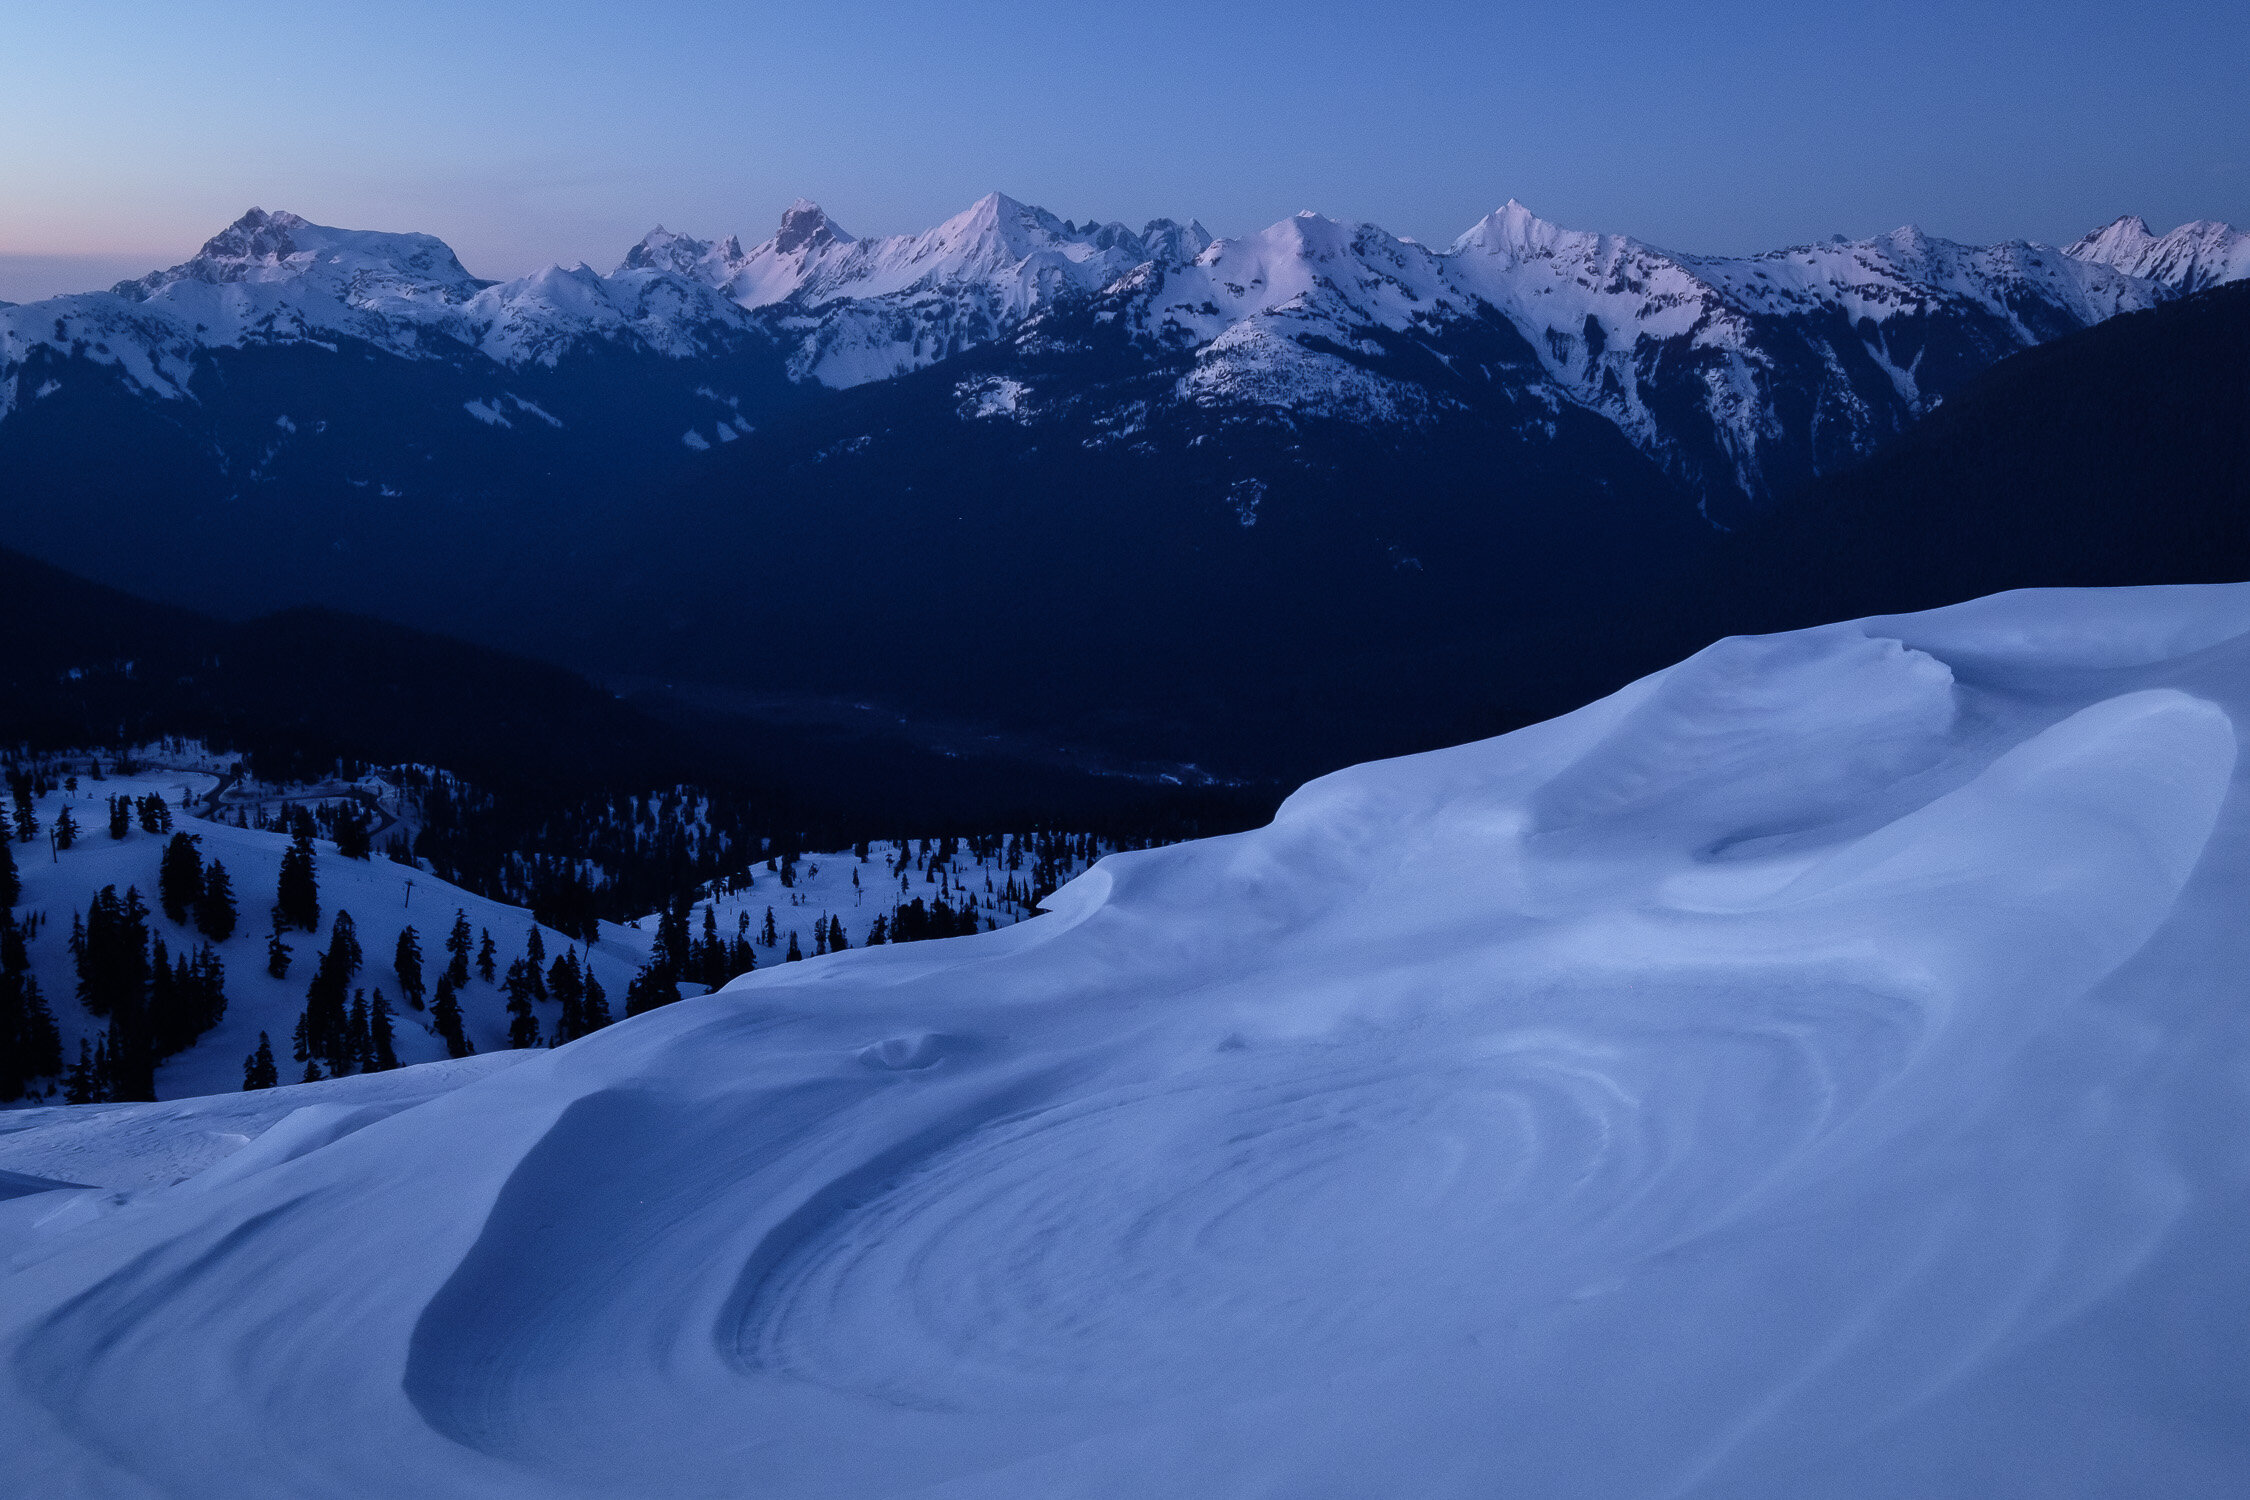
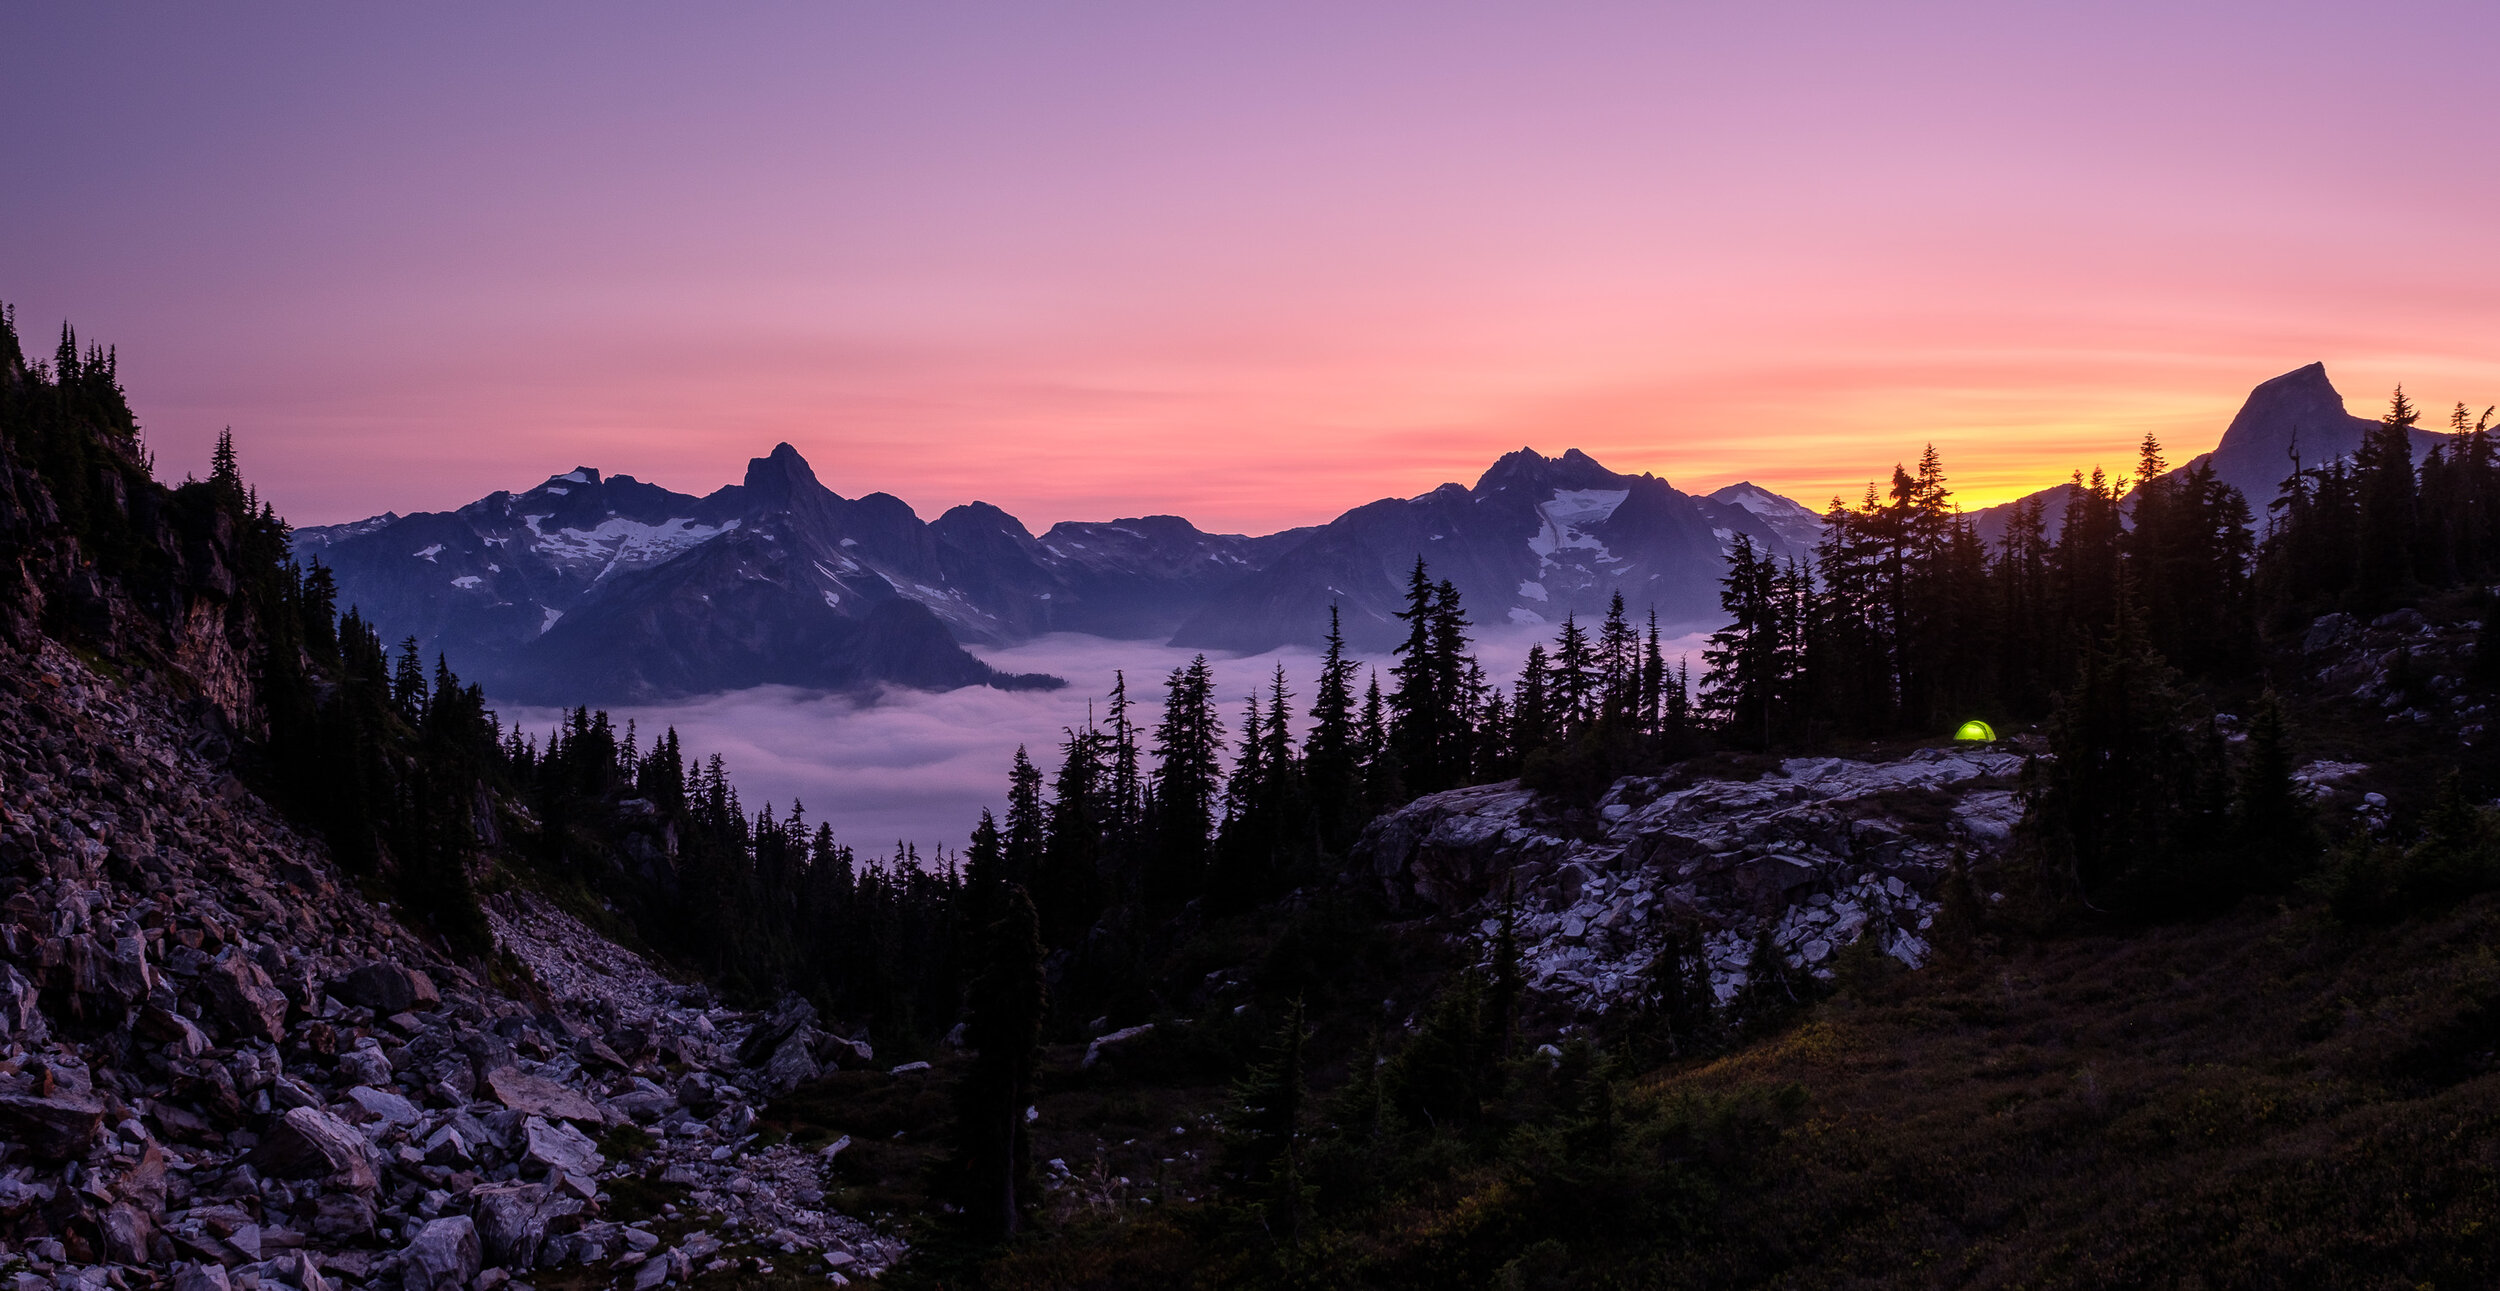
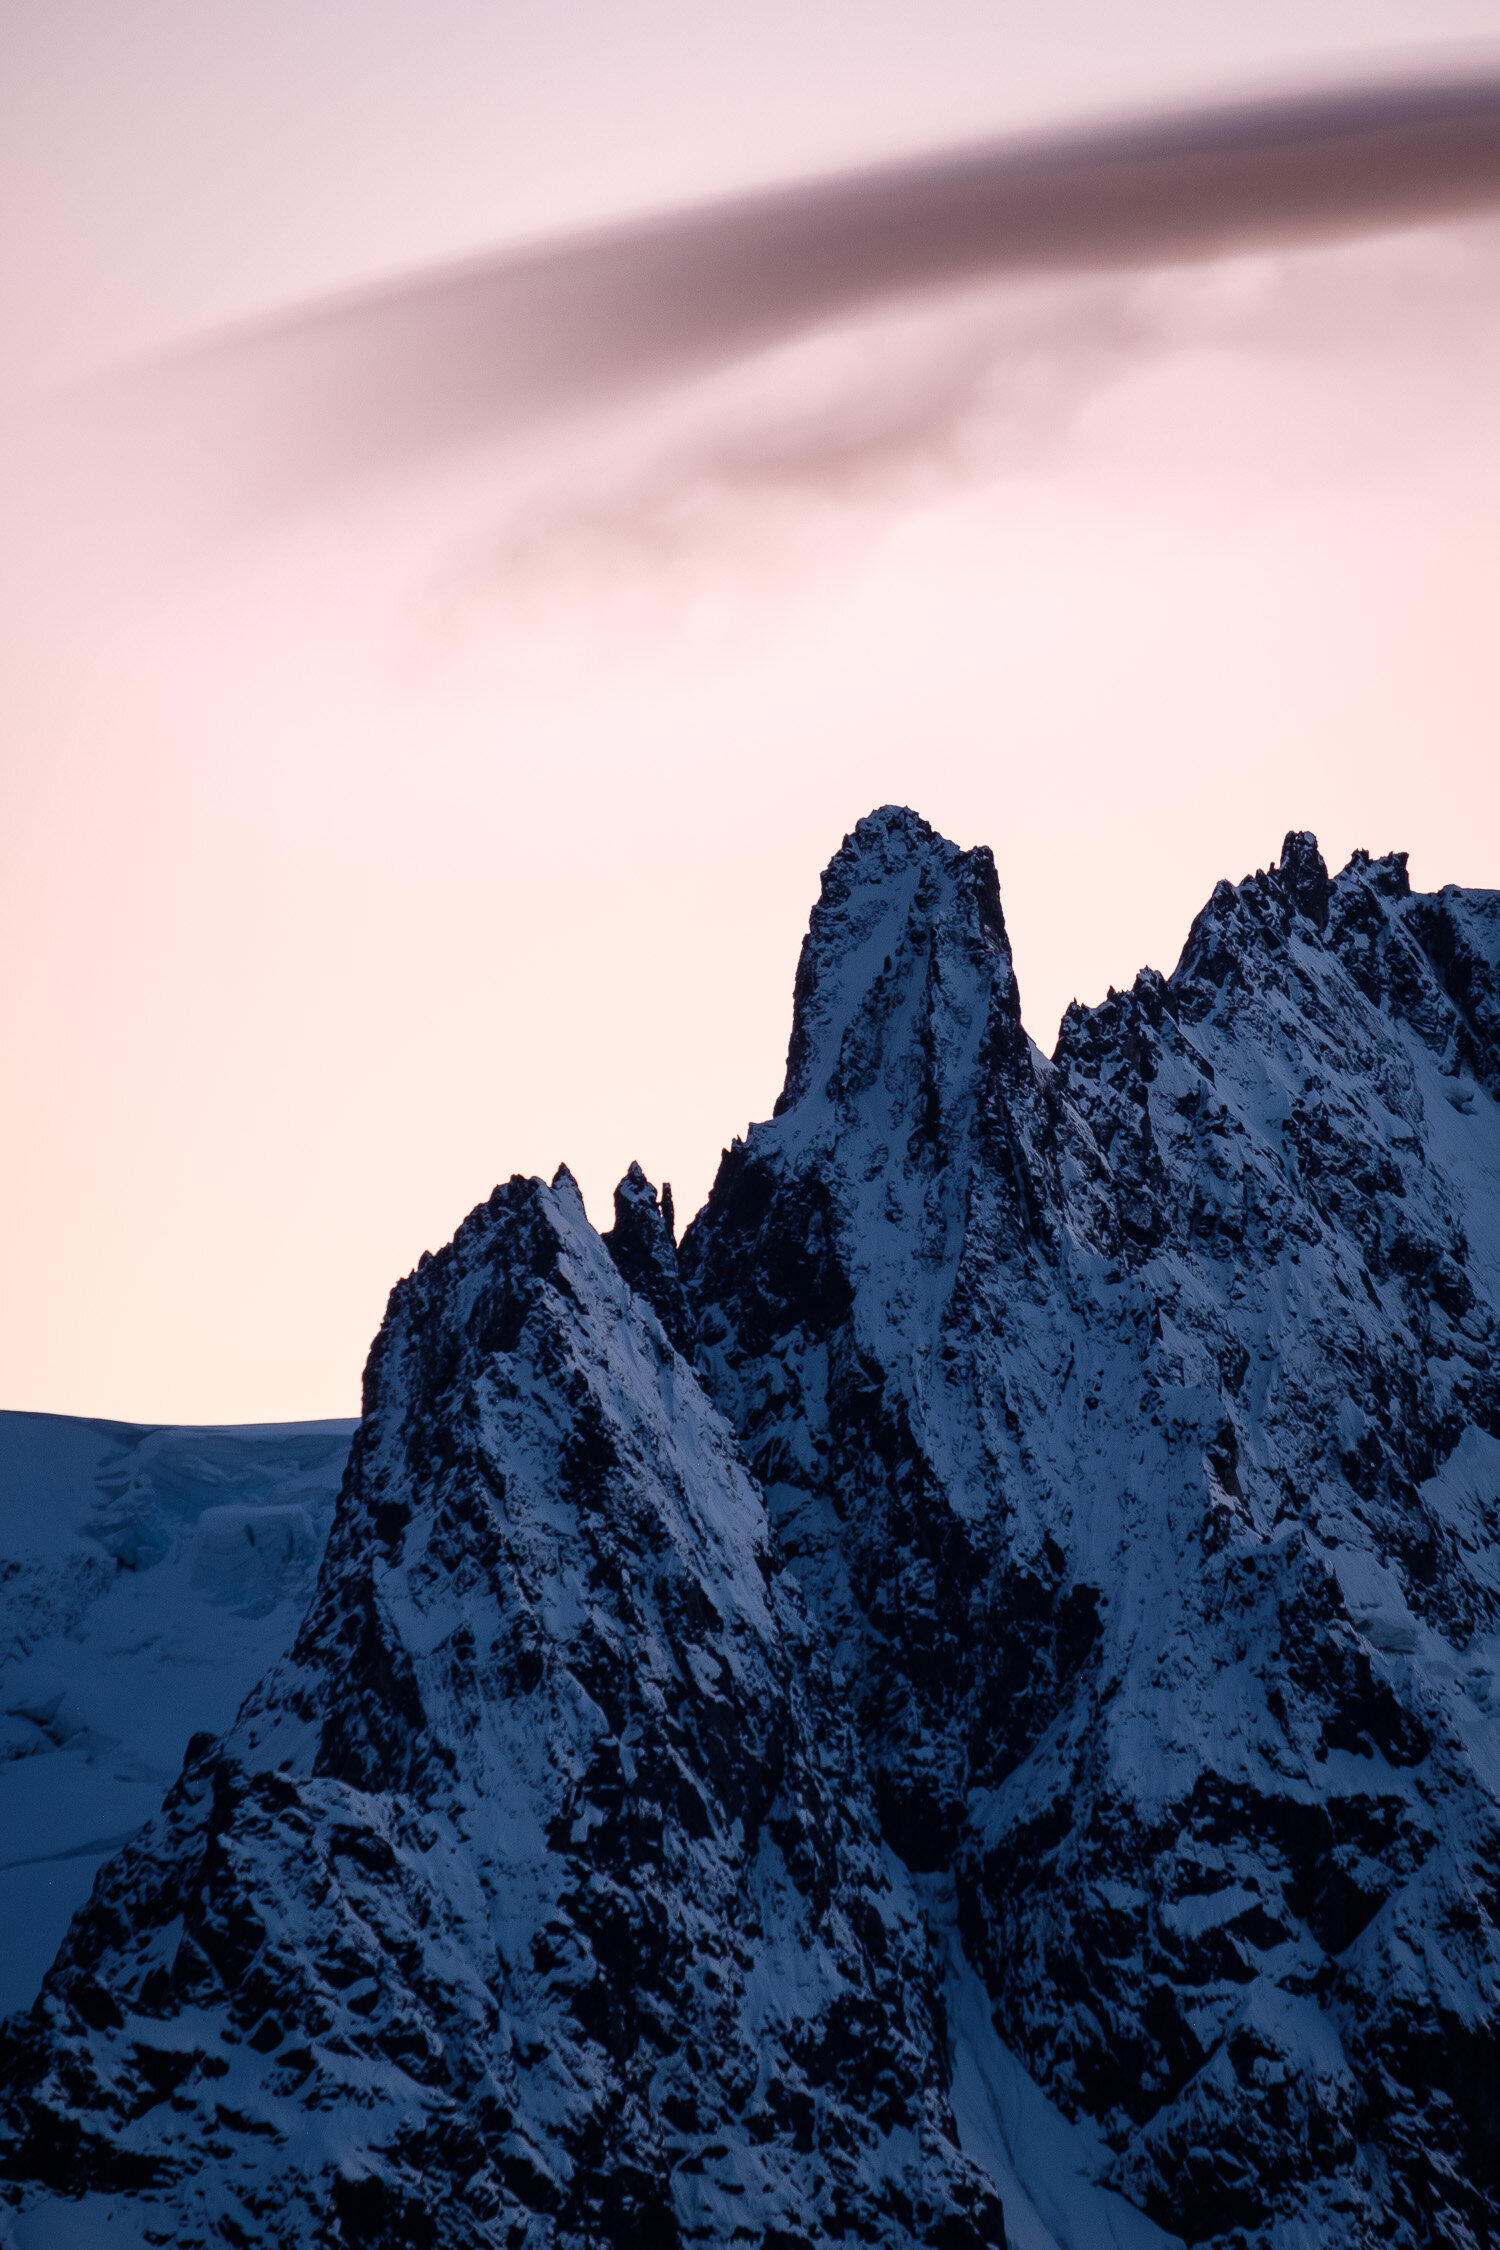
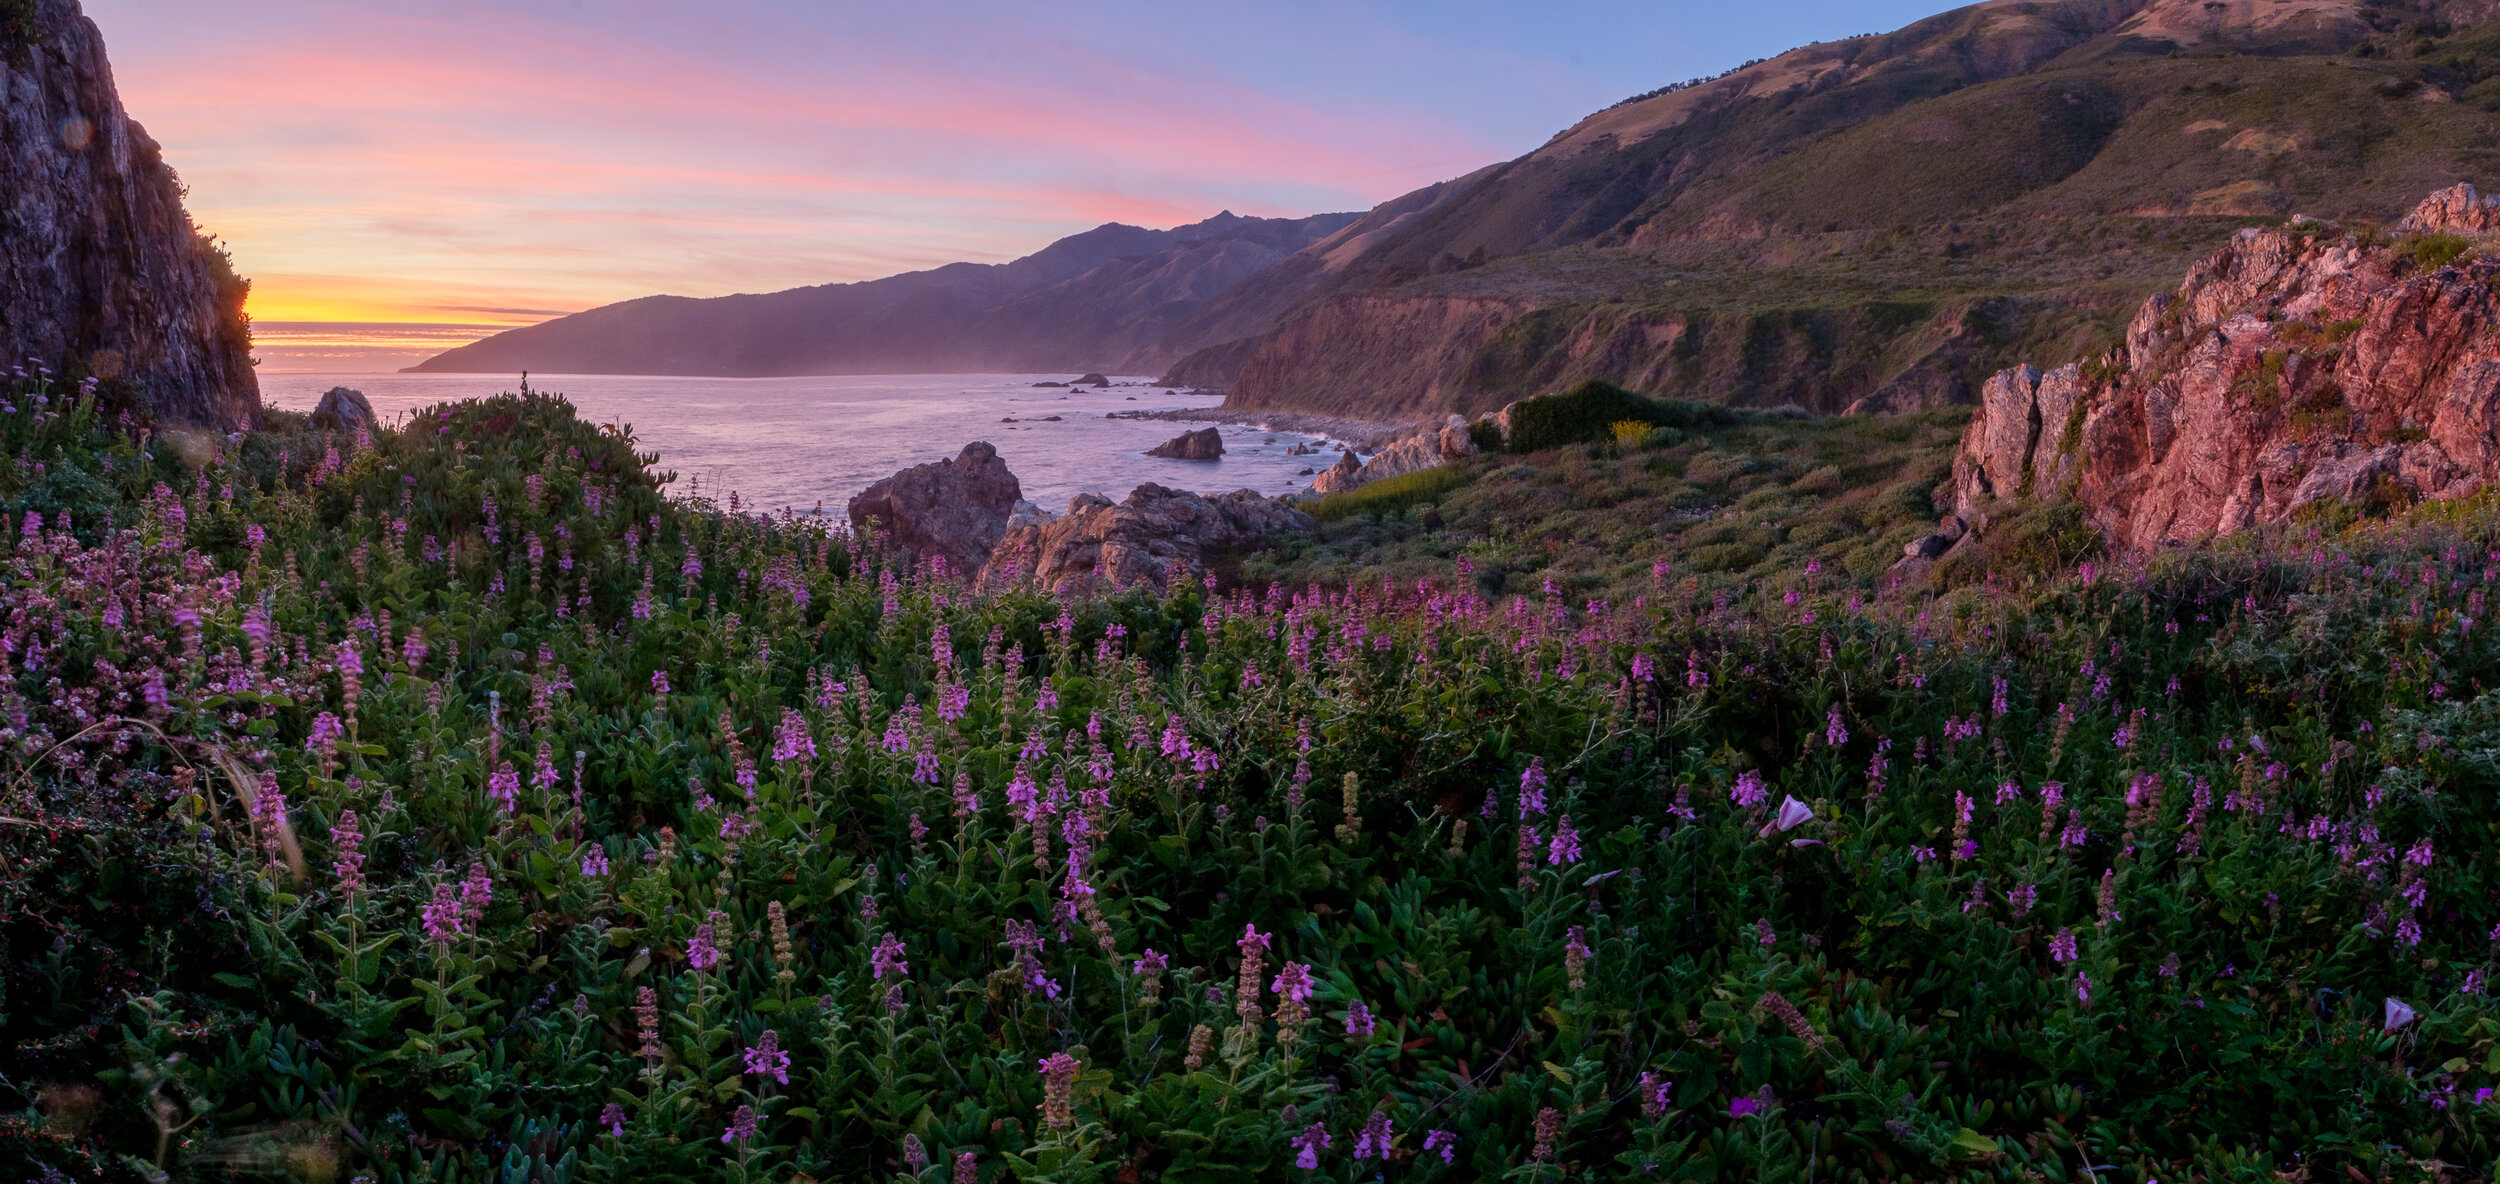
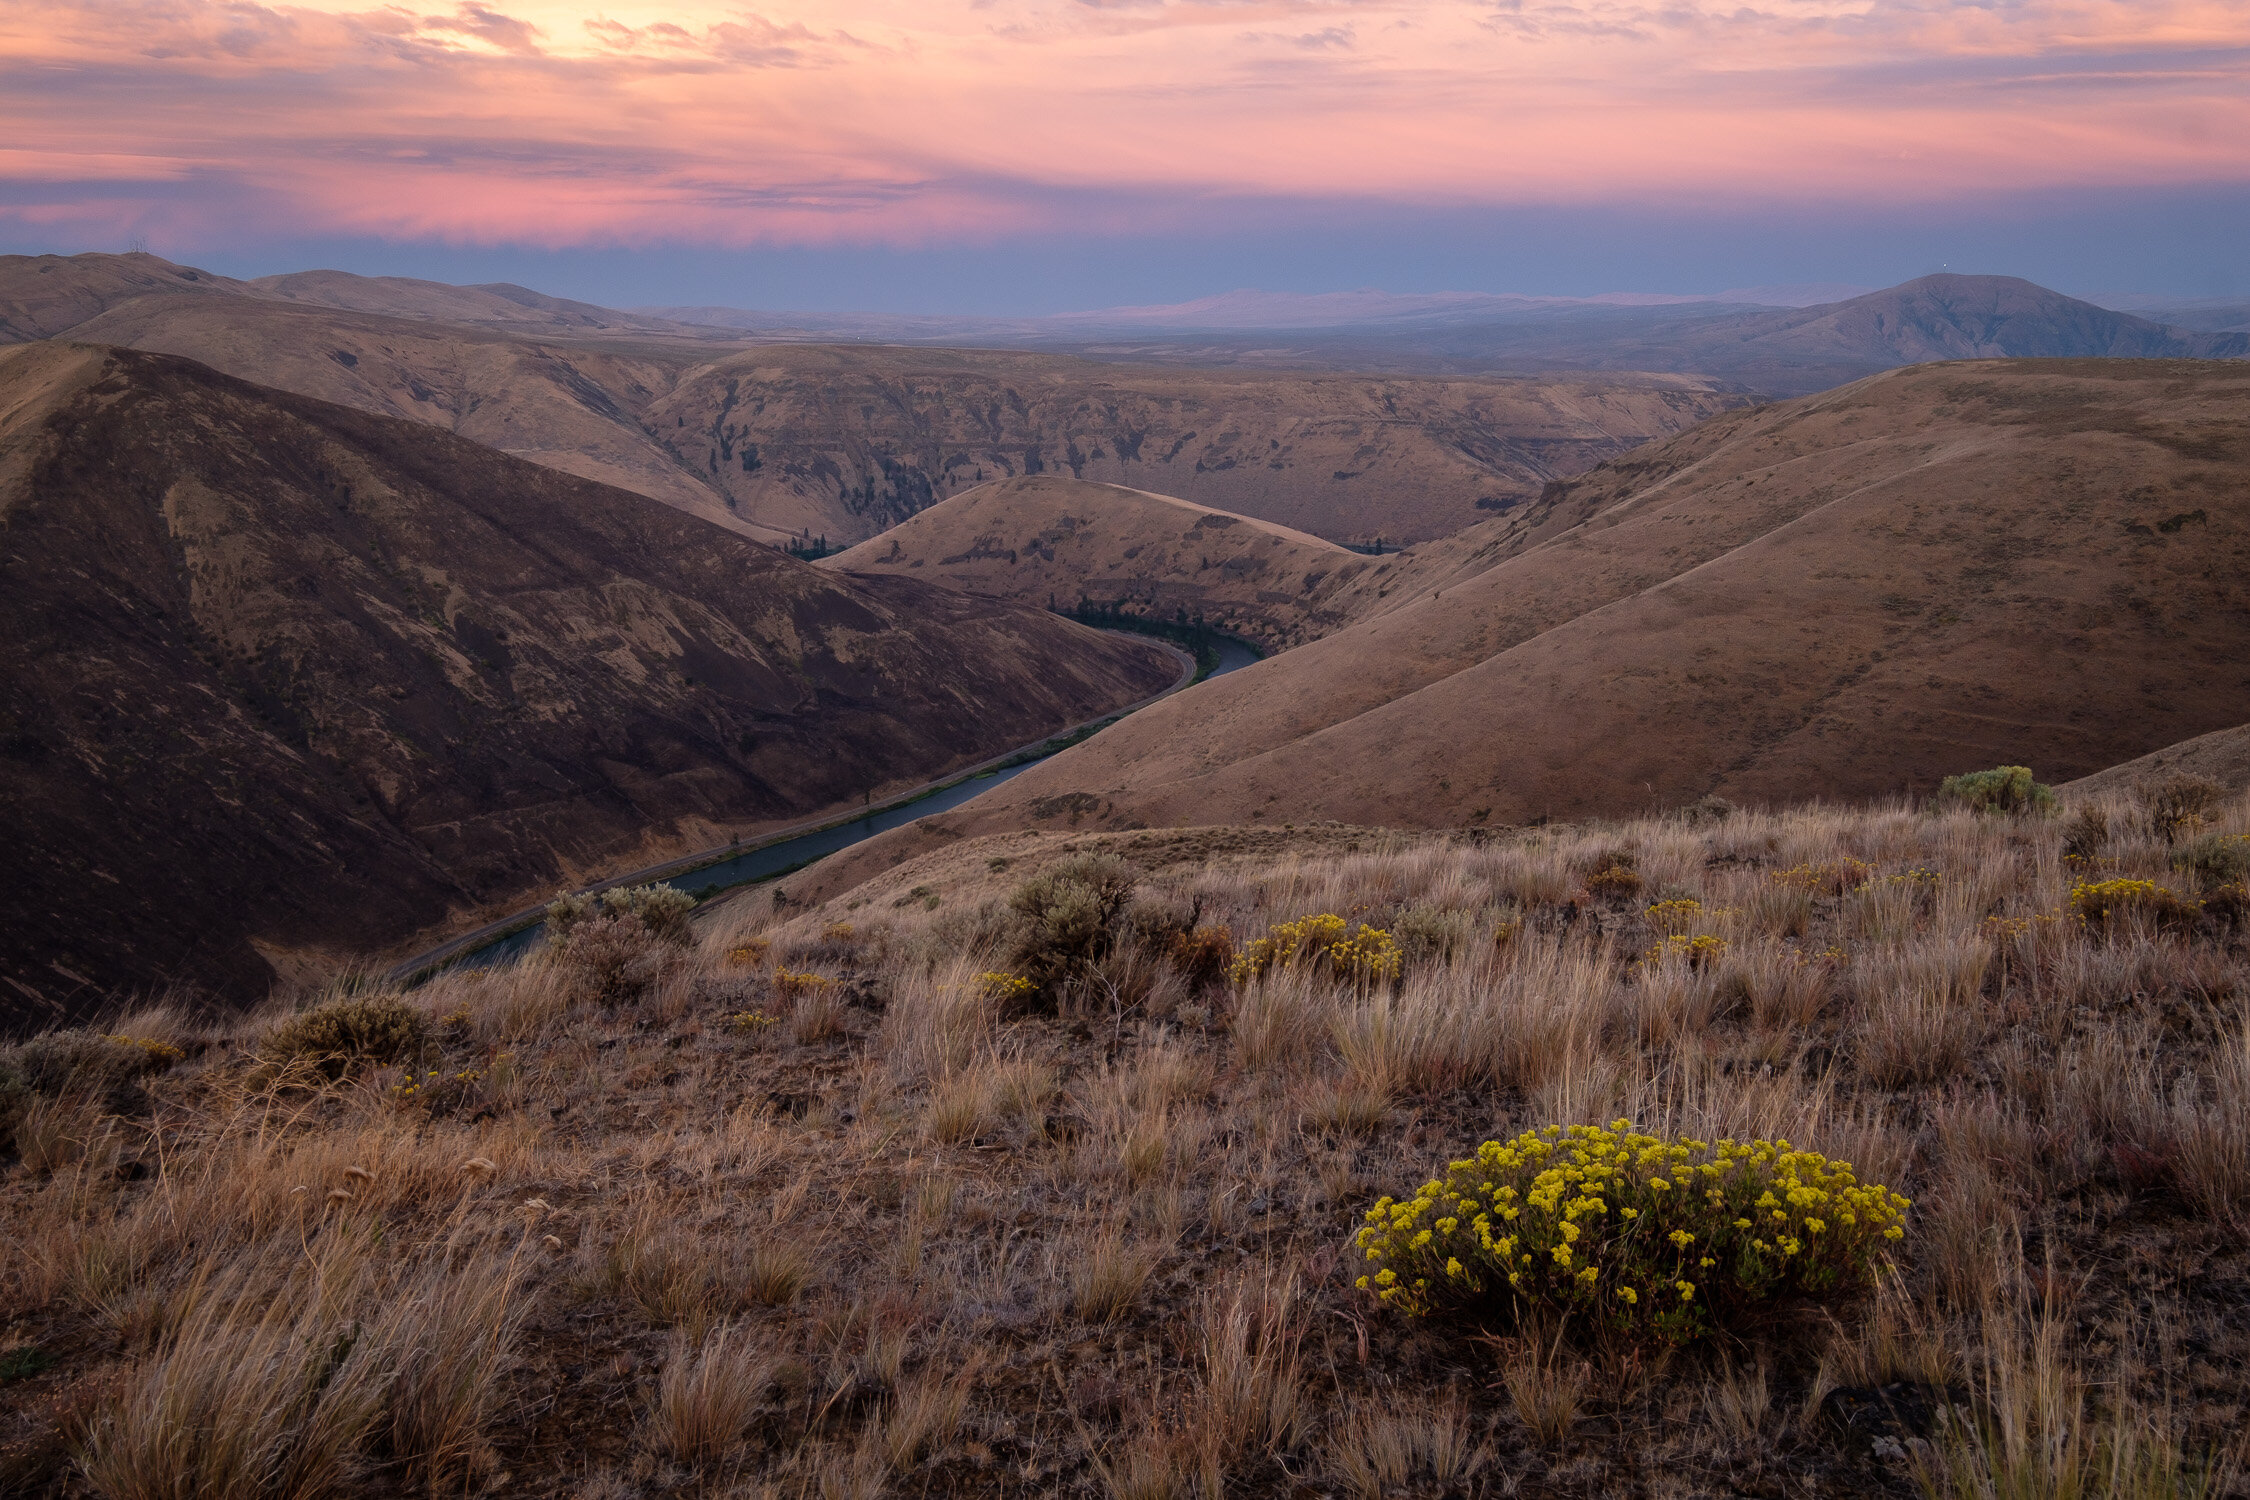
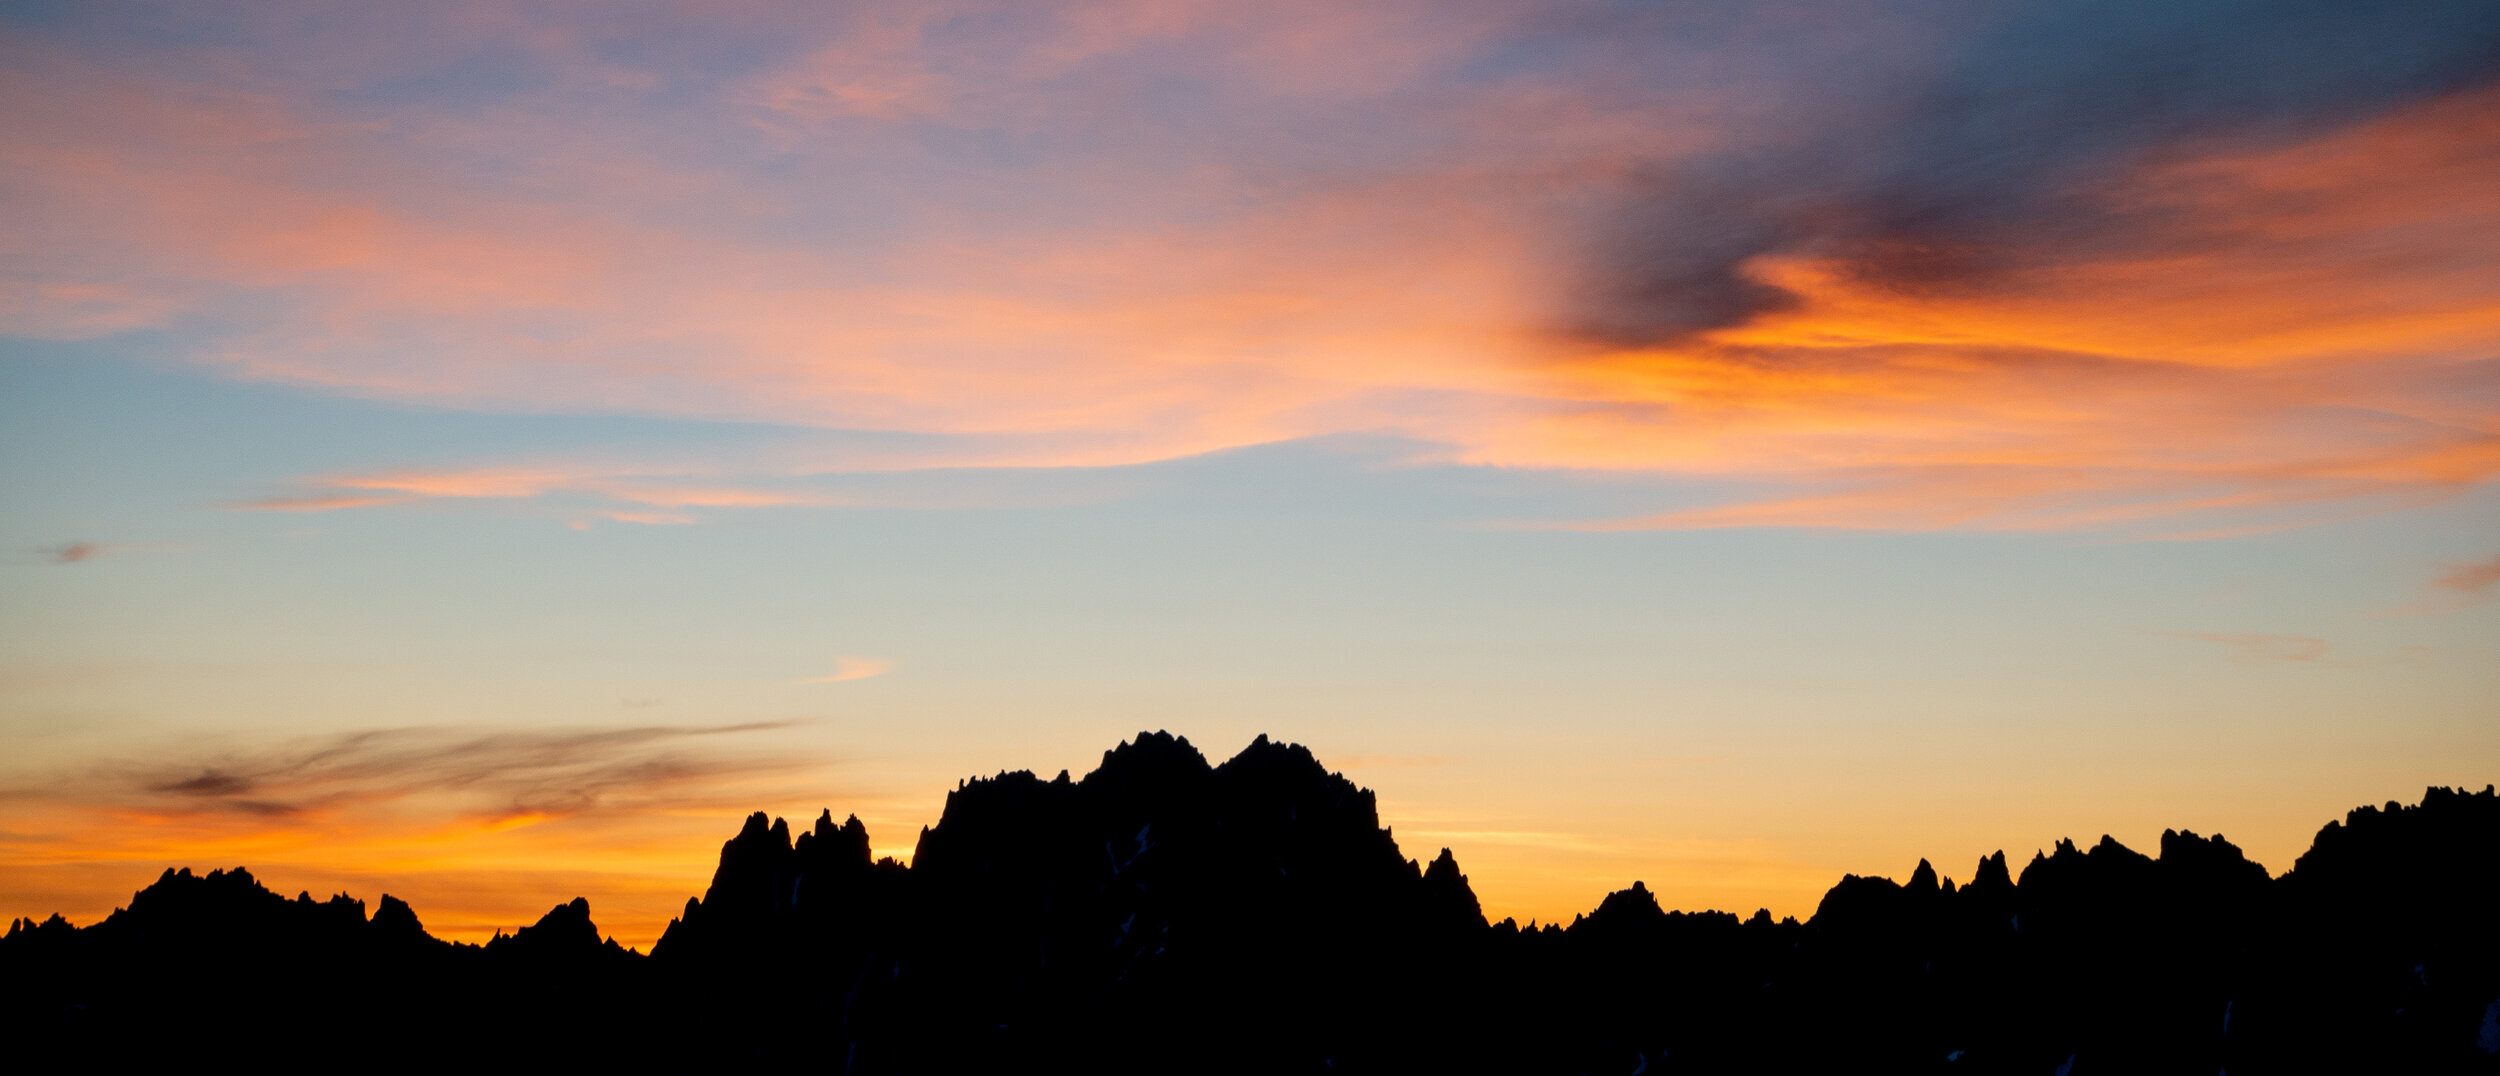
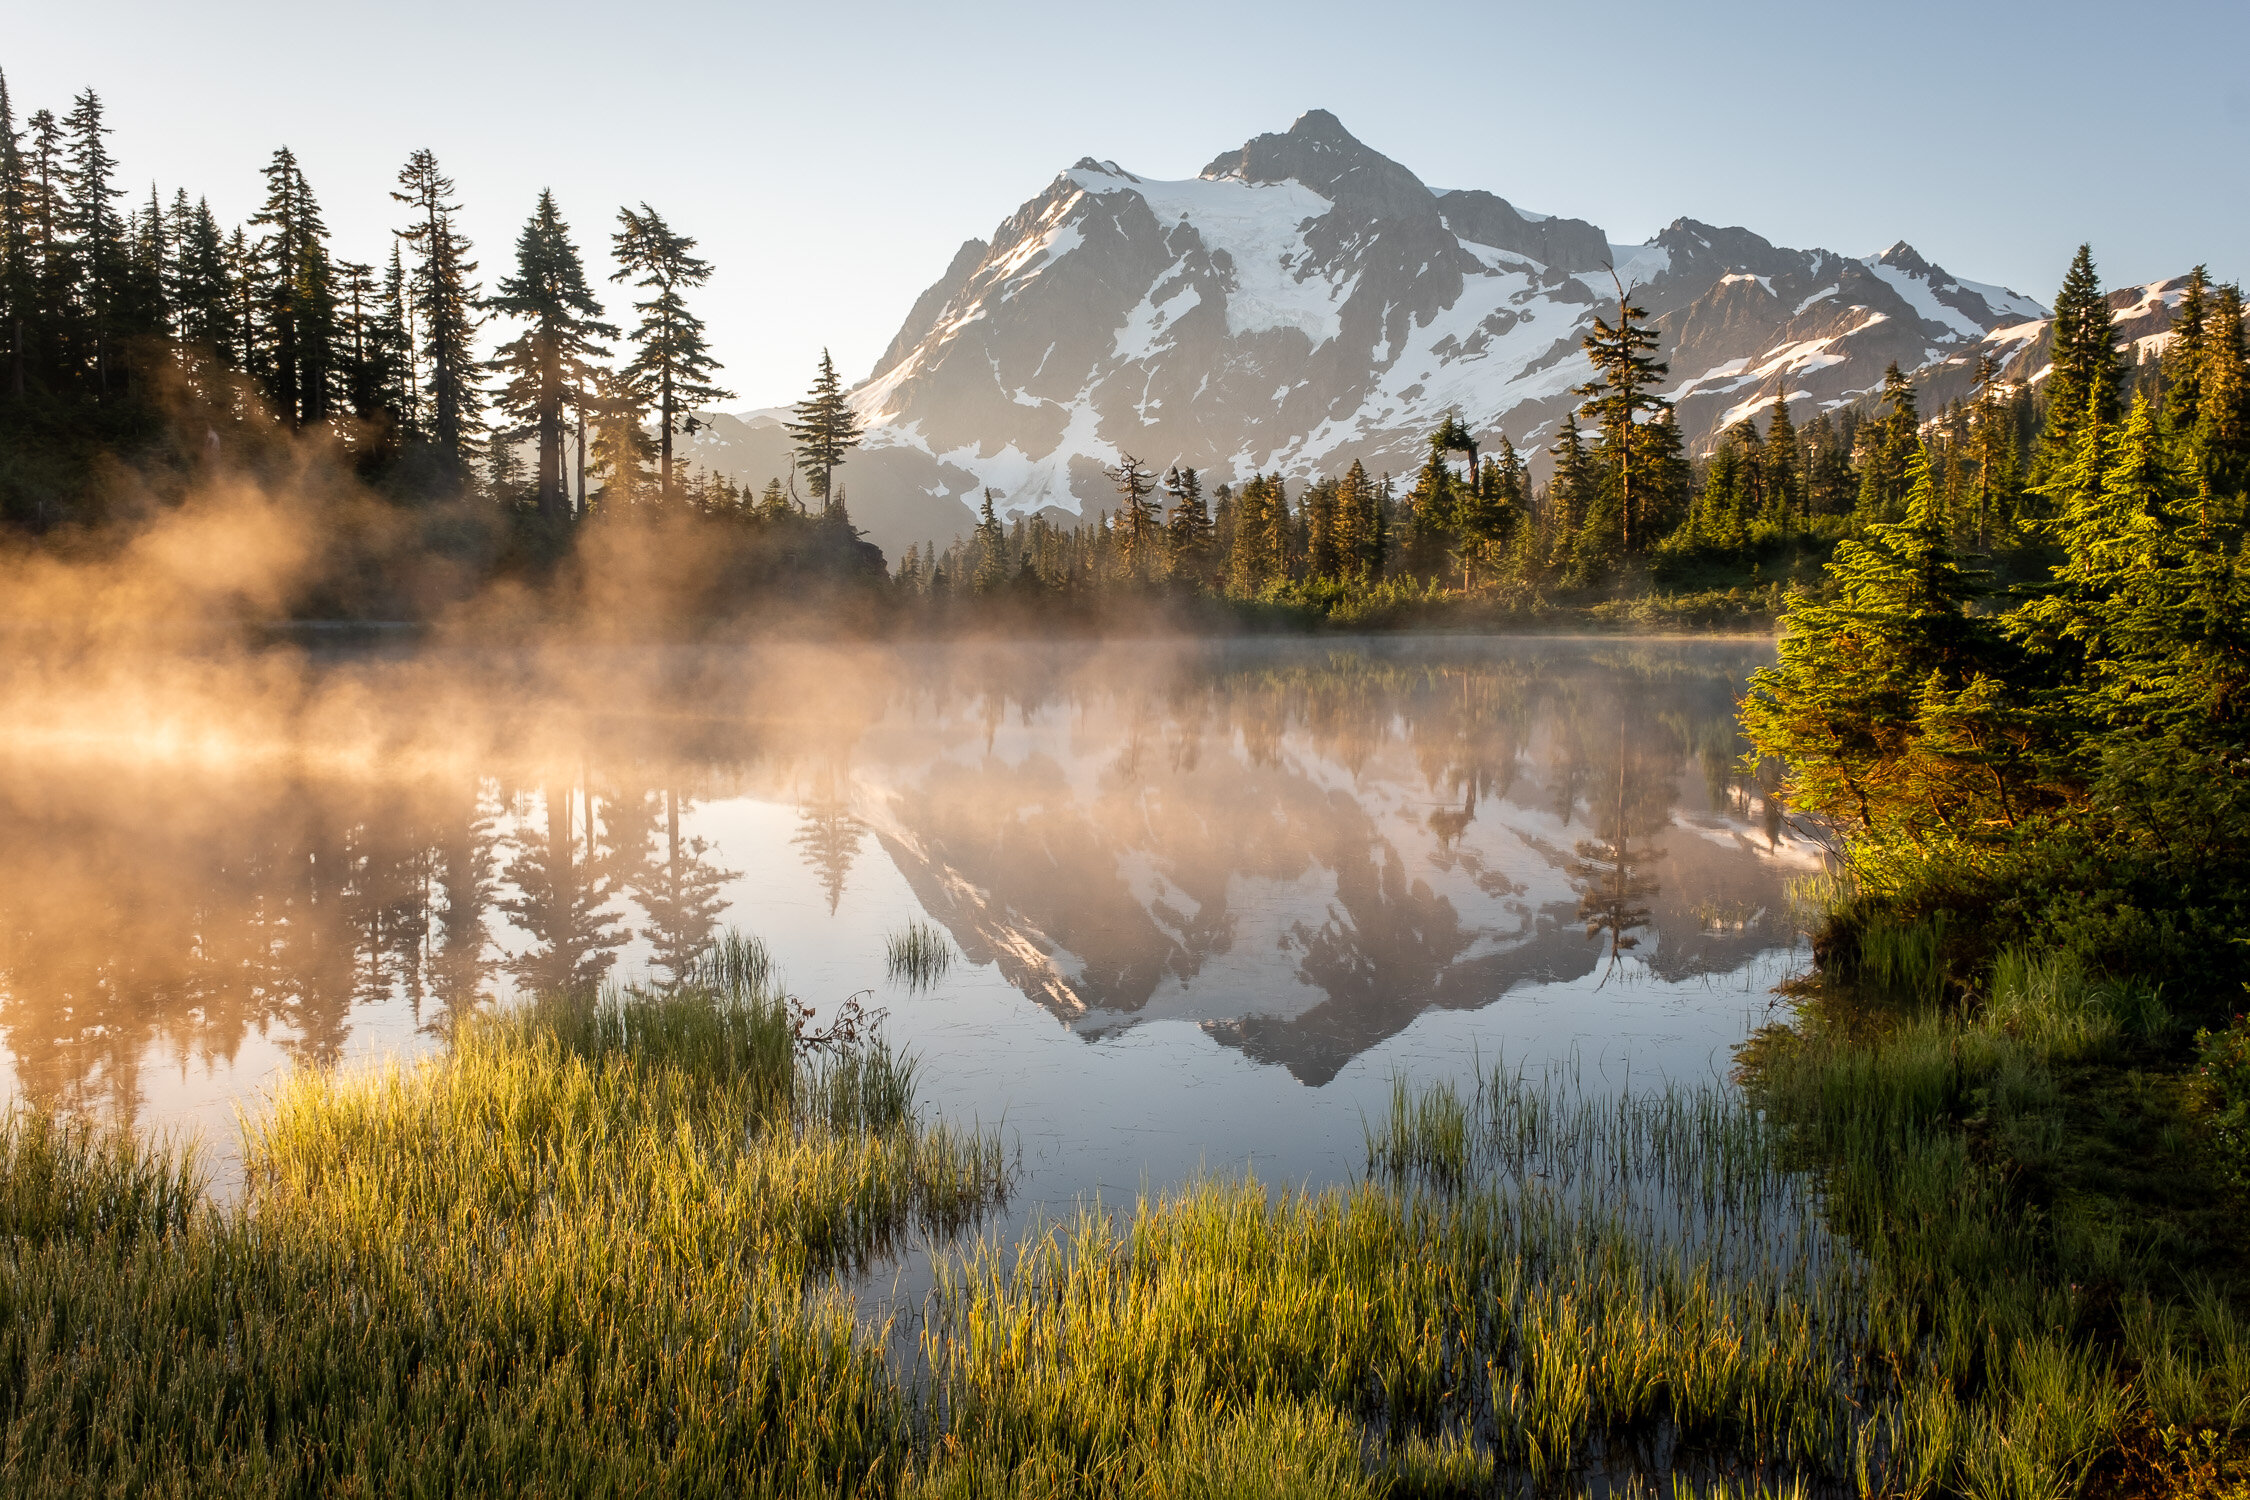
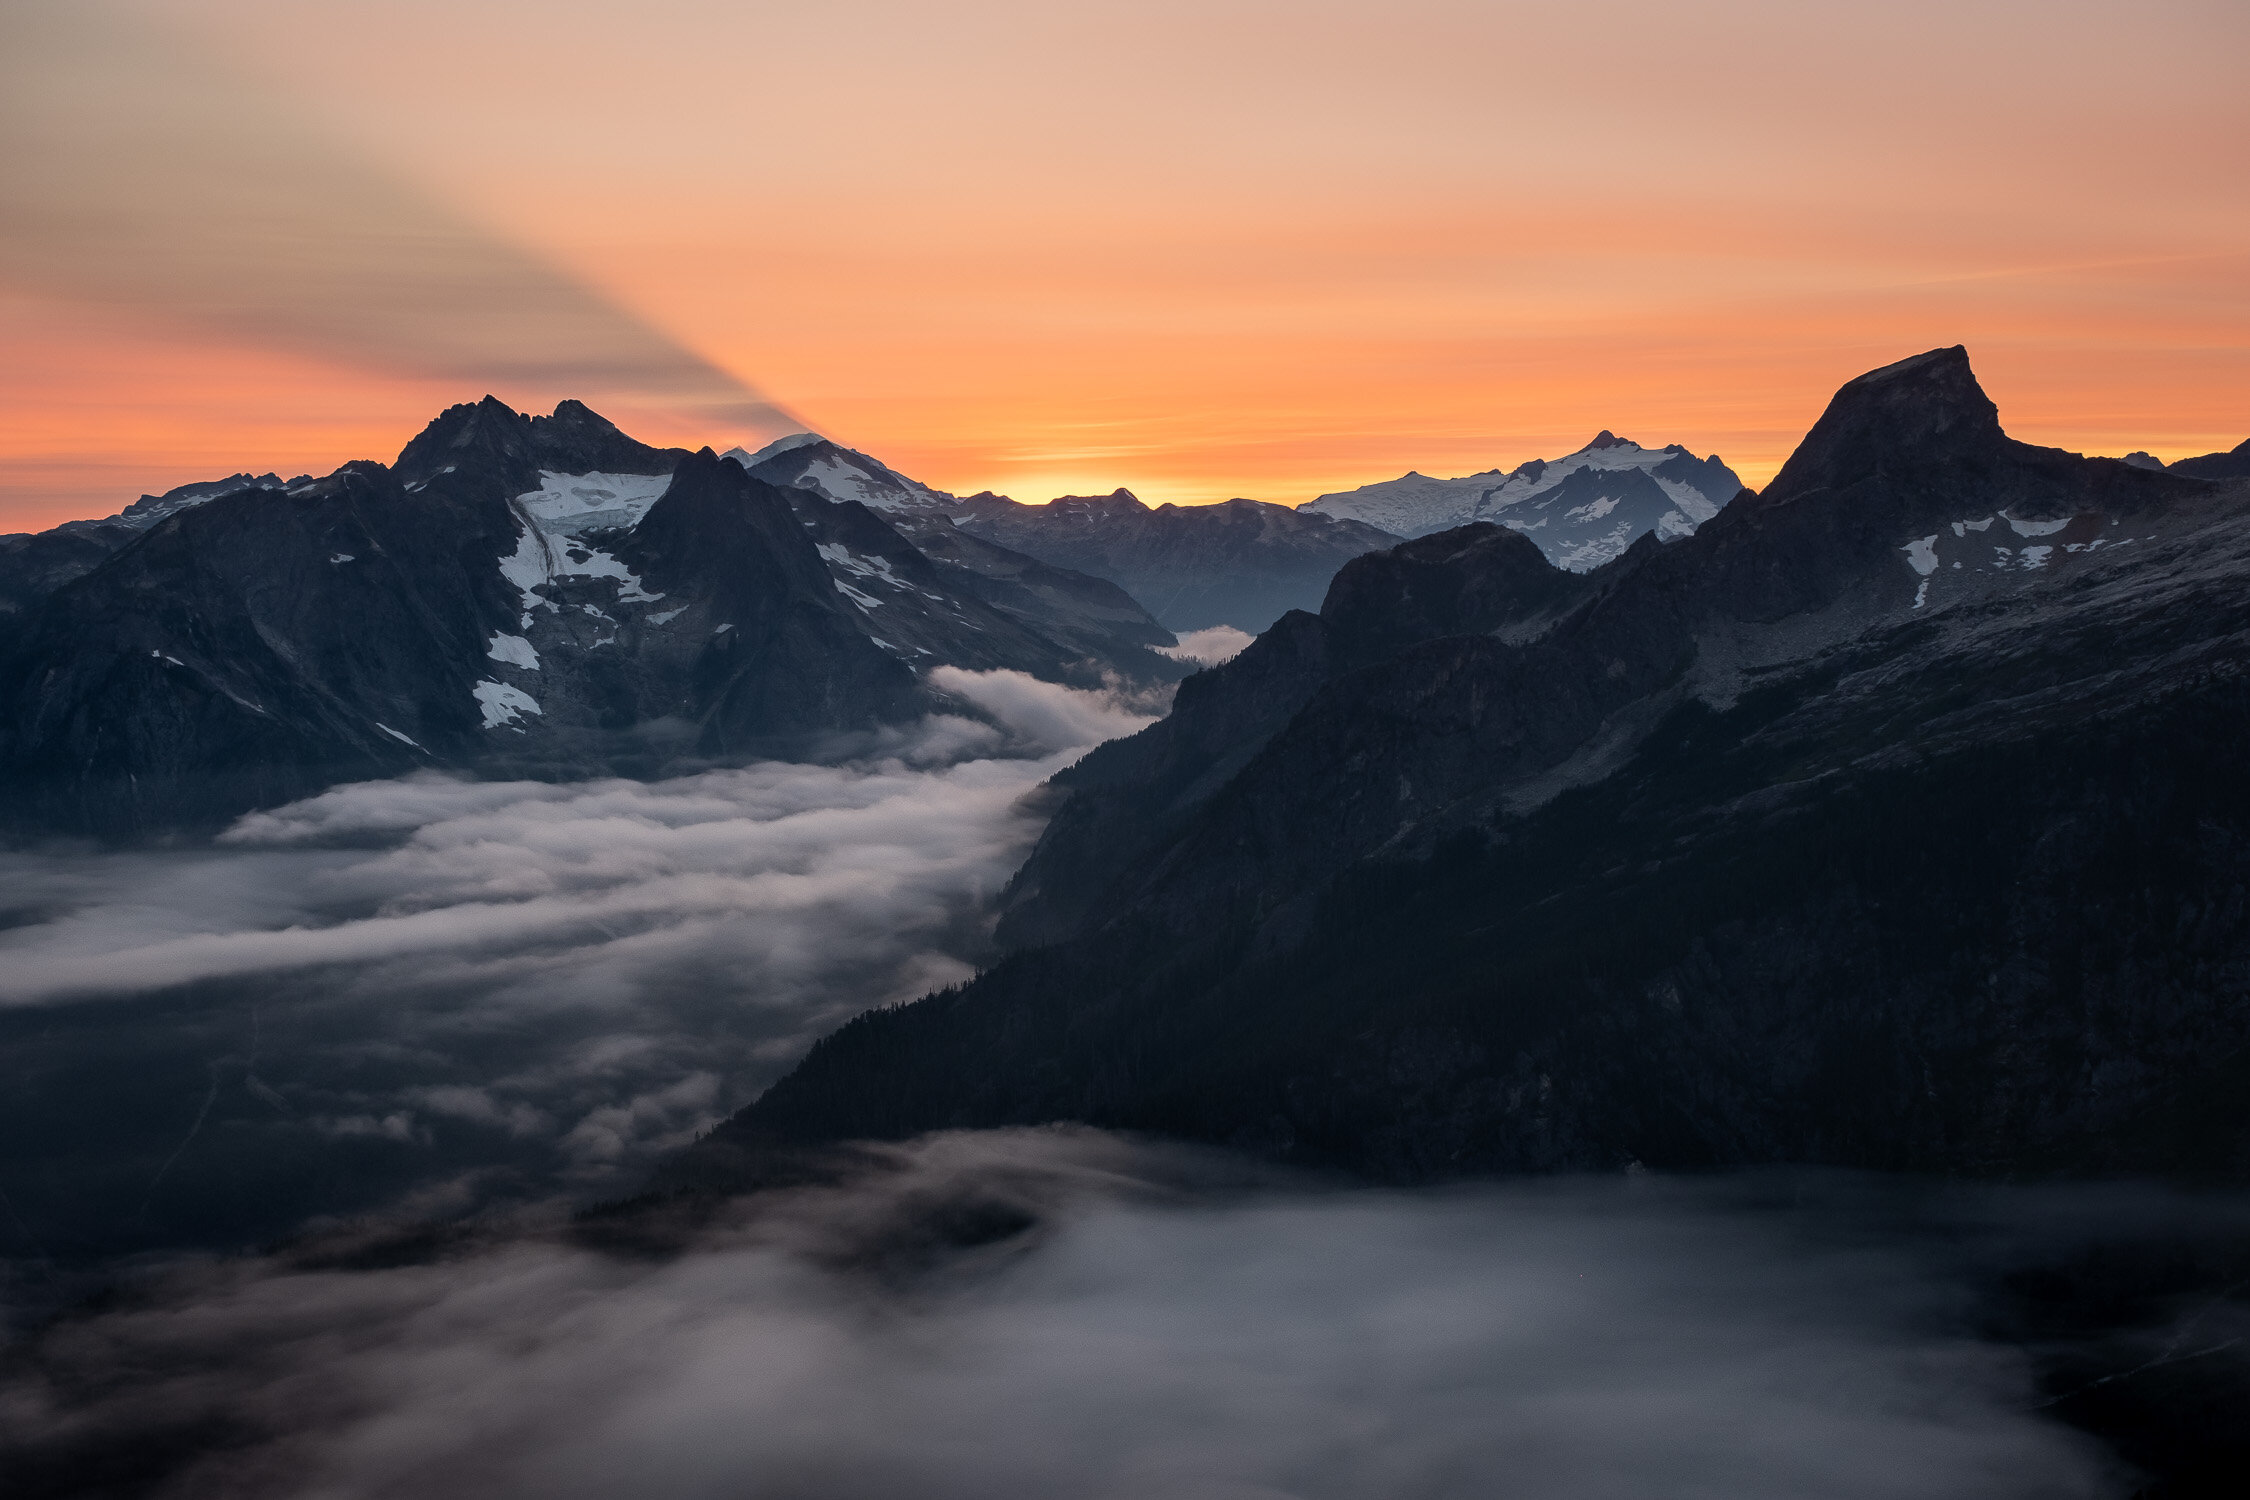
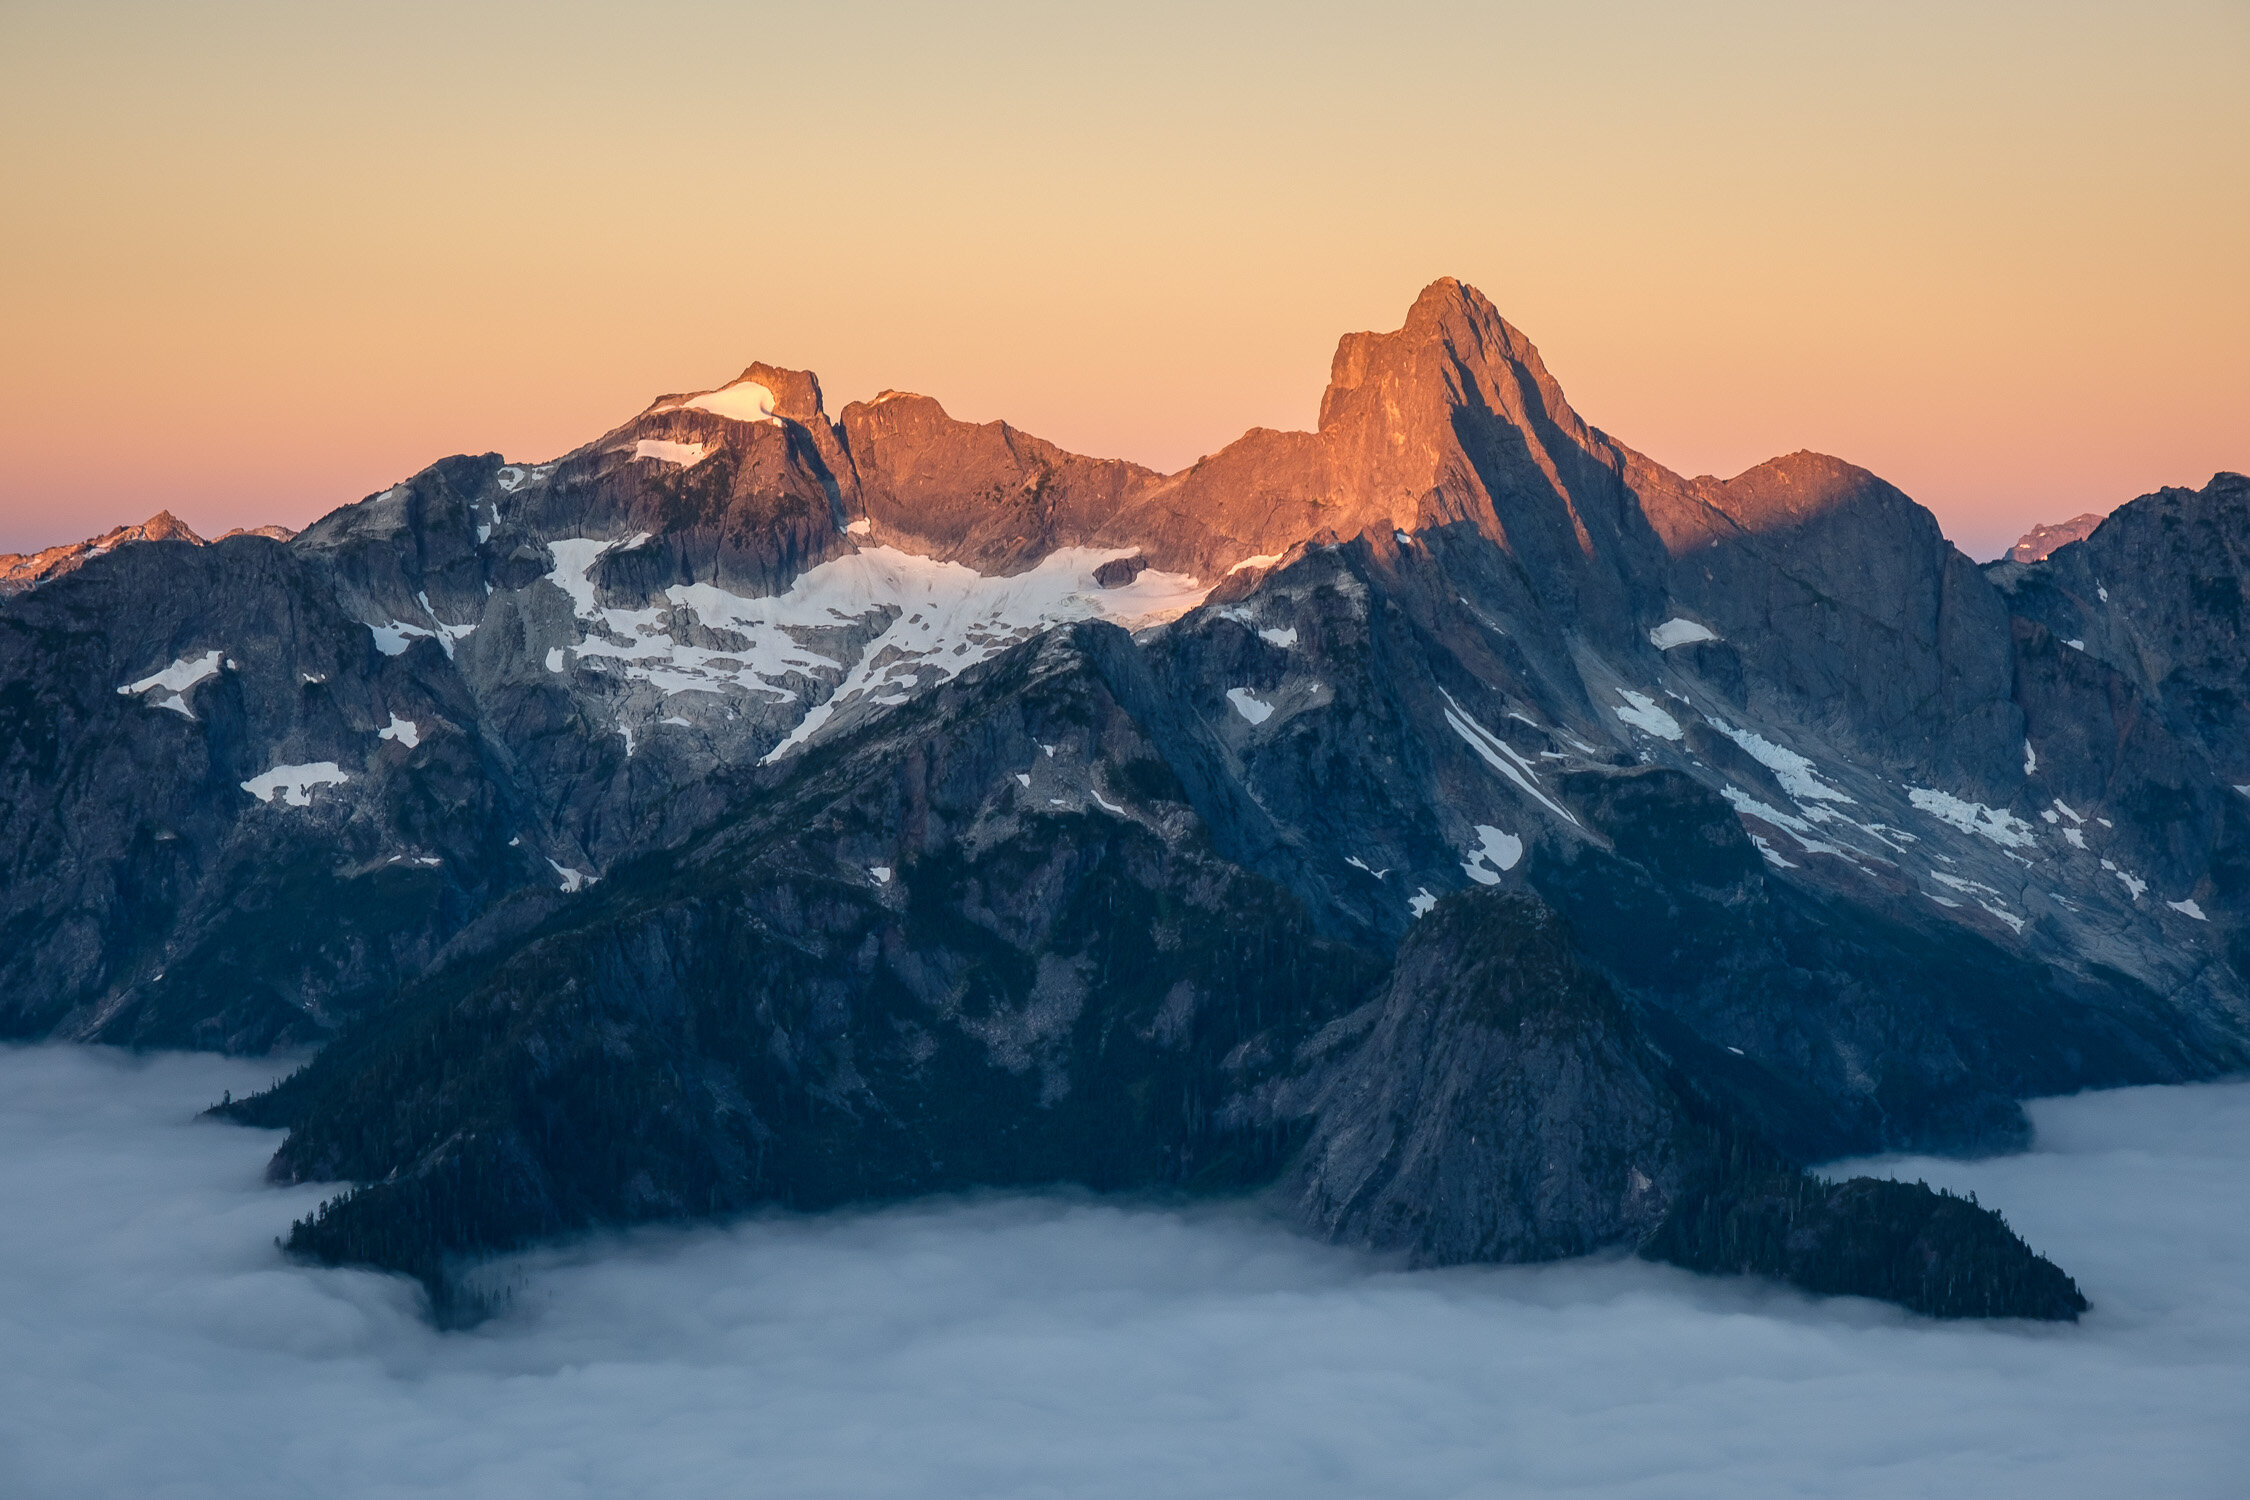
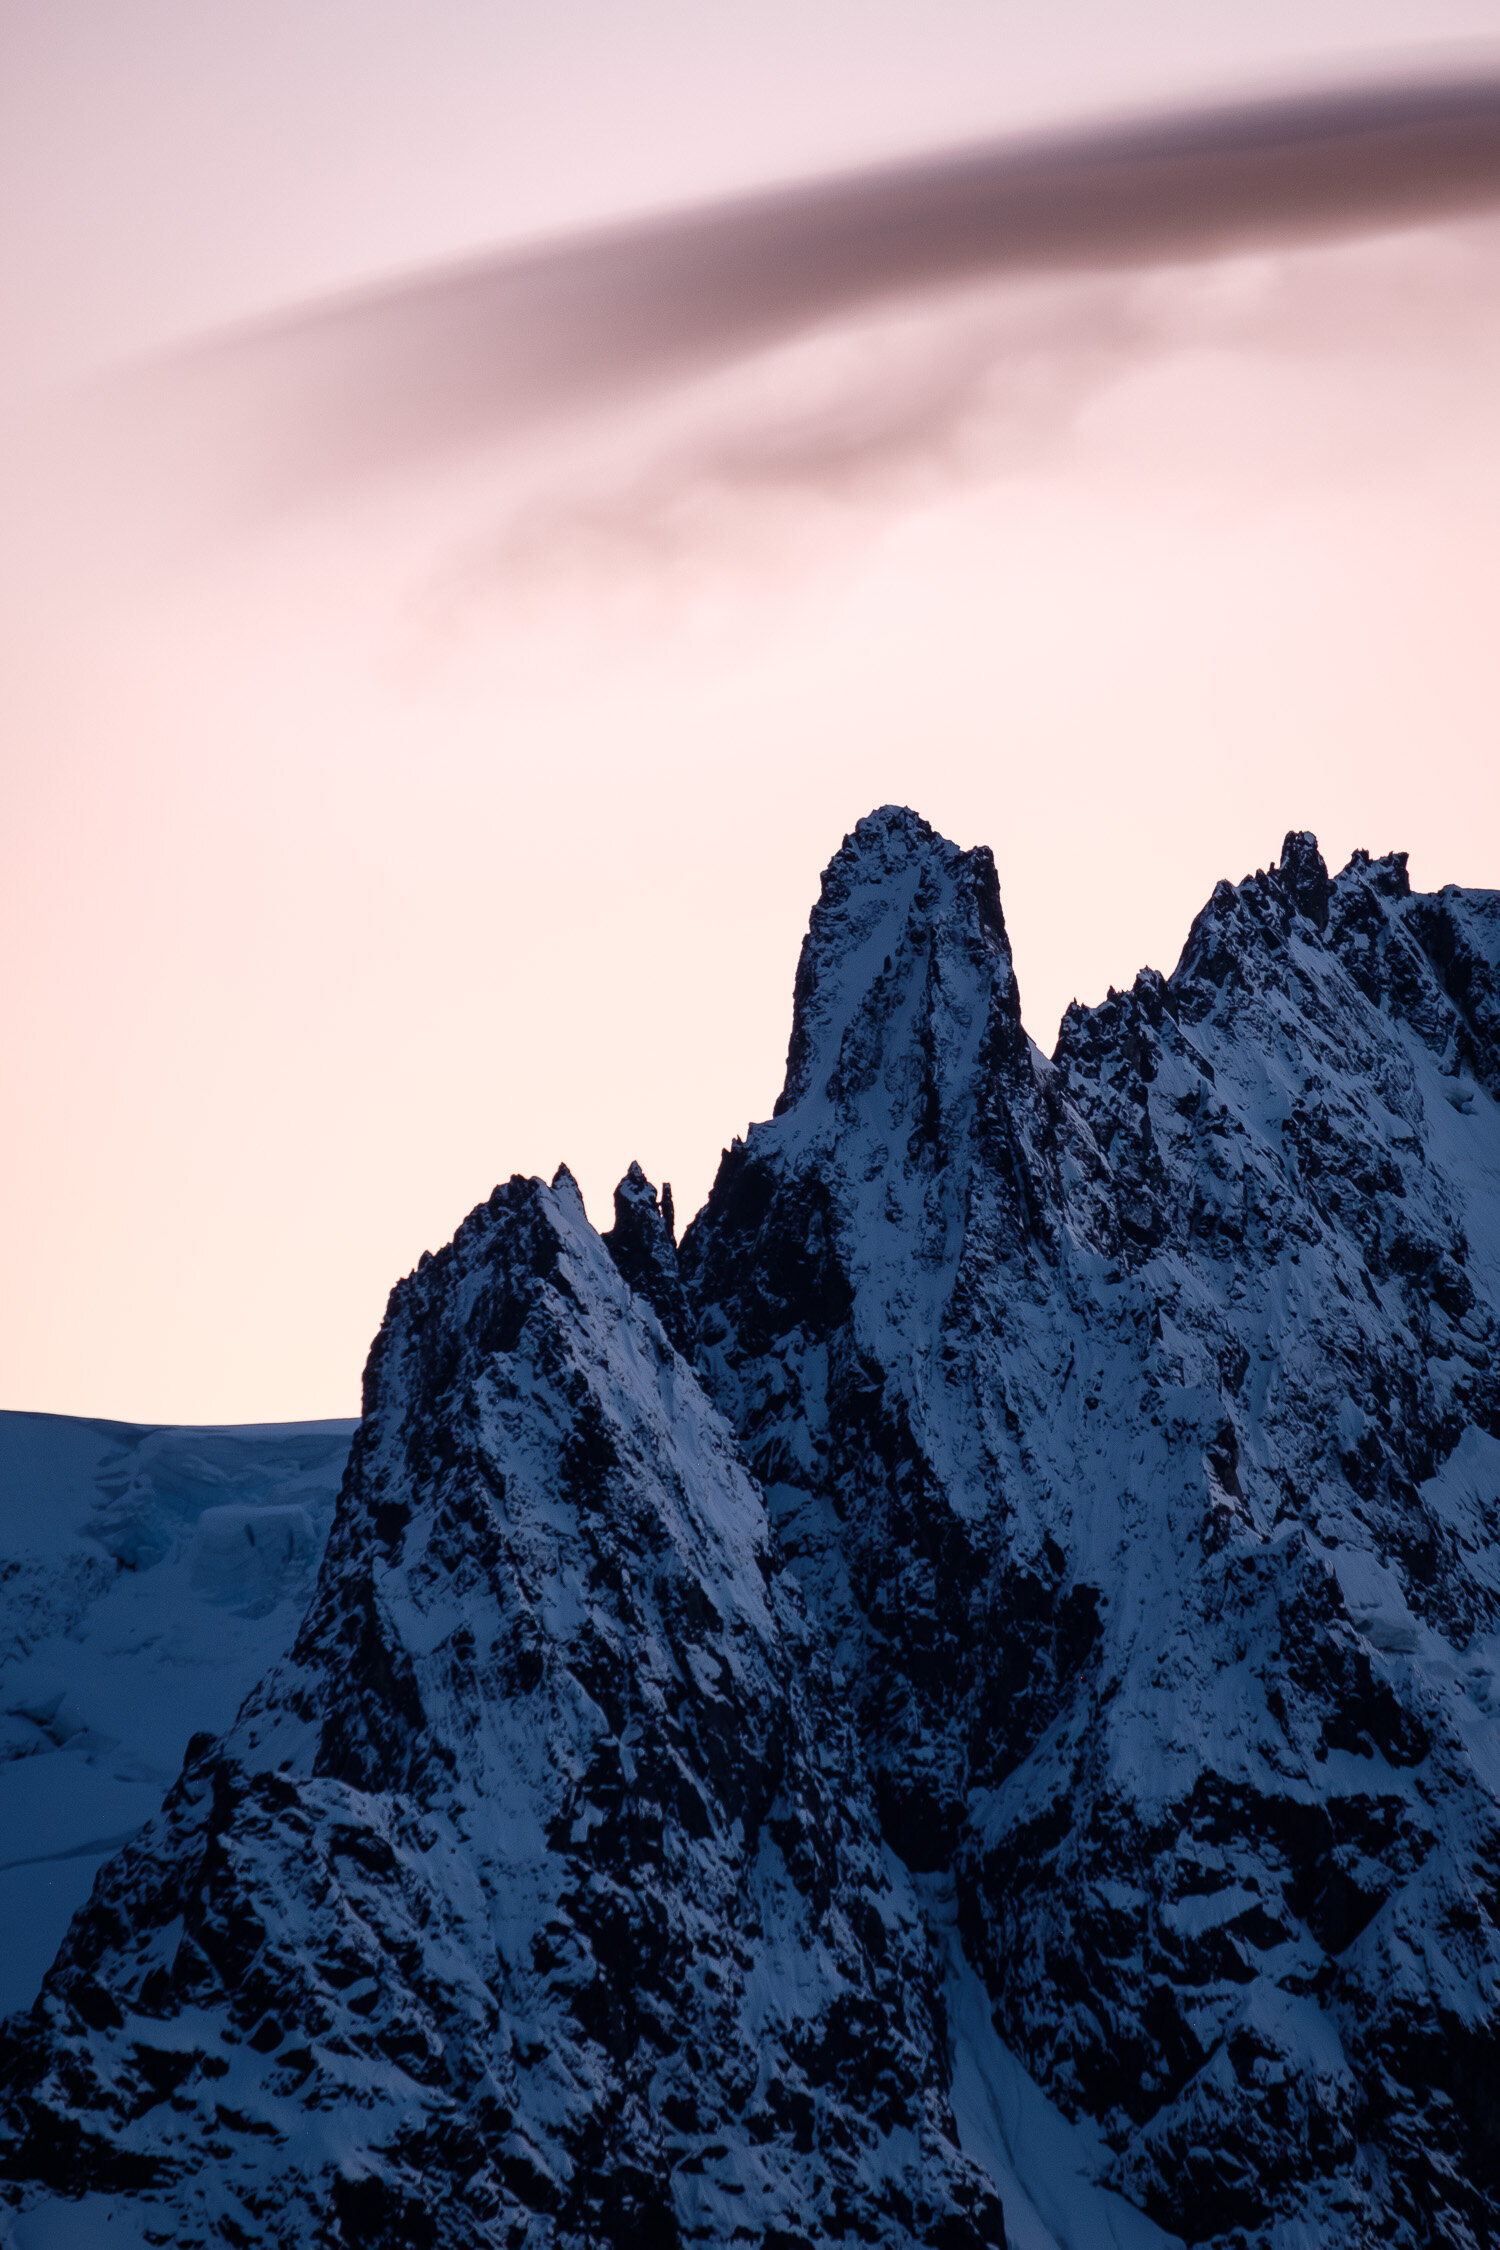
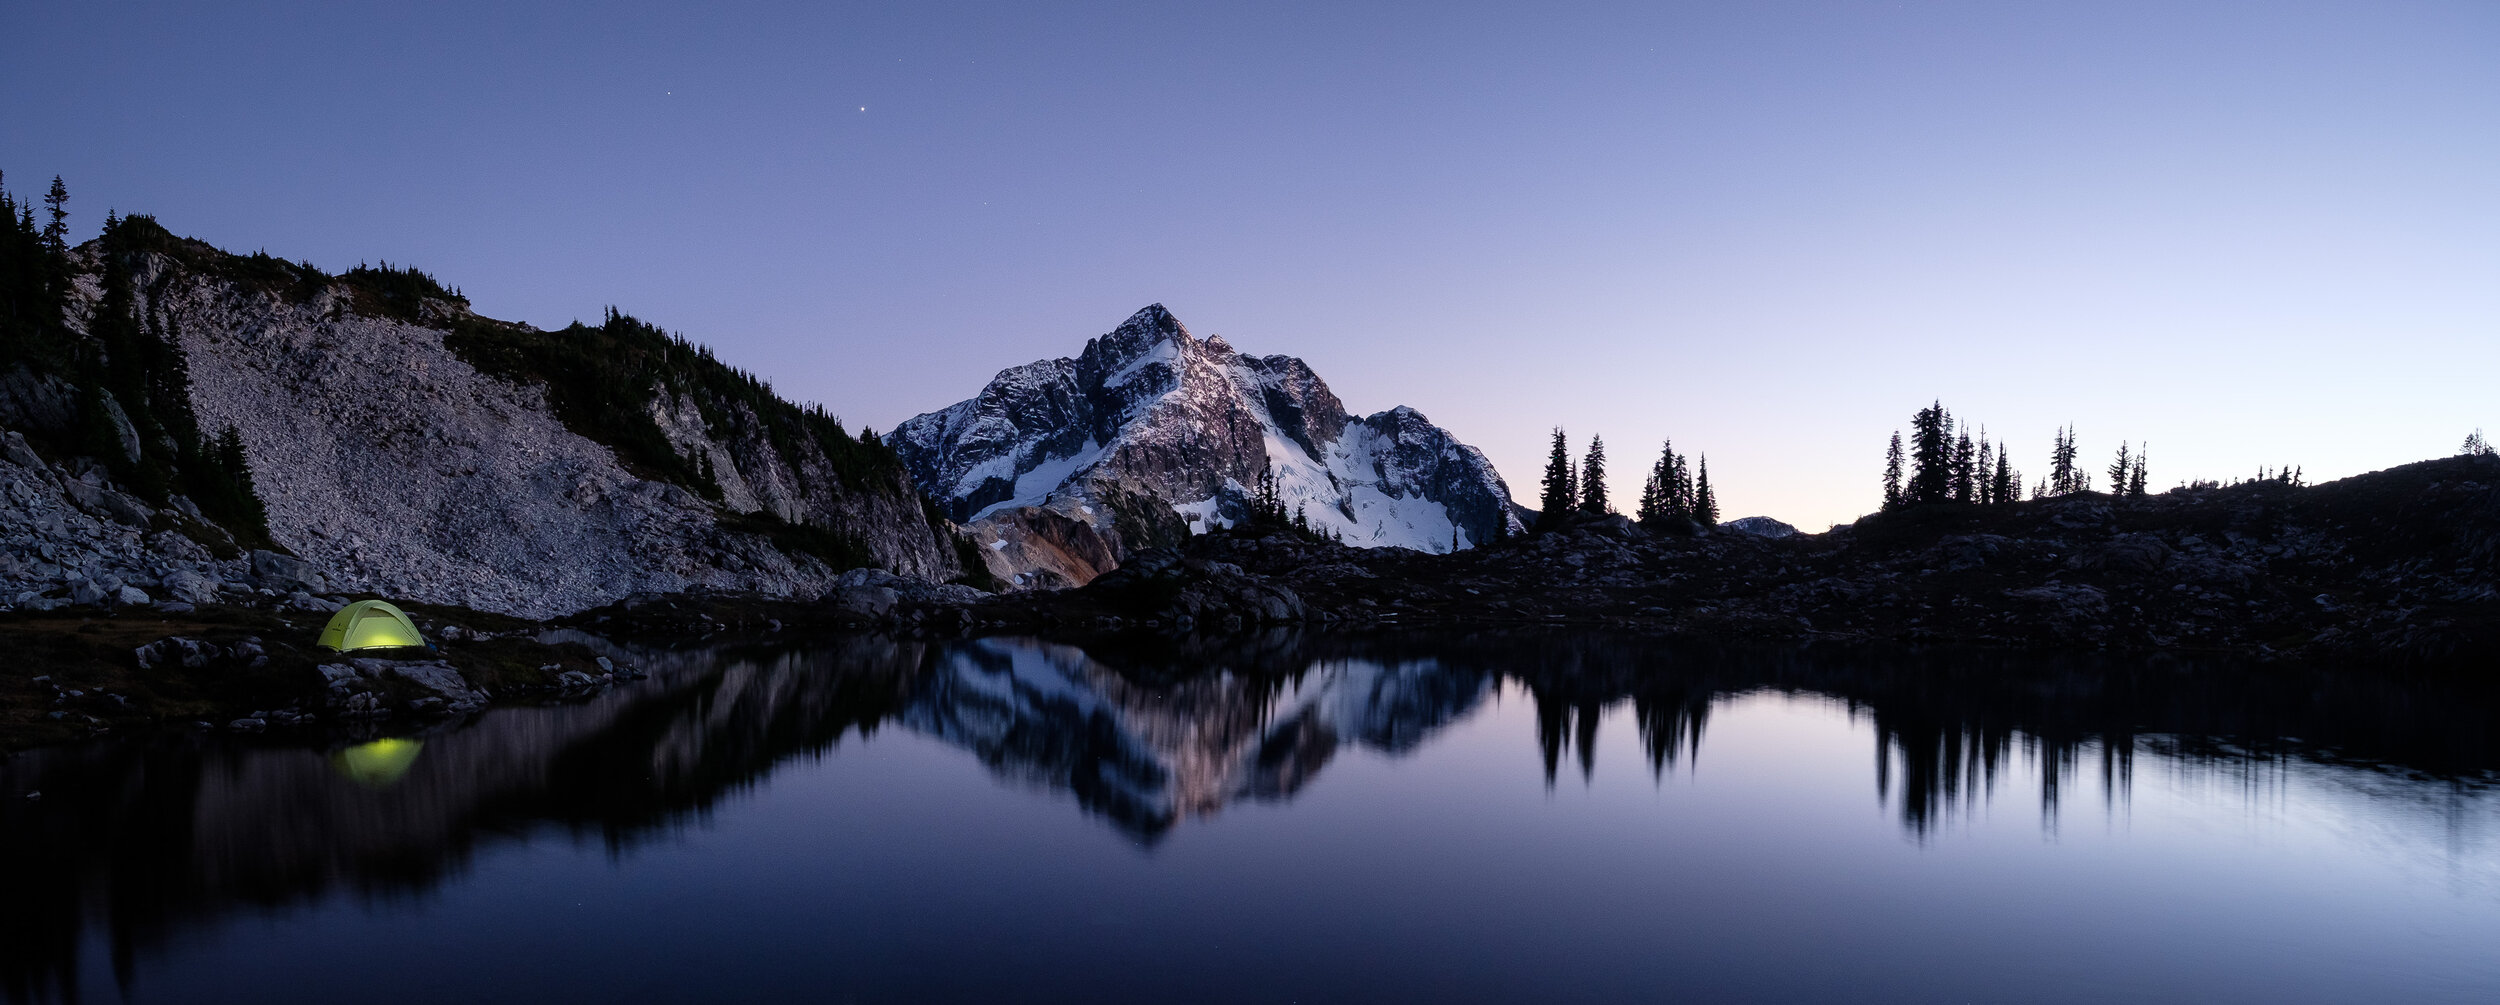
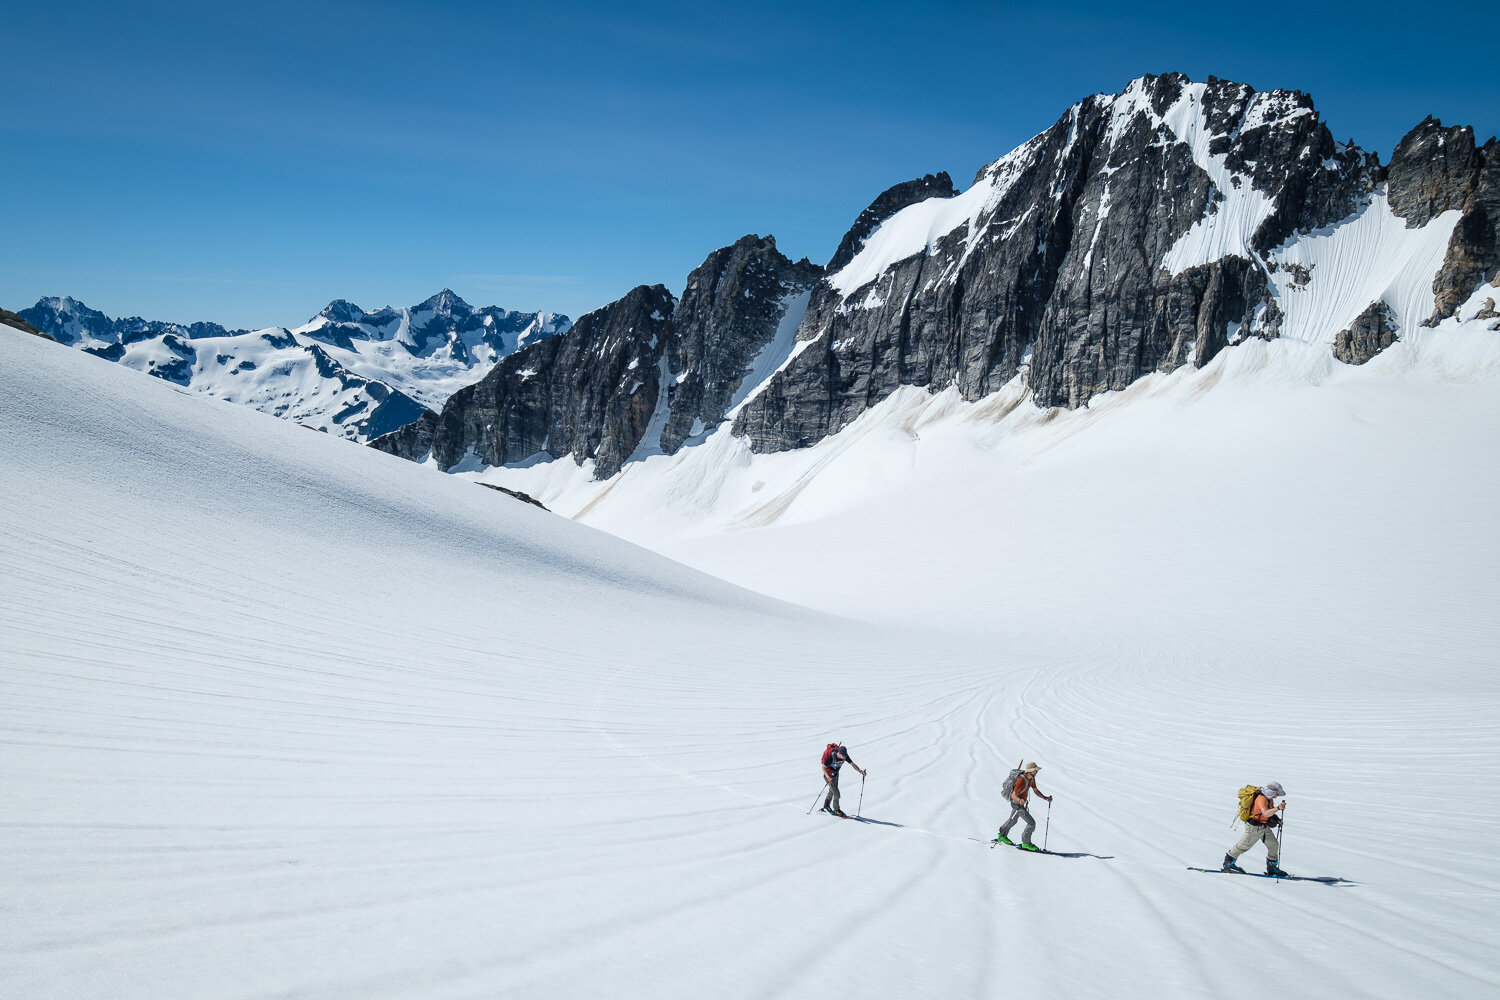
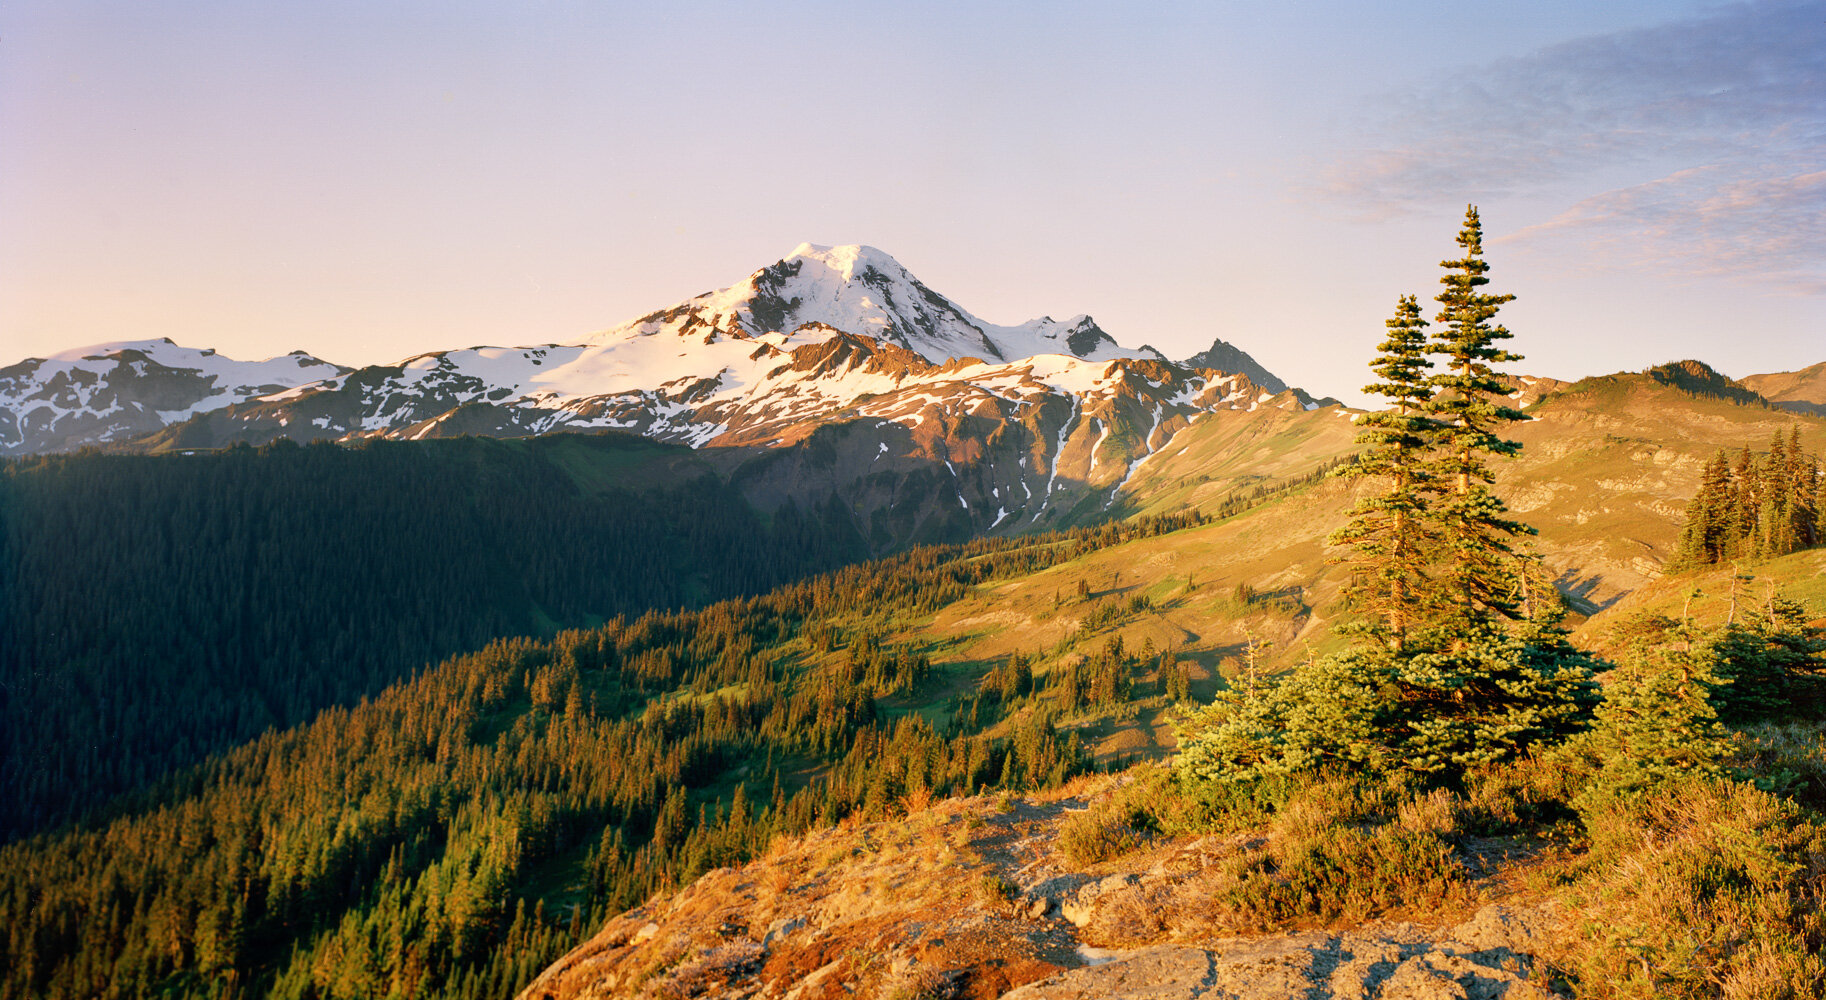
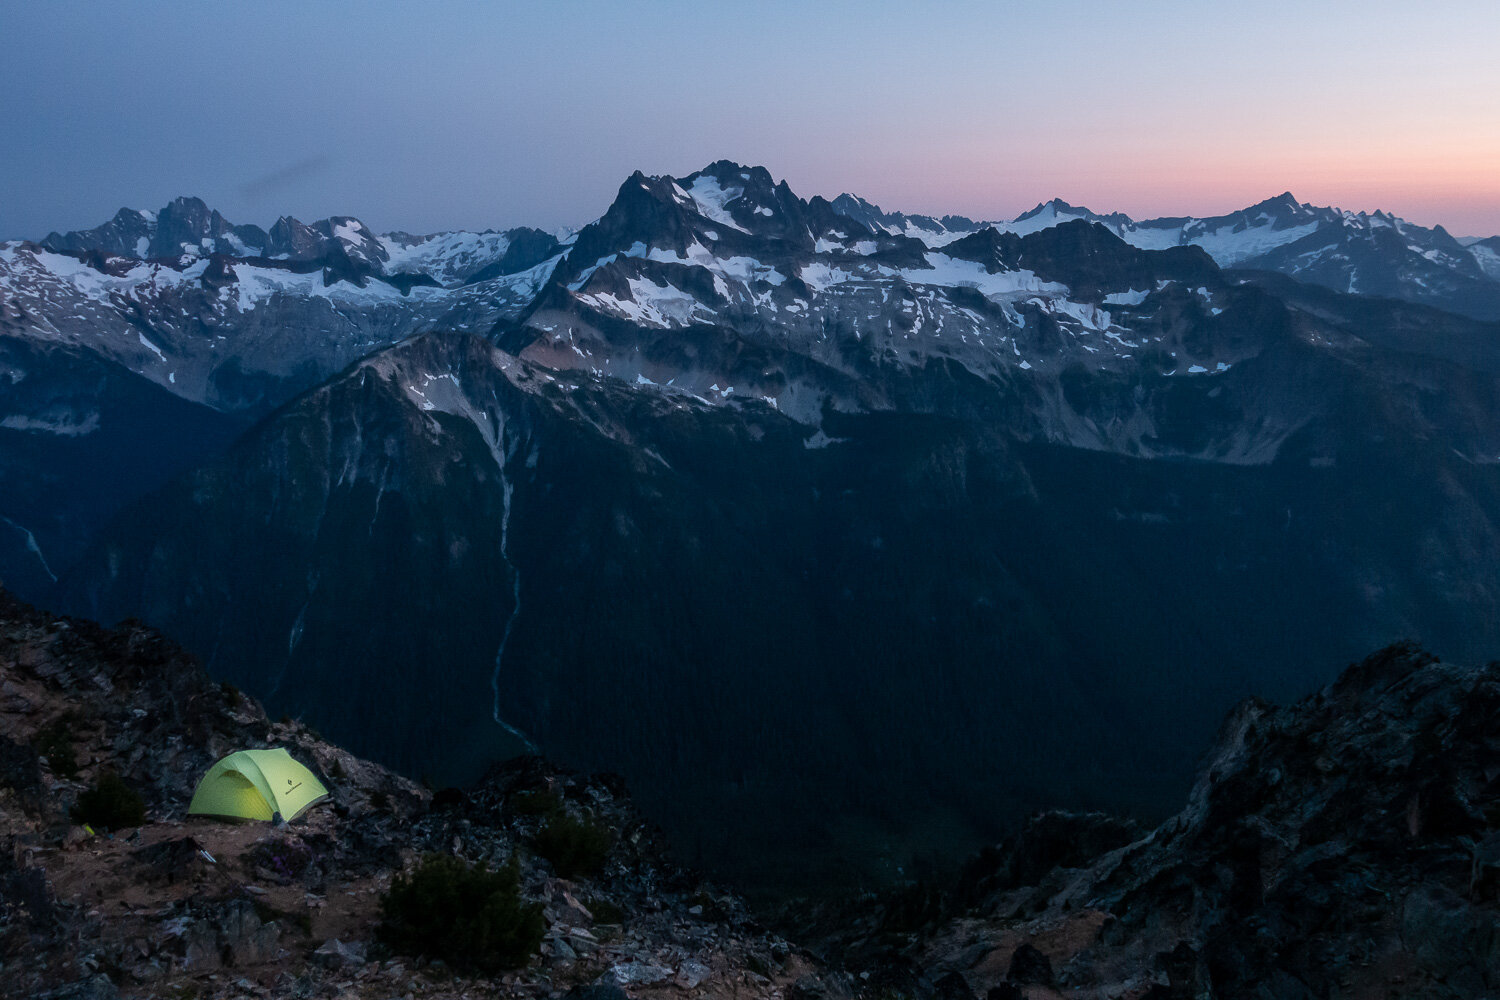
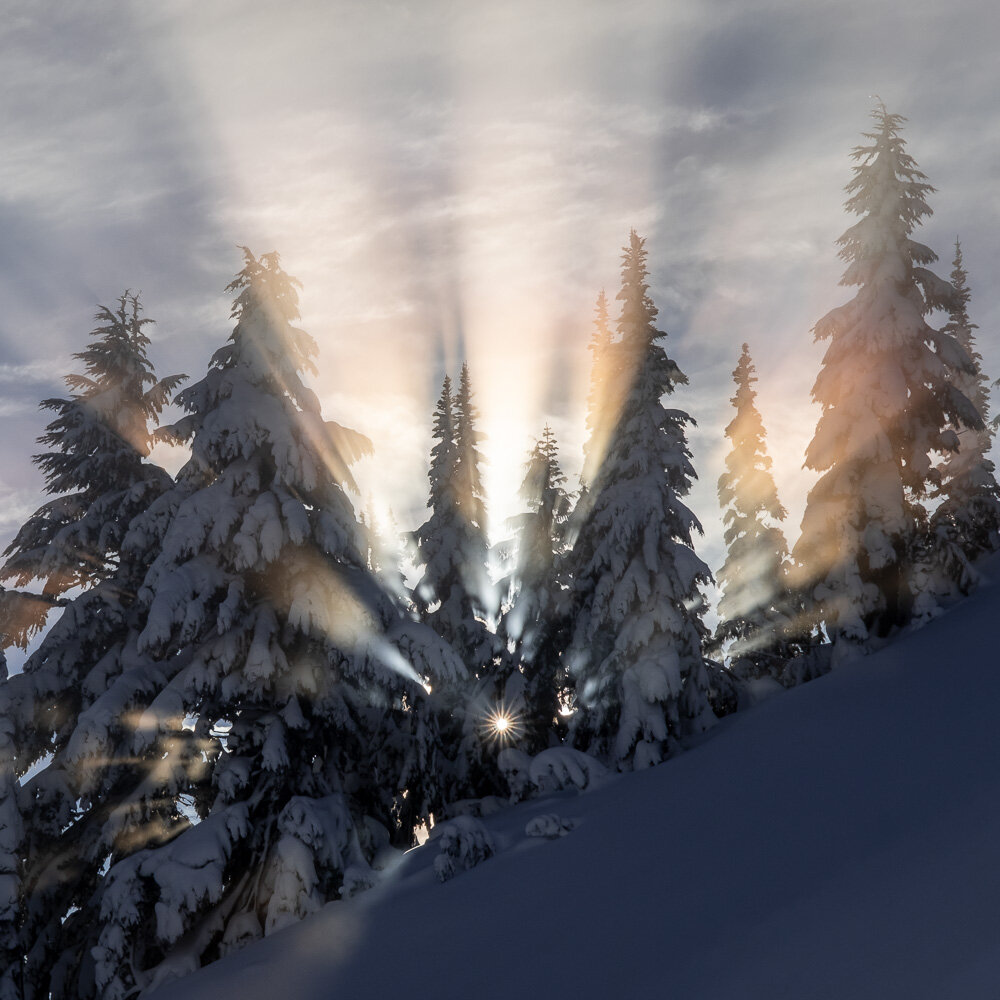
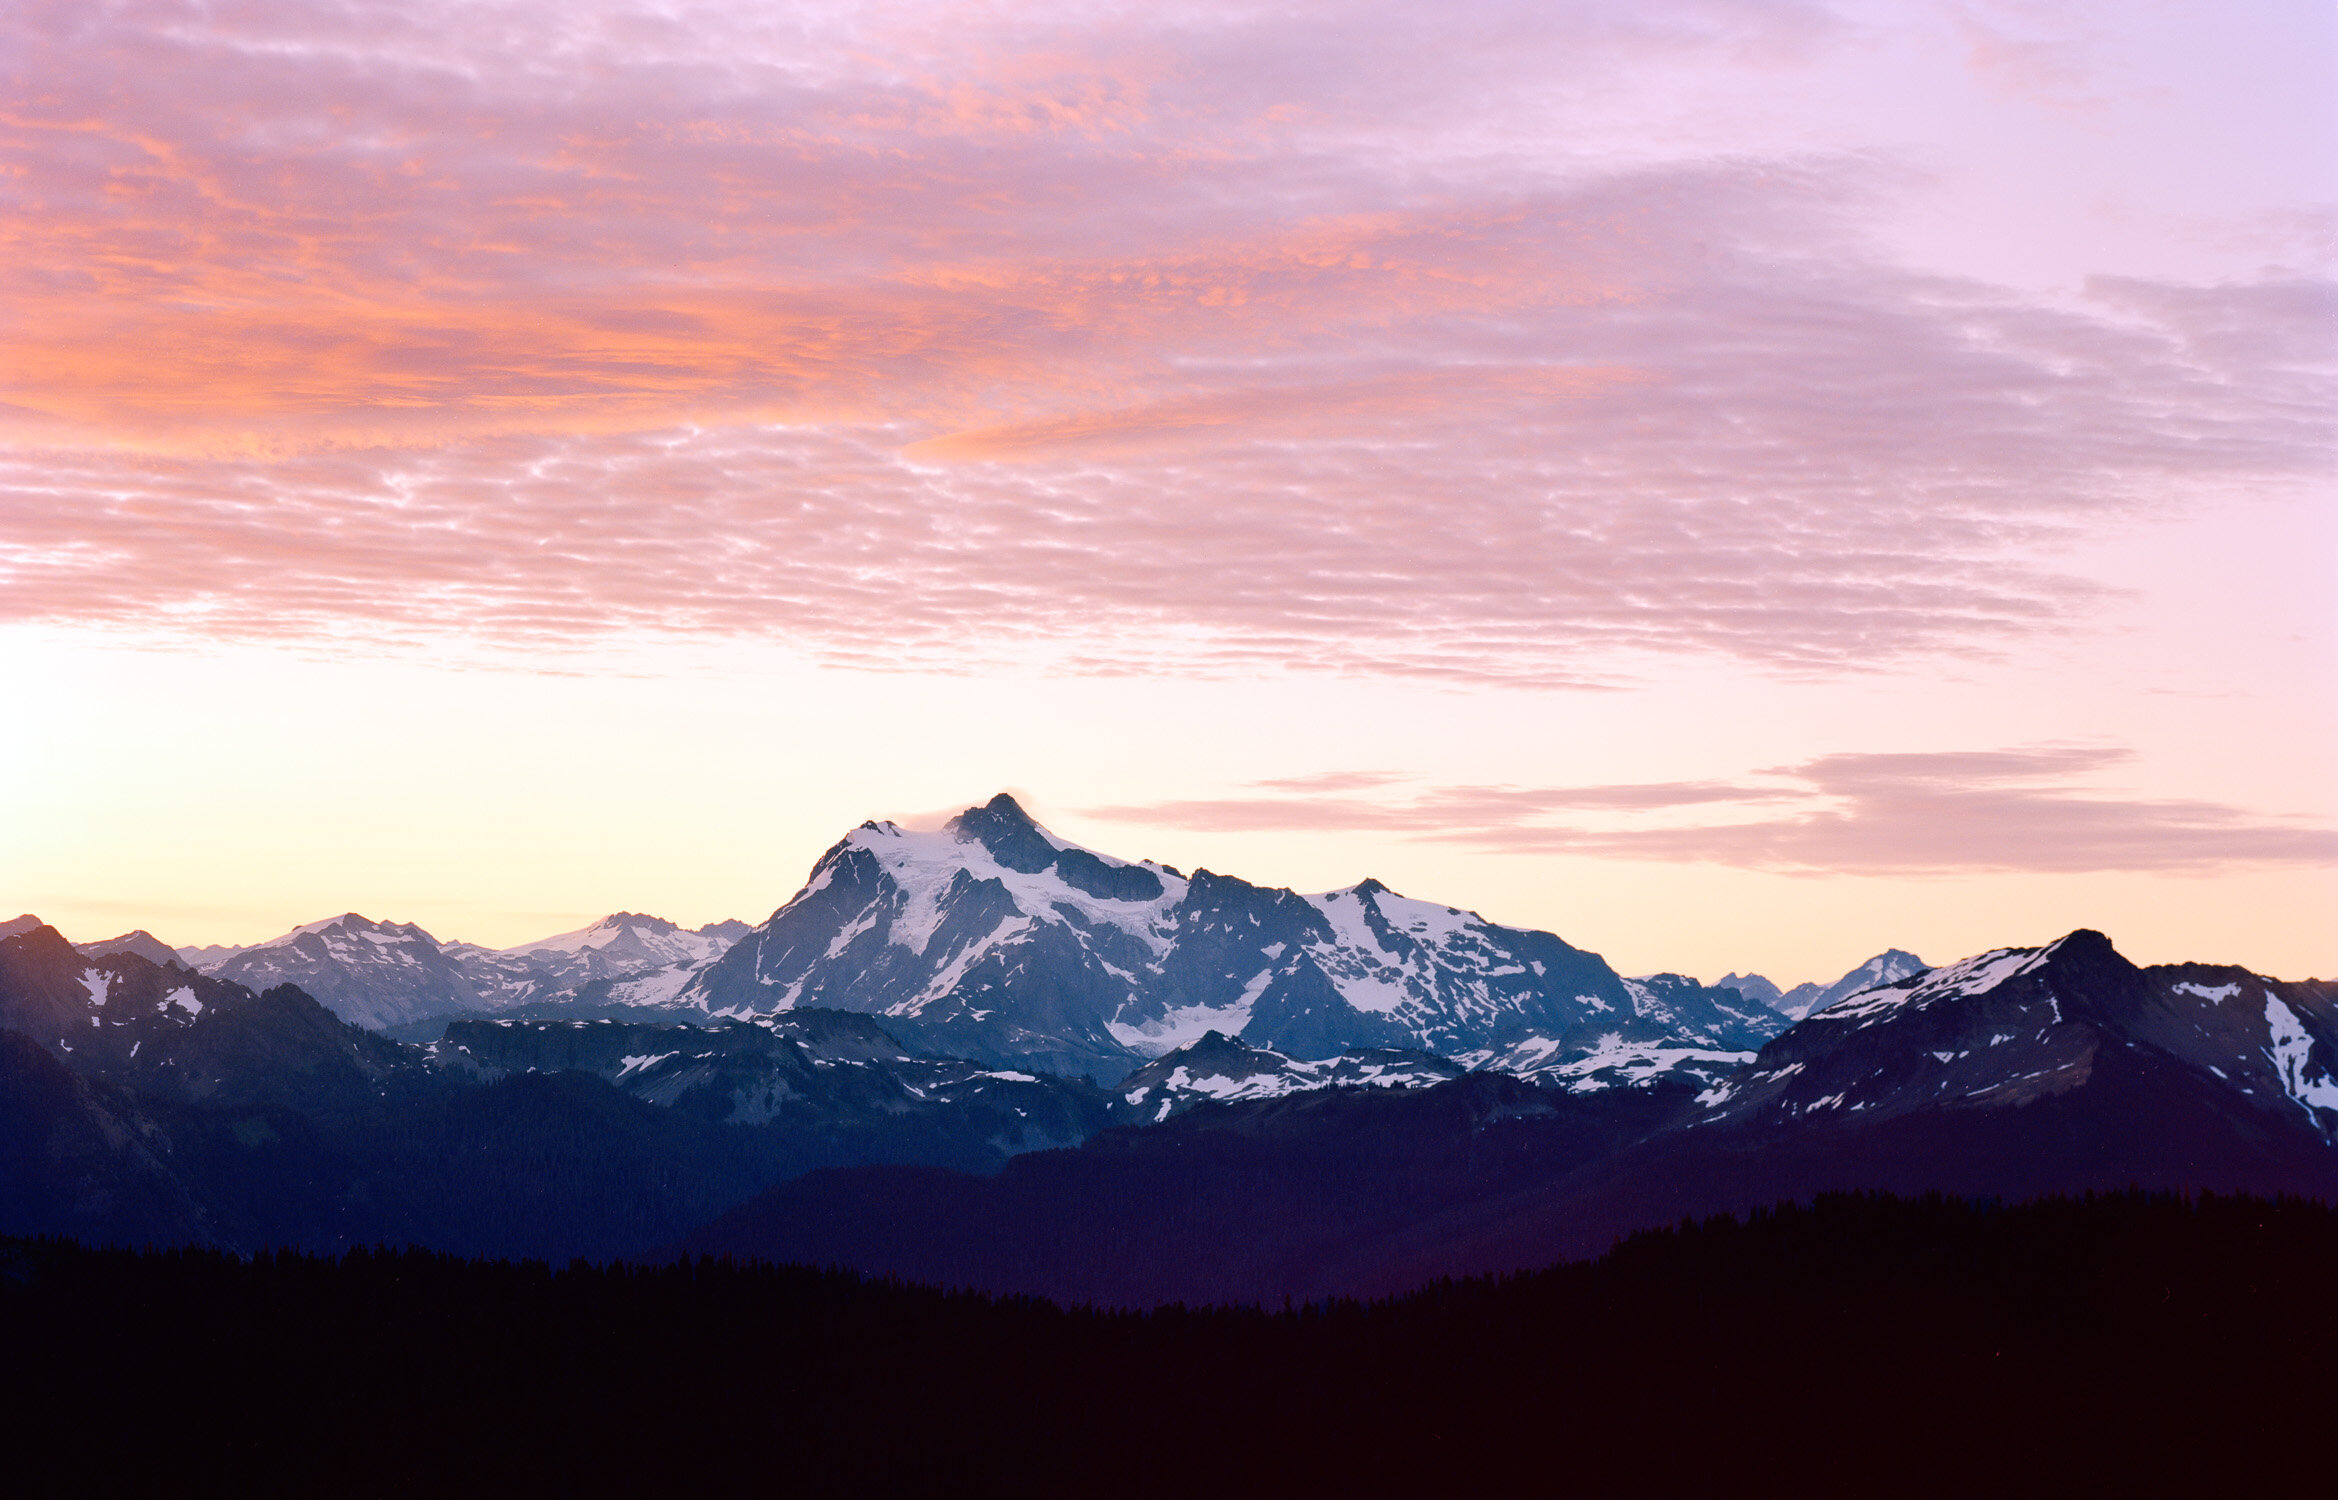
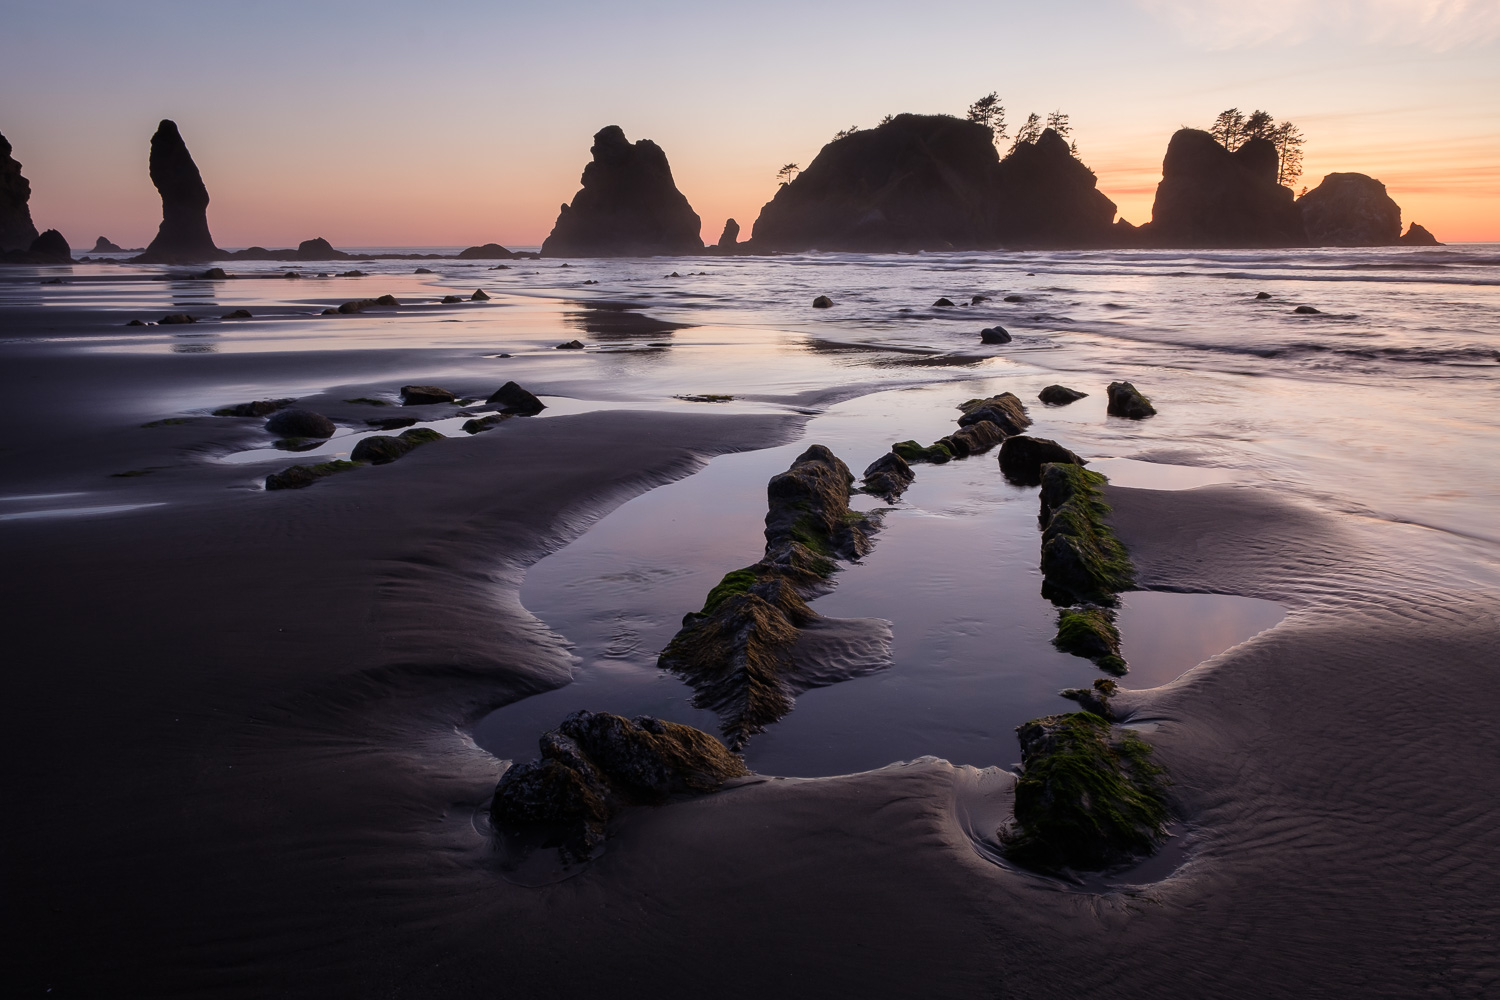
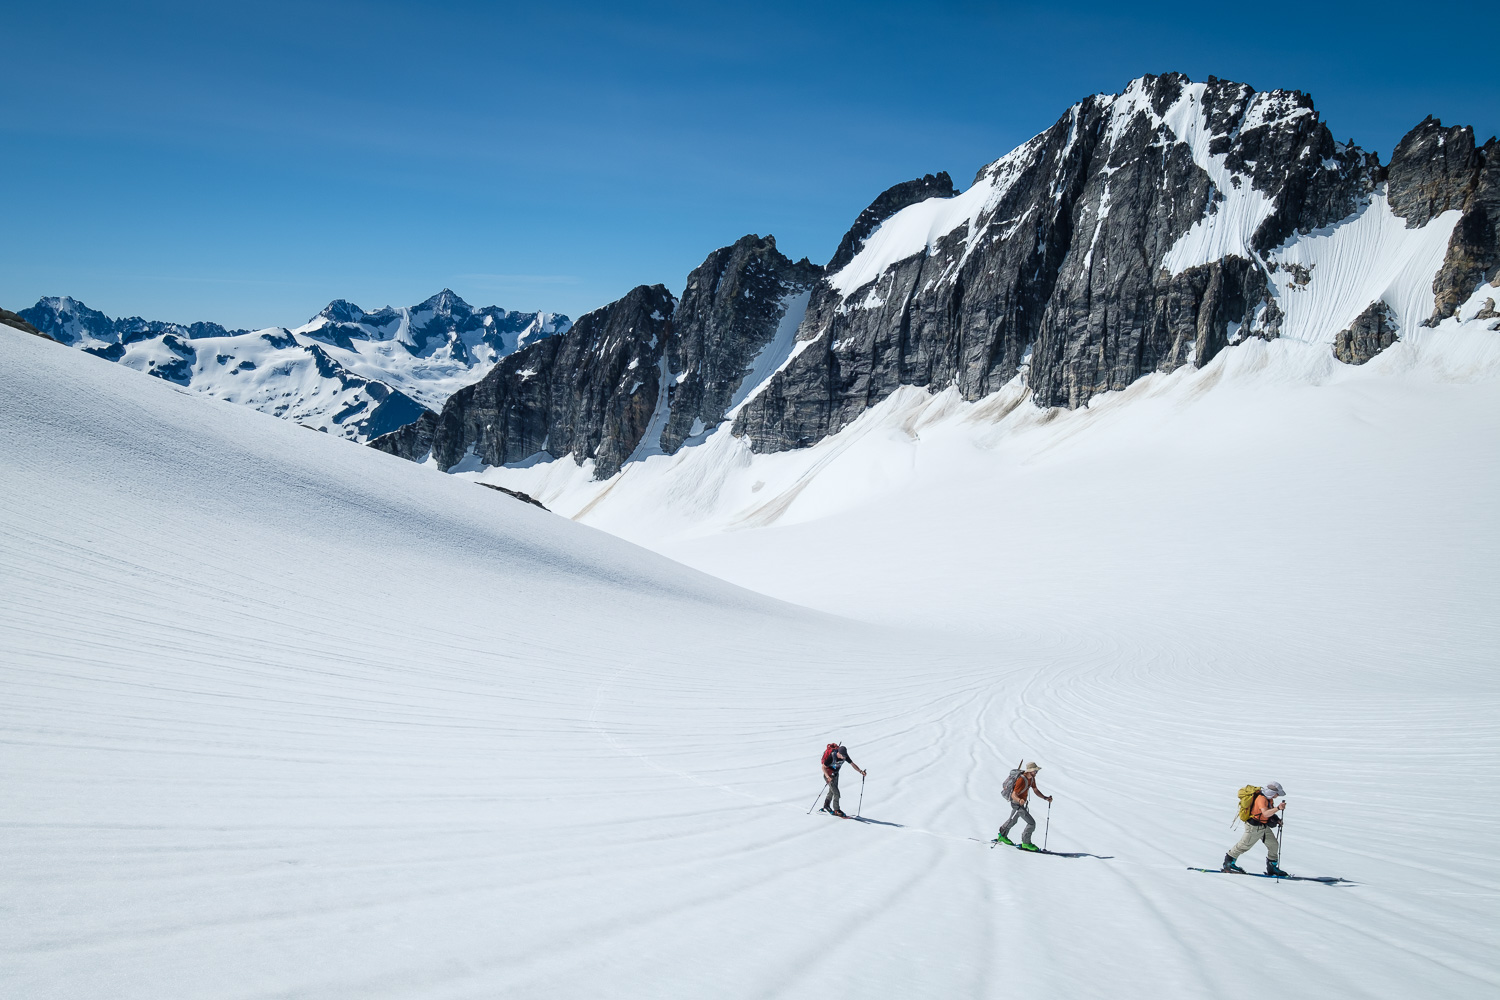
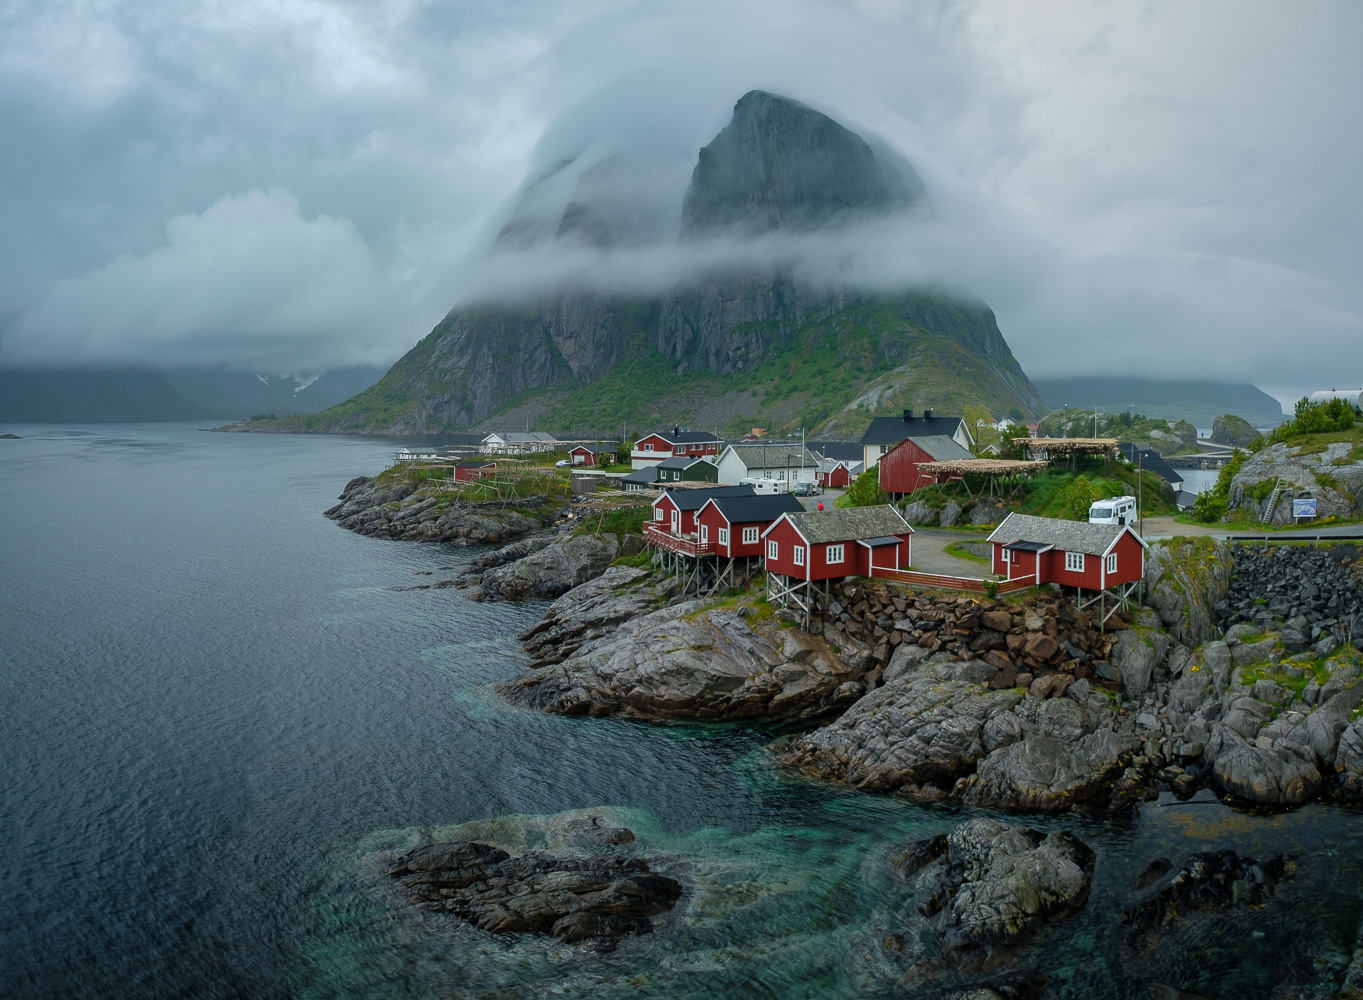
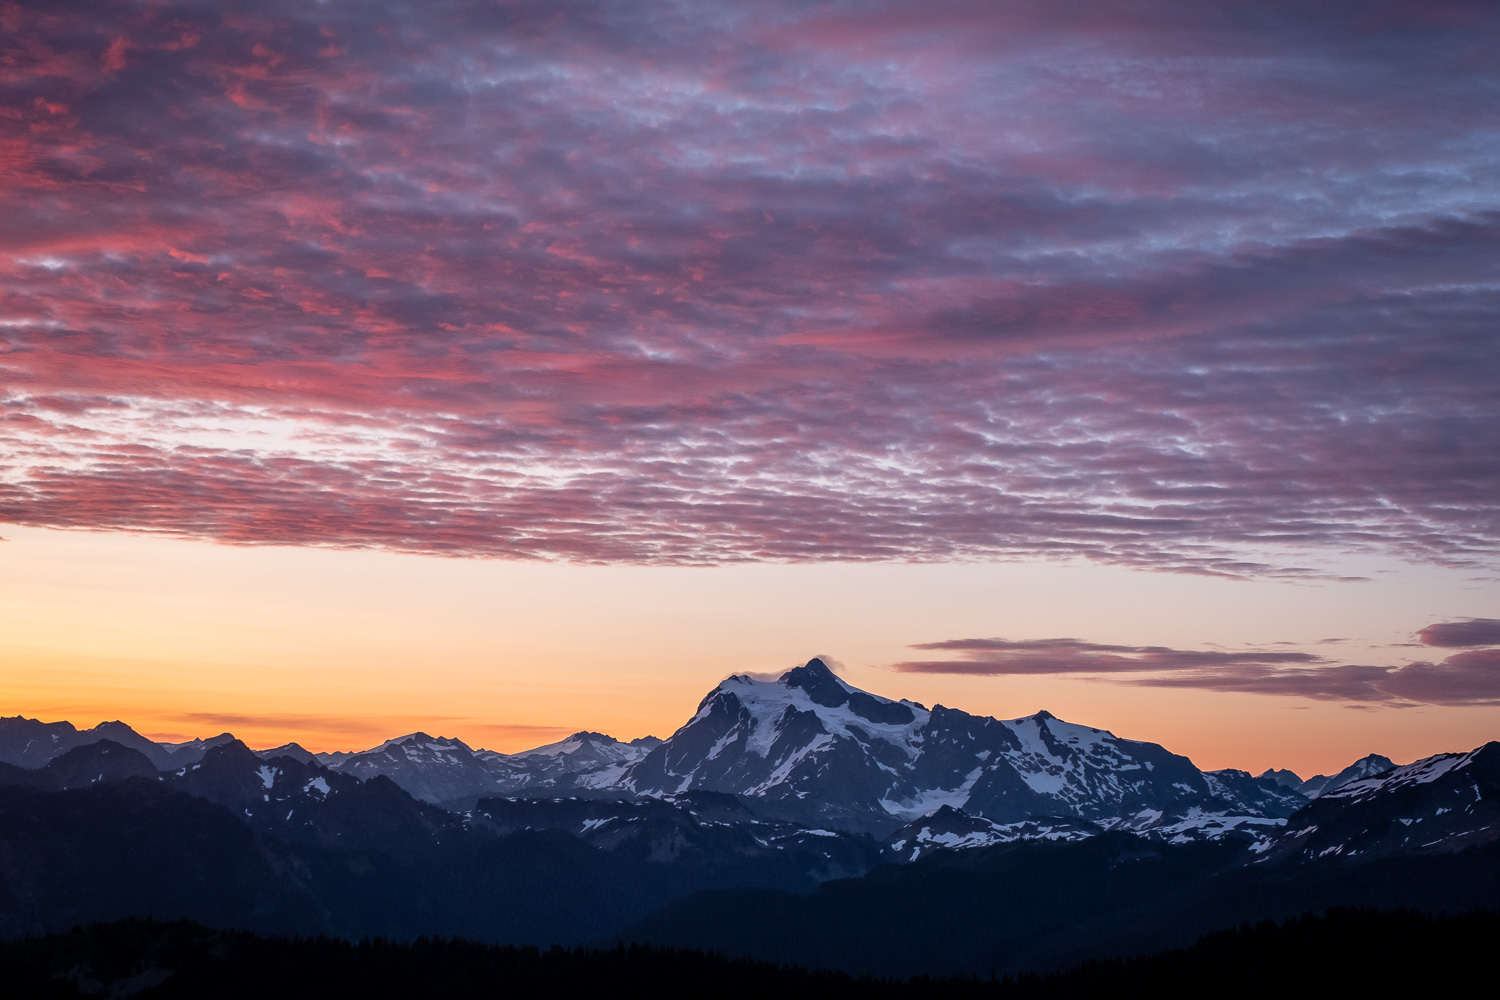
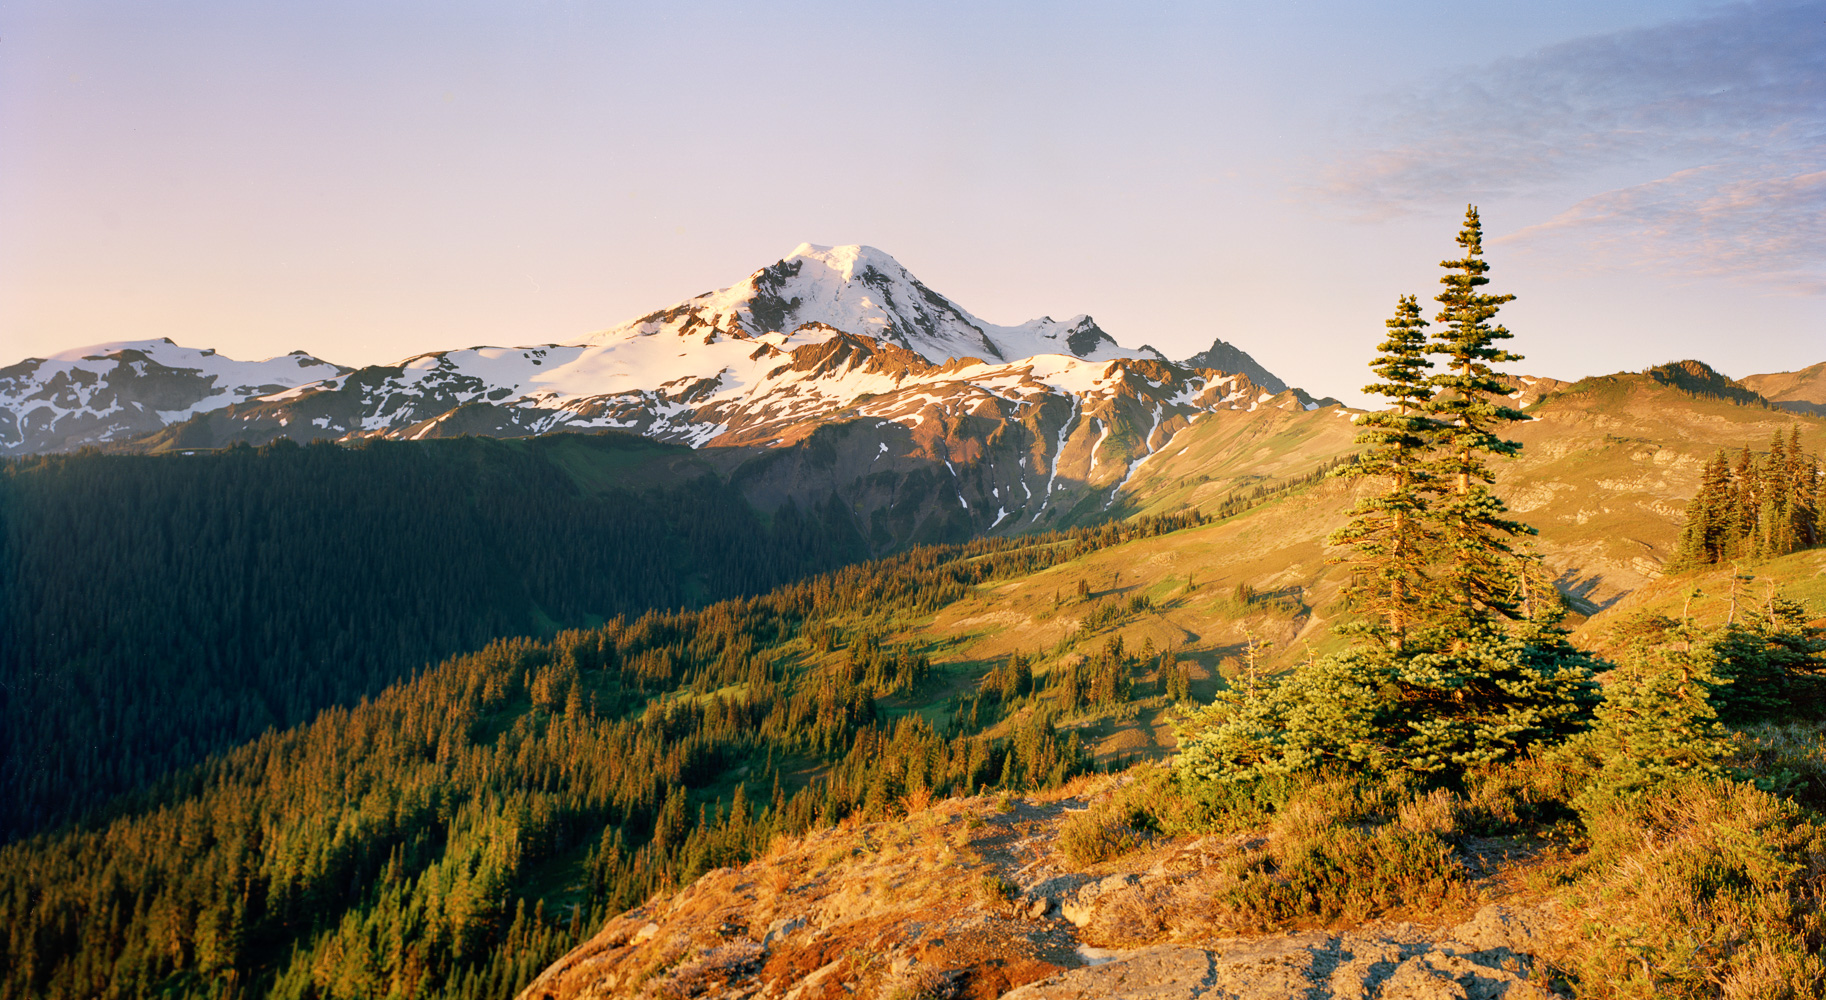
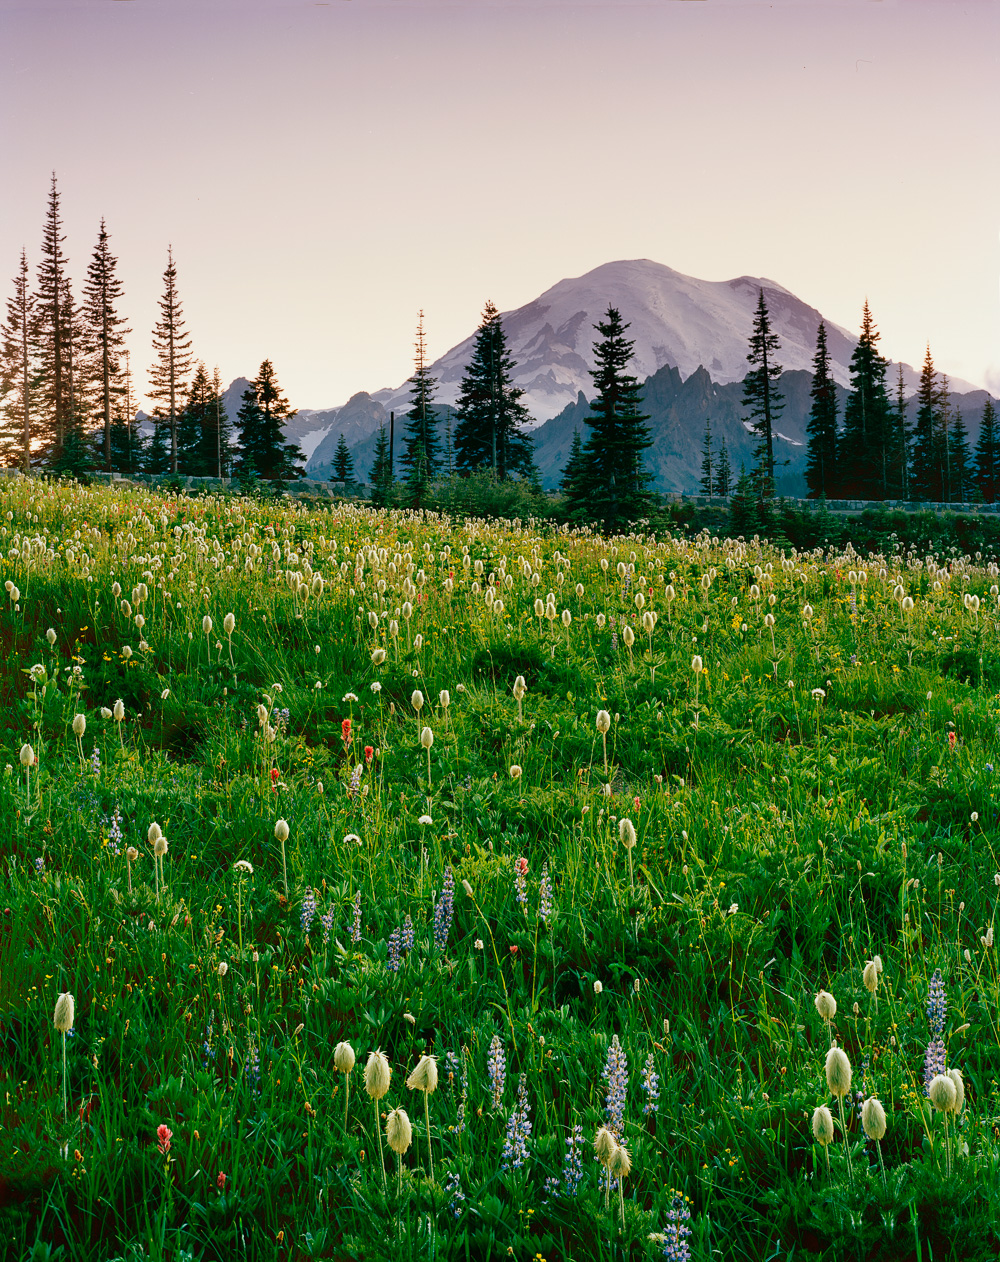
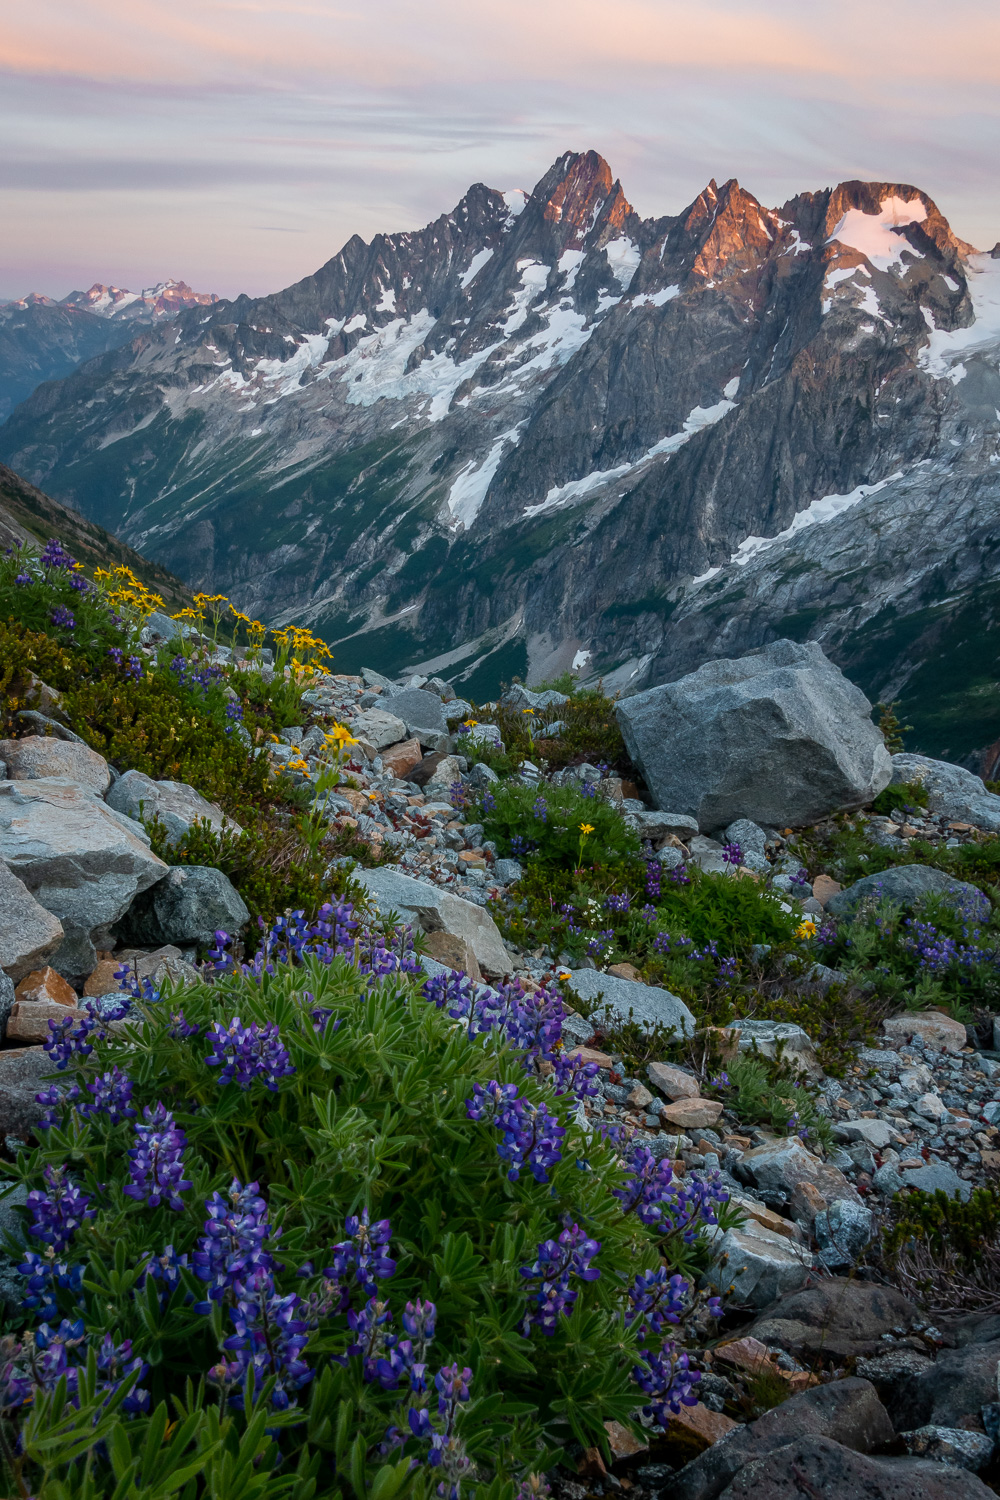
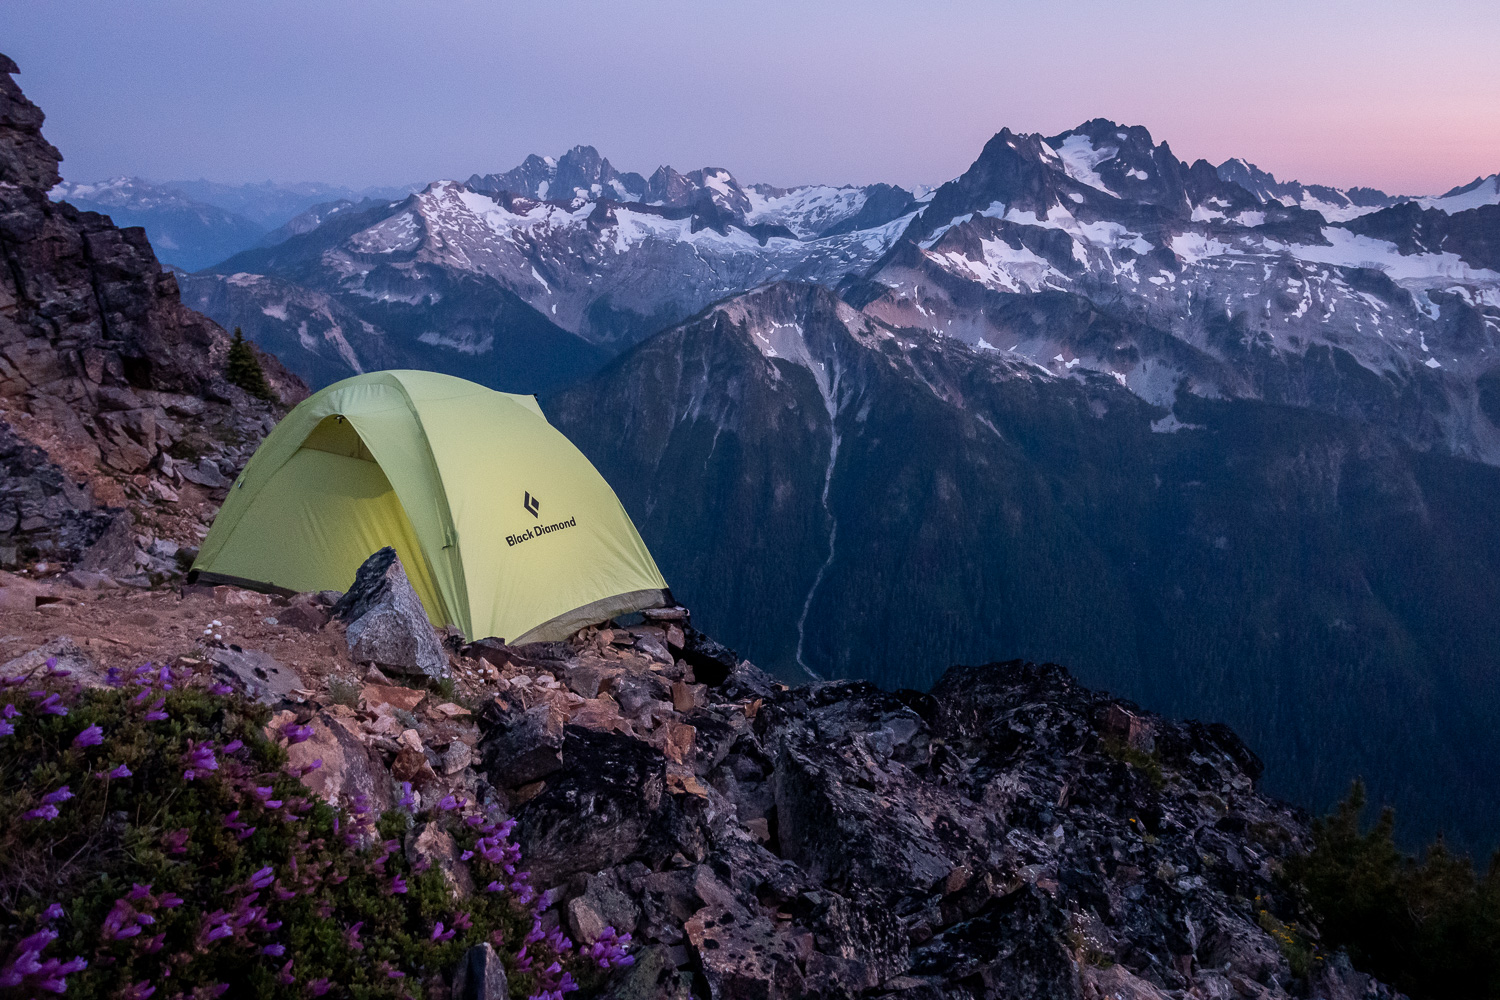
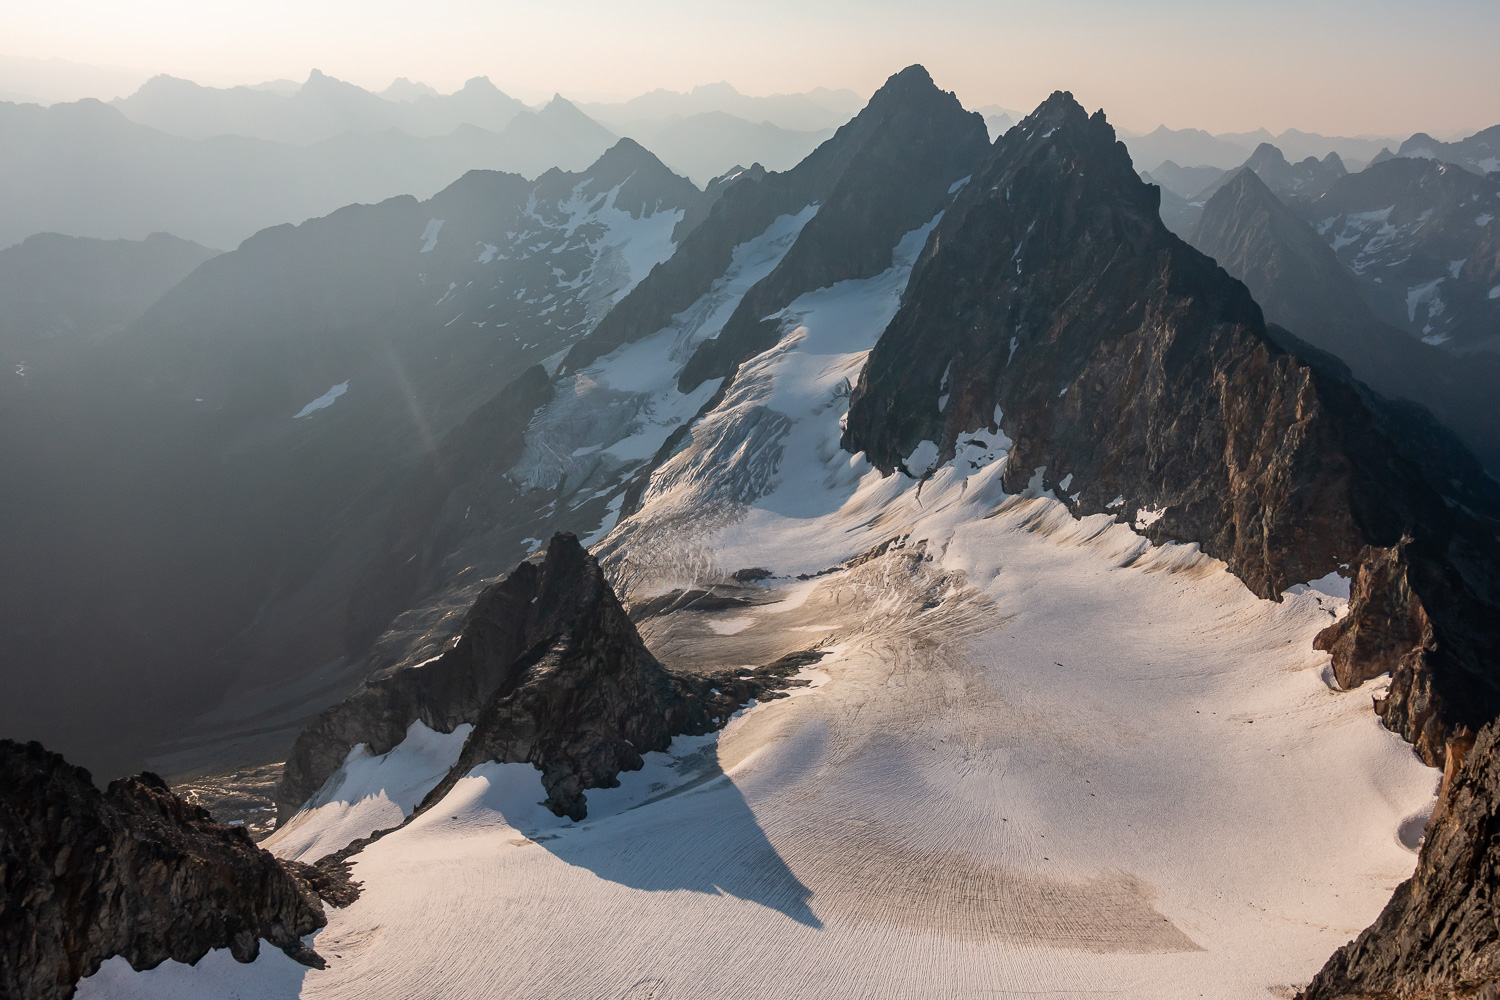
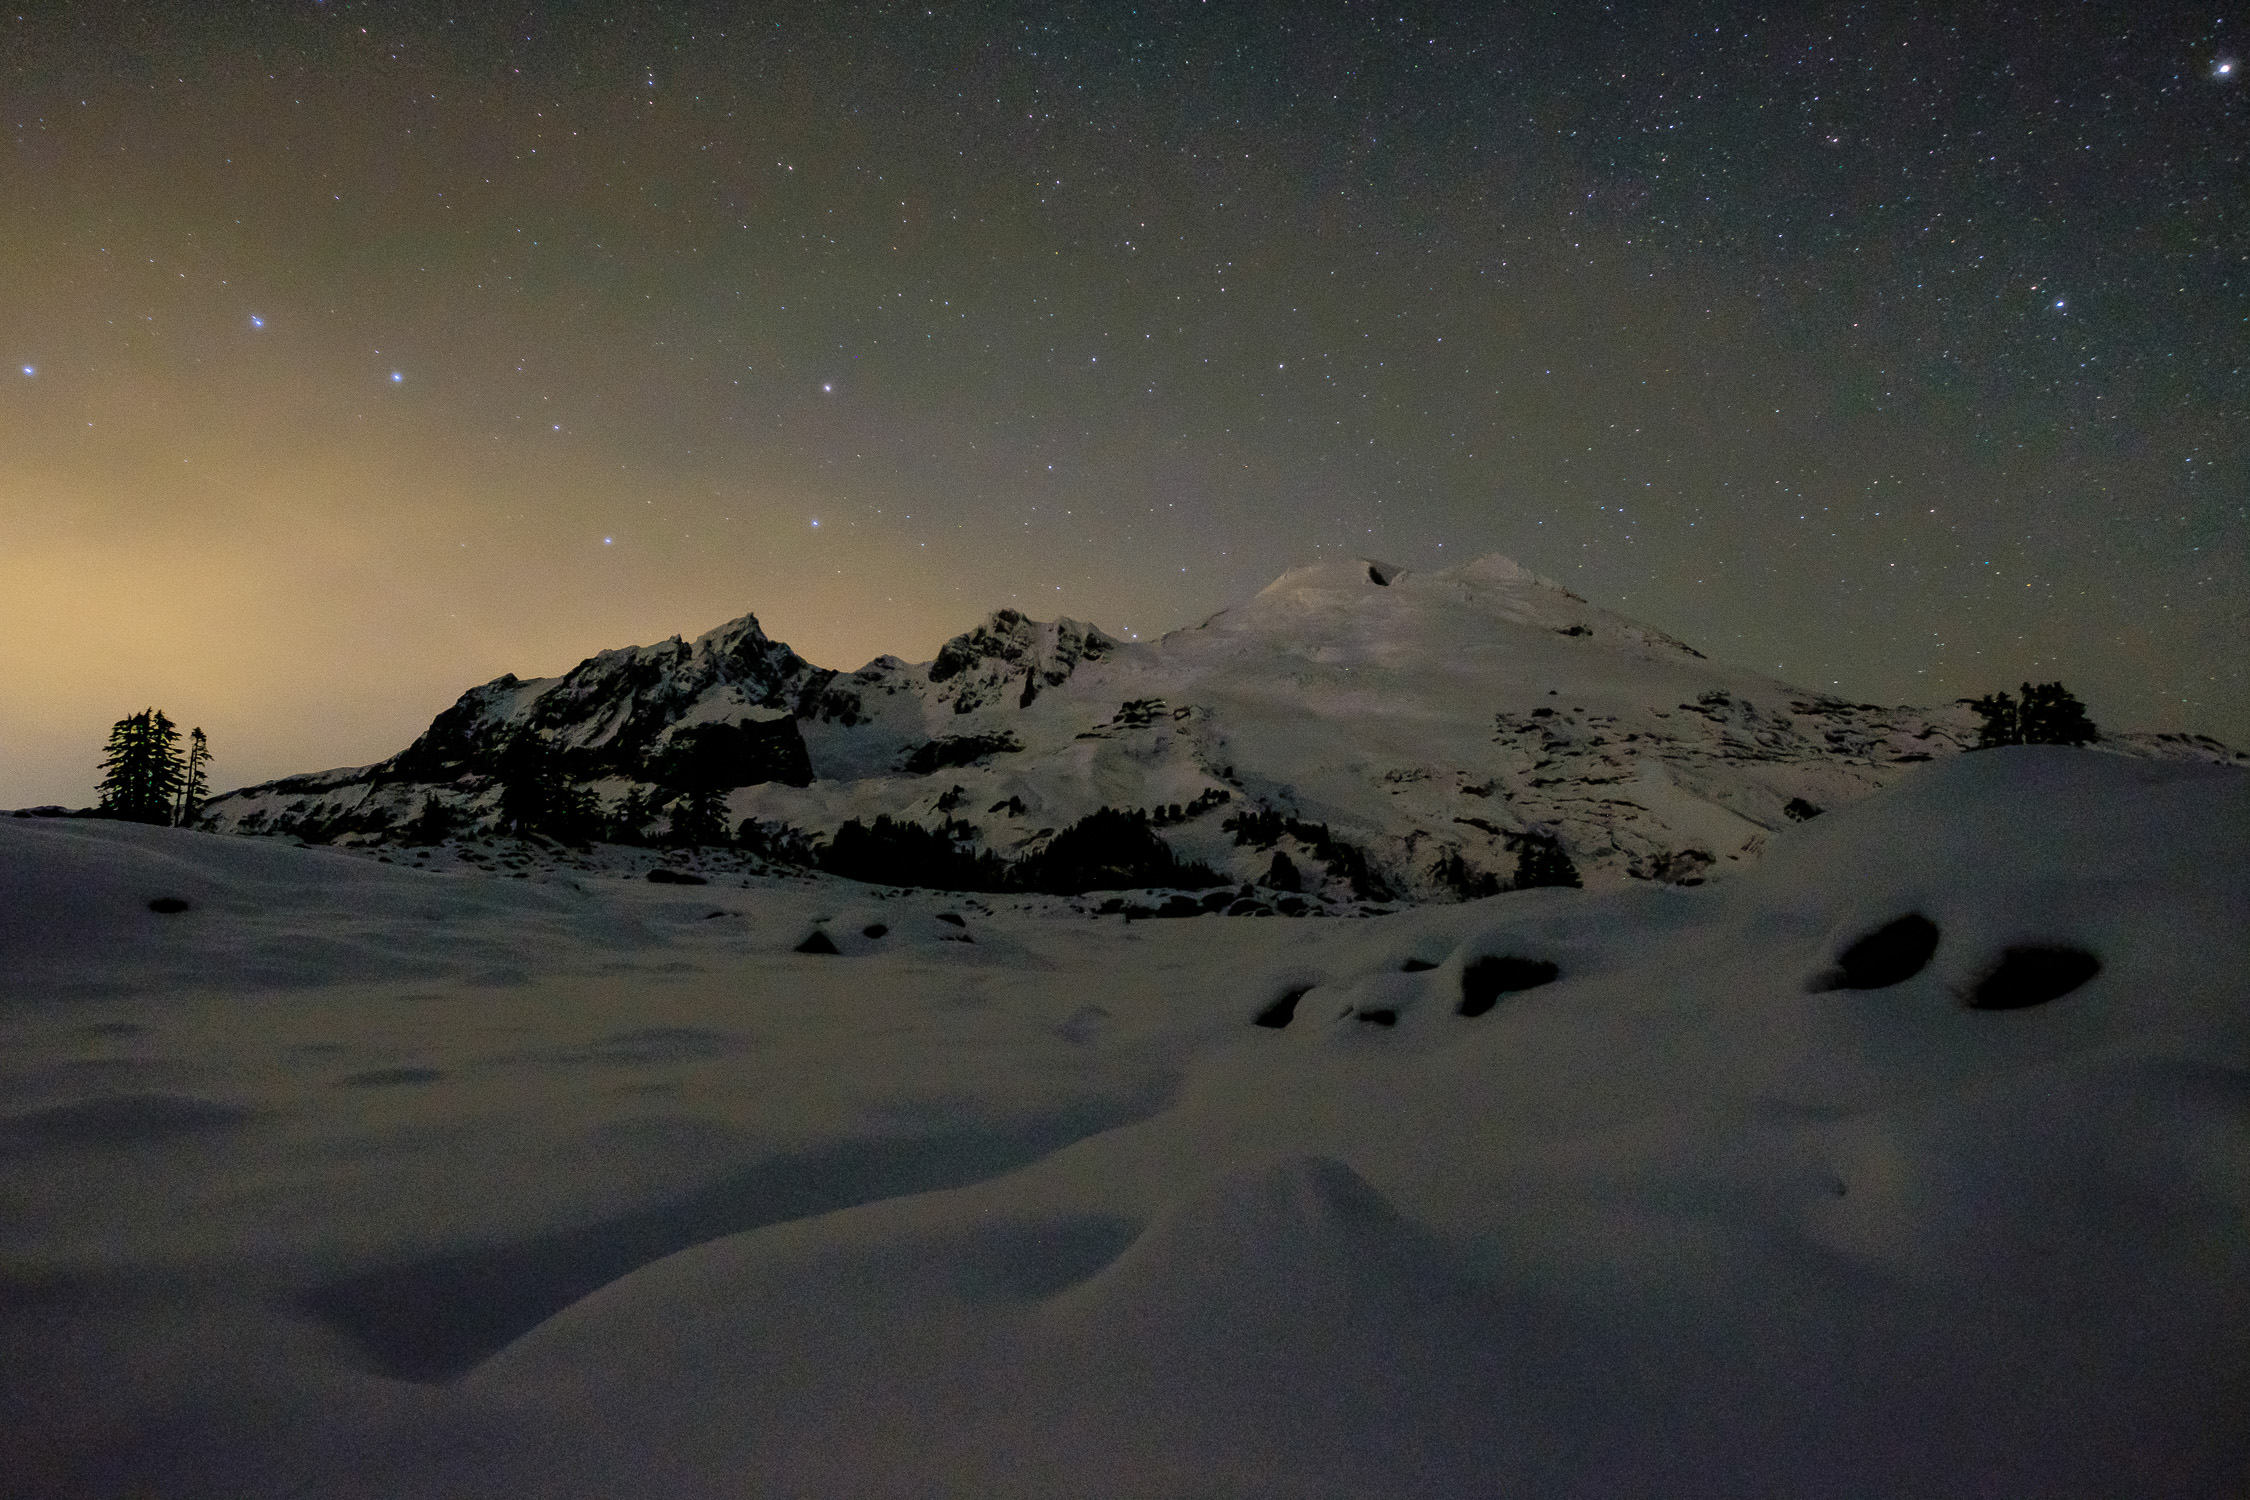
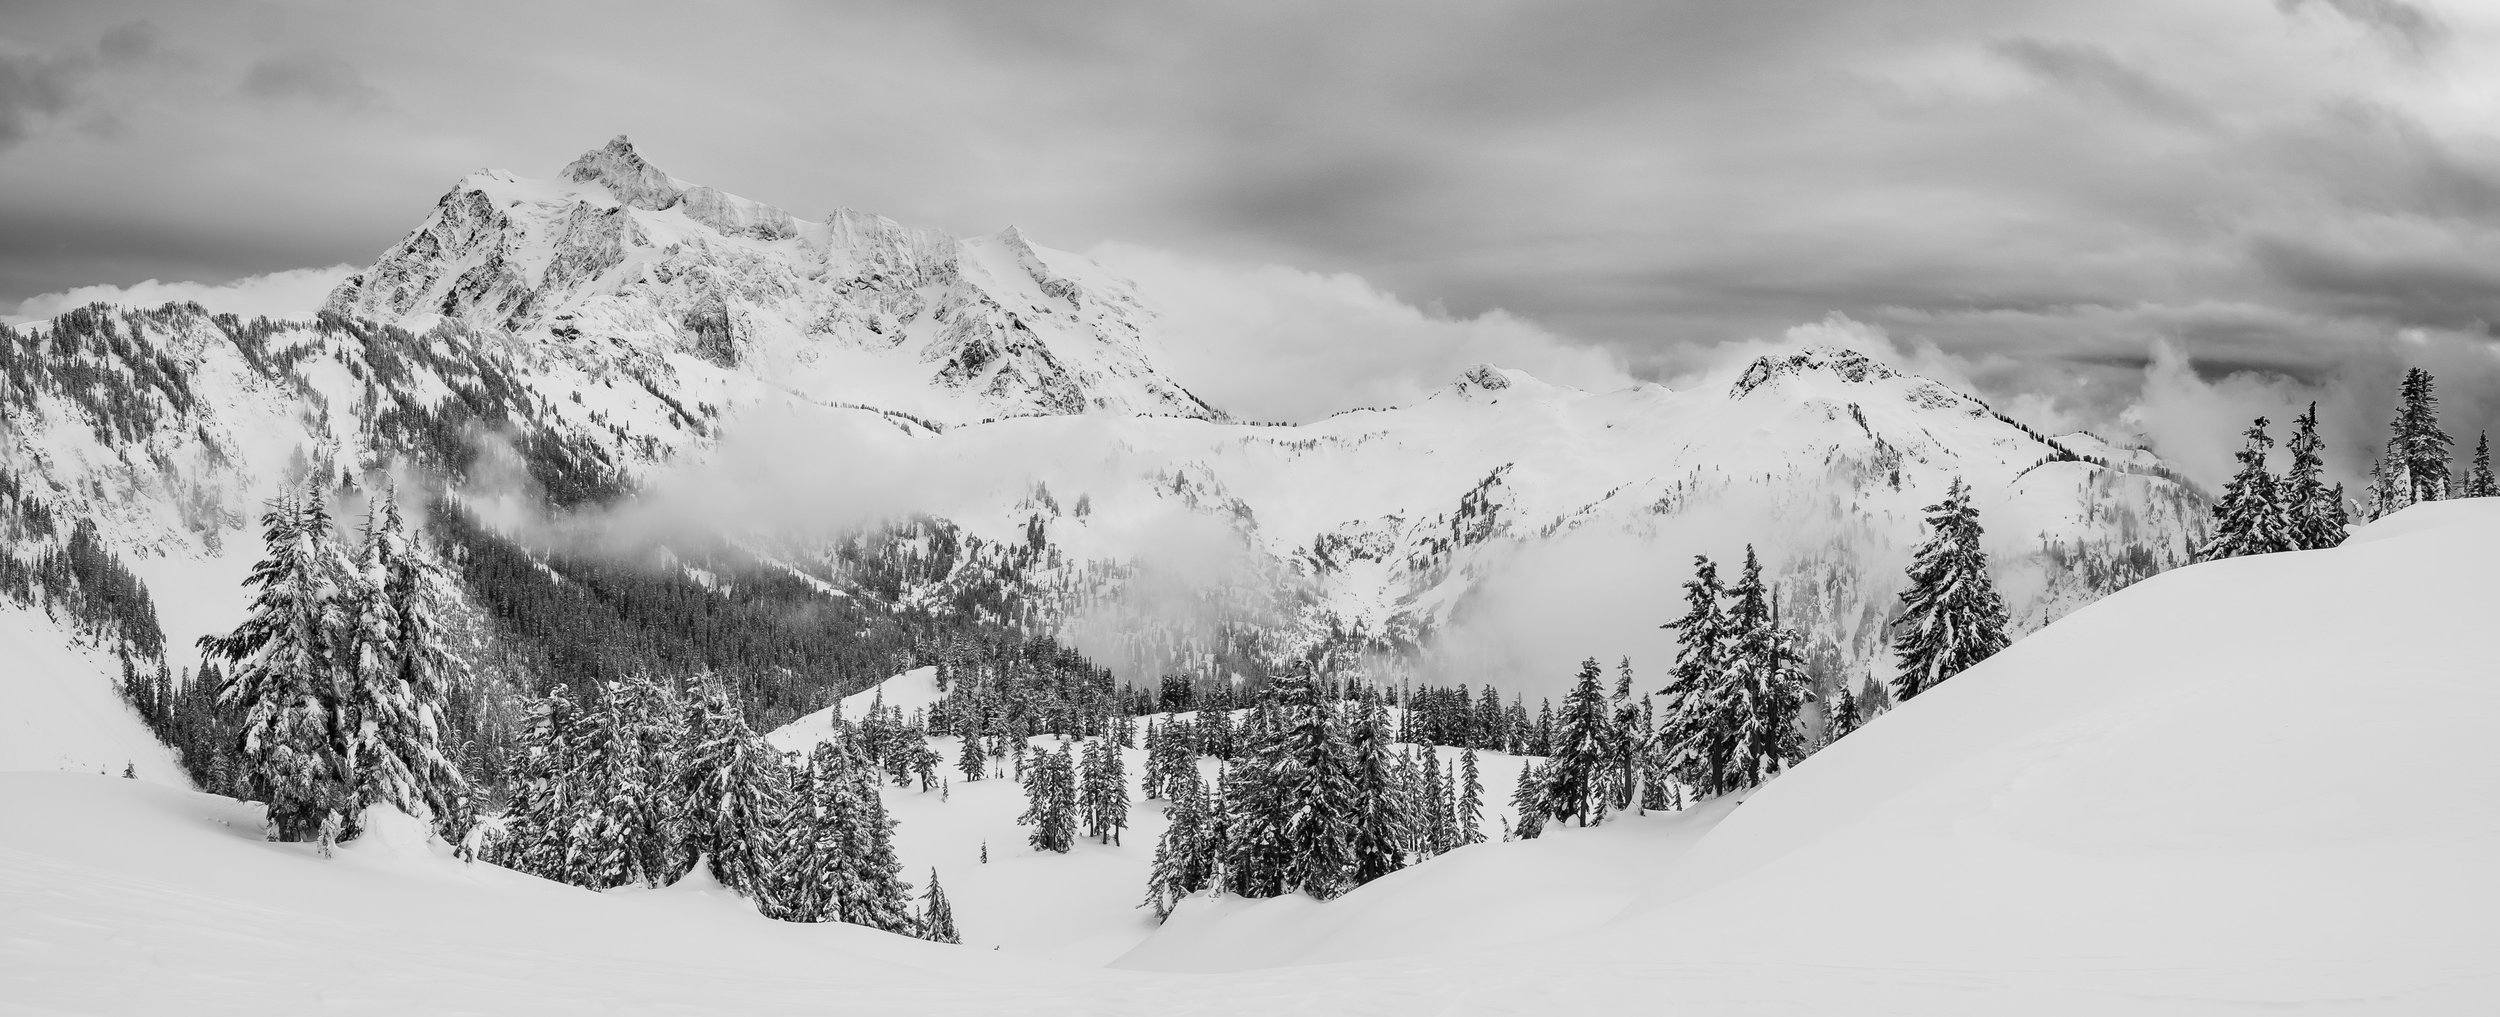
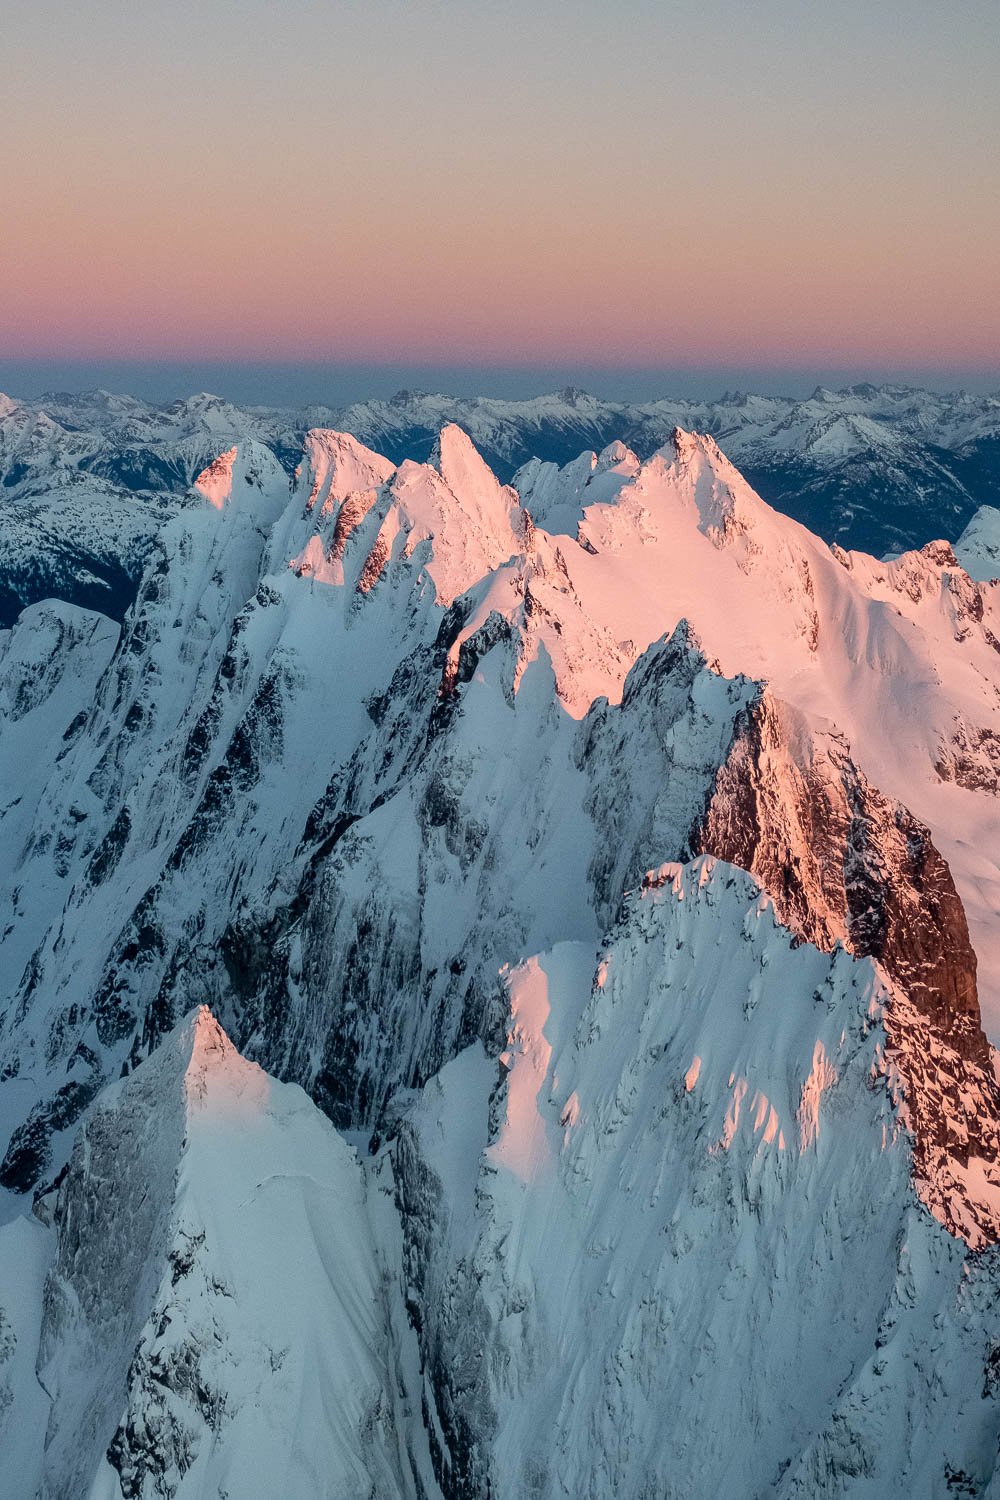
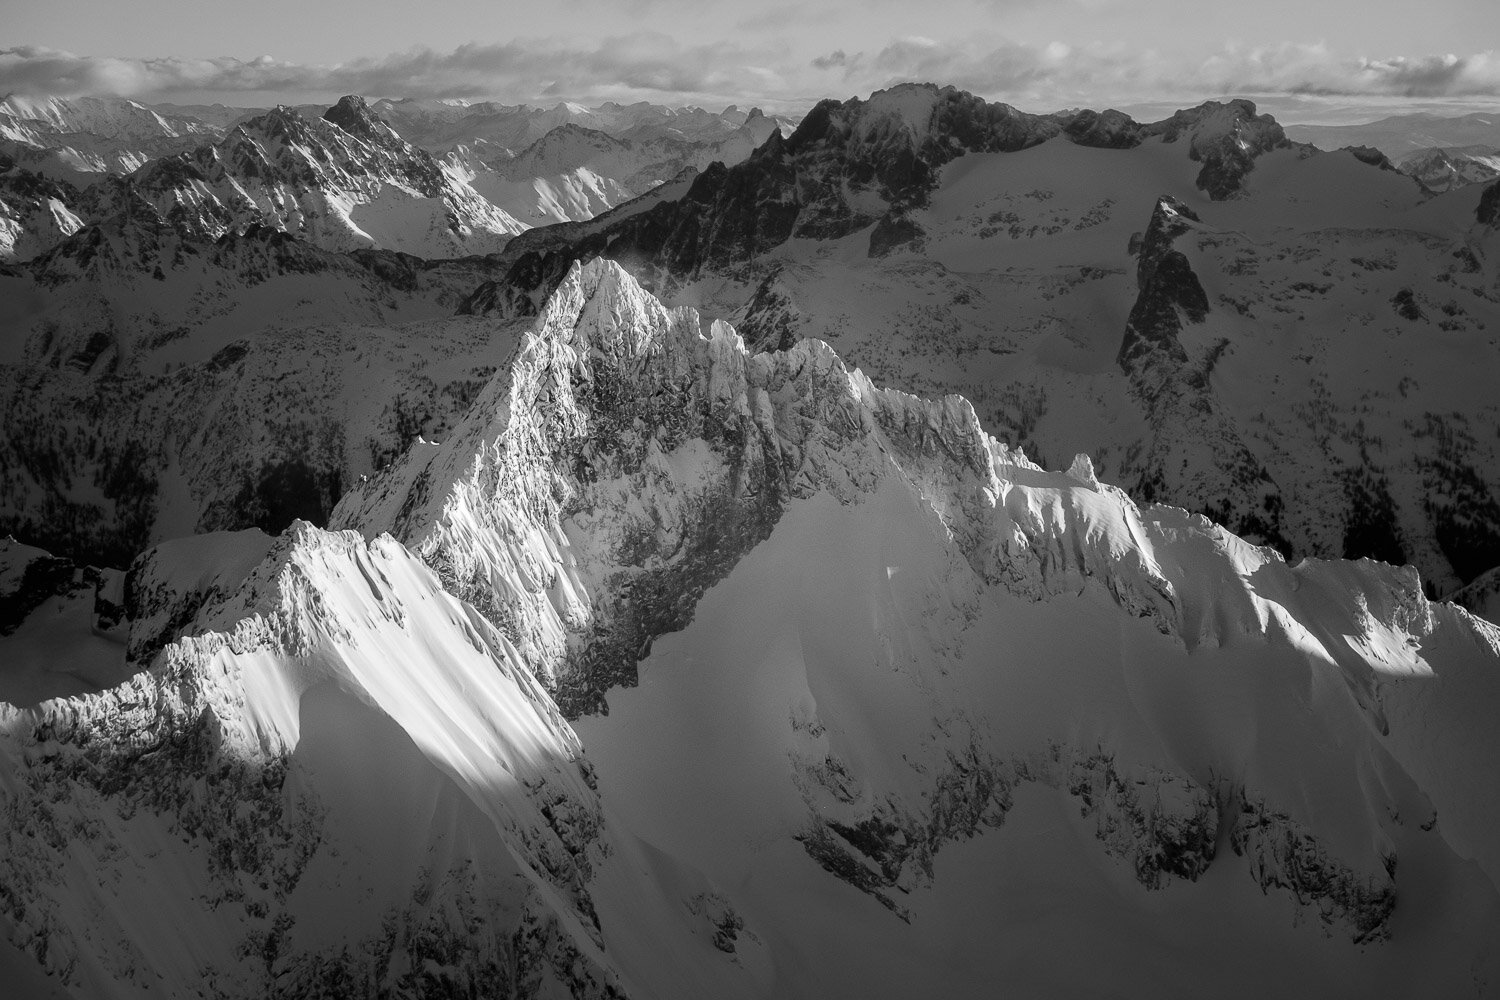
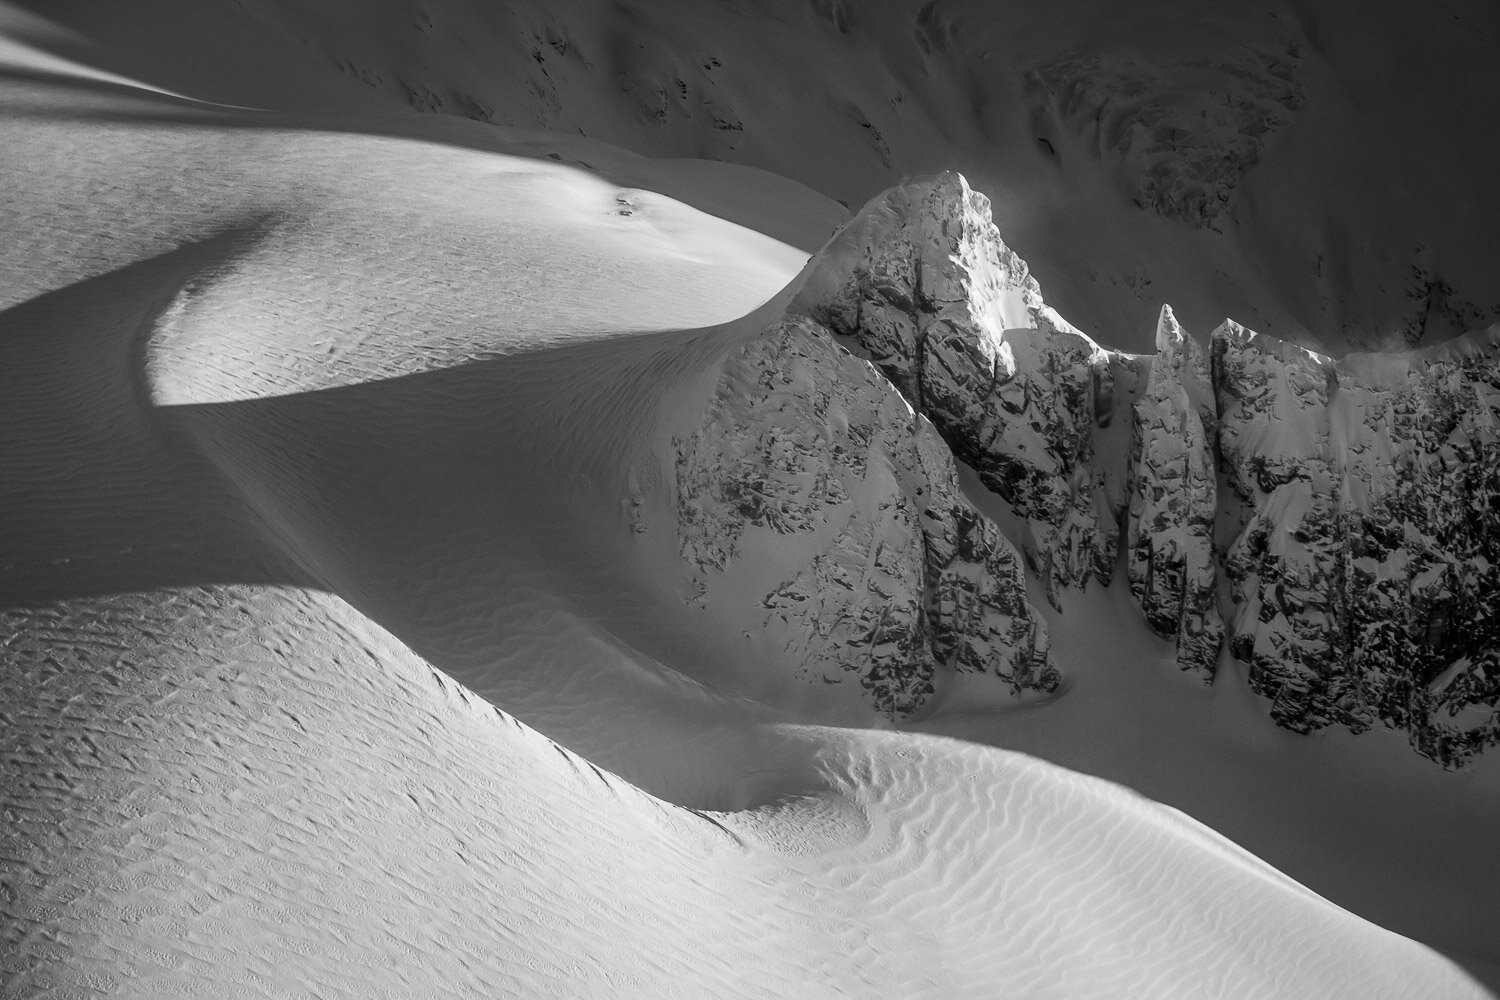
Last January, I had another incredible opportunity to take a scenic flight over the North Cascades to watch the sunset. We had a perfectly calm and clear day for it, and the views were unreal, climaxing in two incredibly close passes past the Southern Pickets just as the light was peaking. We then continued past Shuksan and around the north side of Baker before heading out over the San Juans as the light was fading.

I owe an absolutely huge “Thank You” to Peter Gaylord for piloting such an awesome flight, and an equally large (if not larger) apology to him for taking so long to get these photos together.

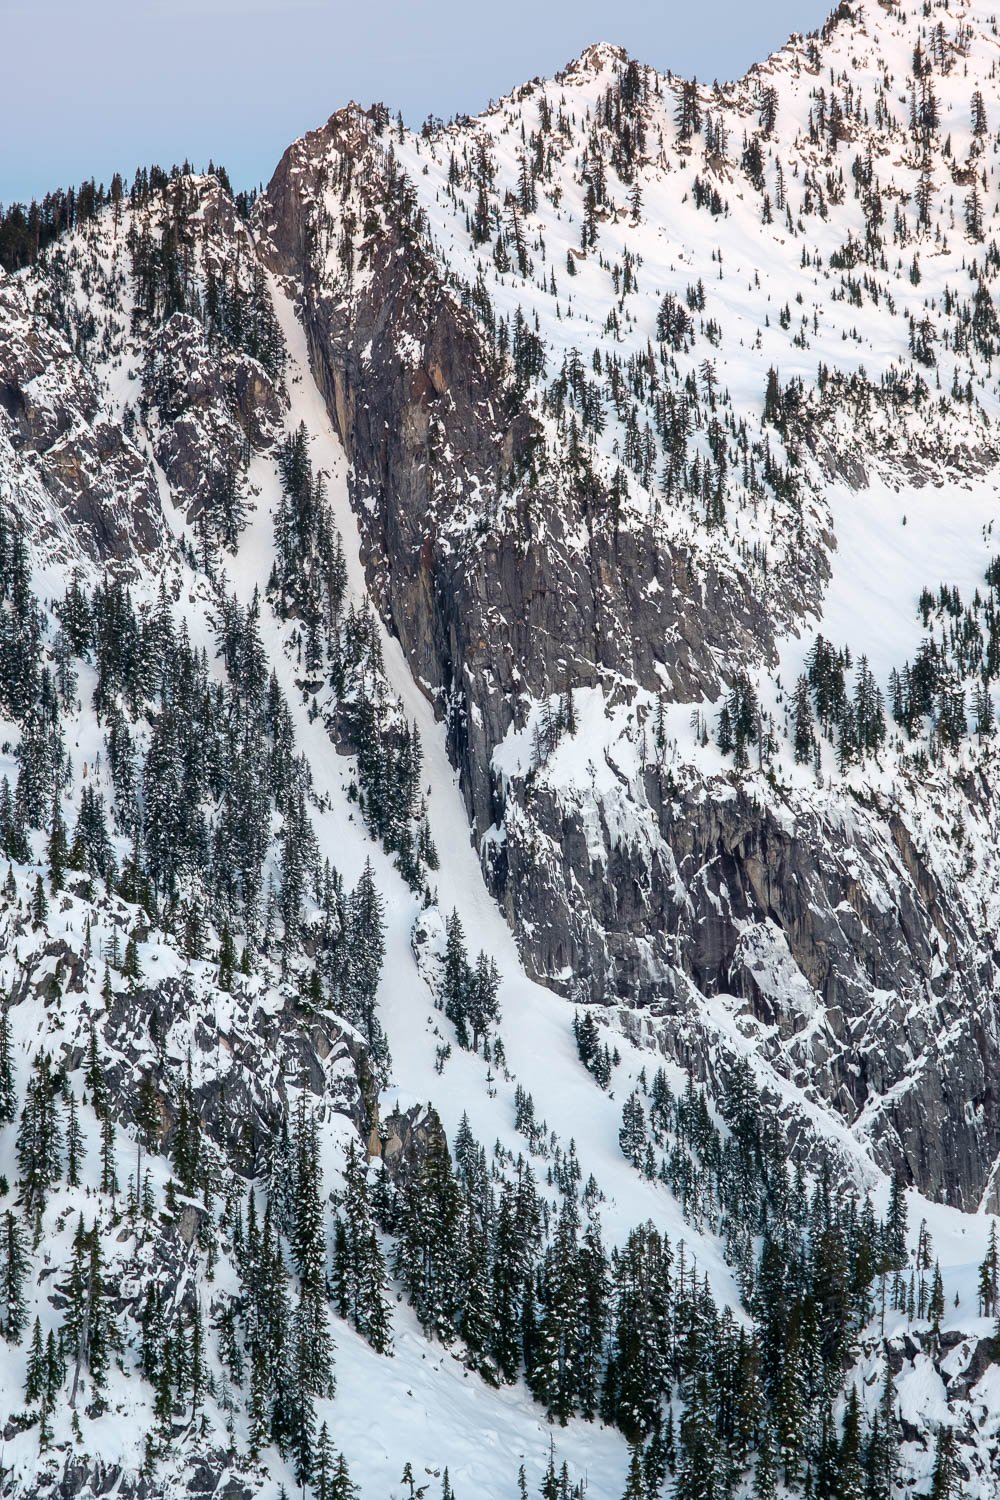
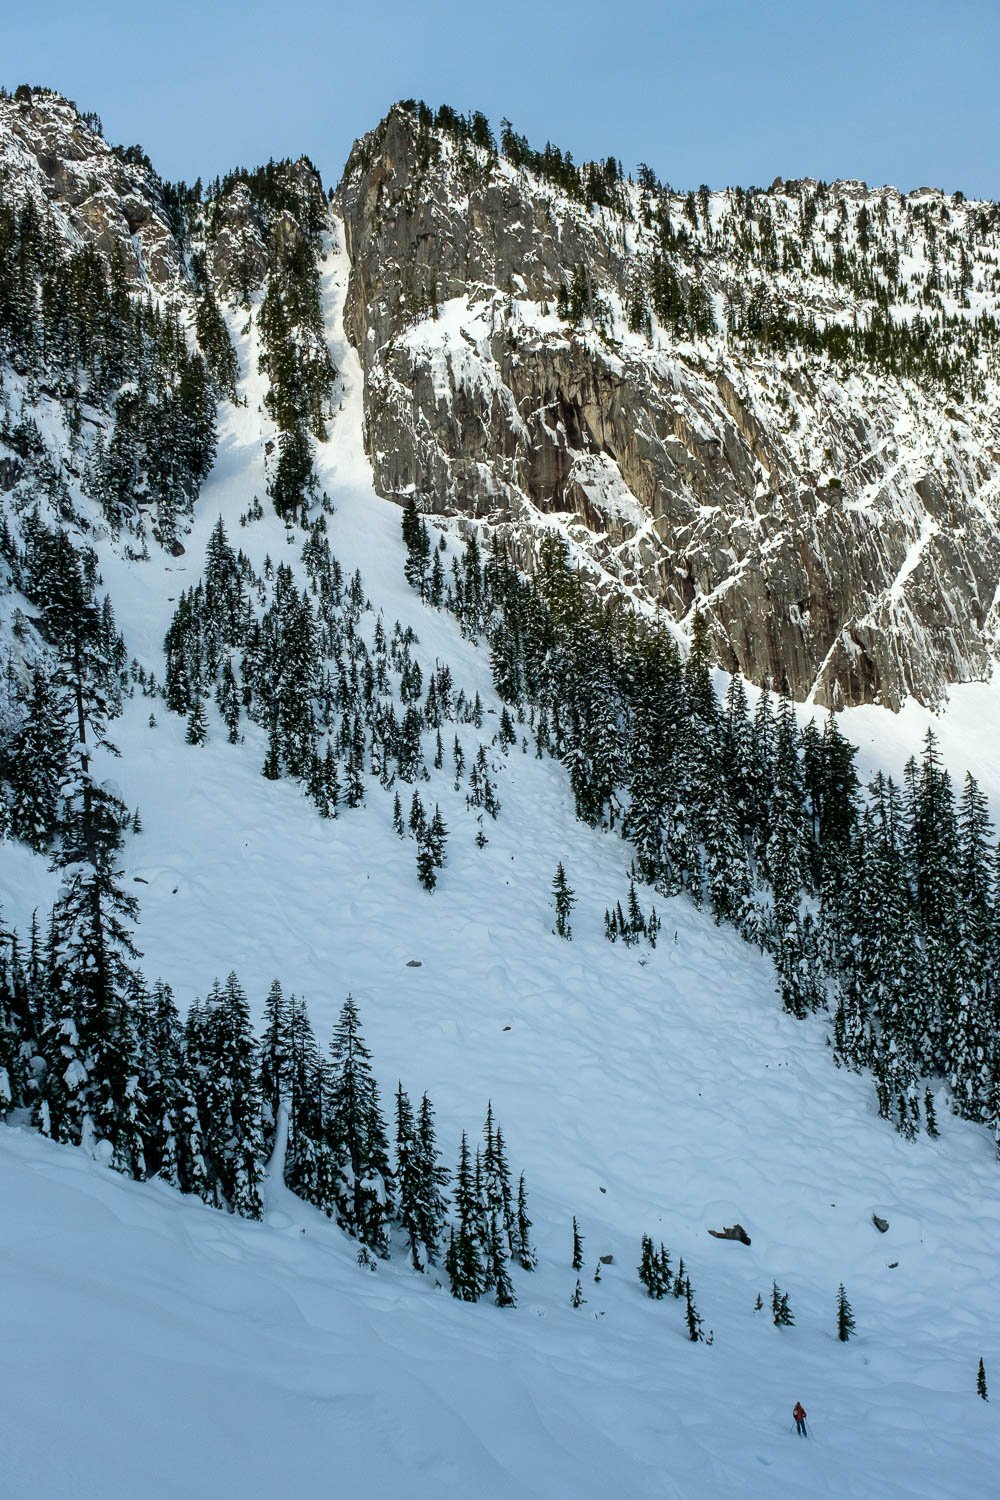
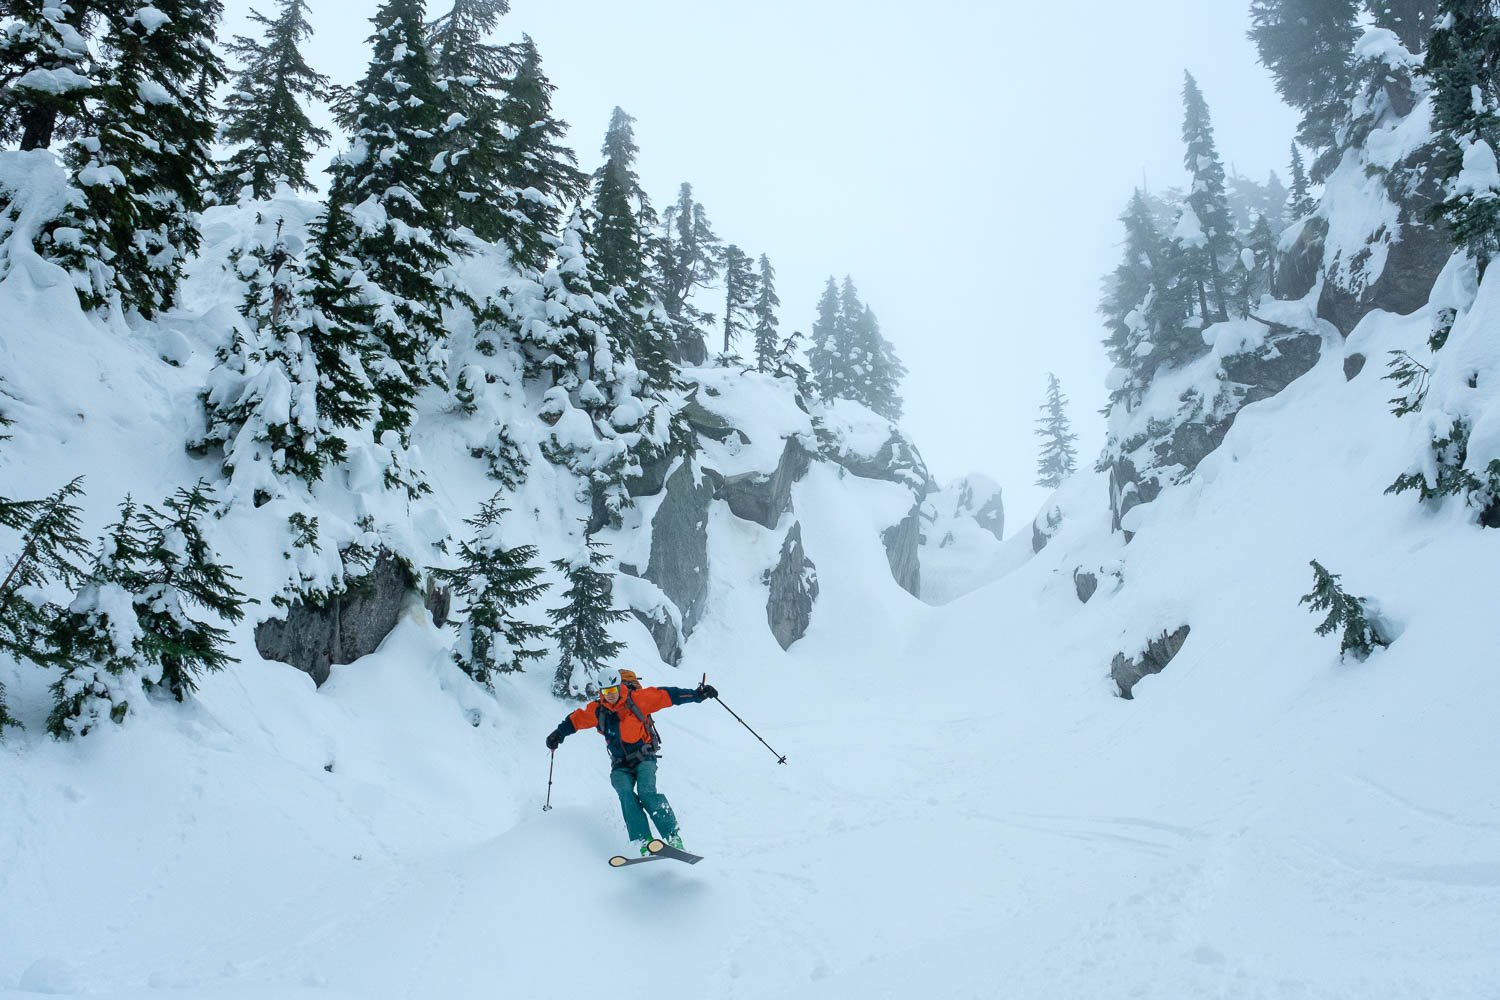
Oh and also, Dan Helmstadter skied that couloir on the East Face of Three Fingers from the first photo, solo, in March of 2013.

Best Photos of 2021

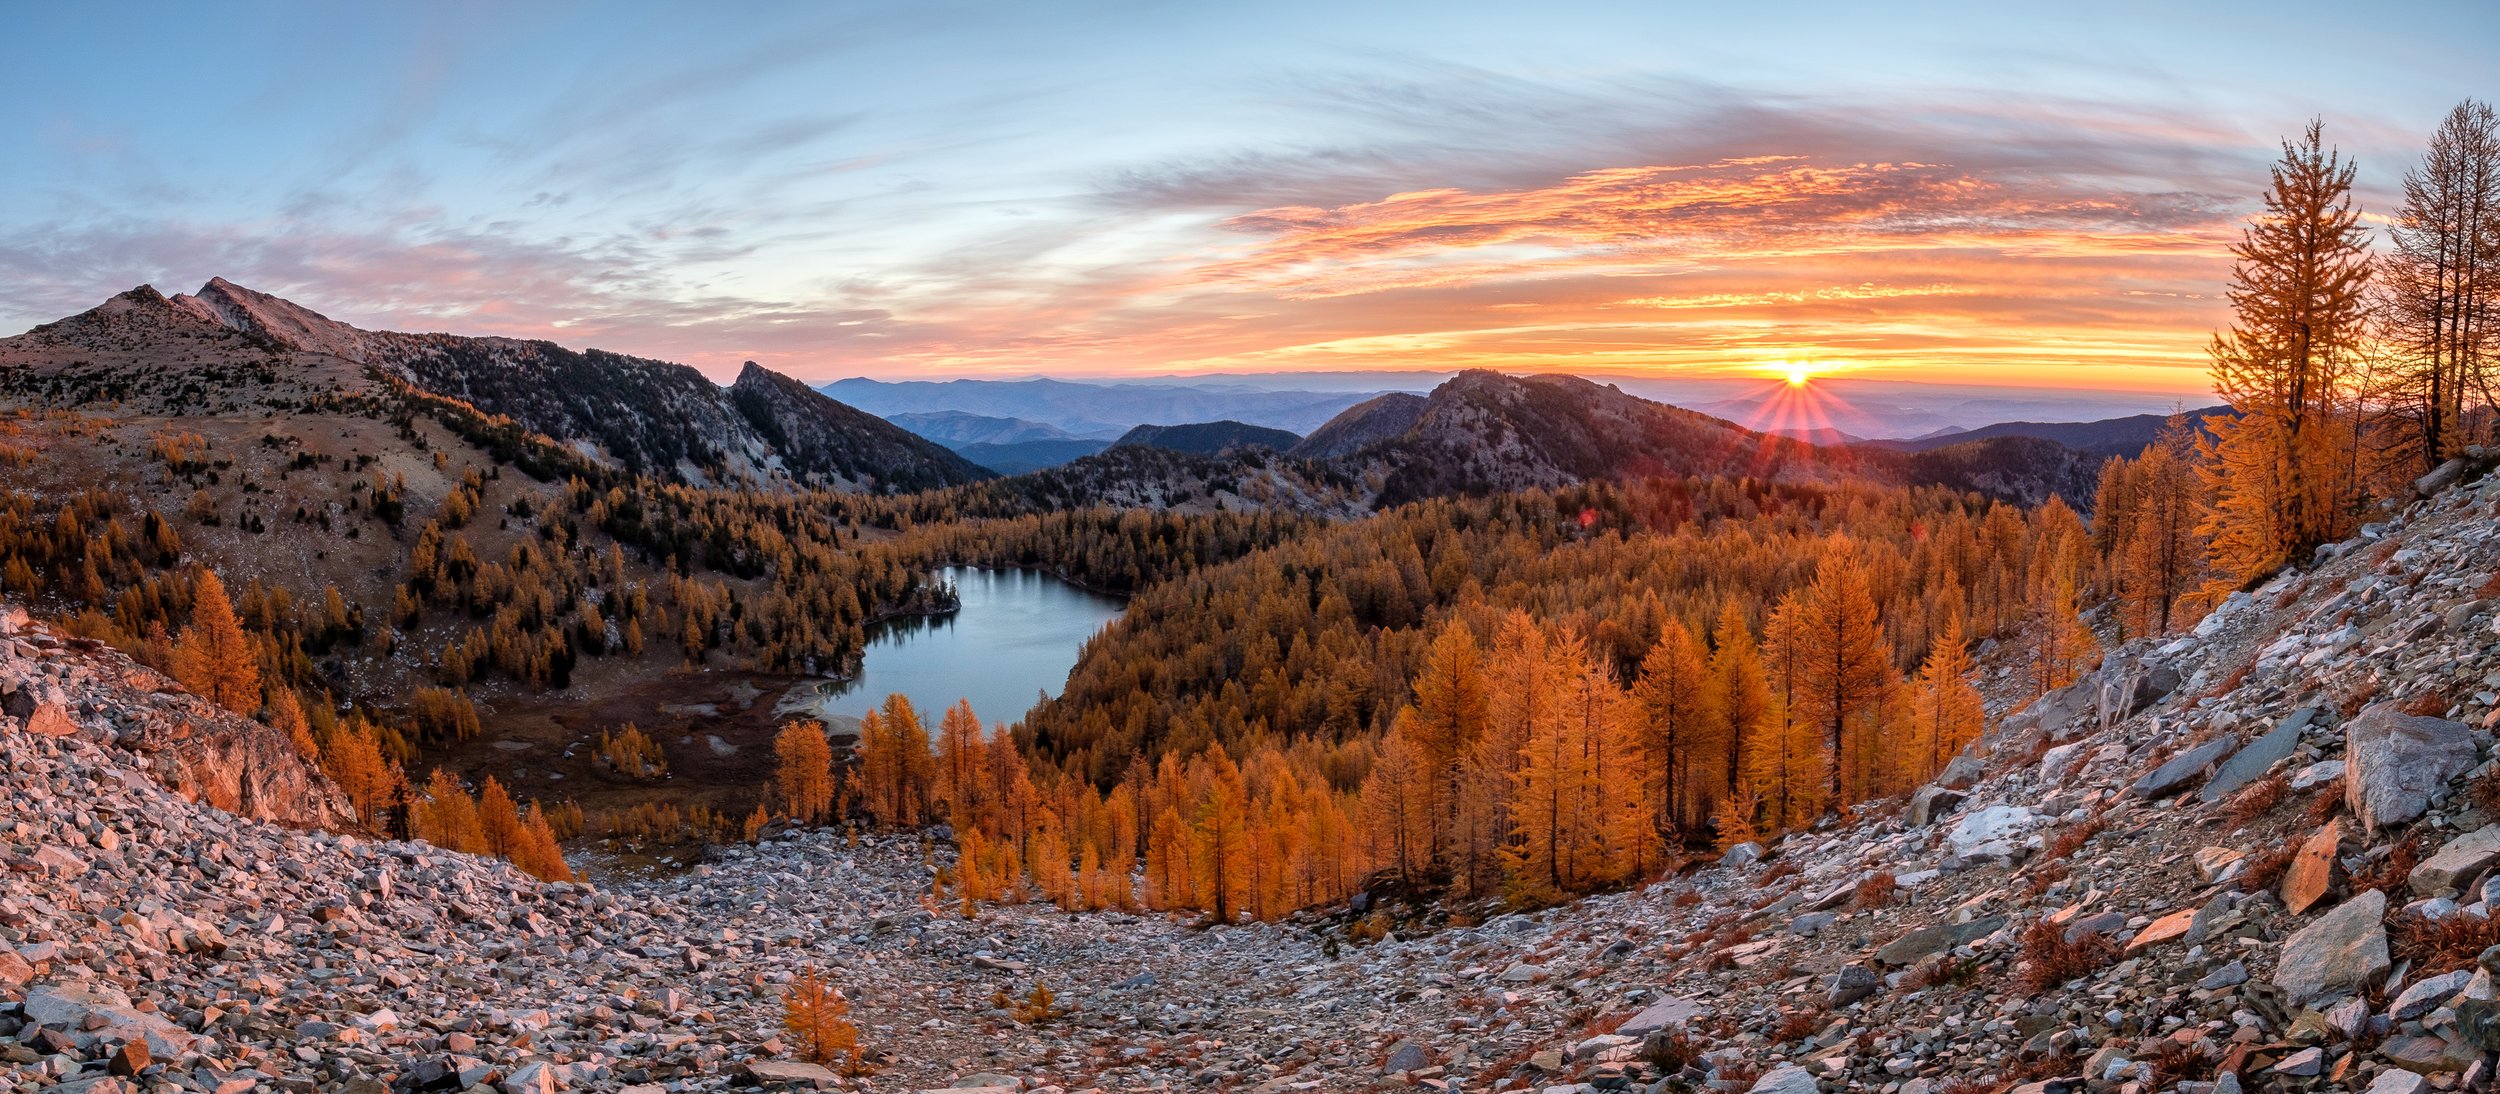
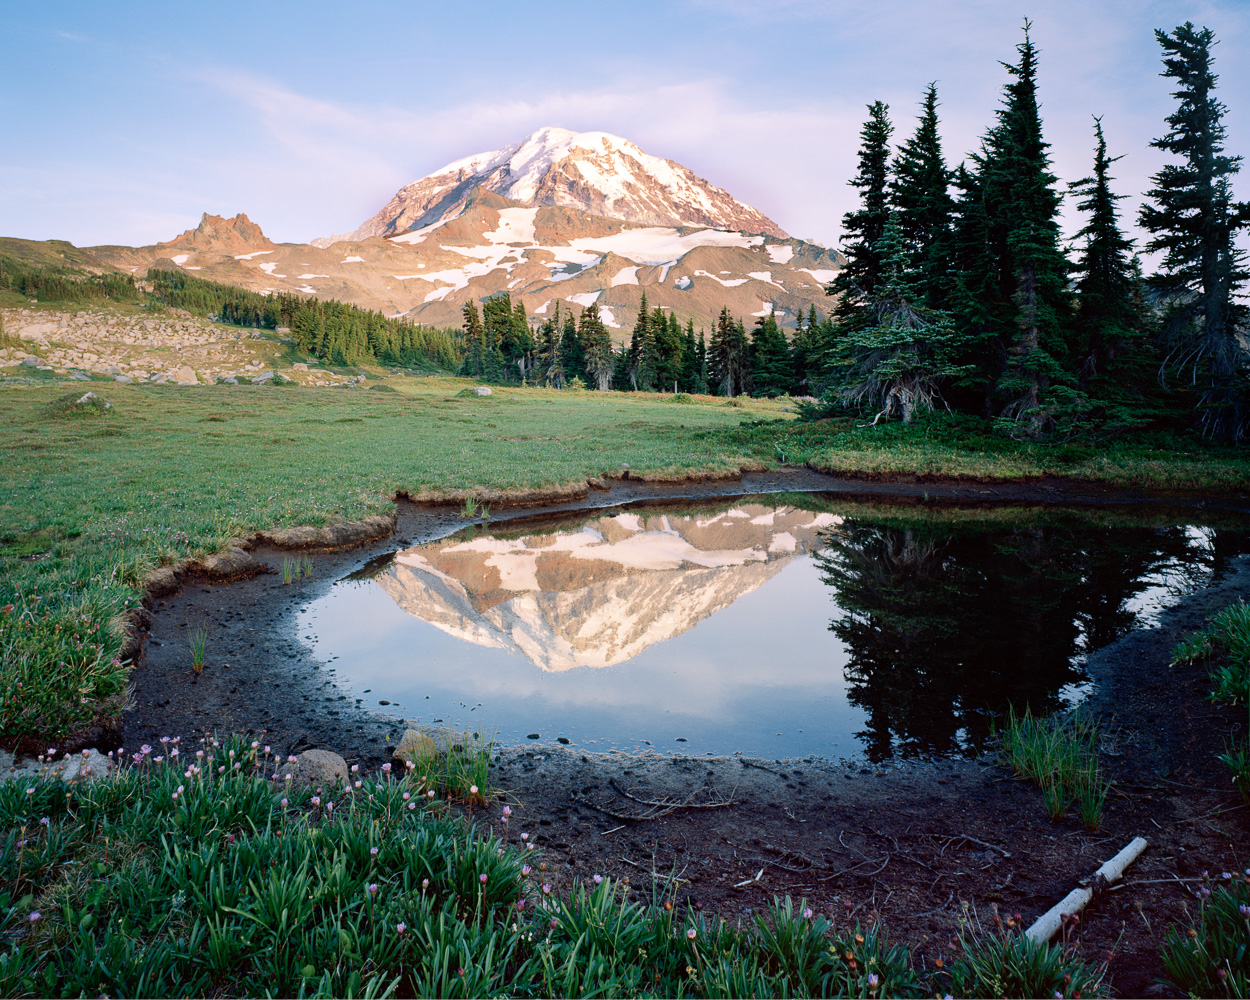
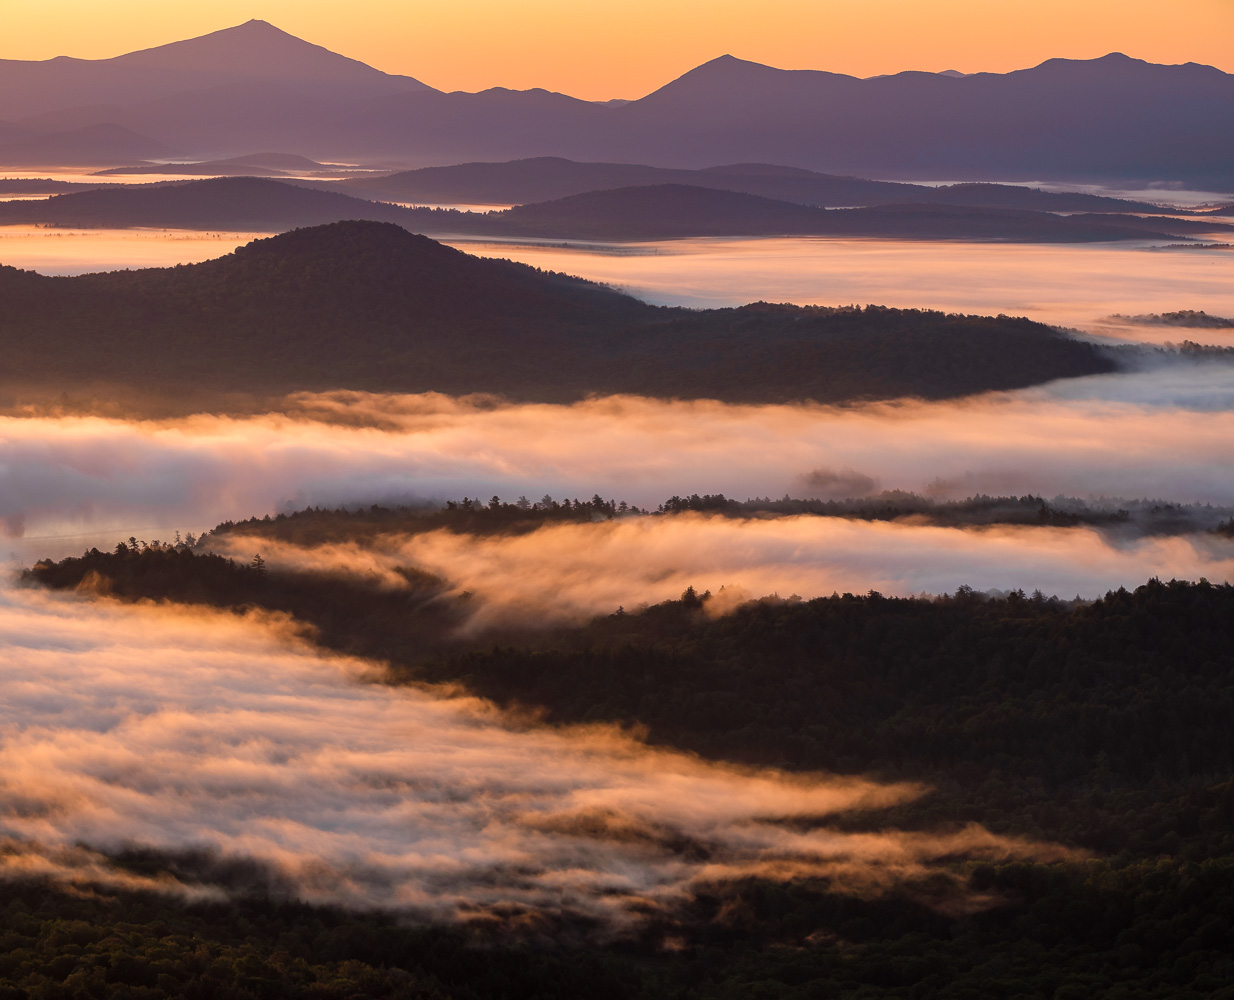
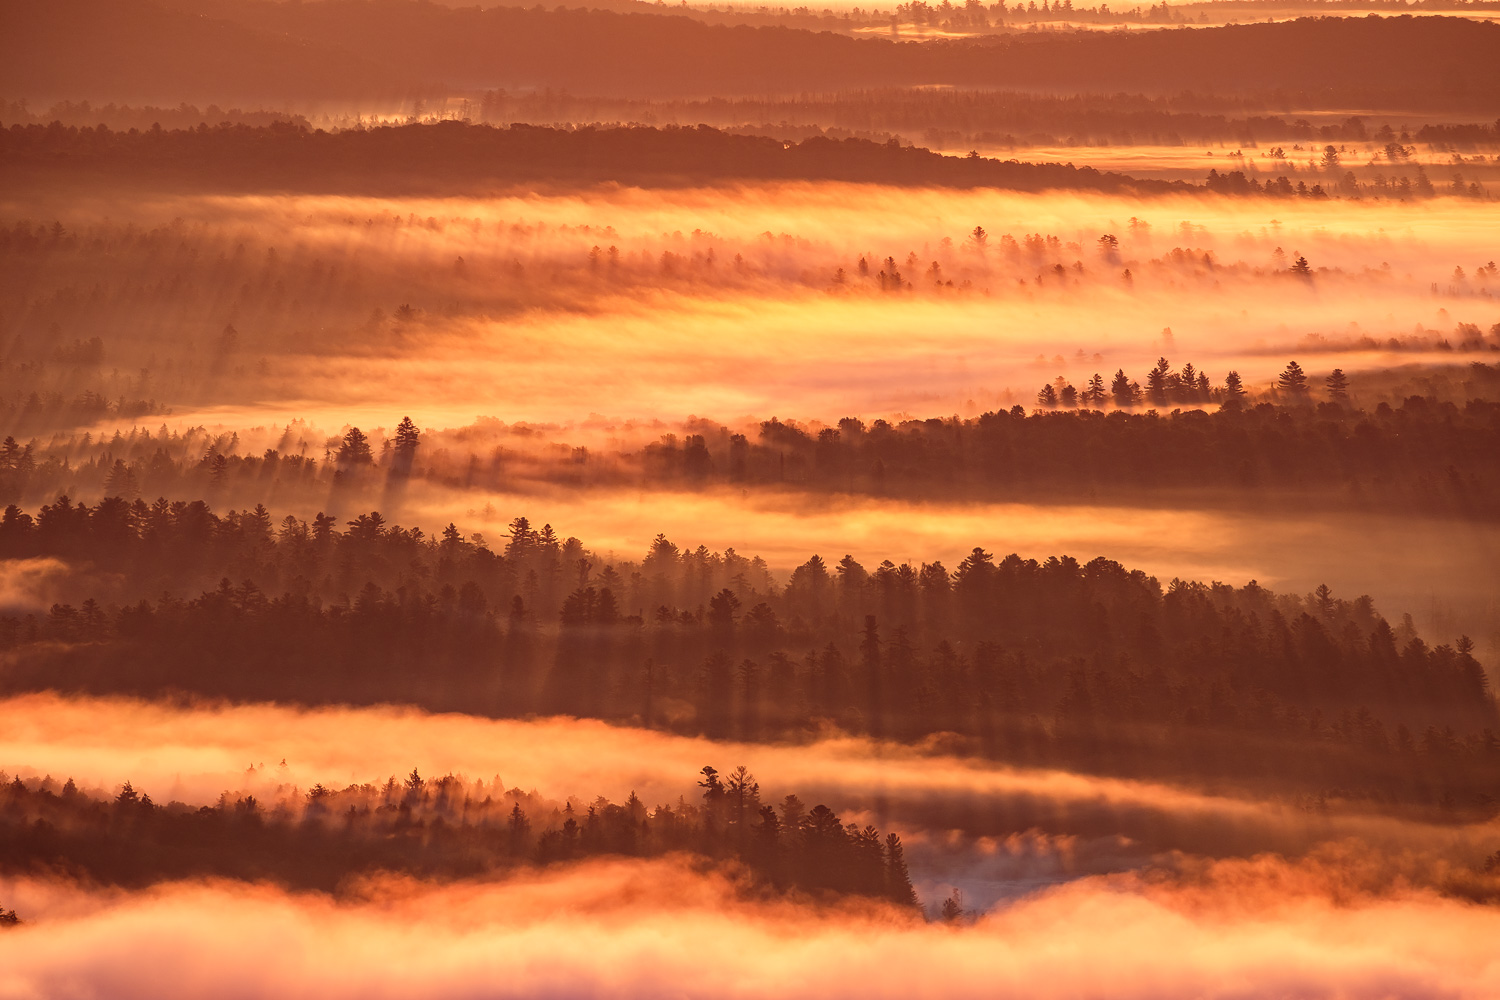
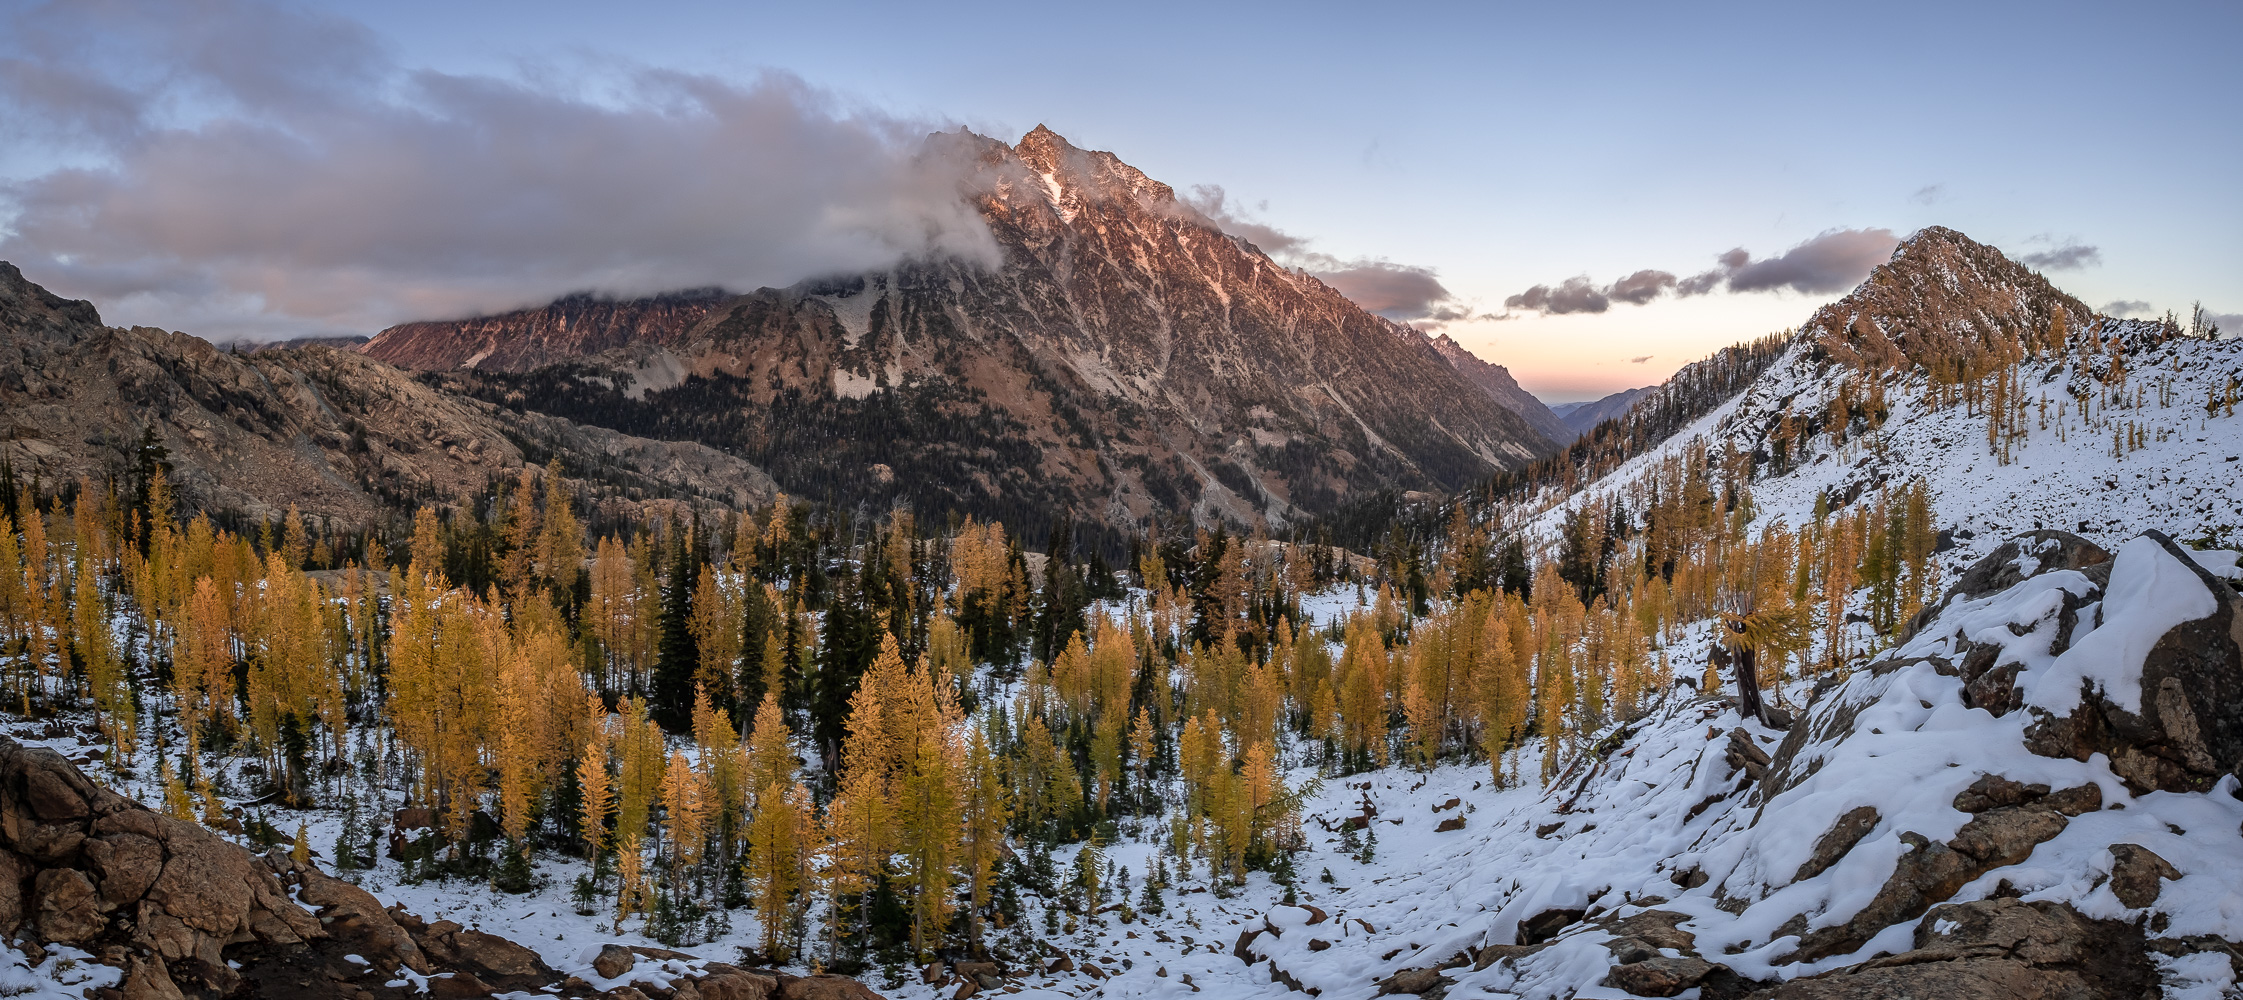
Another year has passed, and looking back at my photos, I feel extraordinarily lucky to have gotten to visit so many incredible and beautiful places during the past 12 months. For me, 2021 started out strong with a fantastically snowy February here in Washington, followed by a month in Oregon, getting to see some new places with old friends. During the spring I was really able to push my limits ski mountaineering, ticking off some classic lines and embarking on some longer and more challenging solo trips than I’ve accomplished in the past. Last summer I focused more on rock climbing than I have before, which I capped off with a great climb of the classic North Ridge of Mount Stuart with Sean. September was unfortunately marked by me breaking my arm in a mountain biking crash, which hampered my ability to get out as much as I wanted to, but I was still able to go on a lovely backpacking trip with my lab mate Mike during the height of fall foliage in the eastern Cascades.

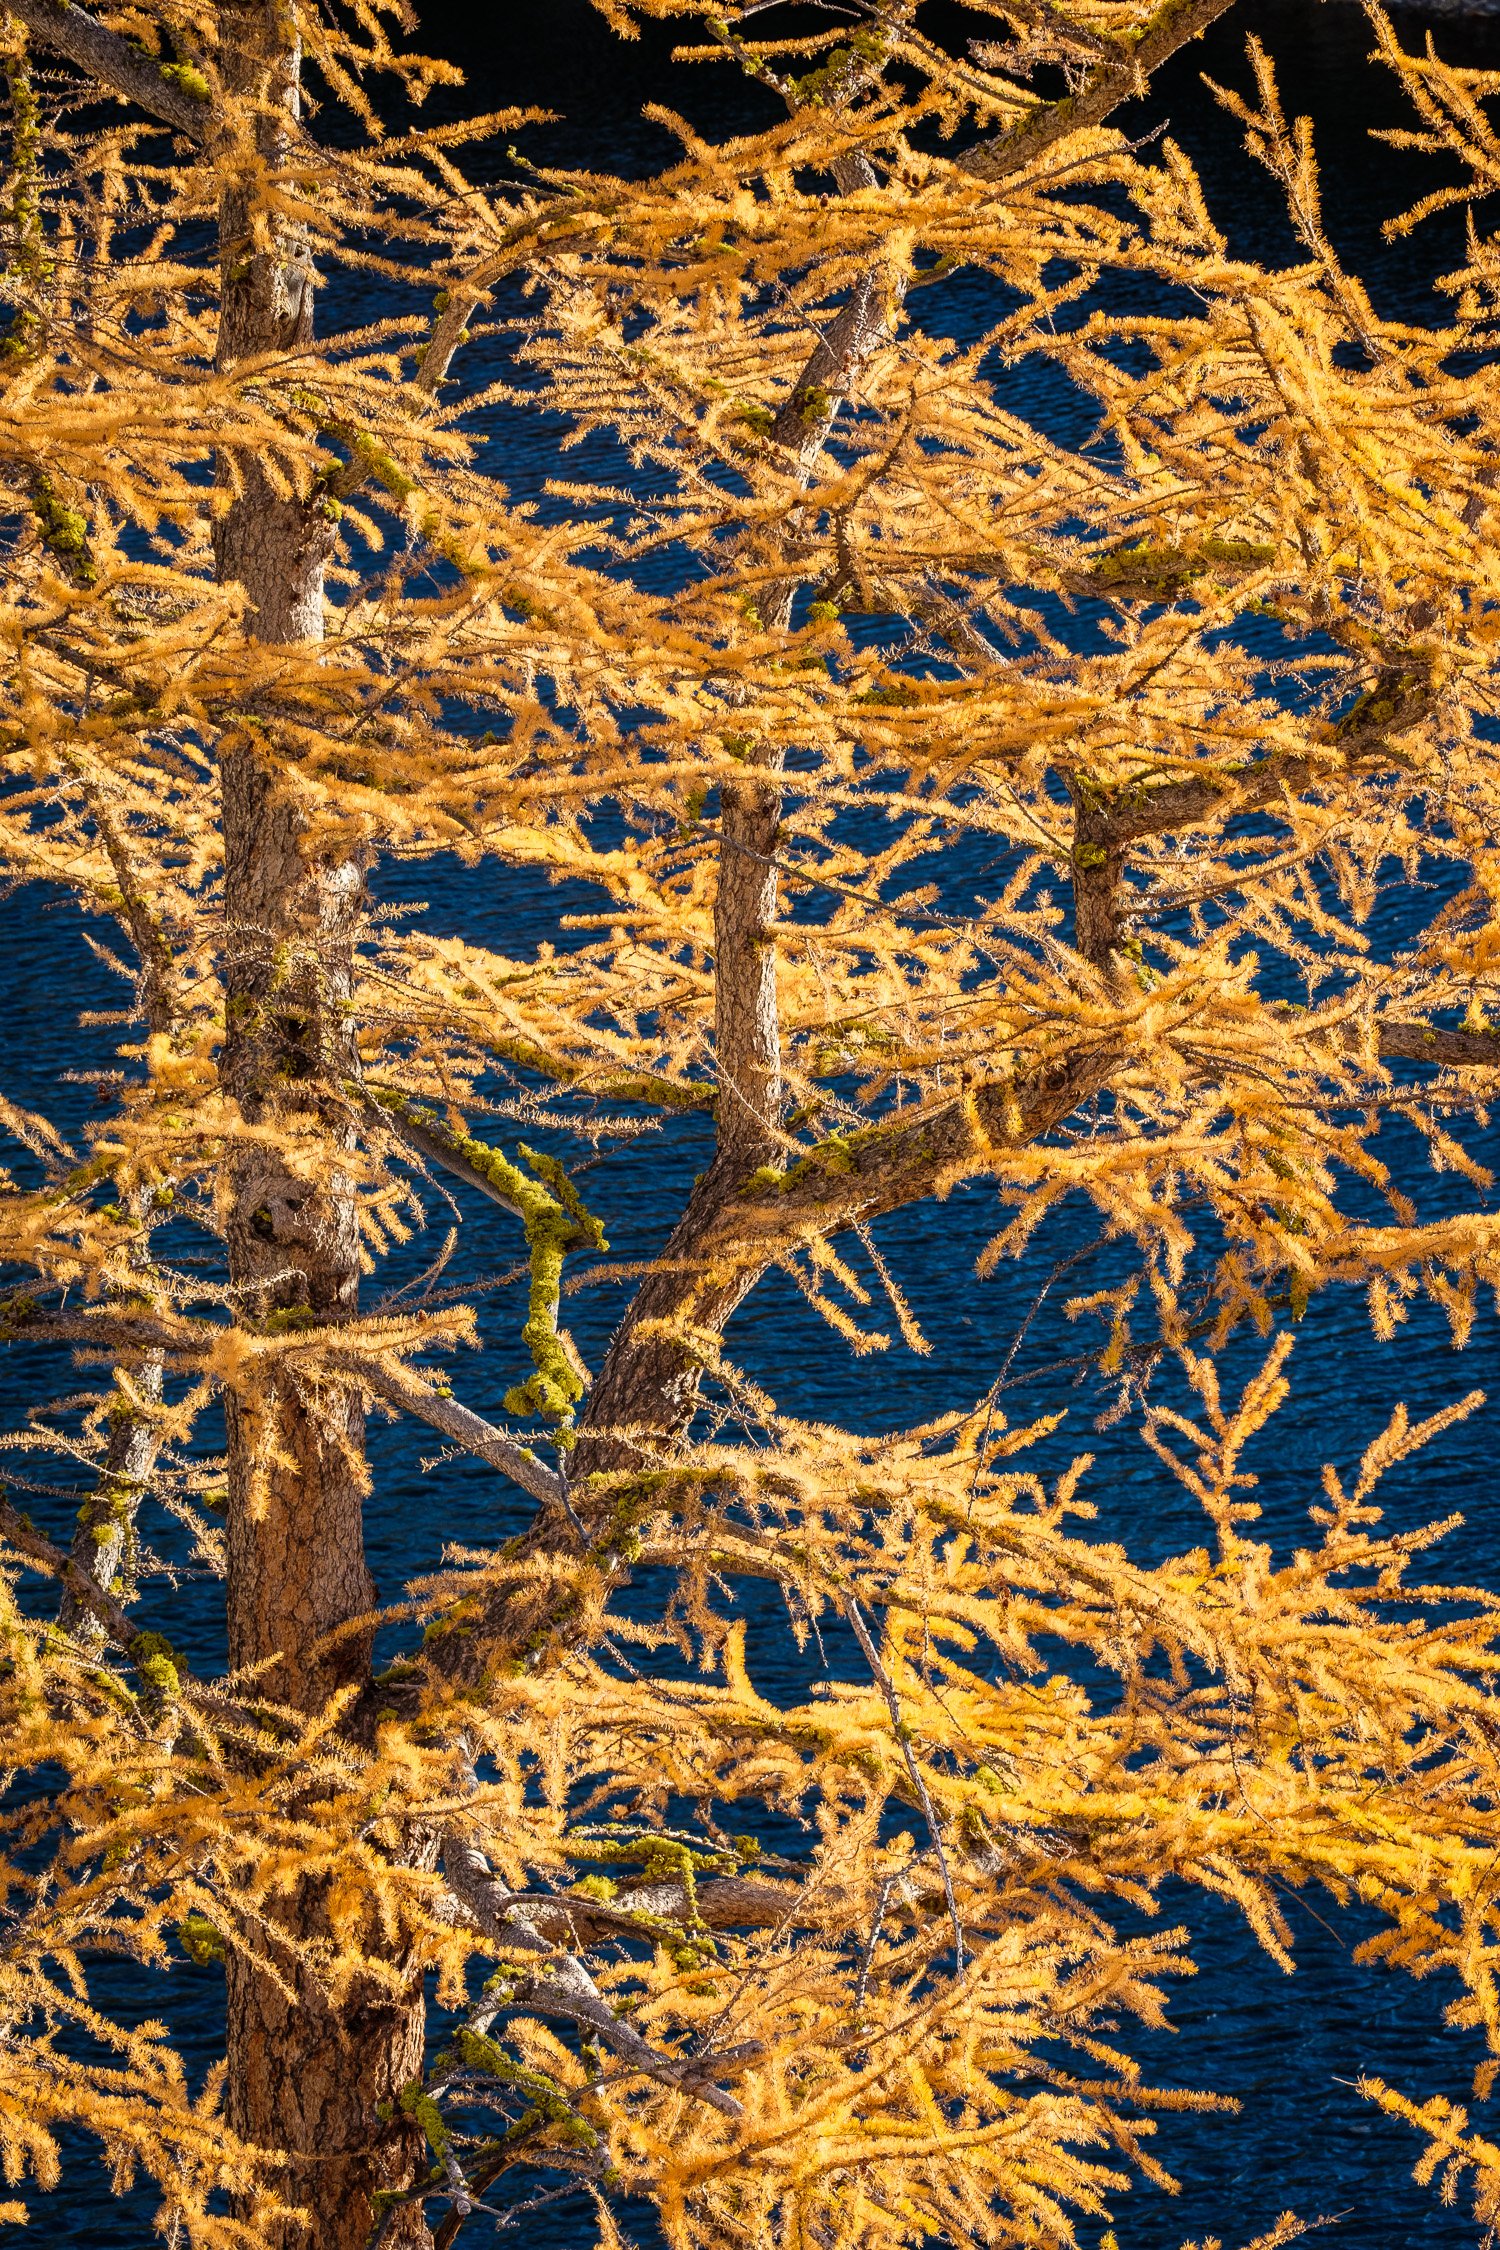
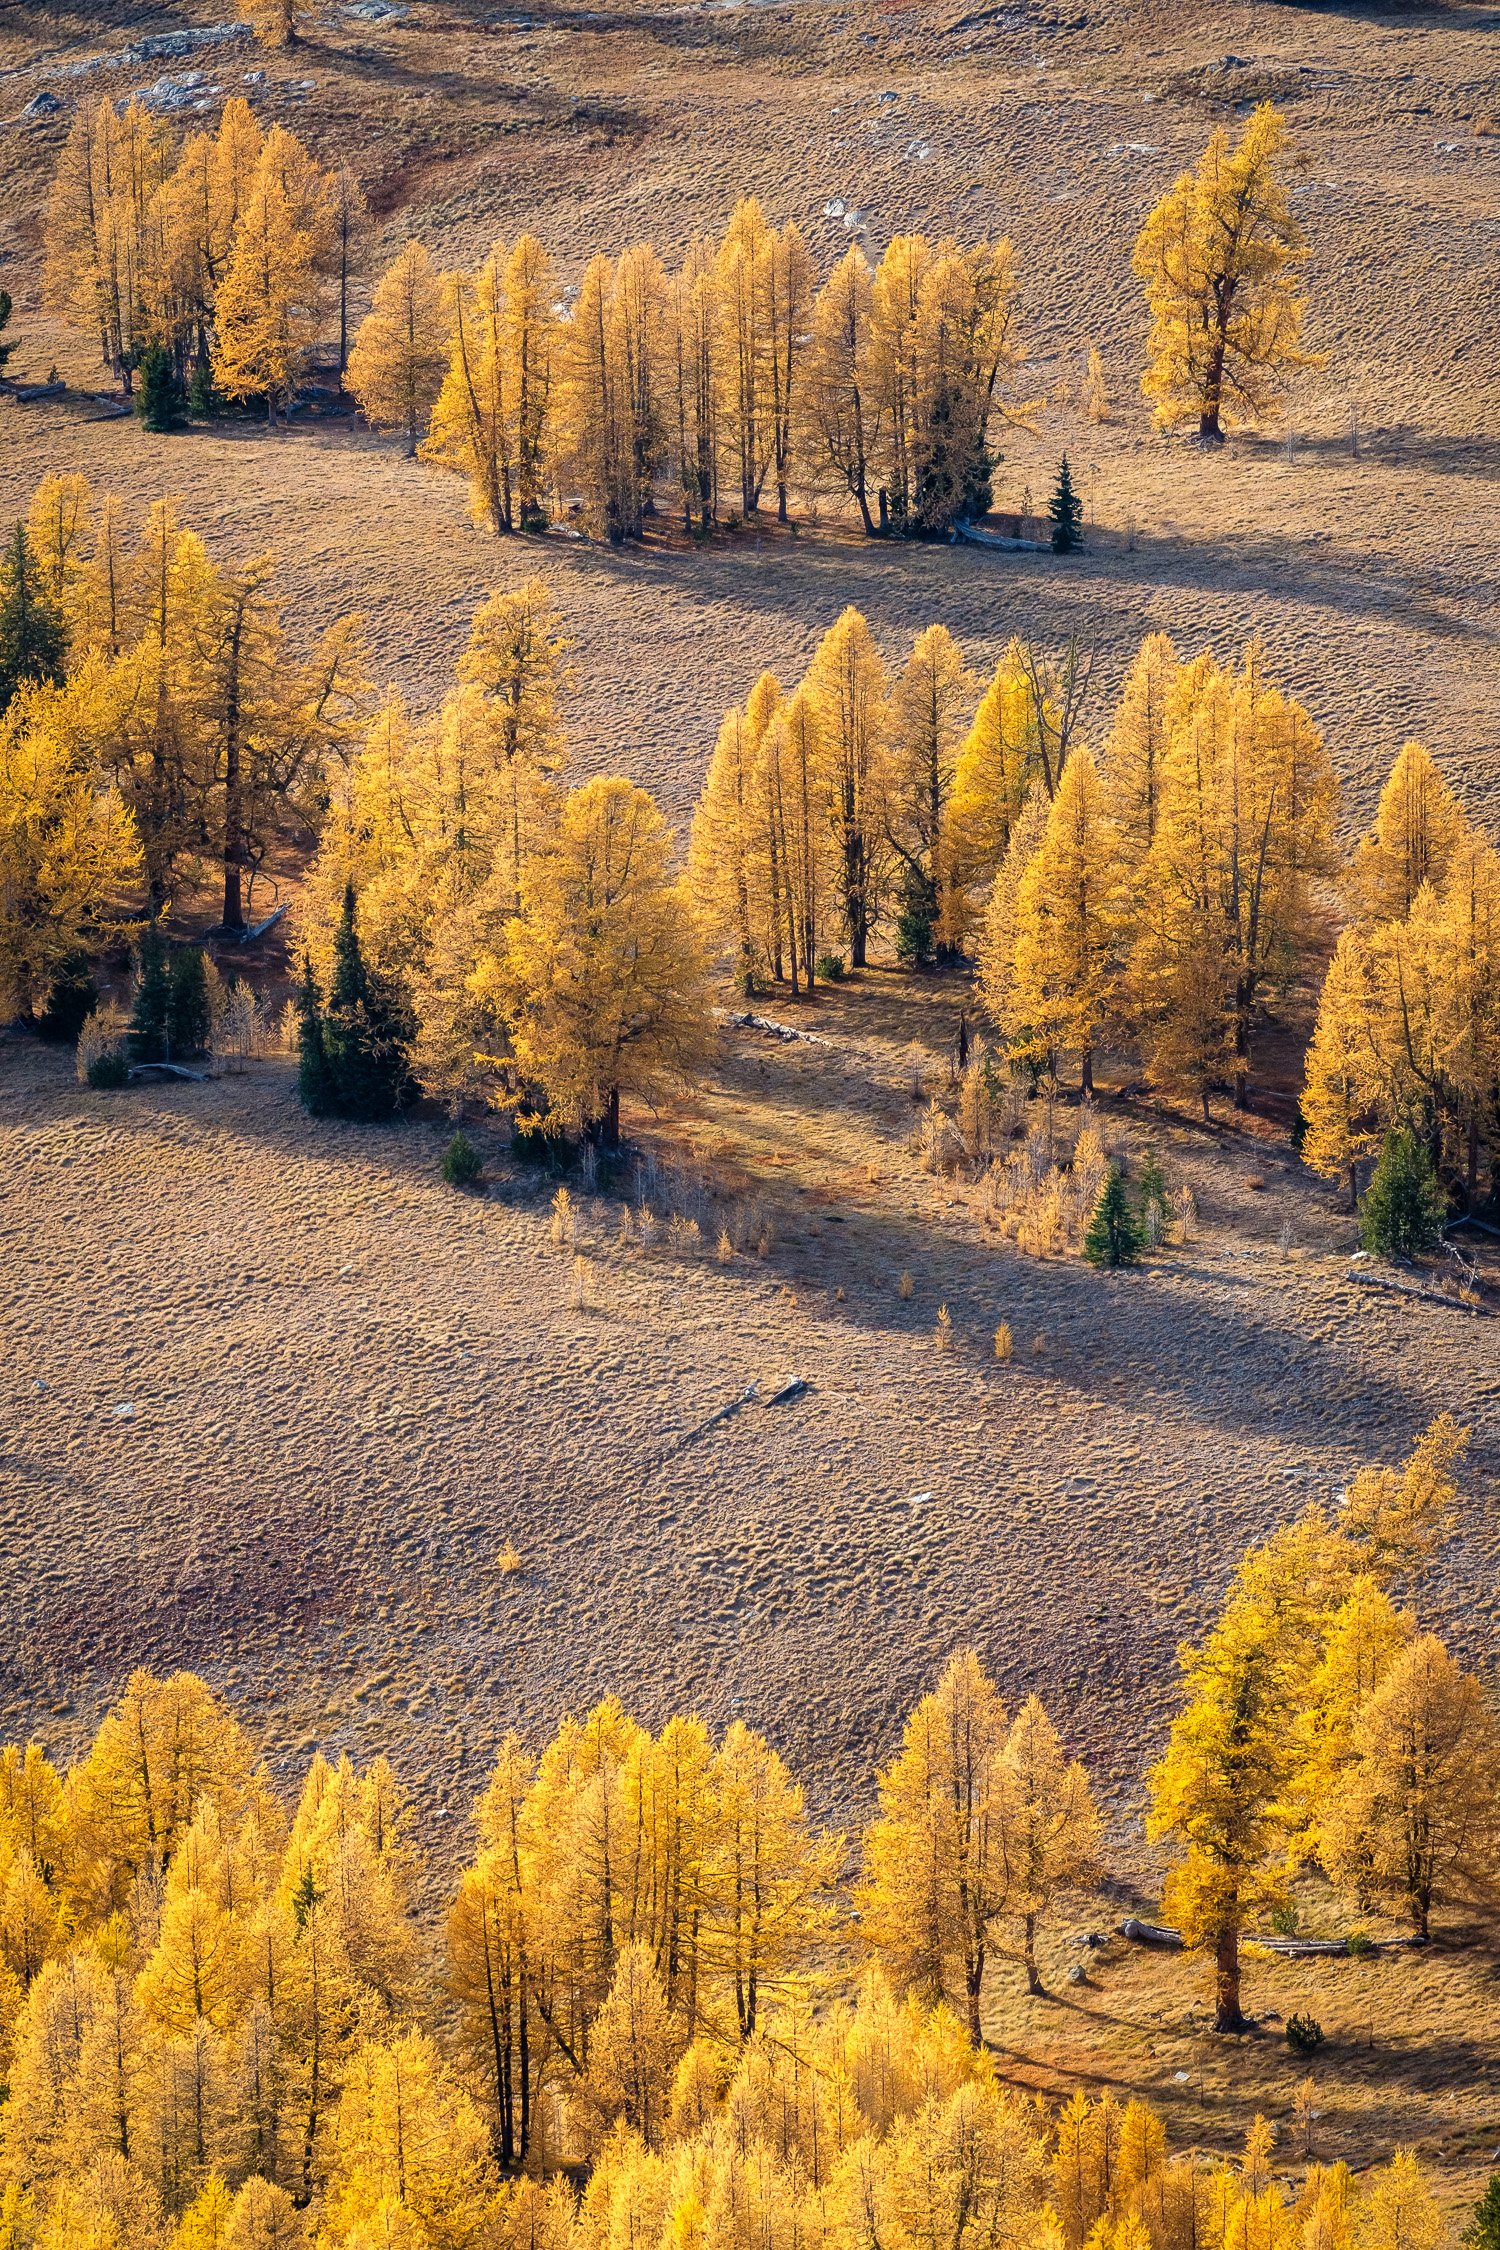
Below are my favorite photos from the year - let me know what you think!

Mapo Tofu Recipe

Mapo Tofu recipe from my mom's old and well-worn copy of "The Ultimate Chinese & Asian Cookbook", published 1997.


Szechuan Spicy Tofu

Serves 4

The meat used in this popular wok recipe can be omitted to create a purely vegetarian dish, if you prefer.


Ingredients

3-inch block fresh tofu

1 leek

3 tablespoons vegetable oil

4 ounces ground beef

1 tablespoon black bean sauce

1 tablespoon light soy sauce

1 teaspoon chili bean sauce

1 tablespoon Chinese rice wine or dry sherry

3-4 tablespoons stock or water

2 teaspoons cornstarch paste

ground Szechuan peppercorns, to taste

few drops of sesame oil


Step 1: Cut the tofu into 1/2-inch square cubes. Fill a wok with boiling water, add the tofu cubes and bring back to a boil. Cook for 2-3 minutes to harden. Remove and drain. Cut the leek into short sections.


Step 2: Empty the wok. Preheat and add the oil. When hot, stir-fry the ground beef until the color changes, then add the leek and black bean sauce. Add the tofu with the soy sauce, chili bean sauce, and wine or sherry. Stir gently for 1 minute.


Step 3: Add the stock or water, bring to a boul, and braise for 2-3 minutes.


Step 4: Stir in the cornstarch paste and cook, stirring, until thickened. Season with ground Szechuan pepper, sprinkle with the sesame oil and serve immediately.

Best Photos of 2020

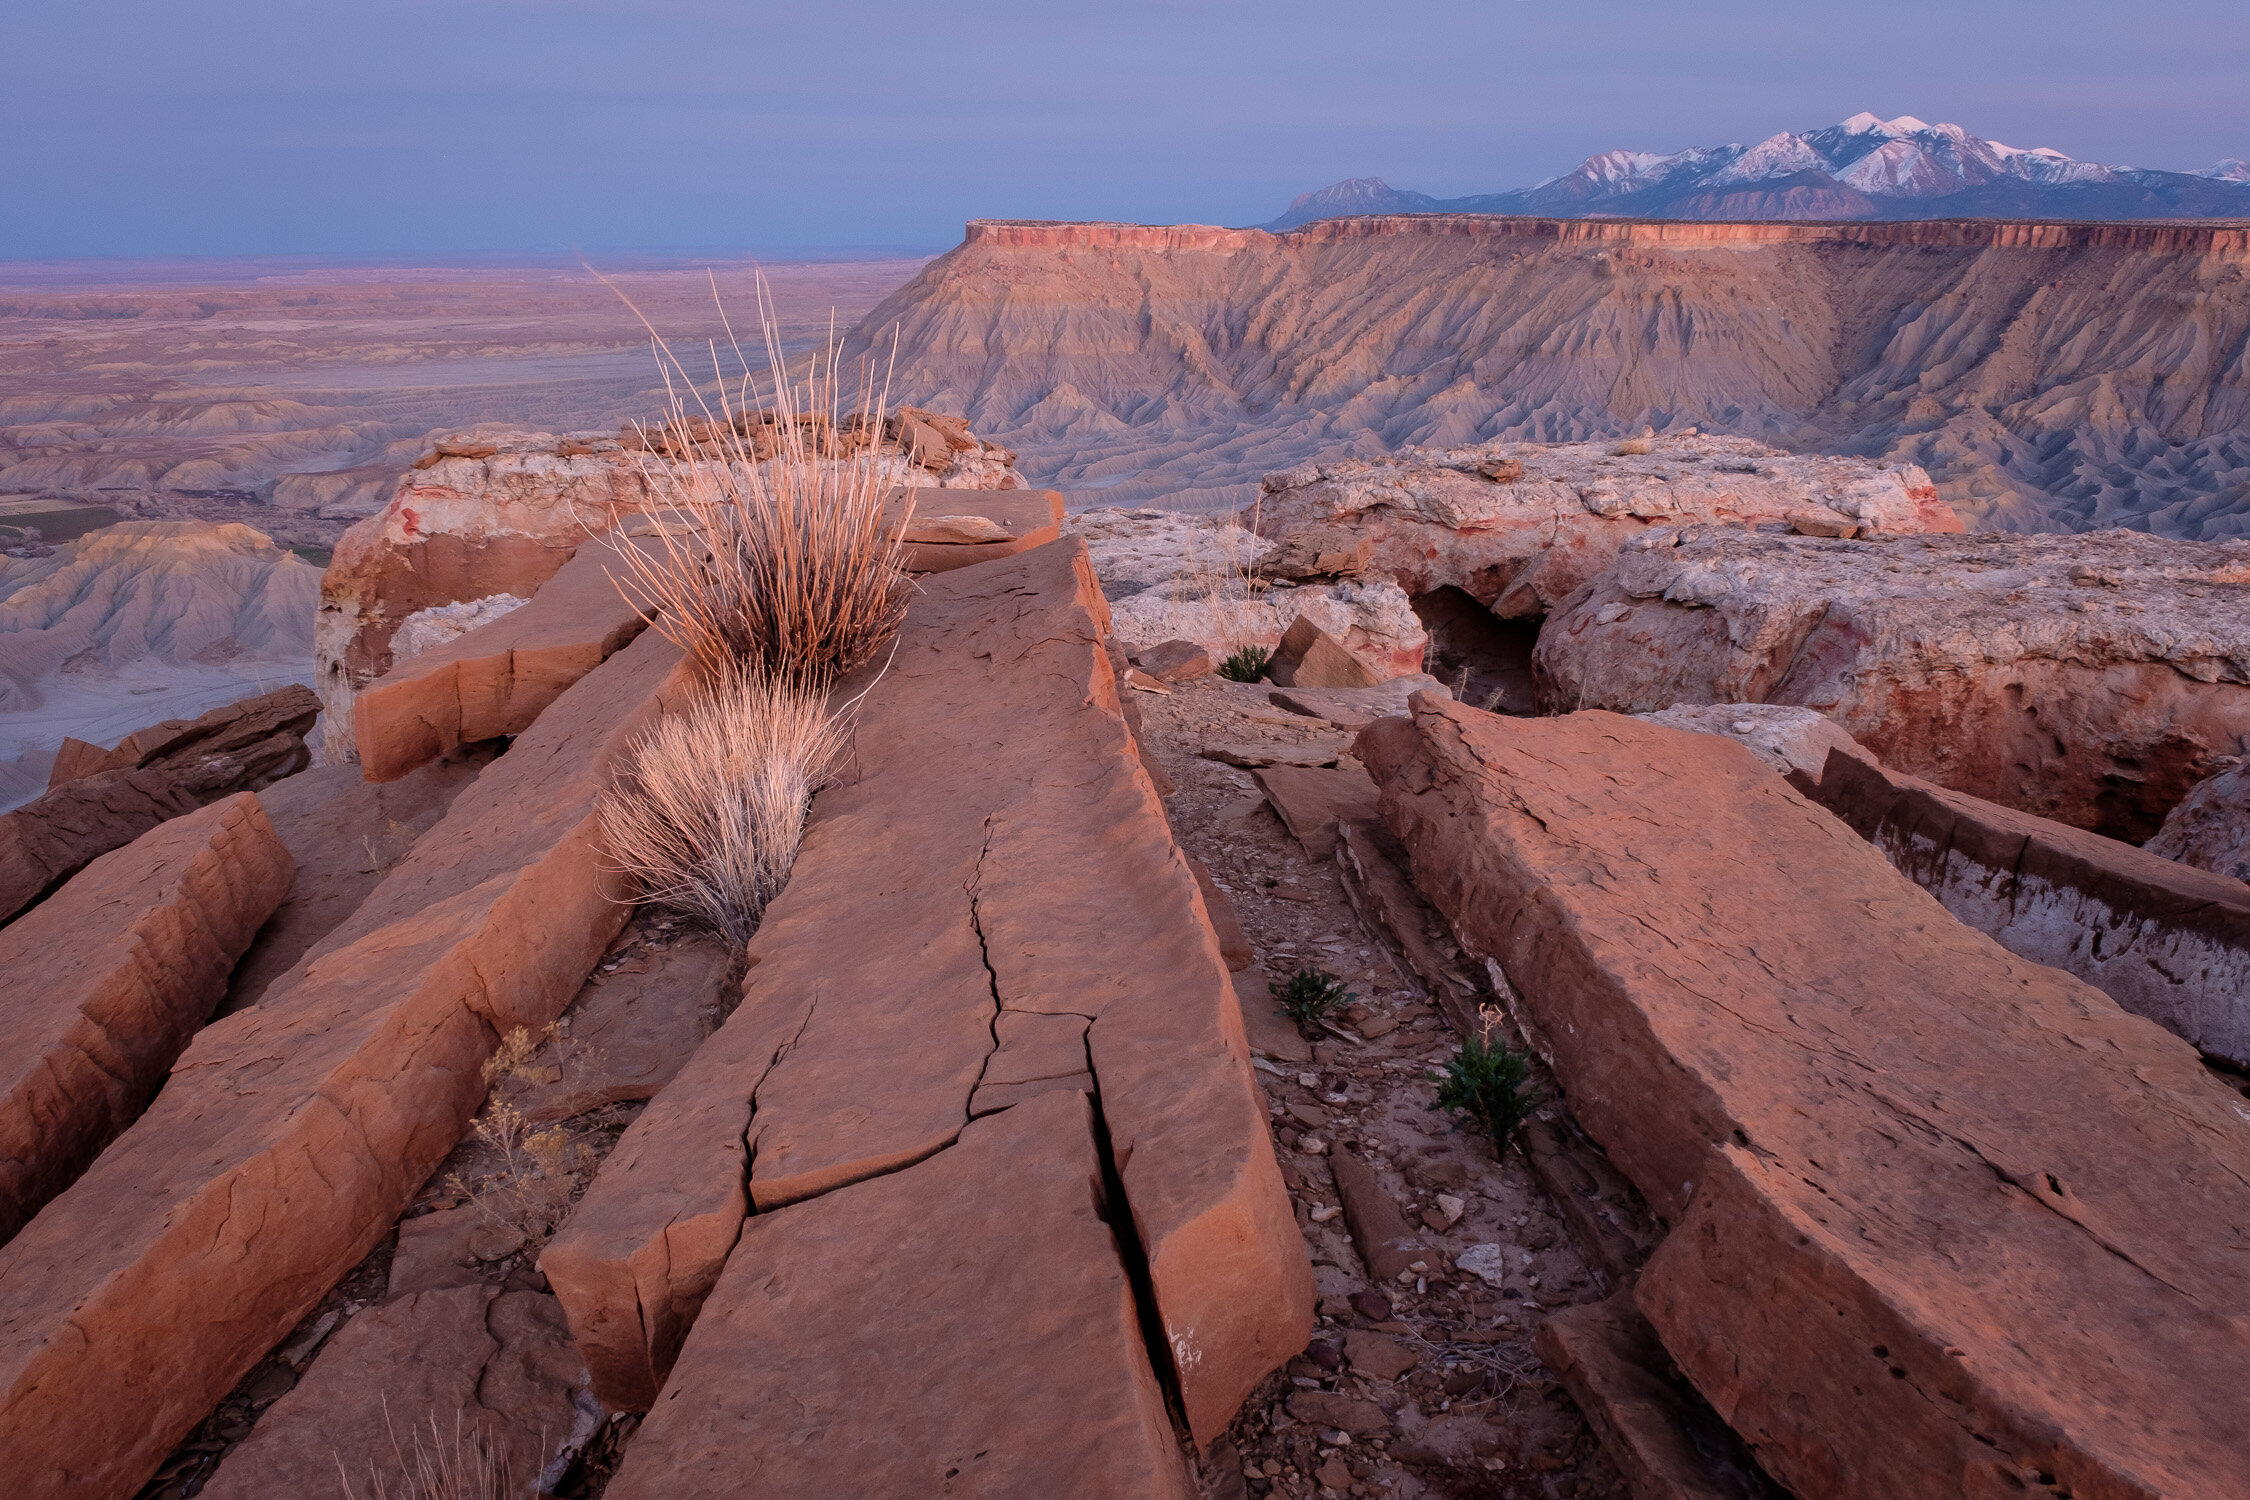
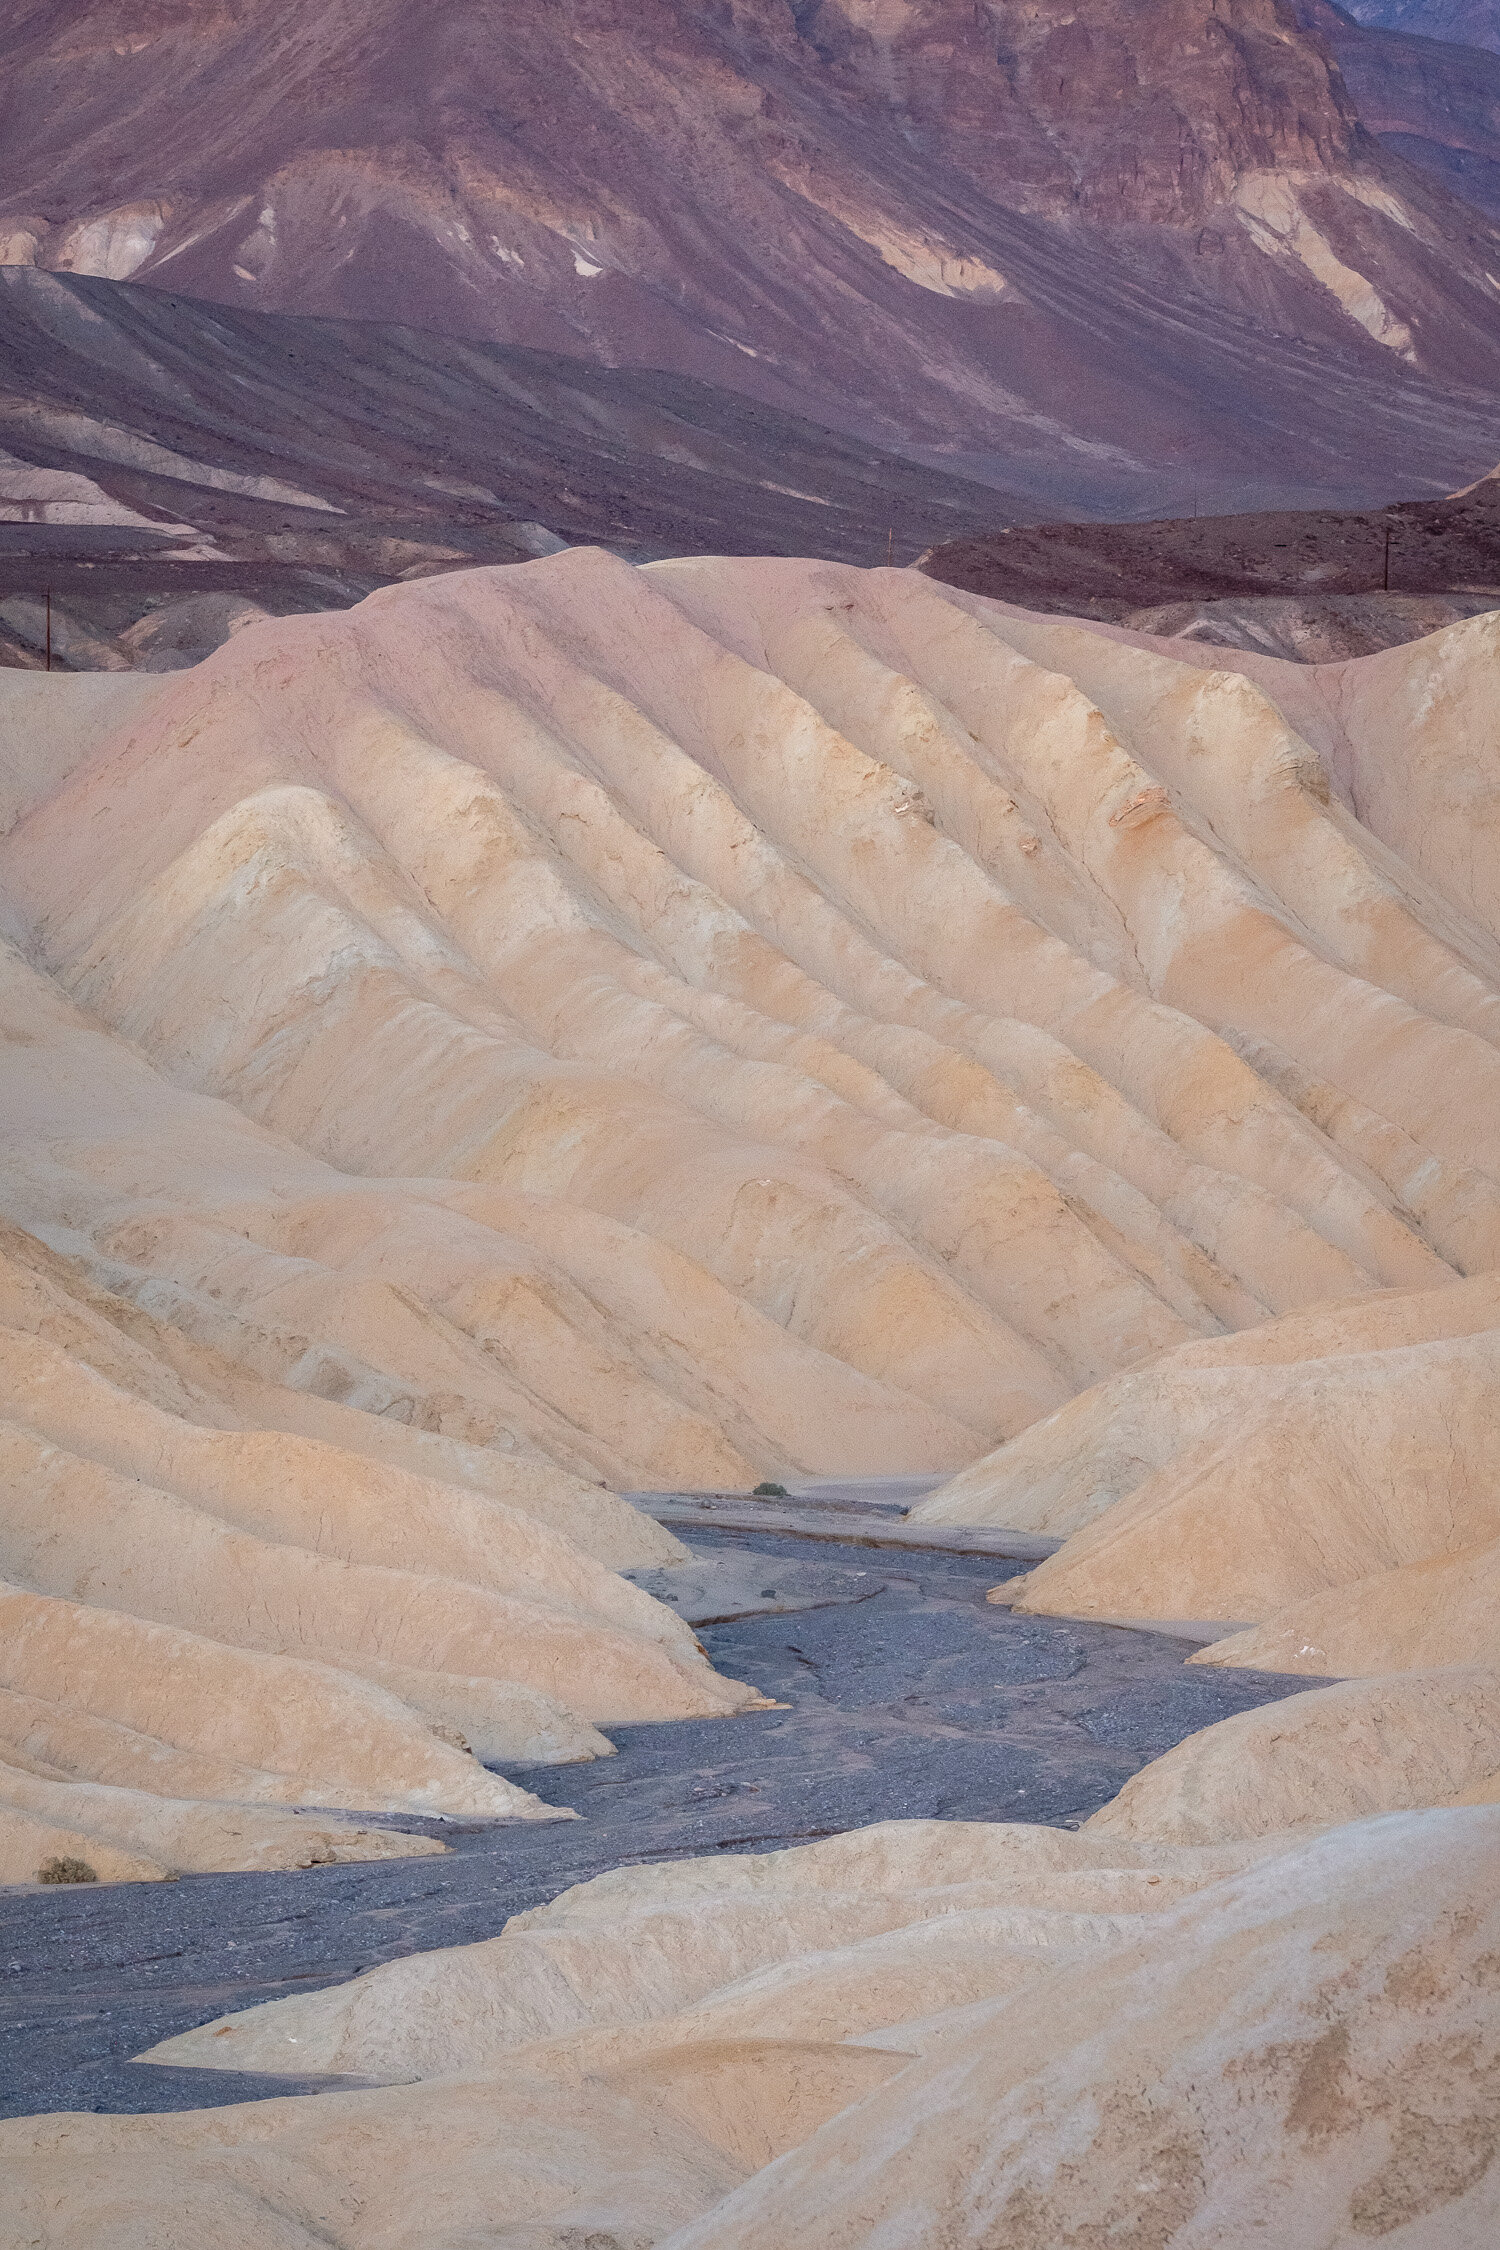
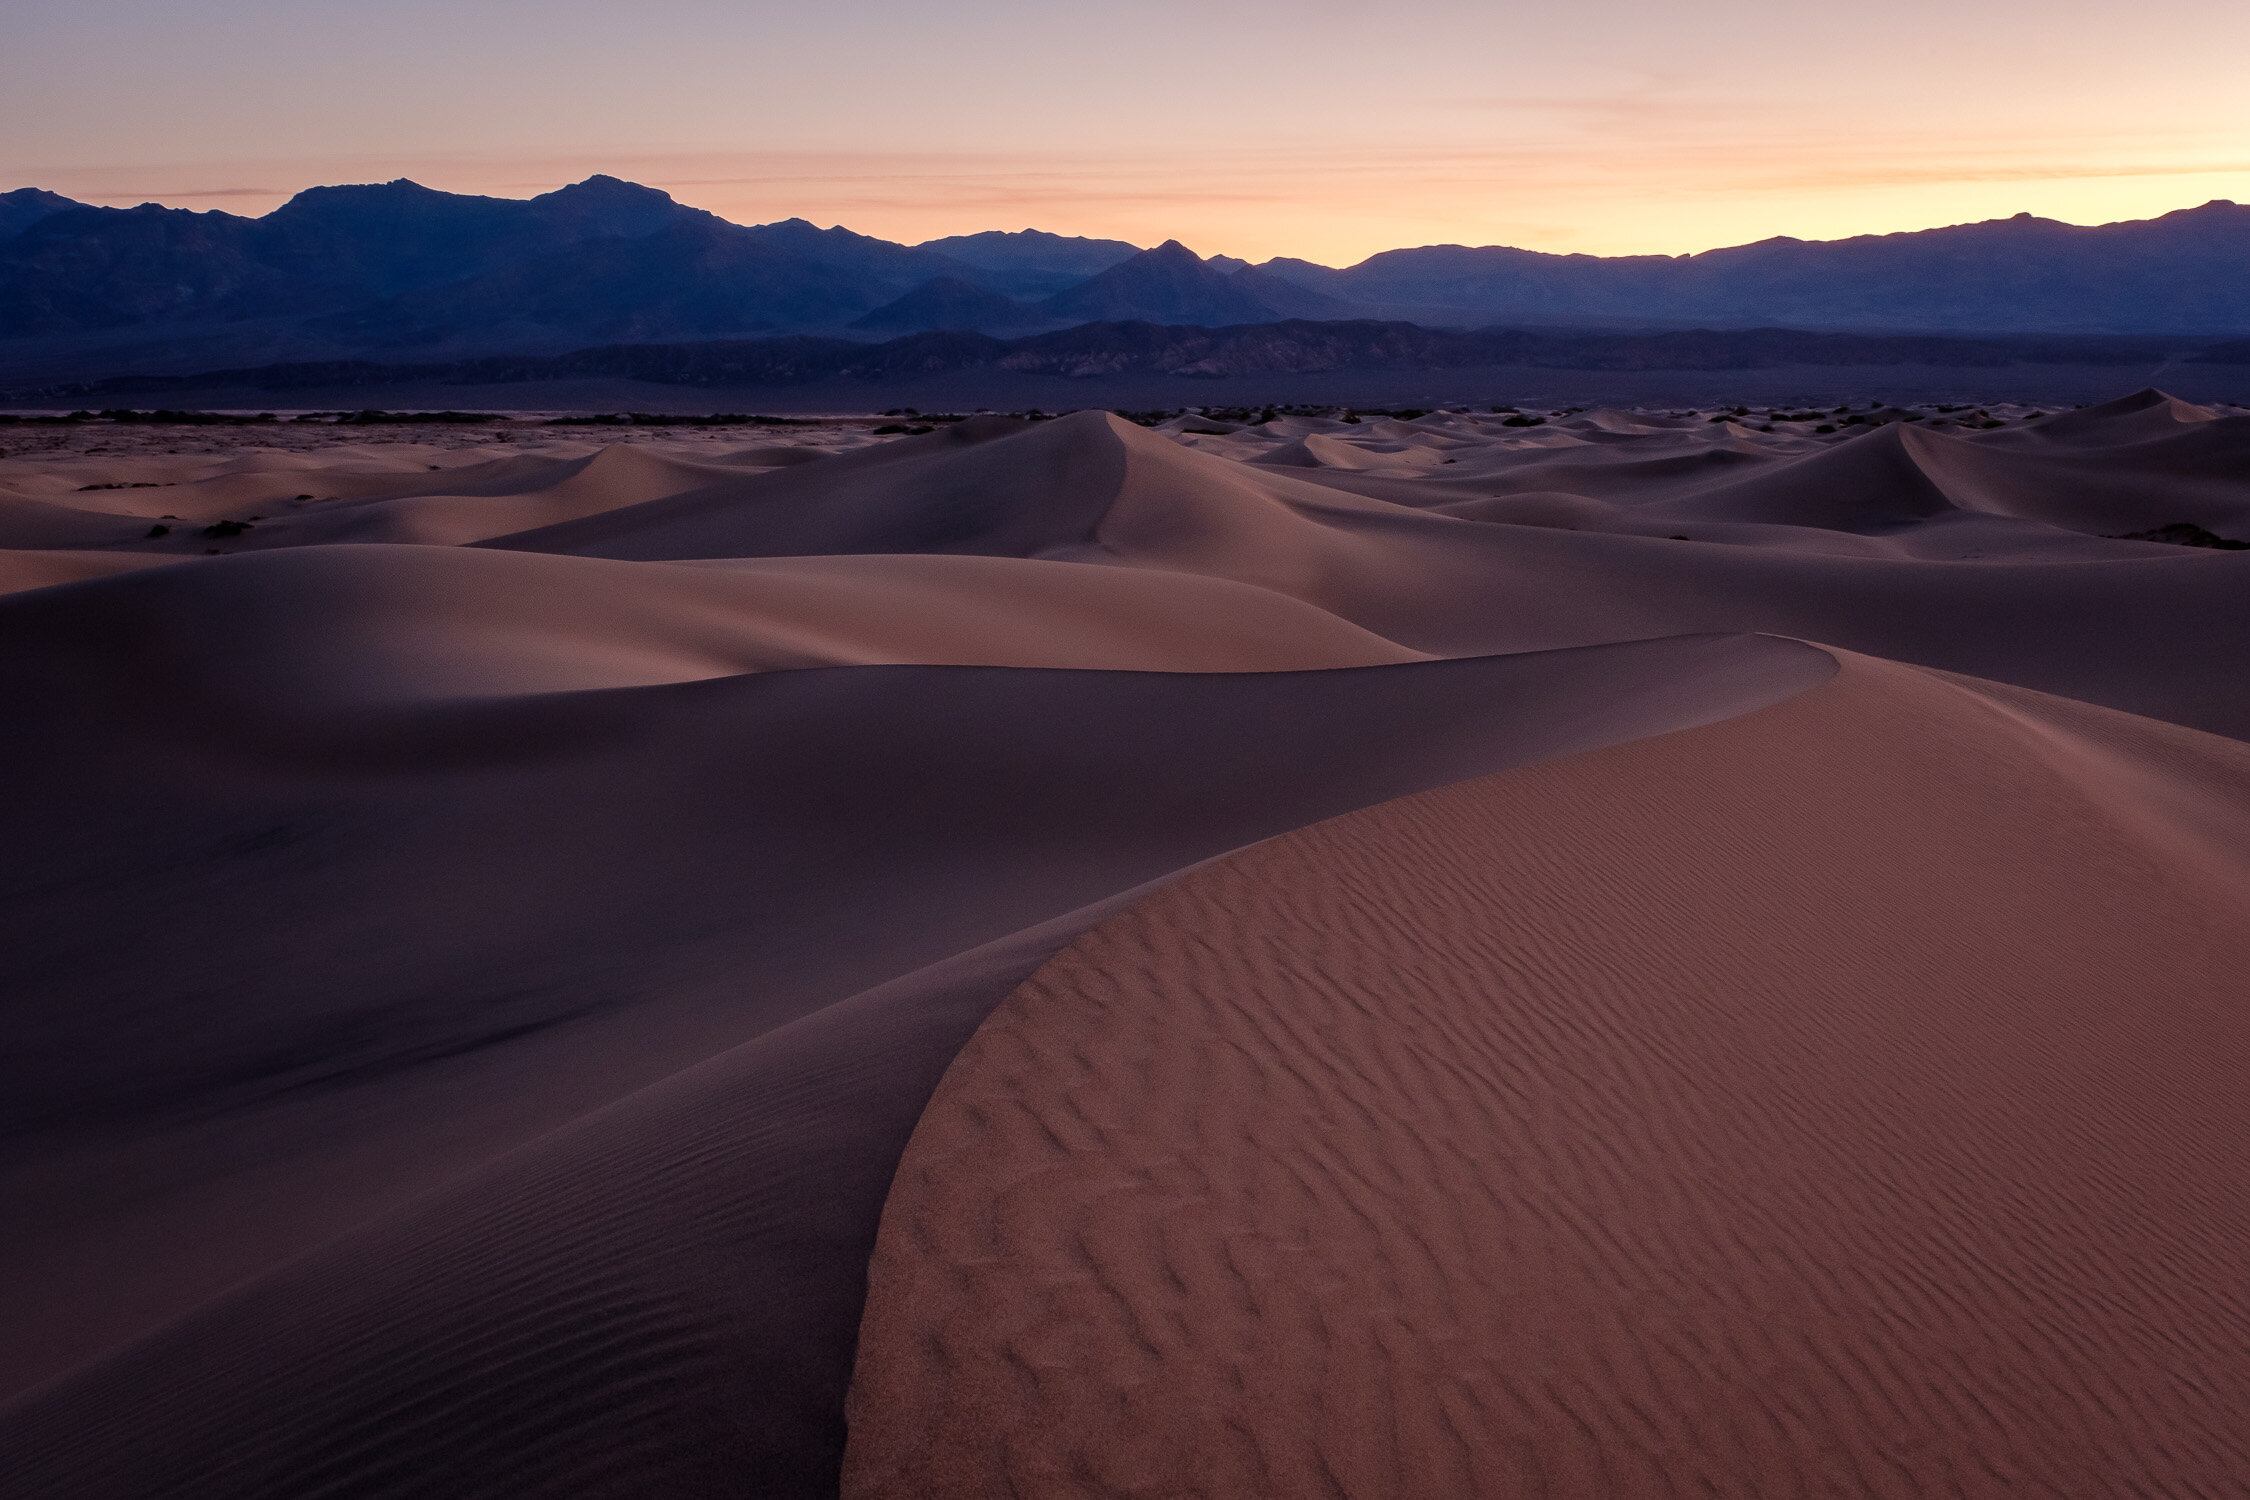
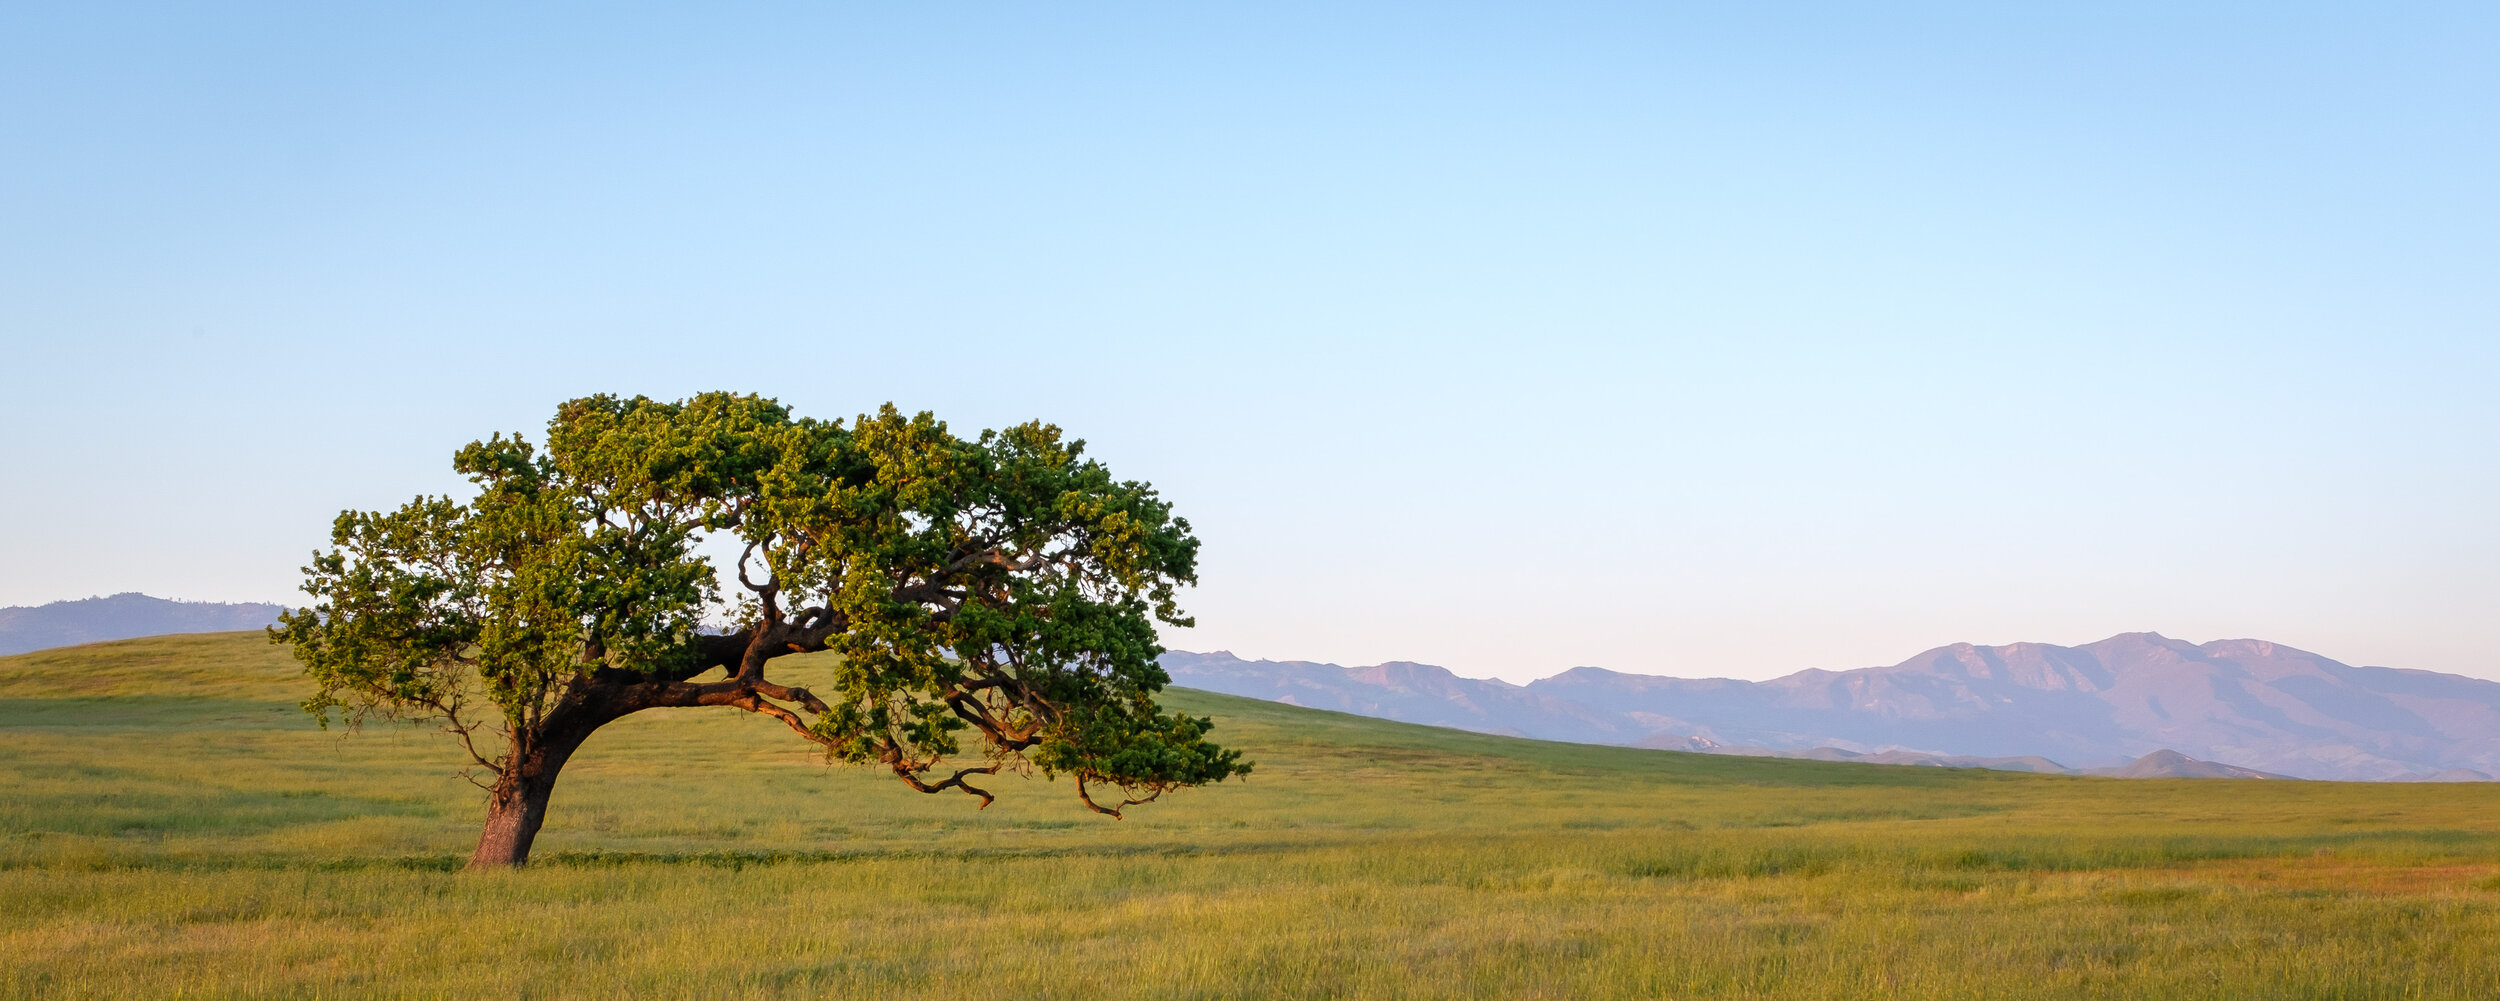
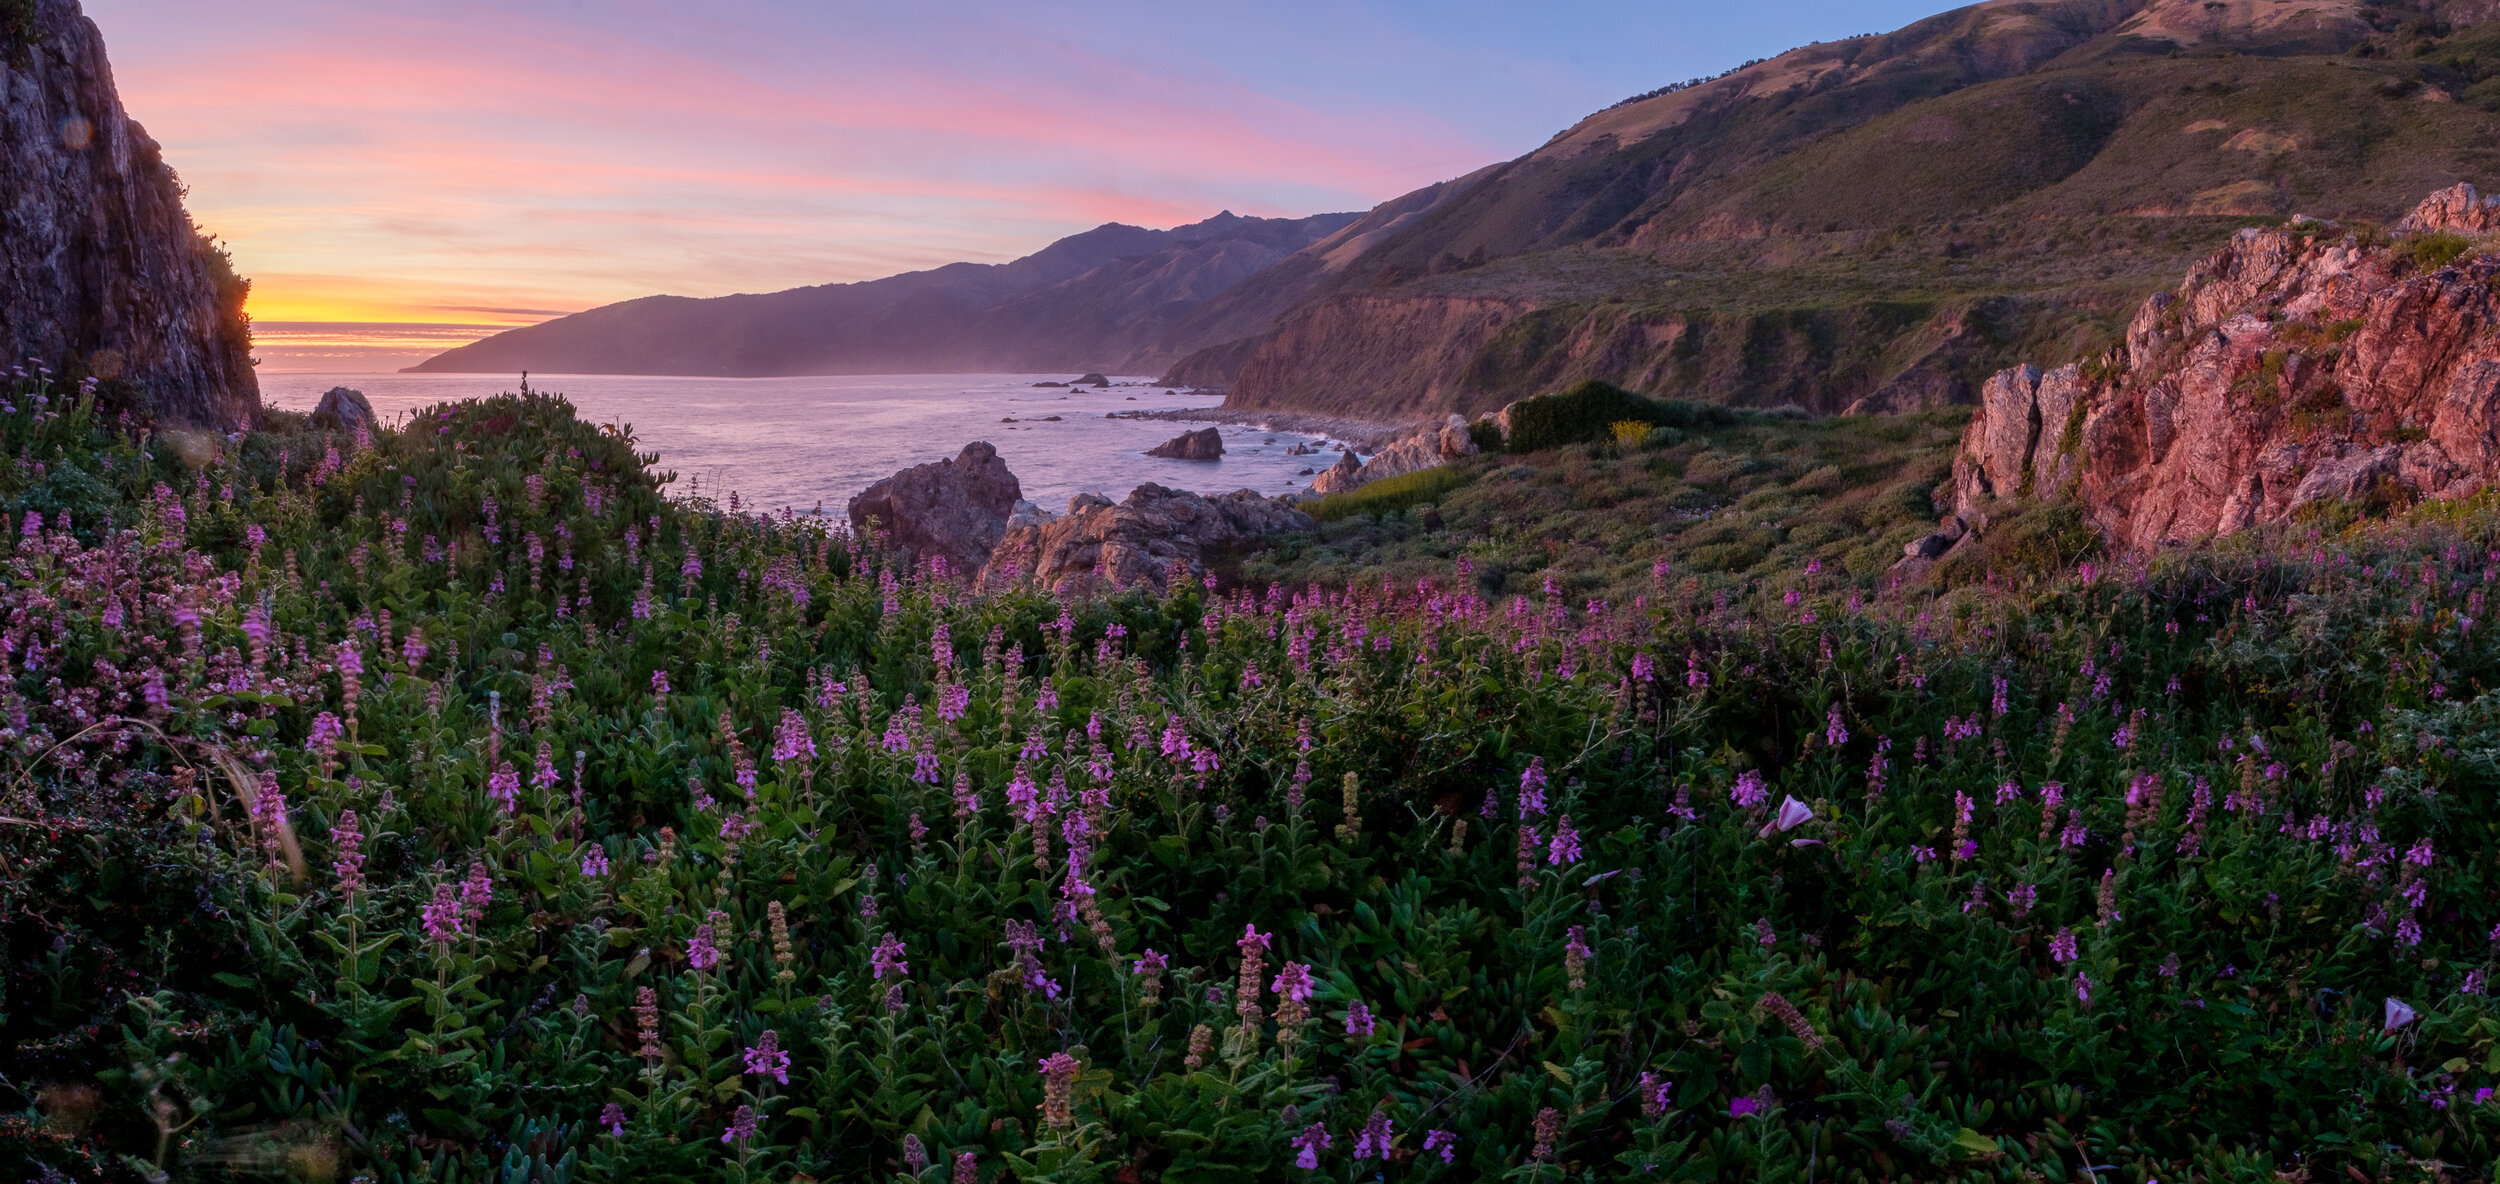
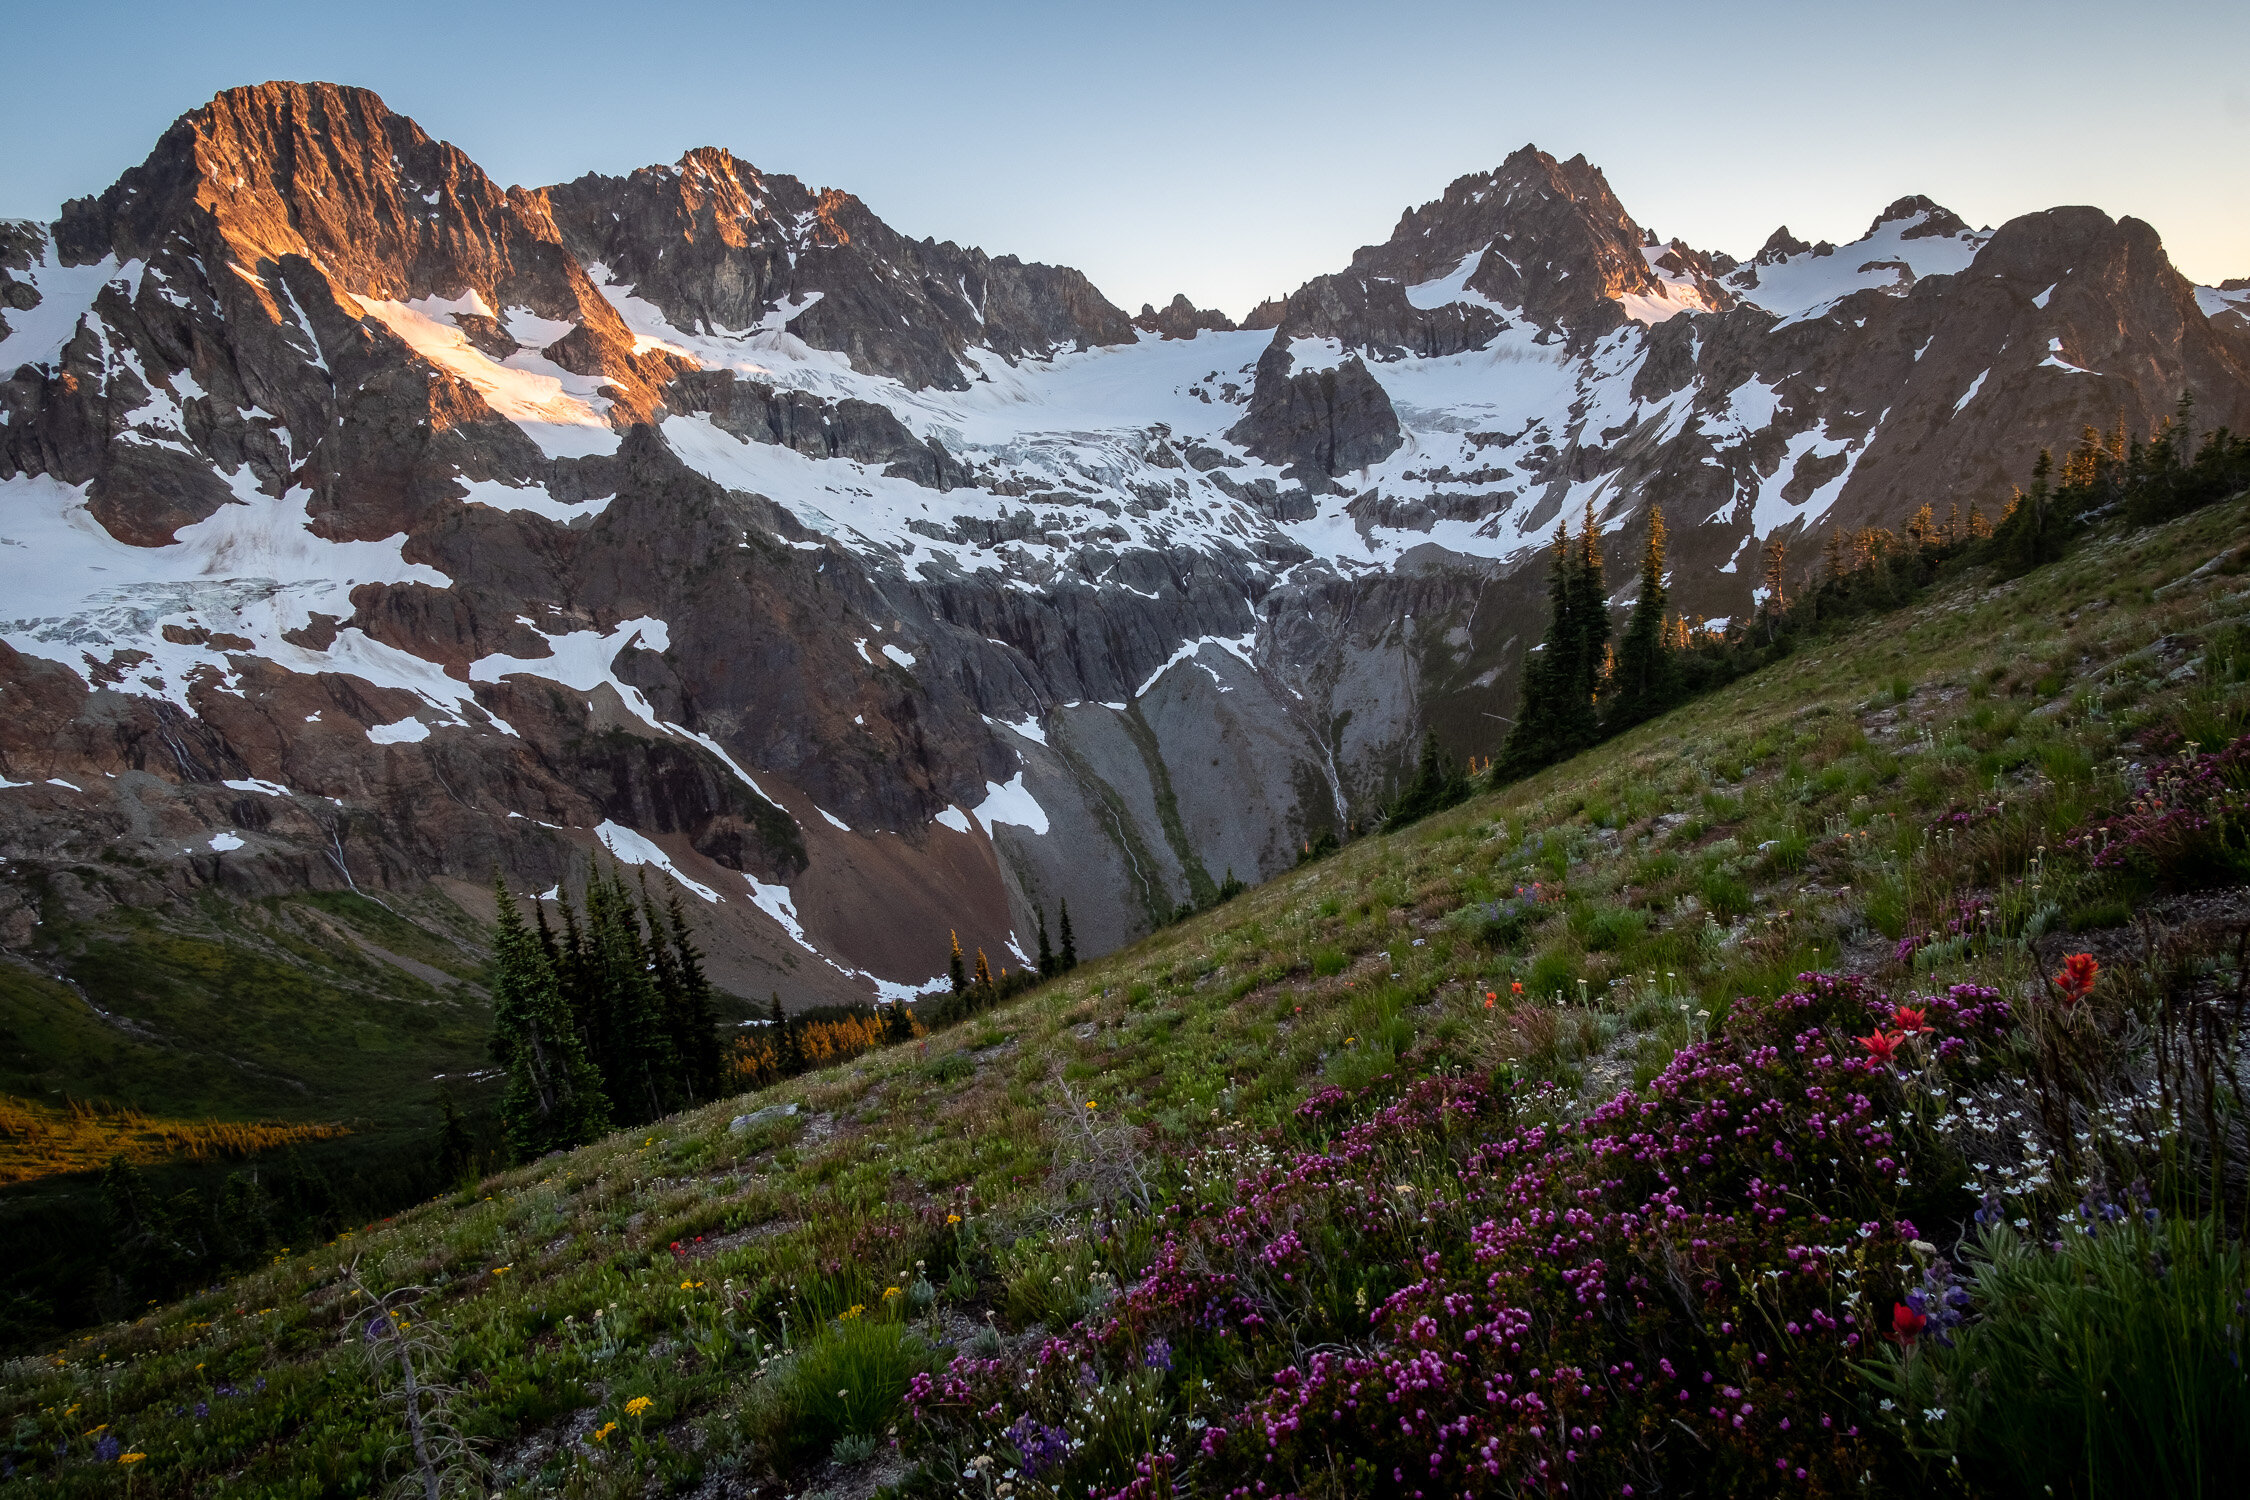
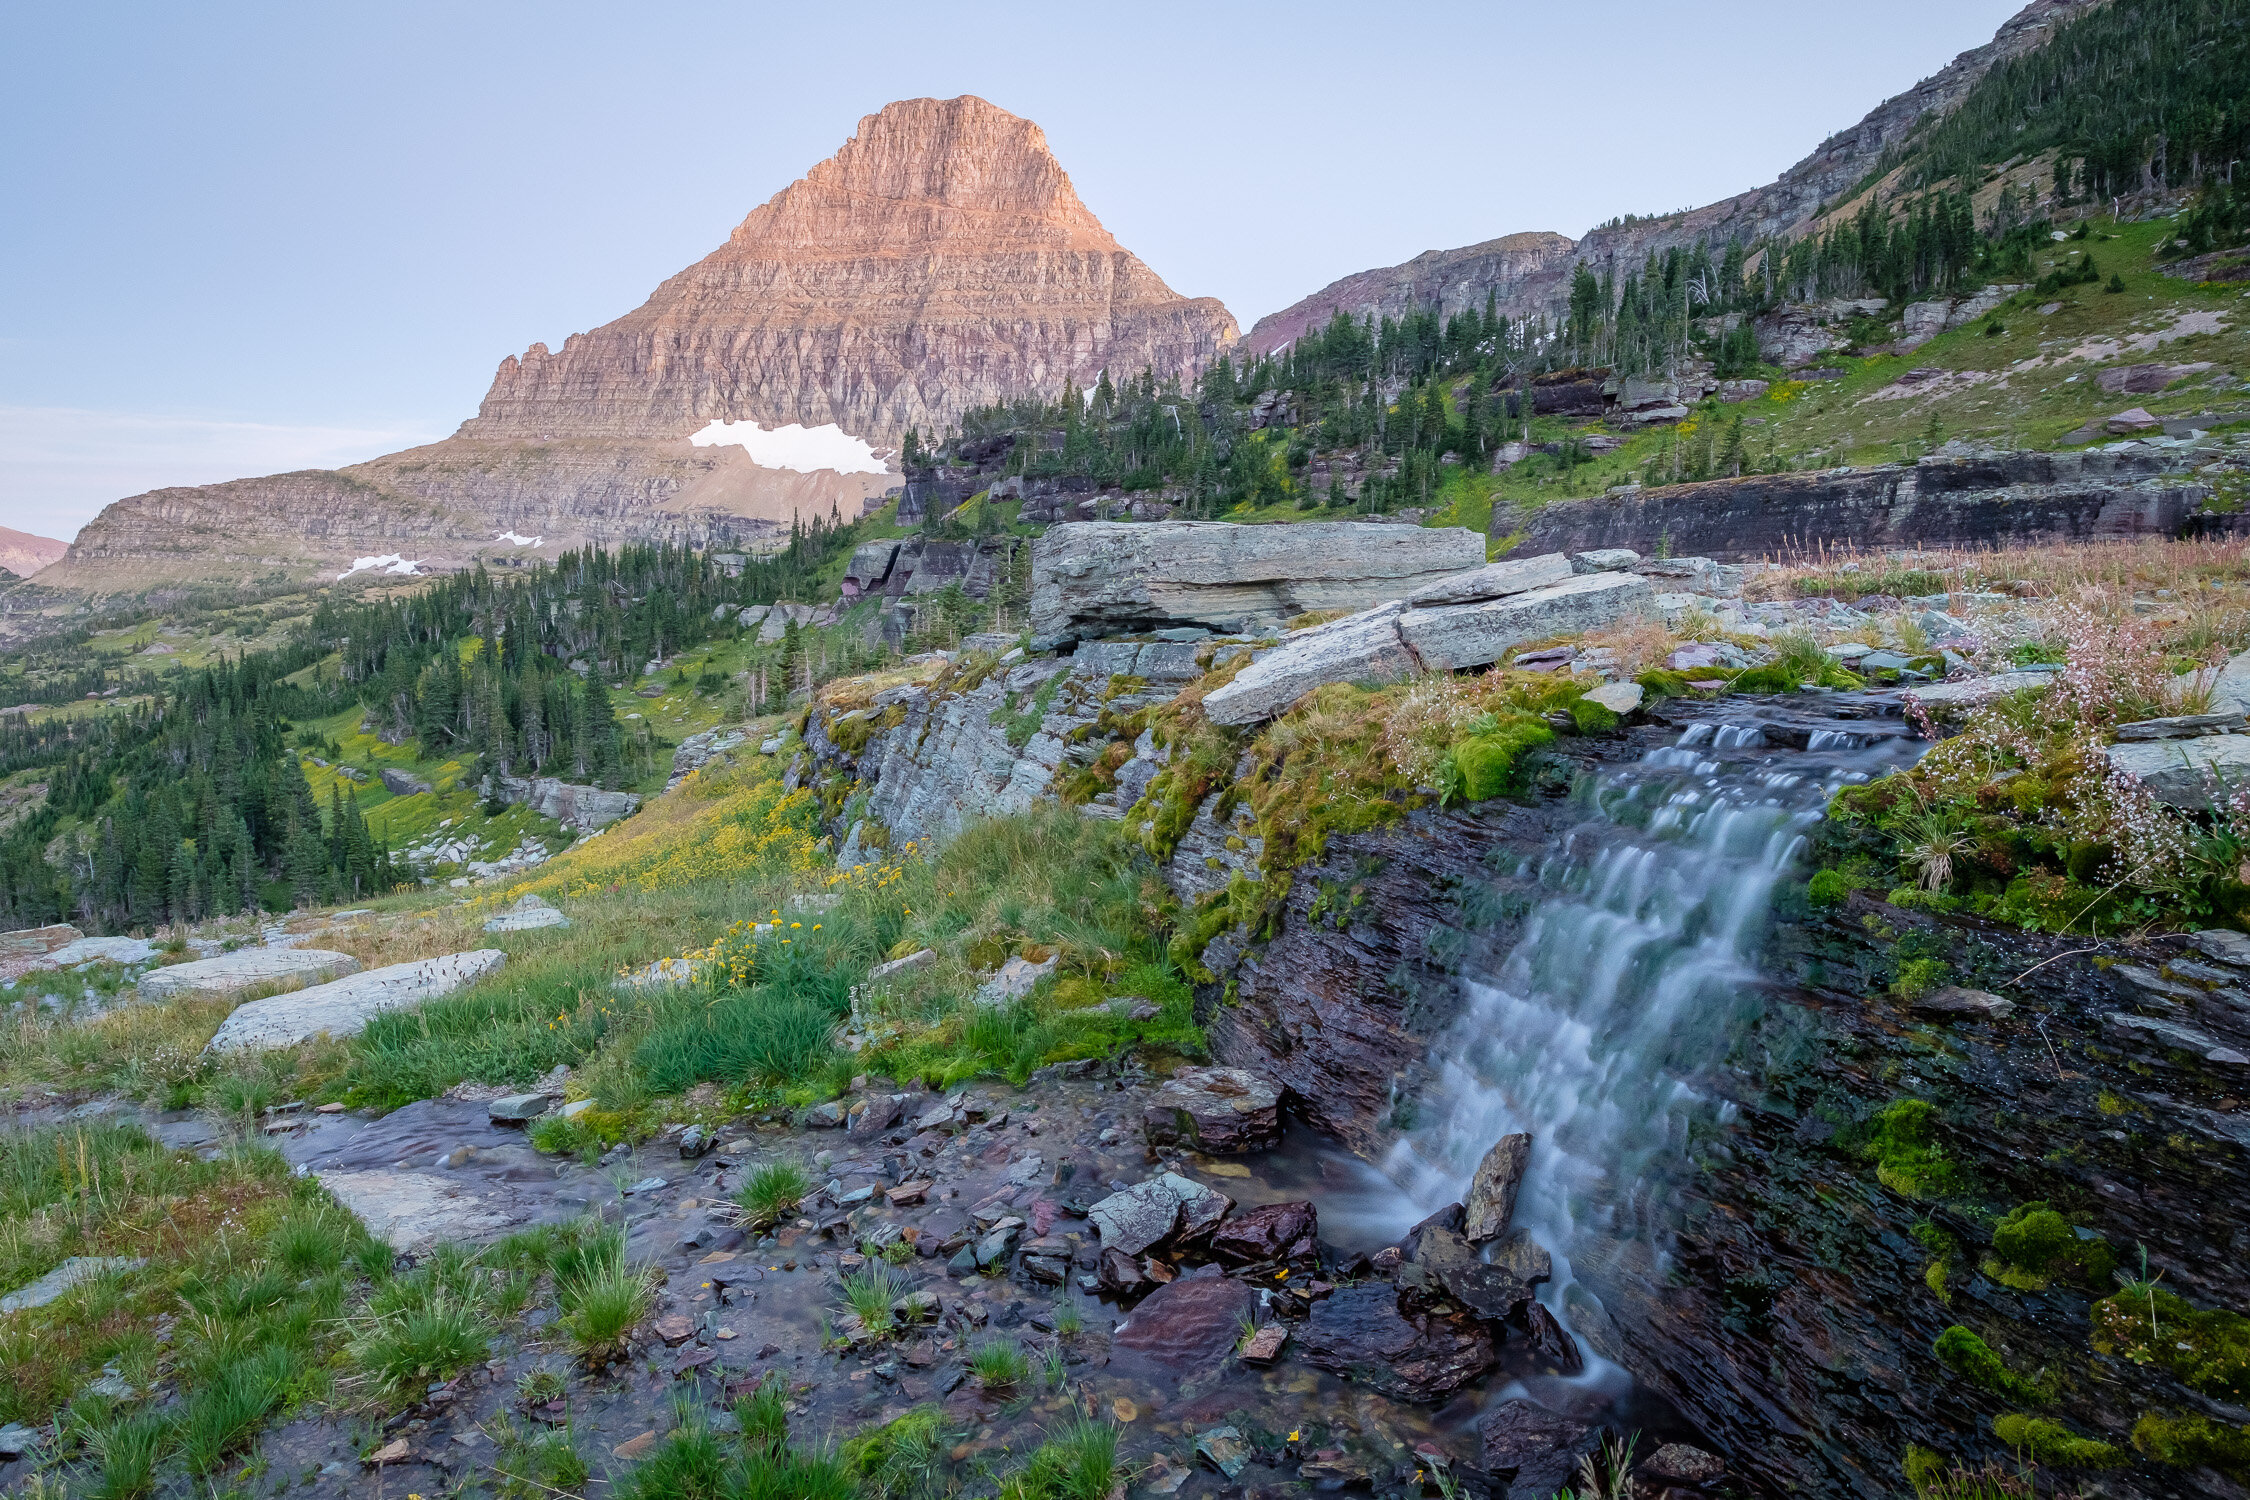
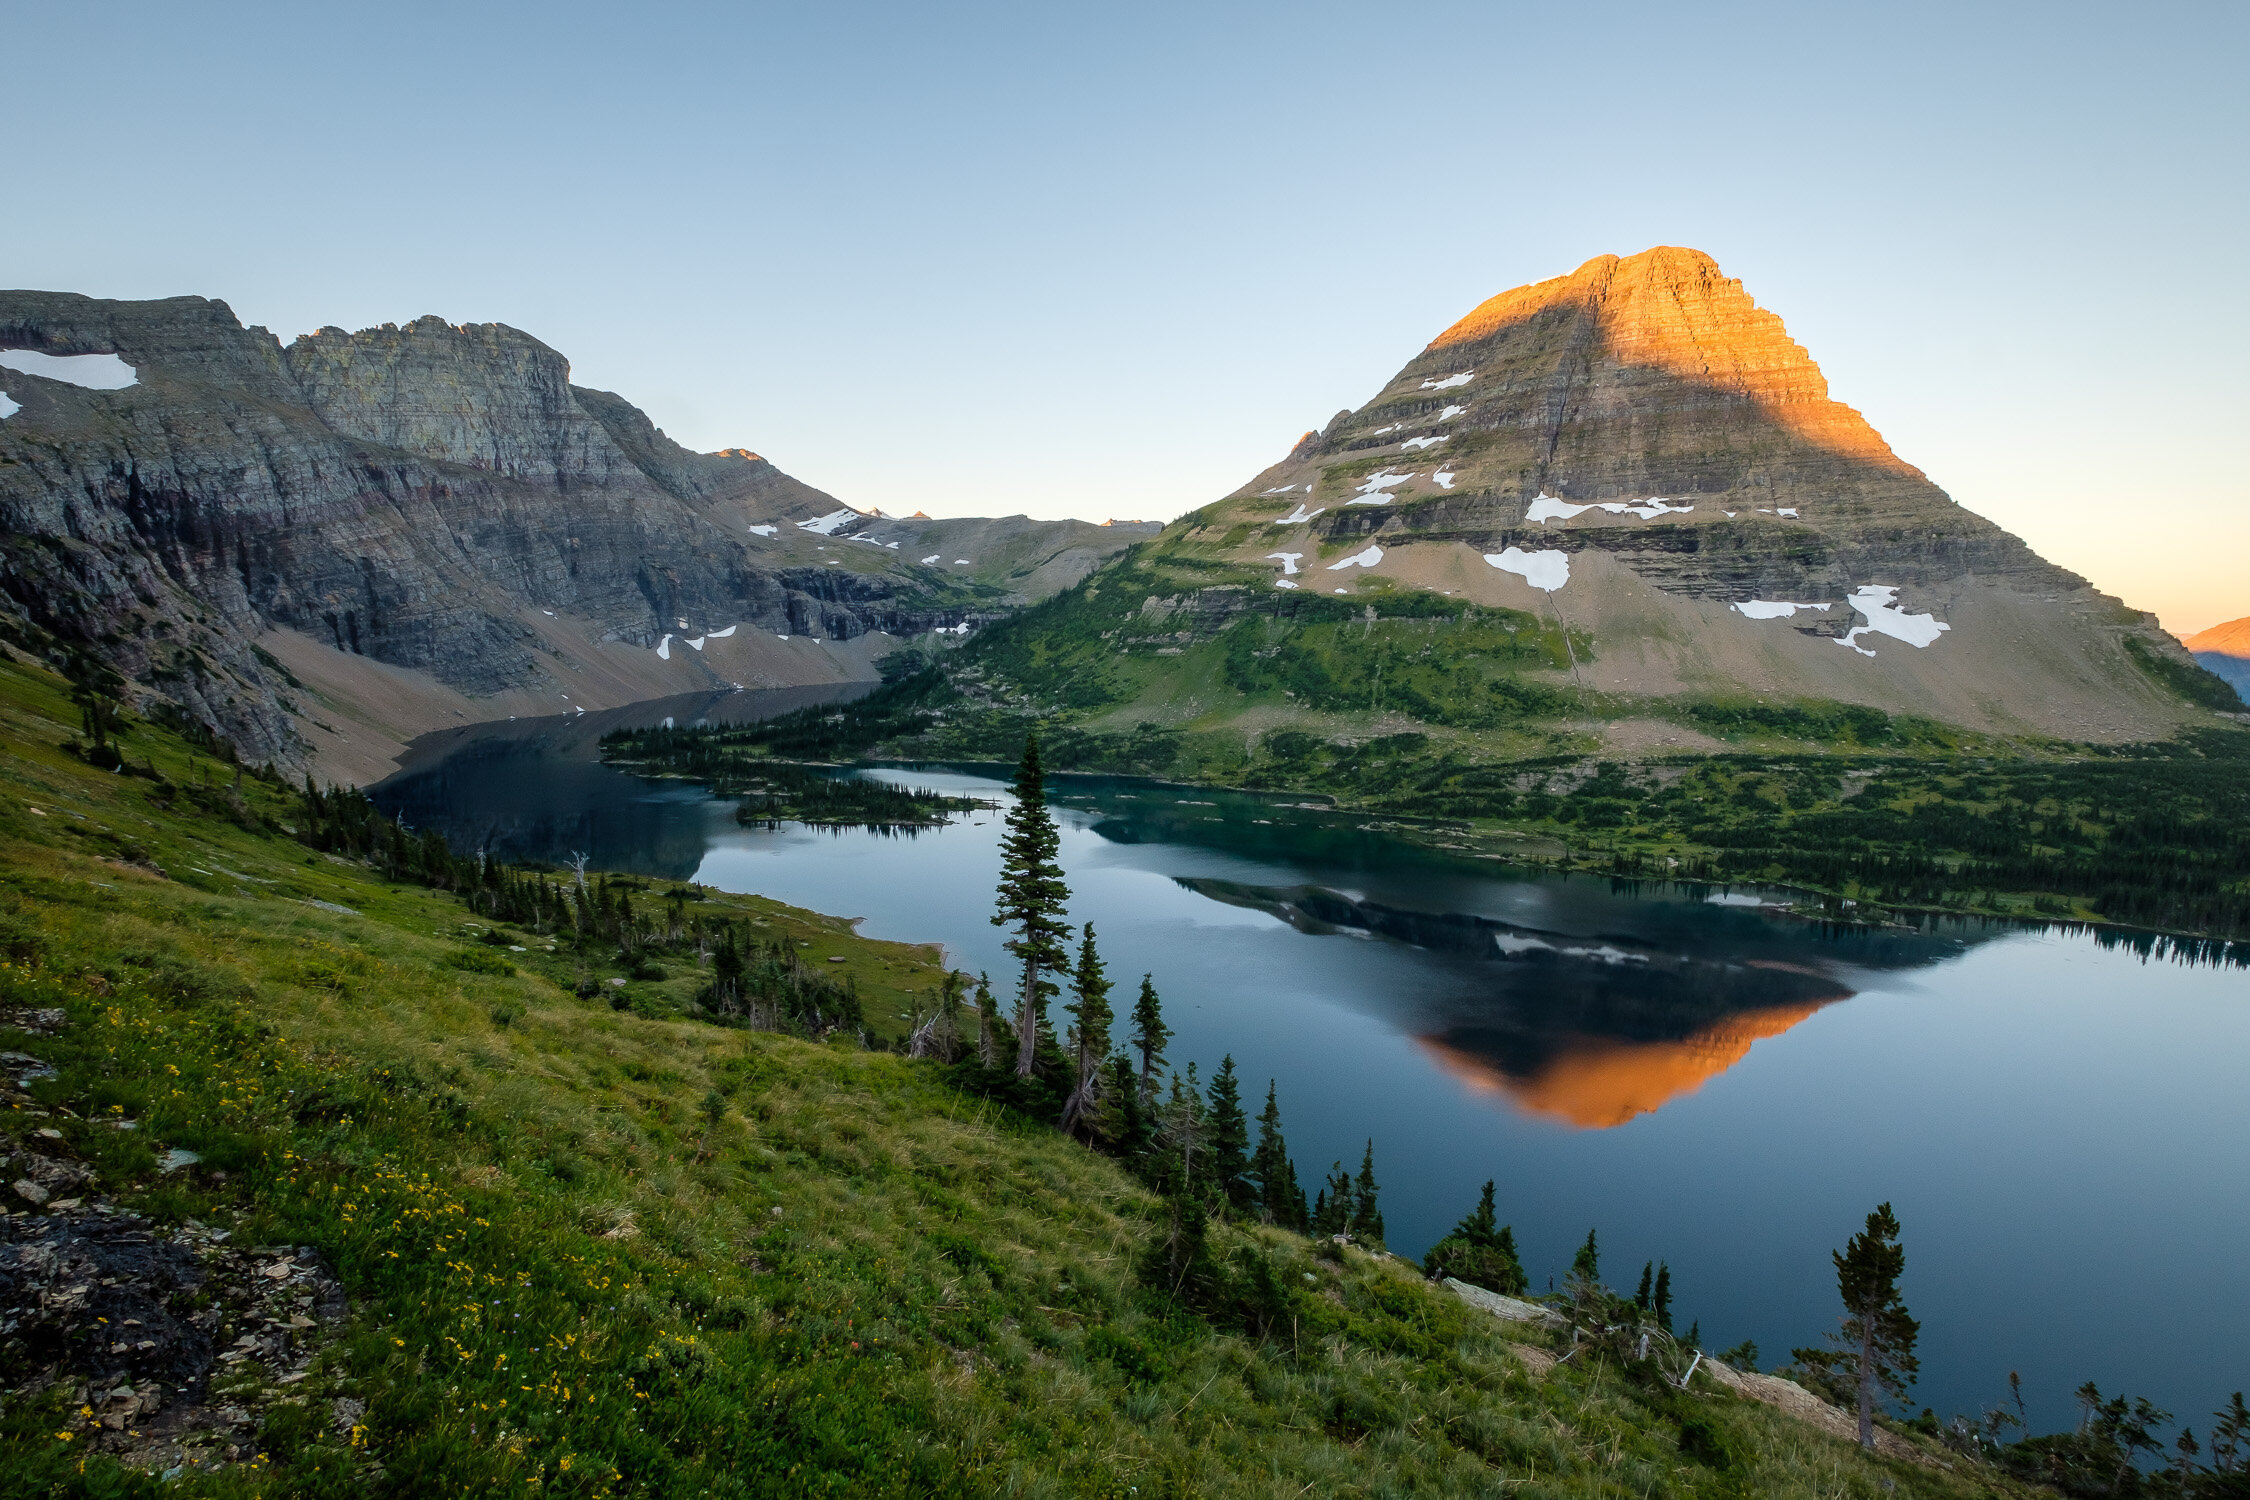
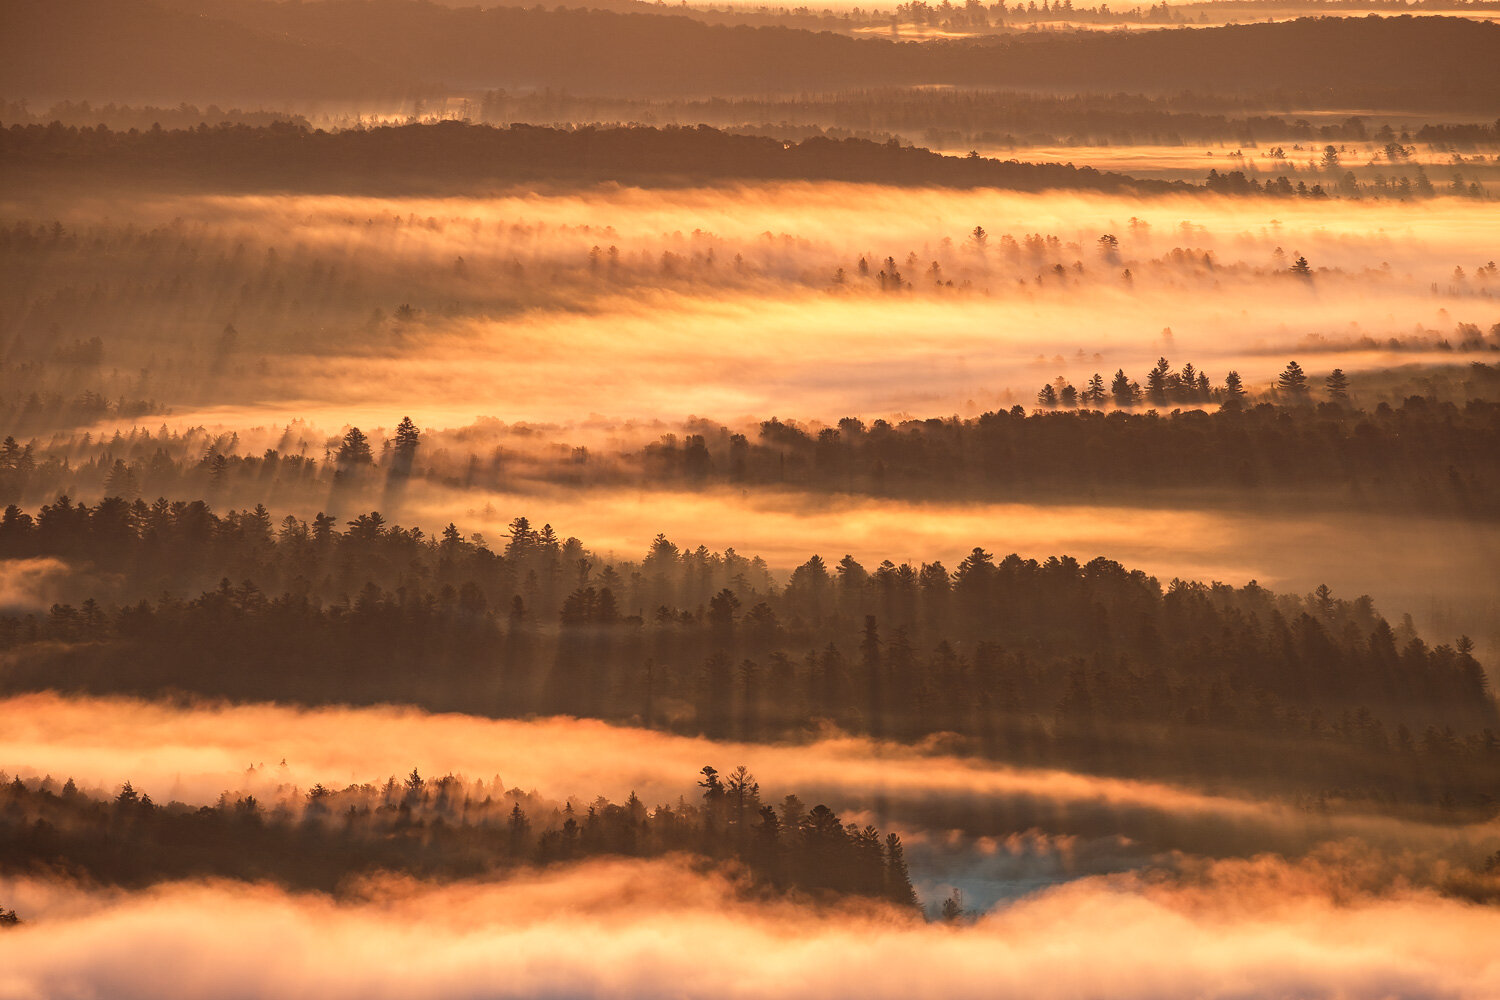
Bear with me - I’m only the better part of two months late with this one. I’ve finally finished working through my backlog and picking out my favorite photos of last year. Because of the pandemic, I found myself driving around the West Coast more than usual, which provided opportunities to revisit some old favorite locations that I don’t get to that often, including Caineville in Utah, and Logan Pass in Montana. I also was able to spend more time exploring the area around Santa Barbara - as much as I constantly dump on California, I am a sucker for their whole “lone tree in a field” vibe.

See below for my favorites, along with captions giving locations and other details for each!

Winter Flight over the North Cascades at Sunrise

Two weeks ago, I had an opportunity to fly over the North Cascades at sunrise with a family friend. We were quite lucky to have clear skies and an incredible undercast. We flew for about an hour and a half, past the Monte Cristo group, Glacier Peak, The Pickets, Shuksan, Baker, and the Twin Sisters.

A map of our flight path, which we flew counter clockwise.

It was incredible to see many familiar summits cloaked in snow, and especially fun to see so many peaks that I’ve climbed, and remember how much effort it took to get to each one - a much different experience than zipping past at 130 mph! Below are a handful of favorite photos, with captions describing the mountains depicted.

Backpacking the Tapto Lakes/Copper Ridge Loop with my Homemade Panoramic Camera

I’m only 4 months late on this one, but I’m slowly making my way through my backlog of film to scan.

At the very end of September, just before classes started up at UW, I went on a lovely 4 day solo backpacking trip in North Cascades National Park to Tapto Lakes and Copper Ridge, bringing along my trusty homemade panoramic camera.

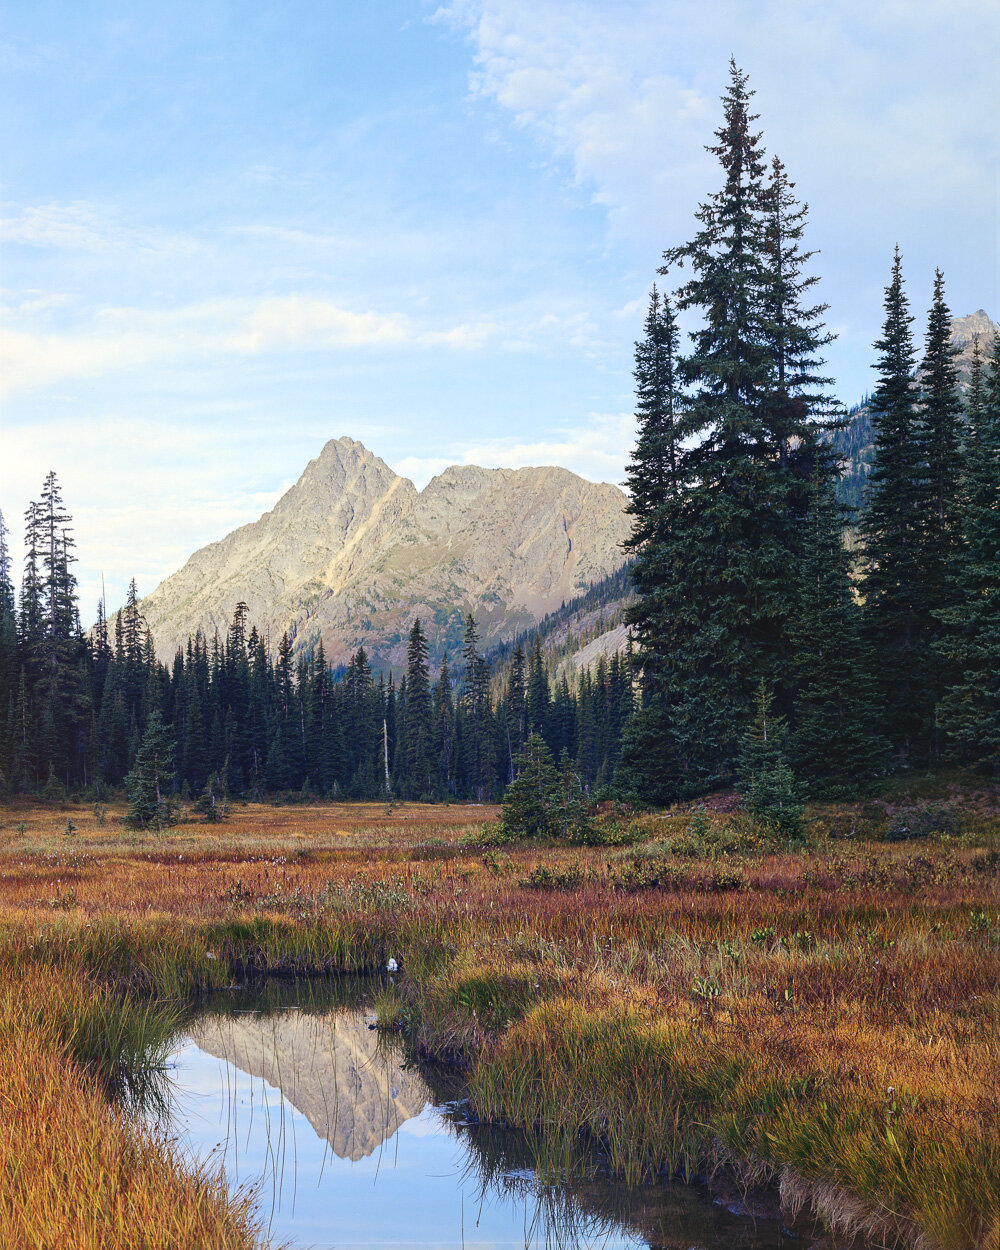
Although I had a few more light leaks than on past excursions, it was really fun to photograph some new and some familiar places with the sensual and smooth tones of Kodak Gold. Below are a my favorite shots from the trip, with captions.

Best of Summer '20

Classes at UW started back up last week, which I guess puts a wrap on my summer, at least officially speaking - I still have a few tricks up my sleeve, though. It’s been an unusual summer, and not only because of Covid. This was my first summer wandering around in a post-Bulger daze, trying to figure out what to do now that I don’t have a list for guidance. I took up mountain biking, which offers a lot of fun, and less time spent taking photos. For my trips into the mountains, I tried to get into the areas that the Bulger list didn’t take me, although I still have lots more ground to cover on that front. Highlights include a great but too-short trip into the southern Pickets to climb the East Ridge of Inspiration, a long (for me) solo backpacking trip to Whatcom Pass and Tapto Lakes, a skyline traverse of the Liberty Bell-Early Winter Spires group, and a silly overnight bushwhack off of Highway 20 for a view of the Ragged Ridge from the north. Special thanks is owed to Sean for supporting me as I continue to push my alpine climbing goals.

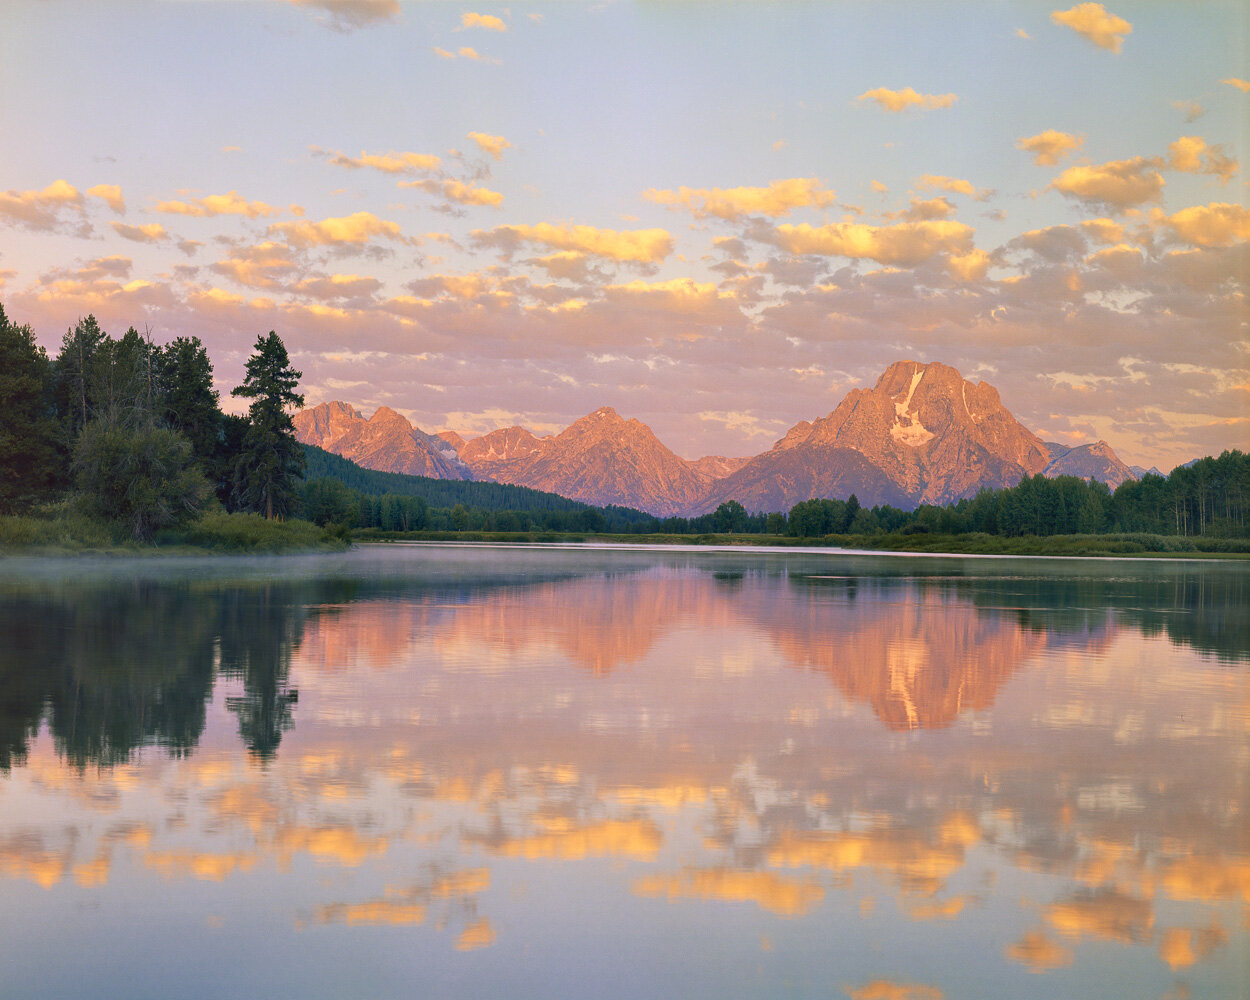
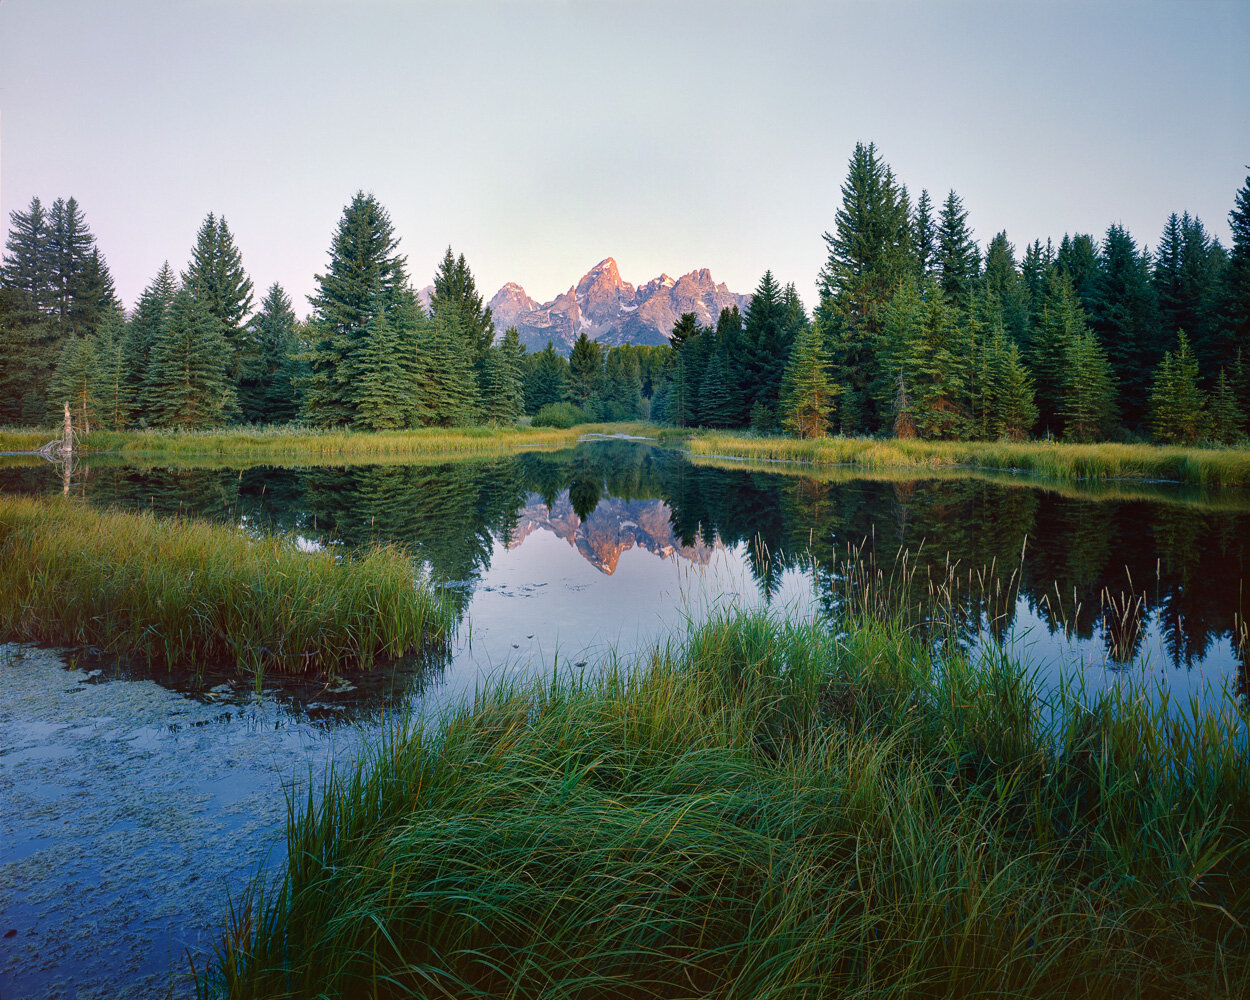
Outside of the Cascades, I spent more time discovering new scenes in southern California, where I’ve been feeding my strange and potentially misguided obsession with lone trees in golden fields. I also returned to Glacier National Park and Grand Teton National Park, although both of those places deserve much more time than I was able to spend.

Some abbreviated statistics:

  • 28 nights camping

  • 113,605 vertical feet climbed

  • 276 miles hiked

  • Countless photos taken (including plenty on 4x5 and panoramic film formats)

I whittled the many photos I took down to 17 of my favorites, not just for their artistic merit, but also because of the memories they conjure up.
Bourbon Ball Recipe

This recipe is from my grandmother, perhaps originally from Joy of Cooking, but I wanted to write it down so it doesn’t get lost in the mess of paper recipe clippings in our cookbook cabinet, primarily for my own use.

anne_weld.PNG

Anne Weld’s Bourbon Ball Recipe

Yield: 45 1” balls

Ingredients:

2 cups 'Nilla Wafer crumbs (can also use toasted sponge cake or graham crackers)

1 cup finely chopped nuts

2 tablespoons cocoa powder

1 cup sifted powdered sugar + extra

1/2 teaspoon salt

1.5 tablespoons honey or Karo syrup

1/4 cup bourbon or rum

Combine liquid Karo and bourbon.

If using a food processor for the Nilla wafers and nuts, finely chop these first. Then, in the food processor or mixing bowl, add the other dry ingredients until combined.

With the food processor running (or while mixing), slowly add the liquids until the mixture holds together.

With clean hands, form 1” balls and roll in powdered sugar. Place in a sealed container and freeze at least 2-3 hours. Serve frozen.

Best Photos of 2019

It’s a new year (and a new decade) so it’s also a good time to reflect back on my photography from this past year.

For me, 2019 was marked by a much greater focus on film photography, including both much more use of my 4x5 camera, a little bit more shooting with the 6x17, and some time spent tinkering and refining my homemade 3:1 aspect ratio 35mm panoramic camera, all of which have been great fun.

Besides the film work, my summer was spent focusing intently on finishing the Bulger Peaks, which were mostly less photographicly productive trips, with two main exceptions: a ski ascent of Primus, and a solo trip to climb Logan, Katsuk, and Cosho.

Below are my 20 favorite photos from the year!

Making a Helmet Carrier for my Ski Pack

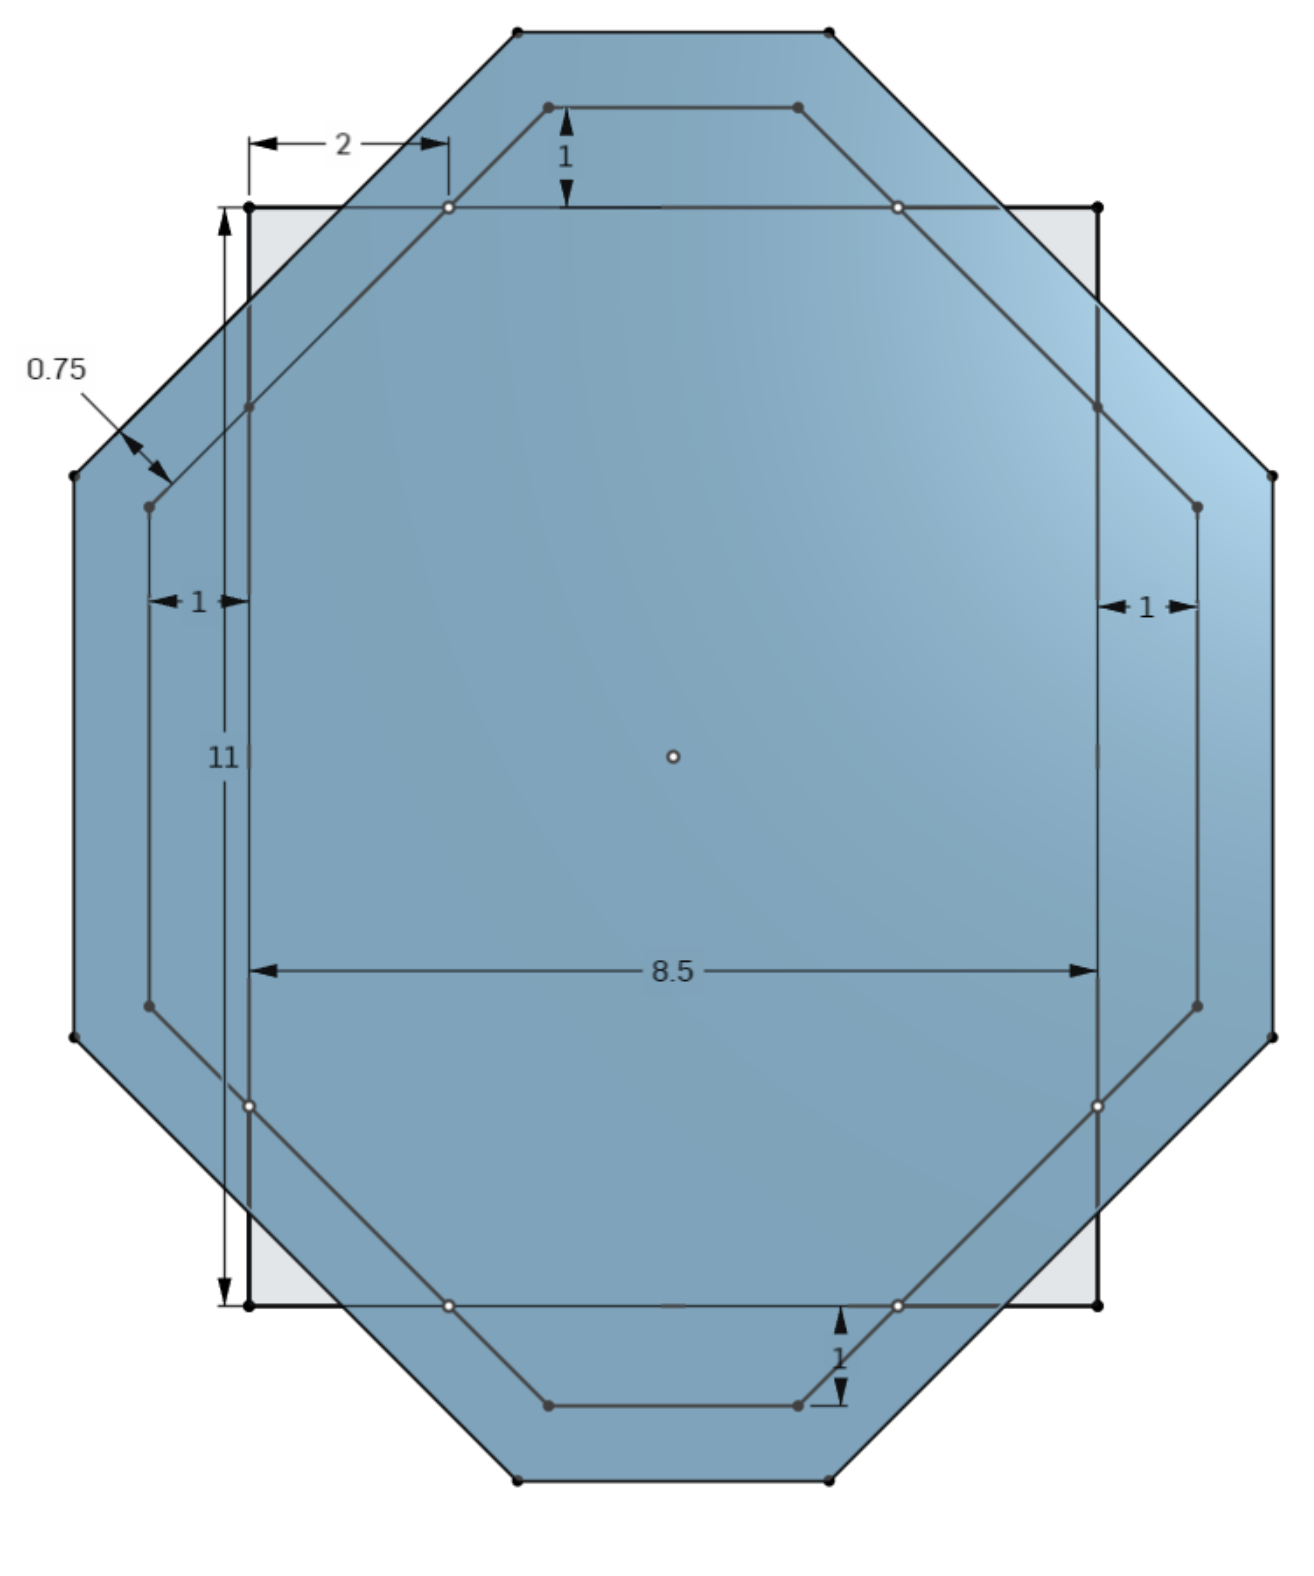
Dimensions of the fabric, with a .75 inch double hem.

Dimensions of the fabric, with a .75 inch double hem.

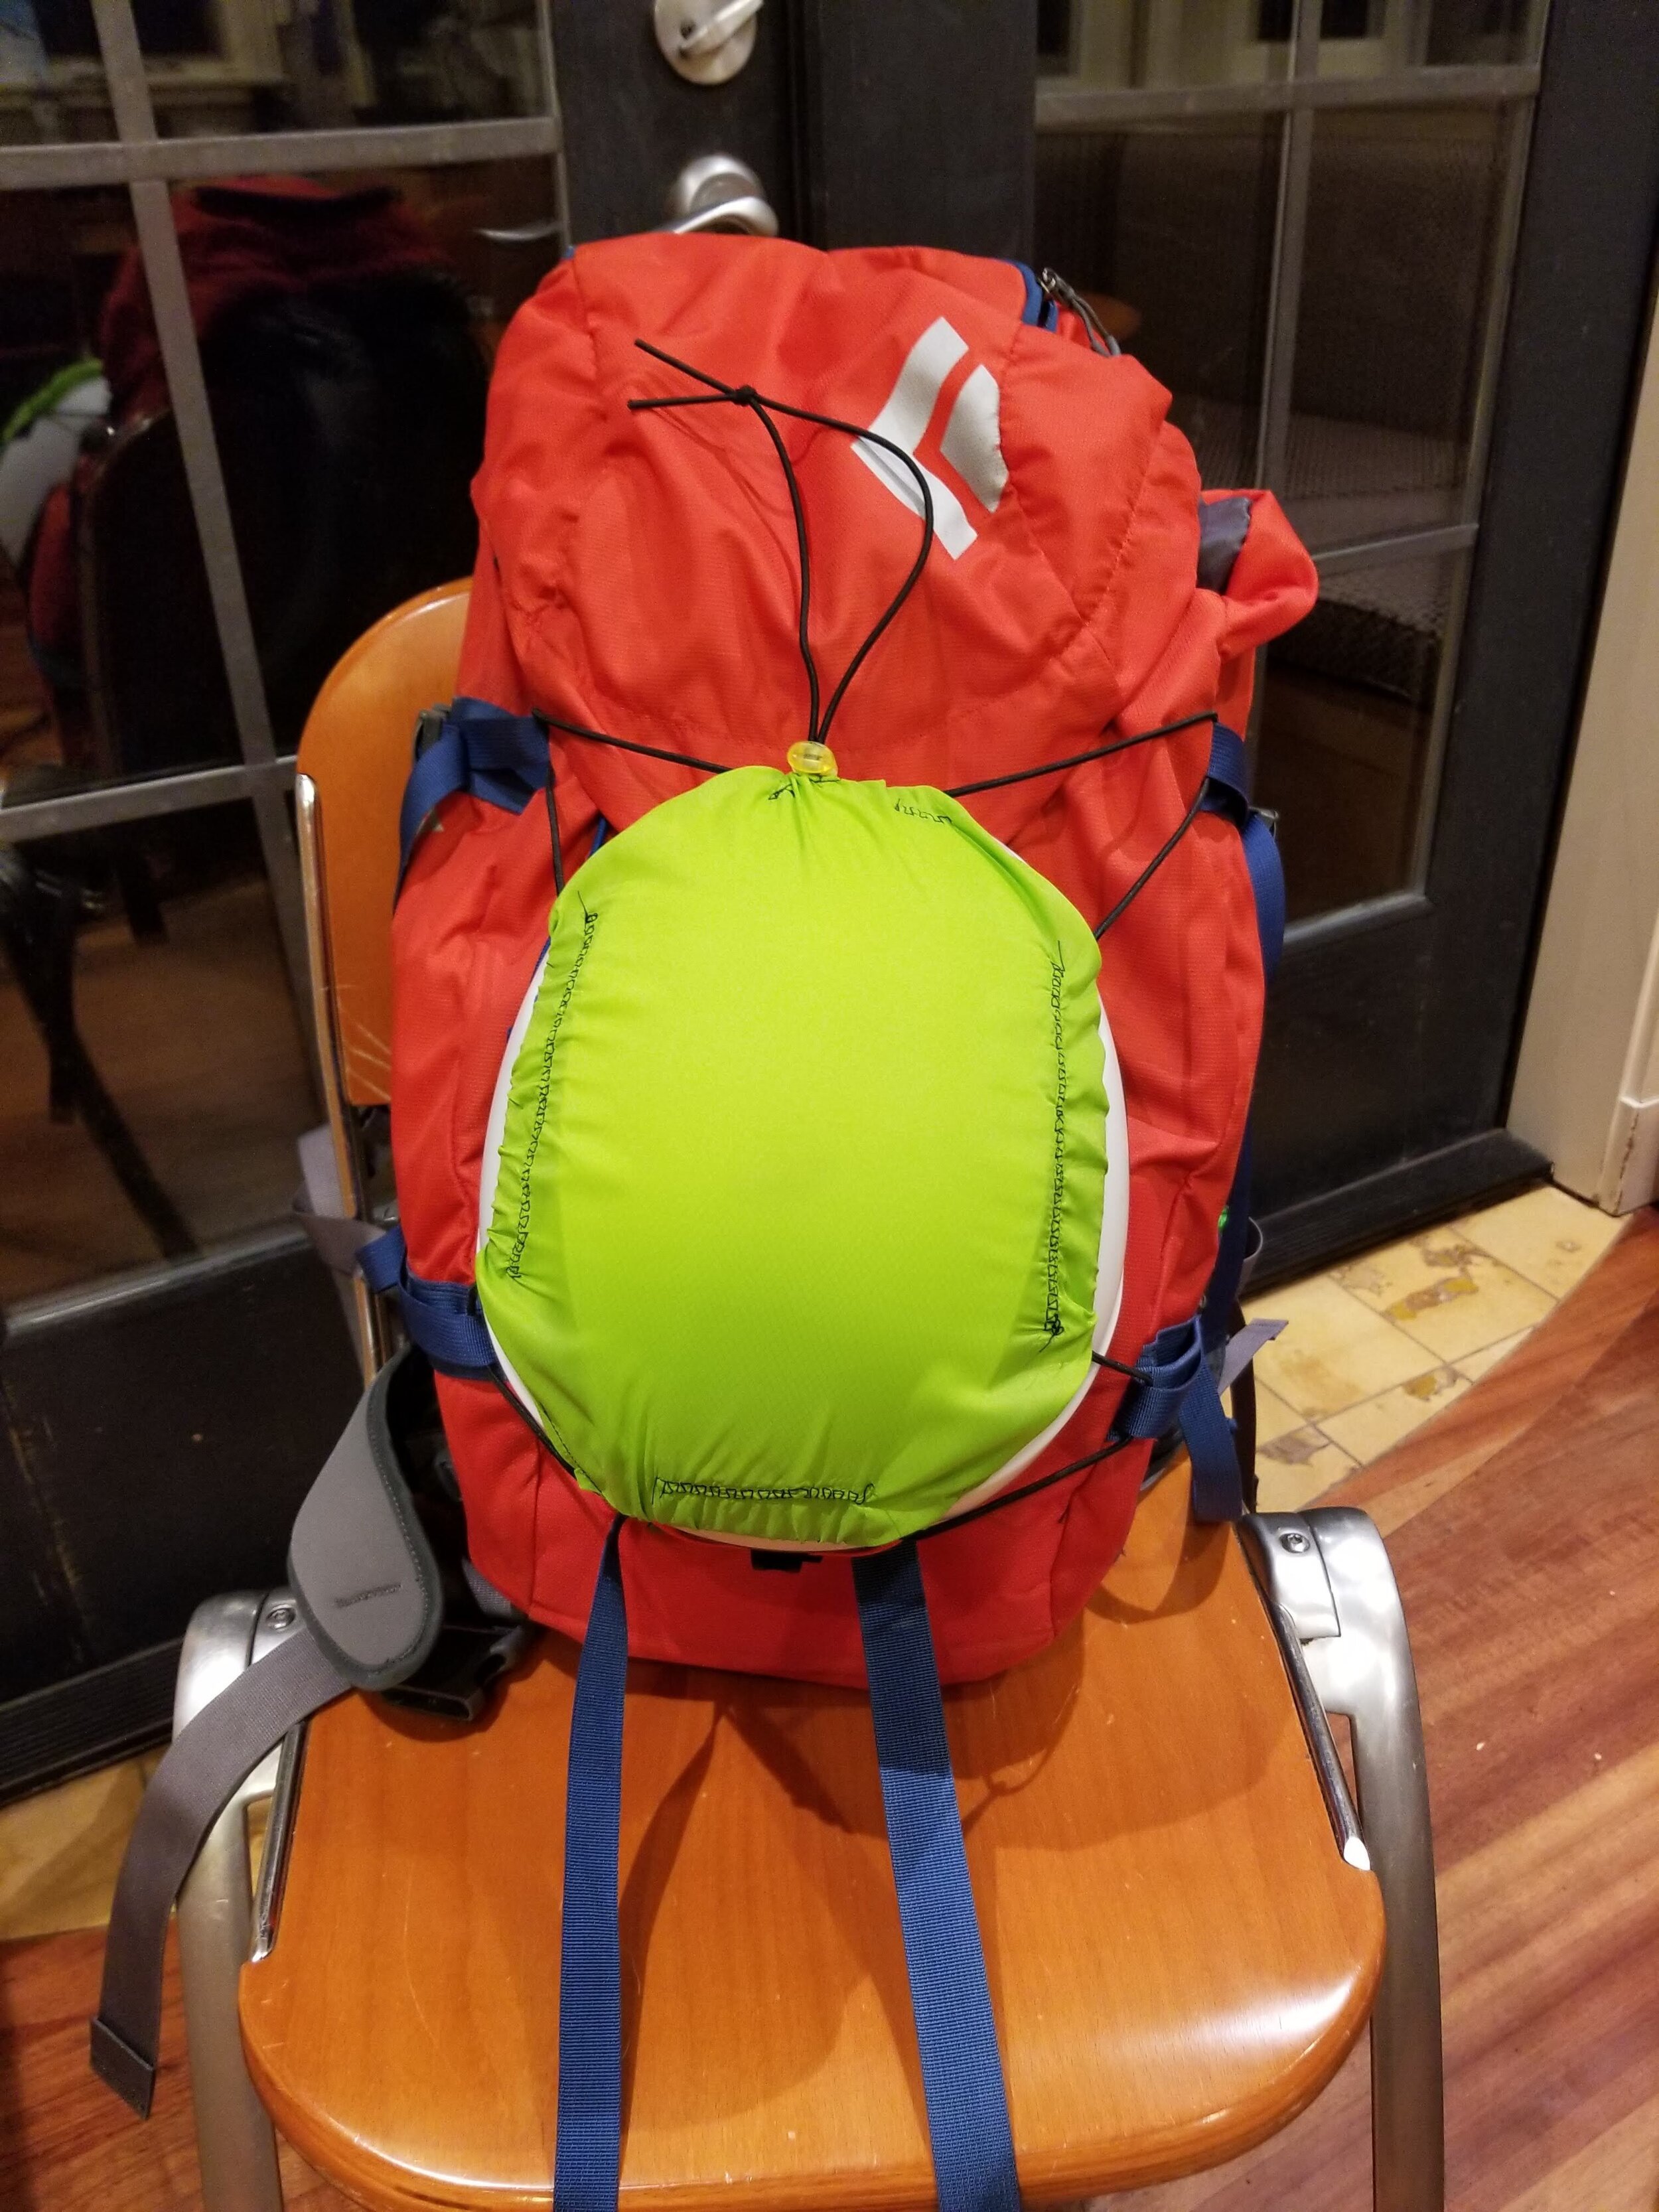
Today I made a little carry system for my ski helmet on my ski pack. It’s very simple, using lightweight ripstop nylon, about 4 feet of shock cord, and a cord lock. It mounts to the 4 side compression straps of the pack, and is pretty quick and easy to insert and remove the helmet from.

I wish I’d used heavier fabric, as the very thin ripstop I used was a pain to work with and some of my seams came out ugly. This is also probably a good project to use some stretchier fabric for, but I didn’t have any lying around.

Initial Thoughts: Intrepid 4x5

I’ve been shooting 4x5 film for almost two years, but the pace of my photography didn’t really pick up until a year ago, when I purchased my own 4x5 camera, the Intrepid 4x5 mk III. The camera is far from perfect, but it is the only 4x5 camera (that I know of) that’s still being manufactured and sells for less than $1000. Furthermore, it’s significantly lighter than any other 4x5 field camera, making it well suited to my hiking and camping antics. Since my camera arrived, I’ve taken it on two trips to New York, one to Wyoming, and countless trips around Washington, mostly in the Cascades. While I started shooting black and white film with it, I pretty quickly switched to shooting color film, mostly C-41, which I develop myself using a Mod54 processor, as it’s so much less expensive (and faster) then sending the film to a lab for development.

My experience with 4x5 has absolutely been frustrating at times, but I keep finding myself returning to the format, which must mean I like it! It has taken some time to get the hang of various camera movements, but my biggest challenges haven’t been related to the actual taking of photos. I’ve struggled to get film out of my older Lisco Regal holders, which don’t have a depression to insert a fingernail into, making it difficult to actually get a hold on the edge of the sheet of film. More recently, I switched from using the Flextight scanner at UW to scanning negatives at home using a tracing panel and a digital camera, which is much more convenient and faster, until I started noticing strange yellow fringing on my negatives. At first, I thought this was a development issue, then I thought it was light leaks, but I finally discovered (with assistance from the folks at /r/largeformat) that it was actually a side effect of my scanning setup. Back to the Flextight until I can debug those issues further.
The Intrepid camera itself is great, although its build quality is noticeably at solid as the Toyo field camera(s) I used while I was at Cornell. I enjoy its light wight and simple, enhance-able construction, but find the rear standard to be especially prone to wiggling. The screws holding the ground glass in place were also made of very cheap metal, and I cracked the heads off of both of them while attempting to replace my ground glass. I simply glued the ground glass in place as a stop-gap, but really need to figure out a better long-term solution. I also probably ought to upgrade to a nicer ground glass, perhaps with a Fresnel lens, as my current ground glass is nearly impossibly dim, especially when using a polarizer.

Below, I’ve selected 20 or so of my favorite photos I’ve taken (so far) with the Intrepid.

Best of Summer '19

Well… it’s October now, so I probably can’t delude myself much longer.

This summer has been a fantastic one, with many trips to spectacular places, both familiar and new. As my first spring in the PNW since High School, I was lucky to get out on several longer ski tours in the early summer, including ascents of Glacier Peak, as well as Eldorado Peak and Primus Peak. While much of my energy was focused on Bulger Peaks, I was also luck to get out of Washington for travel to Norway, the Tetons, and the Adirondacks. I also really dove into photographing landscapes on film, devoting especially much time to shooting with my big 4x5 view camera, which I’m finally starting to feel like I’m getting the hang of. This slow, delibrate style of photography is immensely gratifying, and I’m planning on writing another blog post focusing just on 4x5 soon - keep posted.

Before we get to the photos, per tradition, here are some statistics about my summer:

  • 64 days in the mountains

  • 28 nights camping

  • 403 miles hiked

  • 170,030 vertical feet climbed

  • 41 summits summited

And here are some of my favorite photos, shot on both film and digital.

Shadows at lunch

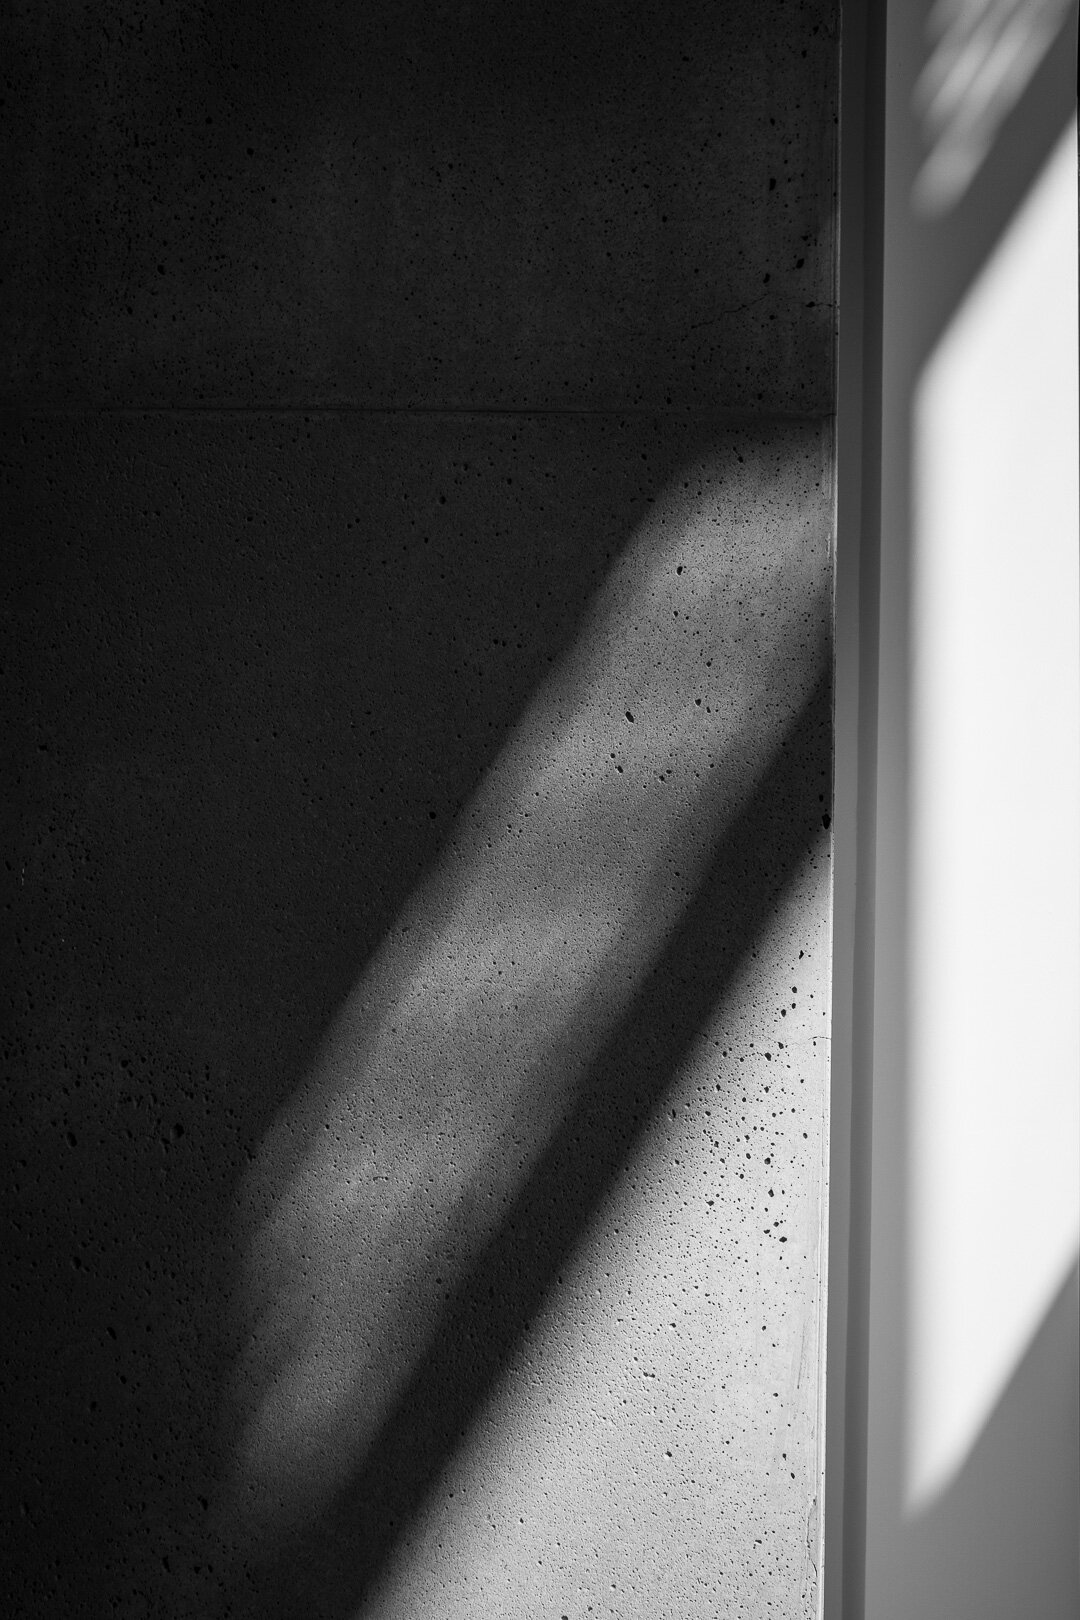
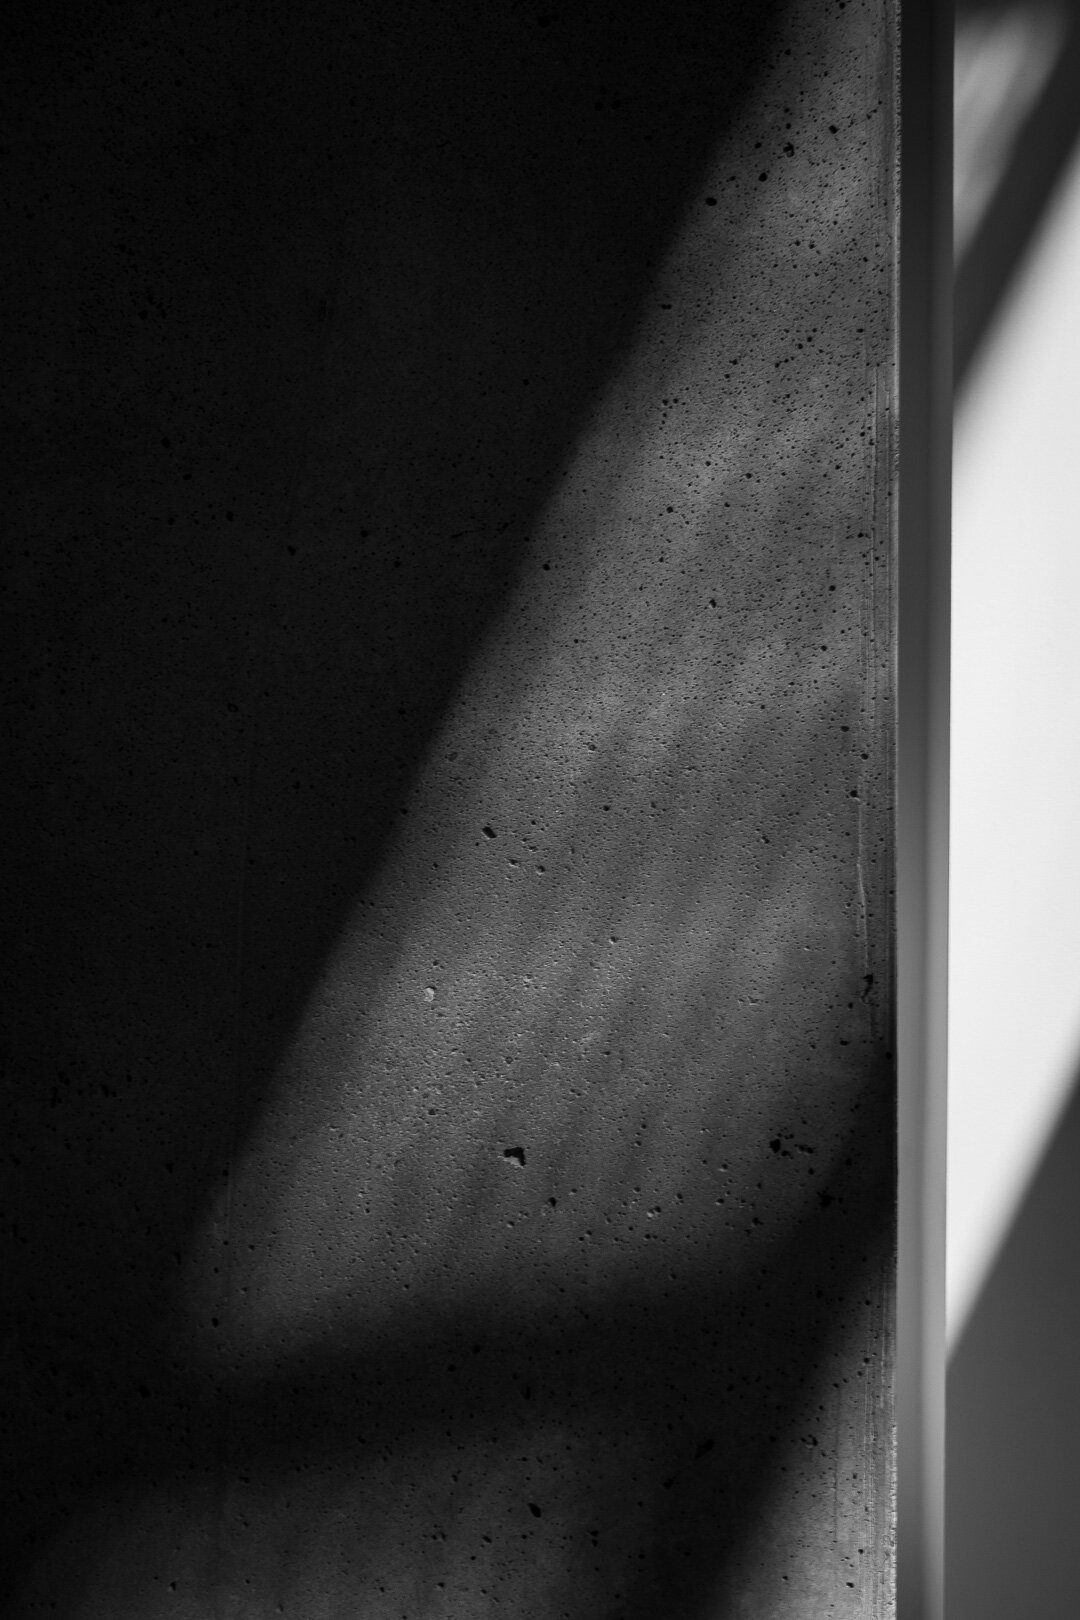
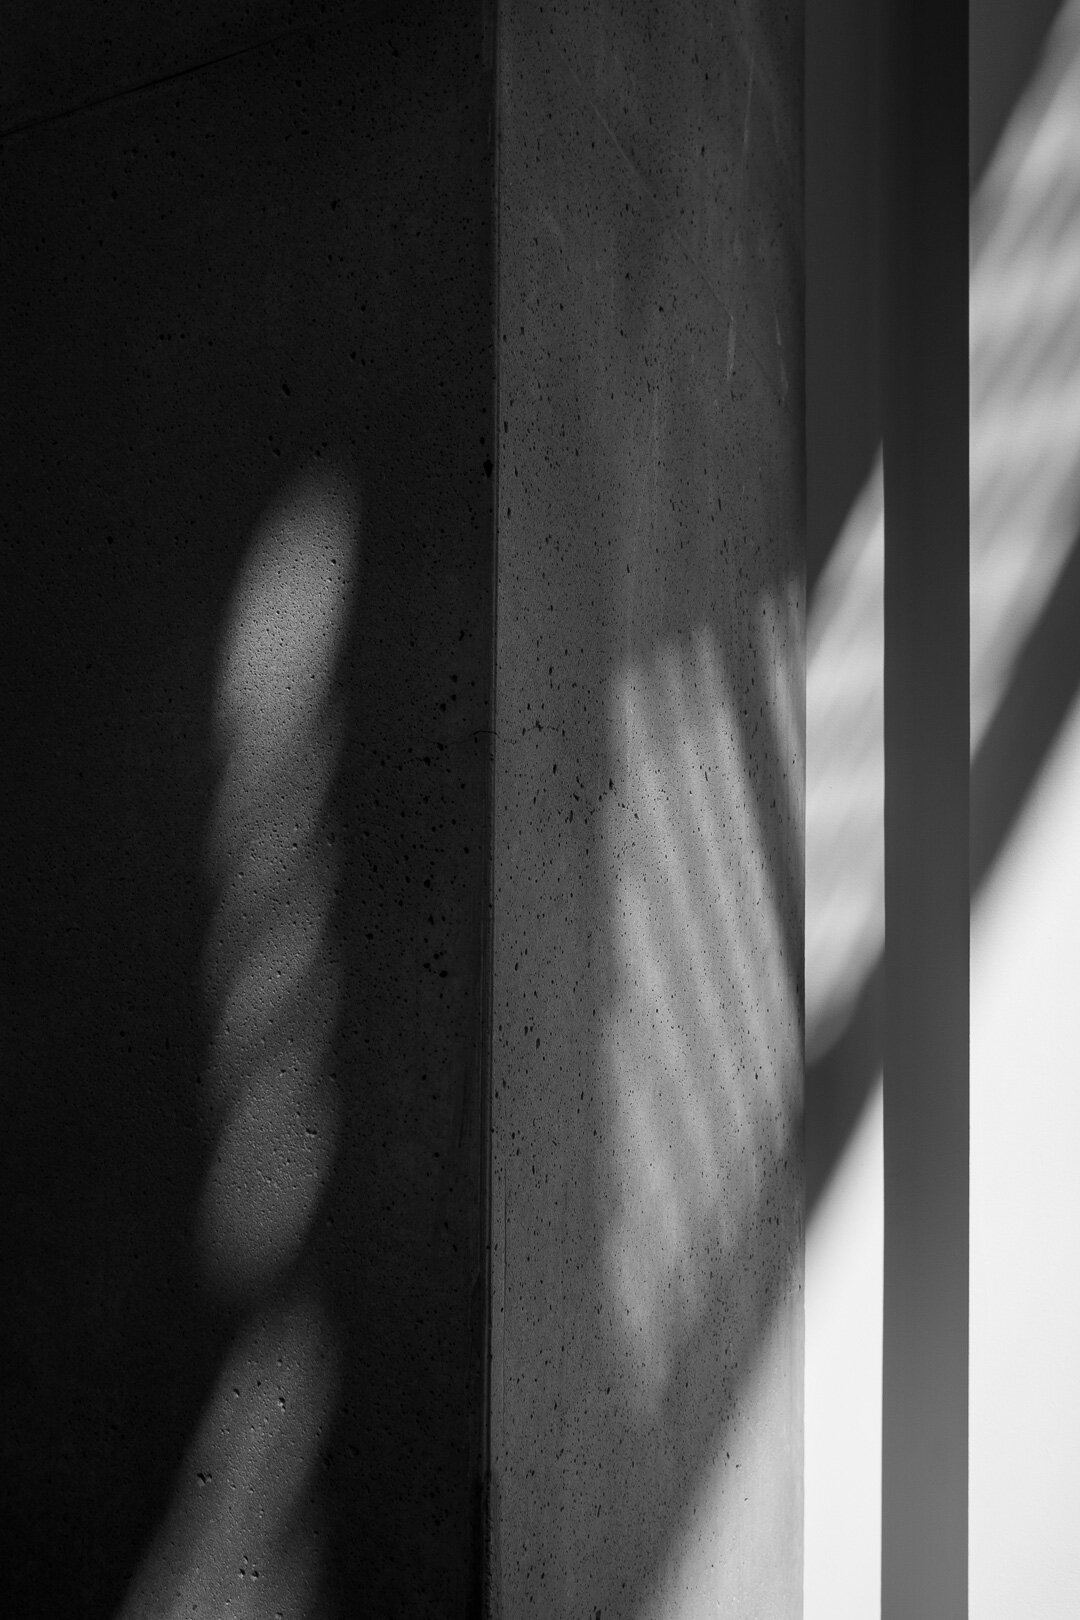
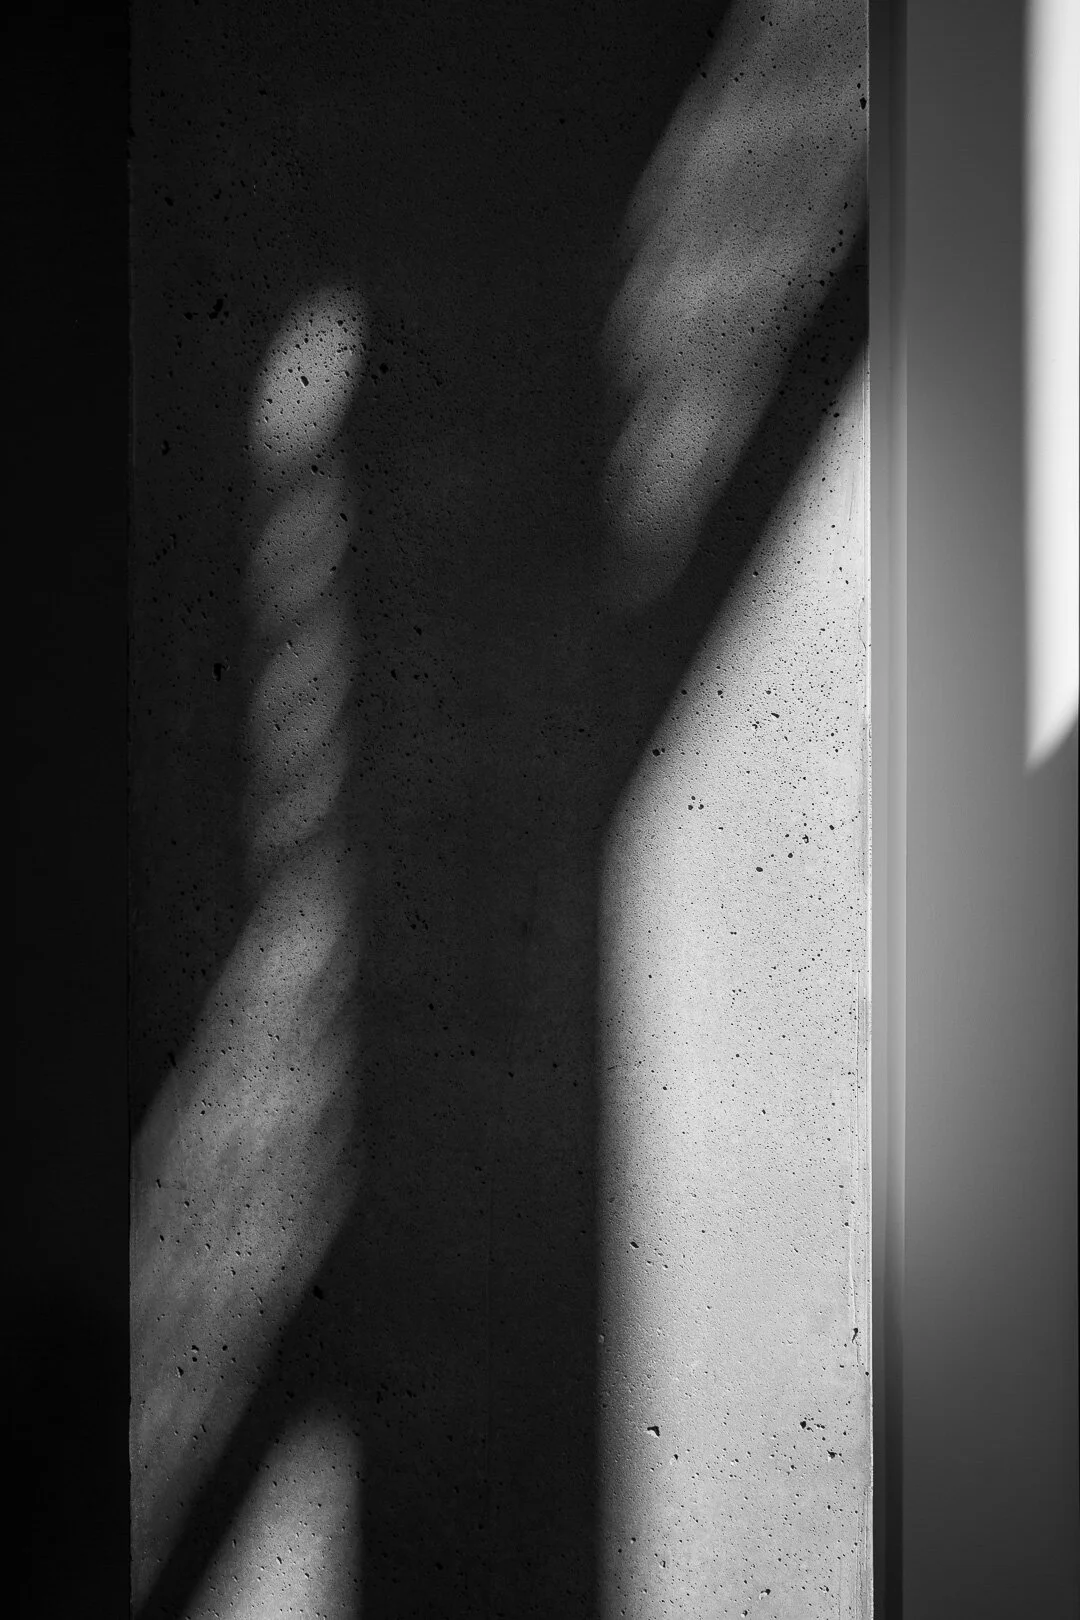
A few years ago, I did a good job of carrying a small camera with me at all times, so that I could photograph any interesting composition that caught my eye. Since starting grad school, I’ve done a poor job of keeping up with this habit, however. Recently, I’ve been trying to get back in the groove, and in that spirit, I spent an hour yesterday at lunch photographing the procession of shadows across the wall in the lounge in the new CSE building at UW. The grated metal sun visors make for some excellent shadows, and it was fun watching how they changed every few minutes while chatting with my friends.

DIY 35mm Panoramic Camera - CAD Files and Instructions

I posted my previous blog post on reddit, and got a lot of great feedback! As such, I want to make the cad files publicly available, alongside some instructions so that anyone who’s interested can build (and improve upon) my design.

Step 1 - Download the .dxf files

I’ve zipped them all together, here. Lay them out, and cut them out of 1/8th inch plywood or some other 1/8th inch thick material of your choice (perhaps opaque acrylic?). Note that the units in all the files zipped above are in centimeters. If you don’t have access to a laser cutter, get in touch with me via email and I can cut parts for you. You should cut a single version of each part in the archive except for the ‘front of lens box,’ of which you’ll need two.

When you’re finished, you should have 26 parts for the camera body, and 6 for the camera back.

Step 2 - Buy other parts and get ready to build

In addition to the laser cut items, you’ll need:

  • 3/16 inch dowel

  • 1 ~1.5 inch section

  • 2 ~1 inch sections

  • ½ inch dowel

    • 1 ~3 inch section

  • 3 large nylon washers (.505in inner diameter, 3/4 in outer diameter, 1/8 in thick)

  • 1 small nylon washer (.171 in inner diameter, 3/8 in outer diameter, 1/4 in thick)

  • lens (I used a Fujinon 65mm f/5.6 SWD)

    • If you use a different lens, you’ll need to adjust the length of the lens box to your flange distance

  • ¼-20 hex nut for tripod mount

  • 2x 10-24 hex nuts

  • 2x 10-24 socket cap bolts, 1 inch long

  • black yarn, black felt, black foam for light seals

I used the following tools and supplies:

  • sandpaper in various grits

  • Xacto knife with sharp blade

  • wood glue

  • 2-part epoxy

  • Q-tips

  • a couple of clamps

  • cutting board

  • drill (potentially needed if your shutter won’t sit flat on the lensboard)

  • matte black spray paint

Step 3 - Assemble the rewind knob

Take your long section of 3/16 inch dowel and insert it into your small nylon washer – you may need to trim the end of the dowel a bit to fit. Epoxy it in place, then once hardened, using a craft knife or saw, carefully cut out a ~2mm x 2mm slot in the end of it, as depicted in the gif. This will interface with the film canister to rewind your film.

Step 4 - Cut and sand the film carrier

Take your matte plate - the film will need to slide smoothly across this, and it needs to be round and smooth to avoid scratching the film. Using a craft knife, shave a “slot” a bit wider than the width of a piece of 35mm film on either side of the piece. Once the slot is nice and rounded, sand it until smooth. I don’t have any photos of this process, but you can see the rounded section in the following picture.

The slot in the film carrier is to the left of the dowel section, indicated with arrows.

The slot in the film carrier is to the left of the dowel section, indicated with arrows.

Step 4 - Assemble the lens mount

front of camera.jpg

Take your “lens box nut holder” and your two “front of lens box” pieces. The two “front of lens box” pieces will form a sandwich with the nut holder between them. Epoxy two 10-24 nuts into the nut holder, then wood-glue and clamp the sandwich together. Take your two shorter sections of 3/16 dowel, dab them in wood glue, and insert them into the holes that do not contain the nuts. These posts will support the lens and lens board. Again, I don’t have any pictures of this assembly before it was glued in place into the camera, but you can see it in its final position in the above picture.

Step 5 - Assemble the camera

Start by inserting the inner, outer, front walls, and matte plate into the bottom plate. Use a q-tip to apply some wood glue to the overlapping areas before assembly. Glue the top plate, get creative with the clamps, and let this dry. Important note: Most of the camera is pretty straightforward to assemble, like a big 3d puzzle. A lot of the pieces are mirror images of one another, so they can go in any way they fit. The one exception to this is the top plate, which has two holes on either side, one for the rewind knob, and one for the takeup spool. It is very important when you glue this in place that the smaller hole (for the rewind knob) goes on the left (when looking at the back of the camera) and the (larger) hole for the takeup reel goes on the right.

Once this has set somewhat, you can add the canister holder (to the left side) and the take-up reel holder) to the right. These pieces also need to go in the correct orientation, or they won’t be properly aligned. The narrower edge of the canister holder goes on the outside of the camera. The takeup reel holder is asymmetrical, the hole should be closer to the front of the camera. You can check the alignment of this by inserting your 1/2 inch dowel into the hole in the top plate, it should easily fit into the corresponding hole in the takeup reel holder.

In parallel, you can assemble the back, gluing the sides on to the back first, then carefully centering the inner door in place before gluing. You can also glue the lens board light seal ring to the back of the lens board, making sure it’s centered.

Next, add the “pinhole lens,” a naming holdover from an earlier version. Glue on the lens box, leaving the front lens mount assembly for later. Epoxy your 1/4-20 nut into the tripod mount, then using wood glue attach this to the bottom of the camera. Attach the top and bottom light seals to the back of the lens box, using your now-completed back to get the spacing right.

Take the rewind cap and rewind spacer, glue them to one another, then glue them to the top of the camera, taking care to make sure they’re aligned with the appropriate hole on the top plate.

Once the bulk of the structure is in place, add a few fillets of wood glue to all the inside corners, using a q-tip or similar. Let them dry a bit before re-applying. You can use a flashlight to check for areas that need more glue, but keep in mind that the camera won’t be completely light tight until after painting.

Step 6 - Paint

Mask the outside of the camera with masking tape and newspaper, then head to a well-ventilated area to apply a couple of coats of paint to the inside of the camera, the inside of the back, and the back side of the front of the lens box. Once this is done, you can glue the front of the lens box into the the lens box, potentially needing to sand the edges a bit for a good fit.

Step 7 - Add film take-up and rewind knobs.

takeup.jpg

Take the film rewind knob you assembled earlier, and insert it into the camera. It should turn freely.

Take your length of 1/2 inch dowel, and insert it into the hole in the top of the camera. Take two large nylon washers and thread them onto the bottom of the dowel, then insert it all the way into the camera. Slide one washer to the bottom of the dowel, so it butts up with the takeup reel holder. Glue it to the dowel, making sure not to accidentally also glue it to the camera; the dowel needs to spin easily. Next, glue some yarn around the top of the dowel to act as a light seal, then slide the upper washer up to press against the yarn and glue it here. Finally, glue a third washer to the top of the dowel, outside of the camera, sliding it all the way down the dowel so it butts against the top plate. Refer to the annotated photo for details.

Step 8 - Add Light Seals

Using scissors and a craft knife, cut some sheet foam to match the inverted shape of the “inner door” inside your camera’s back. Glue this in place, then glue some felt along the inside of the back’s walls where they overlap with the camera body. Run a “bead” of yarn along the front of the top of the box where it butts against the takeup and rewind knobs, and use more strips of foam and/or yarn to seal any other places that seem lacking. Run a ring of yarn along the outside of the light seal ring on the lens board.

Cut a few rectangles of foam and glue them to the inside of the back, to form a “pressure plate.” With the lens off, you may want to sacrifice a roll of film, load it into the camera, and then look through the lens hole to make sure the film lies flat, adjusting the height of the pressure plate if need be.

Step 9 - Finishing touches

Mount your lens in the lens board, and bolt it to the lens mount. Take a piece of wax paper and tape it to the back of the matte plate where the film will sit. Open the shutter of your lens, and check the focus. If needed, add some small spacers (construction paper or similar) to adjust the focus.

Take a Sharpie, and make two matching ticks on the take-up knob and camera back – you can use these to count revolutions as you wind the film.

Step 10 - Load film, and test!

Insert your film into the camera, and lock it in place by sliding the rewind knob down into the canister. Pull the leader out of the canister, and with a small piece of masking tape, tape it to the takeup spool, using care to make sure the film is parallel to the matte plate, and not crooked. Place the back on the camera, and optionally tape it loosely in place. Make sure the shutter is closed, then wind the takeup knob 3 revolutions. As you wind, make sure the rewind knob also turns - if it doesn’t, something isn’t working! You are now ready to take your first picture! Once exposed, 2 full revolutions of the takeup knob will bring the next frame into position. As you shoot more and more of the roll, you should be able to wind a bit less than 2 times, as the diameter of the takeup spool has increased with film wrapped around it. With some experimentation, you should be able to get 12+ frames out of a 24 exposure roll, and 16 or so from a 36 exposure roll.

Lastly….

These instructions were written hurriedly, and I’m sure are confusing and contain typos. As always, please reach out with questions, suggestions, or just to say hi. If you do end up building something based off of these designs, please let me know – I’d love to see what you come up with!

Happy building!

DIY 35mm Panoramic Camera - Attaching the Lens

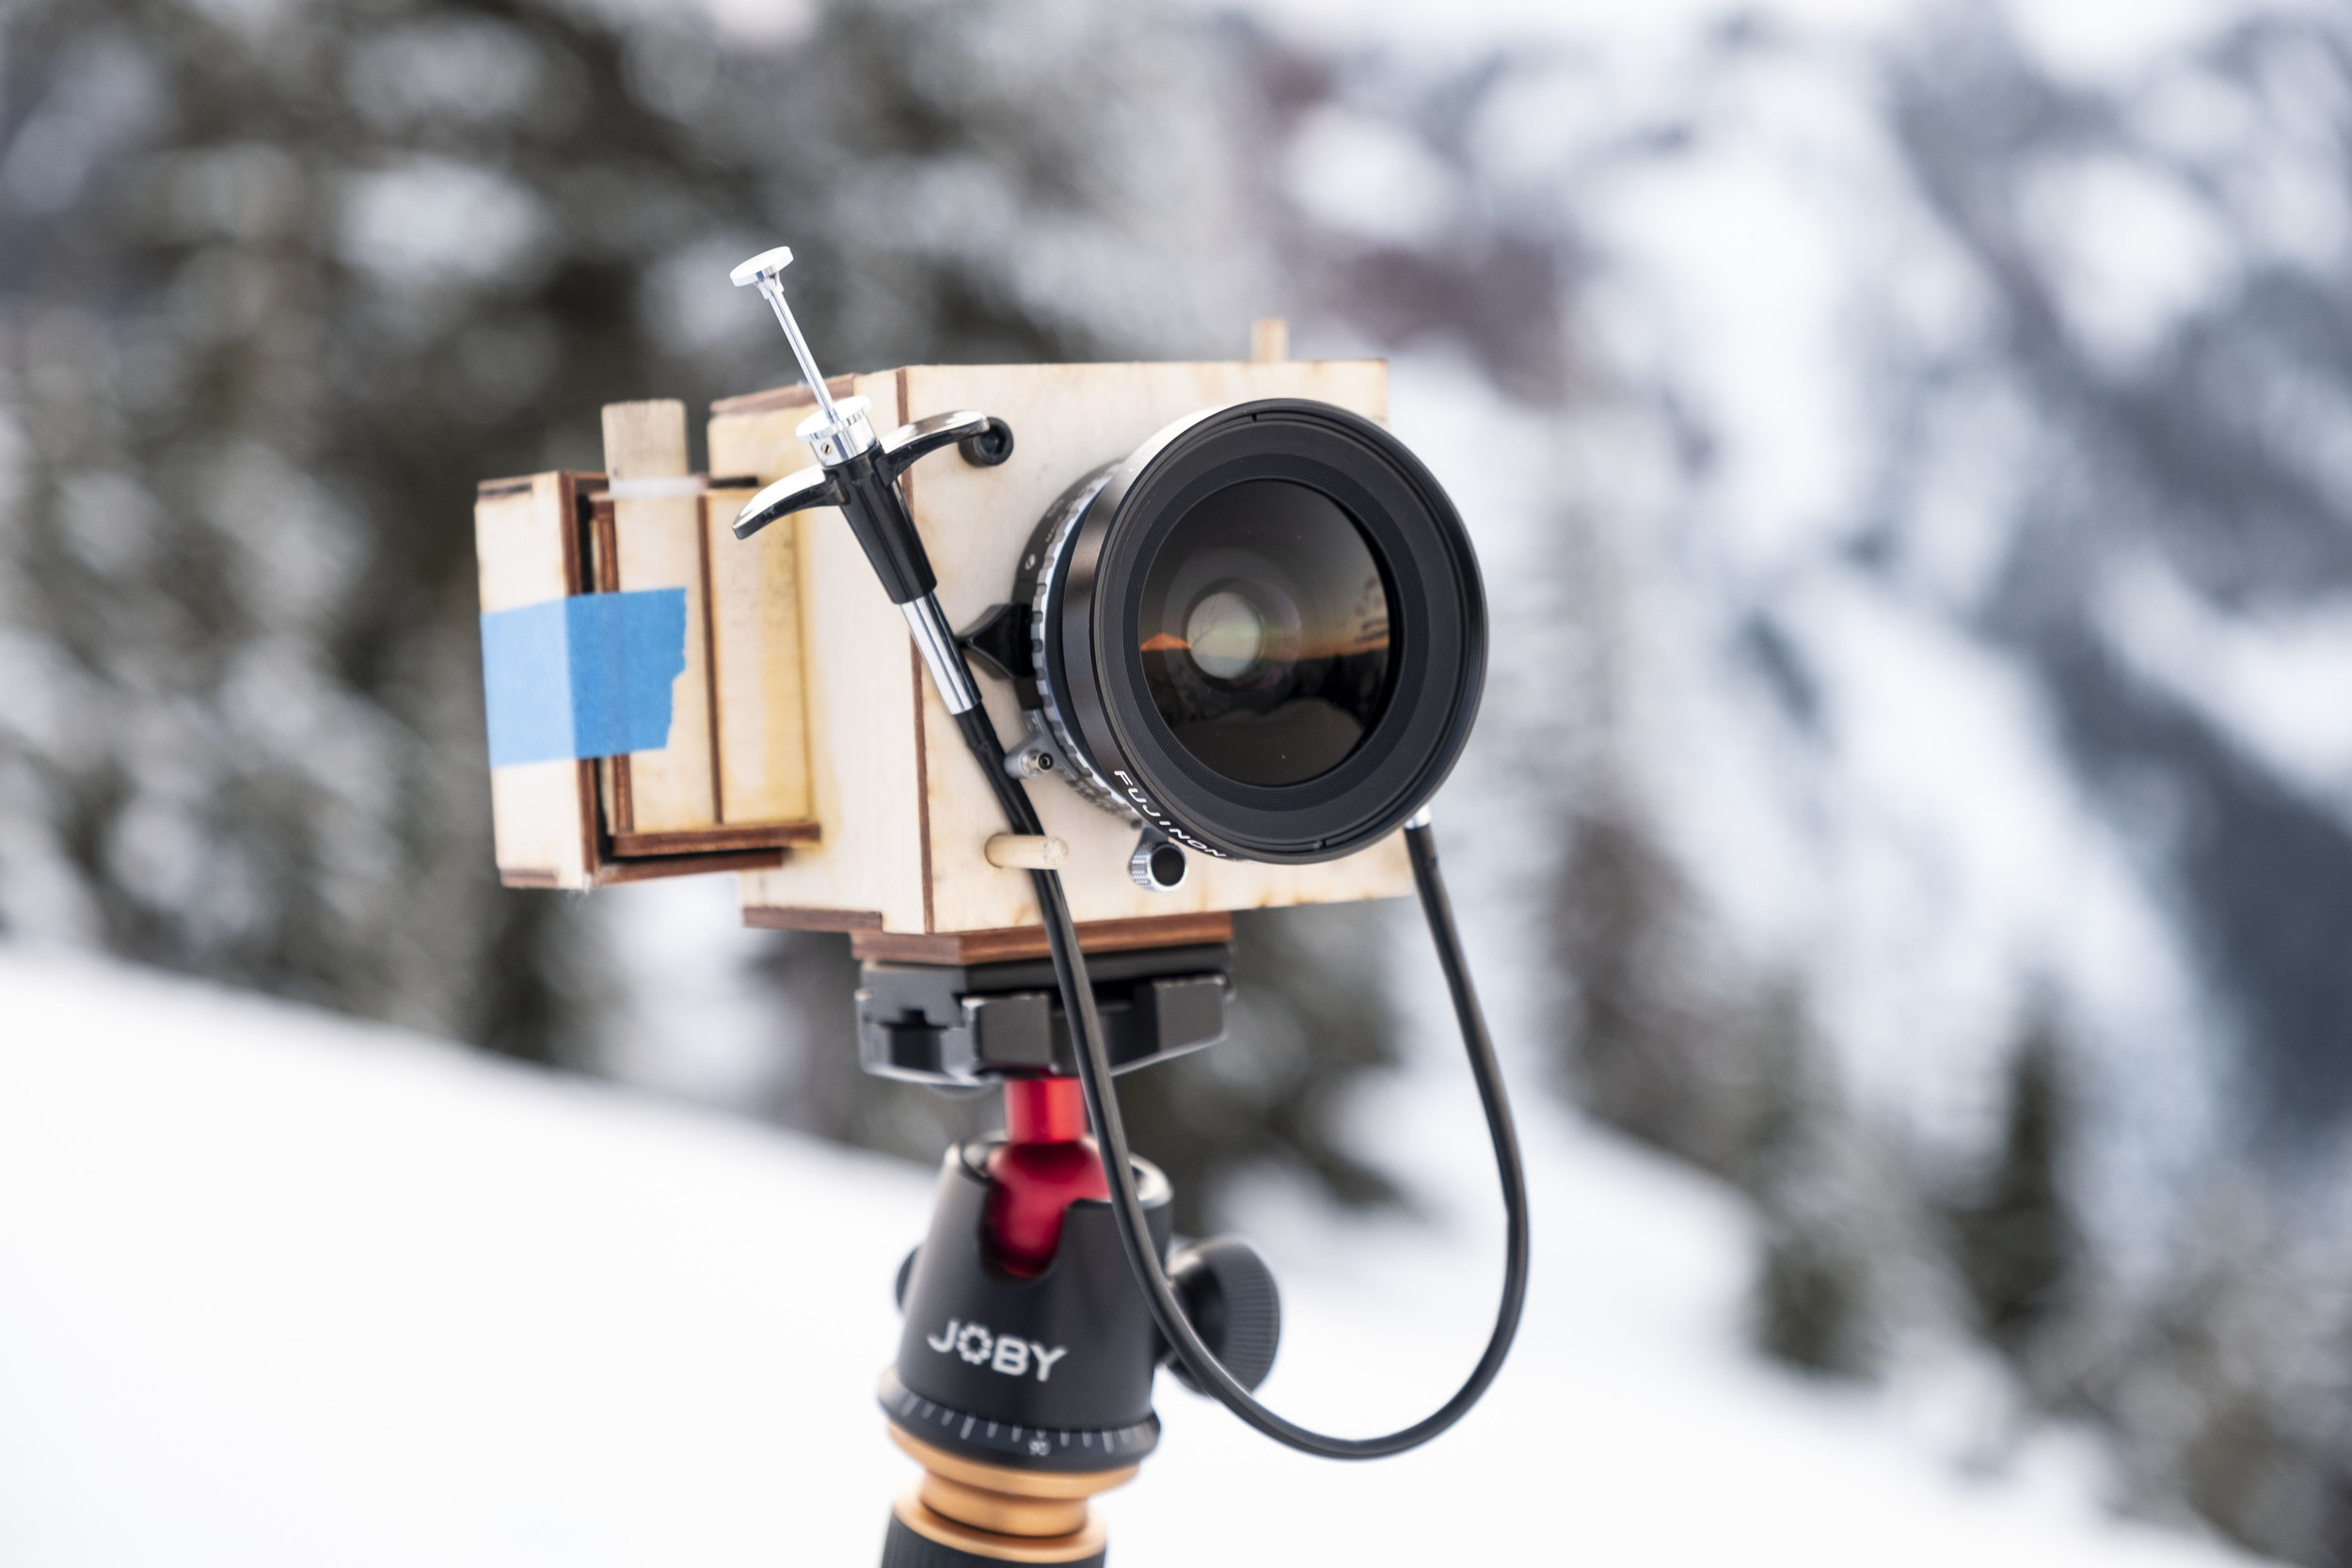
It’s been a while since I’ve updated with any new information about my project to build a 3:1 panoramic 35mm film camera. The project fell by the wayside for a few months as real-life got in the way, but recently I picked it up again, and redesigned the entirety of the front end to allow me to attach the 65mm Fujinon f/5.6 large format lens that I bought. I went with a simple design, essentially just attaching a hollow box to the front of the camera, and extending some of the existing vertical pieces for greater structural integrity.

I redesigned the back to fit around the added structure, and after some experimentation, added the rounded light seals above and below the back of the camera to help with light-tightness, a persistent challenge for me. The back fits around the camera like a nested box, and is lined with black felt for better light sealing.

To attach the lens, I made a lens board with a standard Copal #00 shutter hole in it. Attached to the front of the lens box, embedded within a few layers of plywood, are threaded nuts that permit the lens board to bolt on to the front of the camera, which gives me the very limited ability to adjust the focus in between rolls by adding or removing shims. I made a compact ground glass by sanding a small sheet of clear plastic, and I can place this where the film sits, and use a loupe to adjust the focus. It’s not perfect, but it gets the job done. For this version, I simply set the focus at around 15 meters, and stop down to achieve infinity focus.

With the design work done, I exported the parts to .dxf files and laid them out in preparation for laser cutting. I use the wonderful UW Comotion Makerspace for the laser cutting, and in 30 minutes, I had all the parts needed to start assembling the camera.

With the parts cut, I glued them together with wood glue, clamping the assembly overnight to let it dry. Once the parts were attached, I used Q-tips to apply filets of more wood glue on the inside corners, using a flashlight to check light tightness. I painted the inside with a few coats of matte black spraypaint, cut felt and foam for light seals in the back, and glued some black yarn along seams with Elmer’s for extra light tightness. I use lengths of dowel for the rewind and take-up spools. I epoxied nuts into the plywood for mounting the lens board and a 1/4-20 nut on the bottom functions as a tripod mount.

My homemade prototype out in the wild, at Mount Baker.

My homemade prototype out in the wild, at Mount Baker.

For a first test, I took the camera with me on a short ski-trip to Mount Baker, where I snapped a few frames on a roll of Fujicolor 200. In the field, two challenges became apparent. First, it’s difficult to compensate for increasing spacing between frames as the take-up reel increases in diameter. With some care, however, I can get 15 frames out of a 36 exposure roll!

The second challenge is composition - I don’t currently have a viewfinder, so I’ve adopted the “point-and-pray” composition technique. If it’s an important shot, maybe I’ll take a few frames aiming up and down, to get one that comes out. I swung by the excellent Shot on Film store in Lake City and found a used 35mm external optical viewfinder from an old camera, and soon I hope to add this to my camera and mask the viewfinder to the correct aspect ratio, using my fake ground glass to align the viewfinder and lens.

After I was finished at Baker, I took the exposed roll home and developed it, excited to see how the camera worked!

The frames came out pretty well, but with significant light leaks along the edges, presumably from gaps where the corners of the back meets the back of the “lens box.” At this point, I added the top and bottom light seals shown in the .gif above, yet another test roll showed this didn’t entirely solve the problem. Achieving light tightness has been the primary challenge with this project so far.

Not one to shy-away from ugly-but-effective solutions, I opted for a simple one - after loading the camera with film, I simply wrapped the whole thing in aluminum foil, leaving a hole for the lens and film winding knobs. While this looks absurd sitting atop my tripod, the four rolls I shot last weekend while camping in the Olympics are much, much better. They’re not perfect, and I need to spend some additional time sealing the lens mount, but I’m optimistic. Here are a few scans of photos from the Olympics, all taken on Kodak Gold and Fujicolor 200.

So far, this project has been an enormous amount of fun to work on, and I’m excited to continue with it! I will be presenting my progress so far at the UW Co-Motion Makerspace mixer this coming Wednesday, May 15, at 5pm.

In the near term, I plan on building a leather case around the camera to help with the last light leaks, adding a viewfinder, staining the plywood, and adding an attachment for a shutter-release.

In the long term, I’d like to re-design the film take-up mechanism to achieve better frame spacing, and build a focusing mechanism that allows me to adjust the focus easily mid-roll.

As always, please reach out with any questions!

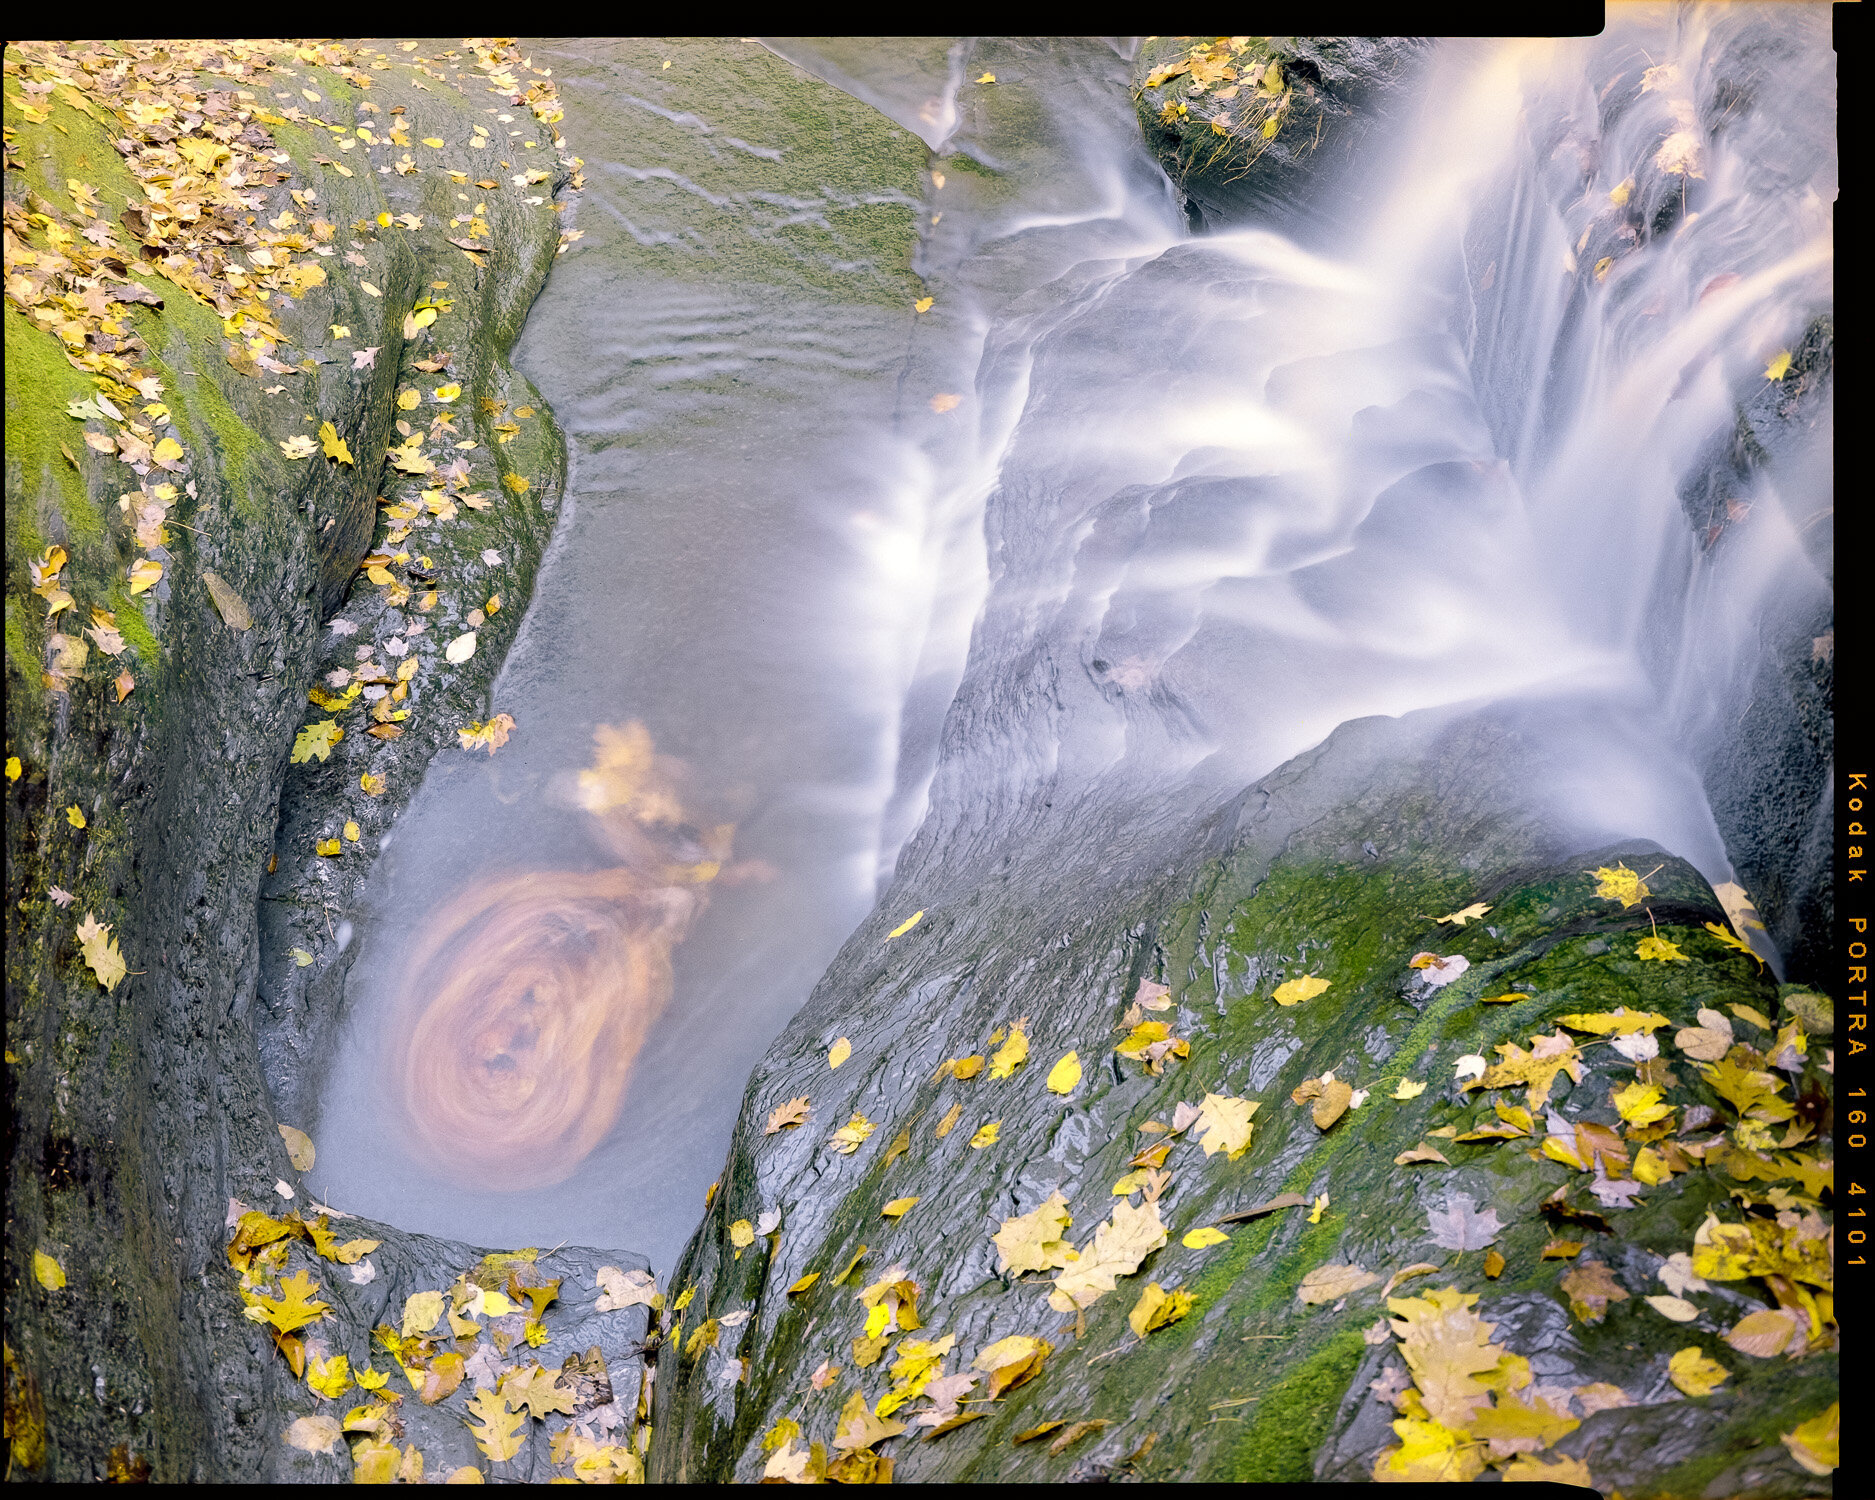
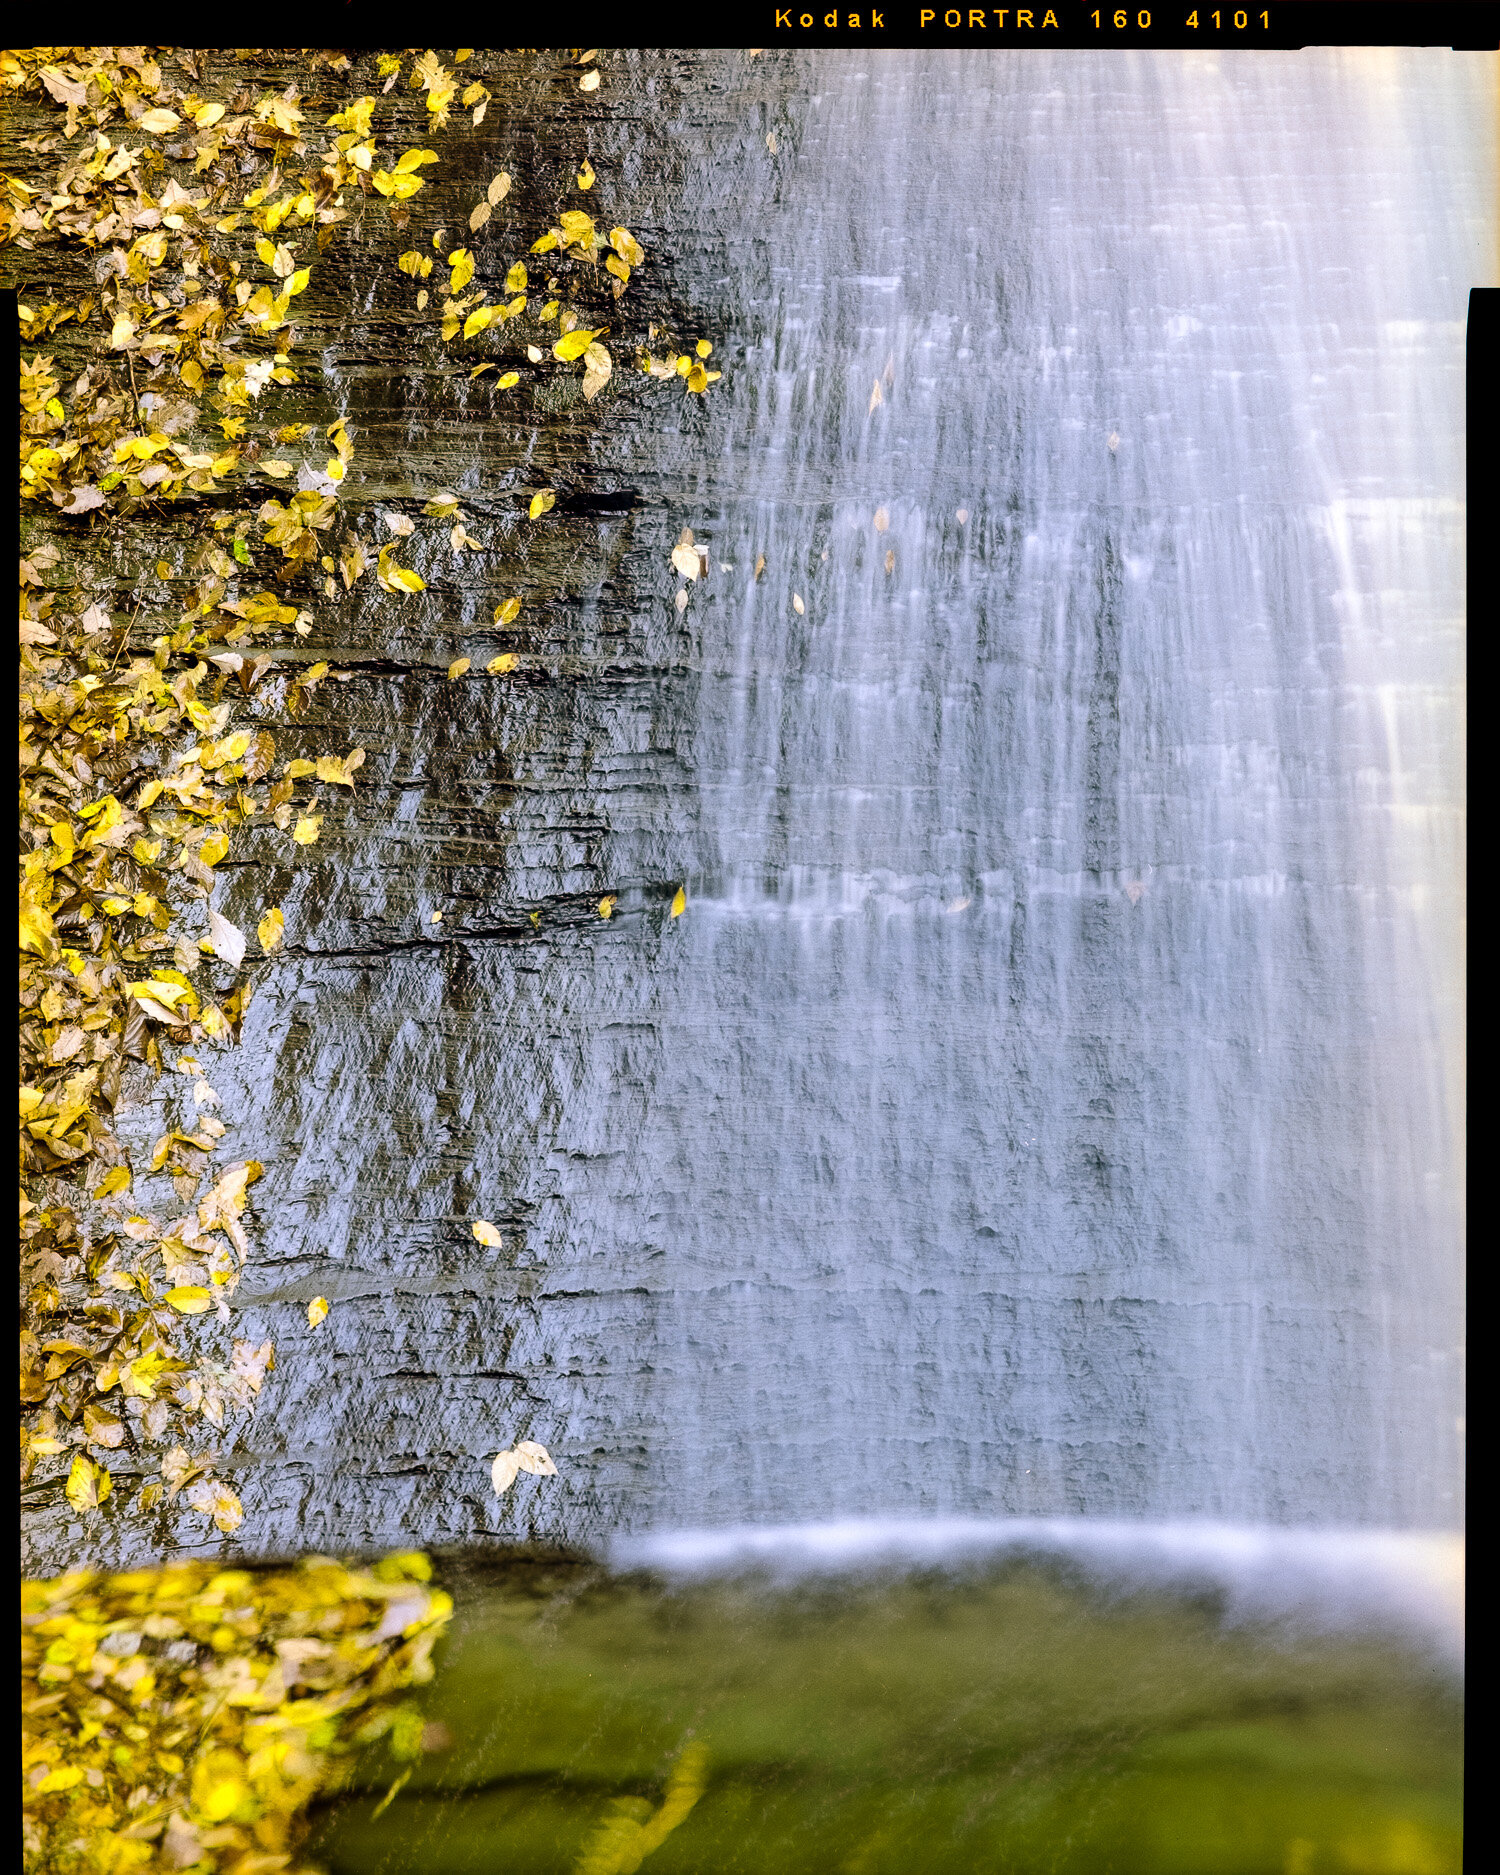
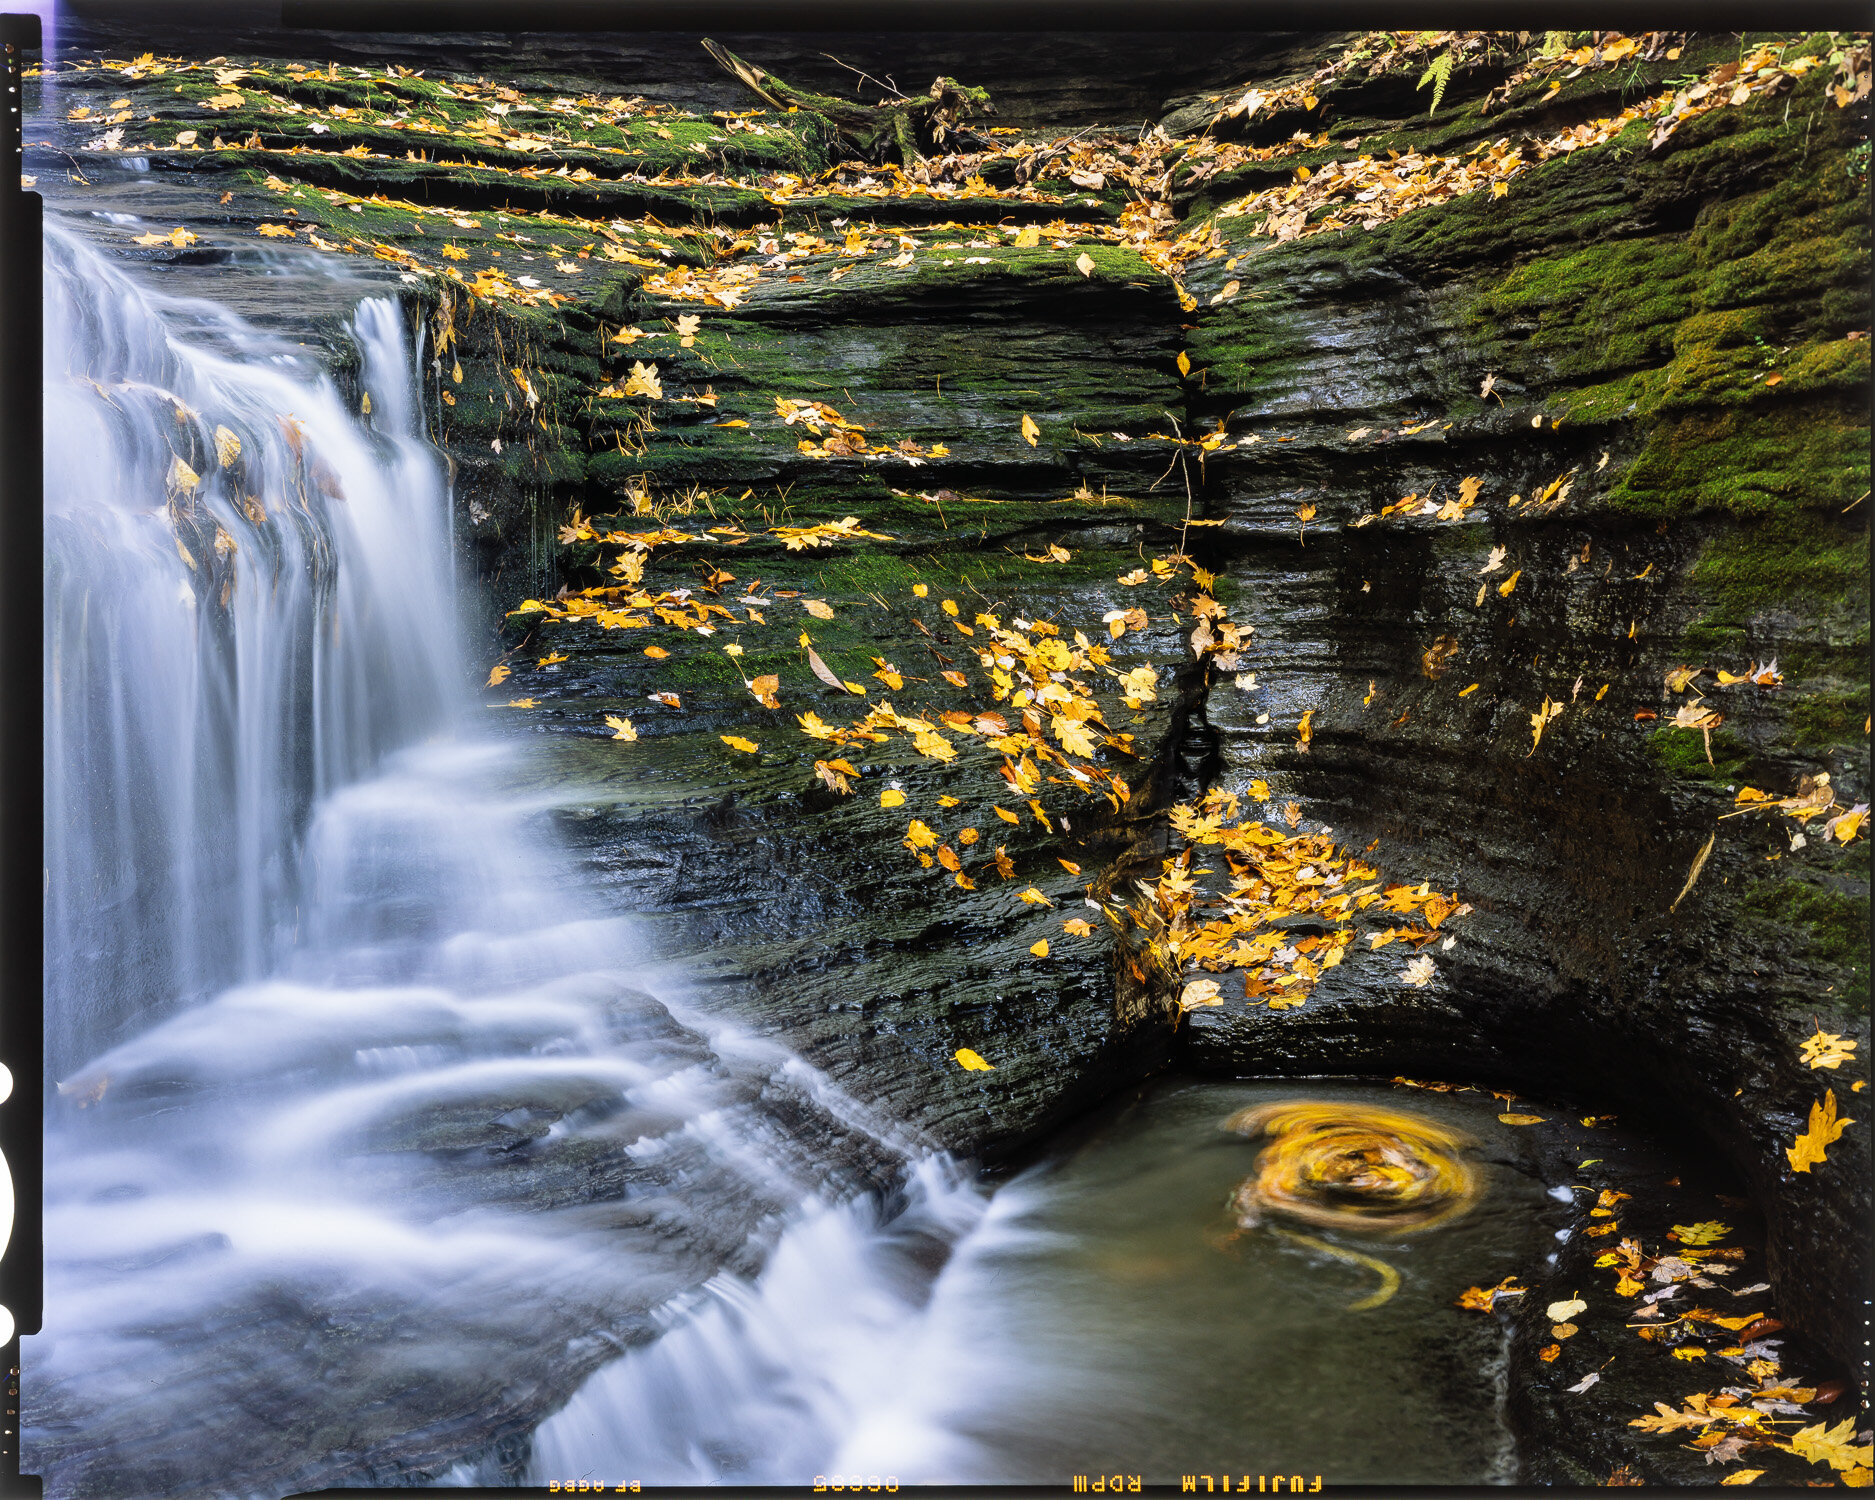
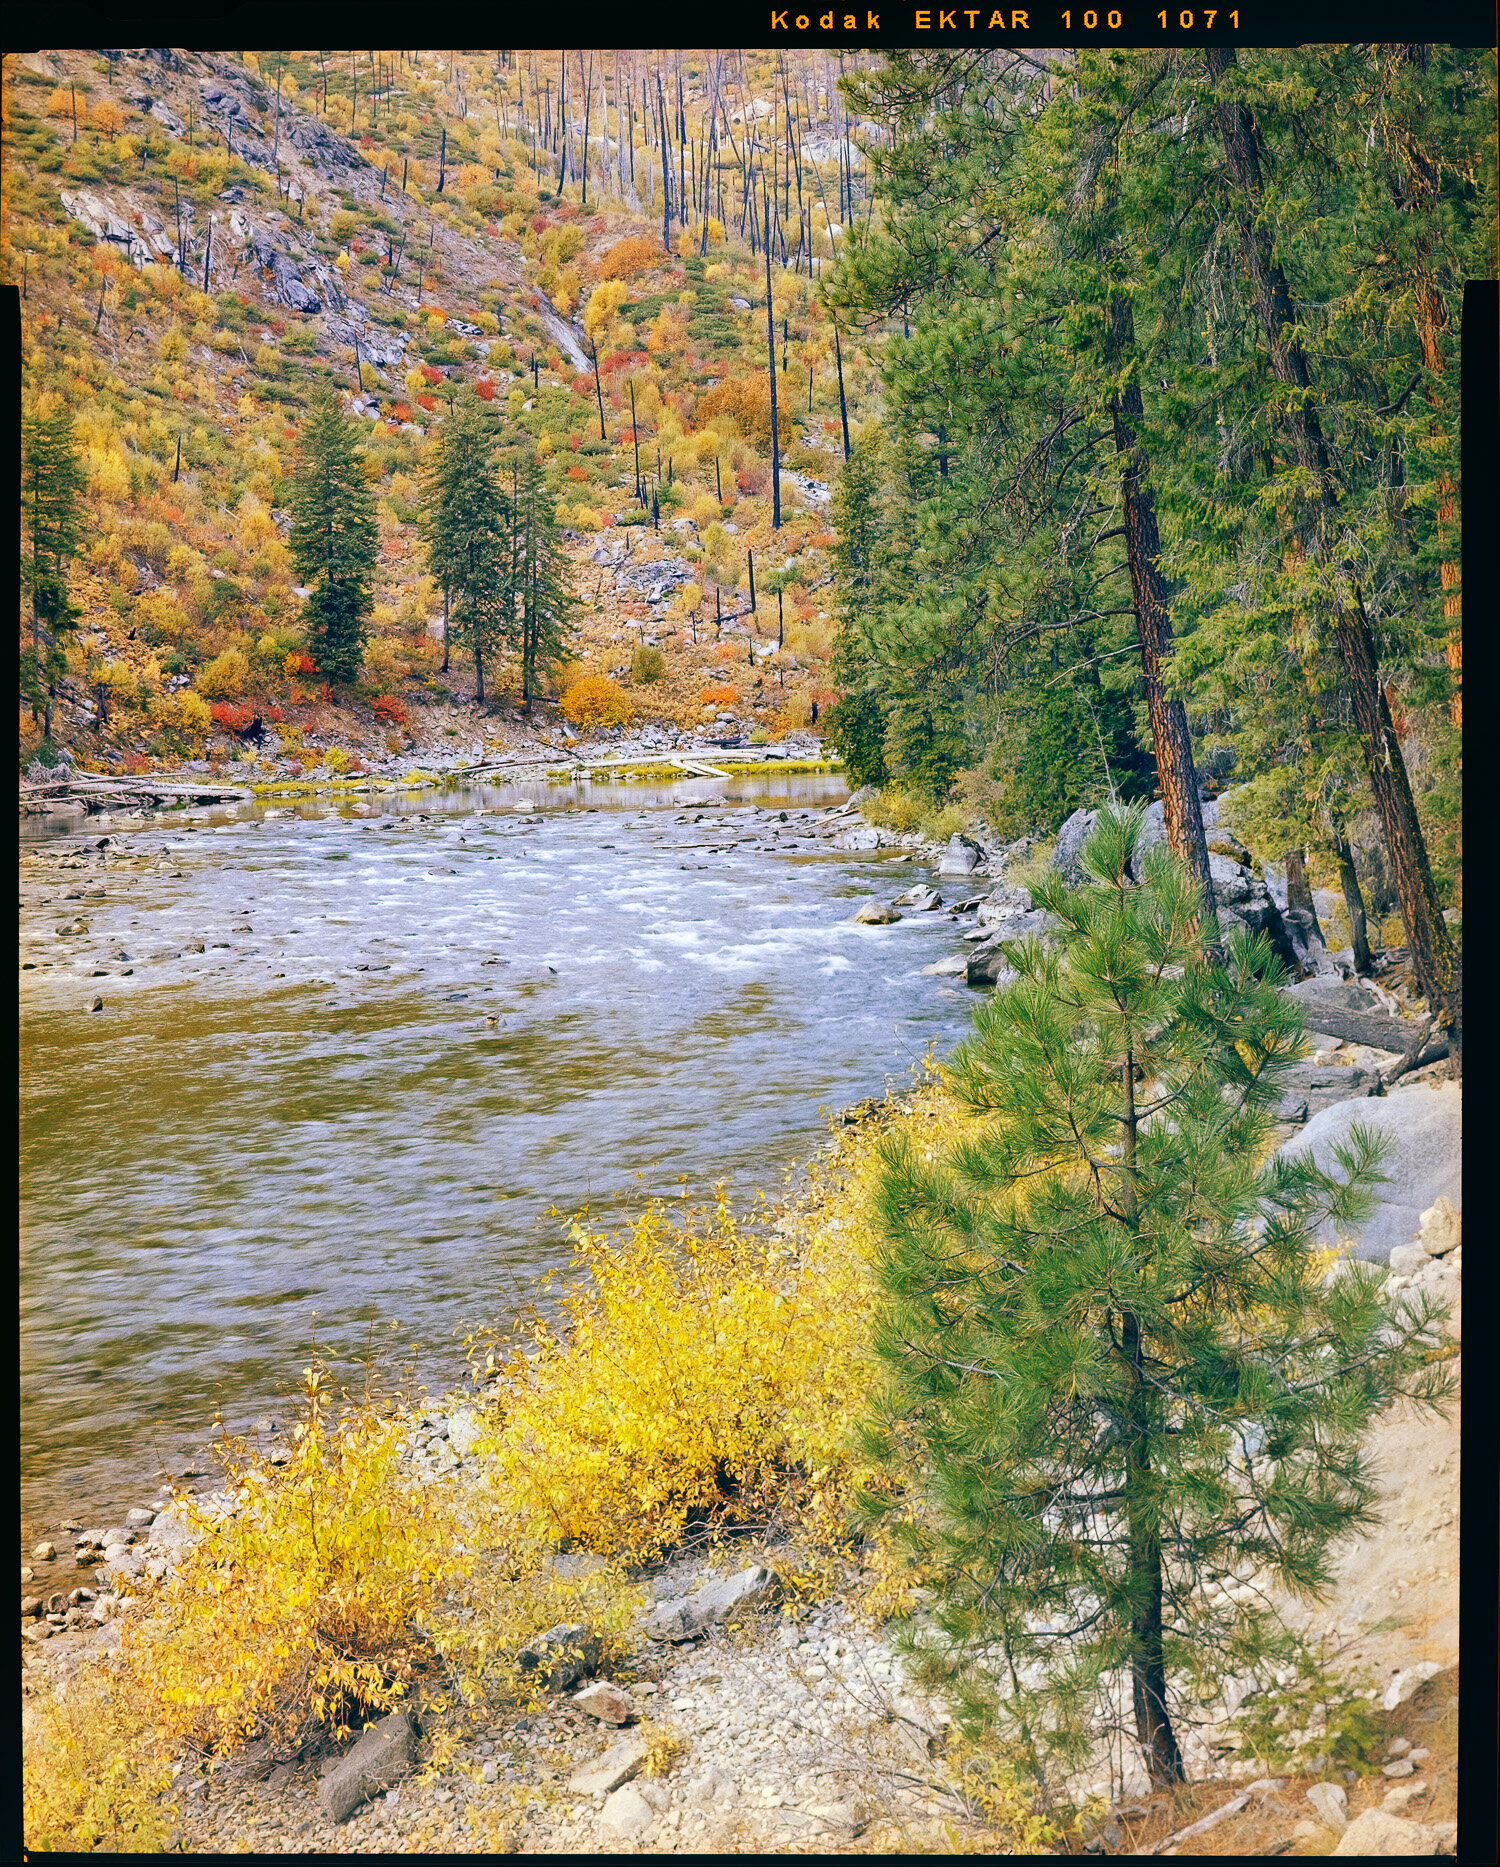
2018 in Pictures

Merry Christmas to all! As the year is wrapping up, I’ve spent some time flipping back through my photos from 2018 and reflecting on what a great year I’ve had - lucky to visit some amazing places with some wonderful people, and to start graduate school at UW and usher in the next chapter of my life. Here’s my 2018, in photos.

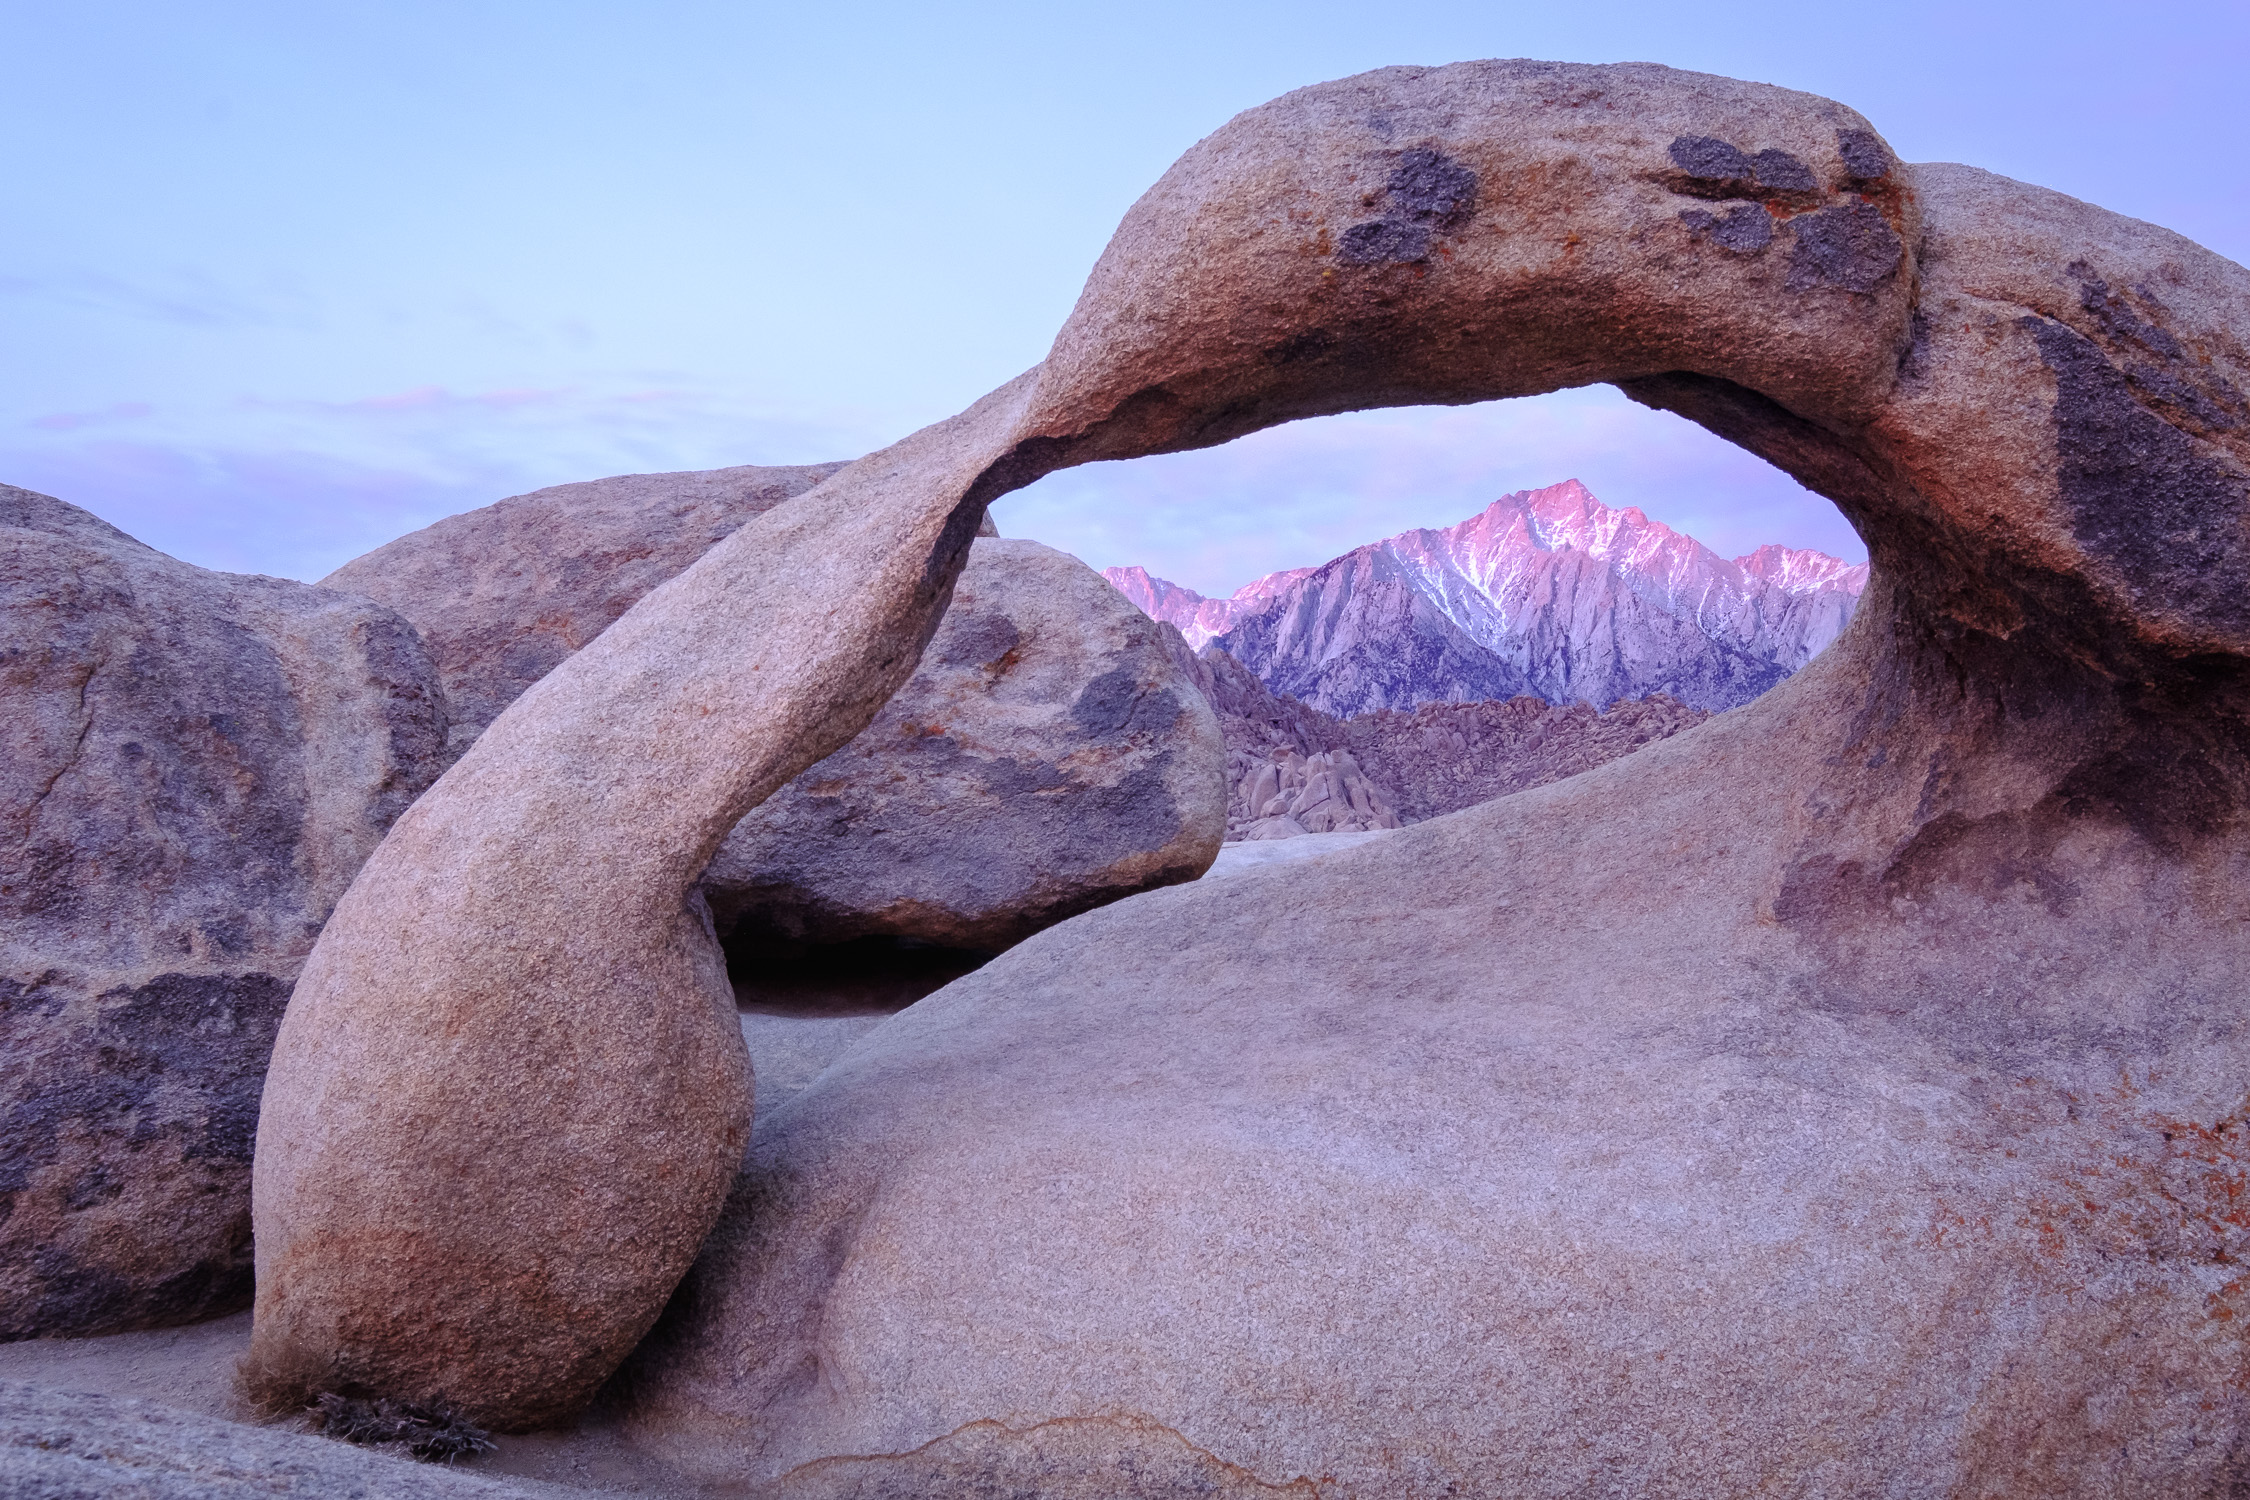
The year started off with a trip to Bishop, California, for some bouldering, over New Years. I tagged along with Becca, for whom this trip has been a New Years tradition since she was 12.

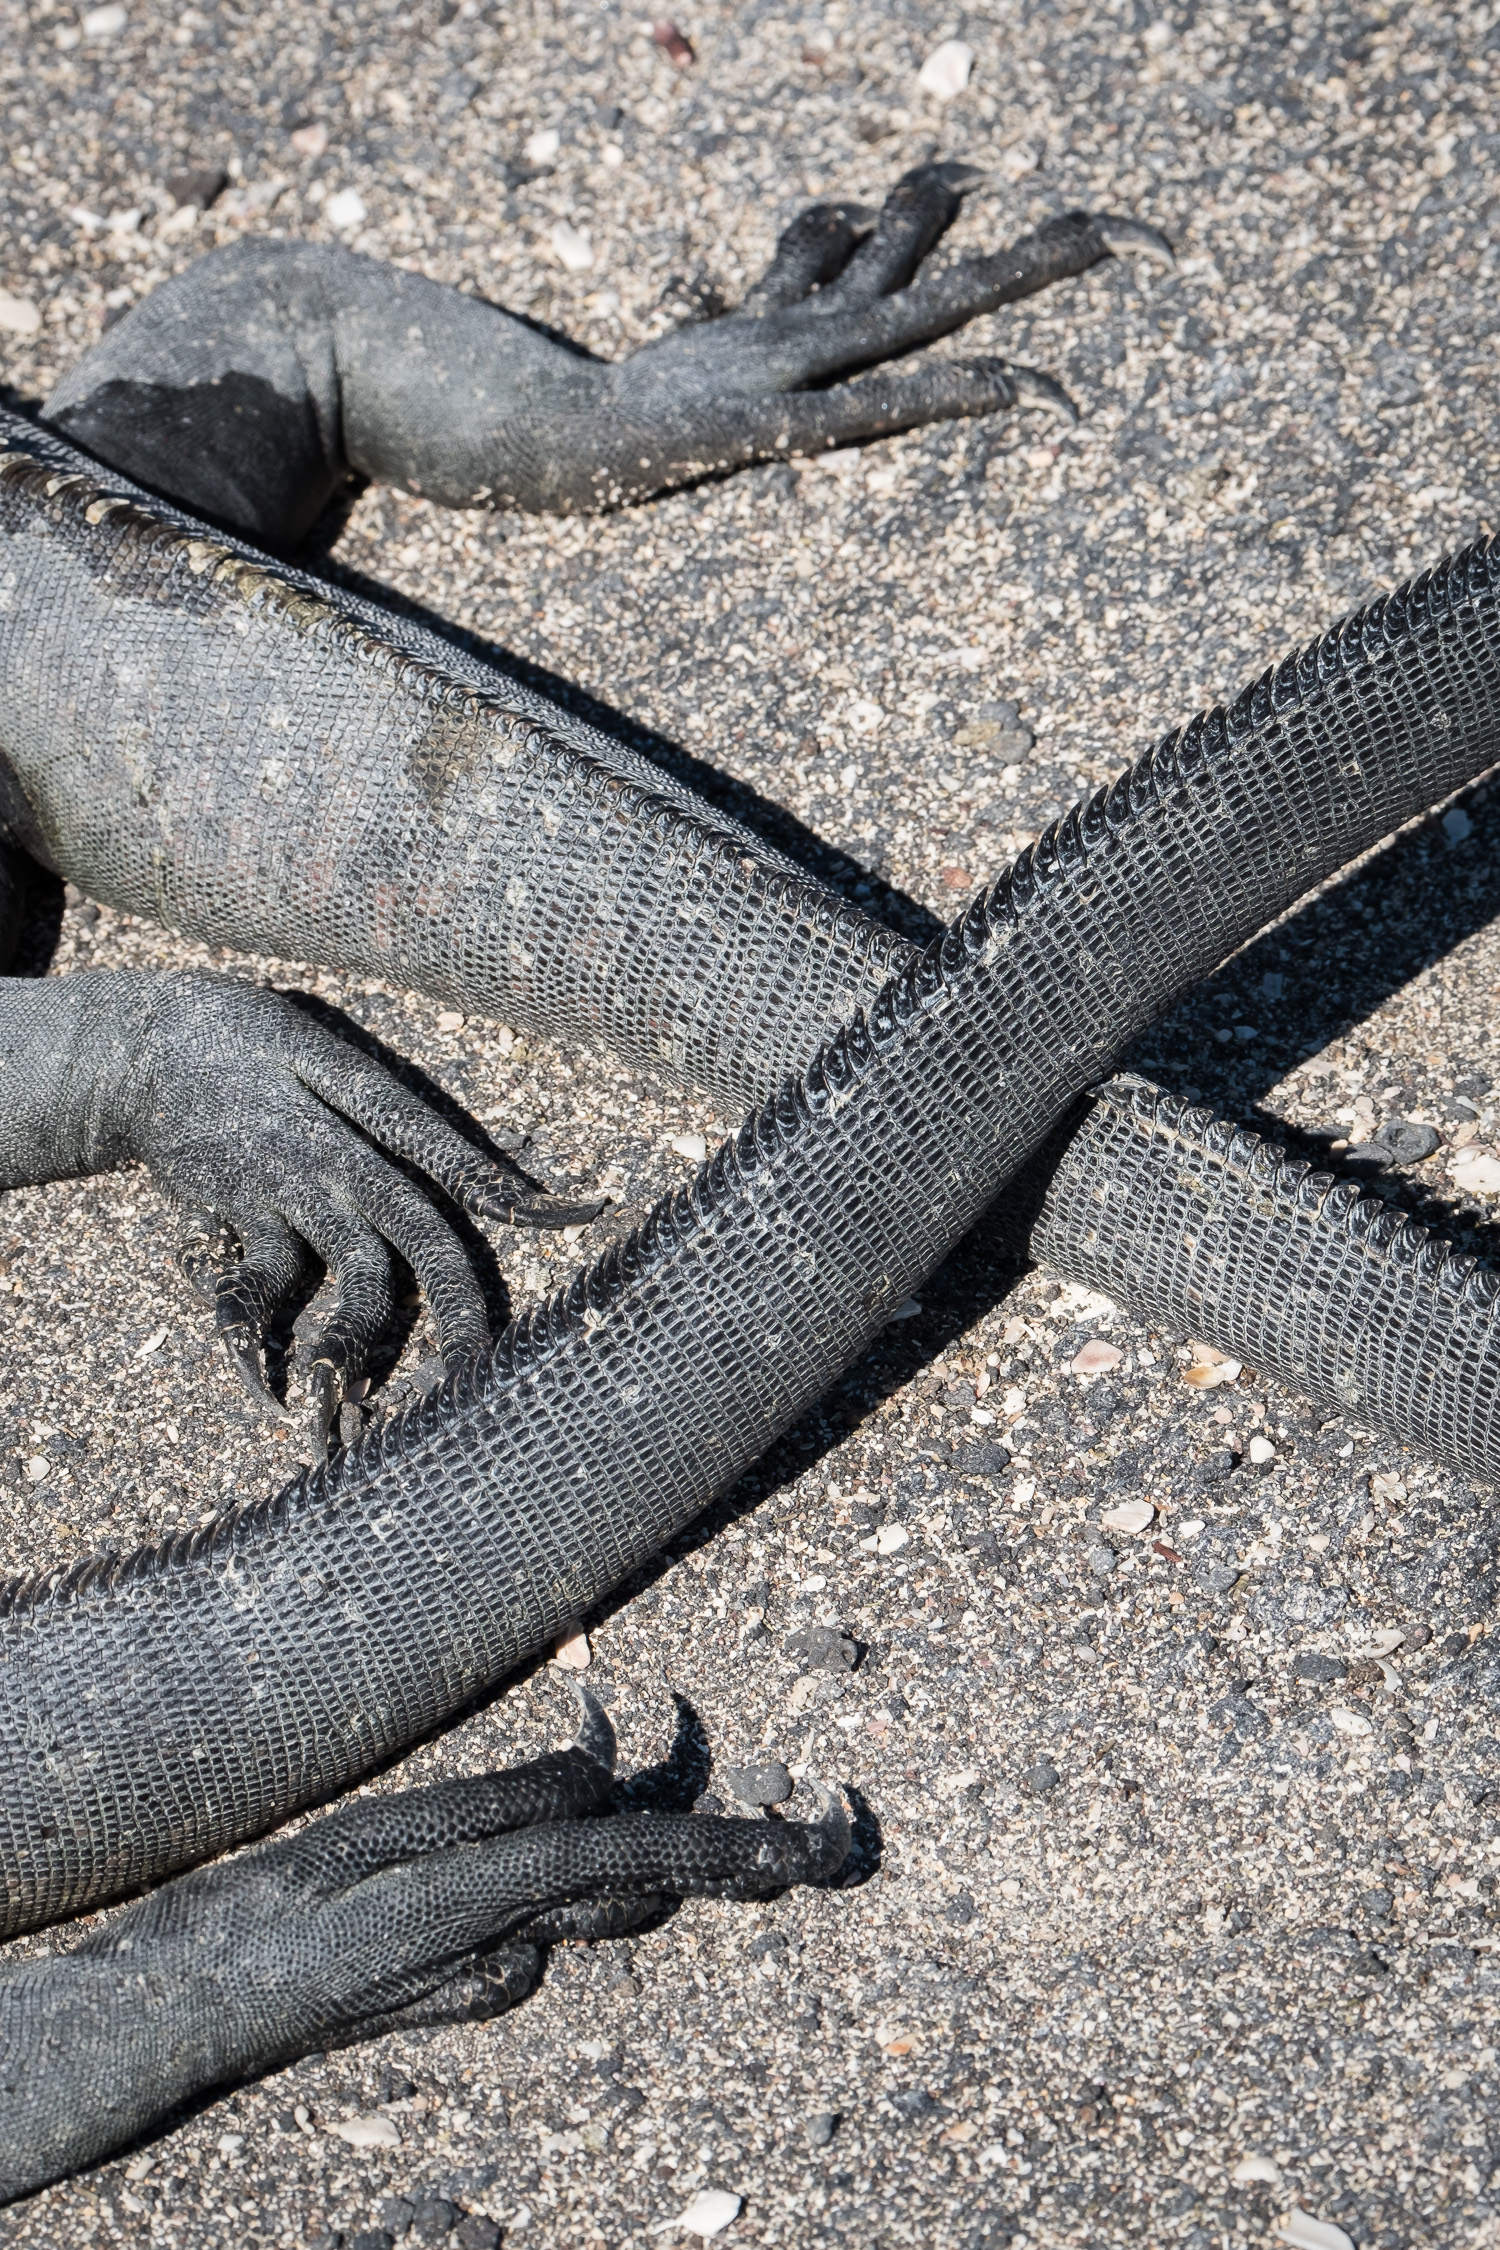
After this, we hopped on a plane for a week in Galapagos with my family. Although I’m not normally a wildlife photographer, I had a great time shooting the incredible diversity of animals that inhabit the archipelago.

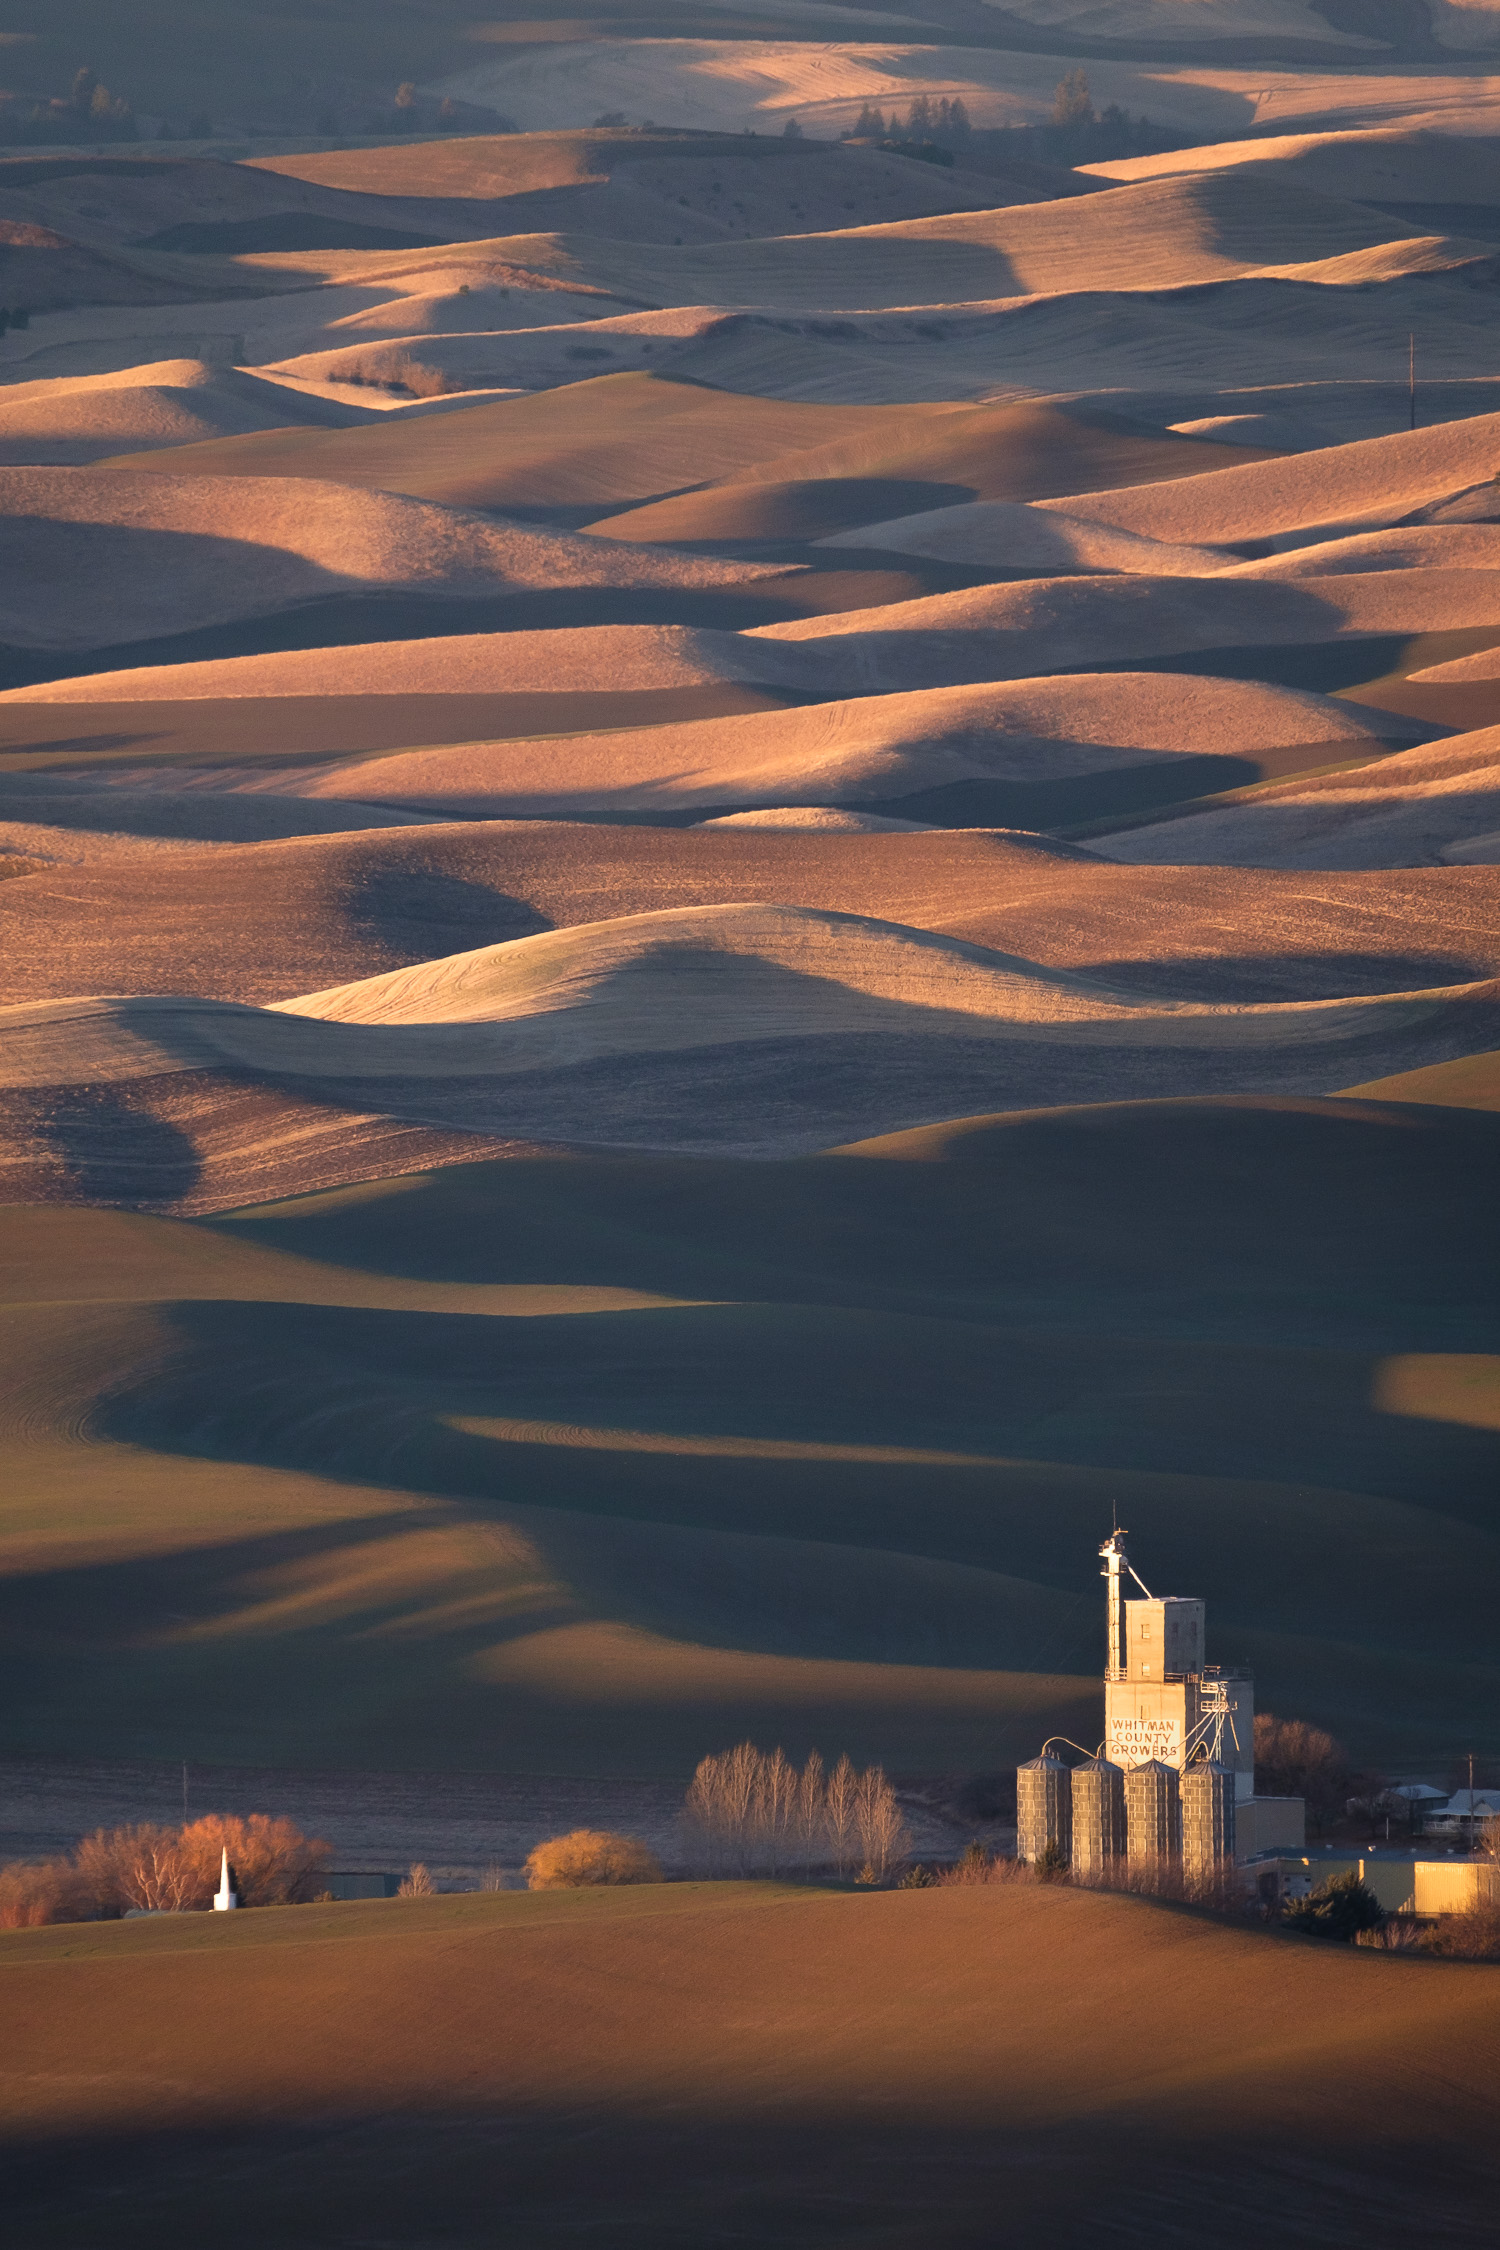
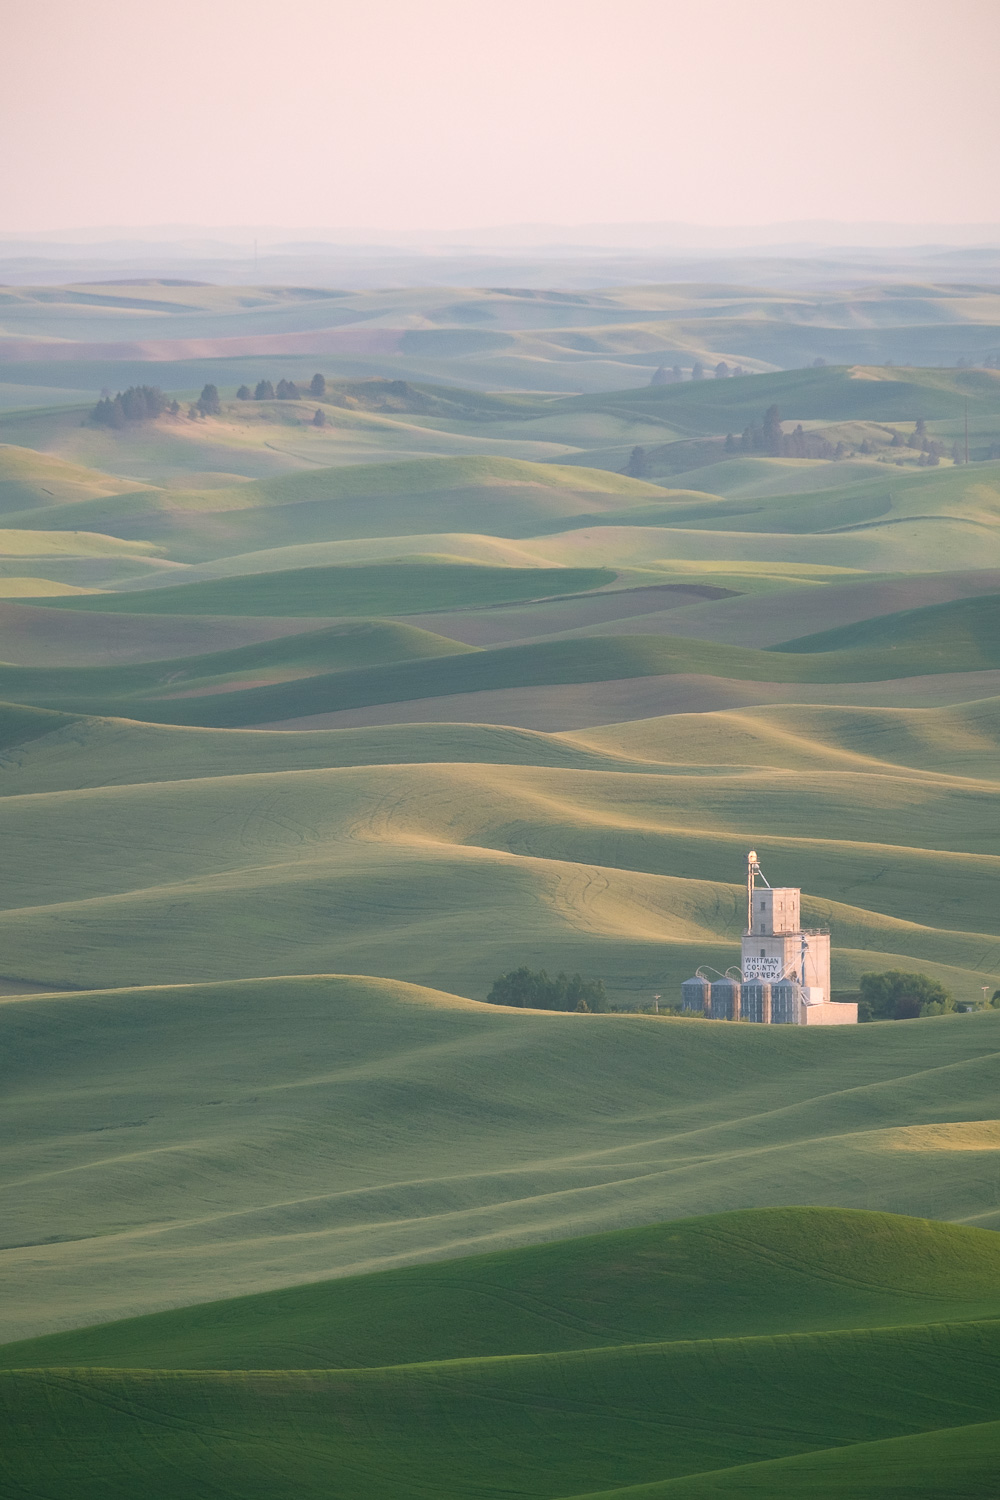
Next up, I had a brief road trip through the Columbia River Gorge and the Palouse, one of my favorite areas in the state, before heading back to Ithaca for my last semester at Cornell.

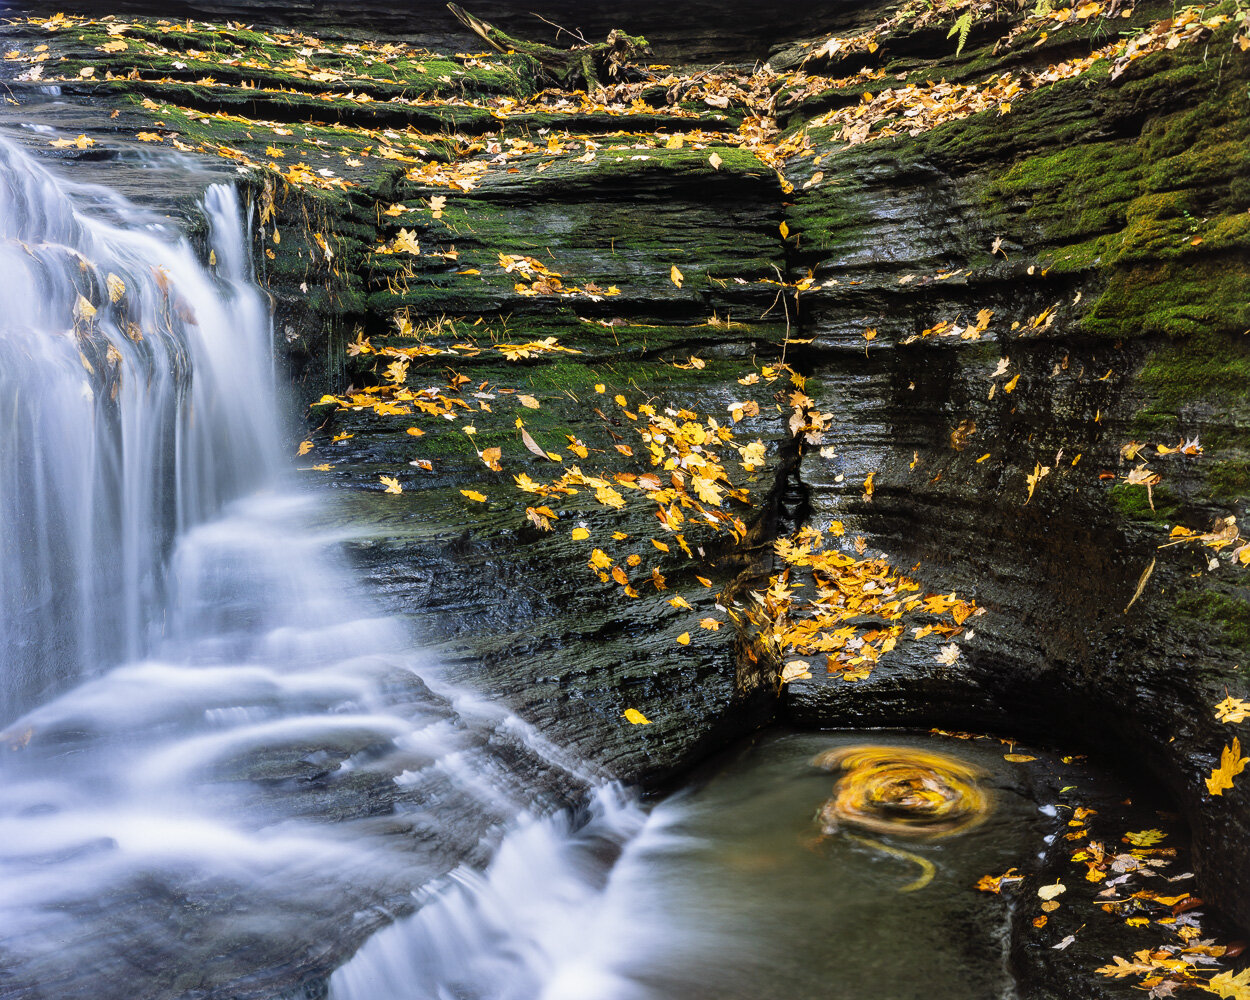
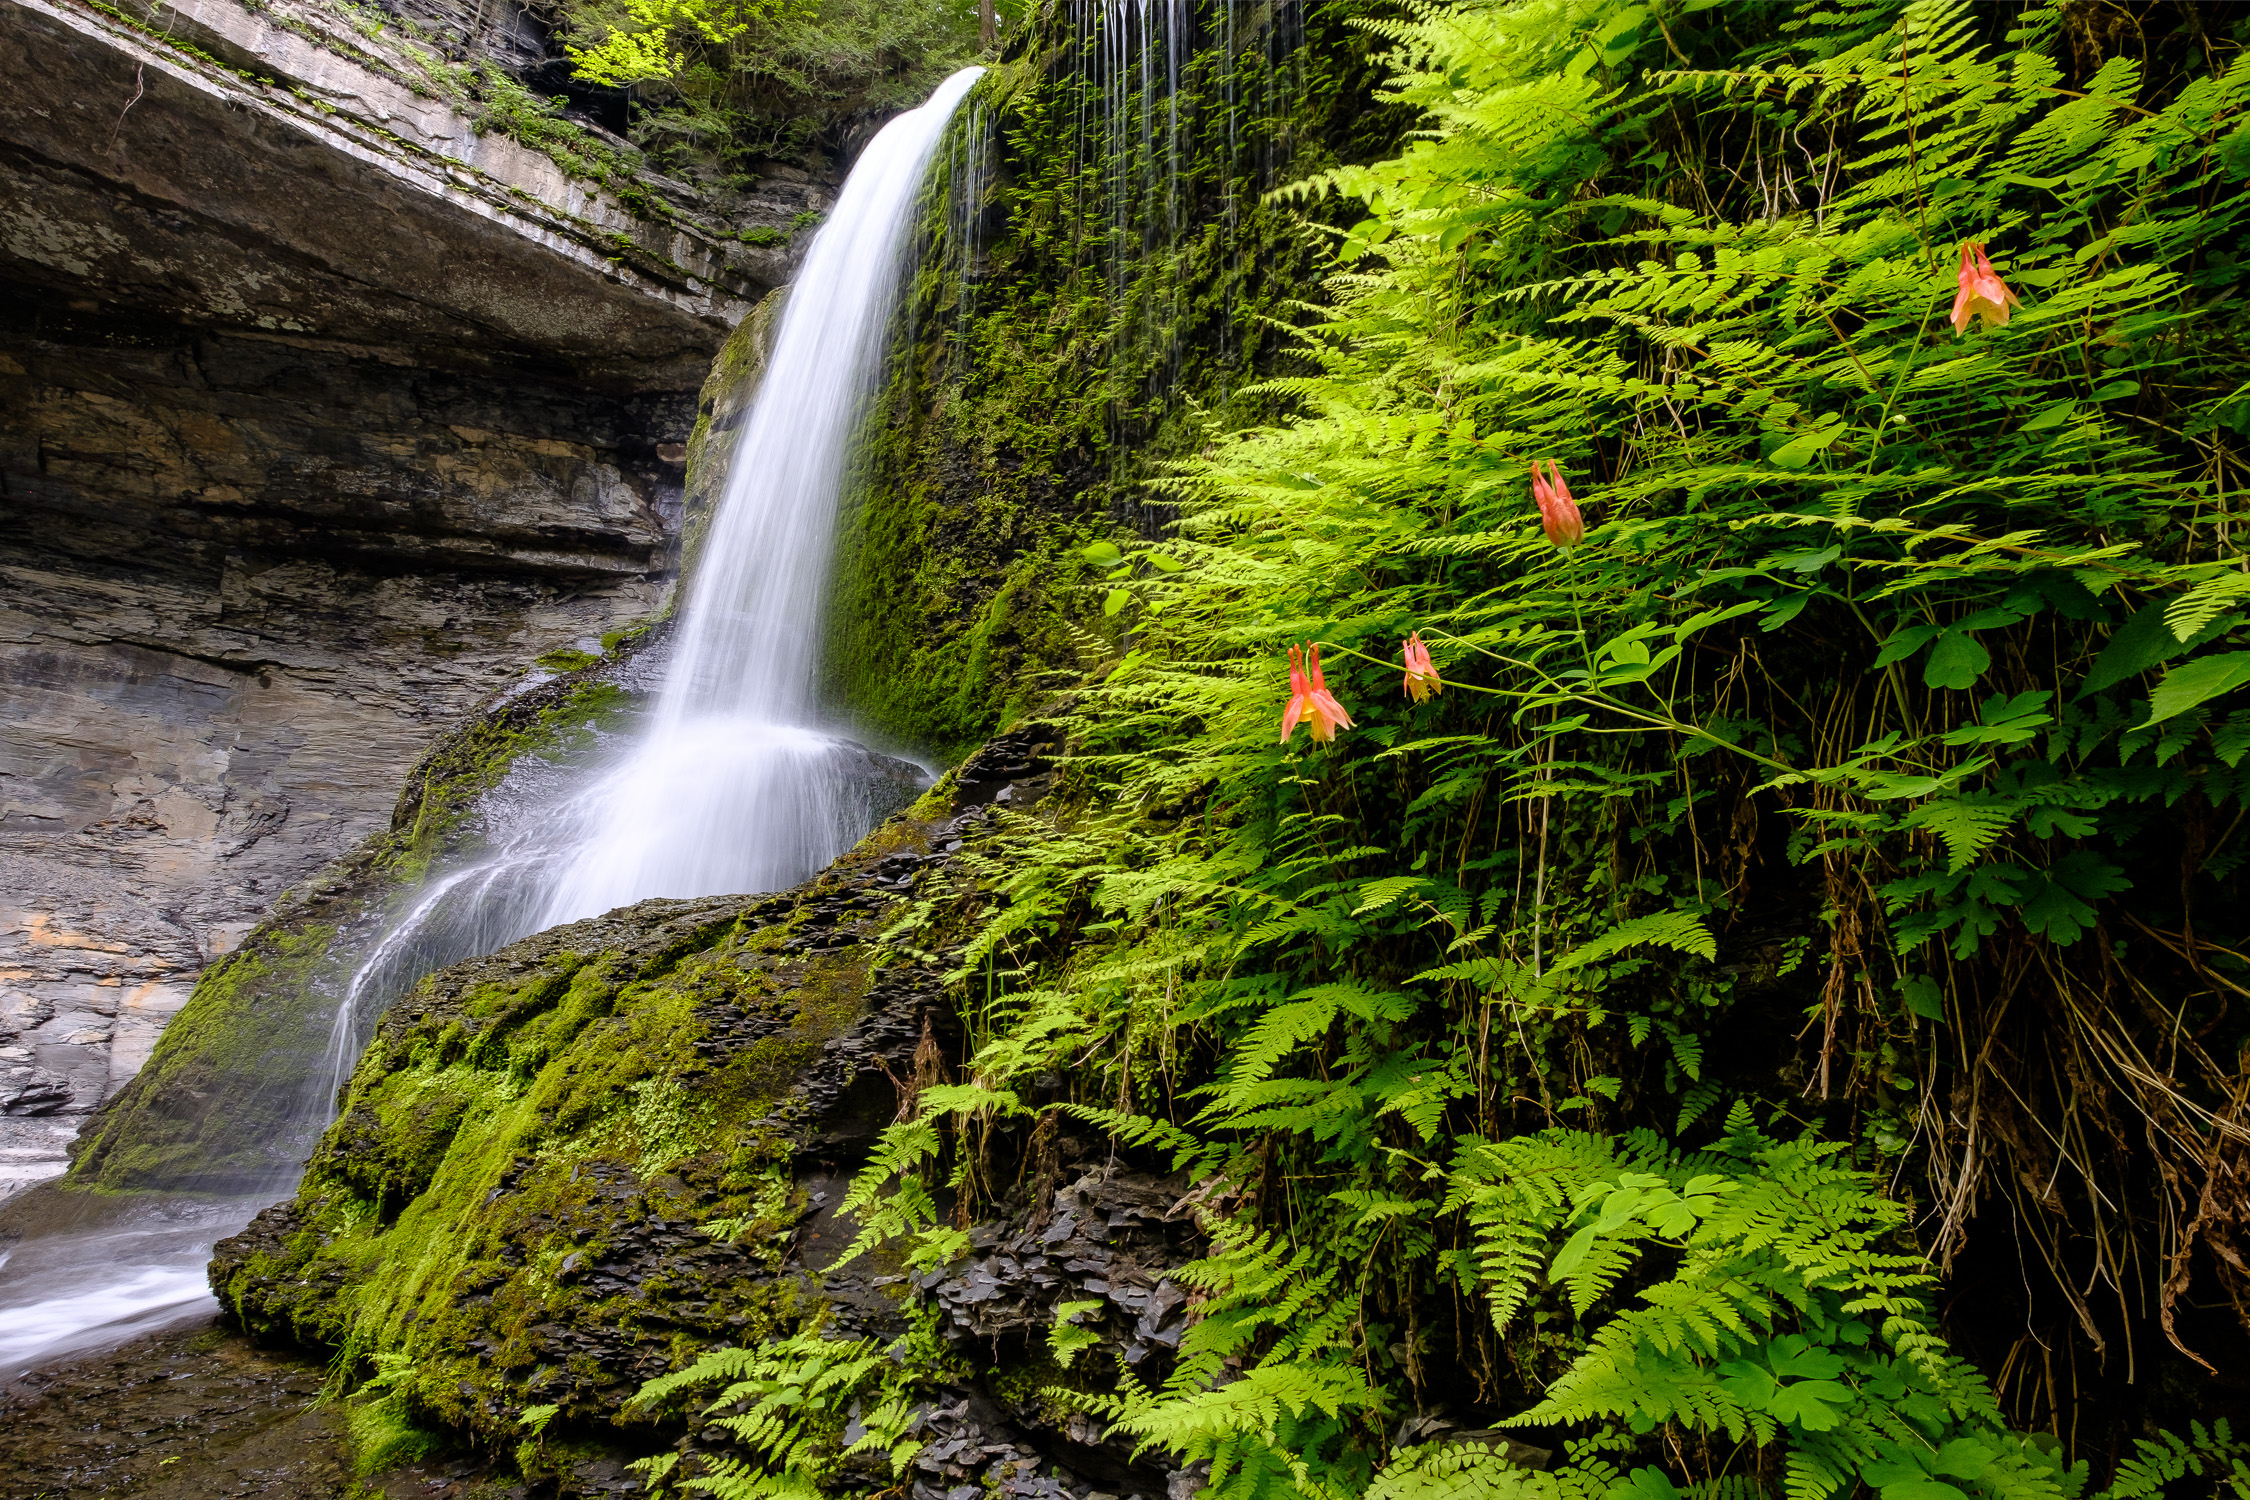
In May, I graduated from Cornell, and had to say a bittersweet goodbye to the beautiful gorges and waterfalls that I had gotten to know during my 4 years in Ithaca.

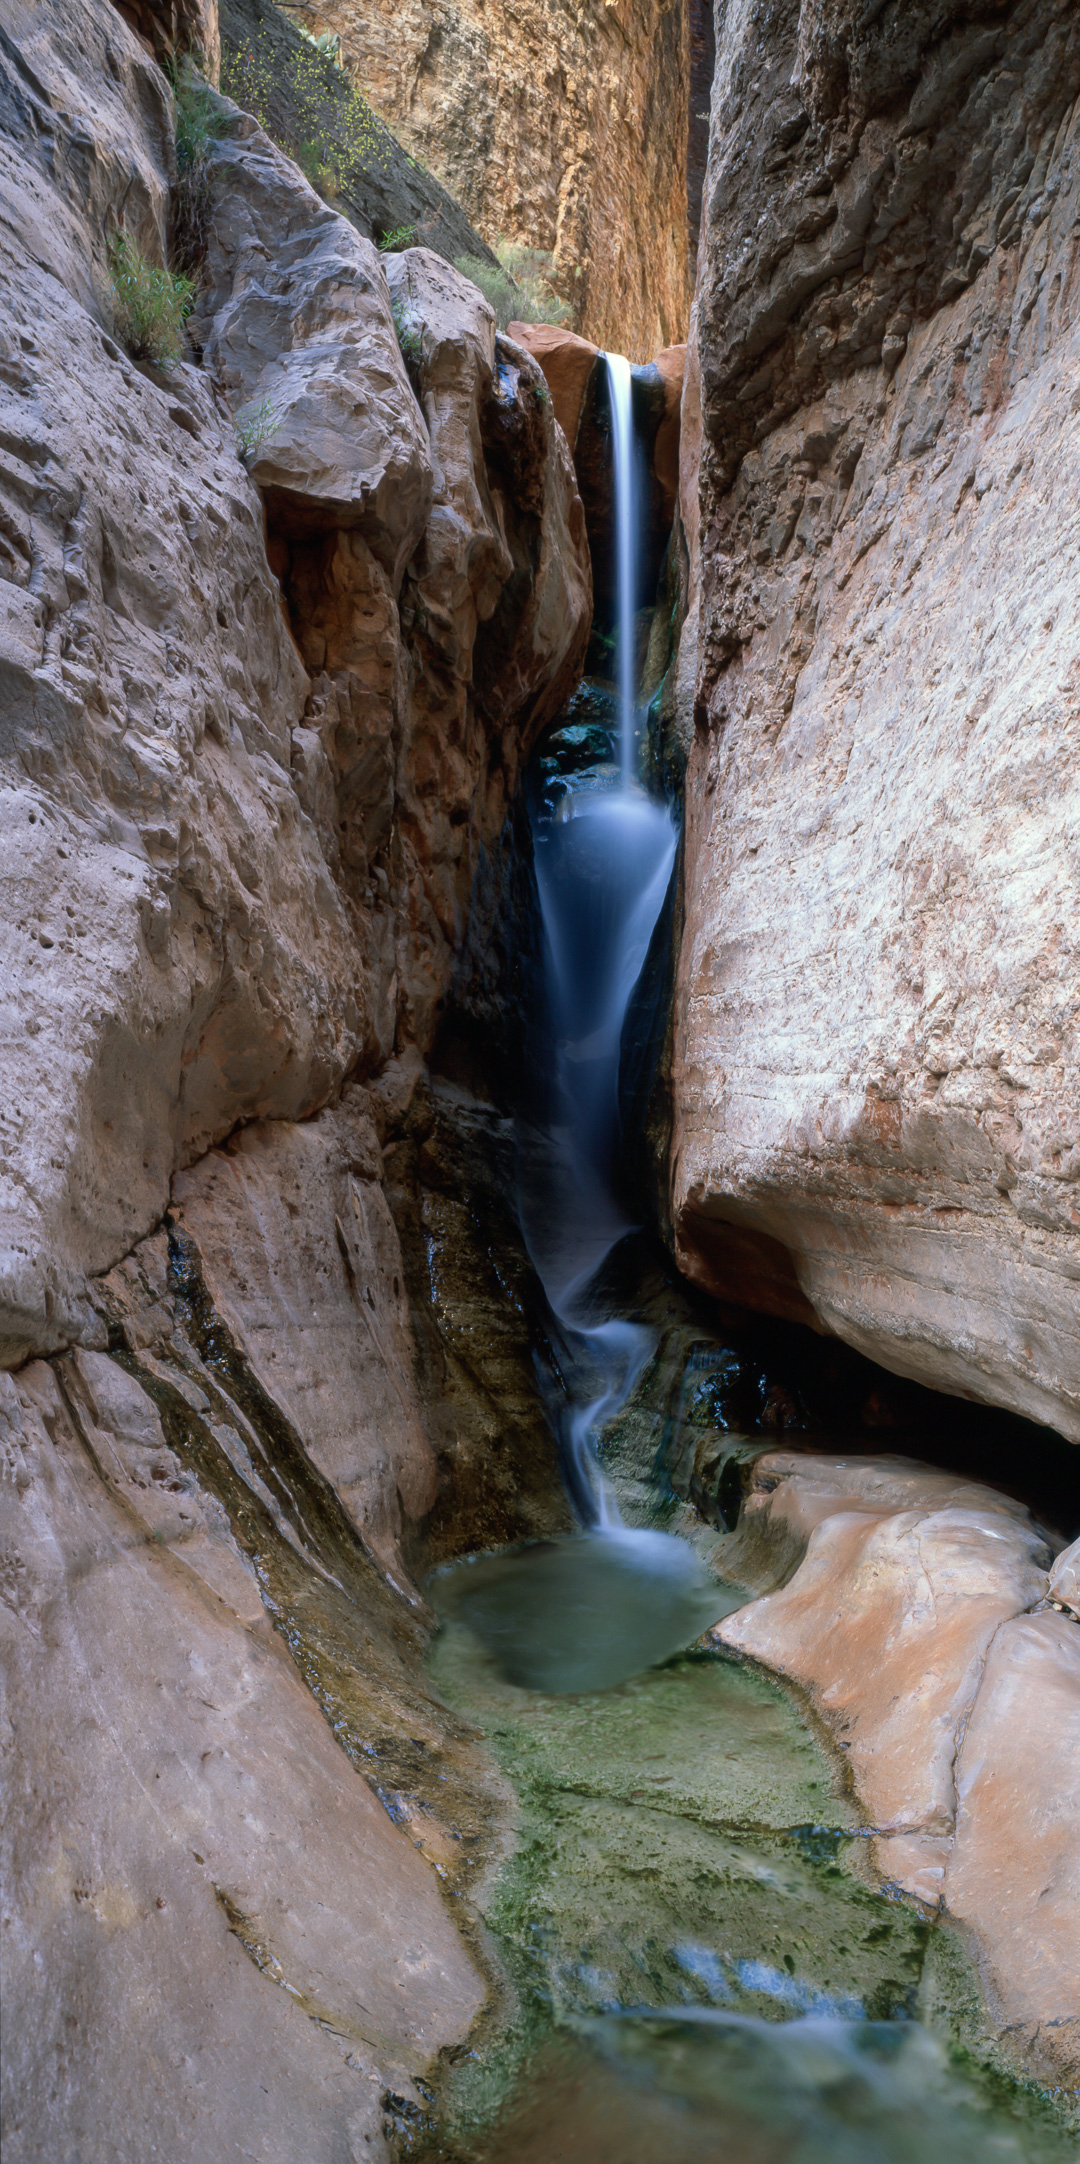
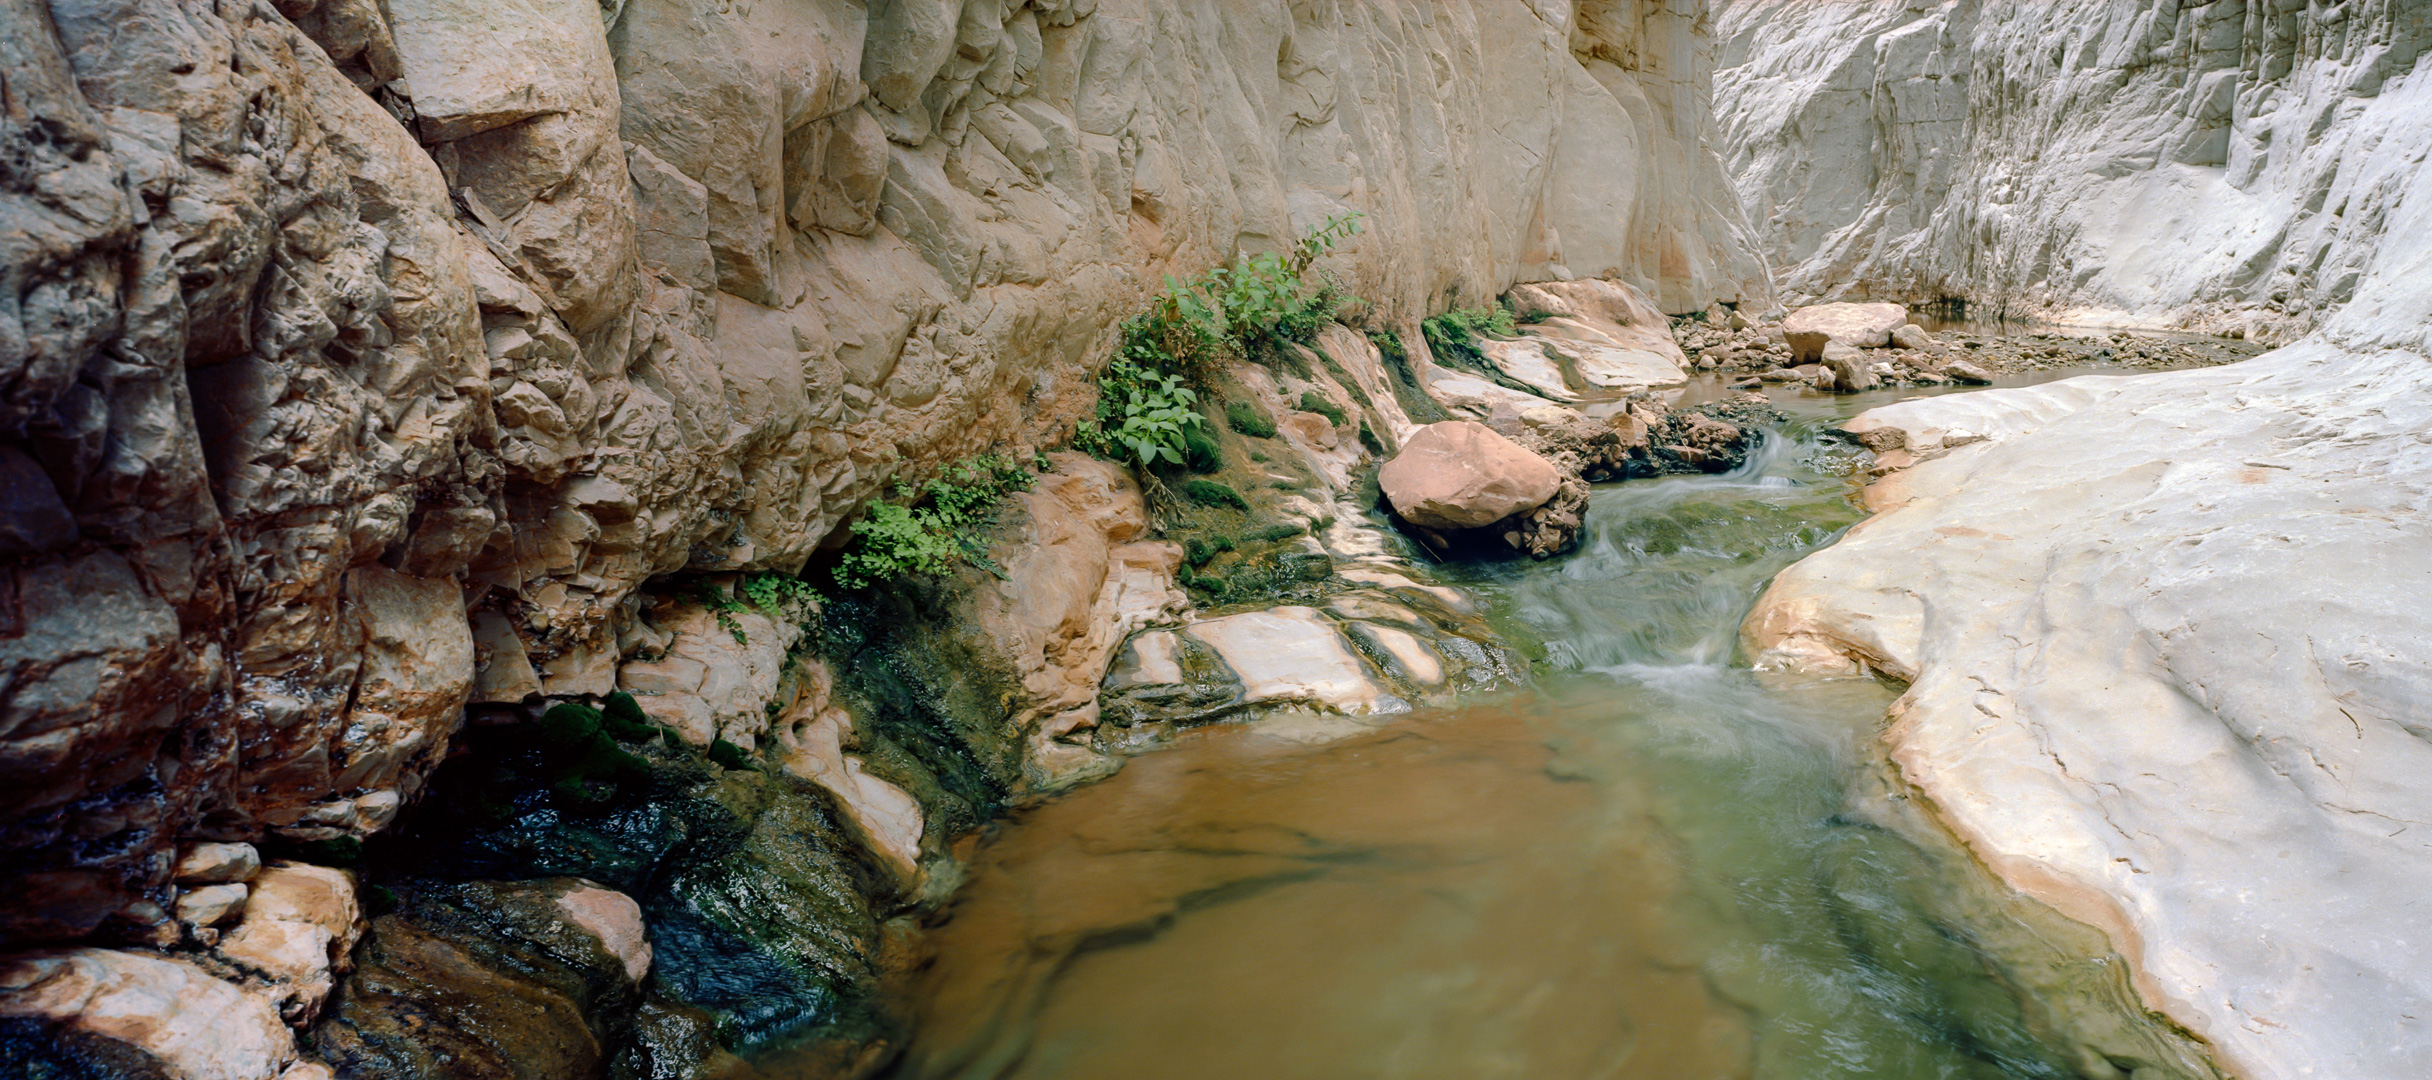
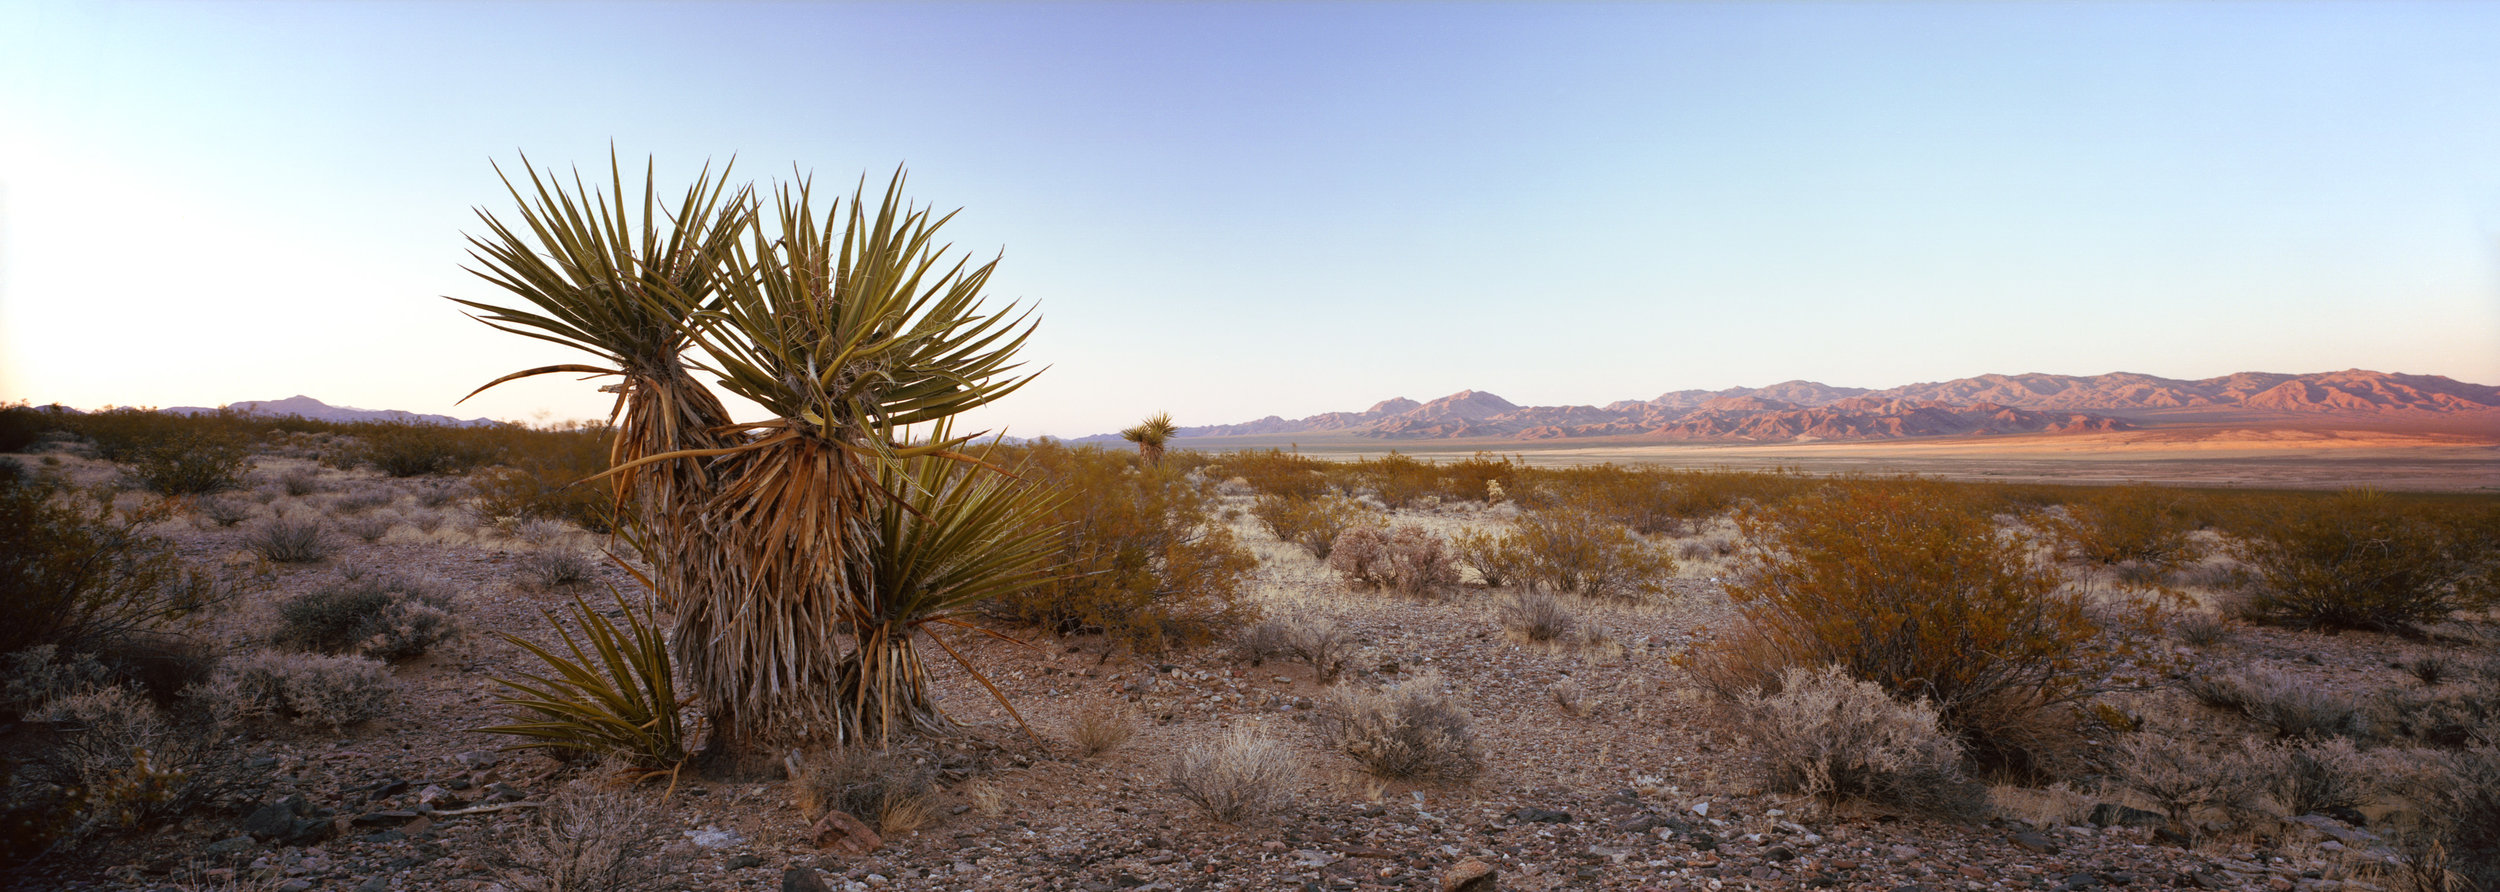
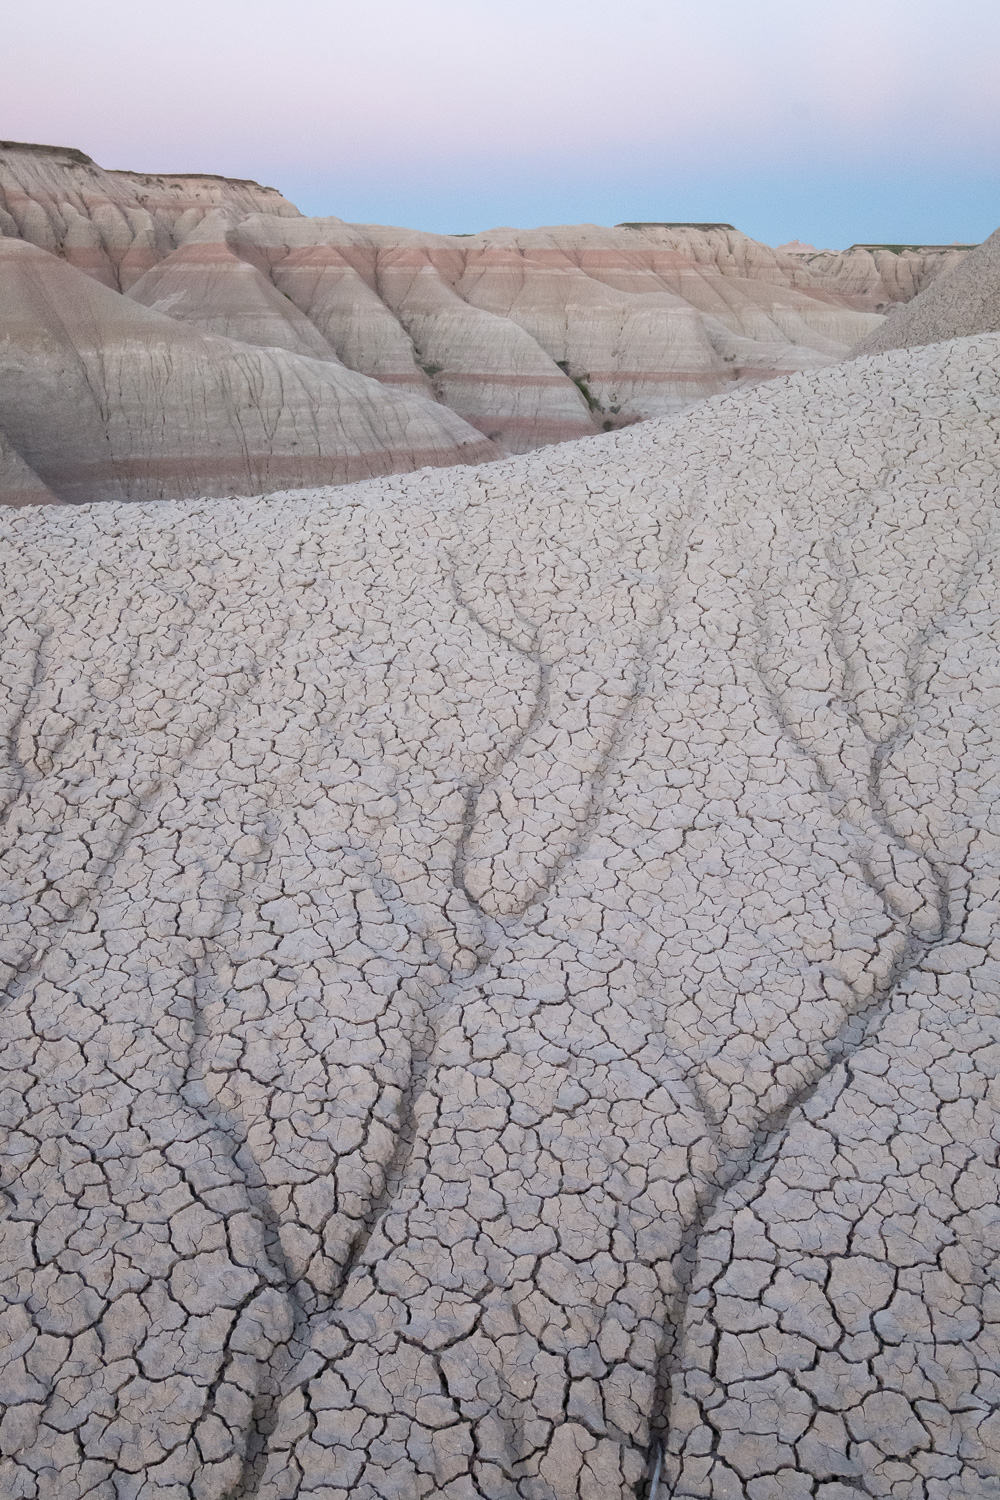
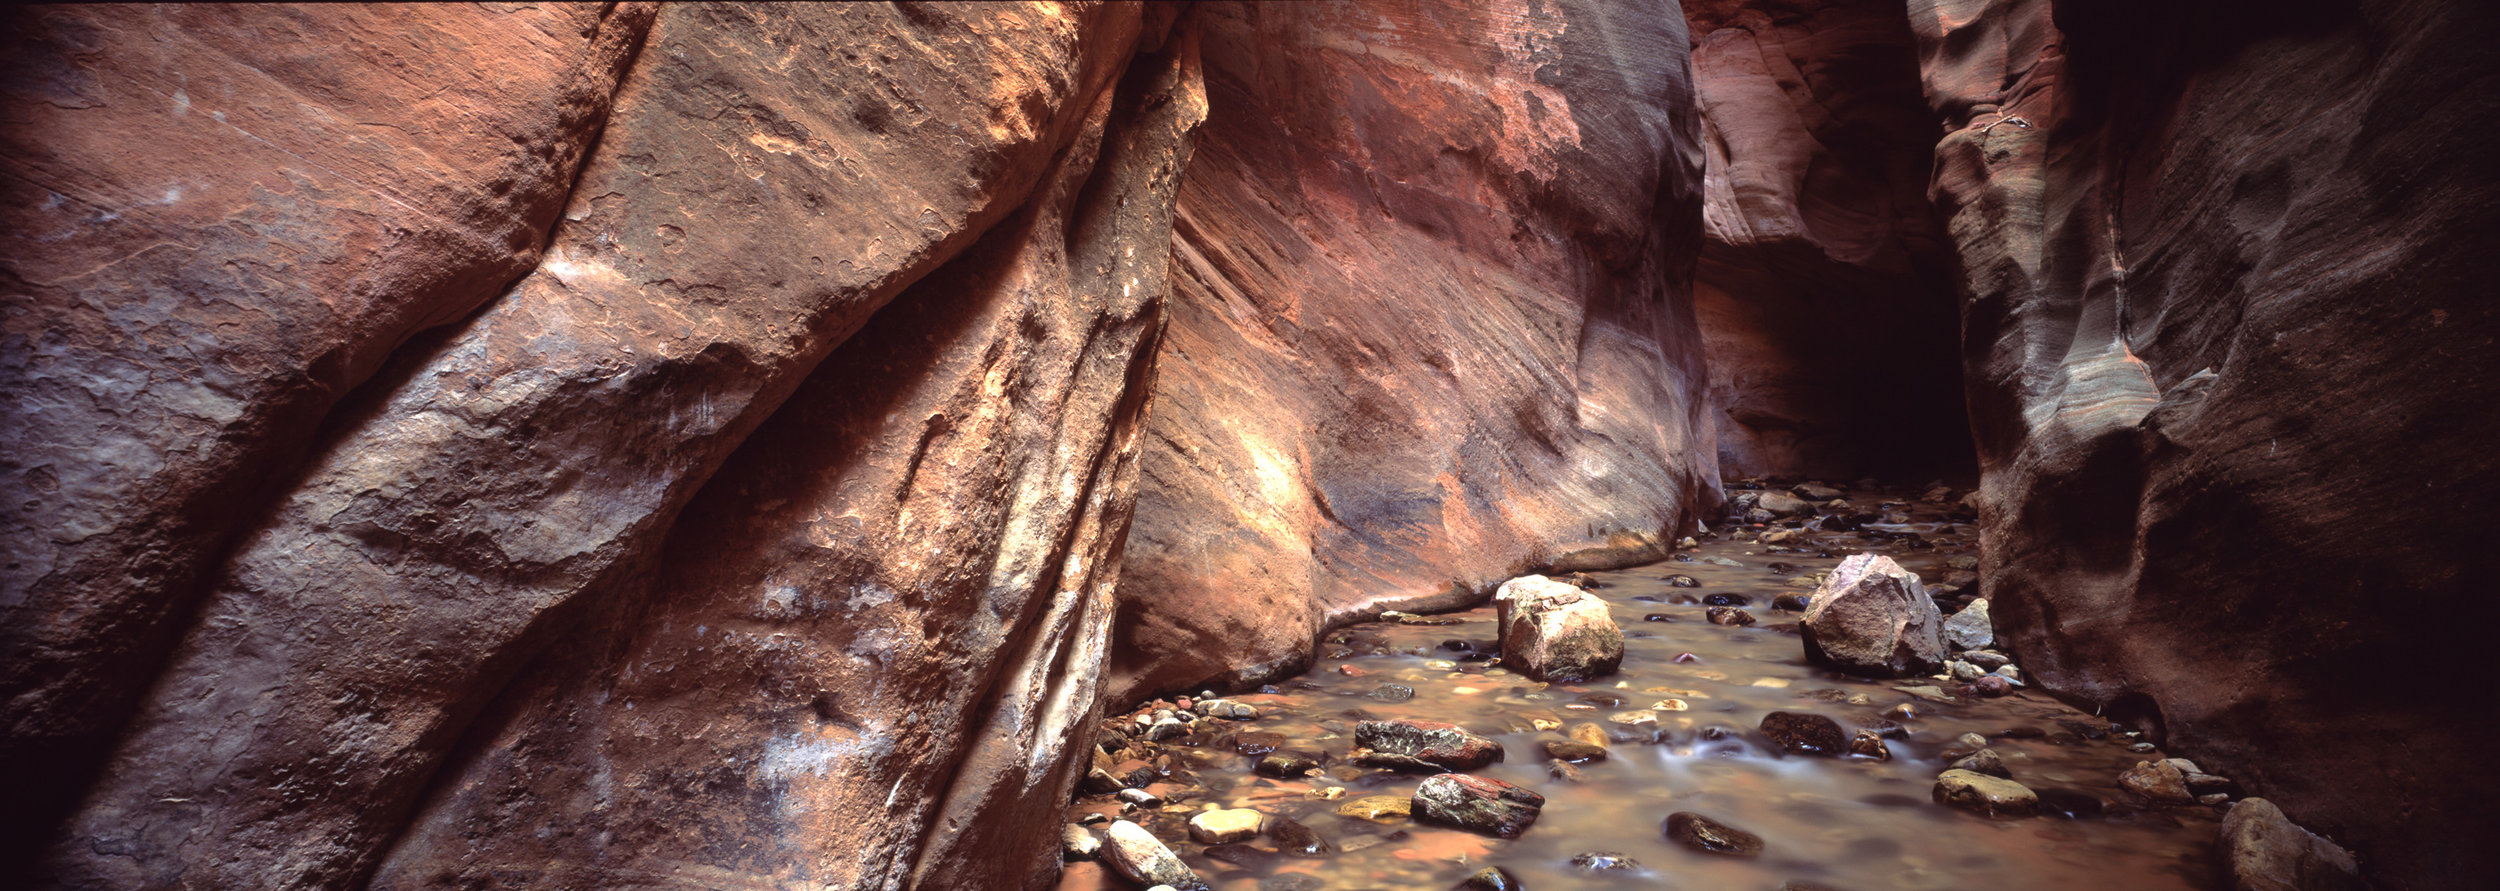
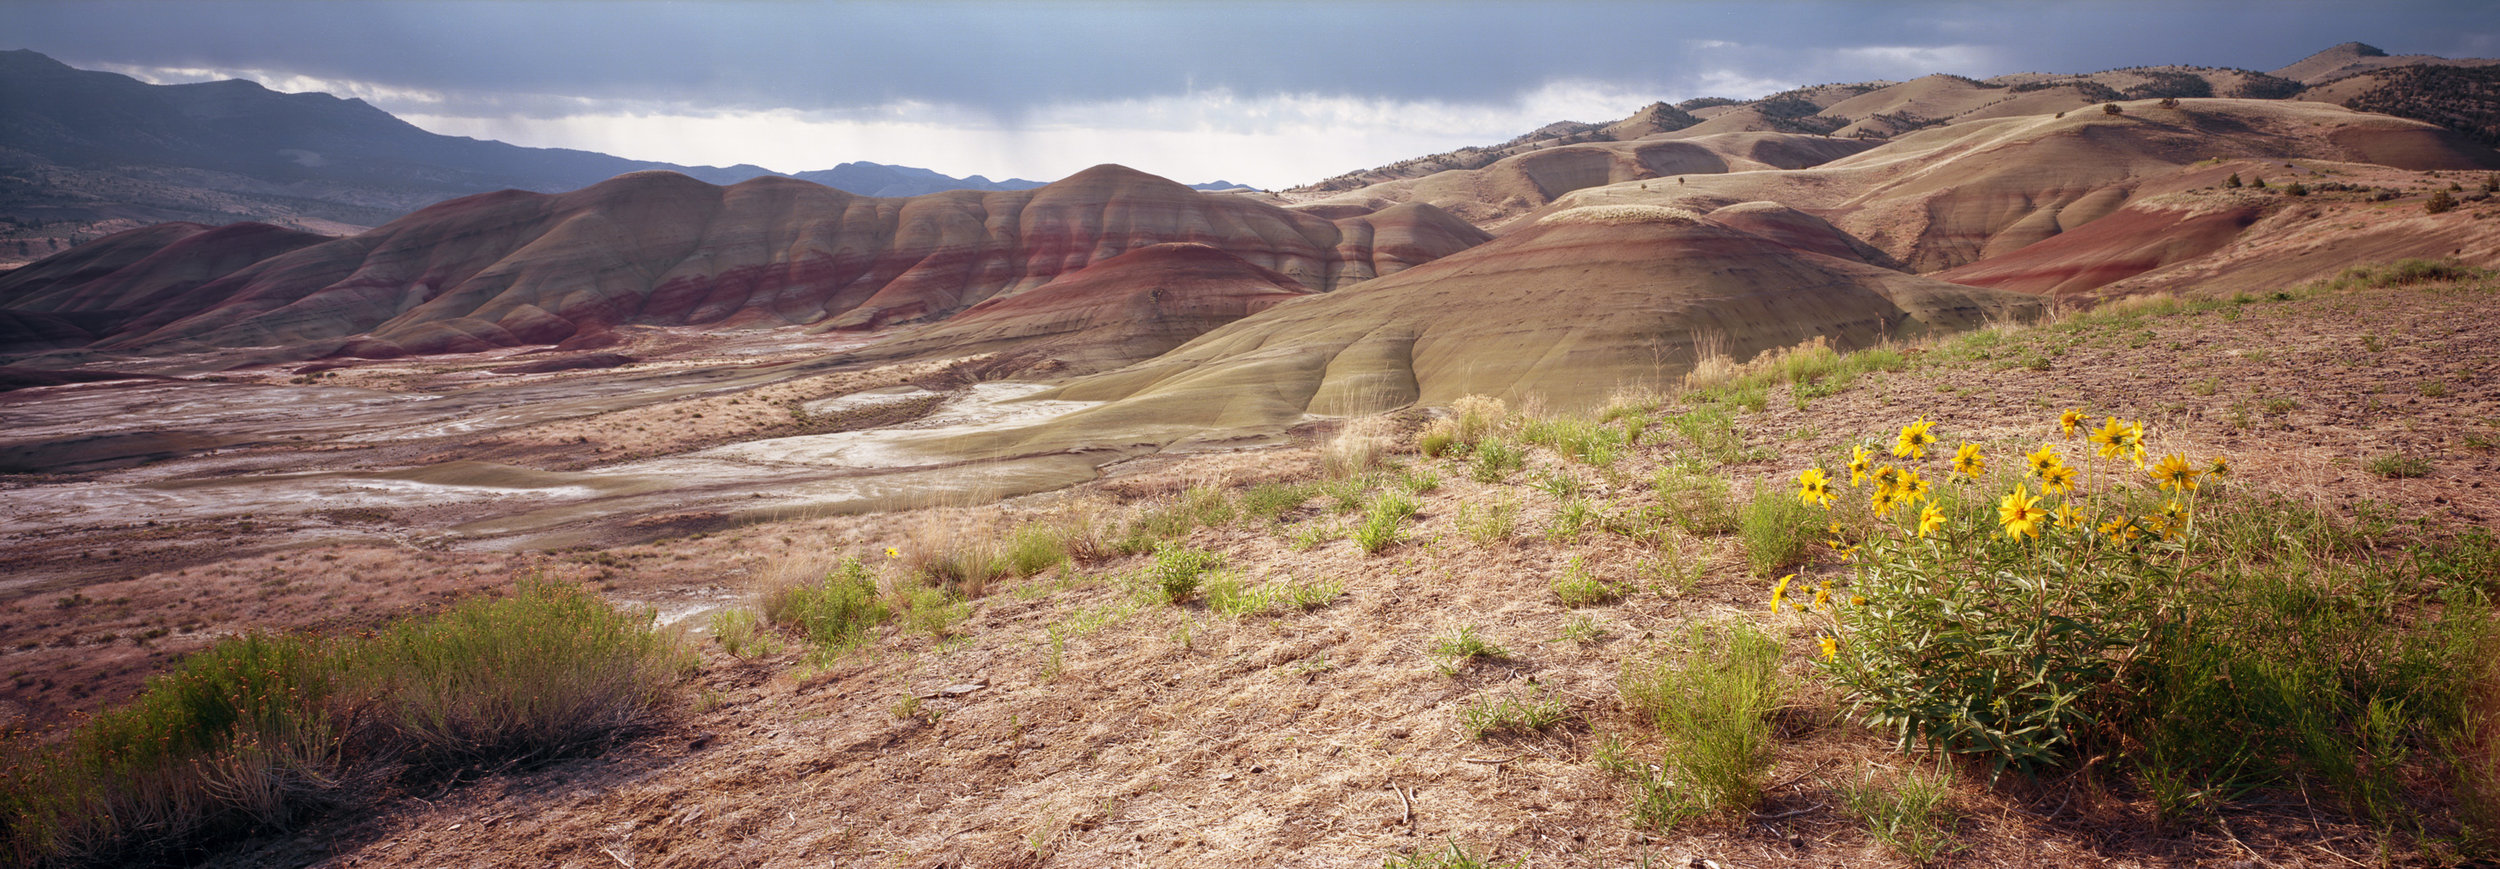
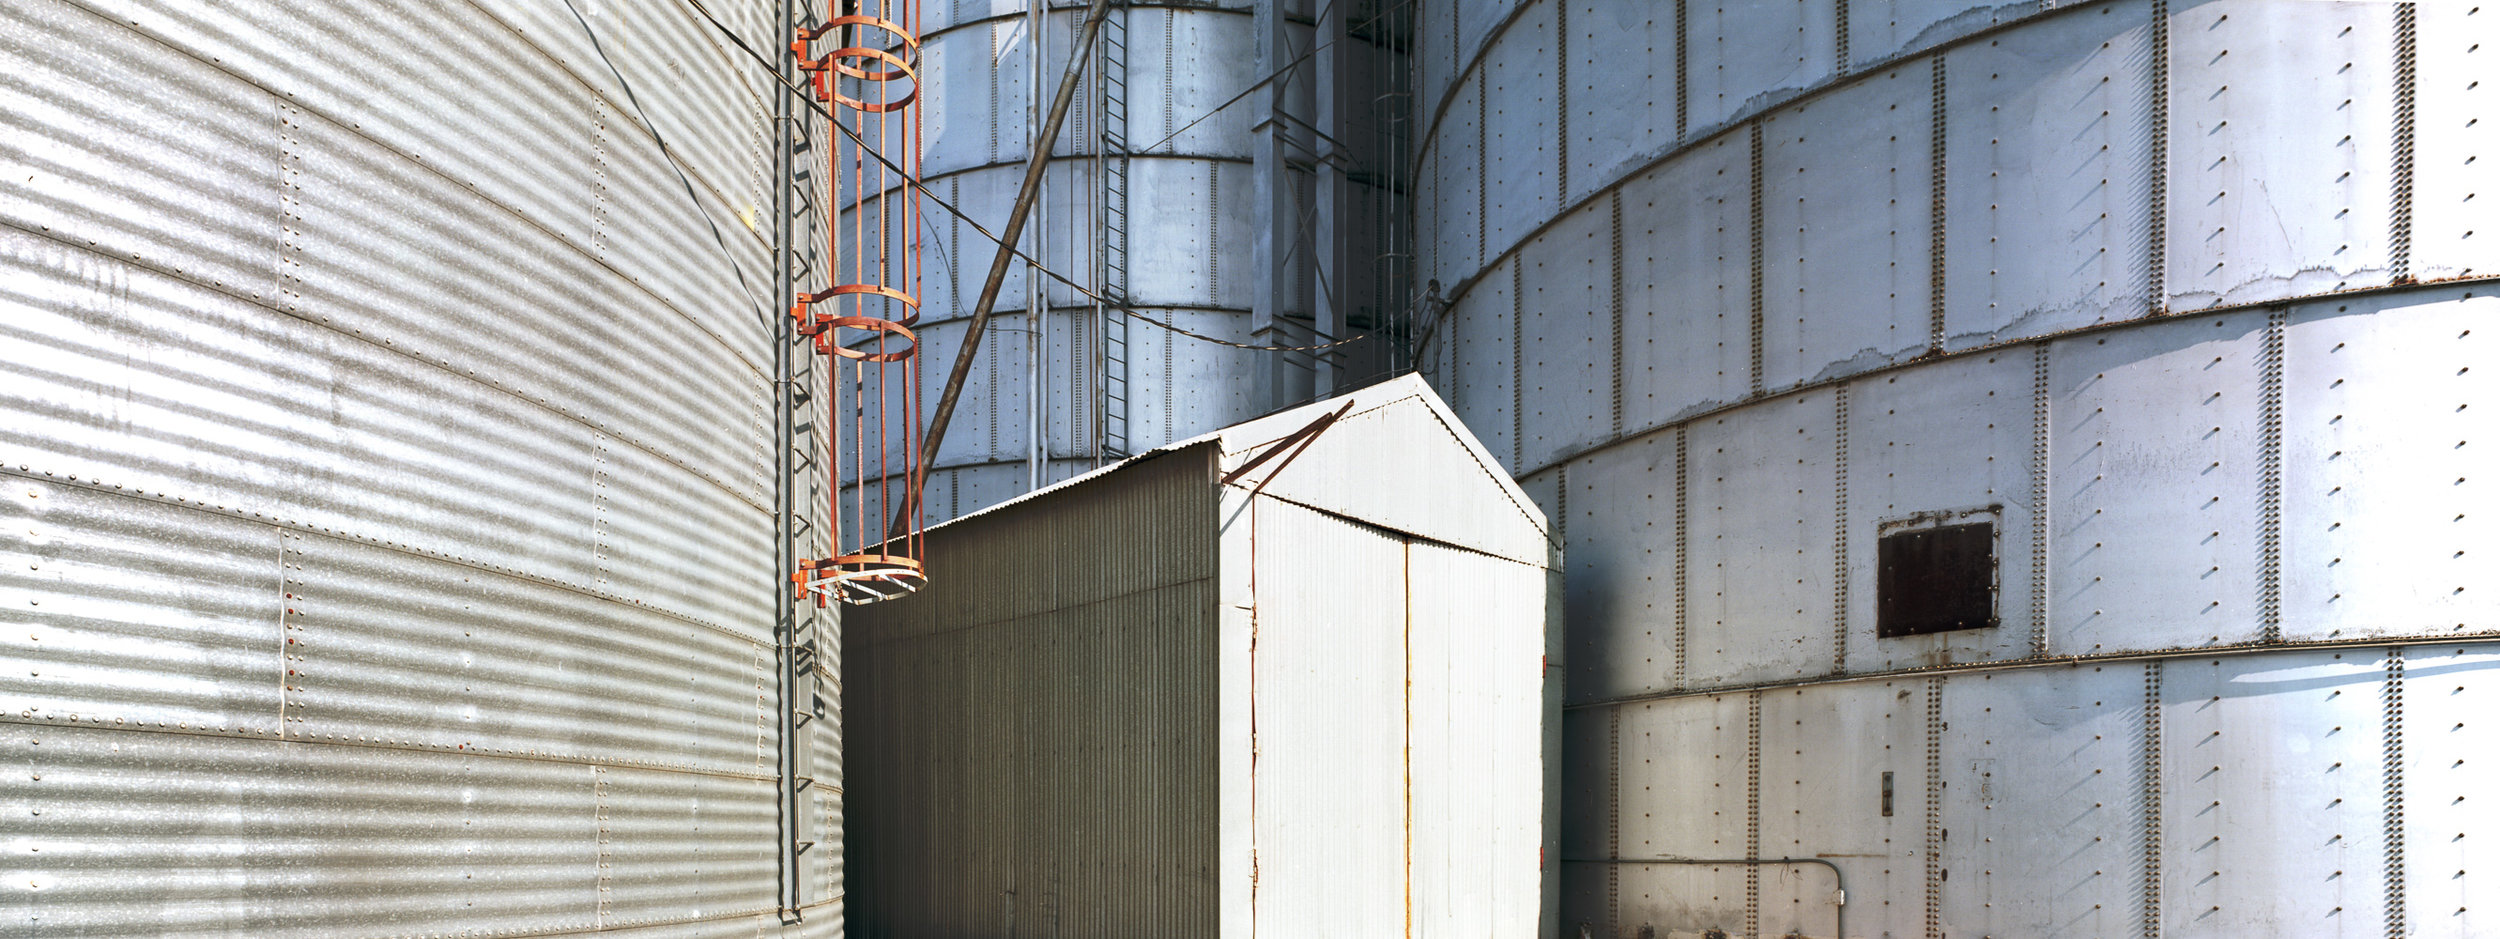
After graduation, Becca and I embarked on a 2 week long road trip from New York back to Seattle, by way of California. I brought along my new 6x17 panoramic film camera, and had a great time photographing the landscapes along the way.

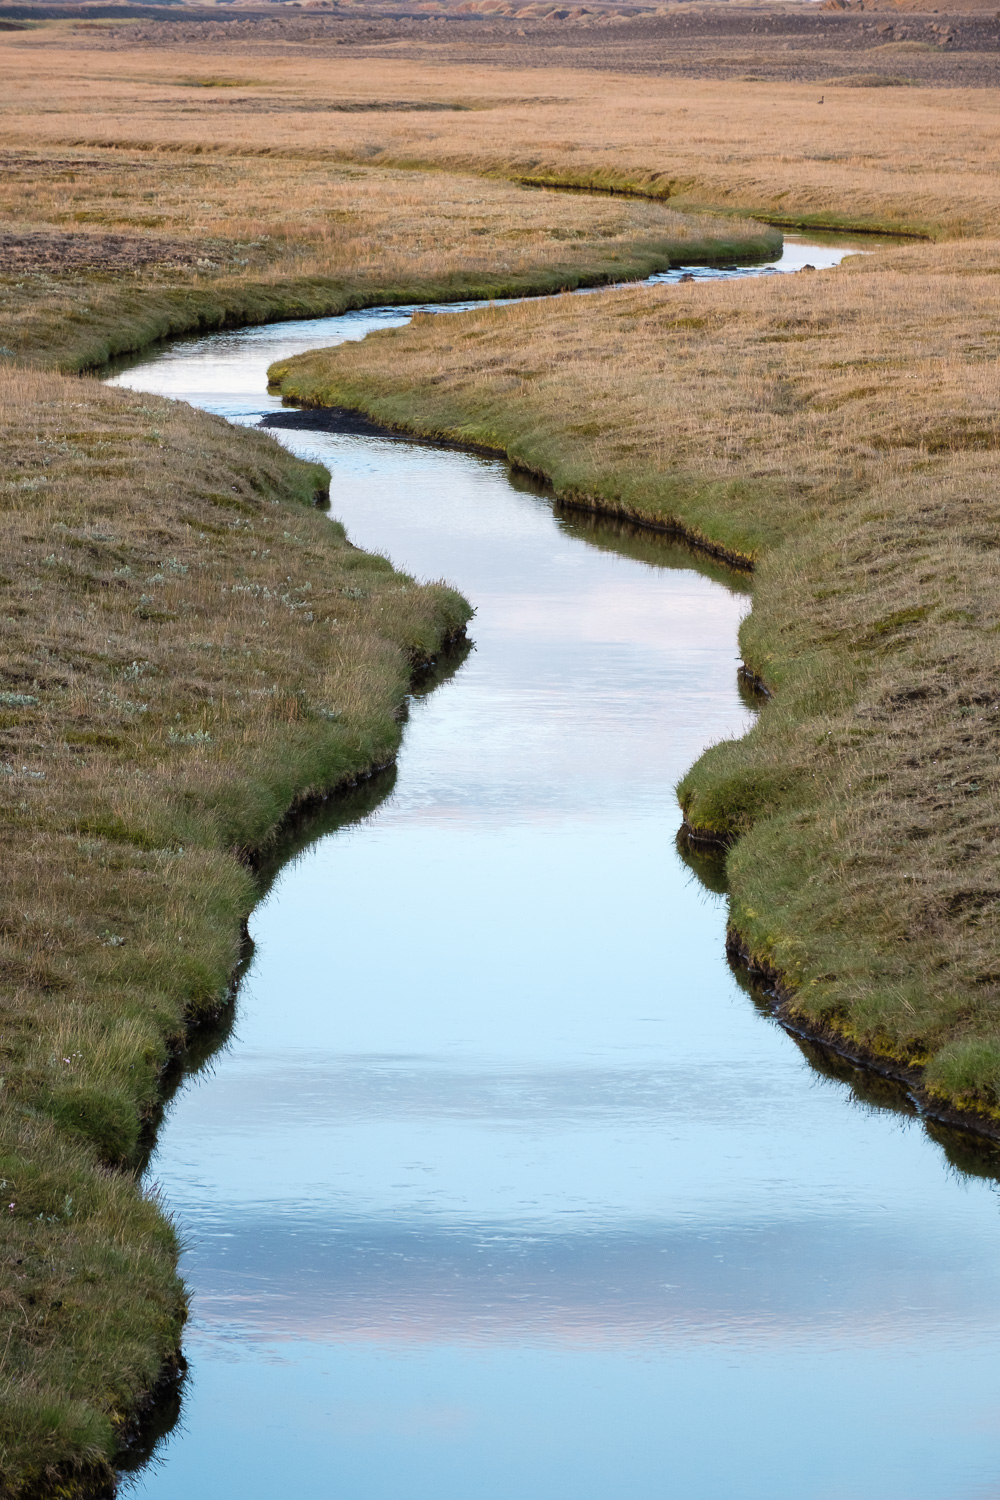
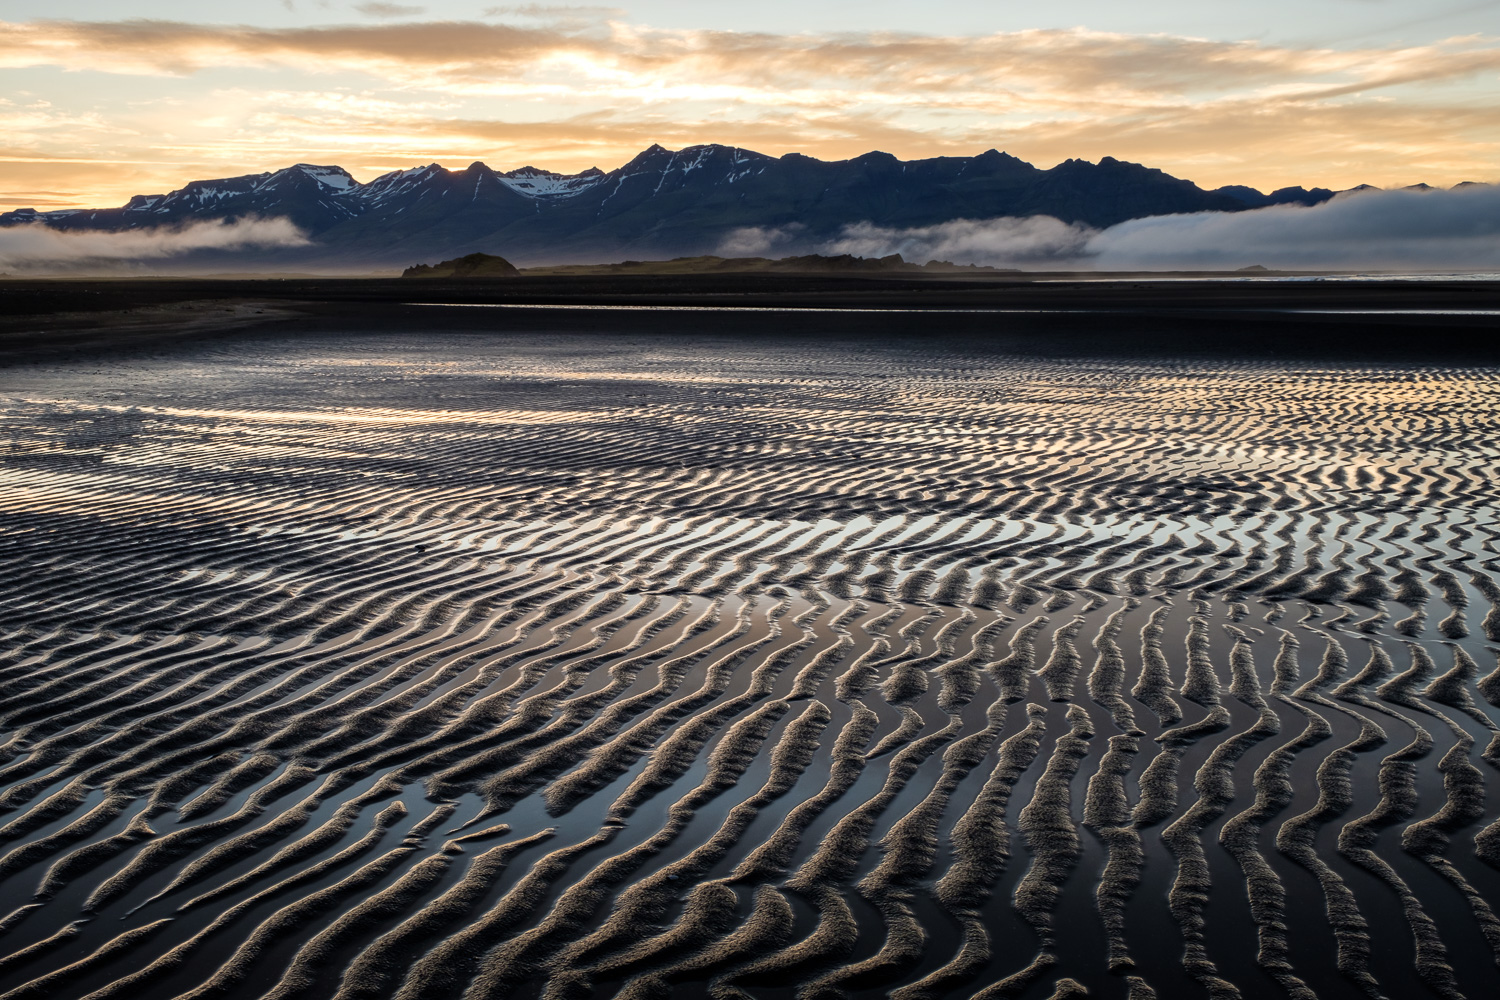
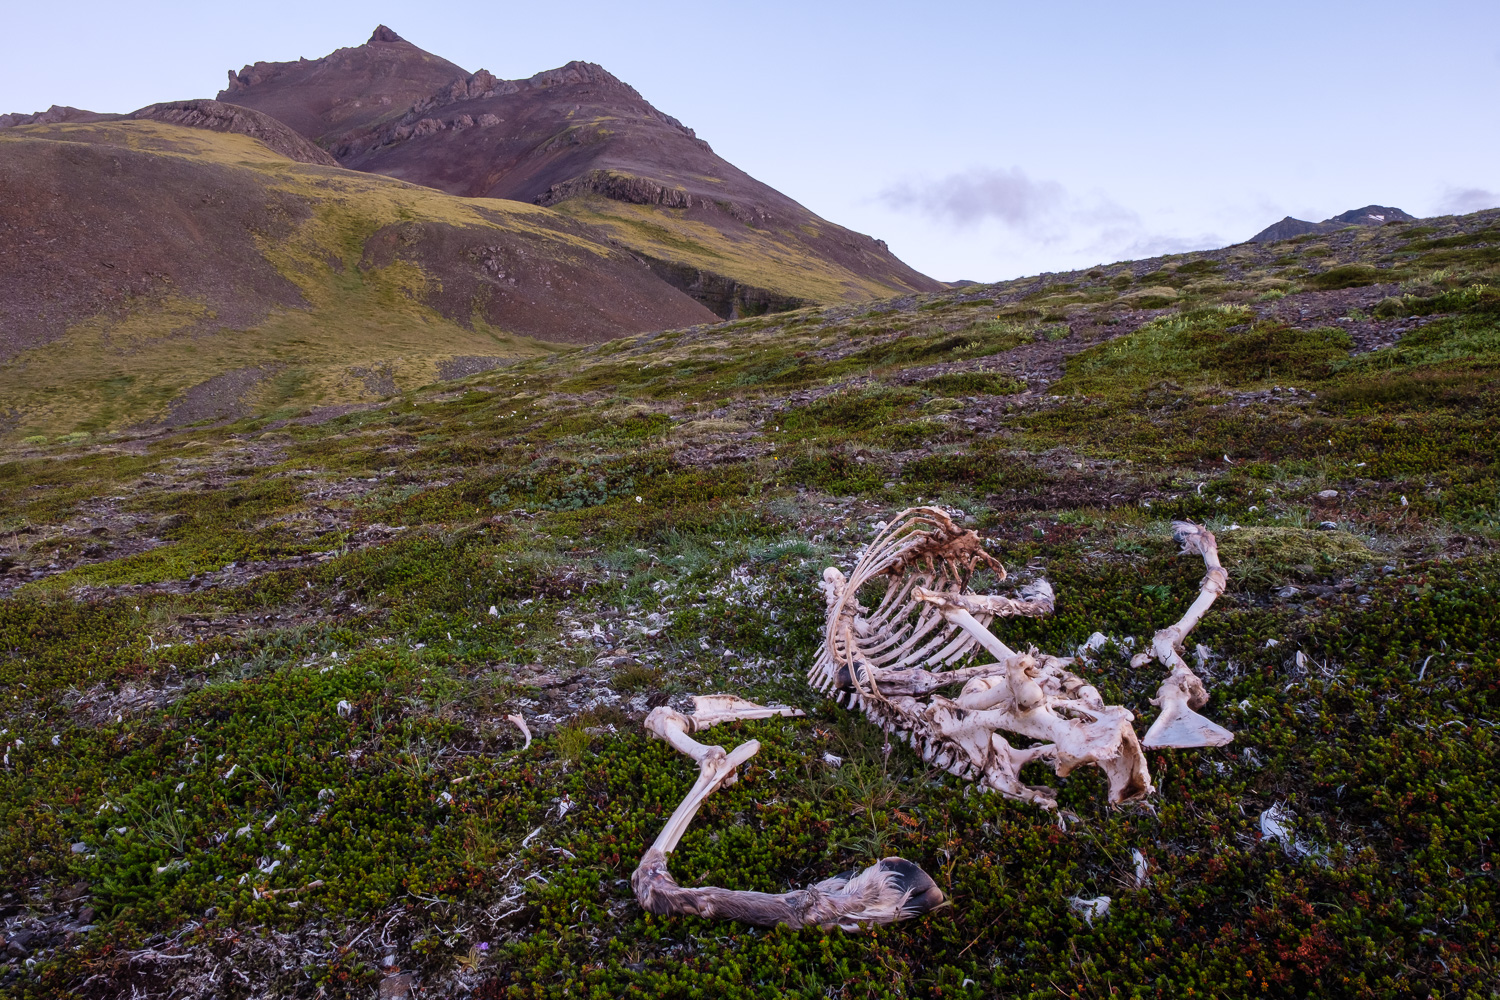
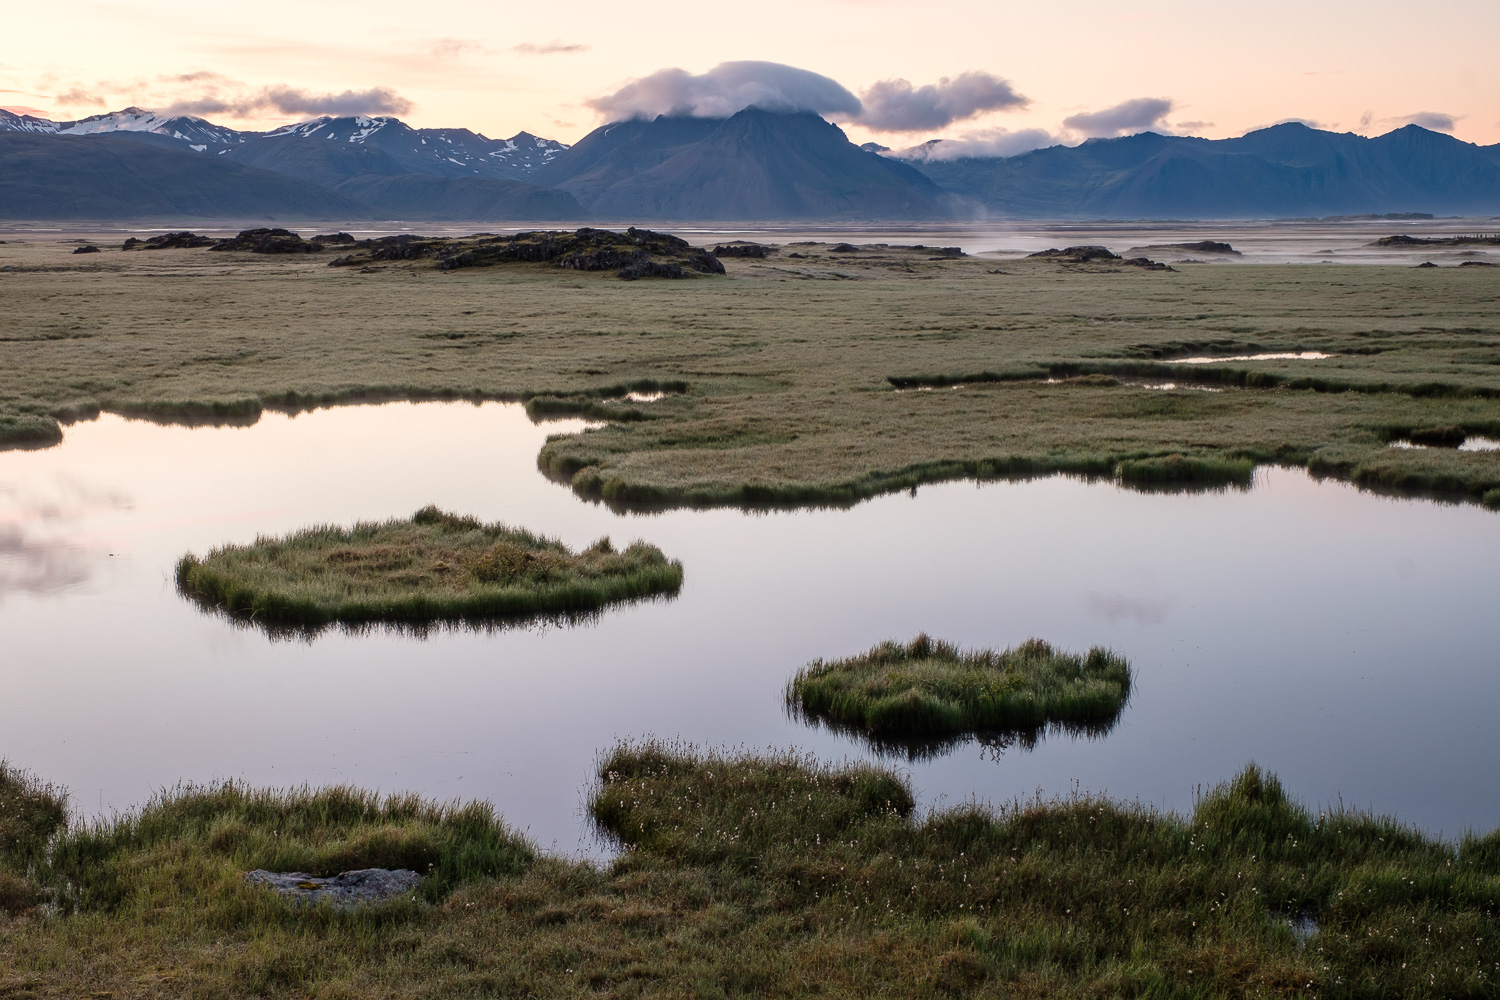
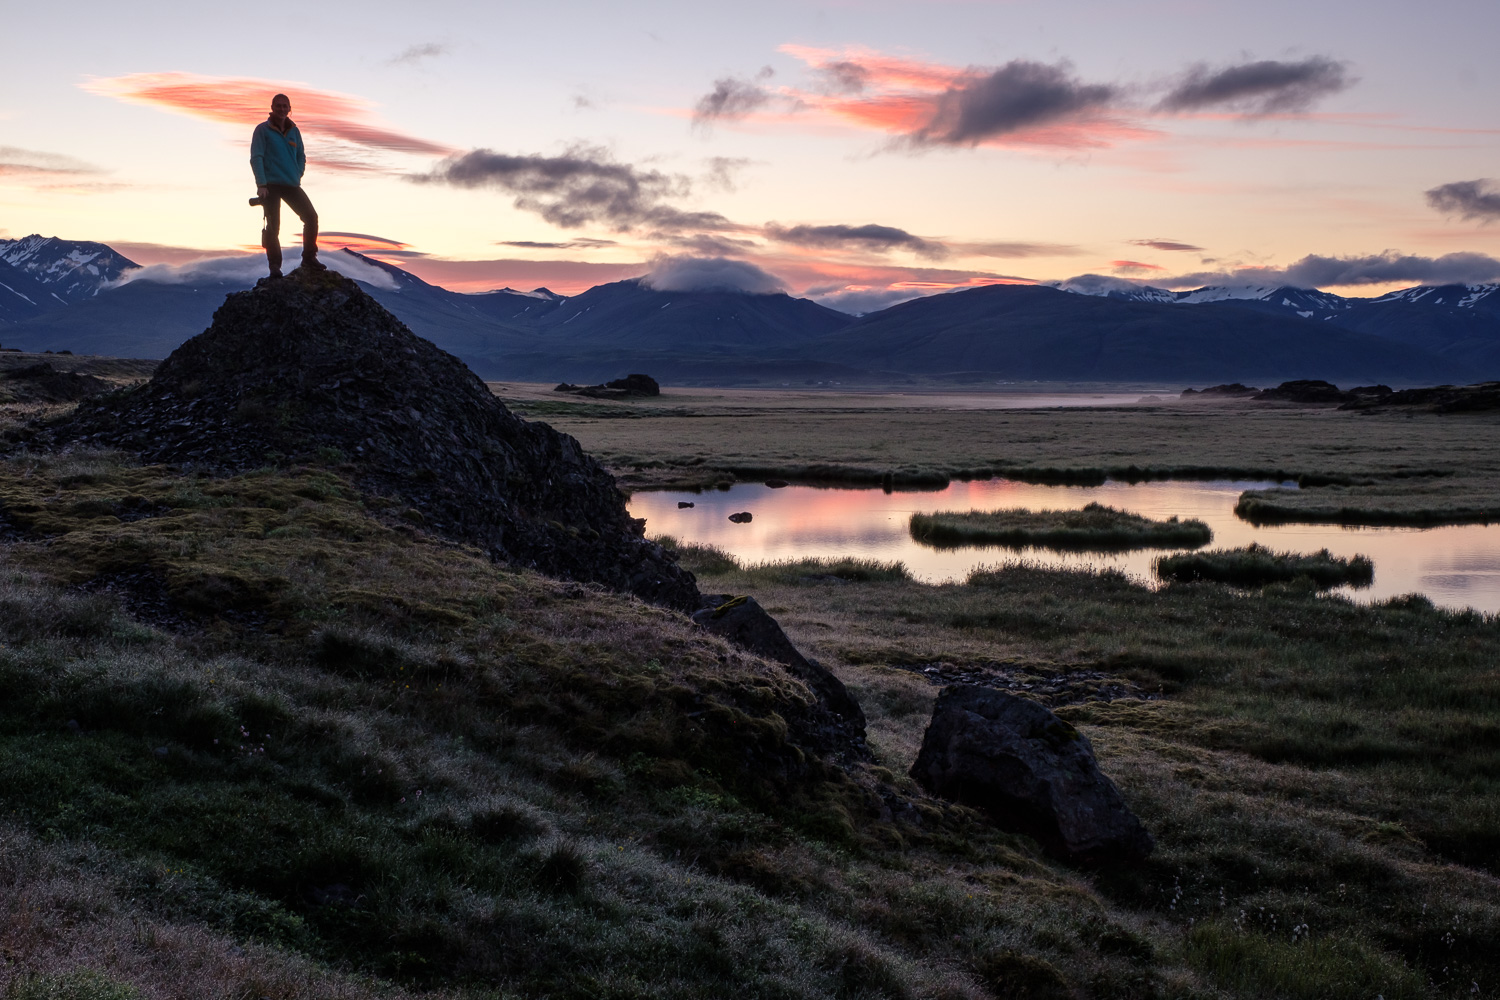
After a few days backpacking in the Olympics to catch our breath, Becca and I set off for a month of travel around Spain, France, Iceland, and Scotland.

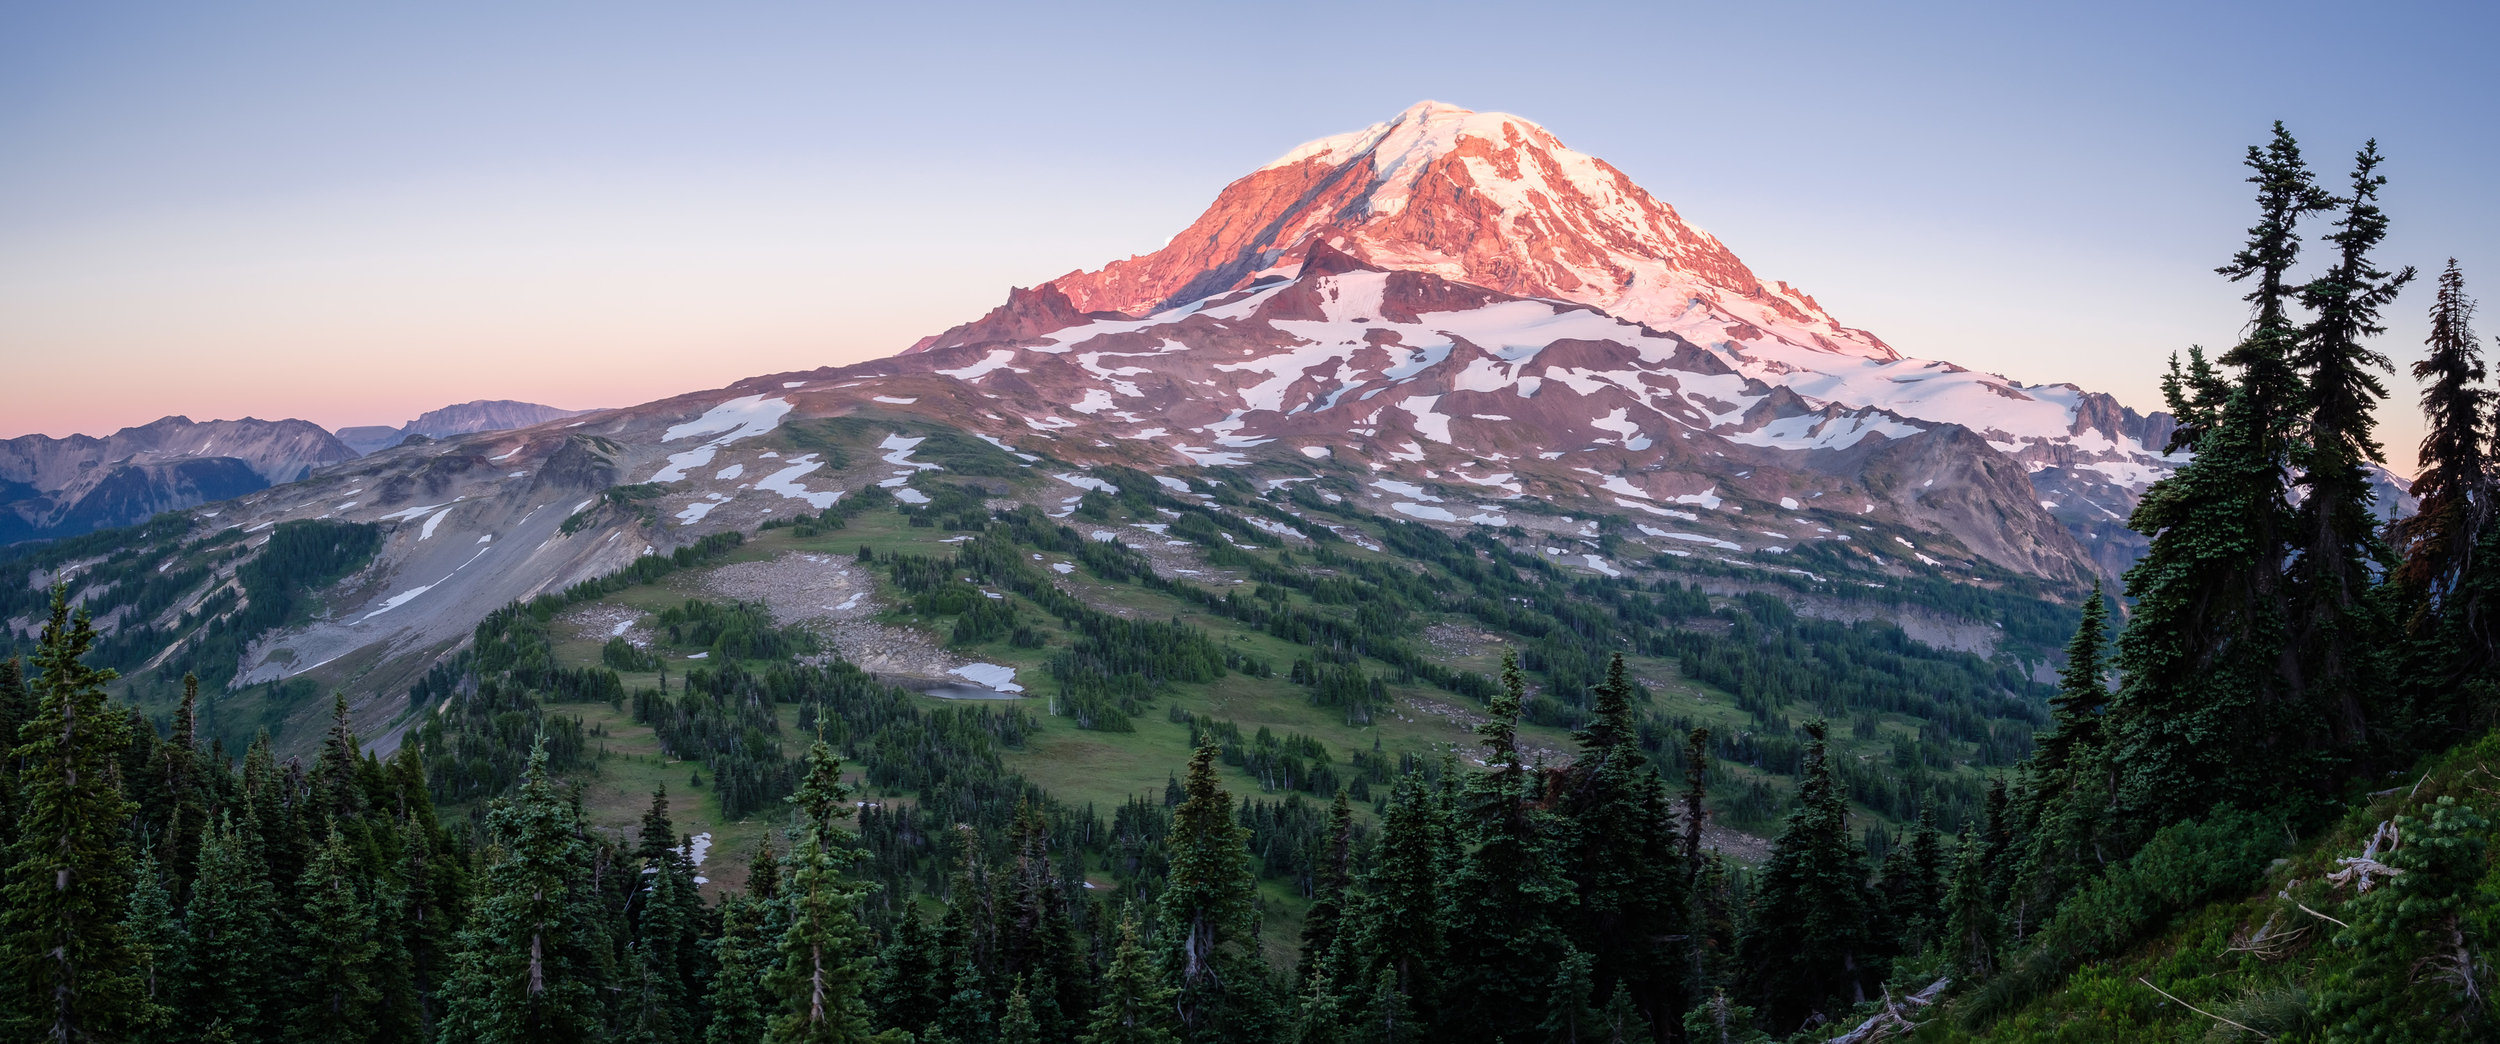
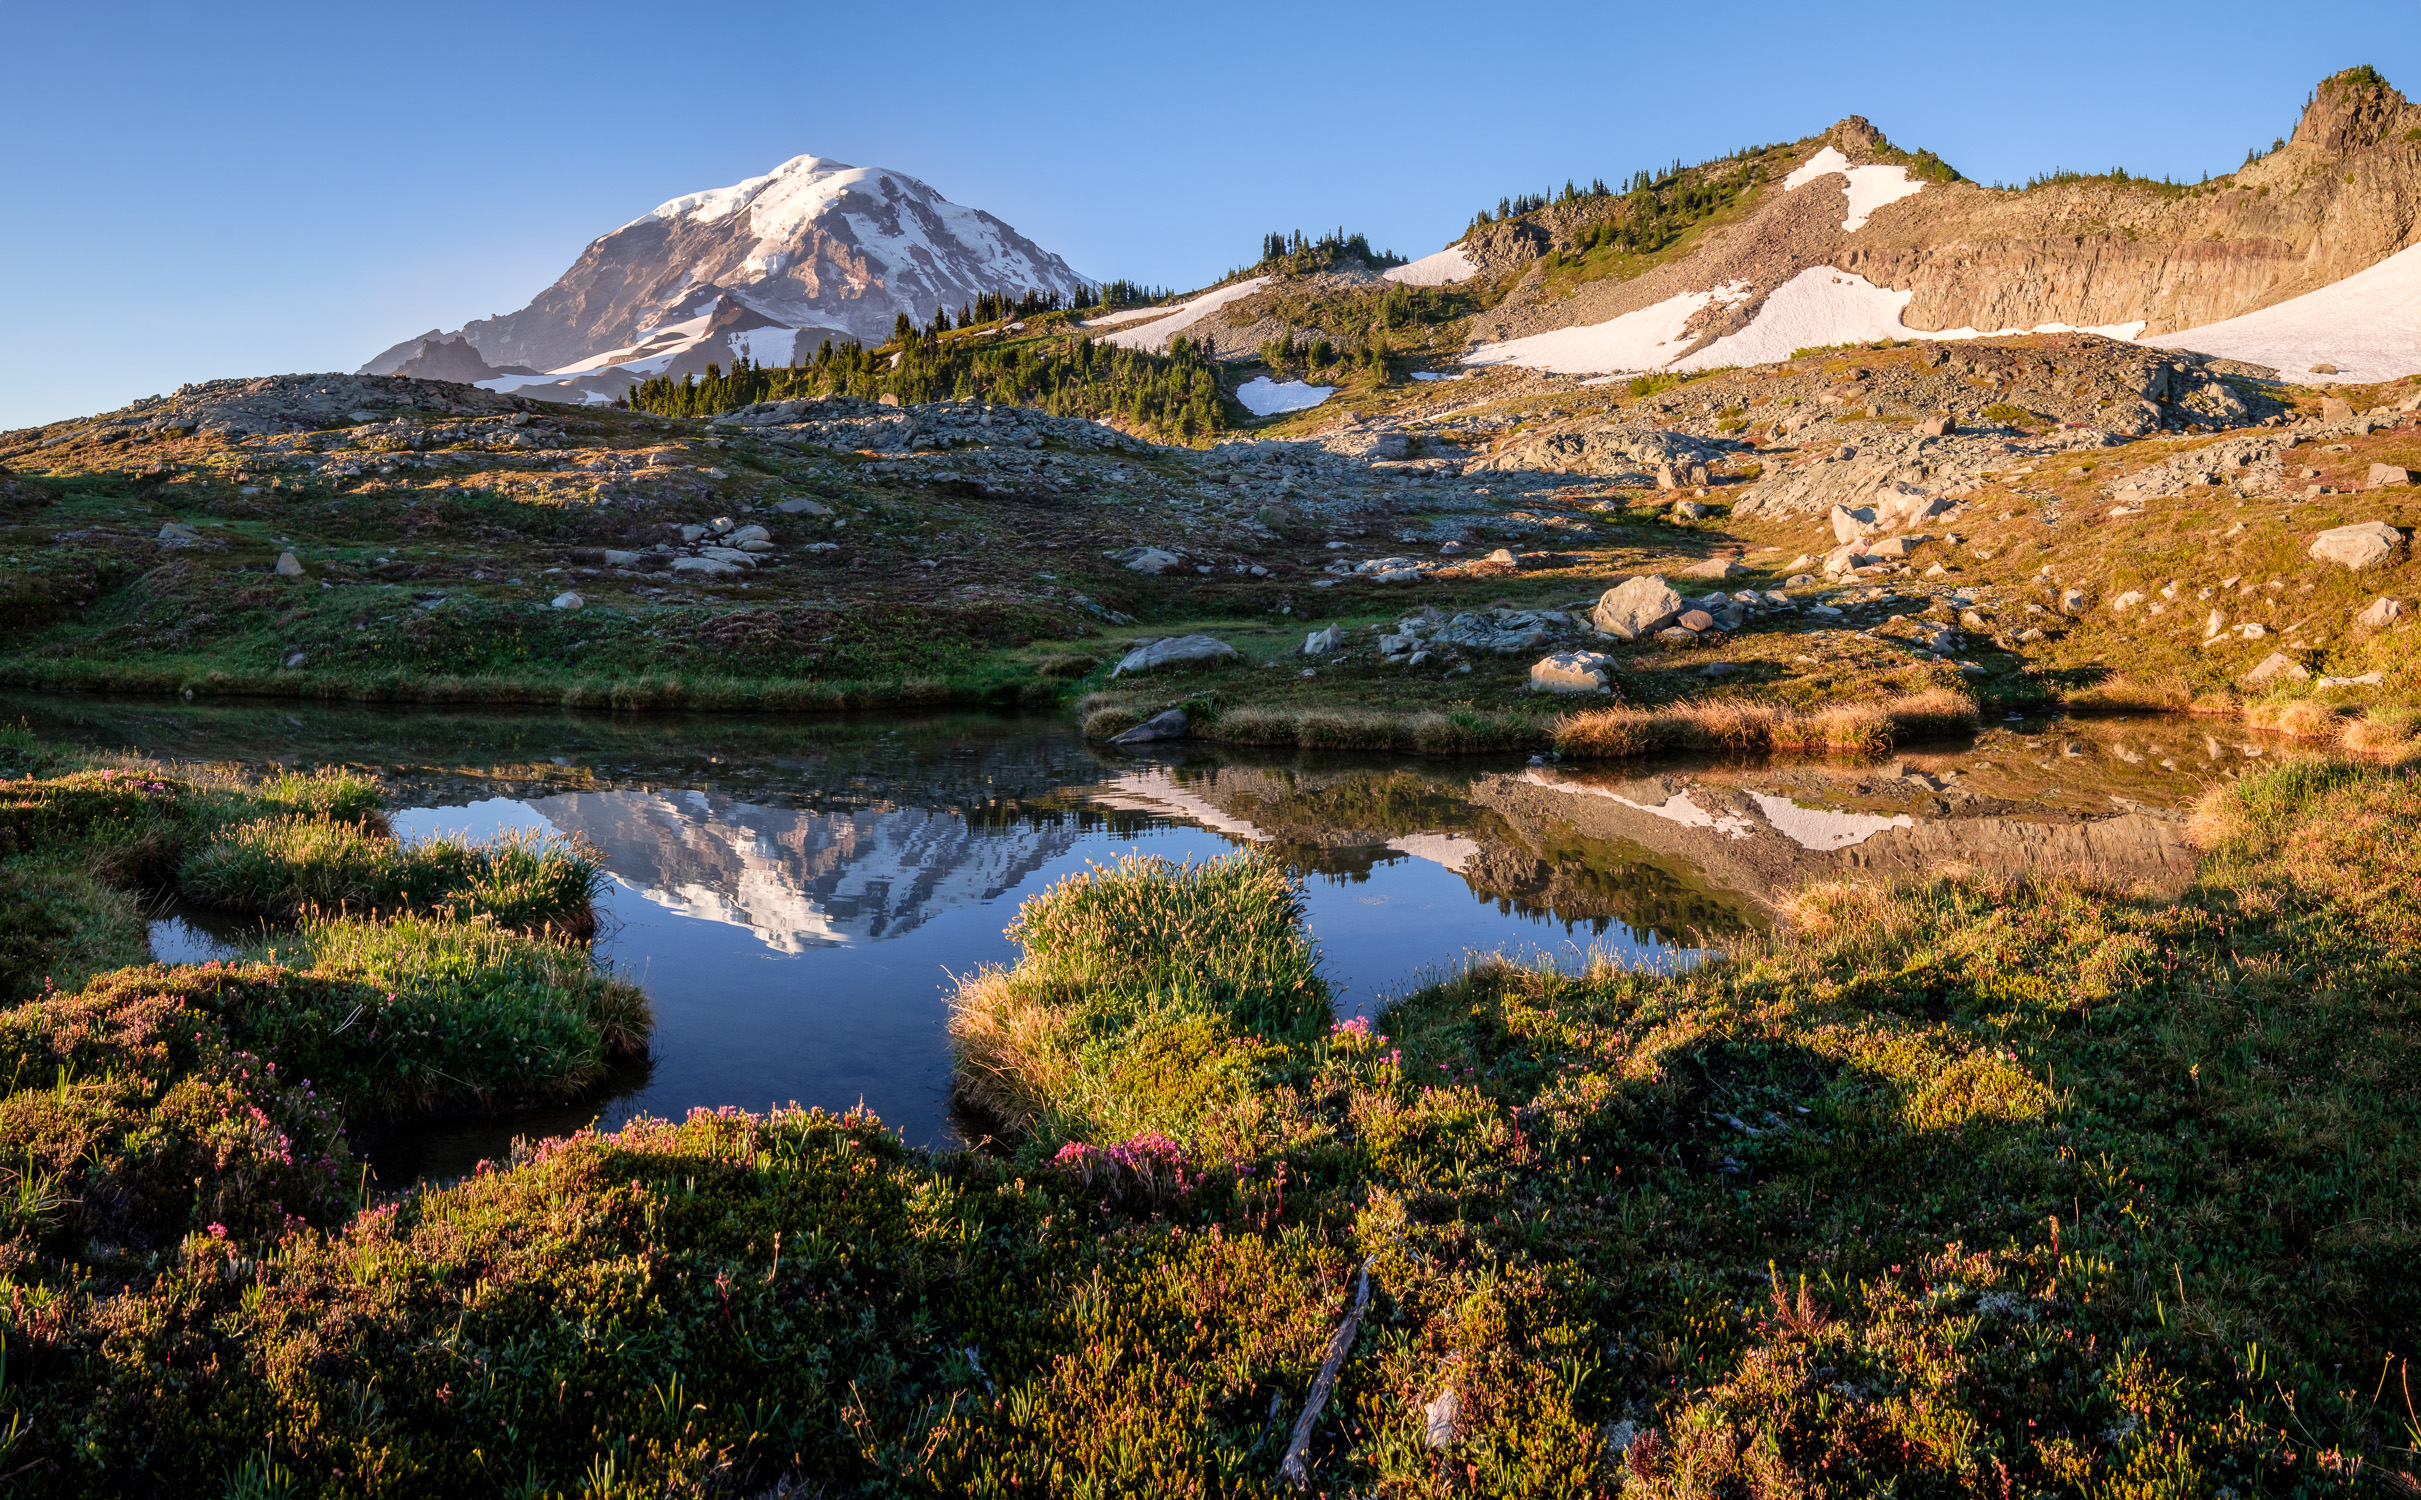
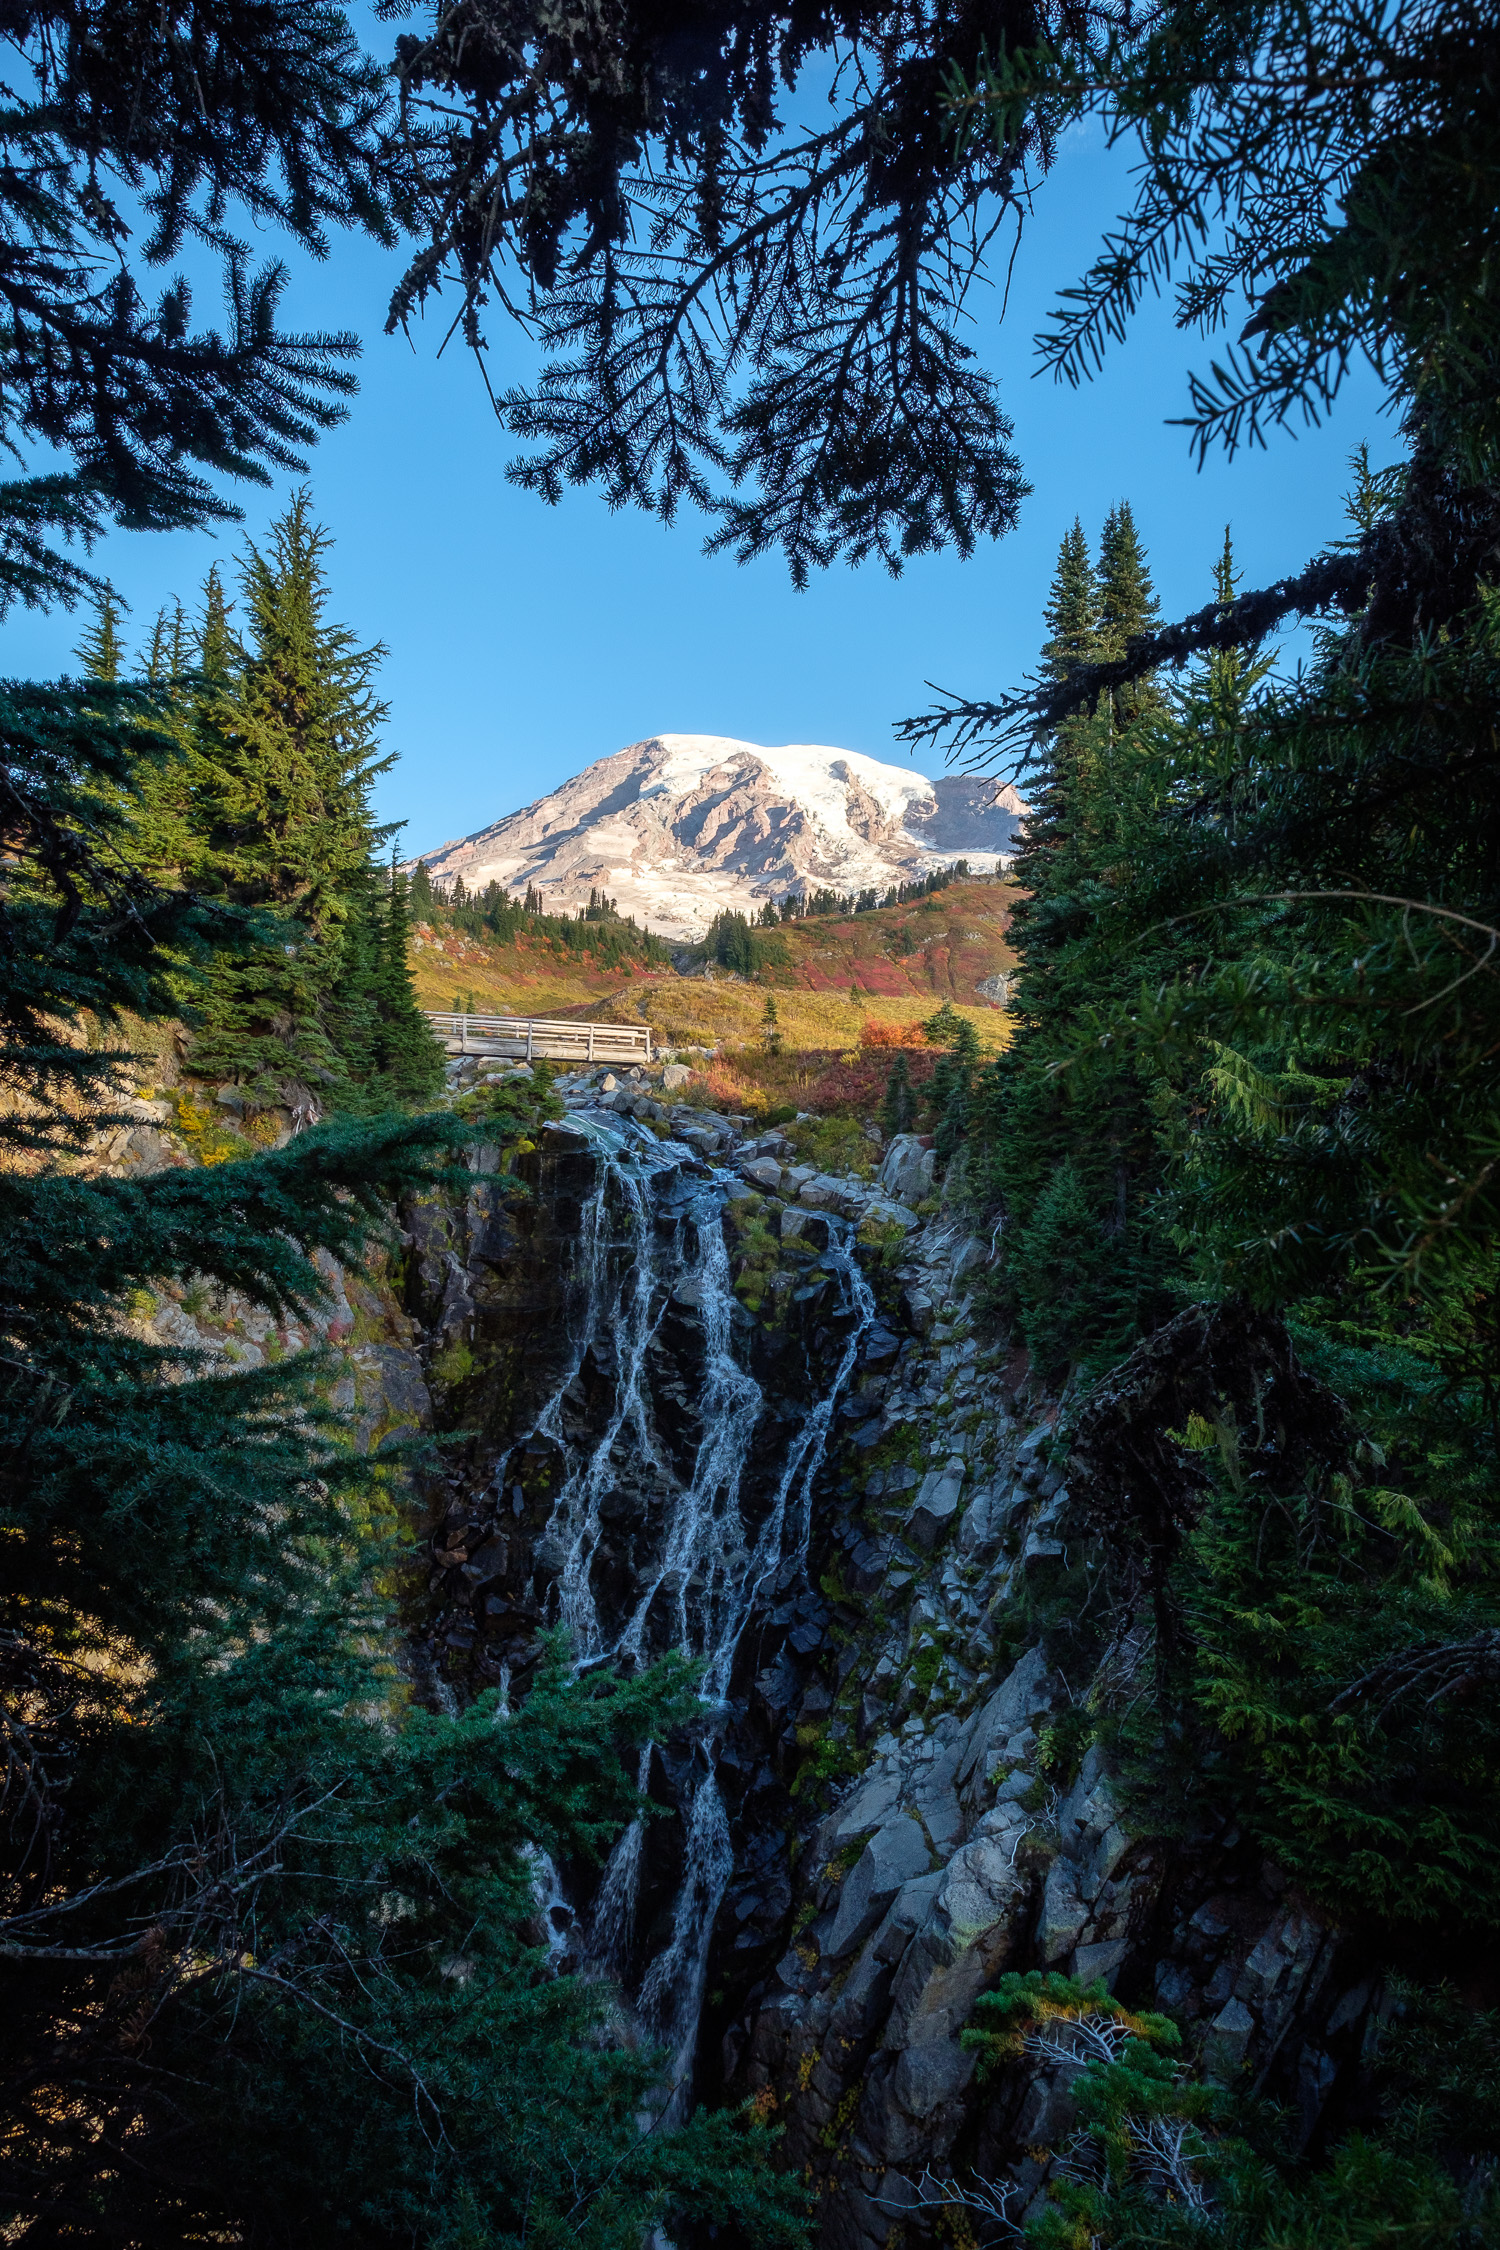
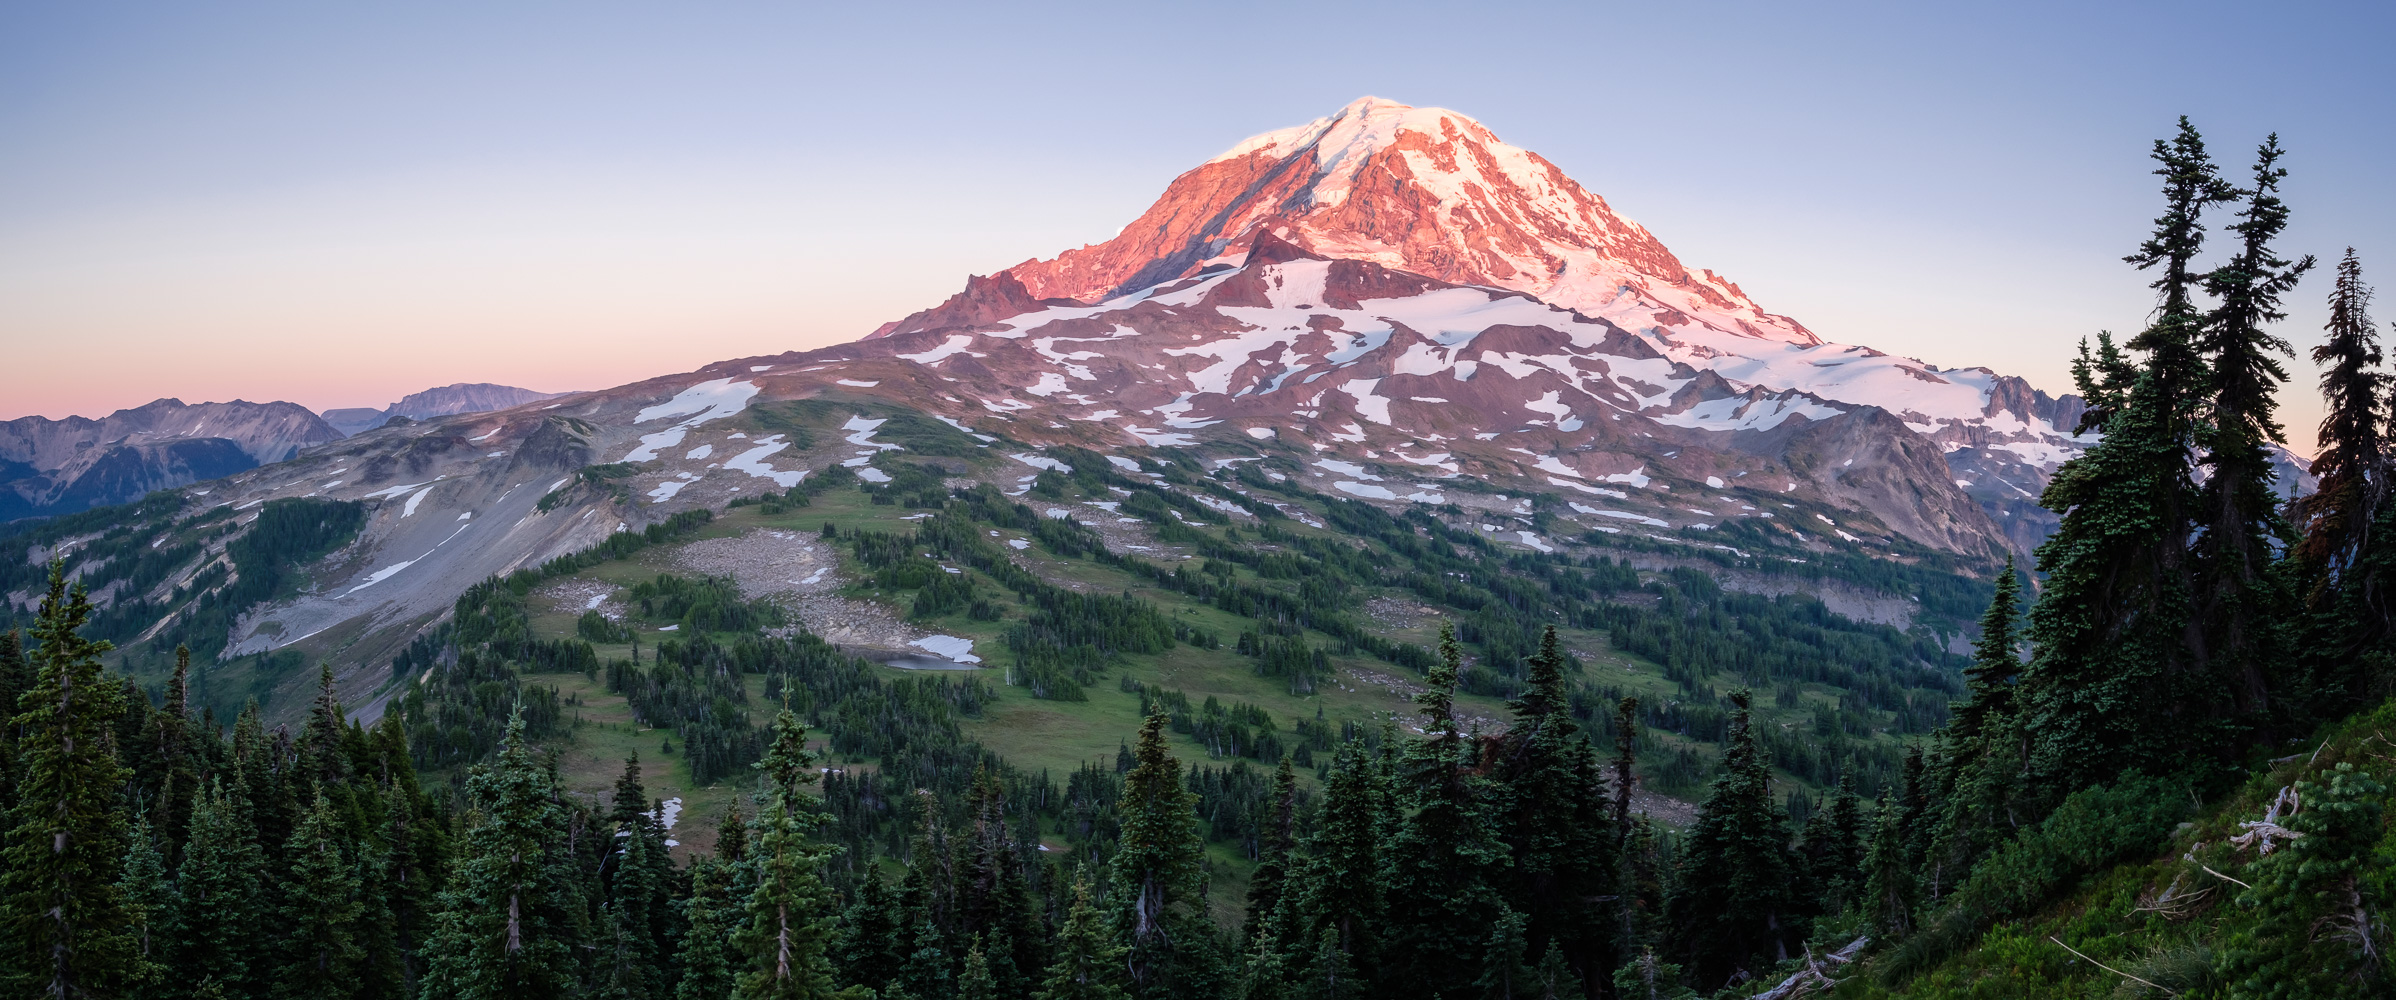
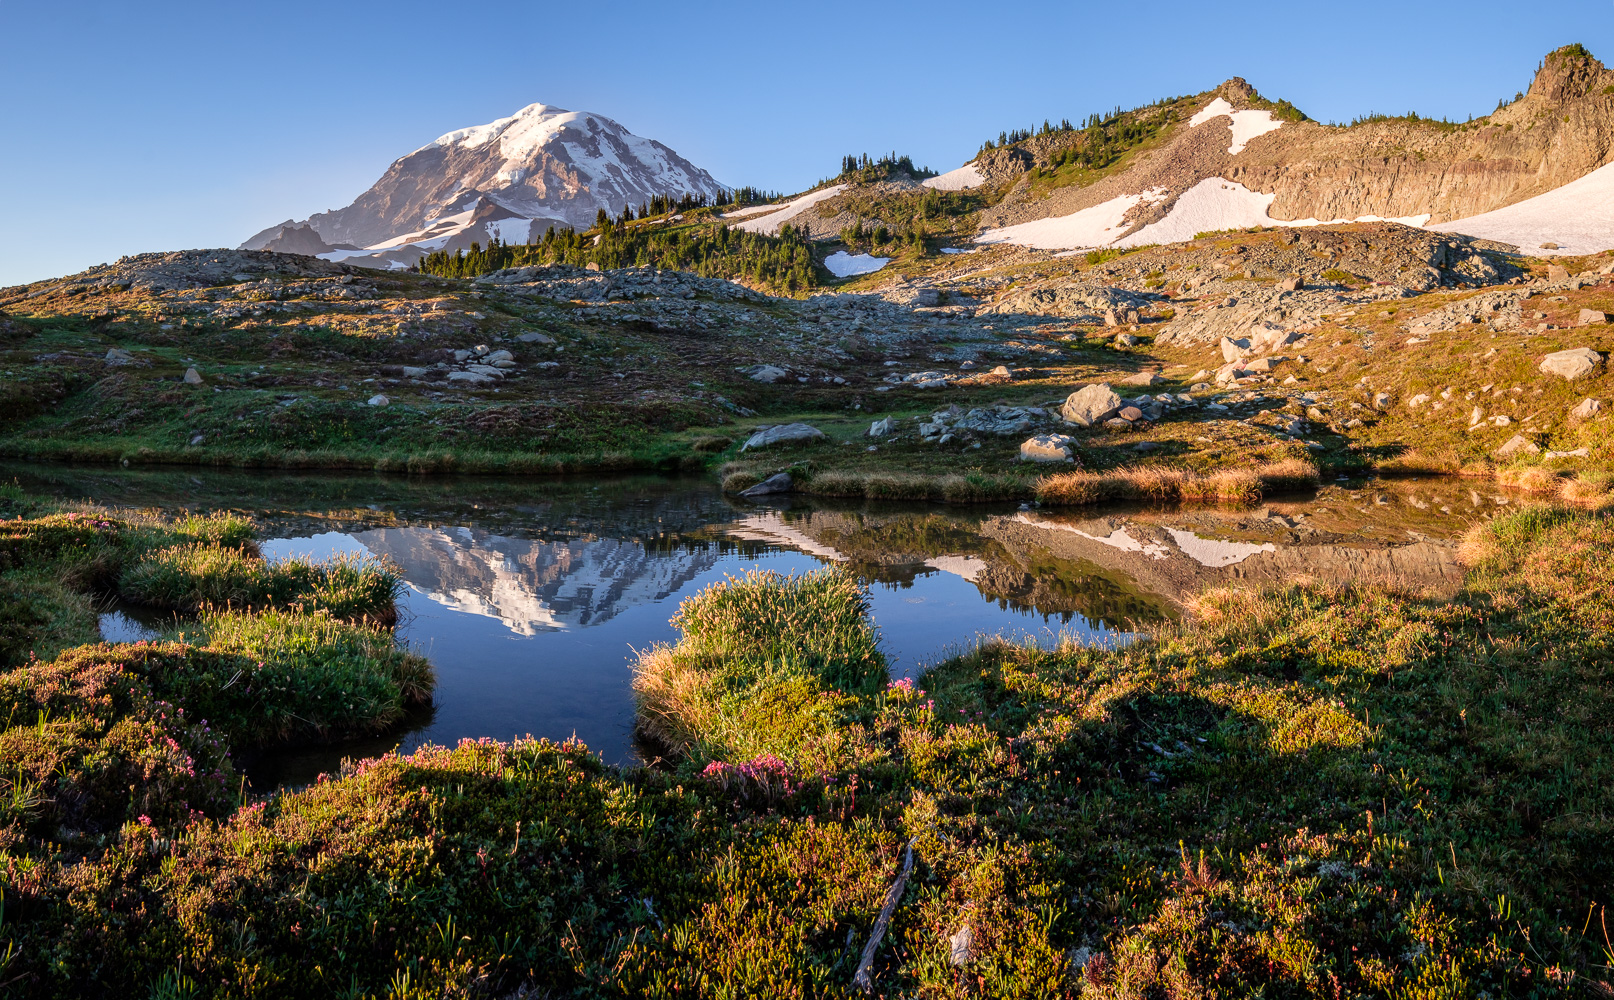
Happy to be back in the Cascades, we spent much of July visiting some classic mountain spots in Mount Rainier National Park and the North Cascades.

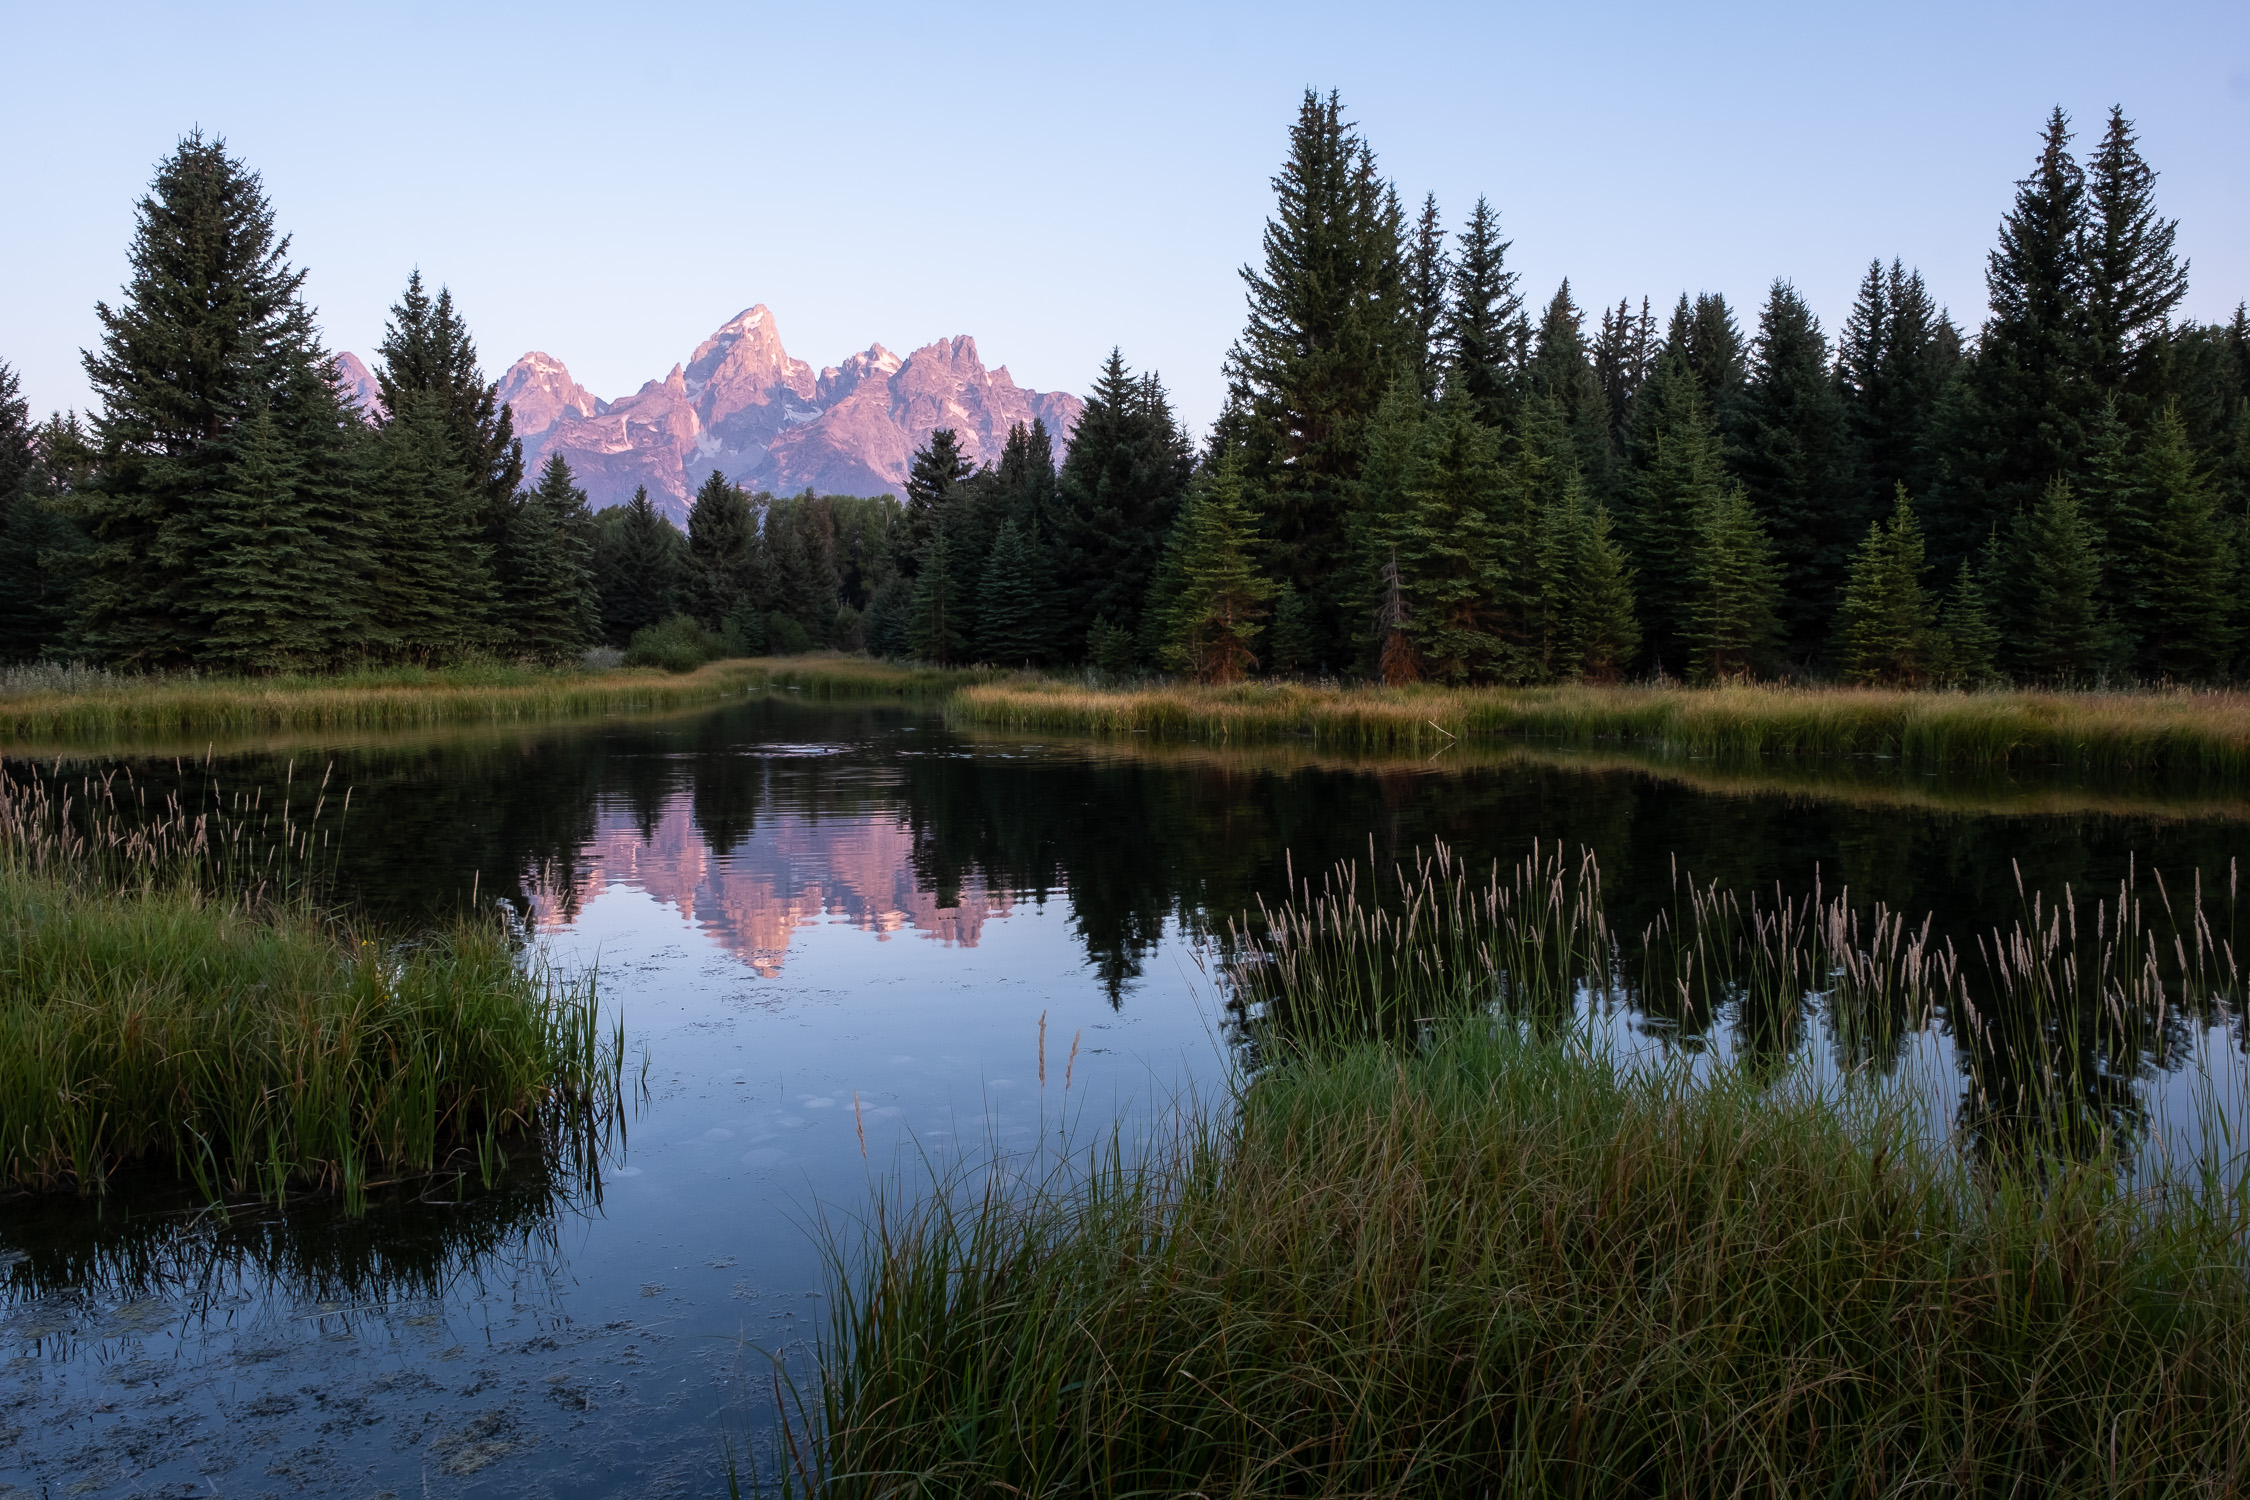
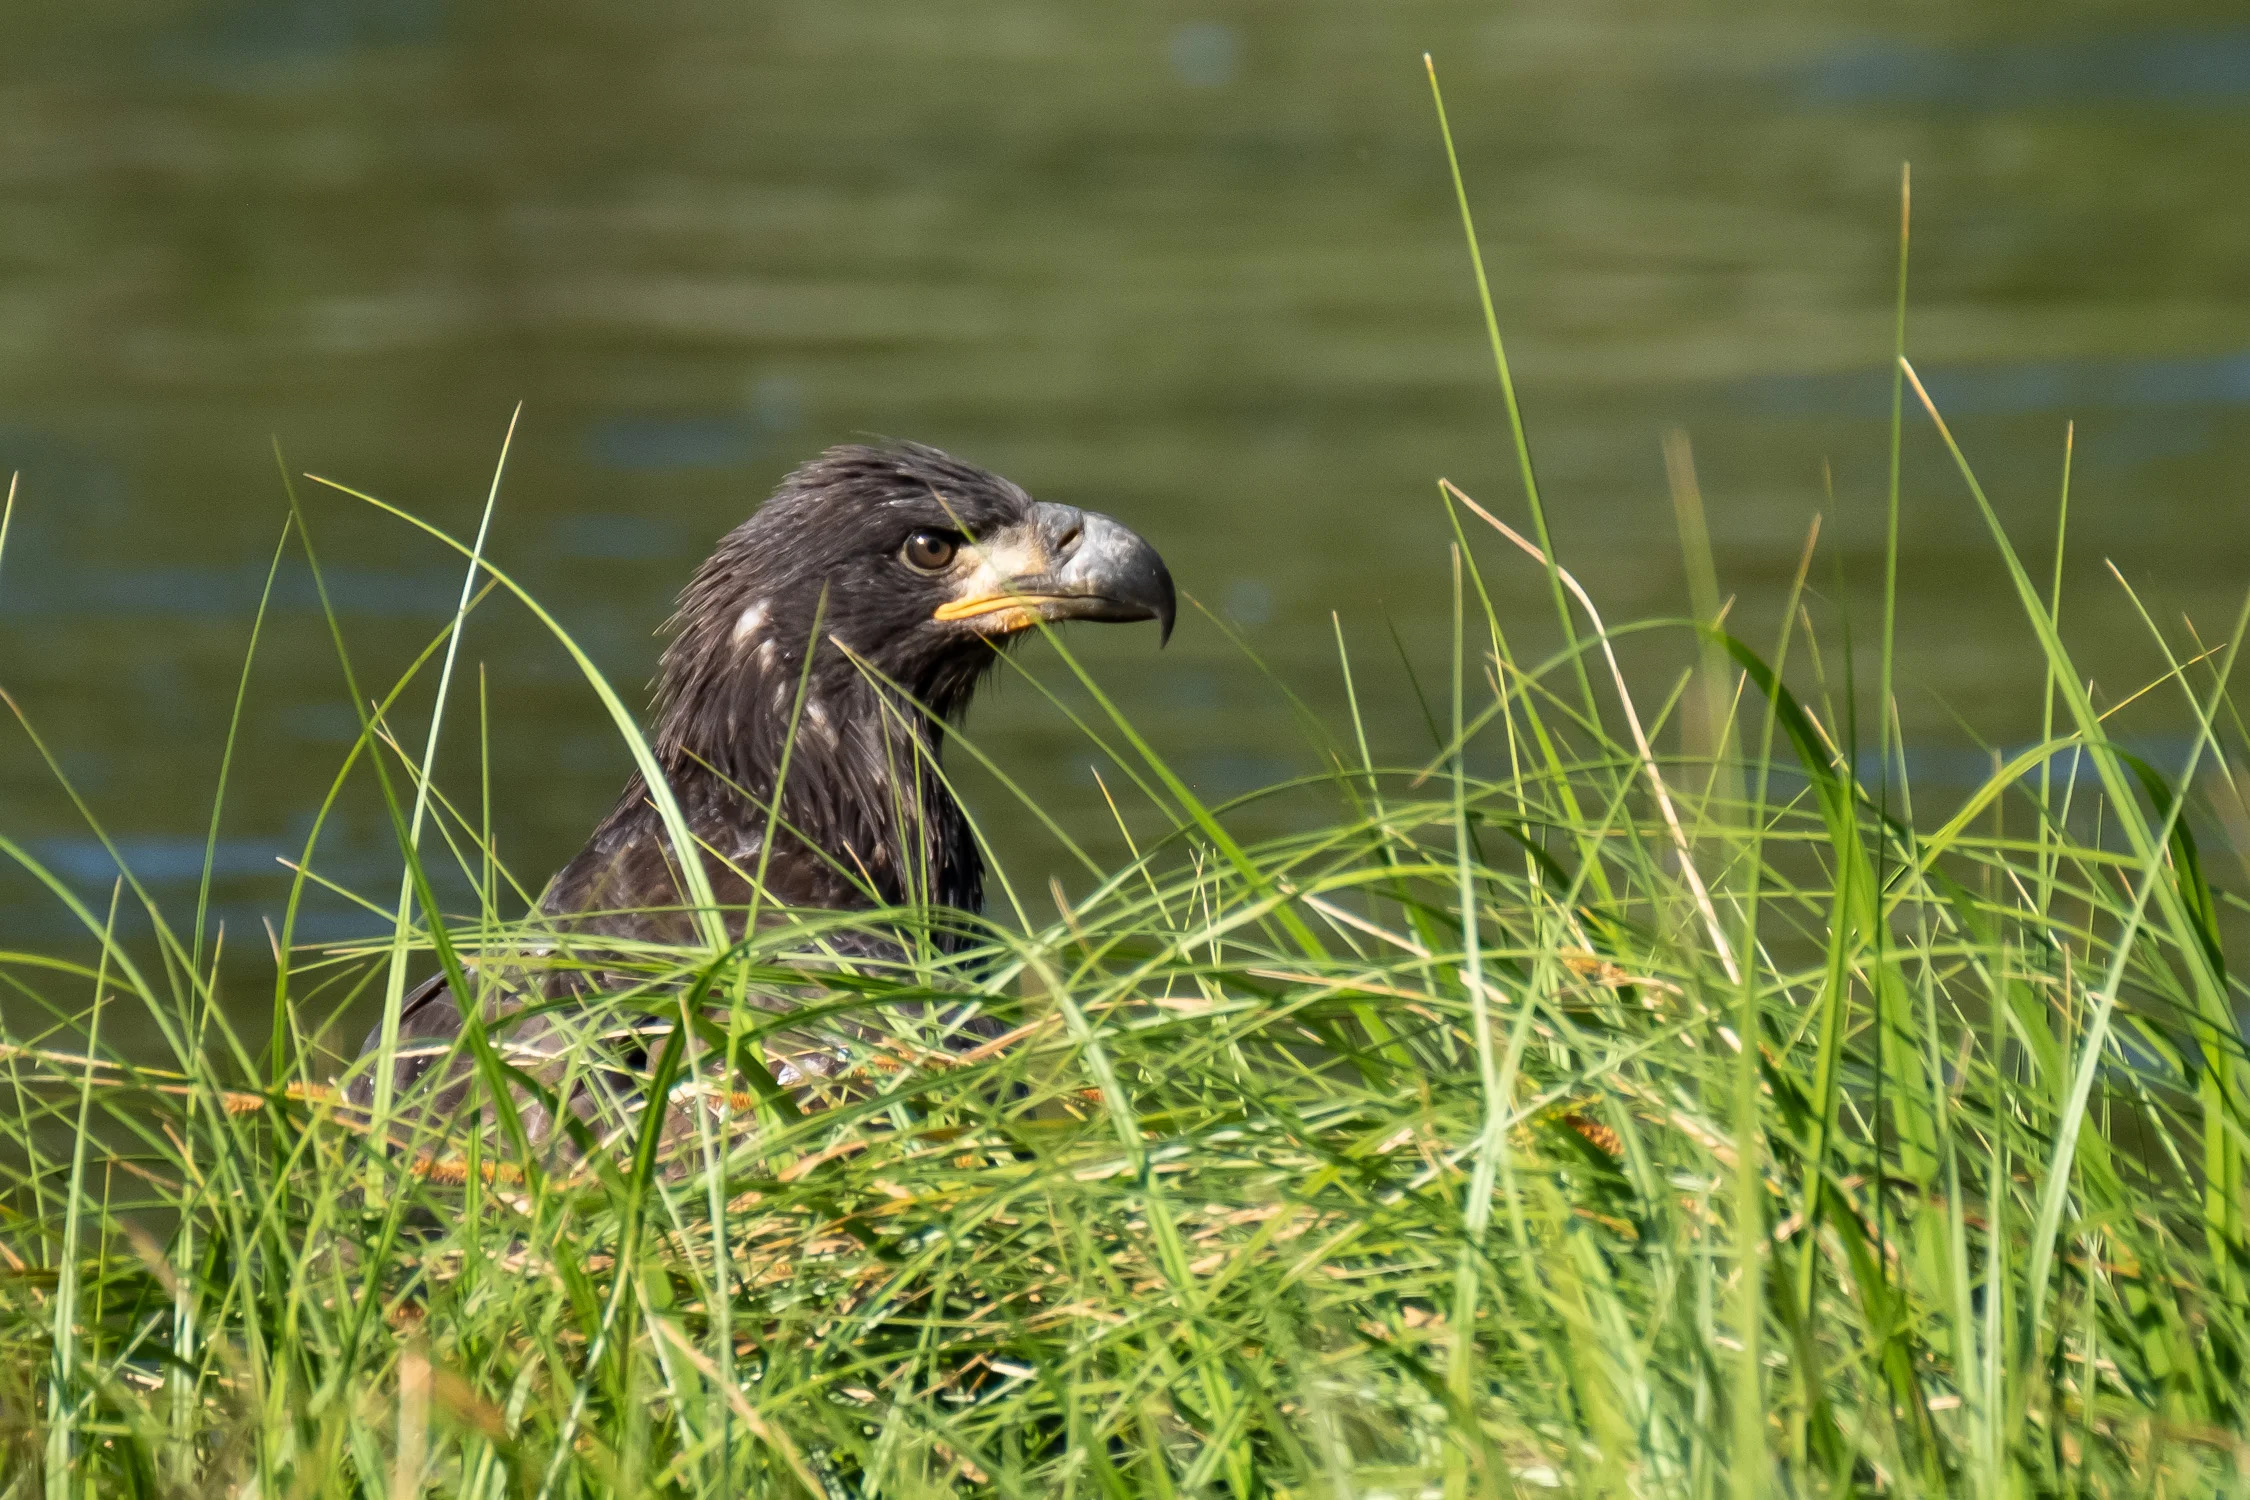
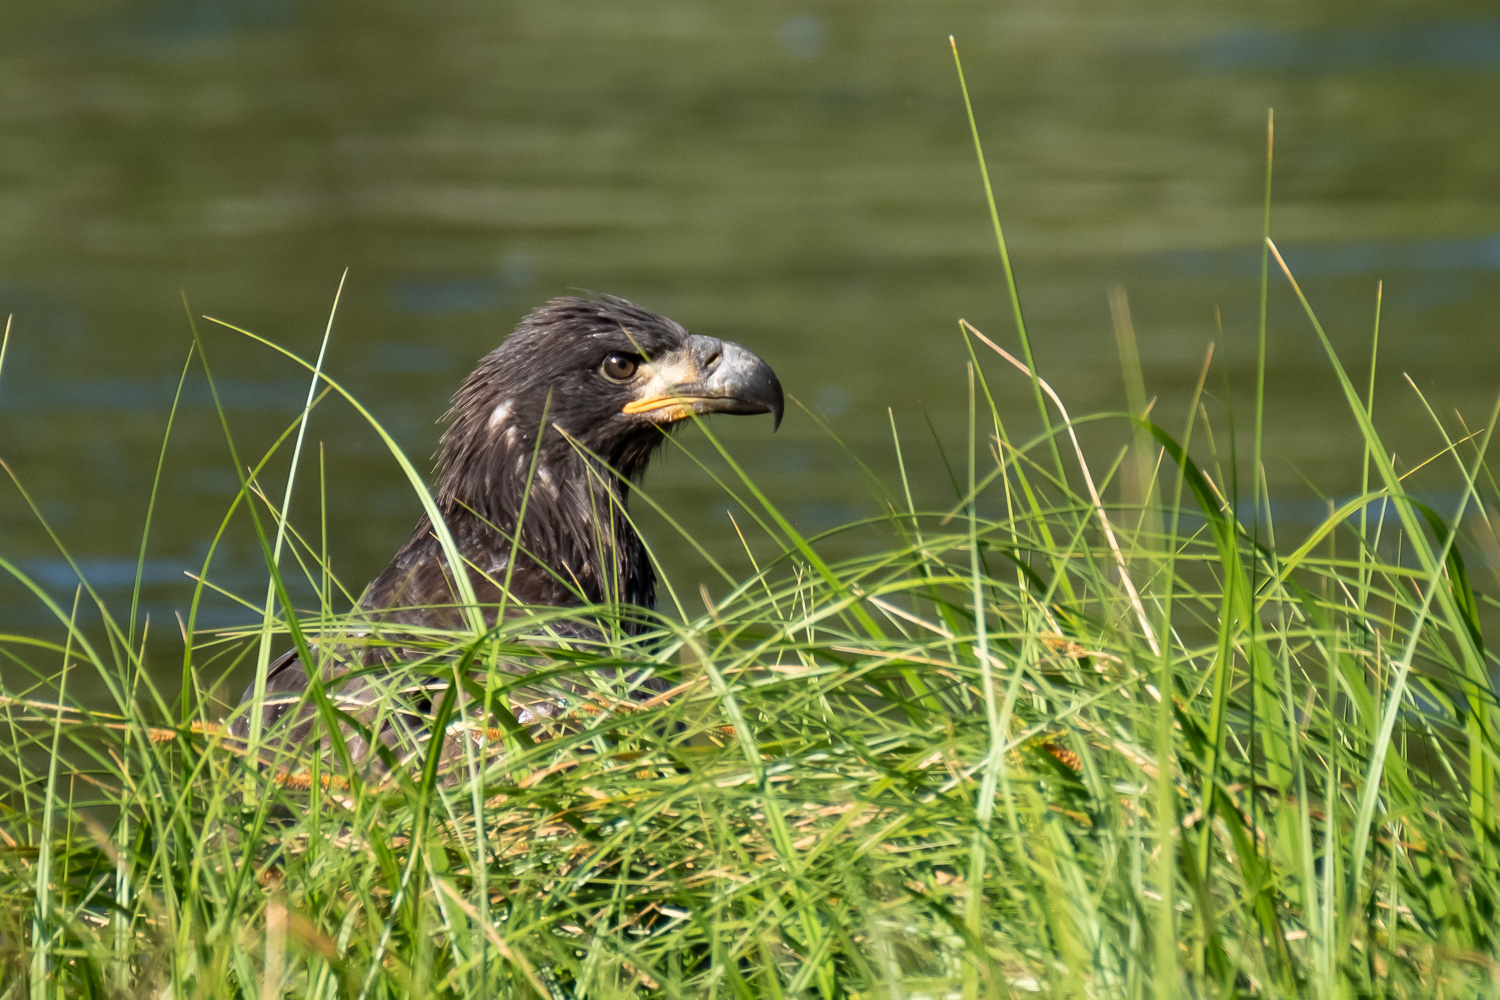
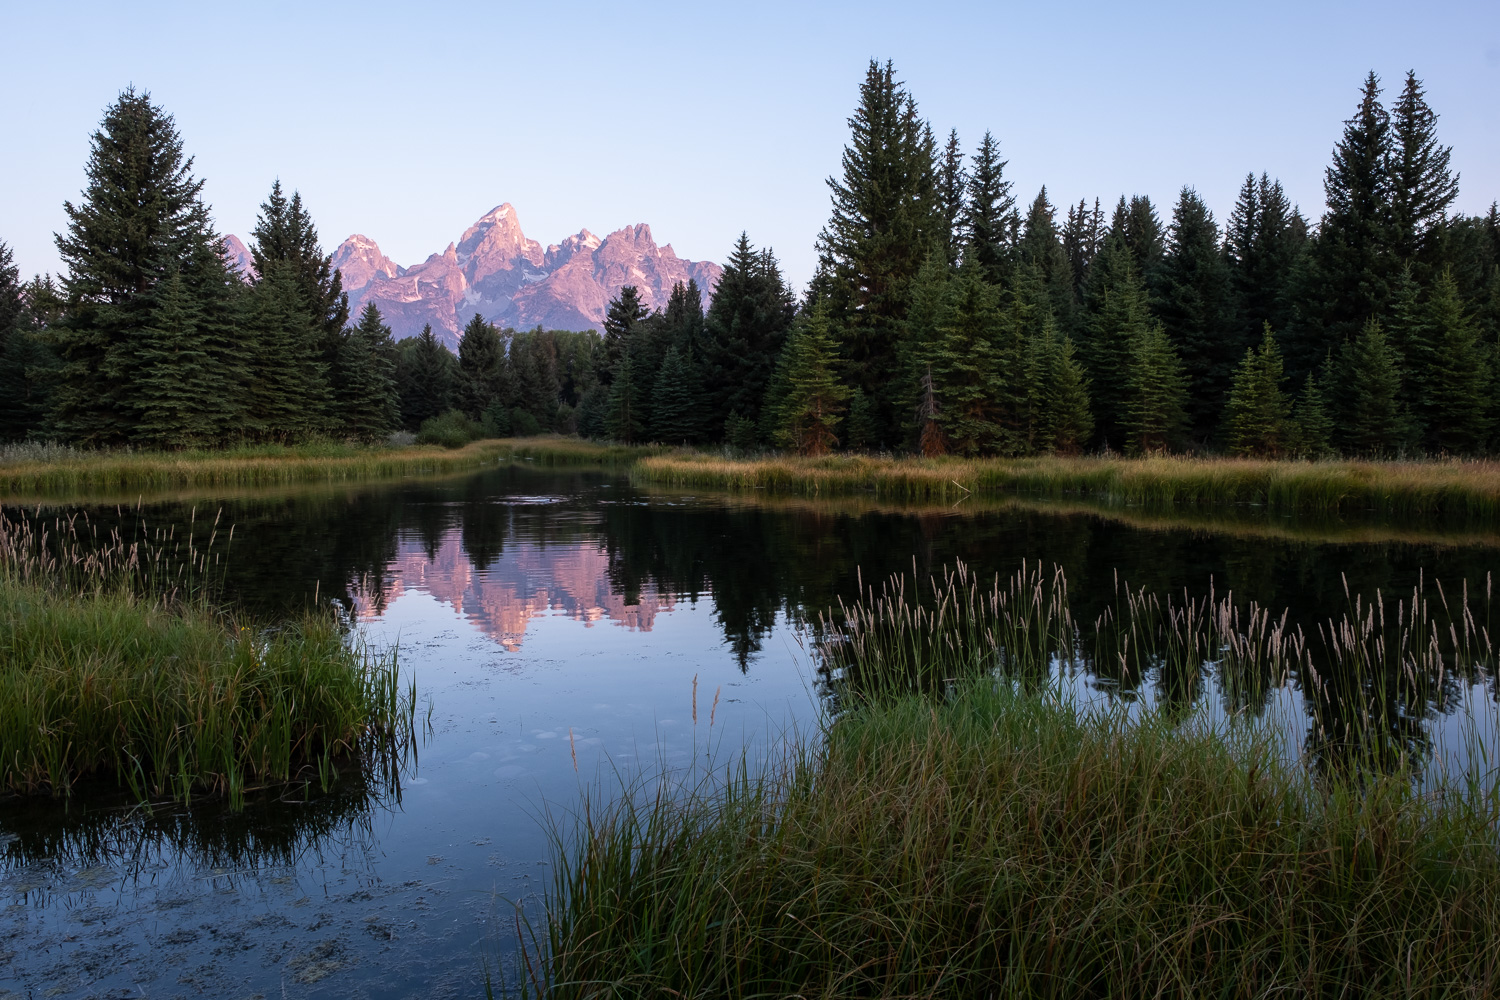
Temporarily satisfied with Washington’s scenery, I drove east to the Tetons and spent a few days hiking with Becca and her family in this world-class mountain range which I had never visited before. On the way back, Becca and I drove through Yellowstone, where, in addition to the standard sights, we were lucky to watch a Golden Eagle spend several hours devouring an elk carcass.

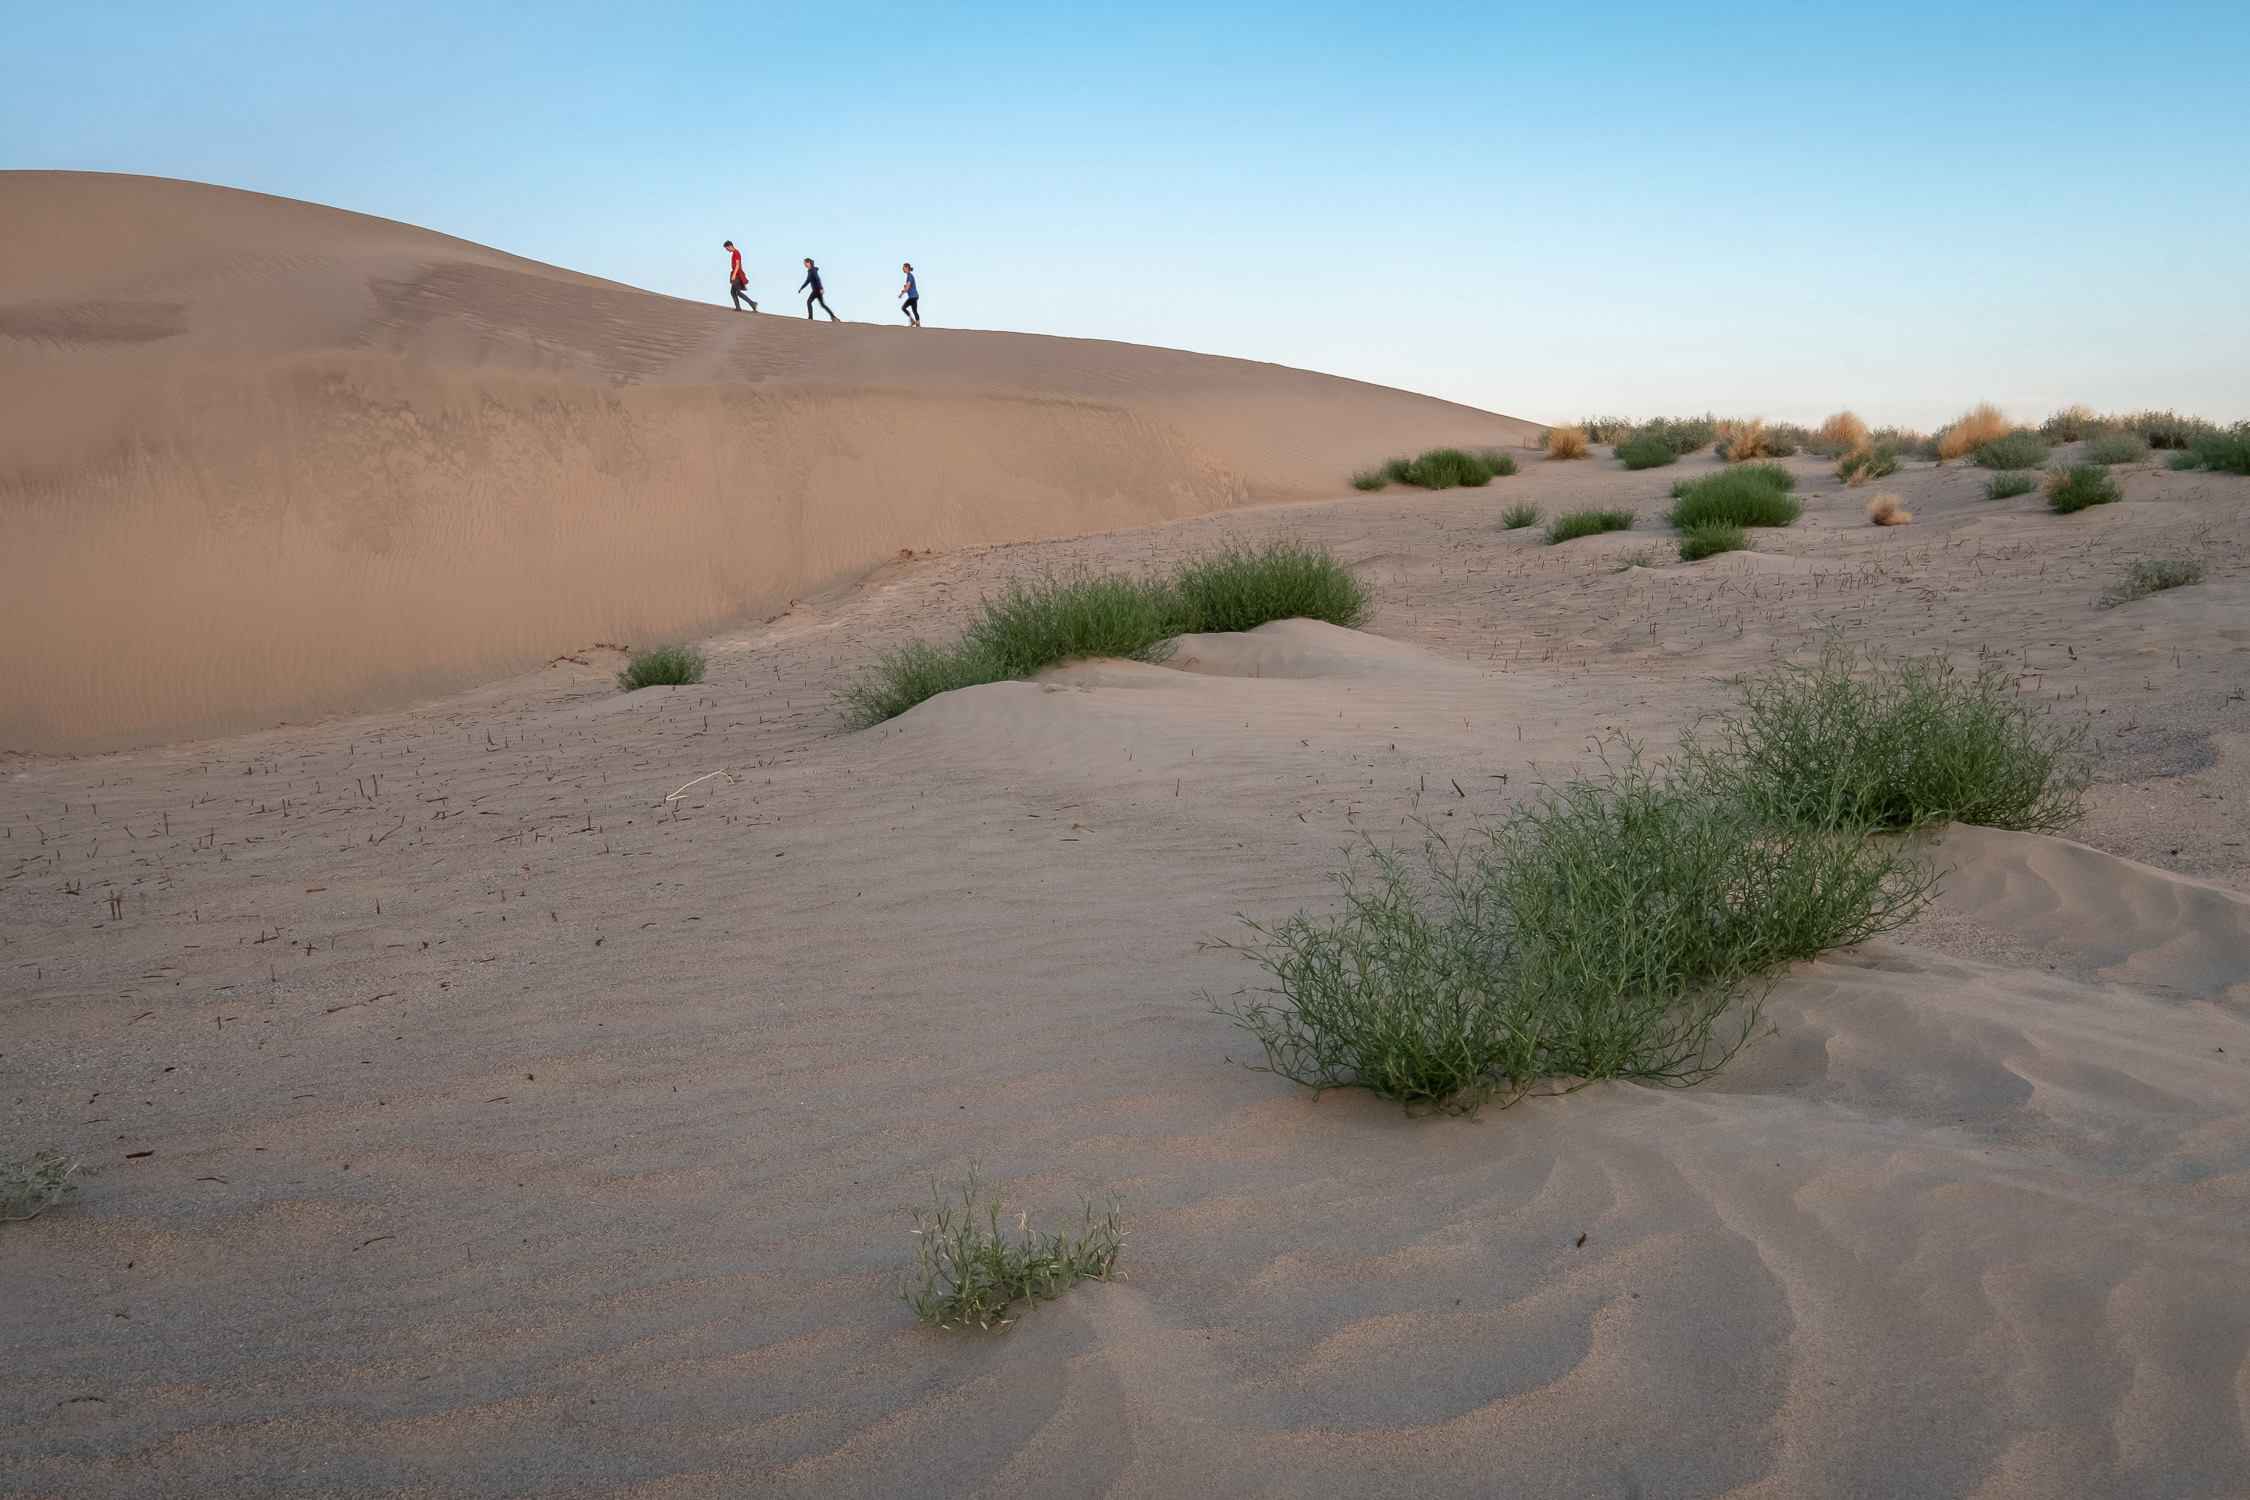
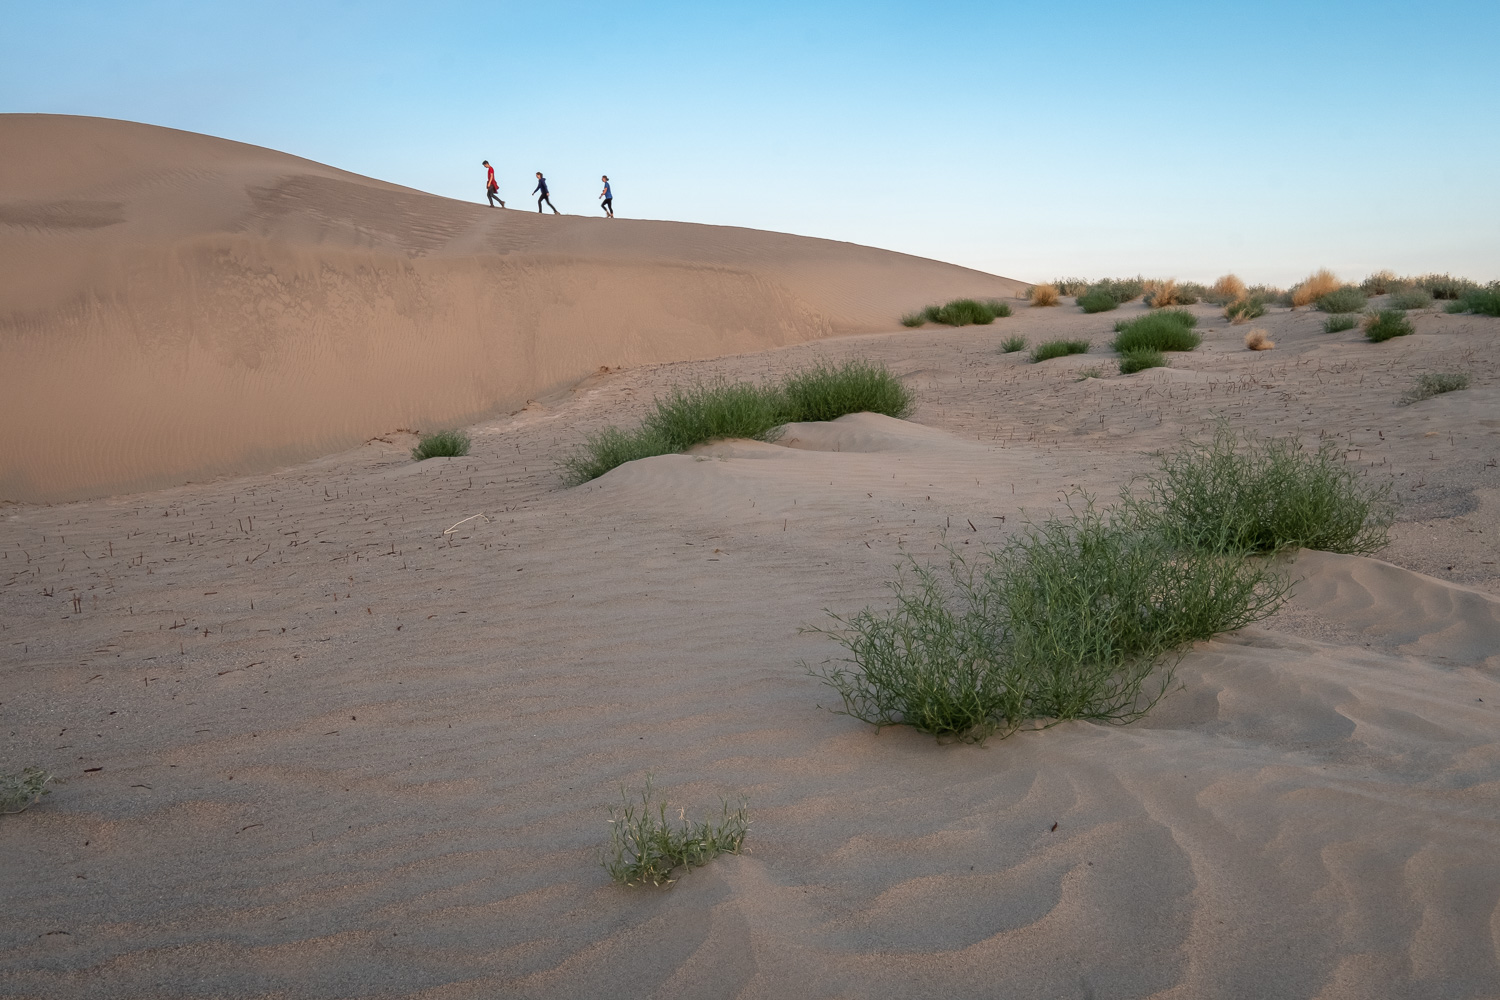
On our way back across Washington, Becca and I met up with some friends to explore a series of sand dunes in the central part of the state - atypical scenery for this part of the country!

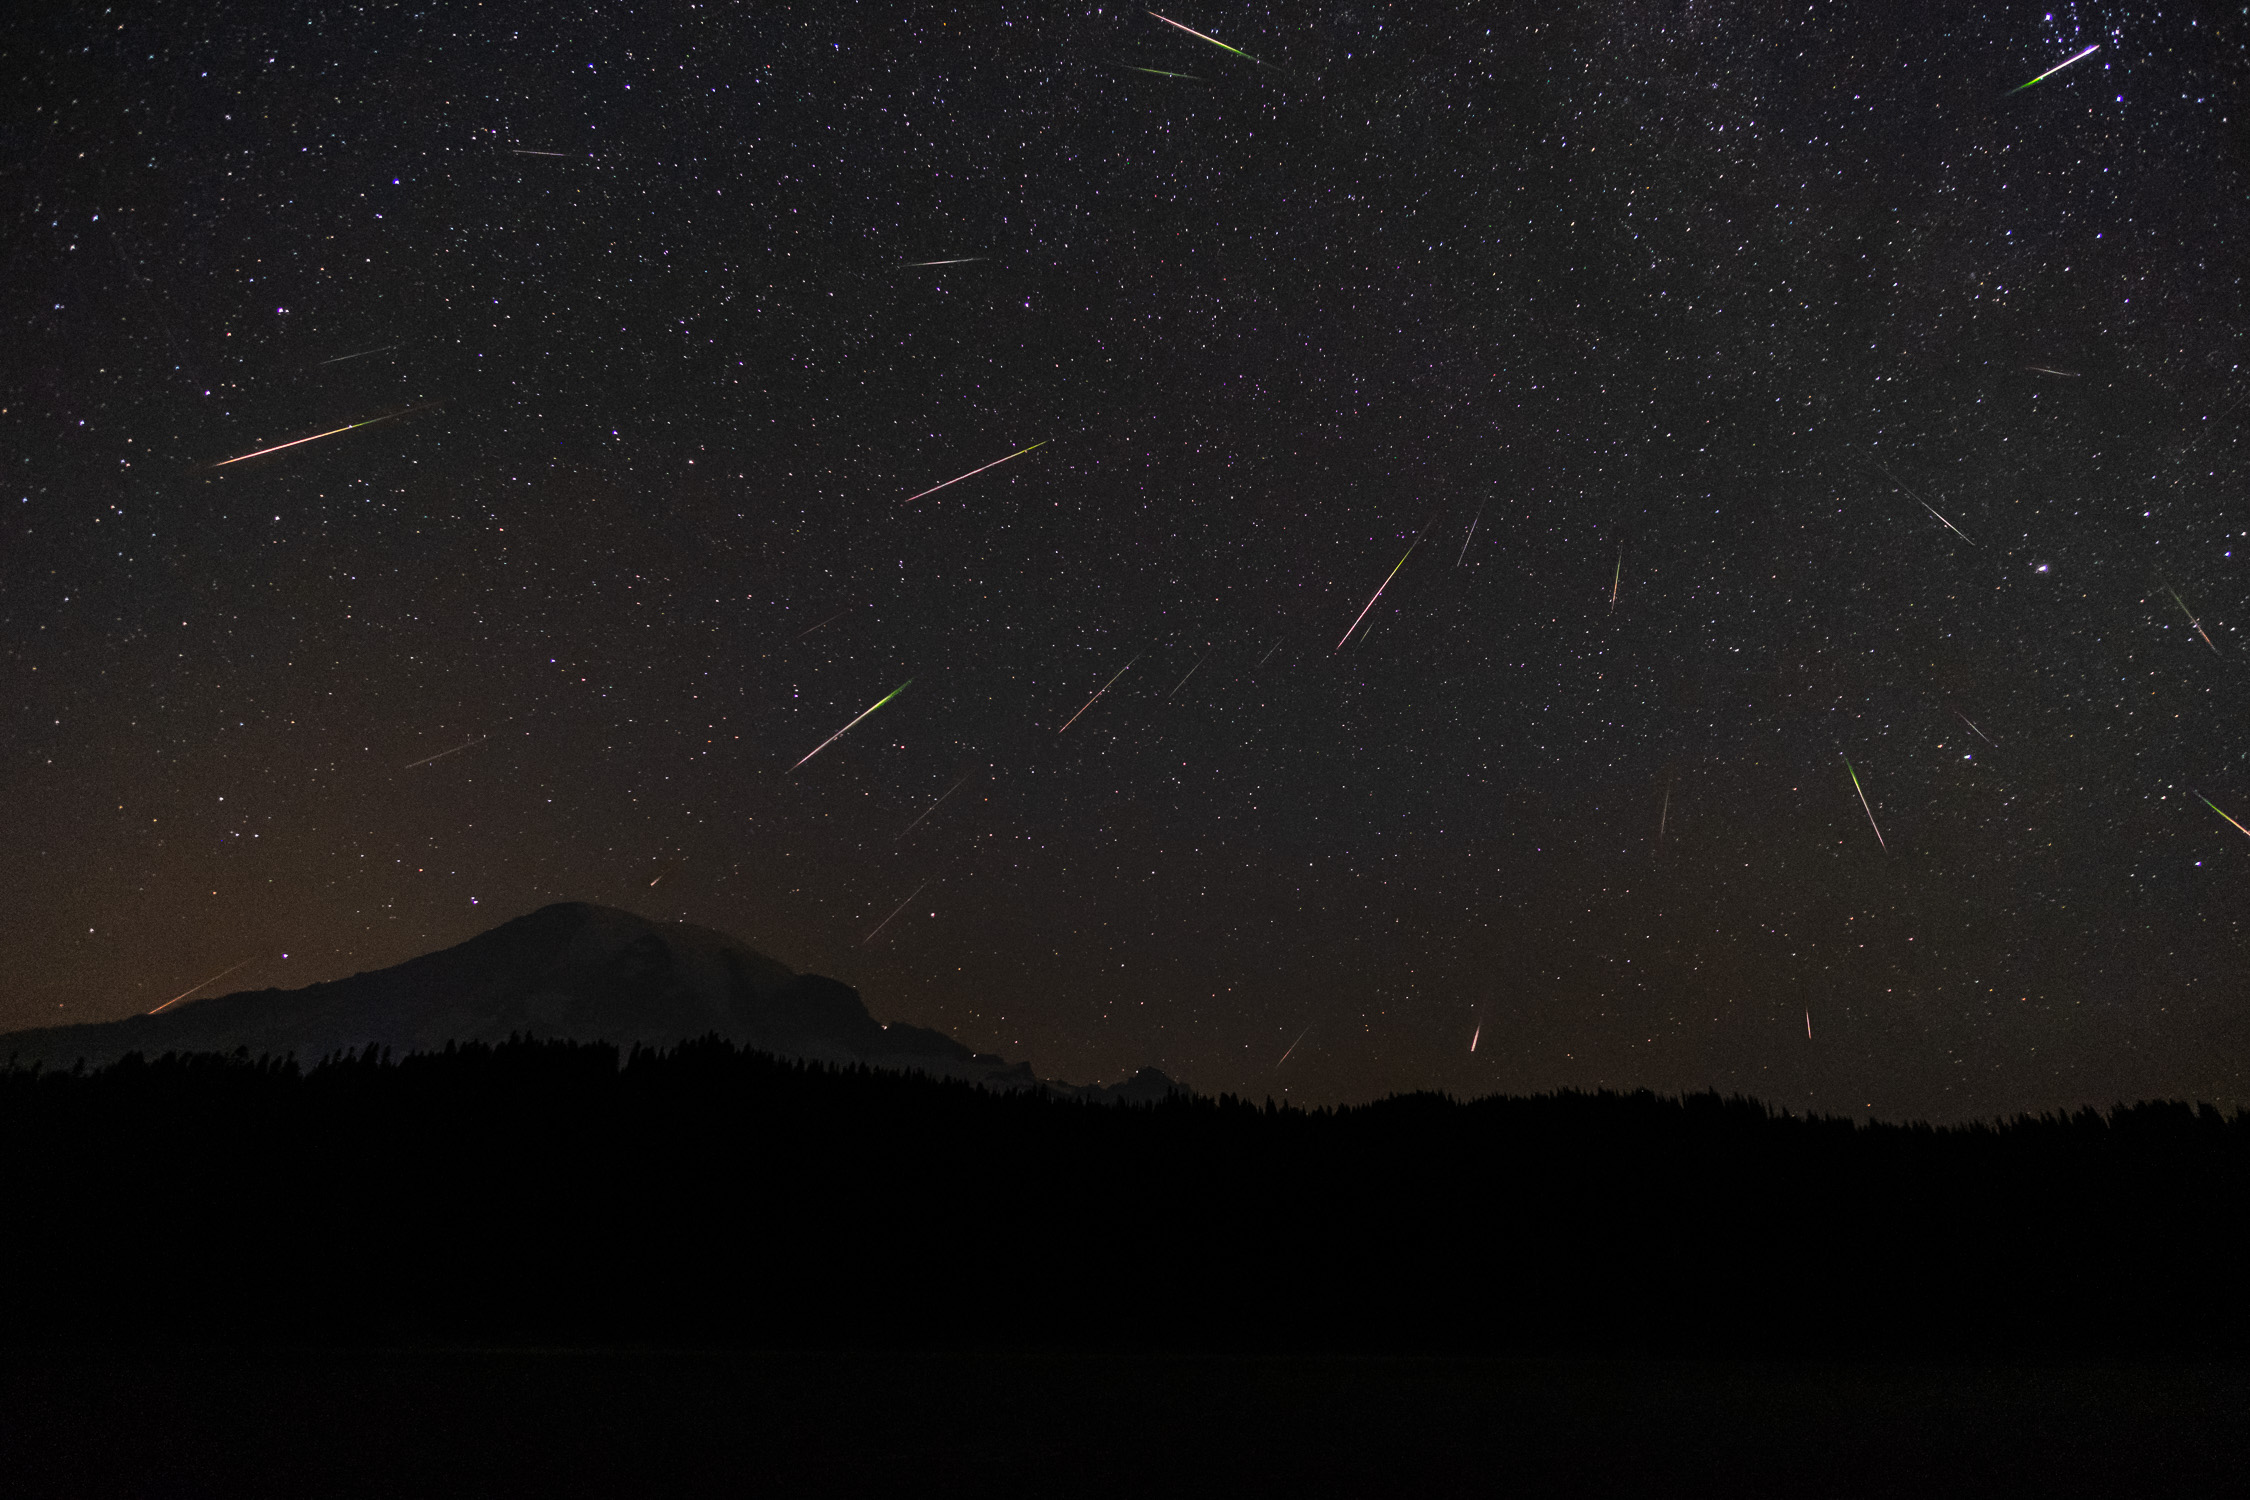
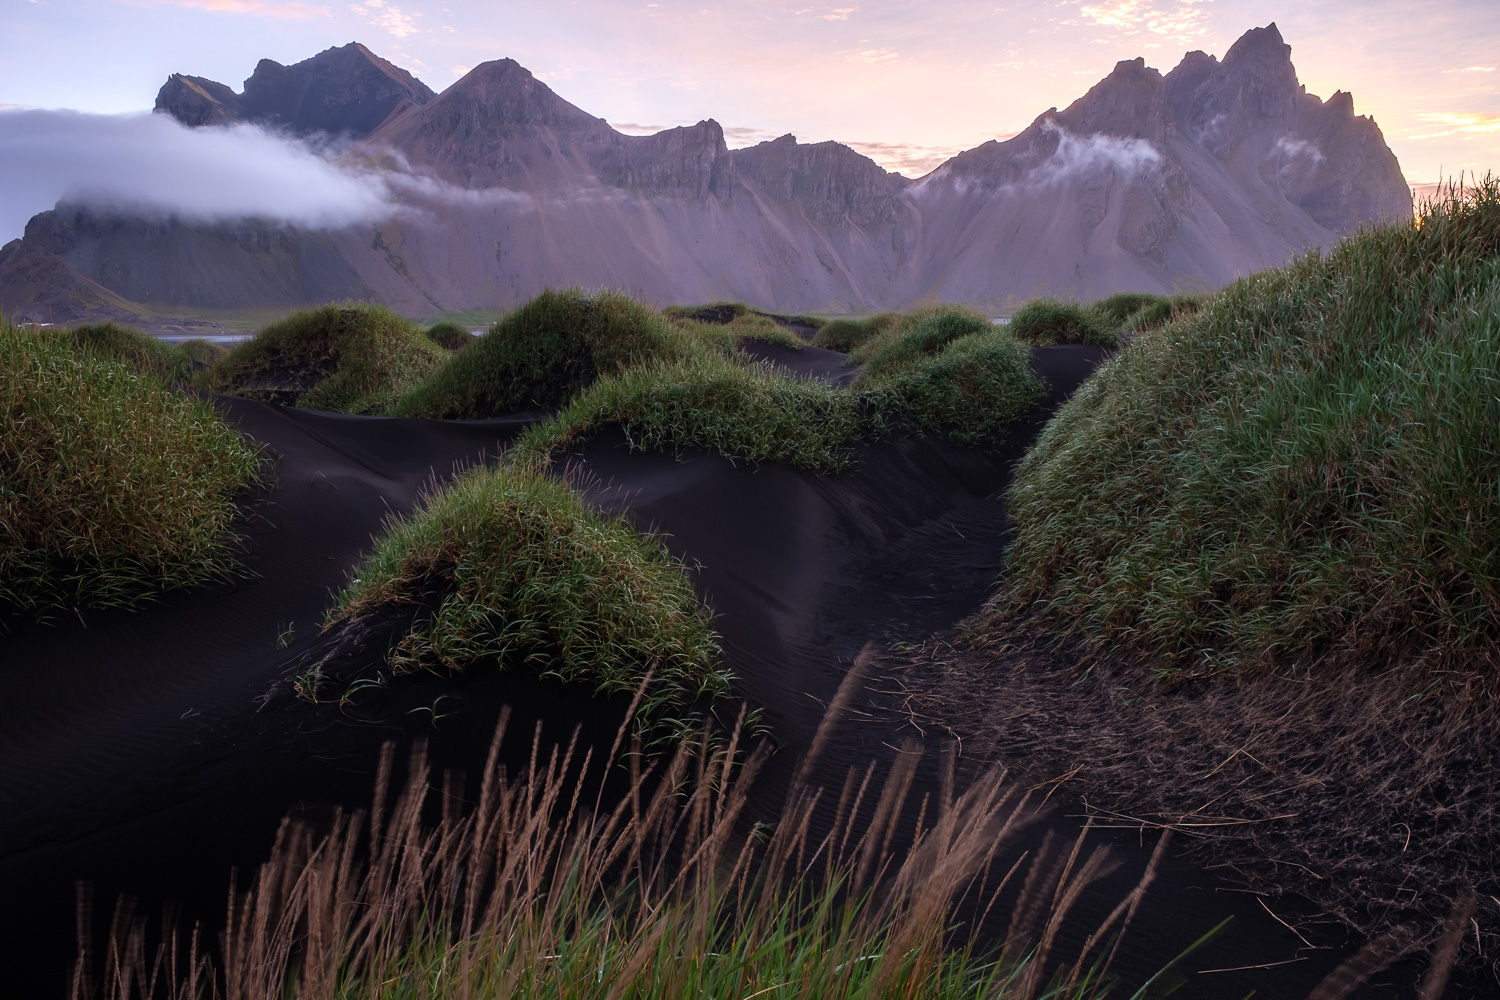
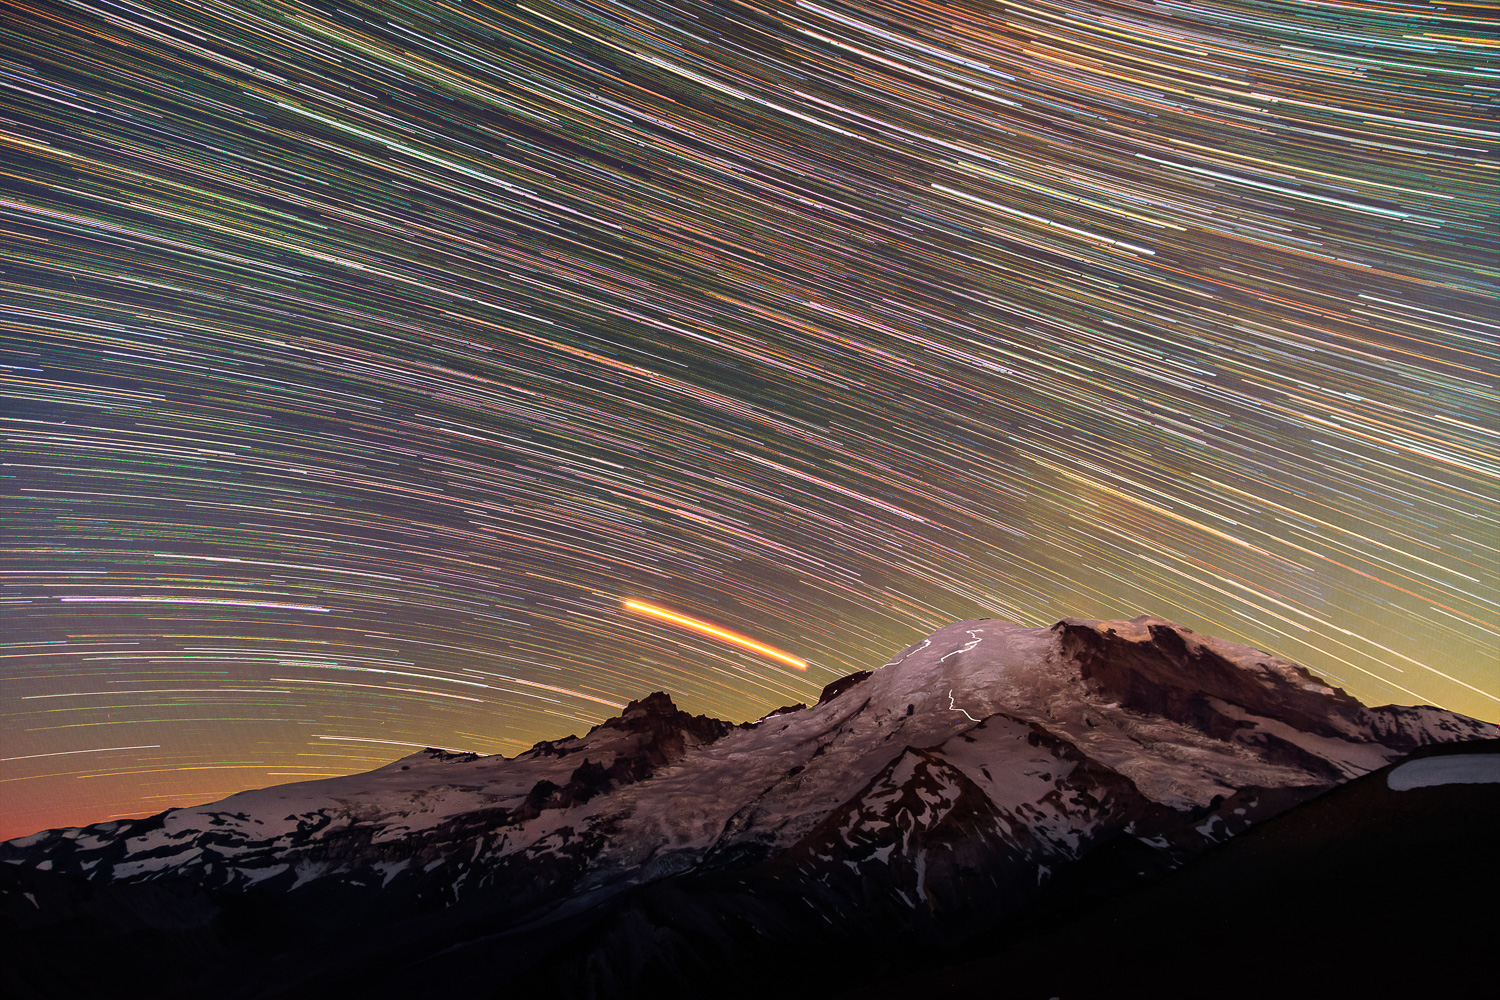
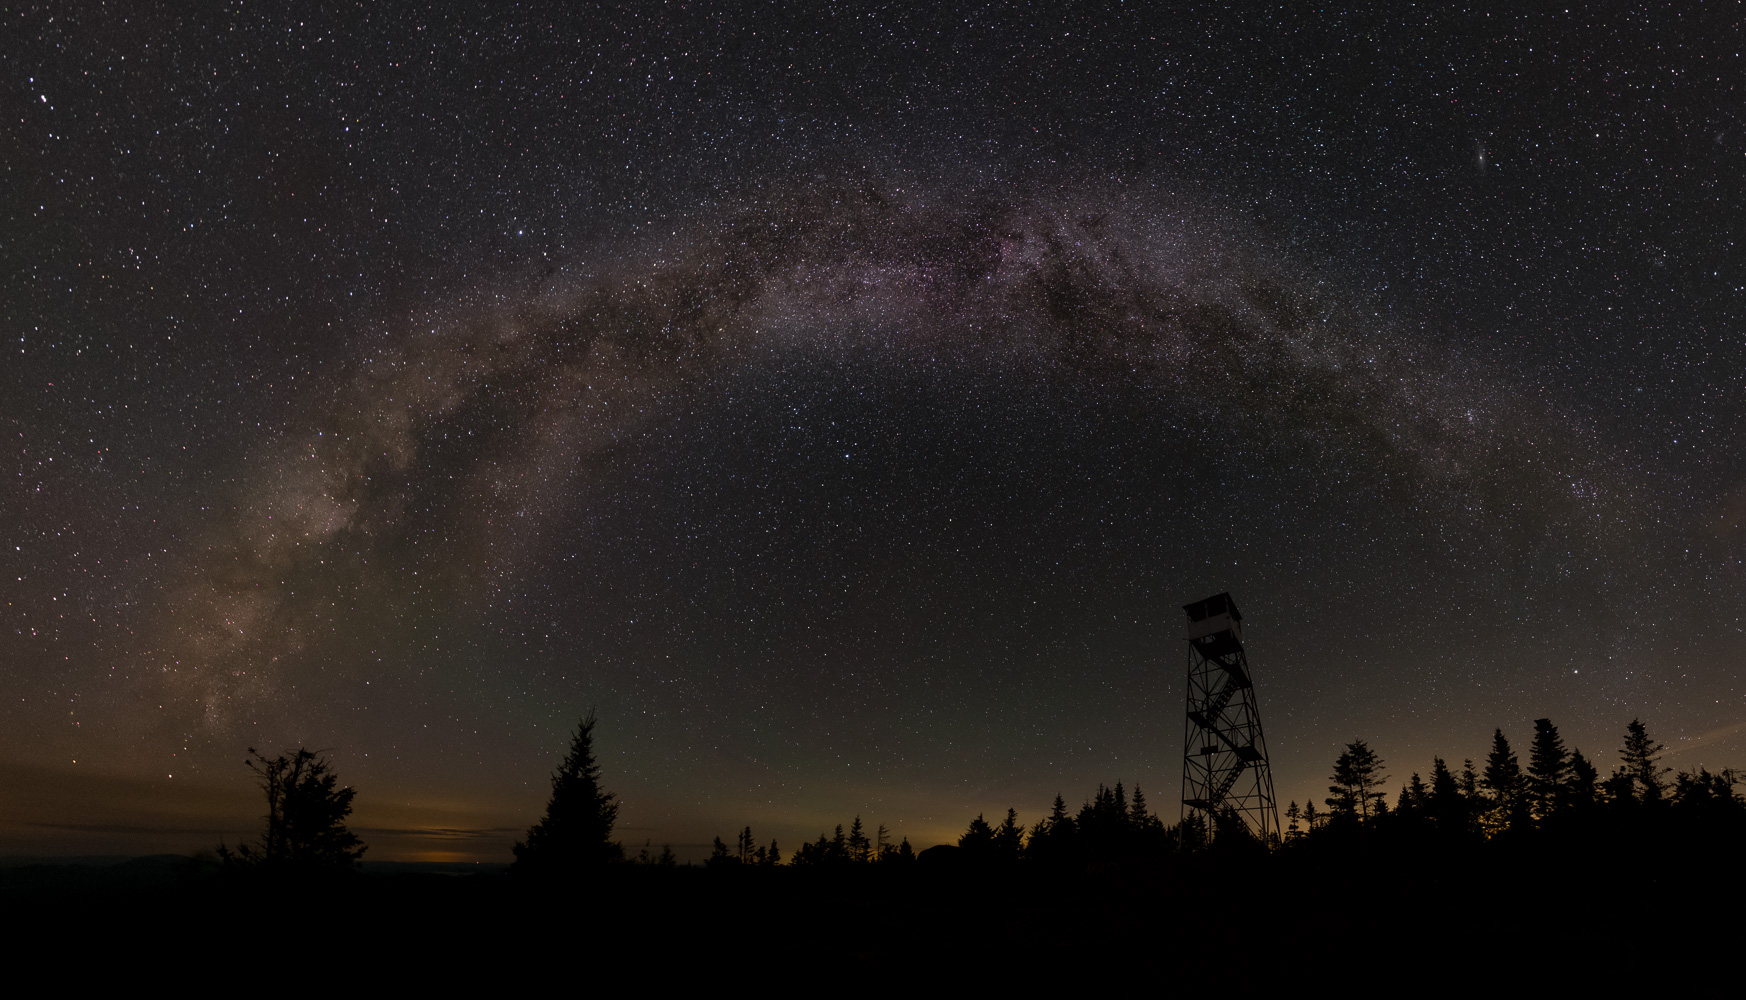
Becca and I headed up to Mount Rainier to watch the Perseid Meteor shower on a smoky August night. For the first time, I tried taking a composite photograph to capture the entire night’s worth of shooting stars in a single image.

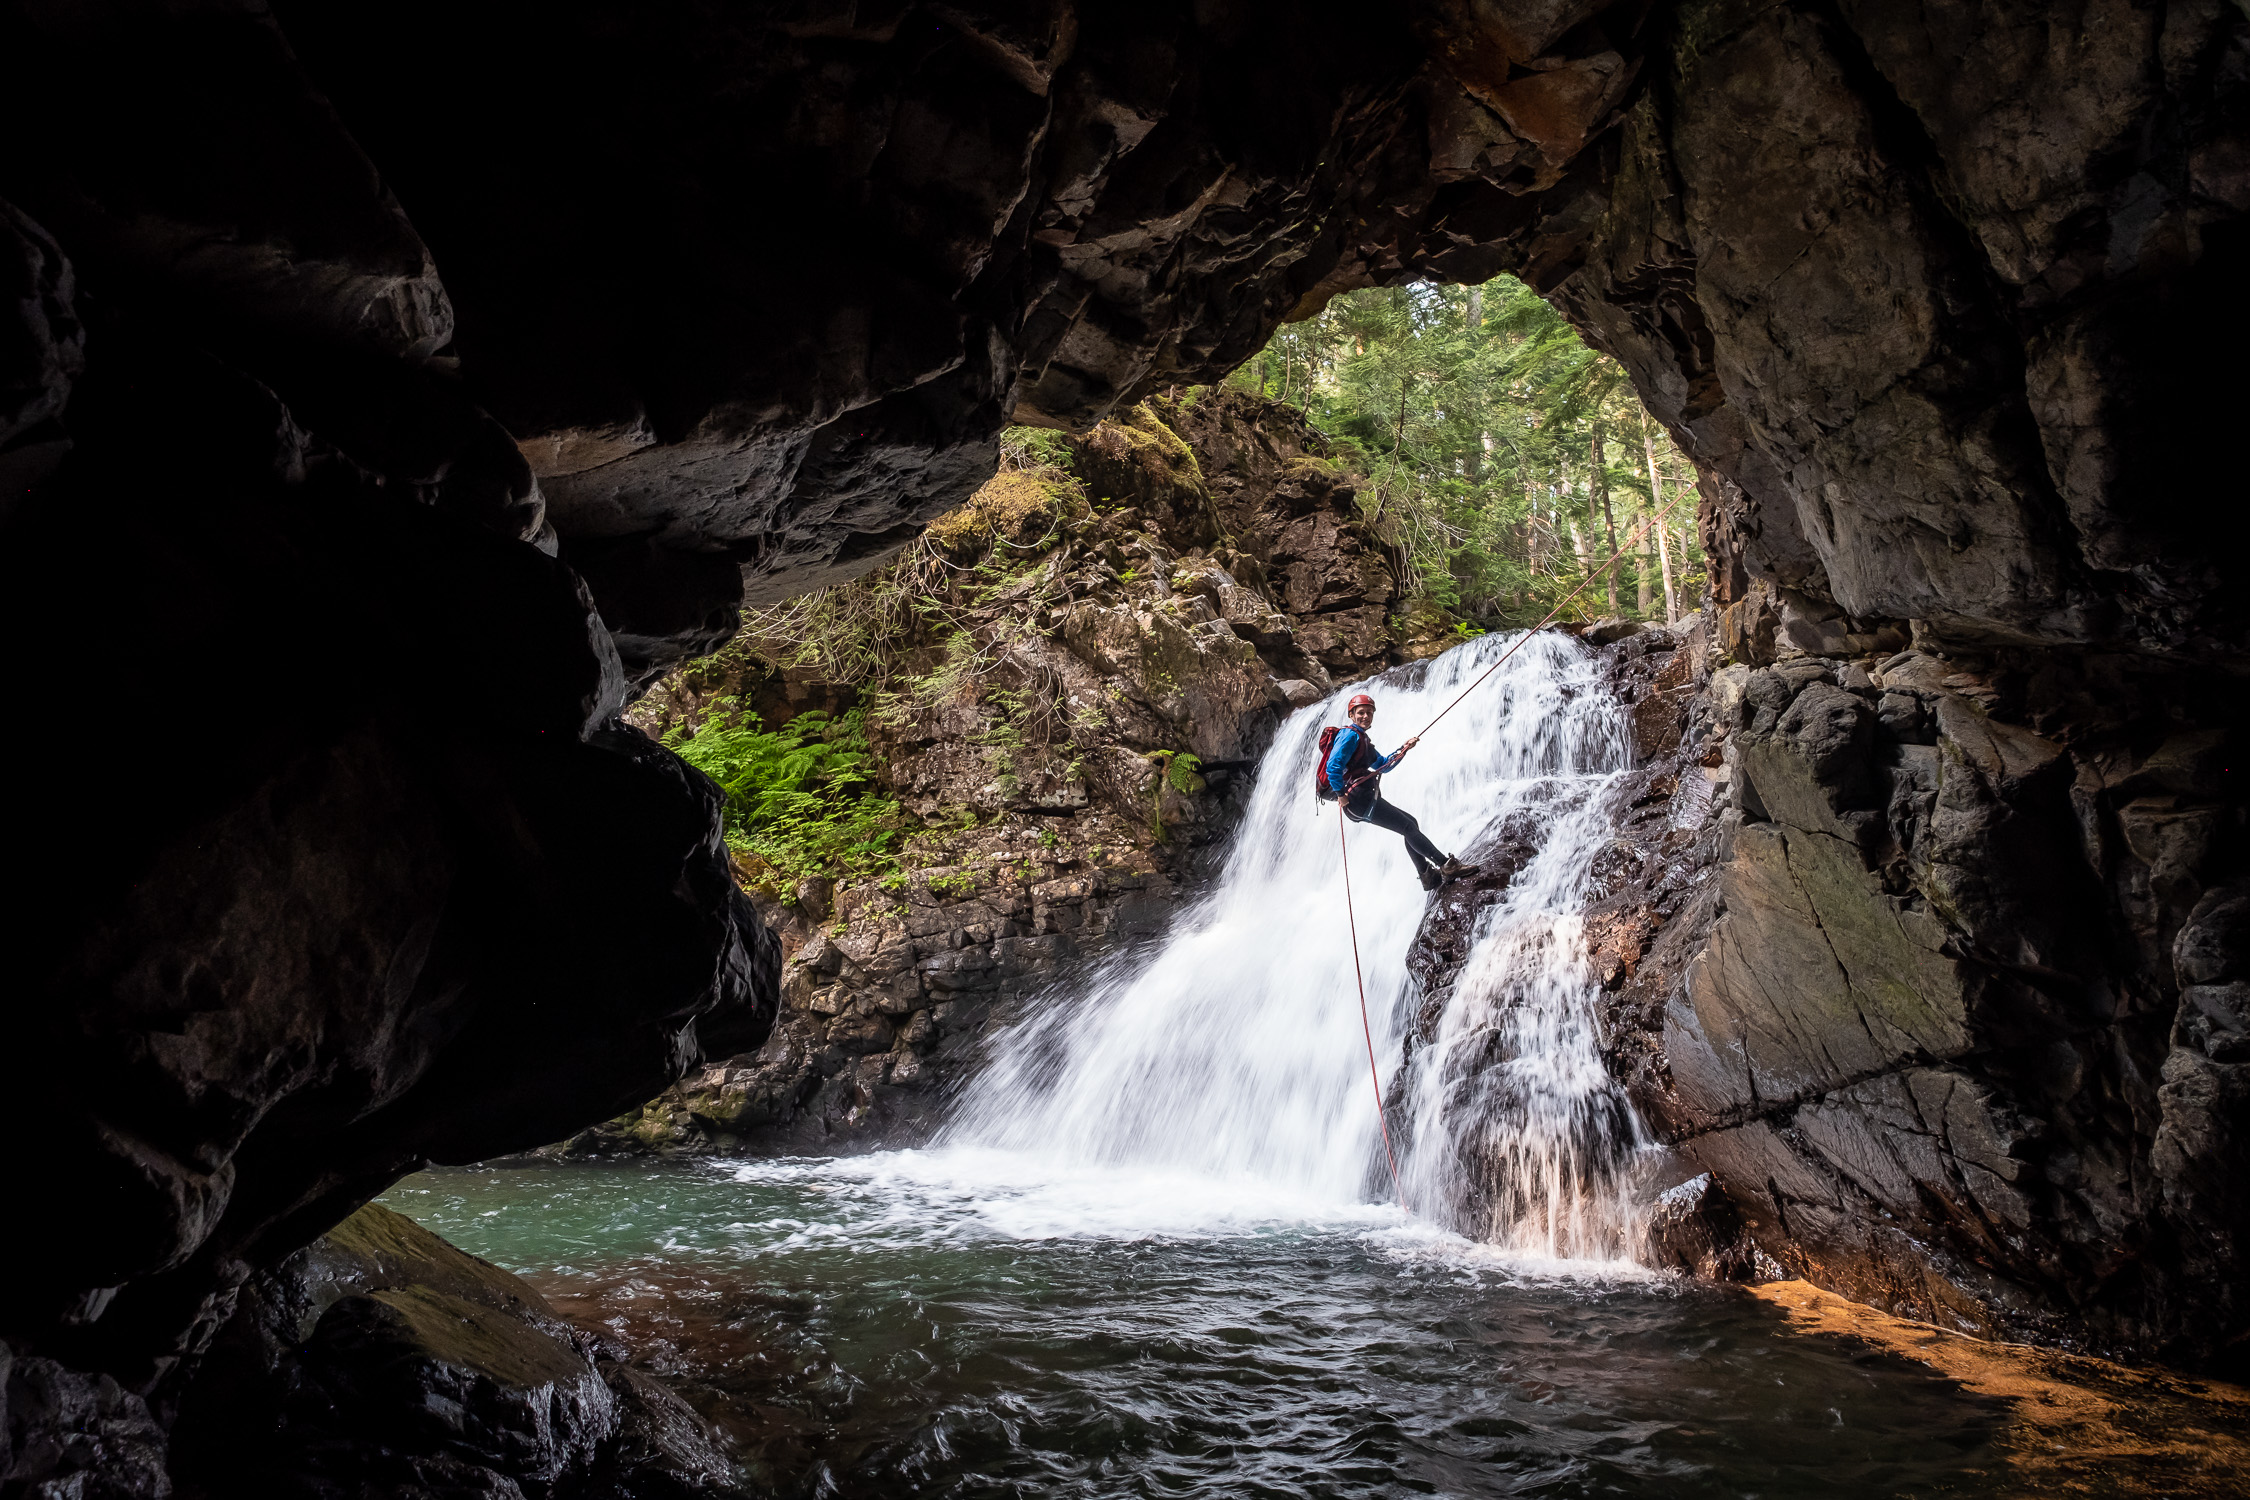
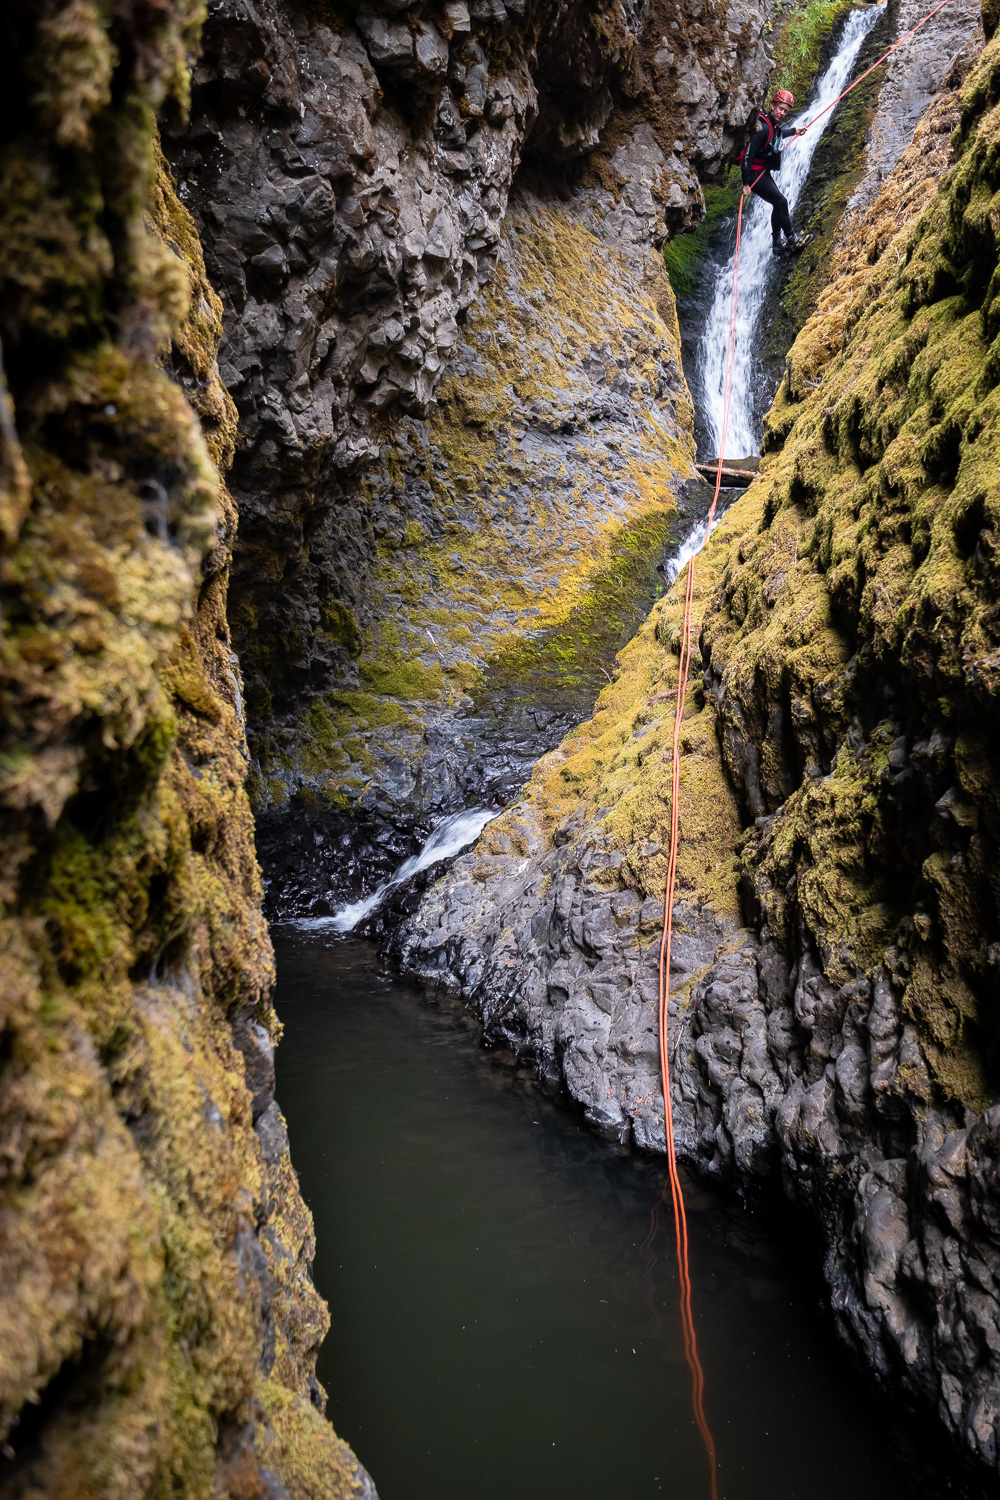
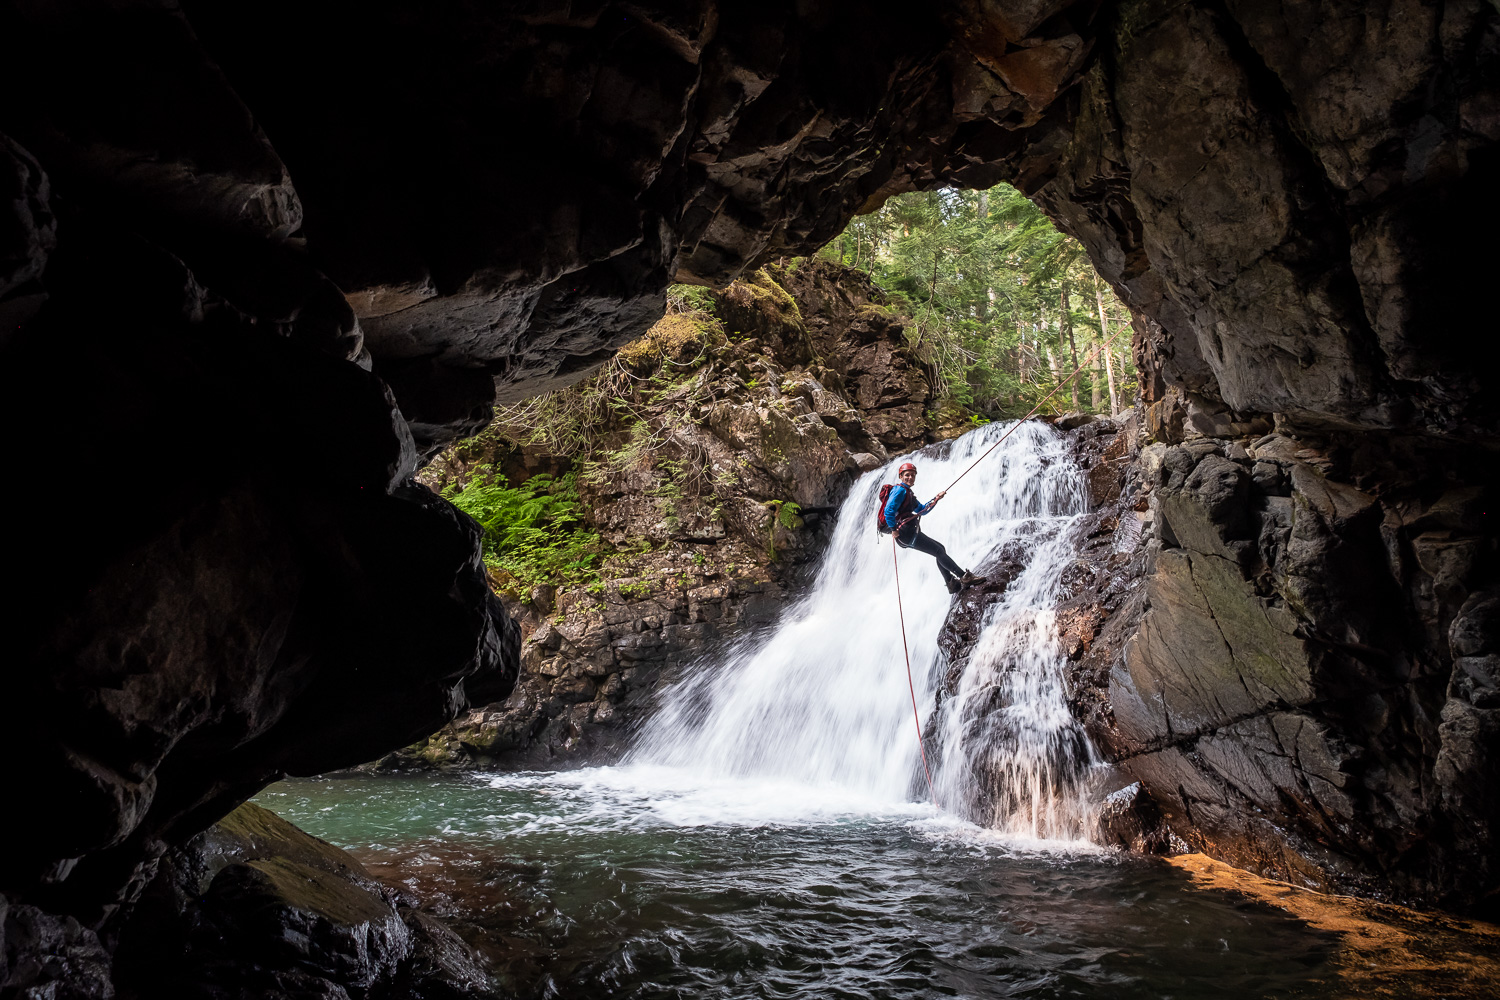
With the lower river flows of late summer, Becca, Dan, and I tried our hand at some canyoneering, as well.

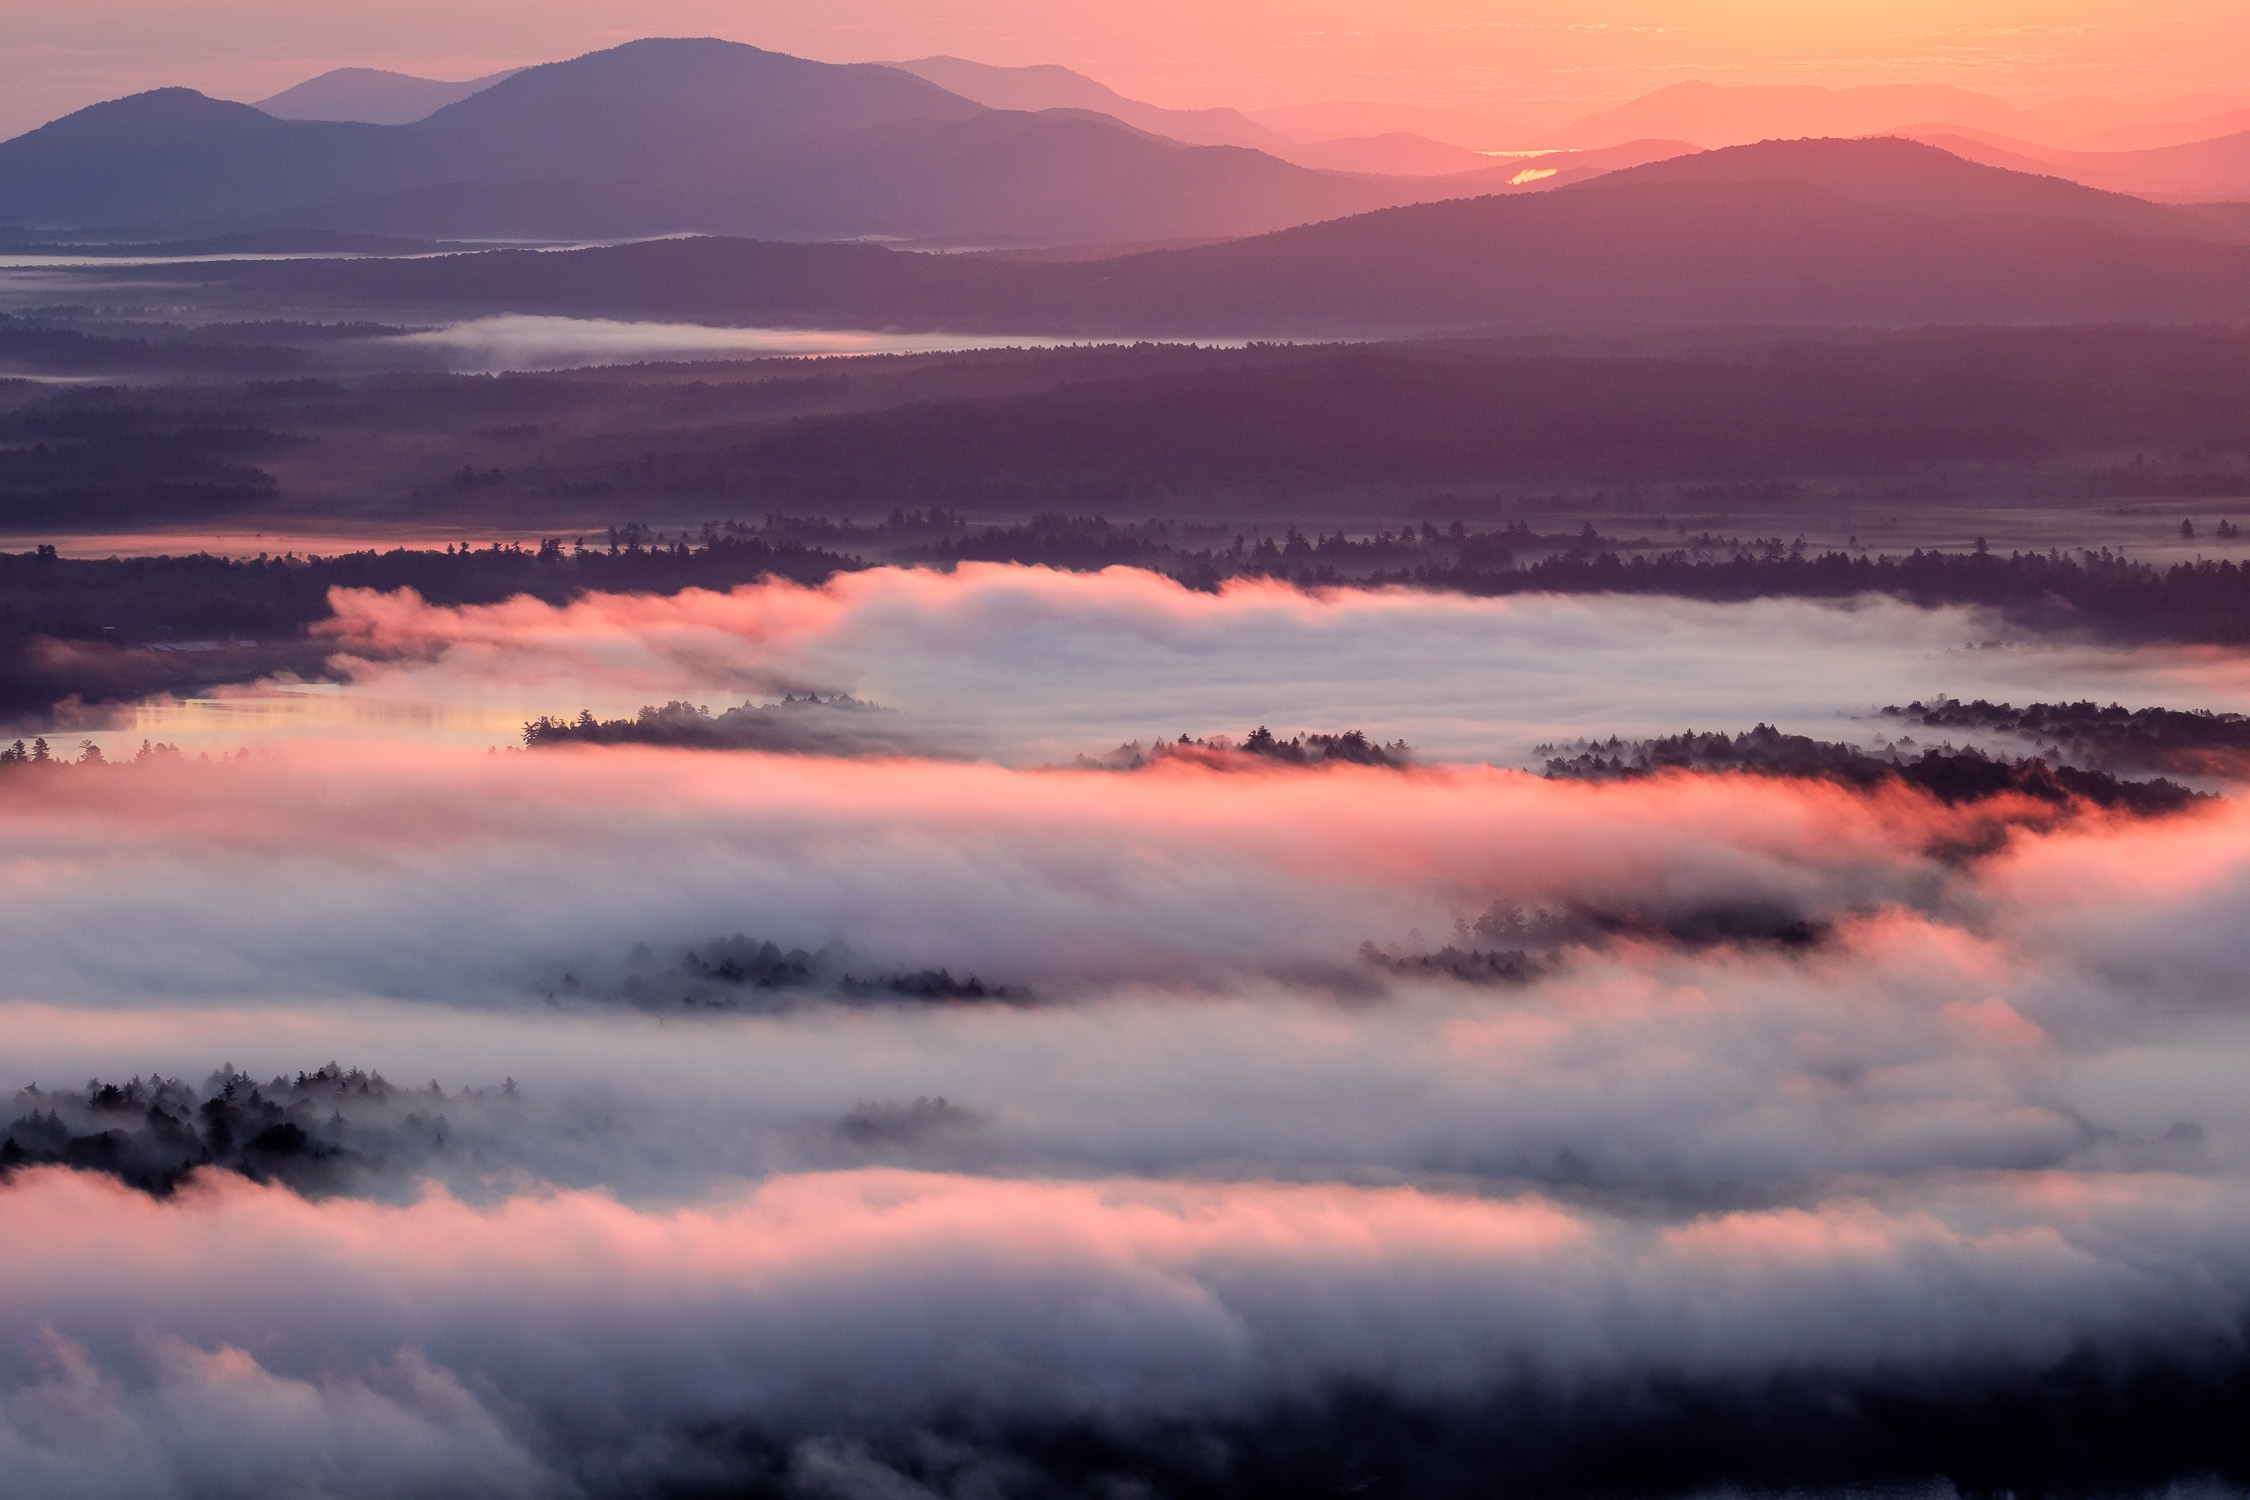
At the end of the month, we all headed back to the Adirondack Mountains of New York State, for our annual family reunion. I was able to revisit some of my favorite spots there and indulge in some nostalgia for my time at Cornell.

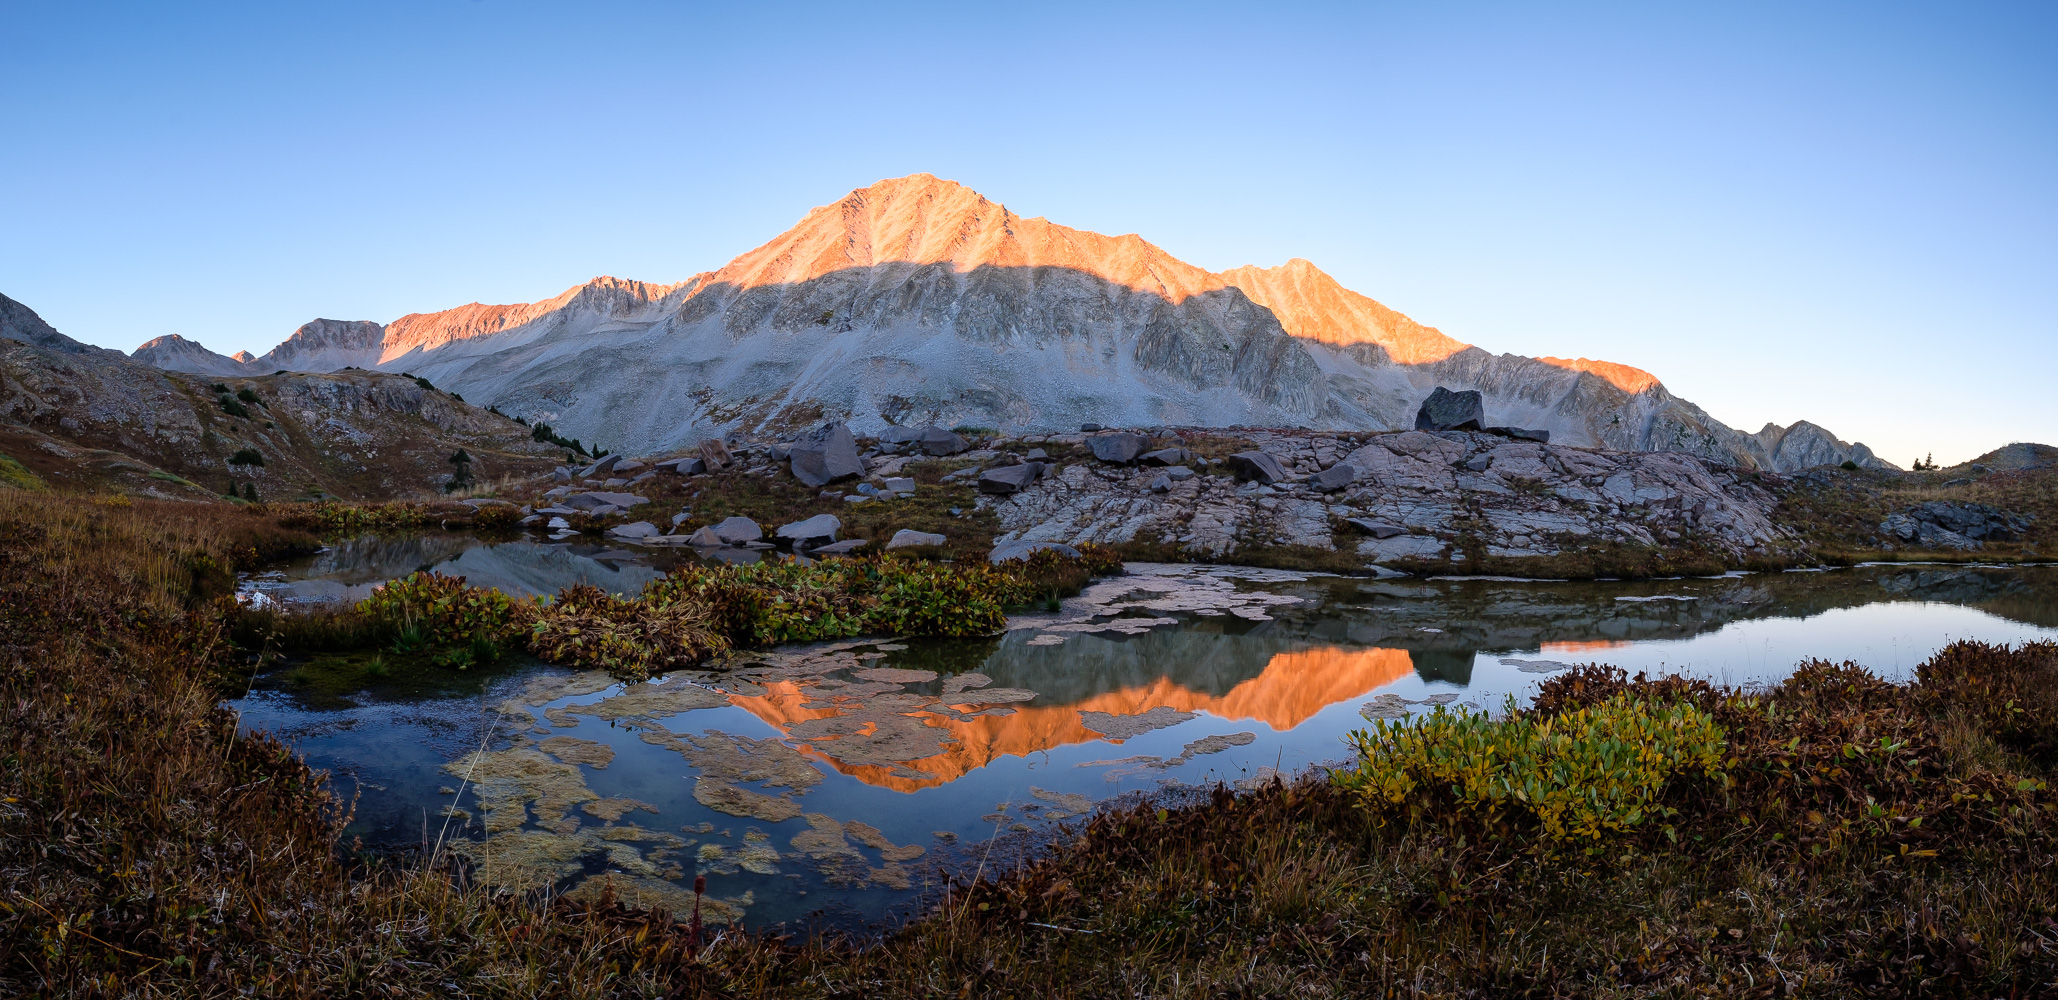
For a penultimate hurrah before the start of our respective PhD programs, Becca and my family and I spent a week backpacking in the Elk Mountains of Colorado, another world-class mountain range that I was lucky to get to spend some time visiting.

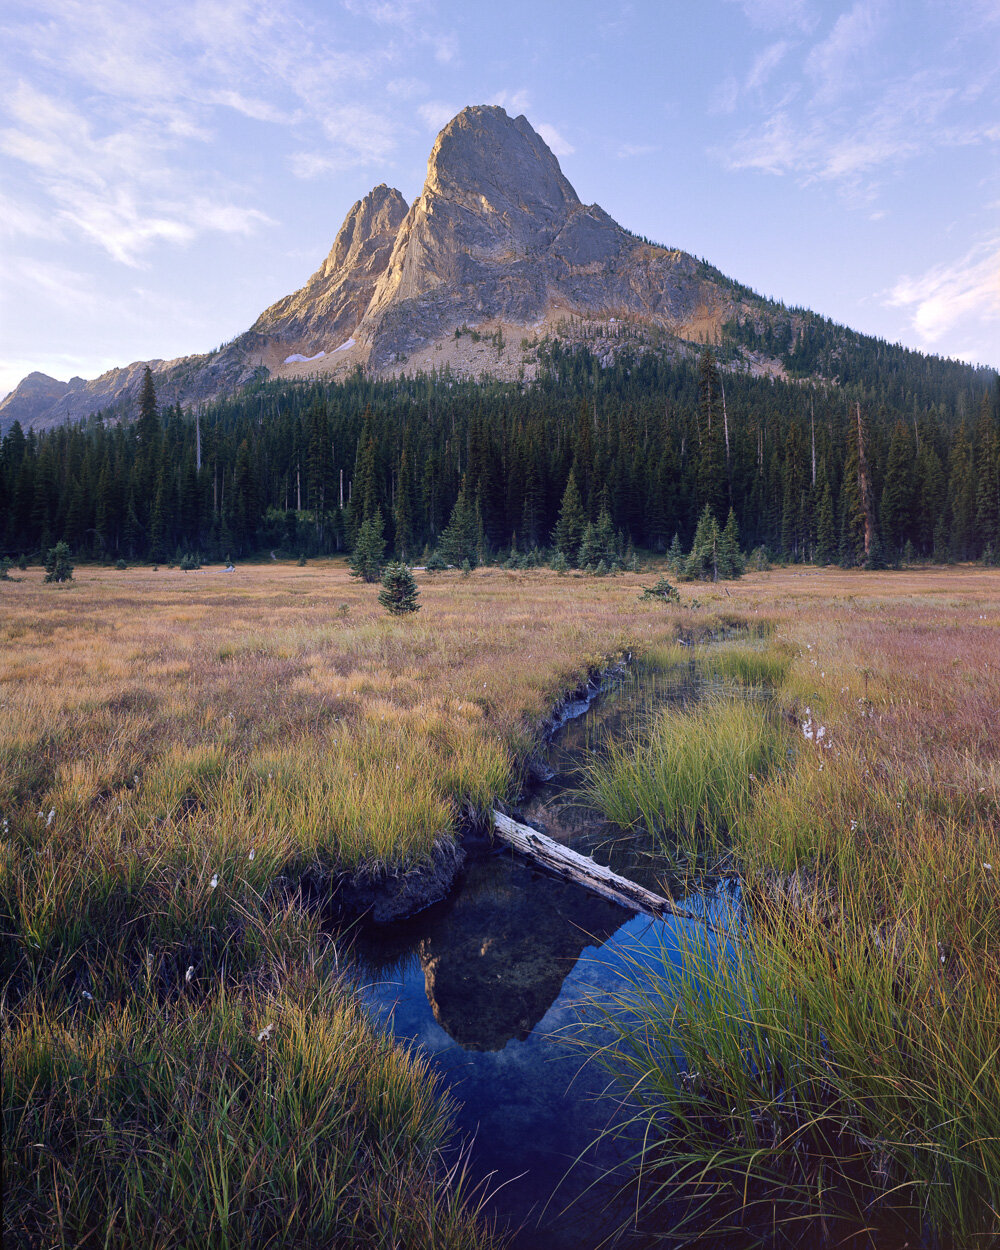
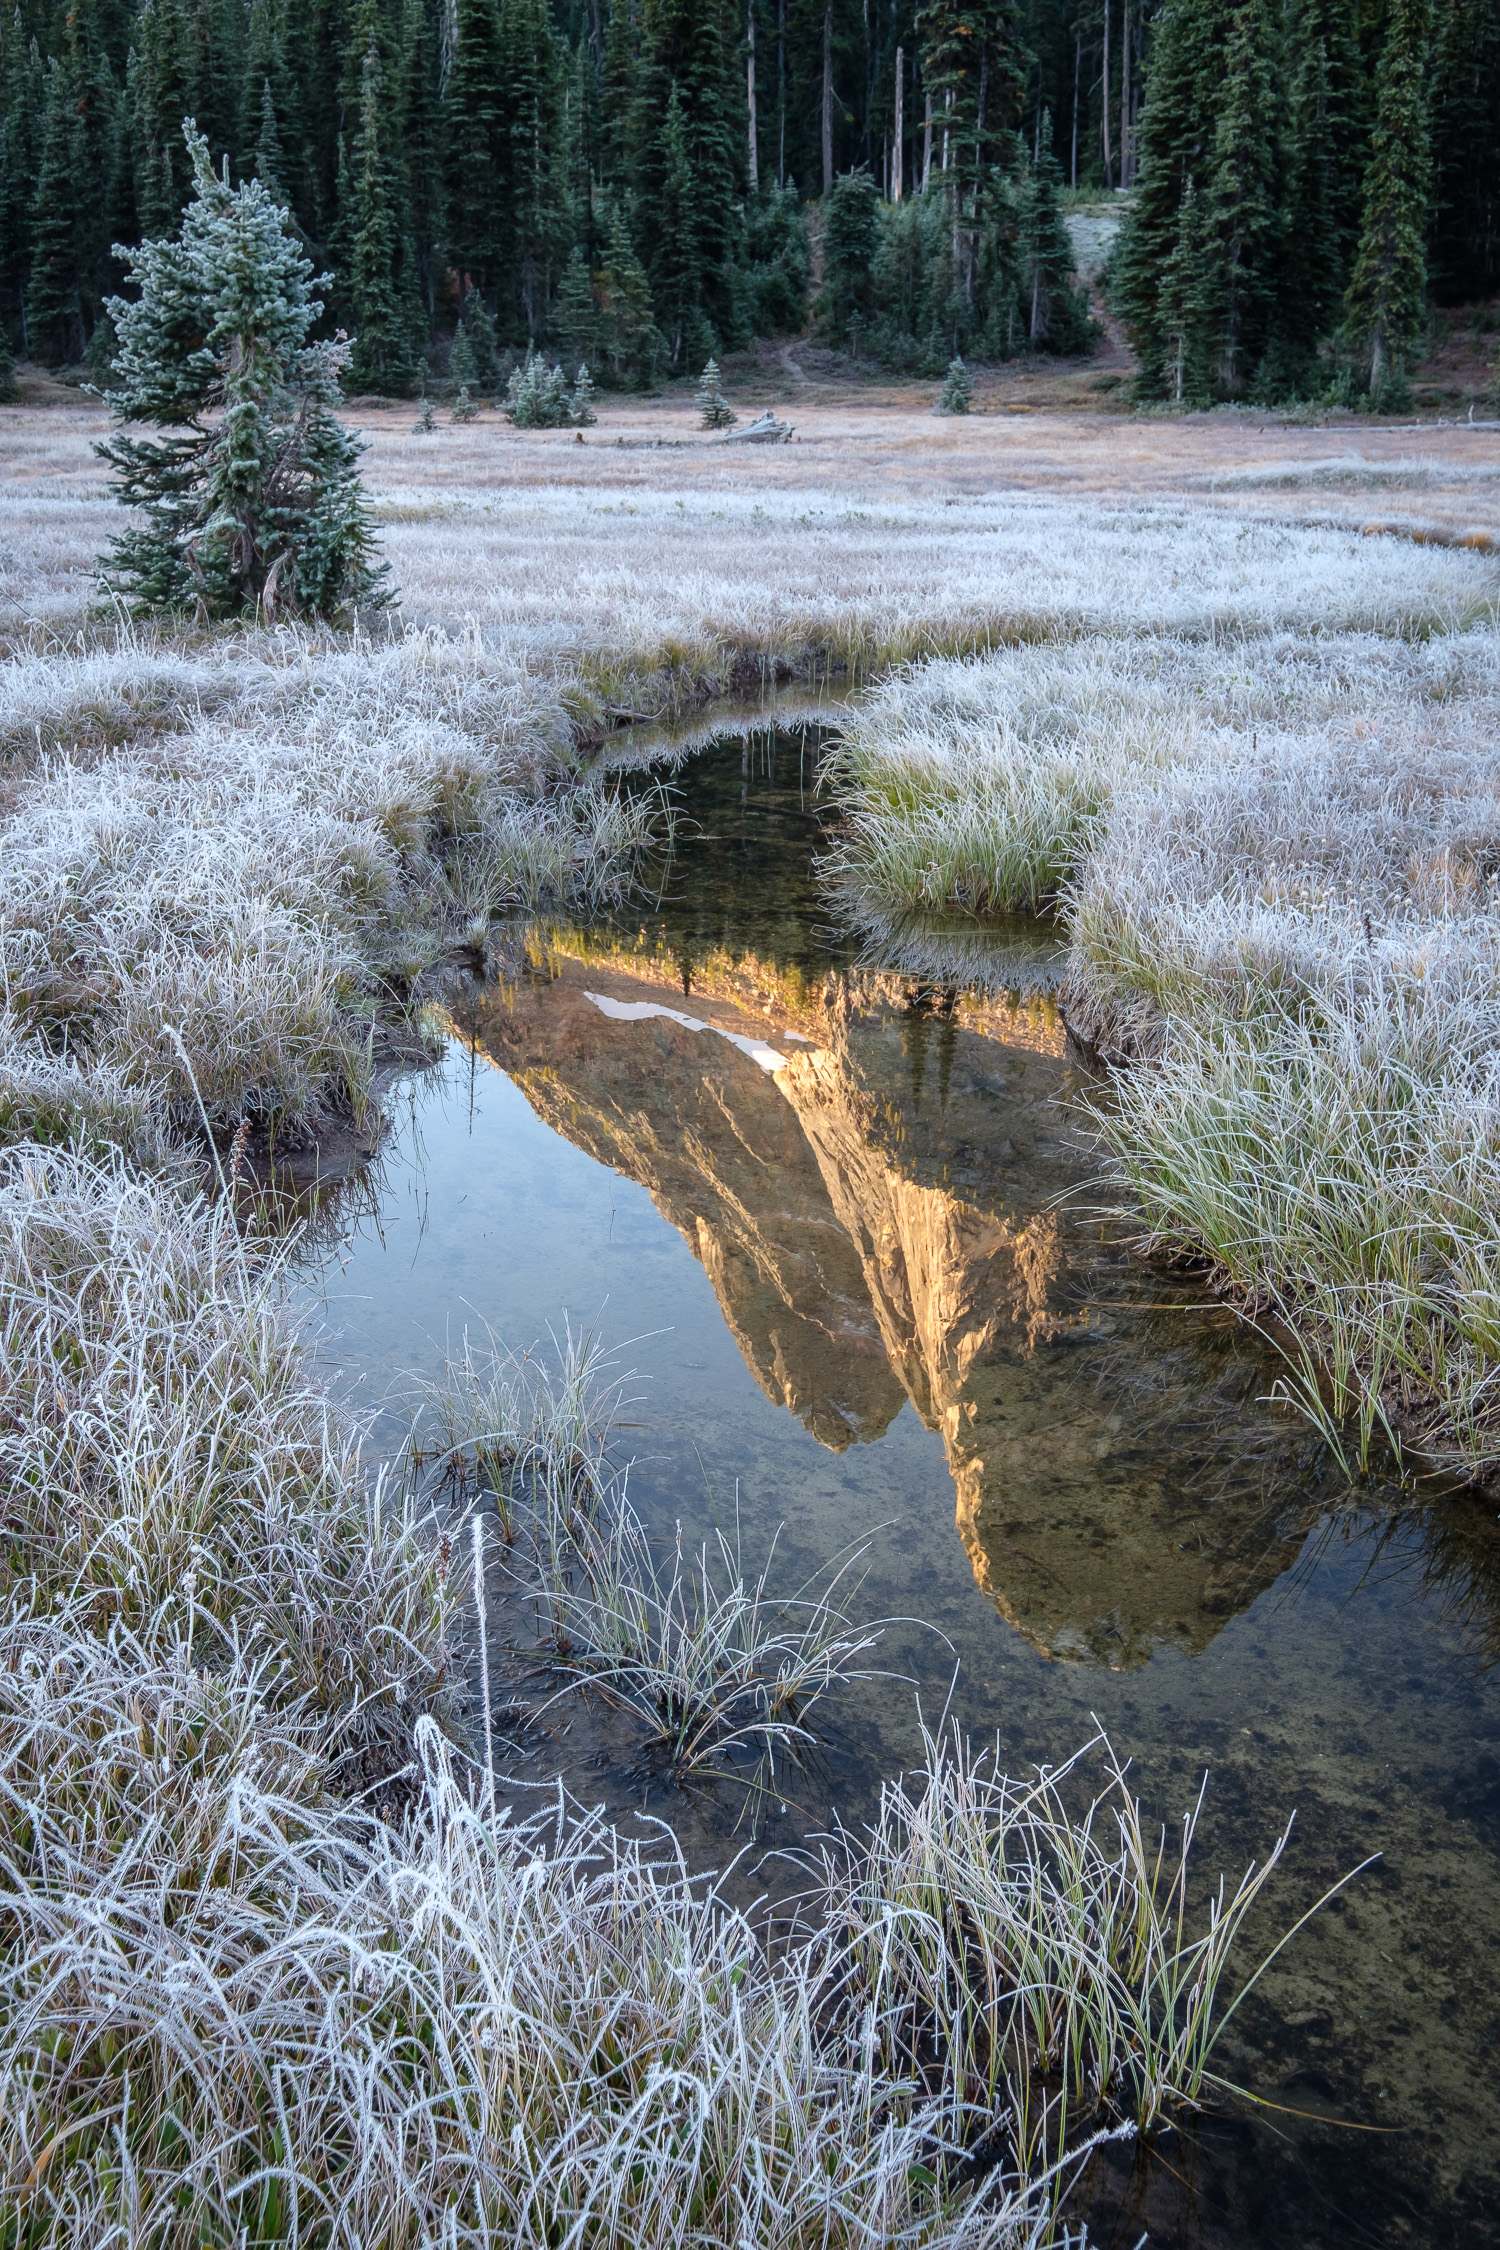
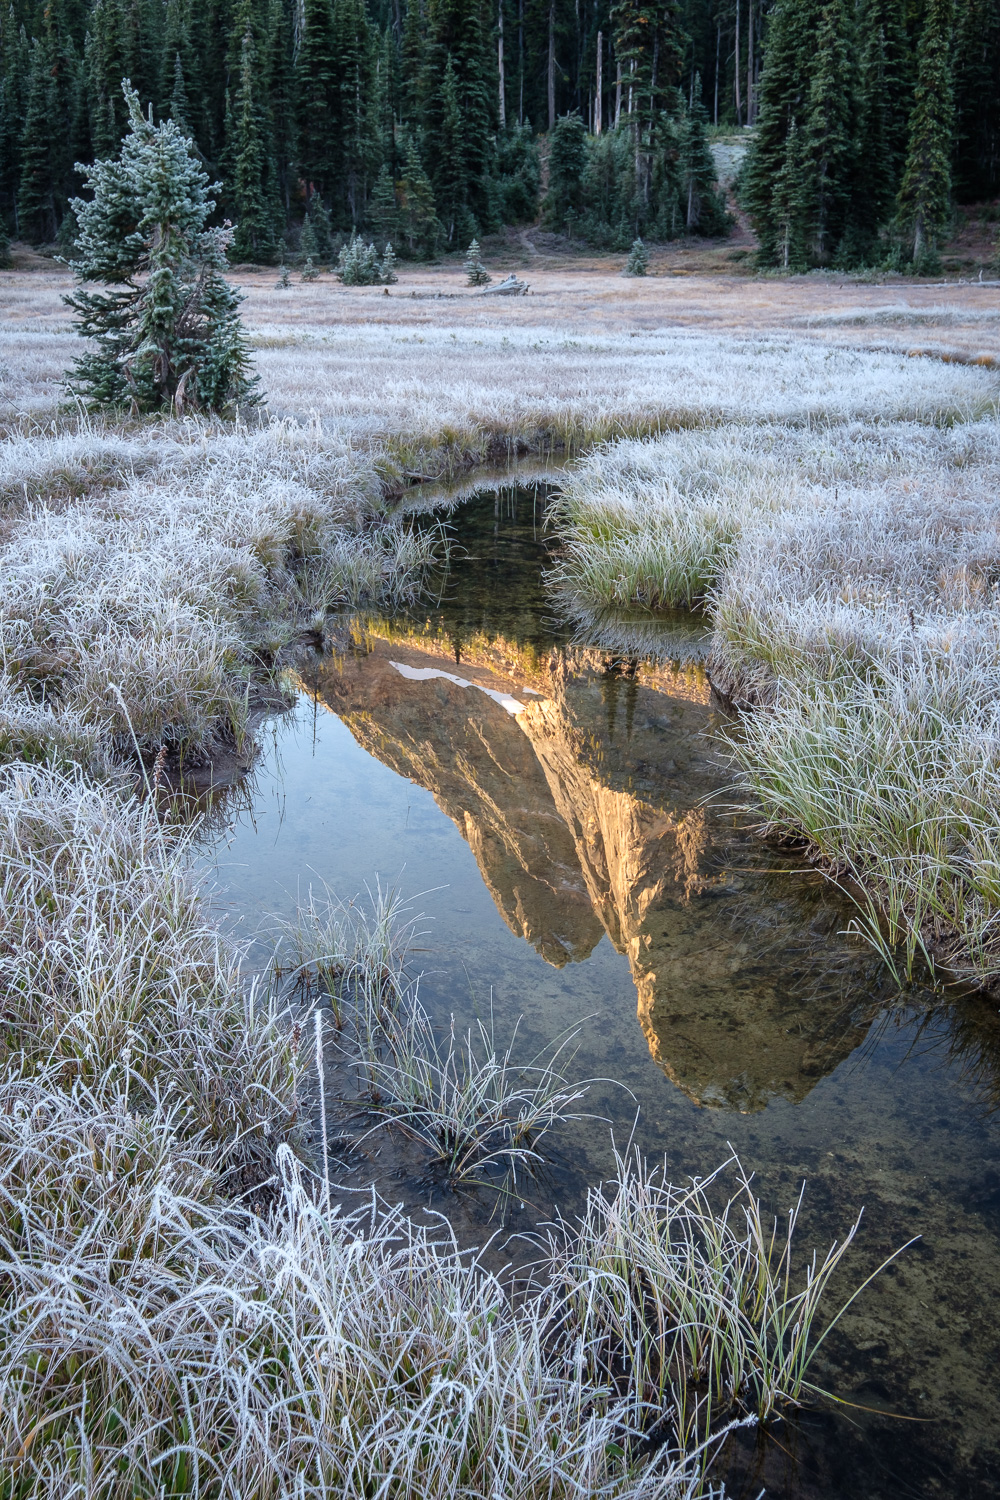
For our true last hurrah before saying goodbye, Becca and I headed up to Washington Pass for an ascent of Liberty Bell. The morning of our climb, we snuck out into this frosty meadow for a nice view of our objective.

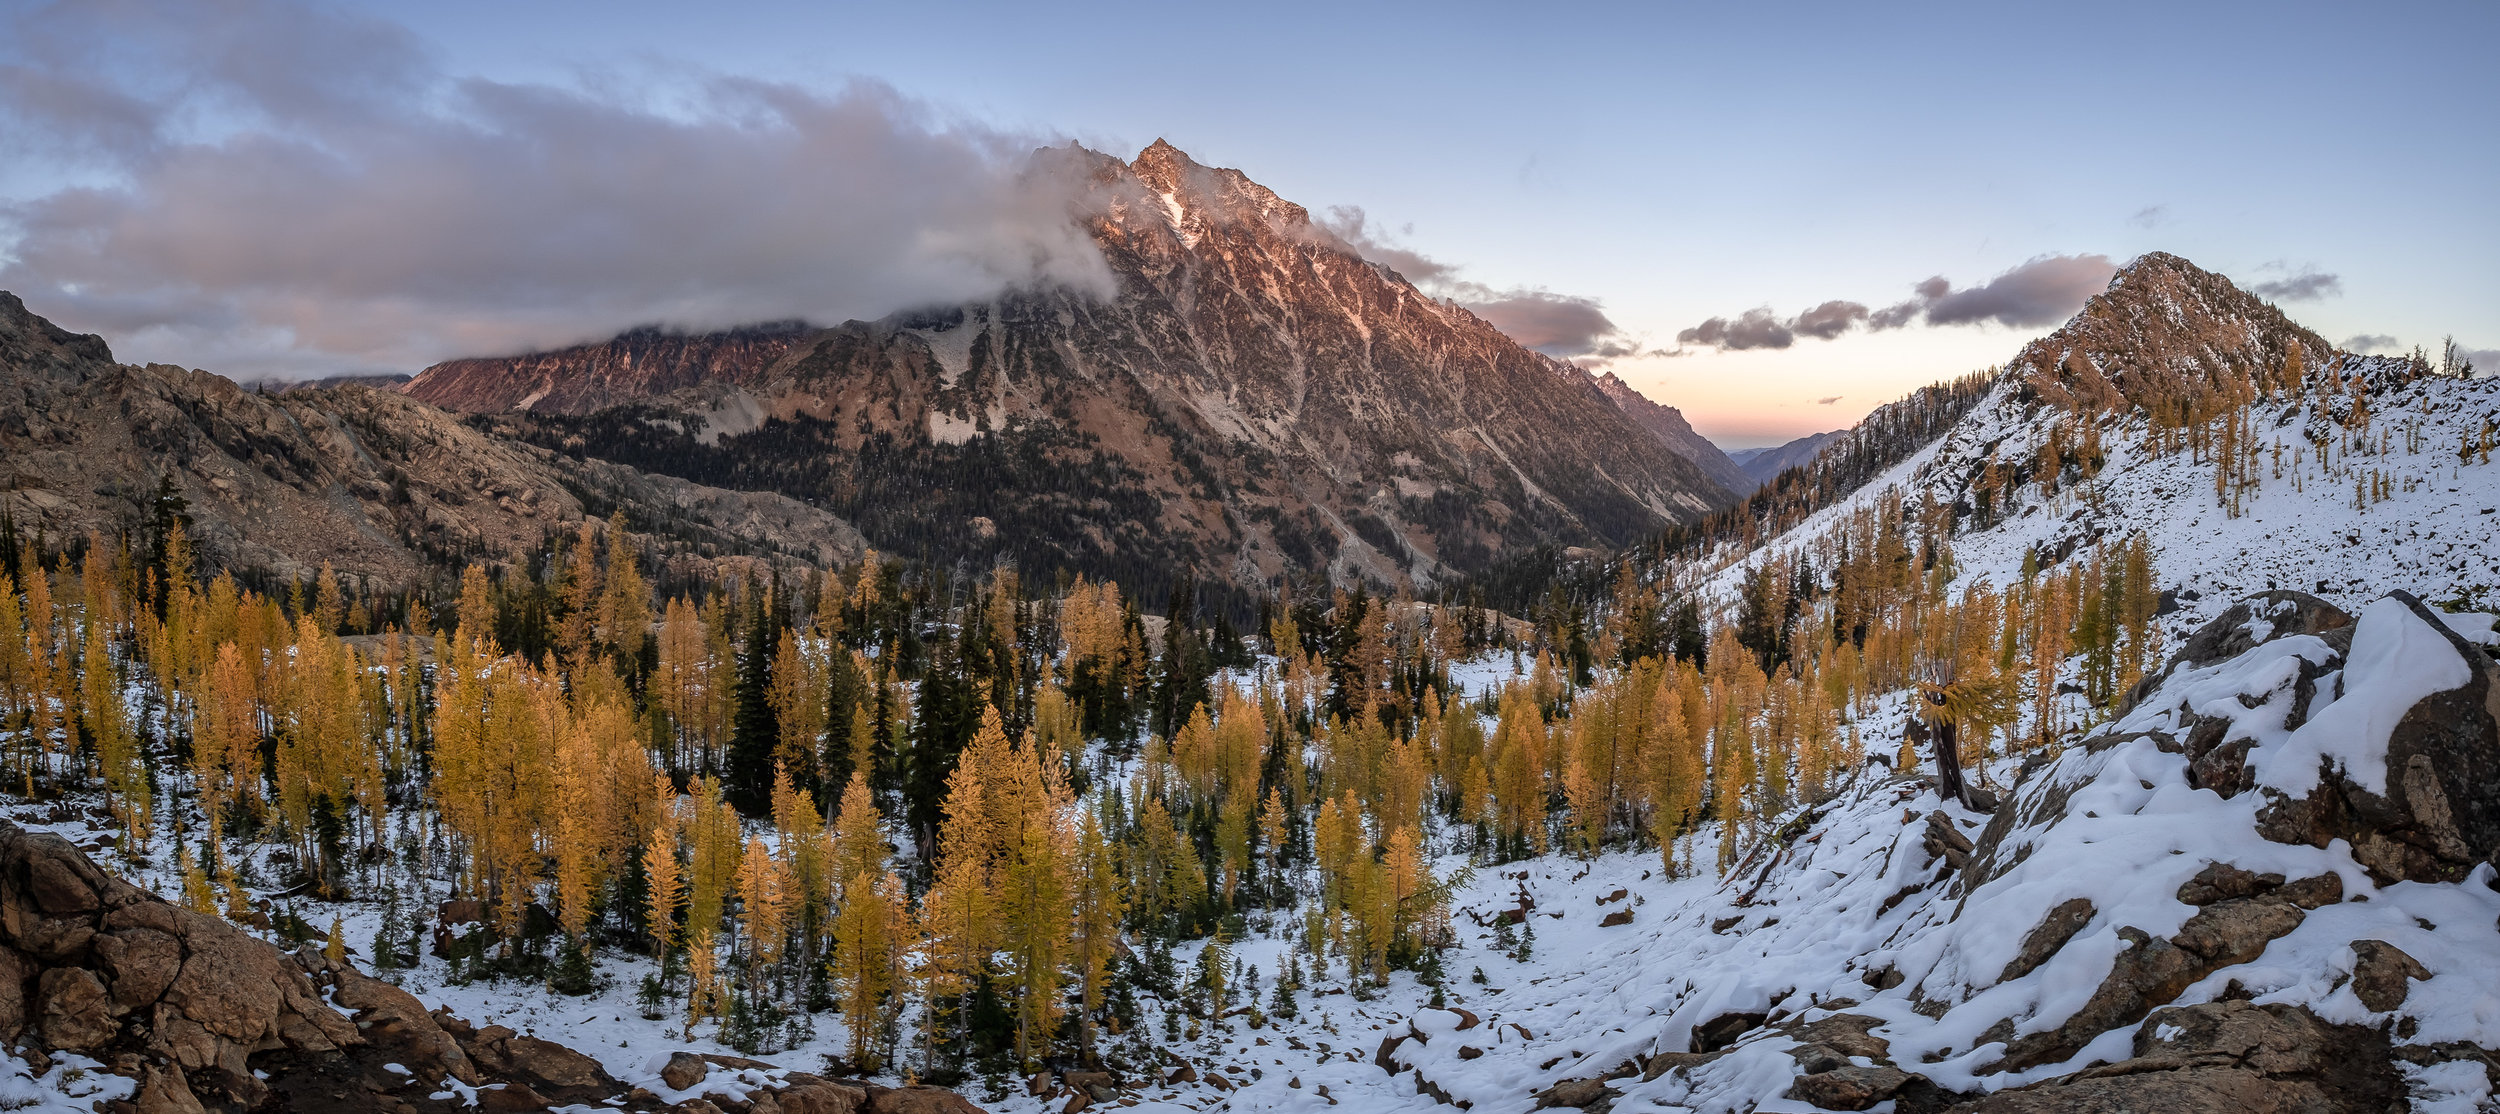
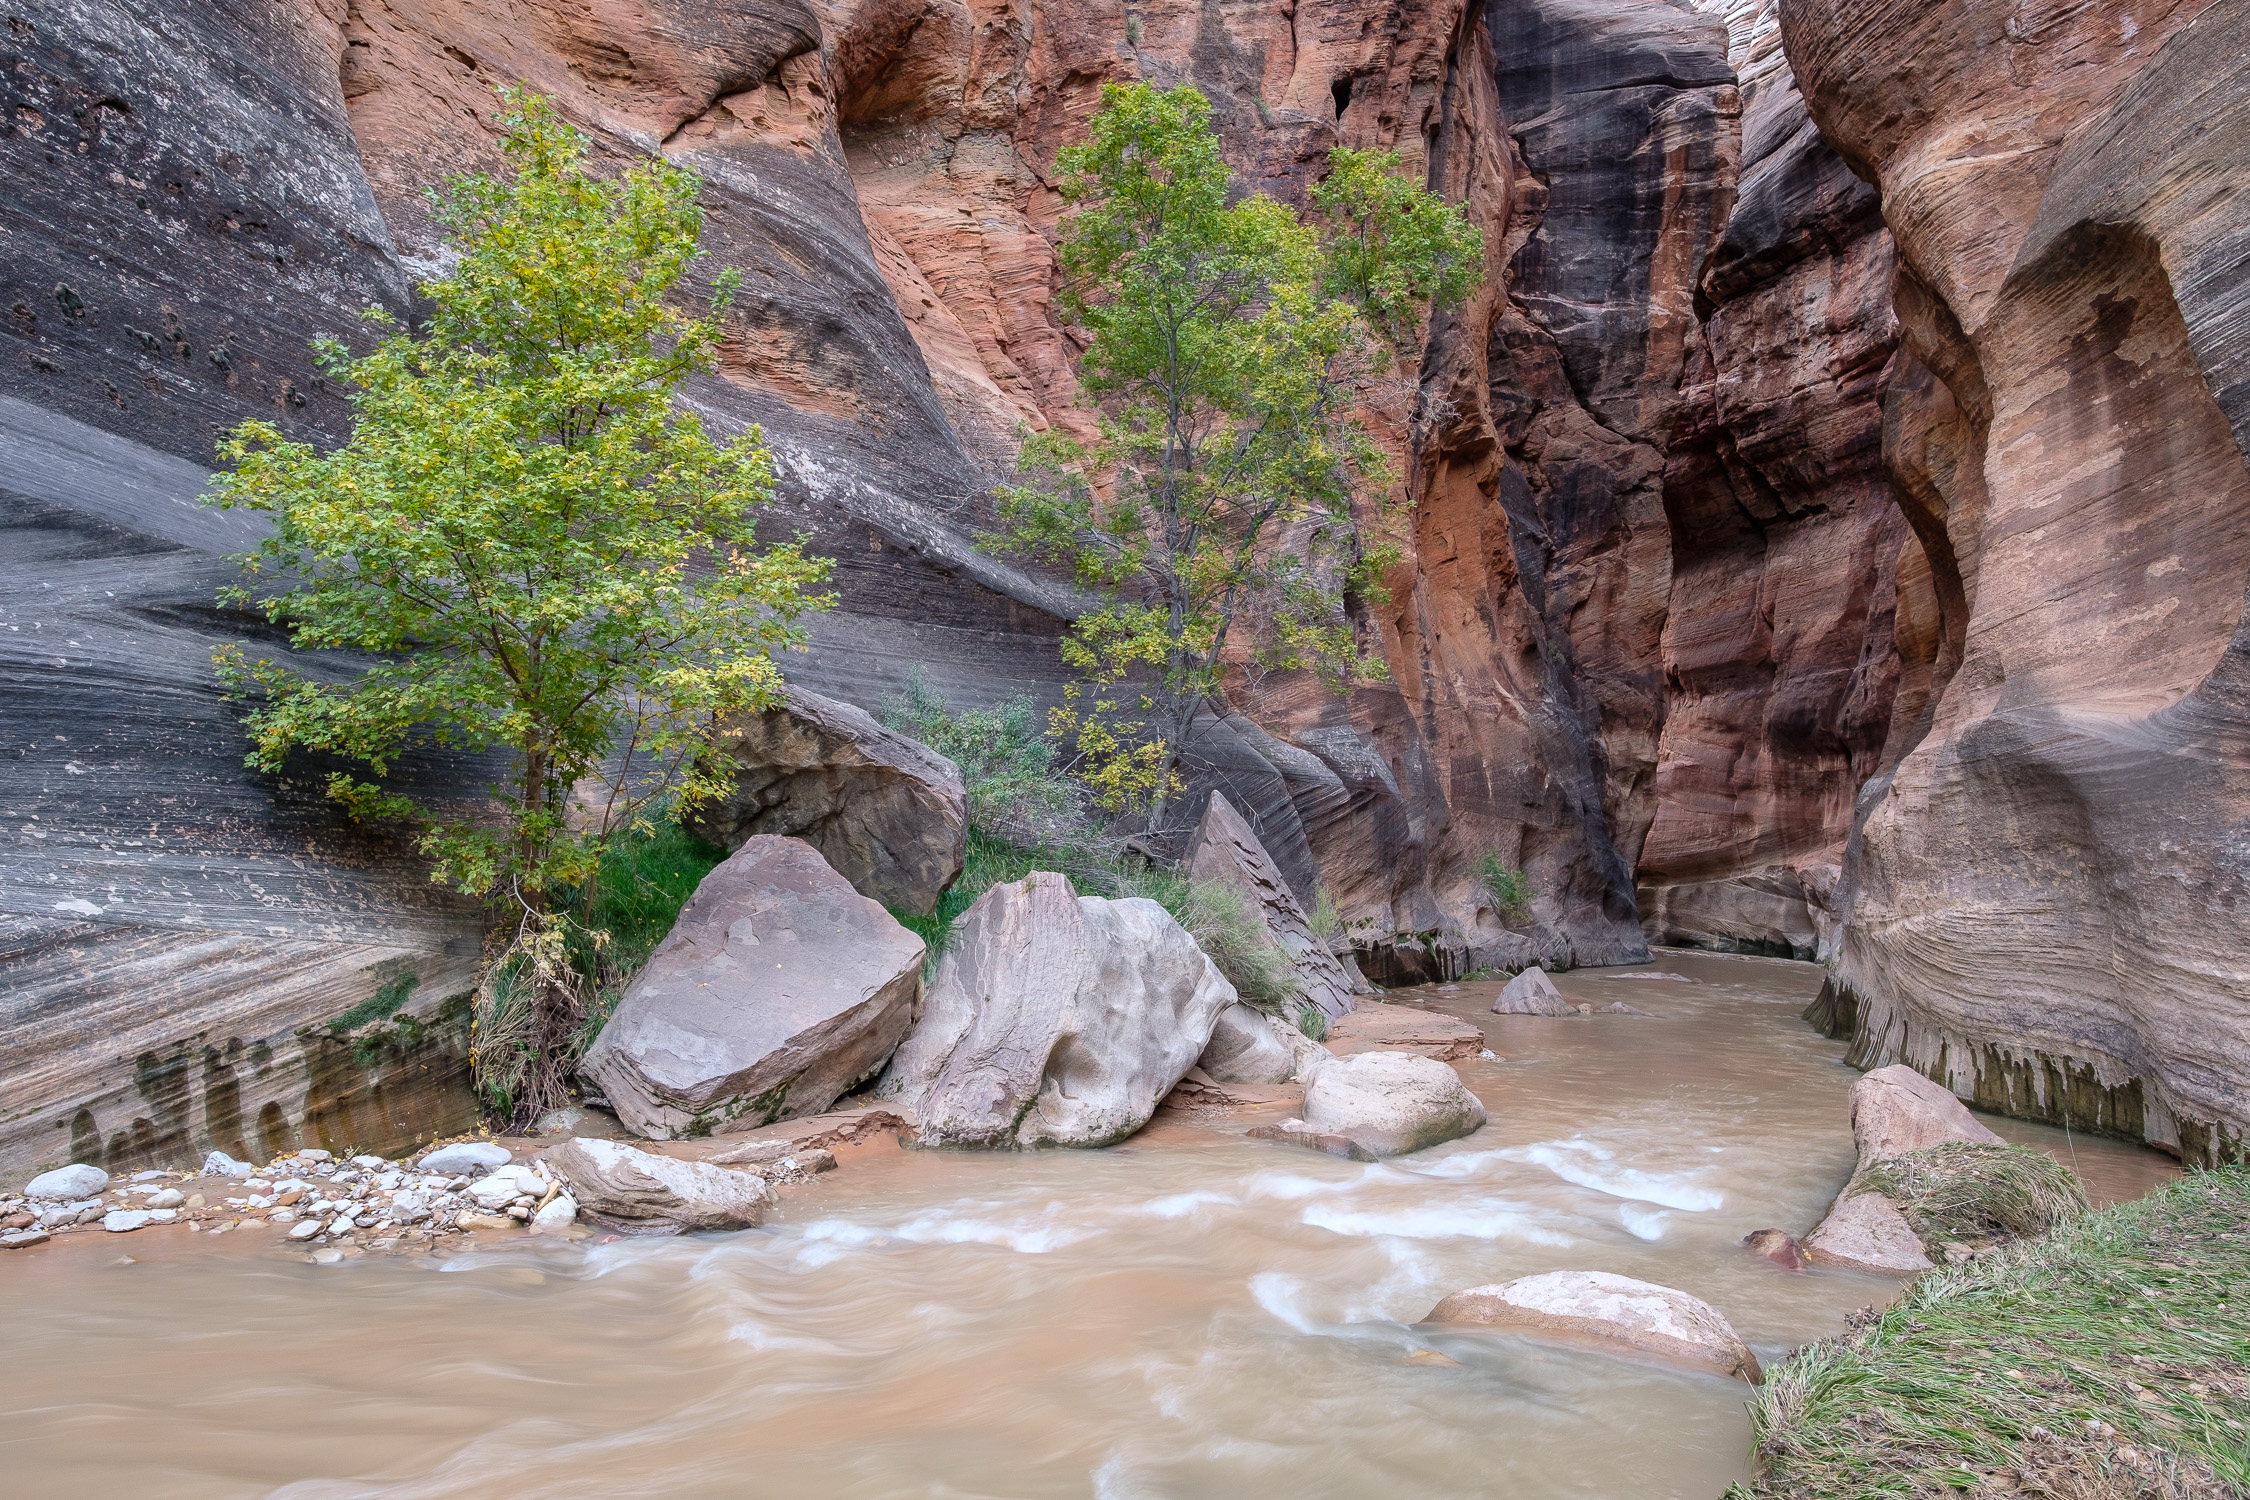
The start of classes at UW didn’t keep me from my beloved wilderness. As the fall progressed, I was able to escape for a few overnight trips in the Cascades, and a brief backpacking trip near Zion with my father.

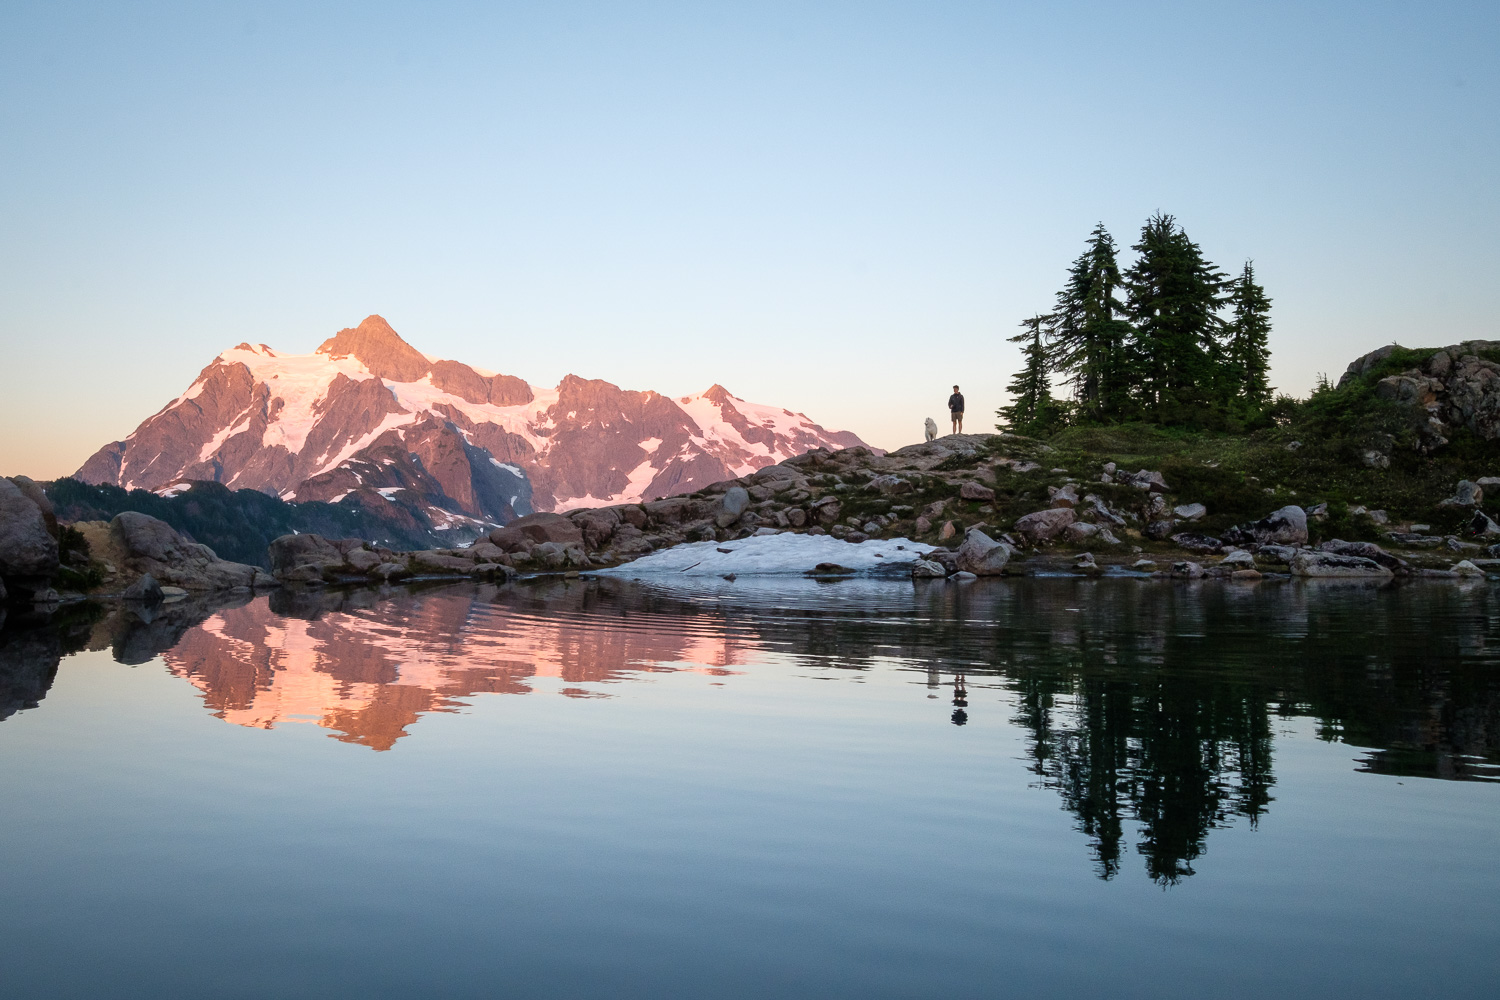
And finally, as winter has settled happily into the Cascades, I’ve shifted my attention to backcountry skiing. The mountains really are at their most glorious at sunset on a clear winter day, when the snow reflects the hues of the sky. Most recently, I’ve gotten out for several ski trips in the Mount Baker vicinity, some in spectacular weather, and some more stormy.

Photos in this album can also be viewed as a slideshow in Google Photos, here.

DIY 35mm Panoramic Camera - First Updates

I’ve thoroughly enjoyed my DaYi 617 for the 6+ months I’ve had it. I love composing in the panoramic aspect ratio, and I love the enormous negatives it produces. However, it has its drawbacks - it’s big, heavy, and essentially impossible to handhold. The past few months I’ve found myself daydreaming after a similar camera, but one that I could actually take with me on a regular basis.

Naturally, I, like just about everyone else, found myself hankering after an XPan. However, I don’t have the 2-3 thousand dollars lying around to drop on such an object of beauty. I had also been toying with the notion of building a camera myself, so these to ideas seemed like a great new project, now that the weather here in Seattle isn’t quite as conducive to outdoor activities.

I decided upon the following specification: I wanted the camera to expose 35mm film at a 3:1 aspect ratio, producing 24x72mm negatives, more than twice as wide as a standard 35mm negative. I also wanted the camera to expose the sprocket holes, which, if don't crop them off, give me that extra hip aesthetic. I purchased a 65mm large format lens from eBay, which has a leaf shutter and aperture built in, meaning that I only needed to construct the body of the camera to hold the lens at the appropriate distance (with adjustments for focus) and to move the film across some sort of pressure plate to keep the film as flat as possible.

The very first version of the camera, cobbled together late at night out of foam-core.

The very first version of the camera, cobbled together late at night out of foam-core.

After disassembling a $1.99 35mm point and shoot from Goodwill, I started out by cutting foam-core posterboard with an xacto knife to get a feel for dimensions, then switched over to a CAD application (with guidance from Adam) where I designed a first prototype, laser-cutting the parts out of 1/8 inch plywood. I built a takeup reel and rewind knob to interface with the film canister out of some chopped up nylon washers and dowels.

Laser-cut parts for the 3rd version of the camera, dry-fit and ready to be glued and clamped.

Laser-cut parts for the 3rd version of the camera, dry-fit and ready to be glued and clamped.

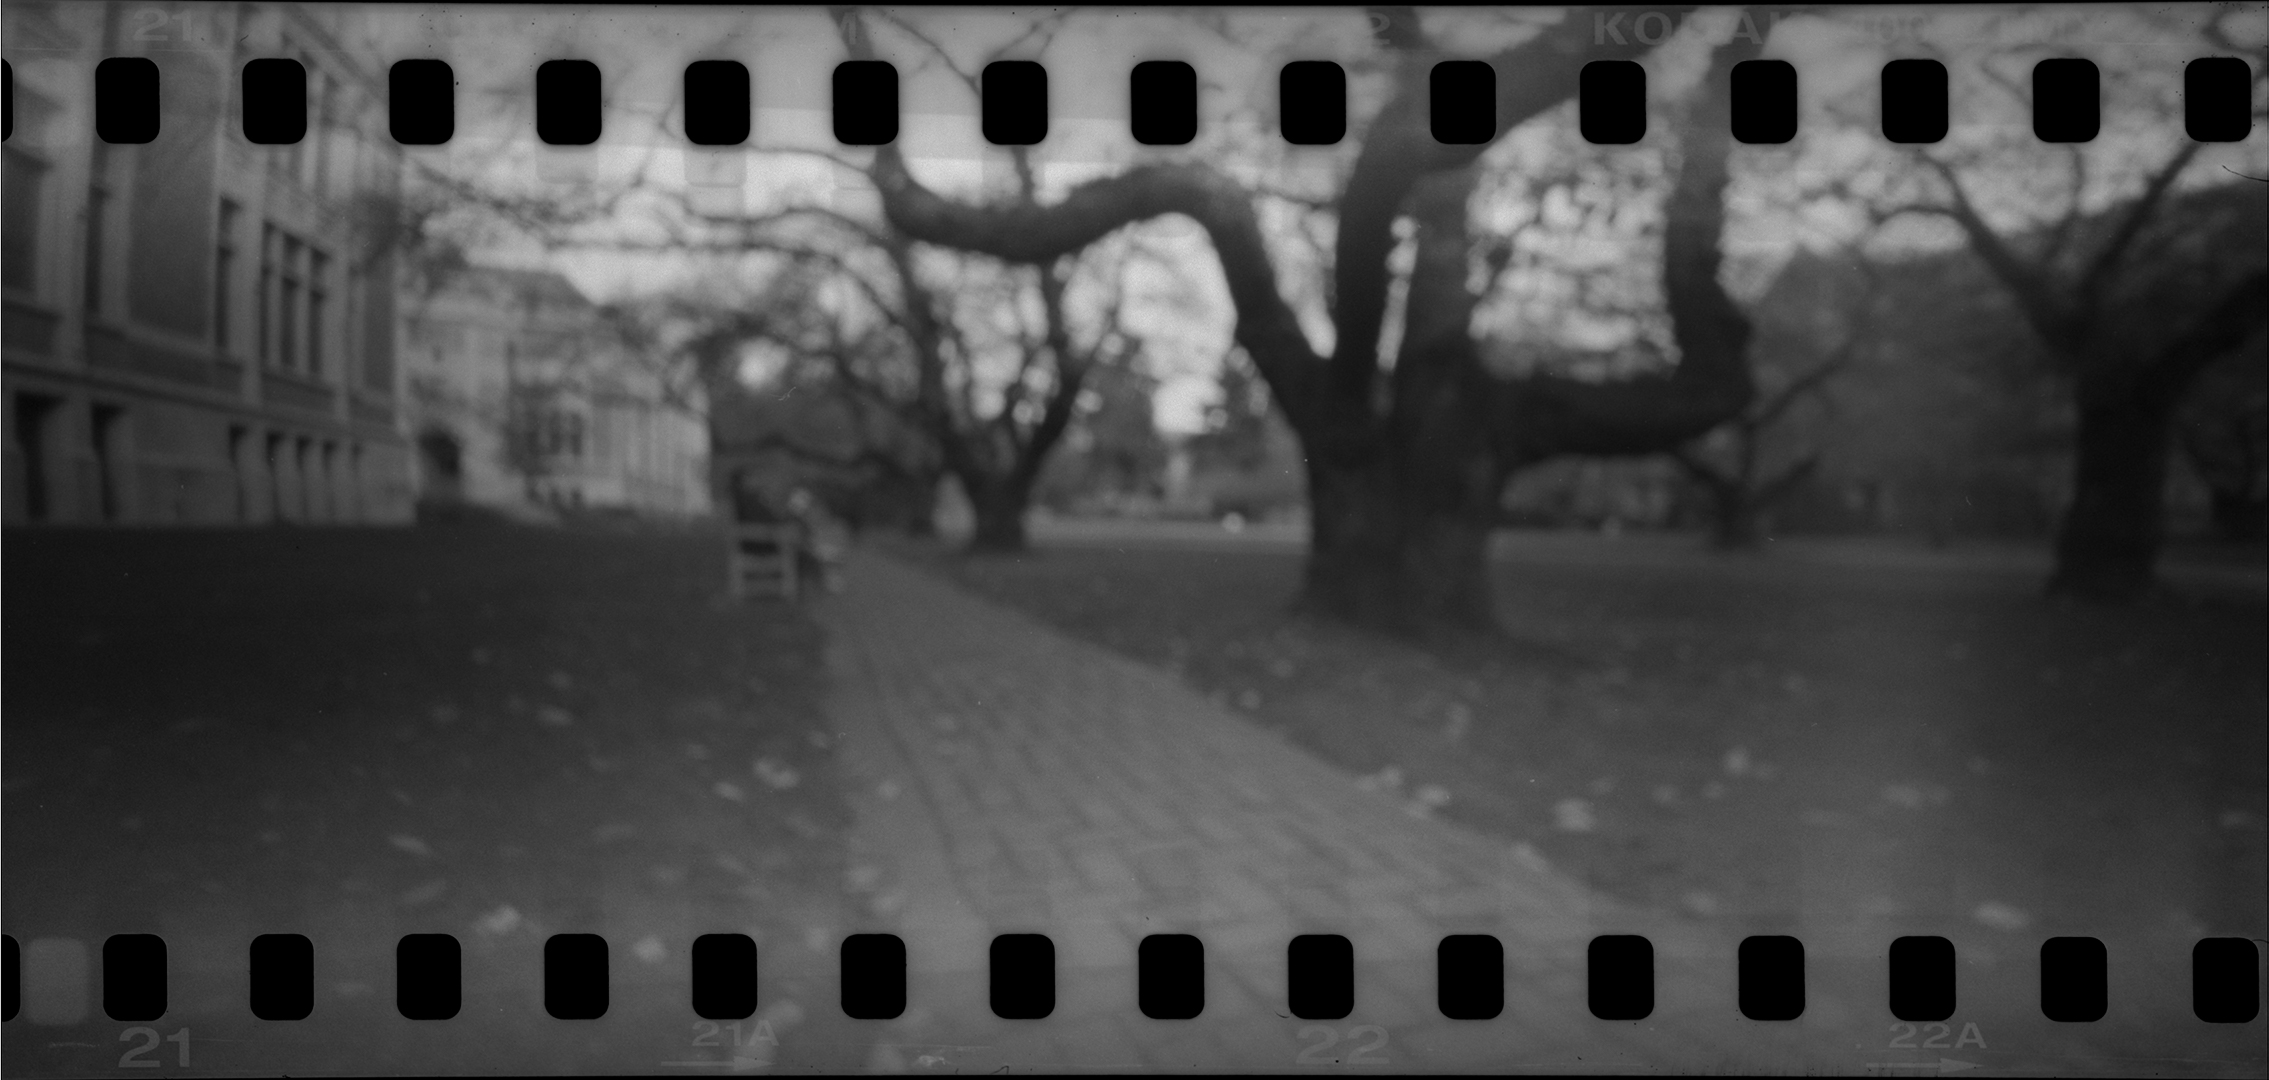
I then tweaked the dimensions a bit and built a second prototype, which held the roll of film firmly but not too tight. I felt like it was now time to try out the camera's light-tightness, so I made a very simple pinhole lens, painted the interior matte black, and built a simple light seal around the back with two interlocking pieces of plywood and some black yarn.

I loaded a roll of T-max 400 and taped over the seam of the back plate with masking tape for good measure. Having measured the diameter of the pinhole using my scanner (~600 µm) and distance from hole to film (24mm), I was able to calculate the f-number of the optical system, f/40. I then could get a decent estimate of exposure using the light meter Becca got me for my birthday (thanks Becca!). I knew that the pinhole I had made was larger than the optimal diameter, but the primary goal of this prototype was to evaluate the camera body, and I could worry about sharpness once I'd attached the real lens.

I wandered around UW's campus at lunch time, taking a few photos – I was able to get 9 frames out of a "24 exposure" roll of film, 1 more than I had guessed. I then came home, eager to develop my film and see how things worked!

The first roll of film on my light table. Notice the light leaks and fogging visible between frames.

The first roll of film on my light table. Notice the light leaks and fogging visible between frames.

I pulled the roll out of the developing tank and immediately could make out discrete frames, so I knew it wasn't a total failure! As expected, the images were quite soft (appearing out of focus) due to the larger-than-ideal aperture, but they were absolutely recognizable. More unfortunately, there were pretty significant light leaks evident on the film, especially evident as fogging of the film in the areas of the roll that were between the canister and take-up reel when the camera was outside in direct sunlight. Here are a few scans. 

All in all, however, I was very pleased with the performance of the first prototype. Today, I designed a new, larger door with a large rim that will fit entirely around the body of the camera, and I will line the seals with black felt and craft foam – hopefully this will take care of the light leaks once and for all. More updates soon!


Best of Summer '18

As is now somewhat of a tradition, I’m back to post my favorite photos from the summer, and some statistics, as well. What a summer it was, with an extra month of fun, thanks to UW’s classes not starting until the end of September. Becca and I made good use of our time off, starting odd with a road trip back to the west coast from Ithaca. We then spent a month in Europe, visiting Spain, France, Iceland, England, and Scotland, before settling into the Pacific Northwest from plenty of time climbing and camping. Other highlights include my successful summits of 13 additional Bulger Peaks, putting me at 76/100 - starting to feel like the end is achievable!

Here are some numbers:

  • Total Photos Taken: 10,064 - 83 a day!

  • Miles Driven: 14,920

  • Miles Flown: 20687

  • Miles Hiked: 347.15

  • Vertical Feet Climbed: 125,665

  • Nights Camping: 50

  • Summits Summited: 28

Of those 10,000+ photos, here are my 30 favorite! Captions should include information about location, and for photos taken on my latest toy, a large format panoramic film camera, the film and exposure information.