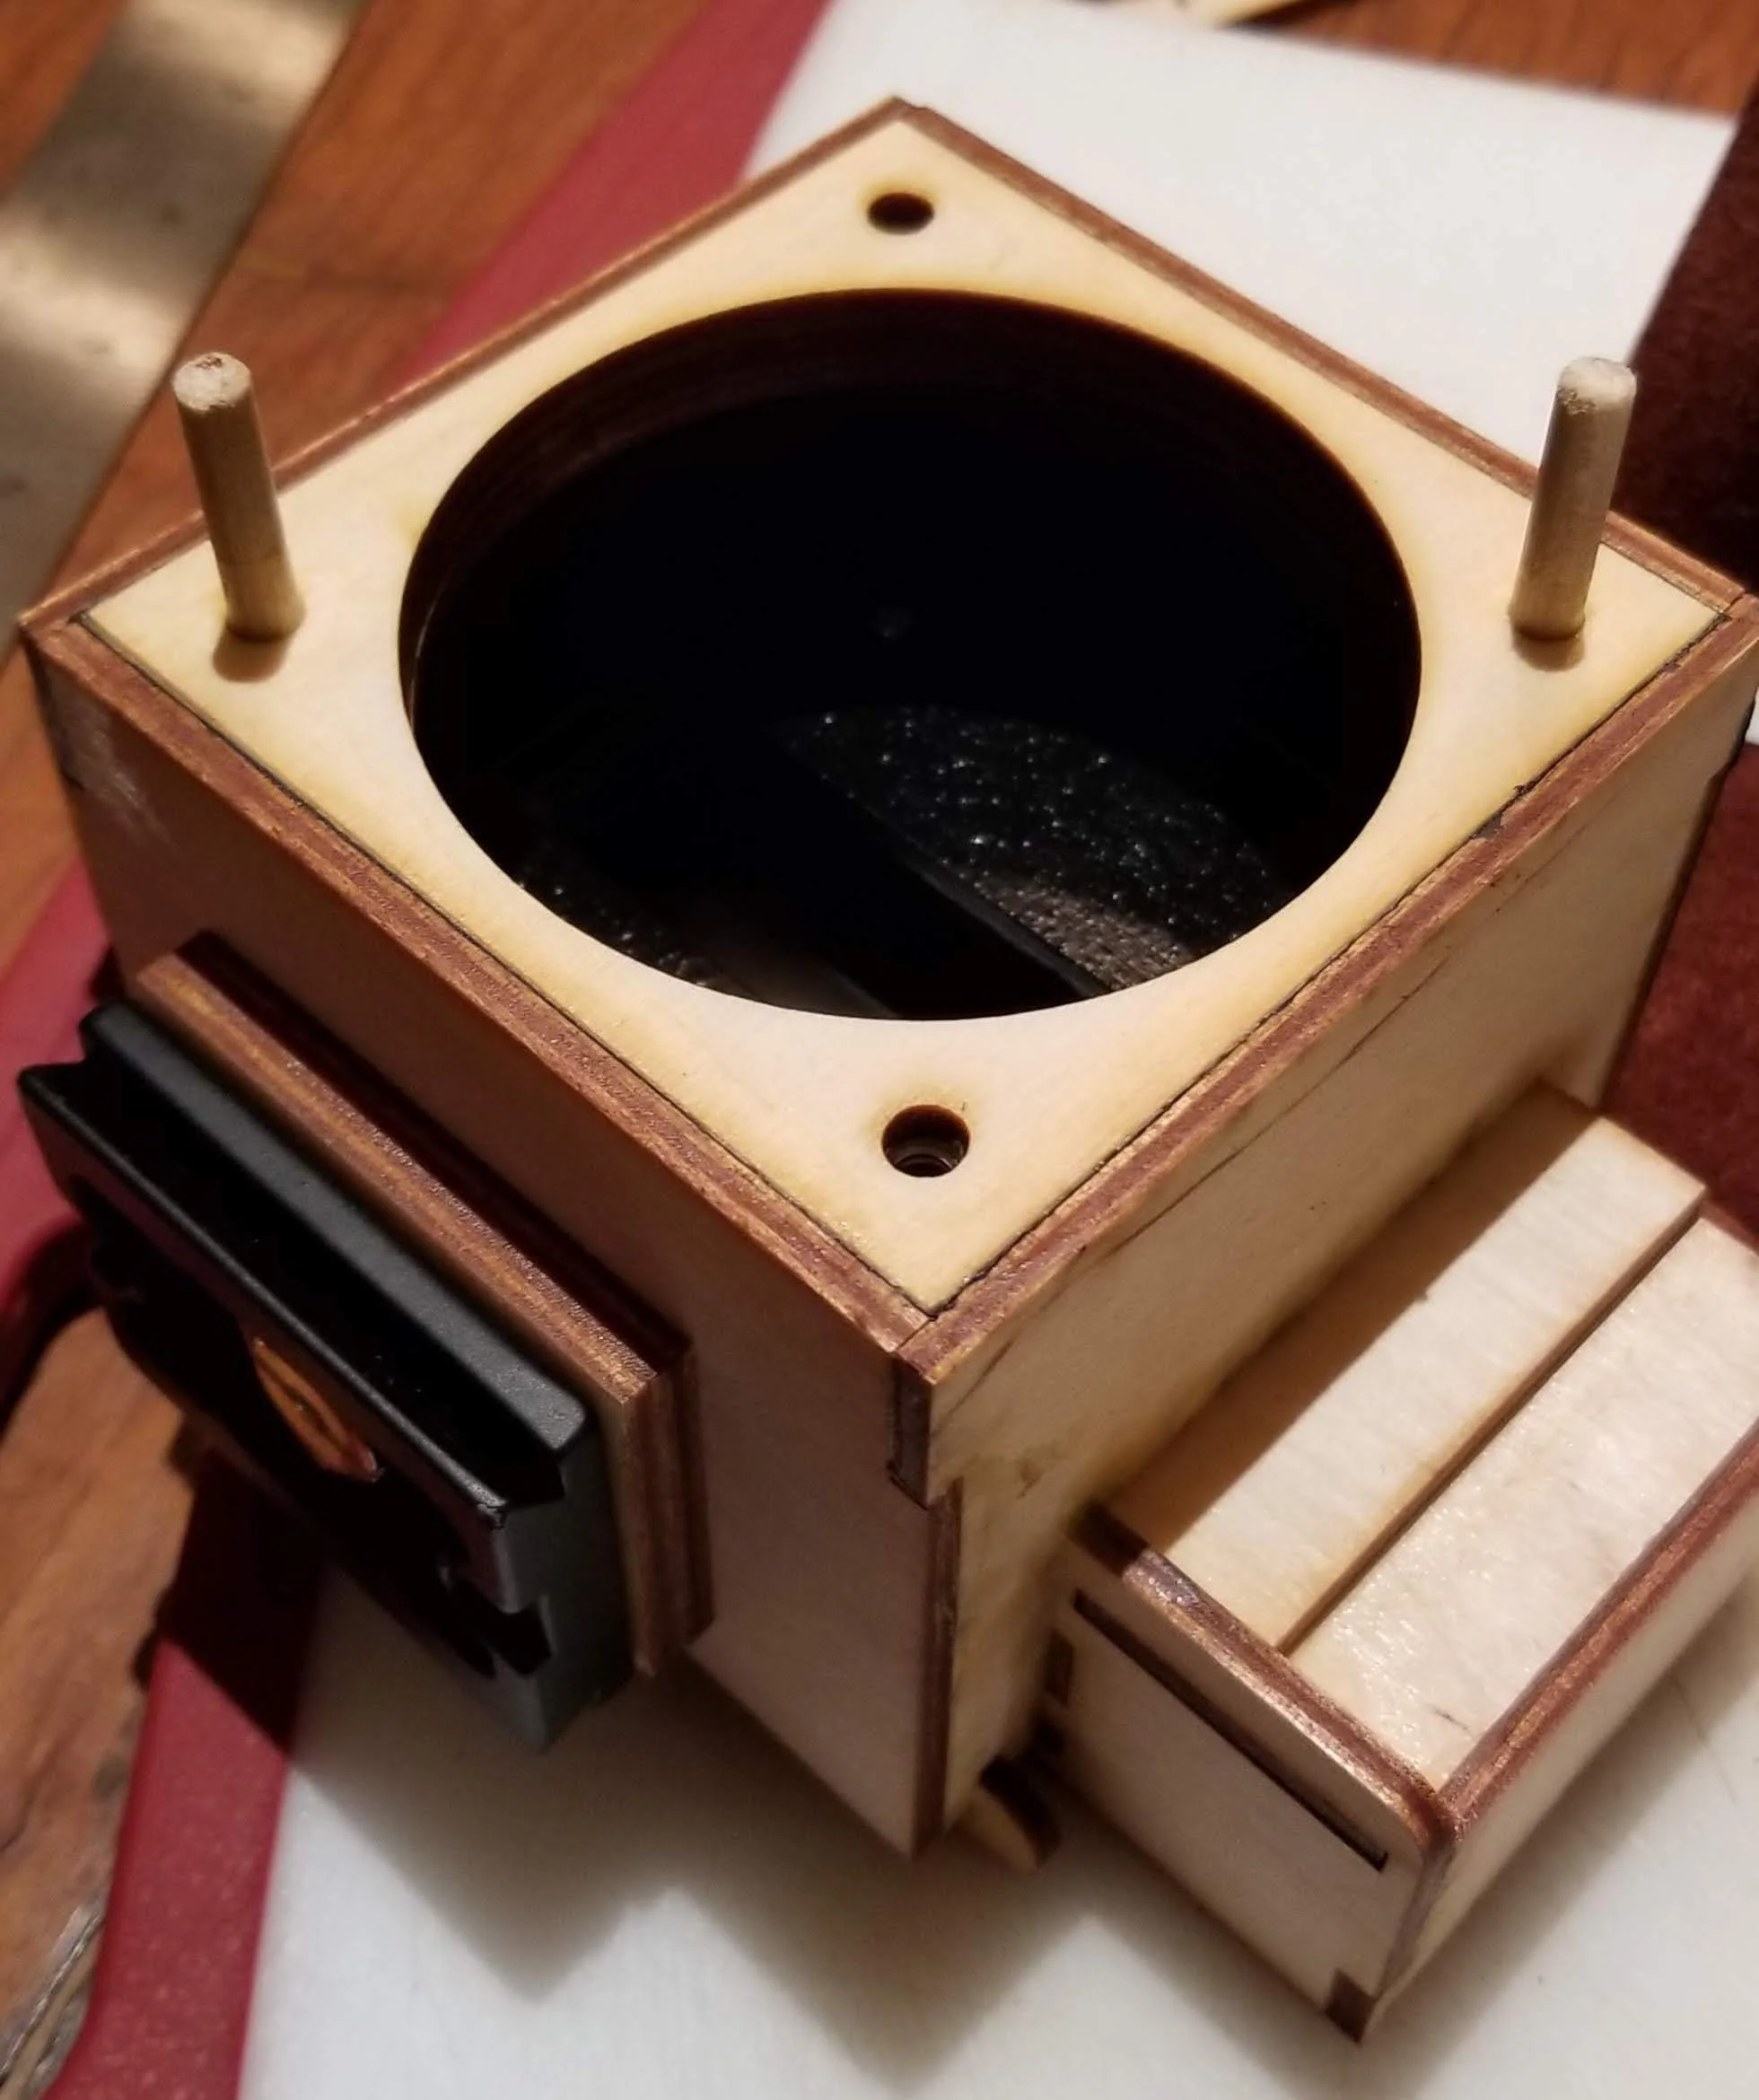
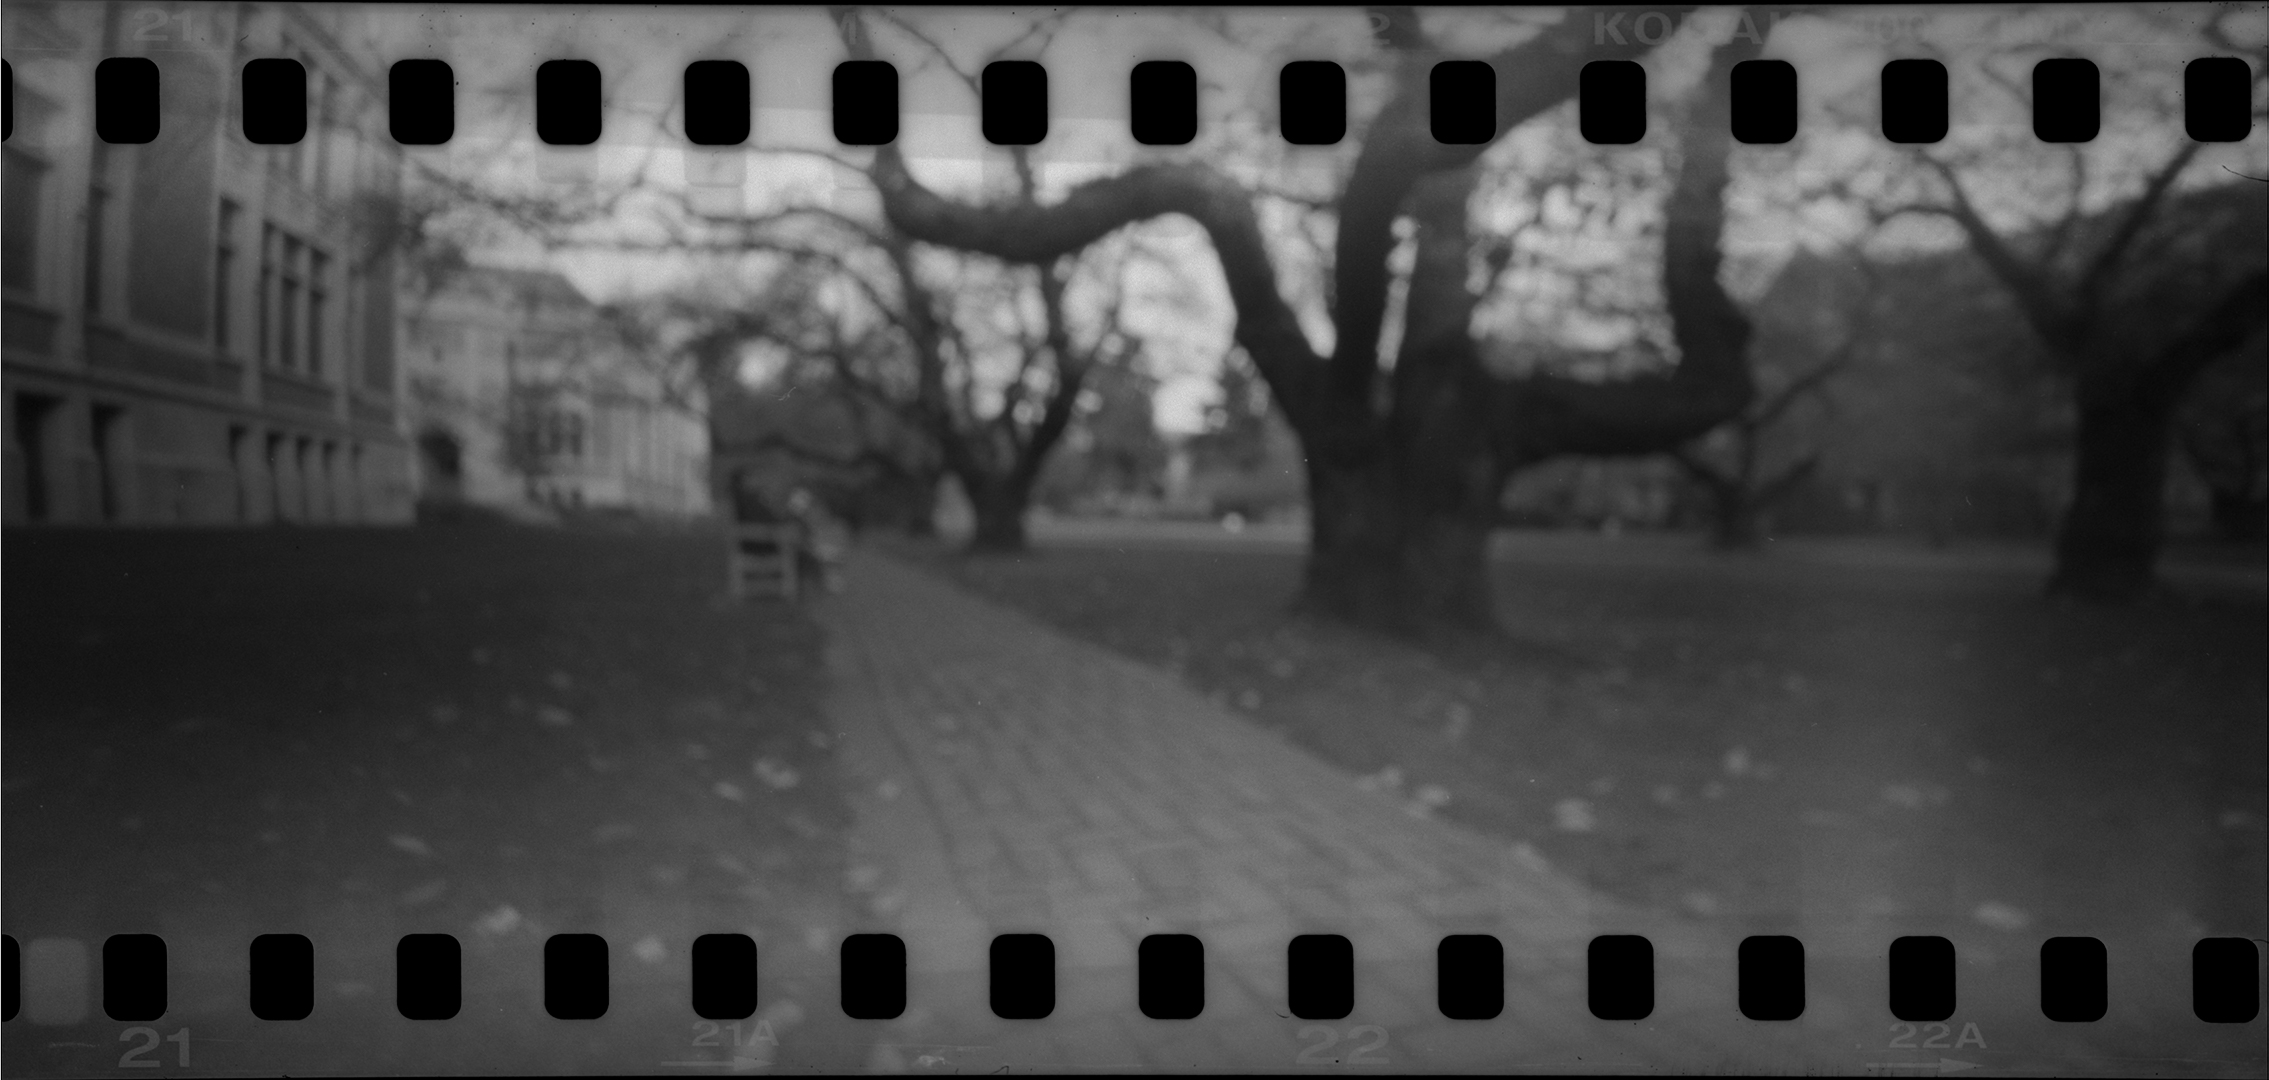
Take your “lens box nut holder” and your two “front of lens box” pieces. The two “front of lens box” pieces will form a sandwich with the nut holder between them. Epoxy two 10-24 nuts into the nut holder, then wood-glue and clamp the sandwich together. Take your two shorter sections of 3/16 dowel, dab them in wood glue, and insert them into the holes that do not contain the nuts. These posts will support the lens and lens board. Again, I don’t have any pictures of this assembly before it was glued in place into the camera, but you can see it in its final position in the above picture.
Step 5 - Assemble the camera
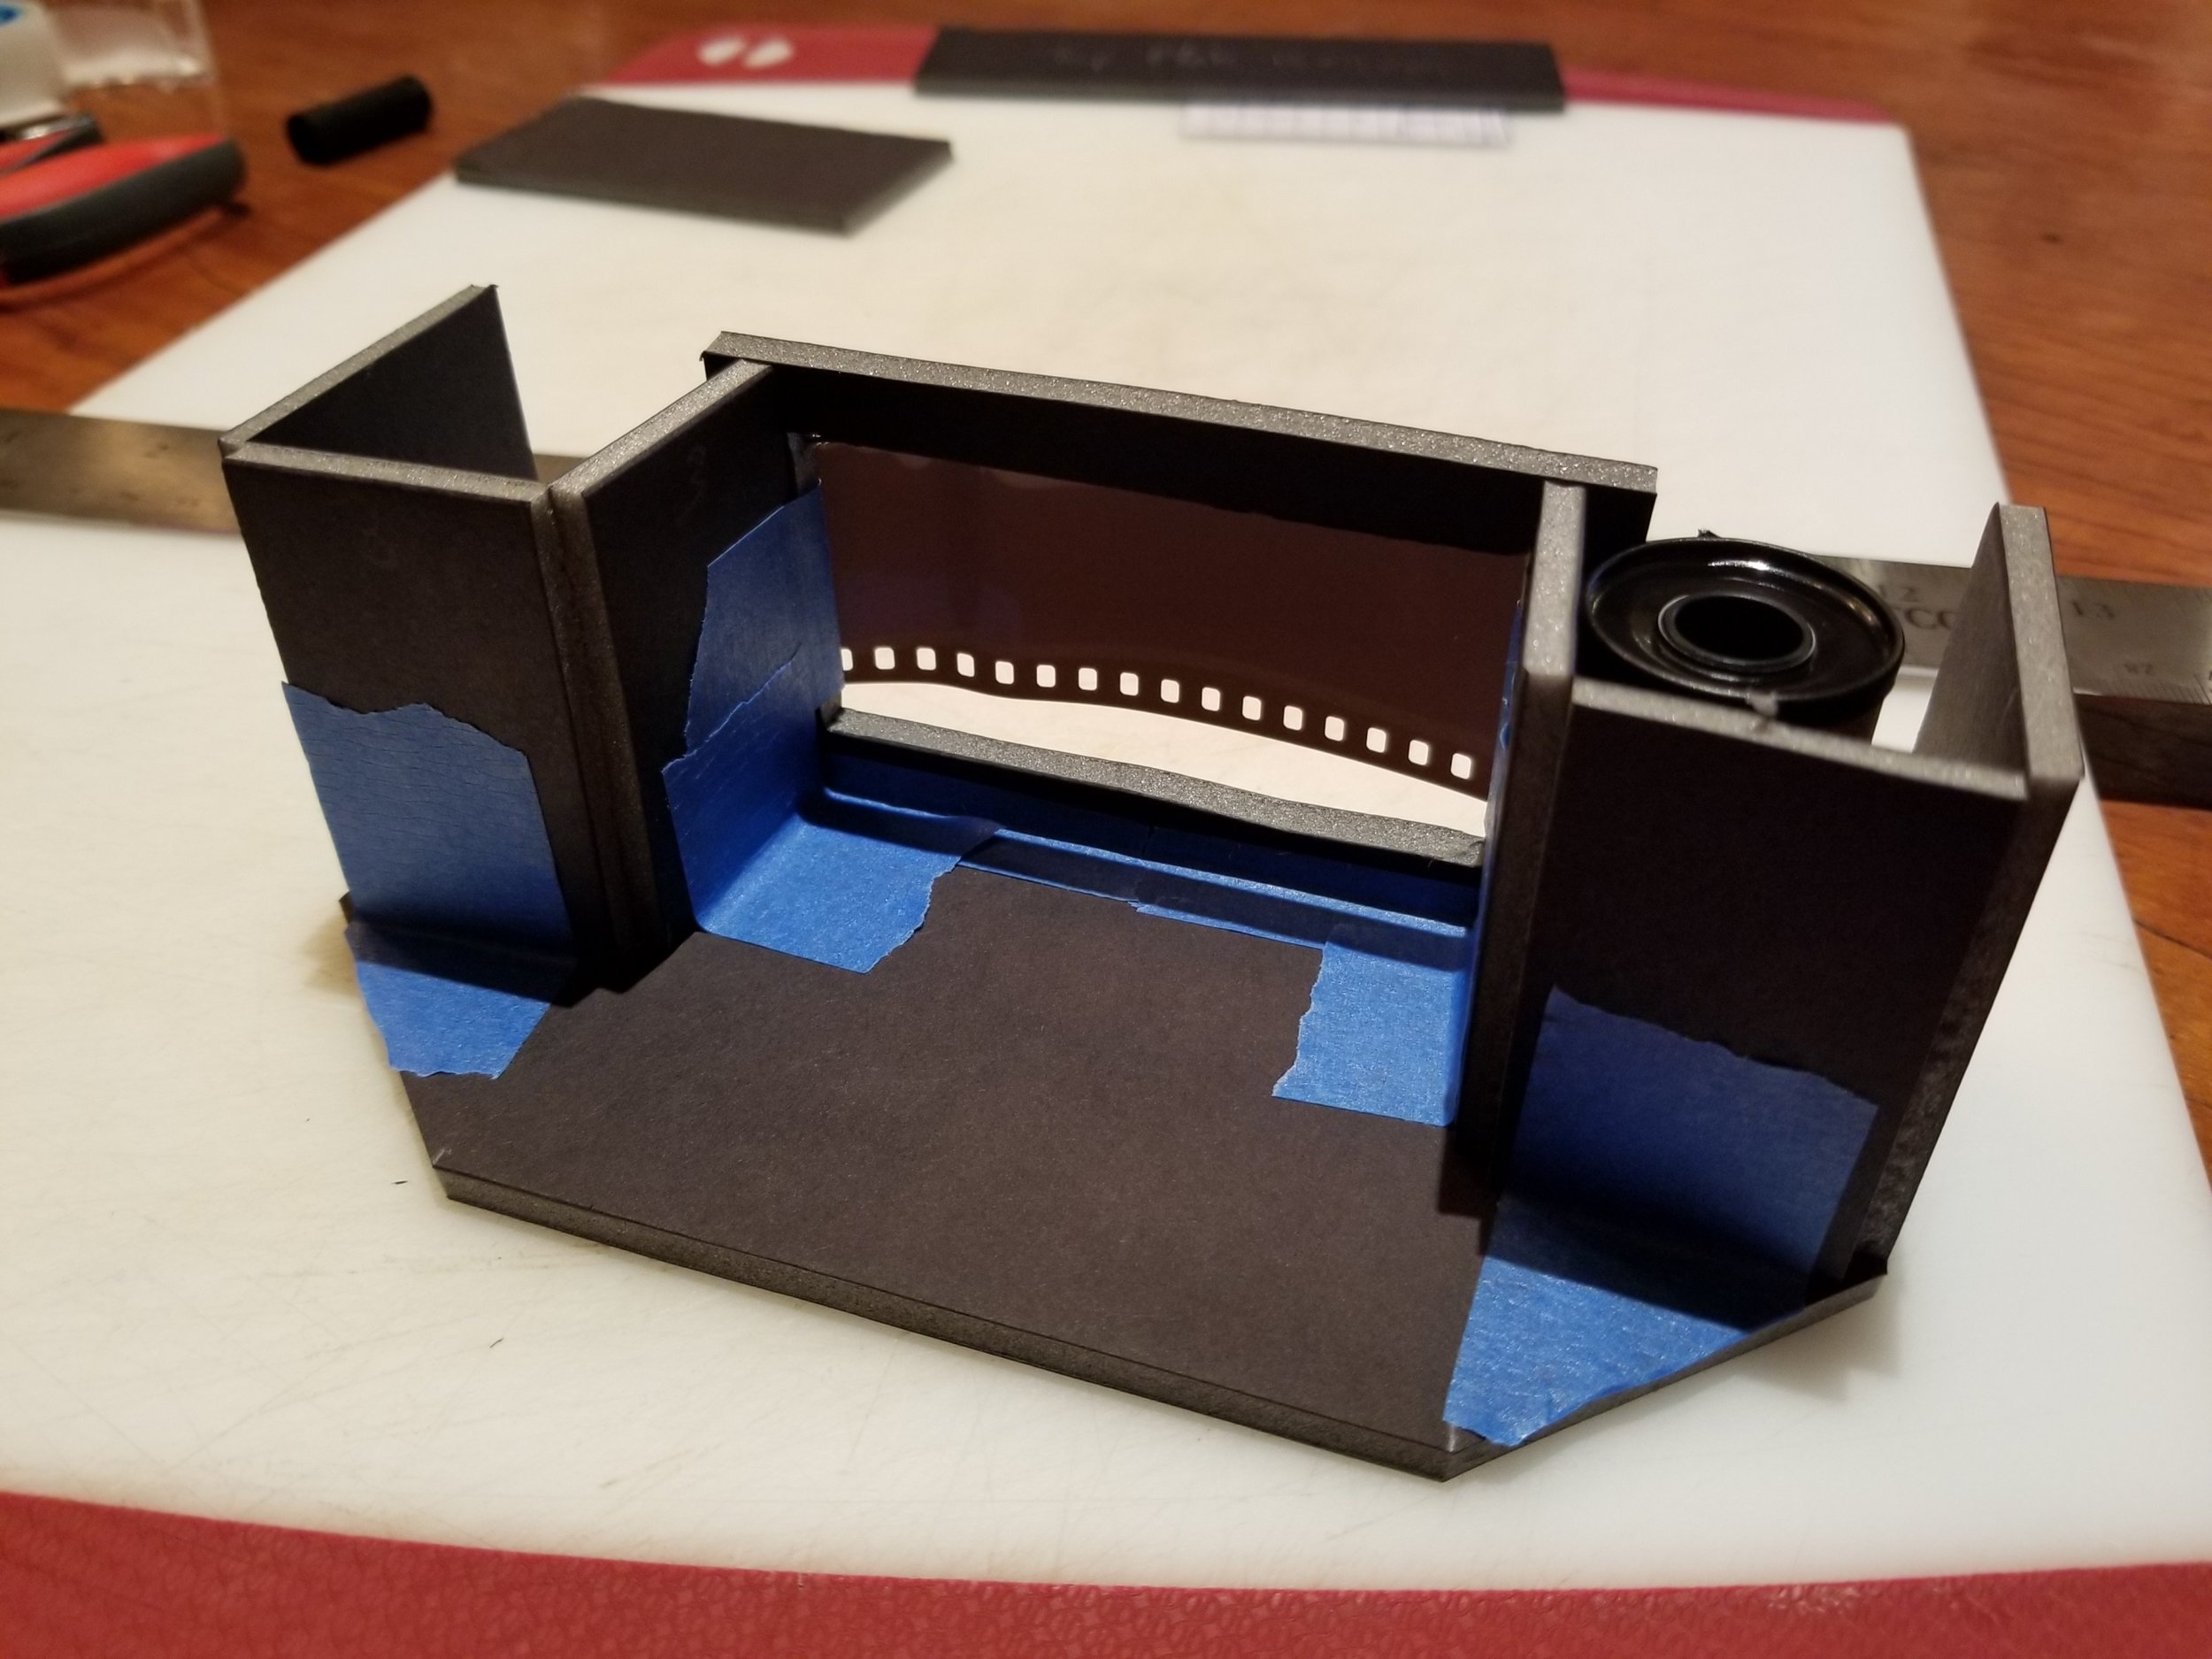
Start by inserting the inner, outer, front walls, and matte plate into the bottom plate. Use a q-tip to apply some wood glue to the overlapping areas before assembly. Glue the top plate, get creative with the clamps, and let this dry. Important note: Most of the camera is pretty straightforward to assemble, like a big 3d puzzle. A lot of the pieces are mirror images of one another, so they can go in any way they fit. The one exception to this is the top plate, which has two holes on either side, one for the rewind knob, and one for the takeup spool. It is very important when you glue this in place that the smaller hole (for the rewind knob) goes on the left (when looking at the back of the camera) and the (larger) hole for the takeup reel goes on the right.
Once this has set somewhat, you can add the canister holder (to the left side) and the take-up reel holder) to the right. These pieces also need to go in the correct orientation, or they won’t be properly aligned. The narrower edge of the canister holder goes on the outside of the camera. The takeup reel holder is asymmetrical, the hole should be closer to the front of the camera. You can check the alignment of this by inserting your 1/2 inch dowel into the hole in the top plate, it should easily fit into the corresponding hole in the takeup reel holder.
In parallel, you can assemble the back, gluing the sides on to the back first, then carefully centering the inner door in place before gluing. You can also glue the lens board light seal ring to the back of the lens board, making sure it’s centered.
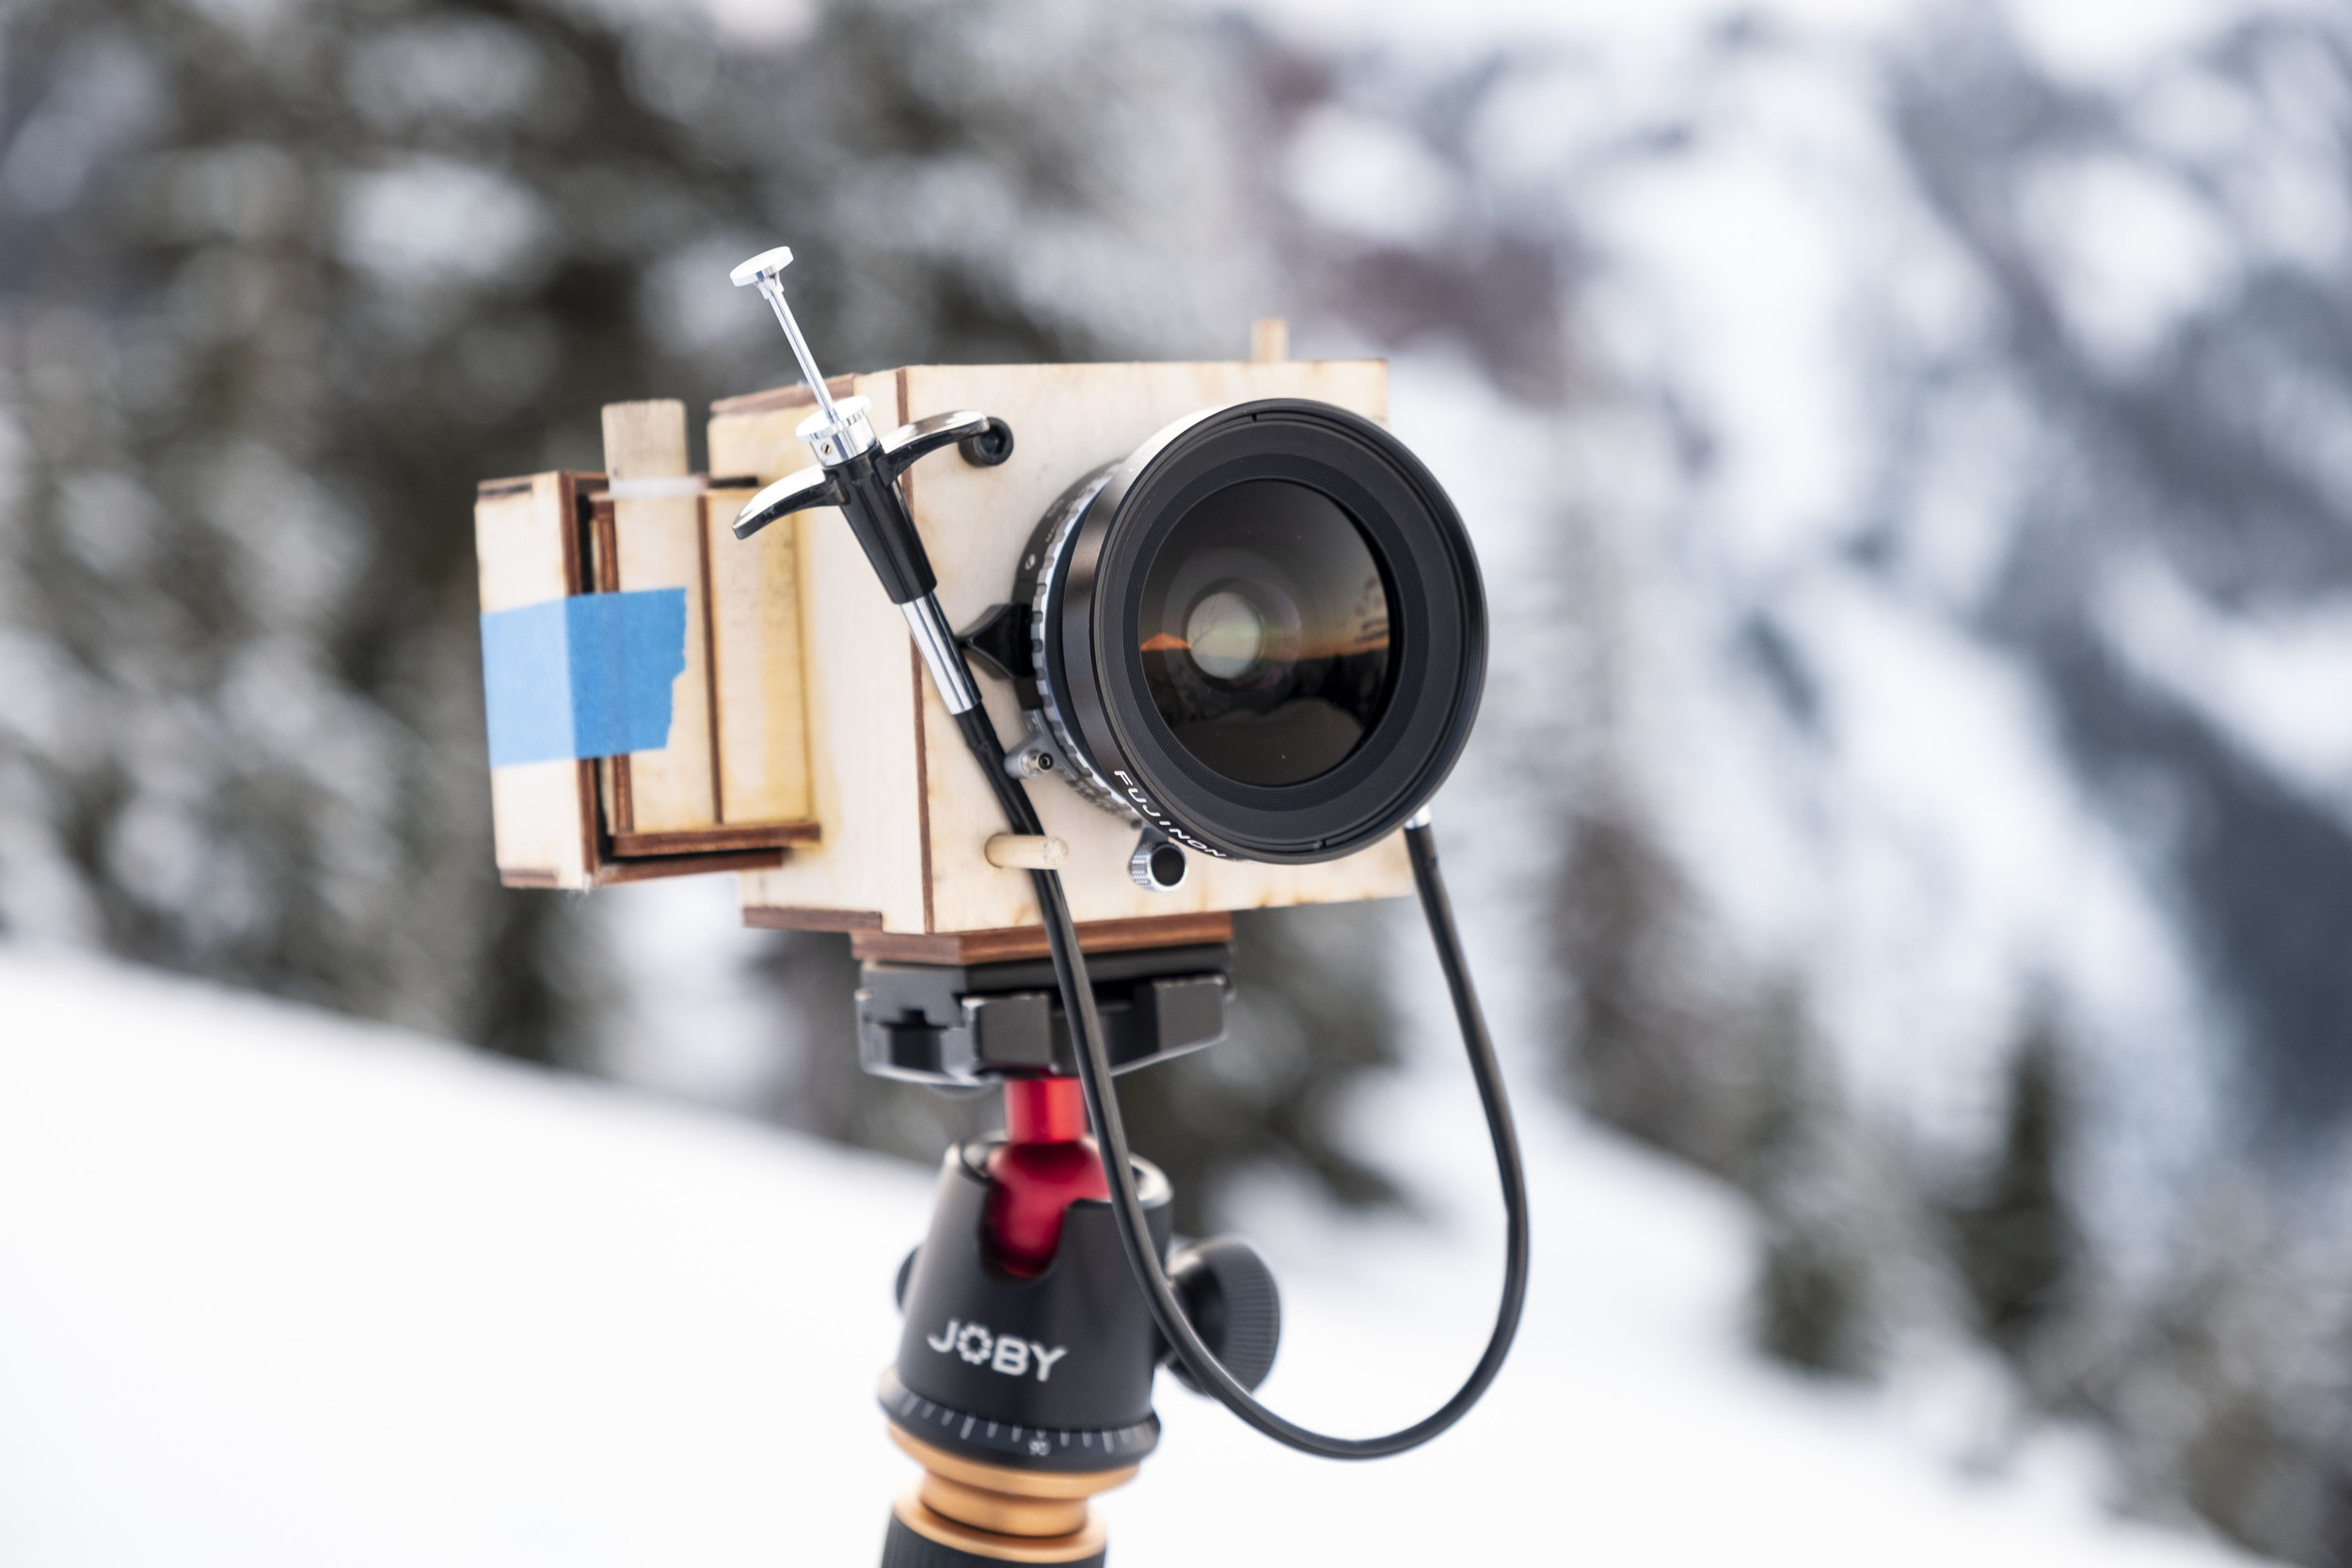
Next, add the “pinhole lens,” a naming holdover from an earlier version. Glue on the lens box, leaving the front lens mount assembly for later. Epoxy your 1/4-20 nut into the tripod mount, then using wood glue attach this to the bottom of the camera. Attach the top and bottom light seals to the back of the lens box, using your now-completed back to get the spacing right.
Take the rewind cap and rewind spacer, glue them to one another, then glue them to the top of the camera, taking care to make sure they’re aligned with the appropriate hole on the top plate.
Once the bulk of the structure is in place, add a few fillets of wood glue to all the inside corners, using a q-tip or similar. Let them dry a bit before re-applying. You can use a flashlight to check for areas that need more glue, but keep in mind that the camera won’t be completely light tight until after painting.
Step 6 - Paint
Mask the outside of the camera with masking tape and newspaper, then head to a well-ventilated area to apply a couple of coats of paint to the inside of the camera, the inside of the back, and the back side of the front of the lens box. Once this is done, you can glue the front of the lens box into the the lens box, potentially needing to sand the edges a bit for a good fit.
Step 7 - Add film take-up and rewind knobs.