Best of Summer '19

Well… it’s October now, so I probably can’t delude myself much longer.

This summer has been a fantastic one, with many trips to spectacular places, both familiar and new. As my first spring in the PNW since High School, I was lucky to get out on several longer ski tours in the early summer, including ascents of Glacier Peak, as well as Eldorado Peak and Primus Peak. While much of my energy was focused on Bulger Peaks, I was also luck to get out of Washington for travel to Norway, the Tetons, and the Adirondacks. I also really dove into photographing landscapes on film, devoting especially much time to shooting with my big 4x5 view camera, which I’m finally starting to feel like I’m getting the hang of. This slow, delibrate style of photography is immensely gratifying, and I’m planning on writing another blog post focusing just on 4x5 soon - keep posted.

Before we get to the photos, per tradition, here are some statistics about my summer:

  • 64 days in the mountains

  • 28 nights camping

  • 403 miles hiked

  • 170,030 vertical feet climbed

  • 41 summits summited

And here are some of my favorite photos, shot on both film and digital.

Shadows at lunch

A few years ago, I did a good job of carrying a small camera with me at all times, so that I could photograph any interesting composition that caught my eye. Since starting grad school, I’ve done a poor job of keeping up with this habit, however. Recently, I’ve been trying to get back in the groove, and in that spirit, I spent an hour yesterday at lunch photographing the procession of shadows across the wall in the lounge in the new CSE building at UW. The grated metal sun visors make for some excellent shadows, and it was fun watching how they changed every few minutes while chatting with my friends.

DIY 35mm Panoramic Camera - CAD Files and Instructions

I posted my previous blog post on reddit, and got a lot of great feedback! As such, I want to make the cad files publicly available, alongside some instructions so that anyone who’s interested can build (and improve upon) my design.

Step 1 - Download the .dxf files

I’ve zipped them all together, here. Lay them out, and cut them out of 1/8th inch plywood or some other 1/8th inch thick material of your choice (perhaps opaque acrylic?). Note that the units in all the files zipped above are in centimeters. If you don’t have access to a laser cutter, get in touch with me via email and I can cut parts for you. You should cut a single version of each part in the archive except for the ‘front of lens box,’ of which you’ll need two.

When you’re finished, you should have 26 parts for the camera body, and 6 for the camera back.

Step 2 - Buy other parts and get ready to build

In addition to the laser cut items, you’ll need:

  • 3/16 inch dowel

  • 1 ~1.5 inch section

  • 2 ~1 inch sections

  • ½ inch dowel

    • 1 ~3 inch section

  • 3 large nylon washers (.505in inner diameter, 3/4 in outer diameter, 1/8 in thick)

  • 1 small nylon washer (.171 in inner diameter, 3/8 in outer diameter, 1/4 in thick)

  • lens (I used a Fujinon 65mm f/5.6 SWD)

    • If you use a different lens, you’ll need to adjust the length of the lens box to your flange distance

  • ¼-20 hex nut for tripod mount

  • 2x 10-24 hex nuts

  • 2x 10-24 socket cap bolts, 1 inch long

  • black yarn, black felt, black foam for light seals

I used the following tools and supplies:

  • sandpaper in various grits

  • Xacto knife with sharp blade

  • wood glue

  • 2-part epoxy

  • Q-tips

  • a couple of clamps

  • cutting board

  • drill (potentially needed if your shutter won’t sit flat on the lensboard)

  • matte black spray paint

Step 3 - Assemble the rewind knob

Take your long section of 3/16 inch dowel and insert it into your small nylon washer – you may need to trim the end of the dowel a bit to fit. Epoxy it in place, then once hardened, using a craft knife or saw, carefully cut out a ~2mm x 2mm slot in the end of it, as depicted in the gif. This will interface with the film canister to rewind your film.

Step 4 - Cut and sand the film carrier

Take your matte plate - the film will need to slide smoothly across this, and it needs to be round and smooth to avoid scratching the film. Using a craft knife, shave a “slot” a bit wider than the width of a piece of 35mm film on either side of the piece. Once the slot is nice and rounded, sand it until smooth. I don’t have any photos of this process, but you can see the rounded section in the following picture.

The slot in the film carrier is to the left of the dowel section, indicated with arrows.

The slot in the film carrier is to the left of the dowel section, indicated with arrows.

Step 4 - Assemble the lens mount

front of camera.jpg

Take your “lens box nut holder” and your two “front of lens box” pieces. The two “front of lens box” pieces will form a sandwich with the nut holder between them. Epoxy two 10-24 nuts into the nut holder, then wood-glue and clamp the sandwich together. Take your two shorter sections of 3/16 dowel, dab them in wood glue, and insert them into the holes that do not contain the nuts. These posts will support the lens and lens board. Again, I don’t have any pictures of this assembly before it was glued in place into the camera, but you can see it in its final position in the above picture.

Step 5 - Assemble the camera

Start by inserting the inner, outer, front walls, and matte plate into the bottom plate. Use a q-tip to apply some wood glue to the overlapping areas before assembly. Glue the top plate, get creative with the clamps, and let this dry. Important note: Most of the camera is pretty straightforward to assemble, like a big 3d puzzle. A lot of the pieces are mirror images of one another, so they can go in any way they fit. The one exception to this is the top plate, which has two holes on either side, one for the rewind knob, and one for the takeup spool. It is very important when you glue this in place that the smaller hole (for the rewind knob) goes on the left (when looking at the back of the camera) and the (larger) hole for the takeup reel goes on the right.

Once this has set somewhat, you can add the canister holder (to the left side) and the take-up reel holder) to the right. These pieces also need to go in the correct orientation, or they won’t be properly aligned. The narrower edge of the canister holder goes on the outside of the camera. The takeup reel holder is asymmetrical, the hole should be closer to the front of the camera. You can check the alignment of this by inserting your 1/2 inch dowel into the hole in the top plate, it should easily fit into the corresponding hole in the takeup reel holder.

In parallel, you can assemble the back, gluing the sides on to the back first, then carefully centering the inner door in place before gluing. You can also glue the lens board light seal ring to the back of the lens board, making sure it’s centered.

Next, add the “pinhole lens,” a naming holdover from an earlier version. Glue on the lens box, leaving the front lens mount assembly for later. Epoxy your 1/4-20 nut into the tripod mount, then using wood glue attach this to the bottom of the camera. Attach the top and bottom light seals to the back of the lens box, using your now-completed back to get the spacing right.

Take the rewind cap and rewind spacer, glue them to one another, then glue them to the top of the camera, taking care to make sure they’re aligned with the appropriate hole on the top plate.

Once the bulk of the structure is in place, add a few fillets of wood glue to all the inside corners, using a q-tip or similar. Let them dry a bit before re-applying. You can use a flashlight to check for areas that need more glue, but keep in mind that the camera won’t be completely light tight until after painting.

Step 6 - Paint

Mask the outside of the camera with masking tape and newspaper, then head to a well-ventilated area to apply a couple of coats of paint to the inside of the camera, the inside of the back, and the back side of the front of the lens box. Once this is done, you can glue the front of the lens box into the the lens box, potentially needing to sand the edges a bit for a good fit.

Step 7 - Add film take-up and rewind knobs.

takeup.jpg

Take the film rewind knob you assembled earlier, and insert it into the camera. It should turn freely.

Take your length of 1/2 inch dowel, and insert it into the hole in the top of the camera. Take two large nylon washers and thread them onto the bottom of the dowel, then insert it all the way into the camera. Slide one washer to the bottom of the dowel, so it butts up with the takeup reel holder. Glue it to the dowel, making sure not to accidentally also glue it to the camera; the dowel needs to spin easily. Next, glue some yarn around the top of the dowel to act as a light seal, then slide the upper washer up to press against the yarn and glue it here. Finally, glue a third washer to the top of the dowel, outside of the camera, sliding it all the way down the dowel so it butts against the top plate. Refer to the annotated photo for details.

Step 8 - Add Light Seals

Using scissors and a craft knife, cut some sheet foam to match the inverted shape of the “inner door” inside your camera’s back. Glue this in place, then glue some felt along the inside of the back’s walls where they overlap with the camera body. Run a “bead” of yarn along the front of the top of the box where it butts against the takeup and rewind knobs, and use more strips of foam and/or yarn to seal any other places that seem lacking. Run a ring of yarn along the outside of the light seal ring on the lens board.

Cut a few rectangles of foam and glue them to the inside of the back, to form a “pressure plate.” With the lens off, you may want to sacrifice a roll of film, load it into the camera, and then look through the lens hole to make sure the film lies flat, adjusting the height of the pressure plate if need be.

Step 9 - Finishing touches

Mount your lens in the lens board, and bolt it to the lens mount. Take a piece of wax paper and tape it to the back of the matte plate where the film will sit. Open the shutter of your lens, and check the focus. If needed, add some small spacers (construction paper or similar) to adjust the focus.

Take a Sharpie, and make two matching ticks on the take-up knob and camera back – you can use these to count revolutions as you wind the film.

Step 10 - Load film, and test!

Insert your film into the camera, and lock it in place by sliding the rewind knob down into the canister. Pull the leader out of the canister, and with a small piece of masking tape, tape it to the takeup spool, using care to make sure the film is parallel to the matte plate, and not crooked. Place the back on the camera, and optionally tape it loosely in place. Make sure the shutter is closed, then wind the takeup knob 3 revolutions. As you wind, make sure the rewind knob also turns - if it doesn’t, something isn’t working! You are now ready to take your first picture! Once exposed, 2 full revolutions of the takeup knob will bring the next frame into position. As you shoot more and more of the roll, you should be able to wind a bit less than 2 times, as the diameter of the takeup spool has increased with film wrapped around it. With some experimentation, you should be able to get 12+ frames out of a 24 exposure roll, and 16 or so from a 36 exposure roll.

Lastly….

These instructions were written hurriedly, and I’m sure are confusing and contain typos. As always, please reach out with questions, suggestions, or just to say hi. If you do end up building something based off of these designs, please let me know – I’d love to see what you come up with!

Happy building!

DIY 35mm Panoramic Camera - Attaching the Lens

It’s been a while since I’ve updated with any new information about my project to build a 3:1 panoramic 35mm film camera. The project fell by the wayside for a few months as real-life got in the way, but recently I picked it up again, and redesigned the entirety of the front end to allow me to attach the 65mm Fujinon f/5.6 large format lens that I bought. I went with a simple design, essentially just attaching a hollow box to the front of the camera, and extending some of the existing vertical pieces for greater structural integrity.

I redesigned the back to fit around the added structure, and after some experimentation, added the rounded light seals above and below the back of the camera to help with light-tightness, a persistent challenge for me. The back fits around the camera like a nested box, and is lined with black felt for better light sealing.

To attach the lens, I made a lens board with a standard Copal #00 shutter hole in it. Attached to the front of the lens box, embedded within a few layers of plywood, are threaded nuts that permit the lens board to bolt on to the front of the camera, which gives me the very limited ability to adjust the focus in between rolls by adding or removing shims. I made a compact ground glass by sanding a small sheet of clear plastic, and I can place this where the film sits, and use a loupe to adjust the focus. It’s not perfect, but it gets the job done. For this version, I simply set the focus at around 15 meters, and stop down to achieve infinity focus.

With the design work done, I exported the parts to .dxf files and laid them out in preparation for laser cutting. I use the wonderful UW Comotion Makerspace for the laser cutting, and in 30 minutes, I had all the parts needed to start assembling the camera.

With the parts cut, I glued them together with wood glue, clamping the assembly overnight to let it dry. Once the parts were attached, I used Q-tips to apply filets of more wood glue on the inside corners, using a flashlight to check light tightness. I painted the inside with a few coats of matte black spraypaint, cut felt and foam for light seals in the back, and glued some black yarn along seams with Elmer’s for extra light tightness. I use lengths of dowel for the rewind and take-up spools. I epoxied nuts into the plywood for mounting the lens board and a 1/4-20 nut on the bottom functions as a tripod mount.

My homemade prototype out in the wild, at Mount Baker.

My homemade prototype out in the wild, at Mount Baker.

For a first test, I took the camera with me on a short ski-trip to Mount Baker, where I snapped a few frames on a roll of Fujicolor 200. In the field, two challenges became apparent. First, it’s difficult to compensate for increasing spacing between frames as the take-up reel increases in diameter. With some care, however, I can get 15 frames out of a 36 exposure roll!

The second challenge is composition - I don’t currently have a viewfinder, so I’ve adopted the “point-and-pray” composition technique. If it’s an important shot, maybe I’ll take a few frames aiming up and down, to get one that comes out. I swung by the excellent Shot on Film store in Lake City and found a used 35mm external optical viewfinder from an old camera, and soon I hope to add this to my camera and mask the viewfinder to the correct aspect ratio, using my fake ground glass to align the viewfinder and lens.

After I was finished at Baker, I took the exposed roll home and developed it, excited to see how the camera worked!

The frames came out pretty well, but with significant light leaks along the edges, presumably from gaps where the corners of the back meets the back of the “lens box.” At this point, I added the top and bottom light seals shown in the .gif above, yet another test roll showed this didn’t entirely solve the problem. Achieving light tightness has been the primary challenge with this project so far.

Not one to shy-away from ugly-but-effective solutions, I opted for a simple one - after loading the camera with film, I simply wrapped the whole thing in aluminum foil, leaving a hole for the lens and film winding knobs. While this looks absurd sitting atop my tripod, the four rolls I shot last weekend while camping in the Olympics are much, much better. They’re not perfect, and I need to spend some additional time sealing the lens mount, but I’m optimistic. Here are a few scans of photos from the Olympics, all taken on Kodak Gold and Fujicolor 200.

So far, this project has been an enormous amount of fun to work on, and I’m excited to continue with it! I will be presenting my progress so far at the UW Co-Motion Makerspace mixer this coming Wednesday, May 15, at 5pm.

In the near term, I plan on building a leather case around the camera to help with the last light leaks, adding a viewfinder, staining the plywood, and adding an attachment for a shutter-release.

In the long term, I’d like to re-design the film take-up mechanism to achieve better frame spacing, and build a focusing mechanism that allows me to adjust the focus easily mid-roll.

As always, please reach out with any questions!

2018 in Pictures

Merry Christmas to all! As the year is wrapping up, I’ve spent some time flipping back through my photos from 2018 and reflecting on what a great year I’ve had - lucky to visit some amazing places with some wonderful people, and to start graduate school at UW and usher in the next chapter of my life. Here’s my 2018, in photos.

The year started off with a trip to Bishop, California, for some bouldering, over New Years. I tagged along with Becca, for whom this trip has been a New Years tradition since she was 12.

After this, we hopped on a plane for a week in Galapagos with my family. Although I’m not normally a wildlife photographer, I had a great time shooting the incredible diversity of animals that inhabit the archipelago.

Next up, I had a brief road trip through the Columbia River Gorge and the Palouse, one of my favorite areas in the state, before heading back to Ithaca for my last semester at Cornell.

In May, I graduated from Cornell, and had to say a bittersweet goodbye to the beautiful gorges and waterfalls that I had gotten to know during my 4 years in Ithaca.

After graduation, Becca and I embarked on a 2 week long road trip from New York back to Seattle, by way of California. I brought along my new 6x17 panoramic film camera, and had a great time photographing the landscapes along the way.

After a few days backpacking in the Olympics to catch our breath, Becca and I set off for a month of travel around Spain, France, Iceland, and Scotland.

Happy to be back in the Cascades, we spent much of July visiting some classic mountain spots in Mount Rainier National Park and the North Cascades.

Temporarily satisfied with Washington’s scenery, I drove east to the Tetons and spent a few days hiking with Becca and her family in this world-class mountain range which I had never visited before. On the way back, Becca and I drove through Yellowstone, where, in addition to the standard sights, we were lucky to watch a Golden Eagle spend several hours devouring an elk carcass.

On our way back across Washington, Becca and I met up with some friends to explore a series of sand dunes in the central part of the state - atypical scenery for this part of the country!

Becca and I headed up to Mount Rainier to watch the Perseid Meteor shower on a smoky August night. For the first time, I tried taking a composite photograph to capture the entire night’s worth of shooting stars in a single image.

With the lower river flows of late summer, Becca, Dan, and I tried our hand at some canyoneering, as well.

At the end of the month, we all headed back to the Adirondack Mountains of New York State, for our annual family reunion. I was able to revisit some of my favorite spots there and indulge in some nostalgia for my time at Cornell.

For a penultimate hurrah before the start of our respective PhD programs, Becca and my family and I spent a week backpacking in the Elk Mountains of Colorado, another world-class mountain range that I was lucky to get to spend some time visiting.

For our true last hurrah before saying goodbye, Becca and I headed up to Washington Pass for an ascent of Liberty Bell. The morning of our climb, we snuck out into this frosty meadow for a nice view of our objective.

The start of classes at UW didn’t keep me from my beloved wilderness. As the fall progressed, I was able to escape for a few overnight trips in the Cascades, and a brief backpacking trip near Zion with my father.

And finally, as winter has settled happily into the Cascades, I’ve shifted my attention to backcountry skiing. The mountains really are at their most glorious at sunset on a clear winter day, when the snow reflects the hues of the sky. Most recently, I’ve gotten out for several ski trips in the Mount Baker vicinity, some in spectacular weather, and some more stormy.

Photos in this album can also be viewed as a slideshow in Google Photos, here.

DIY 35mm Panoramic Camera - First Updates

I’ve thoroughly enjoyed my DaYi 617 for the 6+ months I’ve had it. I love composing in the panoramic aspect ratio, and I love the enormous negatives it produces. However, it has its drawbacks - it’s big, heavy, and essentially impossible to handhold. The past few months I’ve found myself daydreaming after a similar camera, but one that I could actually take with me on a regular basis.

Naturally, I, like just about everyone else, found myself hankering after an XPan. However, I don’t have the 2-3 thousand dollars lying around to drop on such an object of beauty. I had also been toying with the notion of building a camera myself, so these to ideas seemed like a great new project, now that the weather here in Seattle isn’t quite as conducive to outdoor activities.

I decided upon the following specification: I wanted the camera to expose 35mm film at a 3:1 aspect ratio, producing 24x72mm negatives, more than twice as wide as a standard 35mm negative. I also wanted the camera to expose the sprocket holes, which, if don't crop them off, give me that extra hip aesthetic. I purchased a 65mm large format lens from eBay, which has a leaf shutter and aperture built in, meaning that I only needed to construct the body of the camera to hold the lens at the appropriate distance (with adjustments for focus) and to move the film across some sort of pressure plate to keep the film as flat as possible.

The very first version of the camera, cobbled together late at night out of foam-core.

The very first version of the camera, cobbled together late at night out of foam-core.

After disassembling a $1.99 35mm point and shoot from Goodwill, I started out by cutting foam-core posterboard with an xacto knife to get a feel for dimensions, then switched over to a CAD application (with guidance from Adam) where I designed a first prototype, laser-cutting the parts out of 1/8 inch plywood. I built a takeup reel and rewind knob to interface with the film canister out of some chopped up nylon washers and dowels.

Laser-cut parts for the 3rd version of the camera, dry-fit and ready to be glued and clamped.

Laser-cut parts for the 3rd version of the camera, dry-fit and ready to be glued and clamped.

I then tweaked the dimensions a bit and built a second prototype, which held the roll of film firmly but not too tight. I felt like it was now time to try out the camera's light-tightness, so I made a very simple pinhole lens, painted the interior matte black, and built a simple light seal around the back with two interlocking pieces of plywood and some black yarn.

I loaded a roll of T-max 400 and taped over the seam of the back plate with masking tape for good measure. Having measured the diameter of the pinhole using my scanner (~600 µm) and distance from hole to film (24mm), I was able to calculate the f-number of the optical system, f/40. I then could get a decent estimate of exposure using the light meter Becca got me for my birthday (thanks Becca!). I knew that the pinhole I had made was larger than the optimal diameter, but the primary goal of this prototype was to evaluate the camera body, and I could worry about sharpness once I'd attached the real lens.

I wandered around UW's campus at lunch time, taking a few photos – I was able to get 9 frames out of a "24 exposure" roll of film, 1 more than I had guessed. I then came home, eager to develop my film and see how things worked!

The first roll of film on my light table. Notice the light leaks and fogging visible between frames.

The first roll of film on my light table. Notice the light leaks and fogging visible between frames.

I pulled the roll out of the developing tank and immediately could make out discrete frames, so I knew it wasn't a total failure! As expected, the images were quite soft (appearing out of focus) due to the larger-than-ideal aperture, but they were absolutely recognizable. More unfortunately, there were pretty significant light leaks evident on the film, especially evident as fogging of the film in the areas of the roll that were between the canister and take-up reel when the camera was outside in direct sunlight. Here are a few scans. 

All in all, however, I was very pleased with the performance of the first prototype. Today, I designed a new, larger door with a large rim that will fit entirely around the body of the camera, and I will line the seals with black felt and craft foam – hopefully this will take care of the light leaks once and for all. More updates soon!


Best of Summer '18

As is now somewhat of a tradition, I’m back to post my favorite photos from the summer, and some statistics, as well. What a summer it was, with an extra month of fun, thanks to UW’s classes not starting until the end of September. Becca and I made good use of our time off, starting odd with a road trip back to the west coast from Ithaca. We then spent a month in Europe, visiting Spain, France, Iceland, England, and Scotland, before settling into the Pacific Northwest from plenty of time climbing and camping. Other highlights include my successful summits of 13 additional Bulger Peaks, putting me at 76/100 - starting to feel like the end is achievable!

Here are some numbers:

  • Total Photos Taken: 10,064 - 83 a day!

  • Miles Driven: 14,920

  • Miles Flown: 20687

  • Miles Hiked: 347.15

  • Vertical Feet Climbed: 125,665

  • Nights Camping: 50

  • Summits Summited: 28

Of those 10,000+ photos, here are my 30 favorite! Captions should include information about location, and for photos taken on my latest toy, a large format panoramic film camera, the film and exposure information.


Patience and Flexibility: Galapagos Wildlife

Over winter break, my family travelled to the Galapagos for 10 days, an experience we were all incredibly lucky to have. While the landscapes of the archipelago are stunning, I think it's fair to say that the biggest draw of the Galapagos is the unique wildlife. Of course, I was excited to photograph the birds and other incredible animals that we were going to see.

Read More

Best of Summer '17

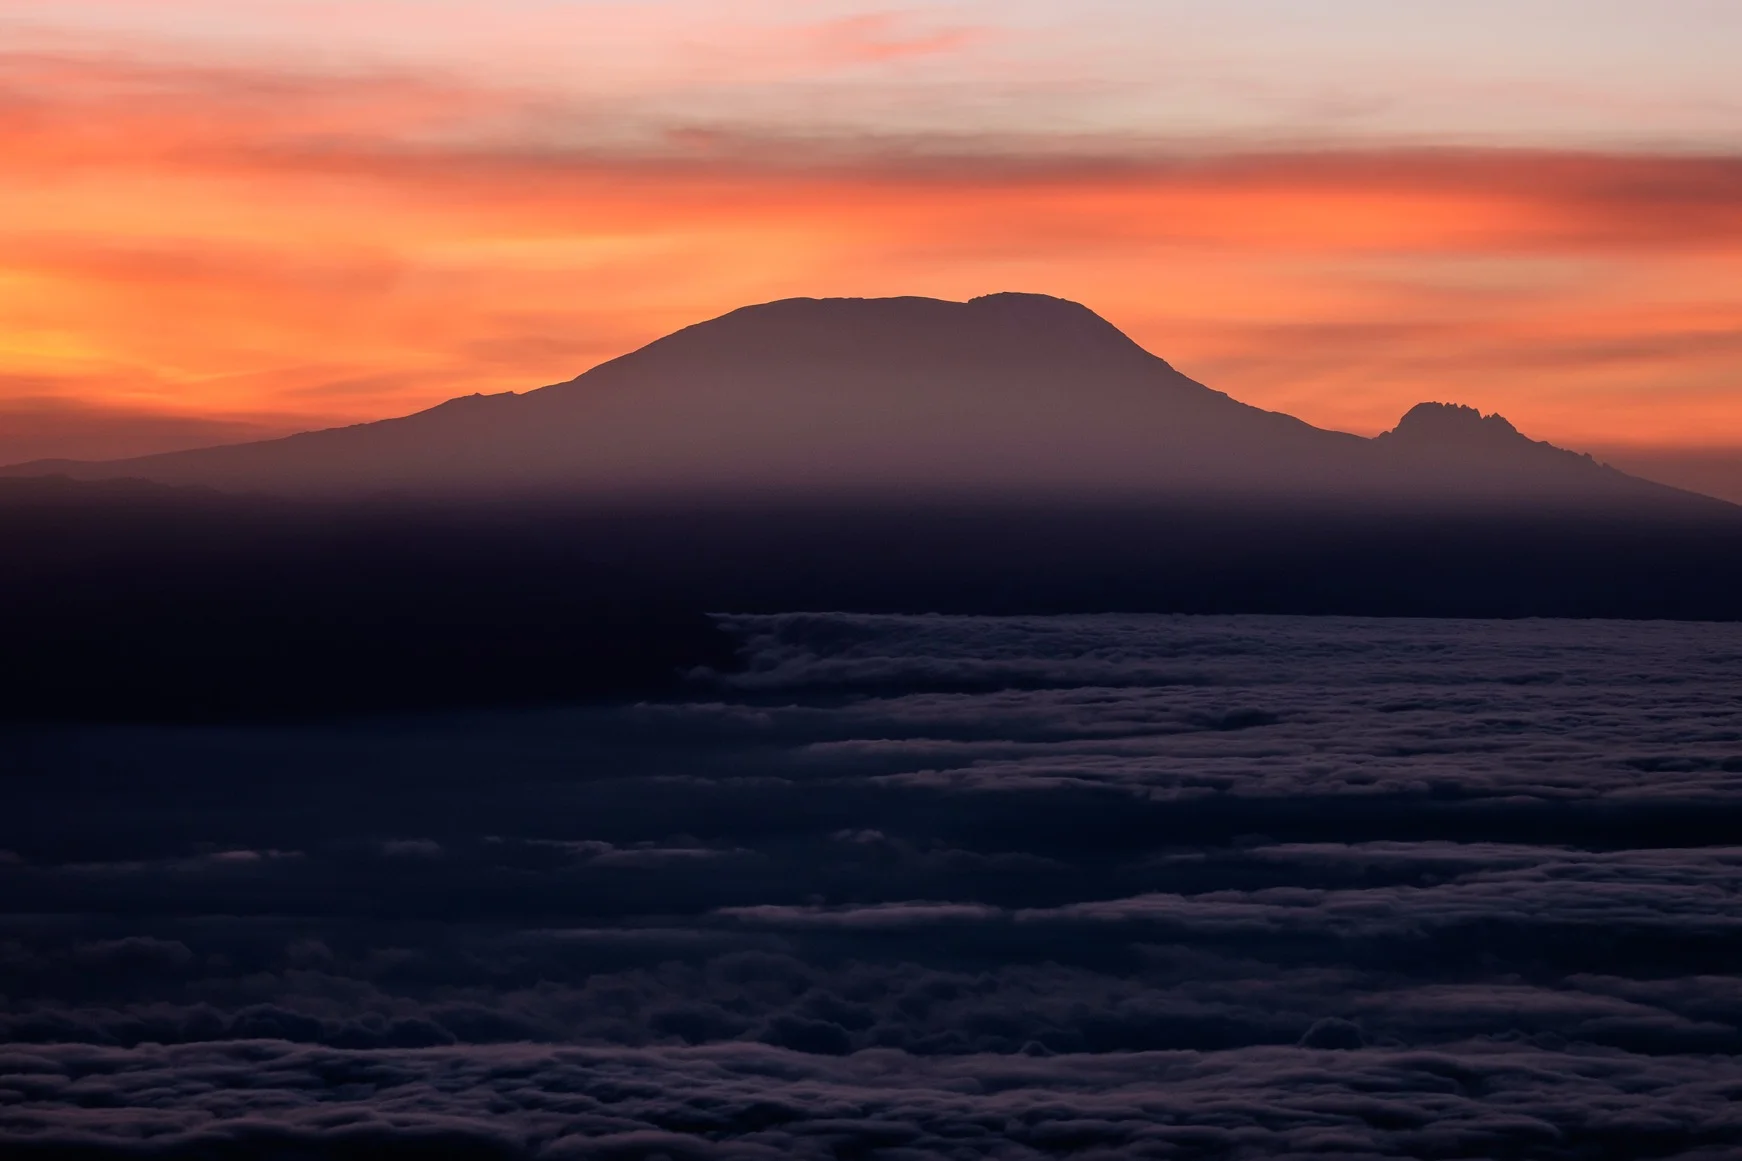
This summer was an especially wild one, filled with perhaps even more adventures than in previous years. The most notable of these adventures wasn't even photography related – I spent three weeks in Tanzania leading field work for a computer science study on user interfaces for mobile phone applications in rural Africa. Of course, this trip was far from devoid of photographic opportunities, the highlight of which was a three-day ascent of Mount Meru, a 15,000 foot volcano that's the second highest summit in the country.

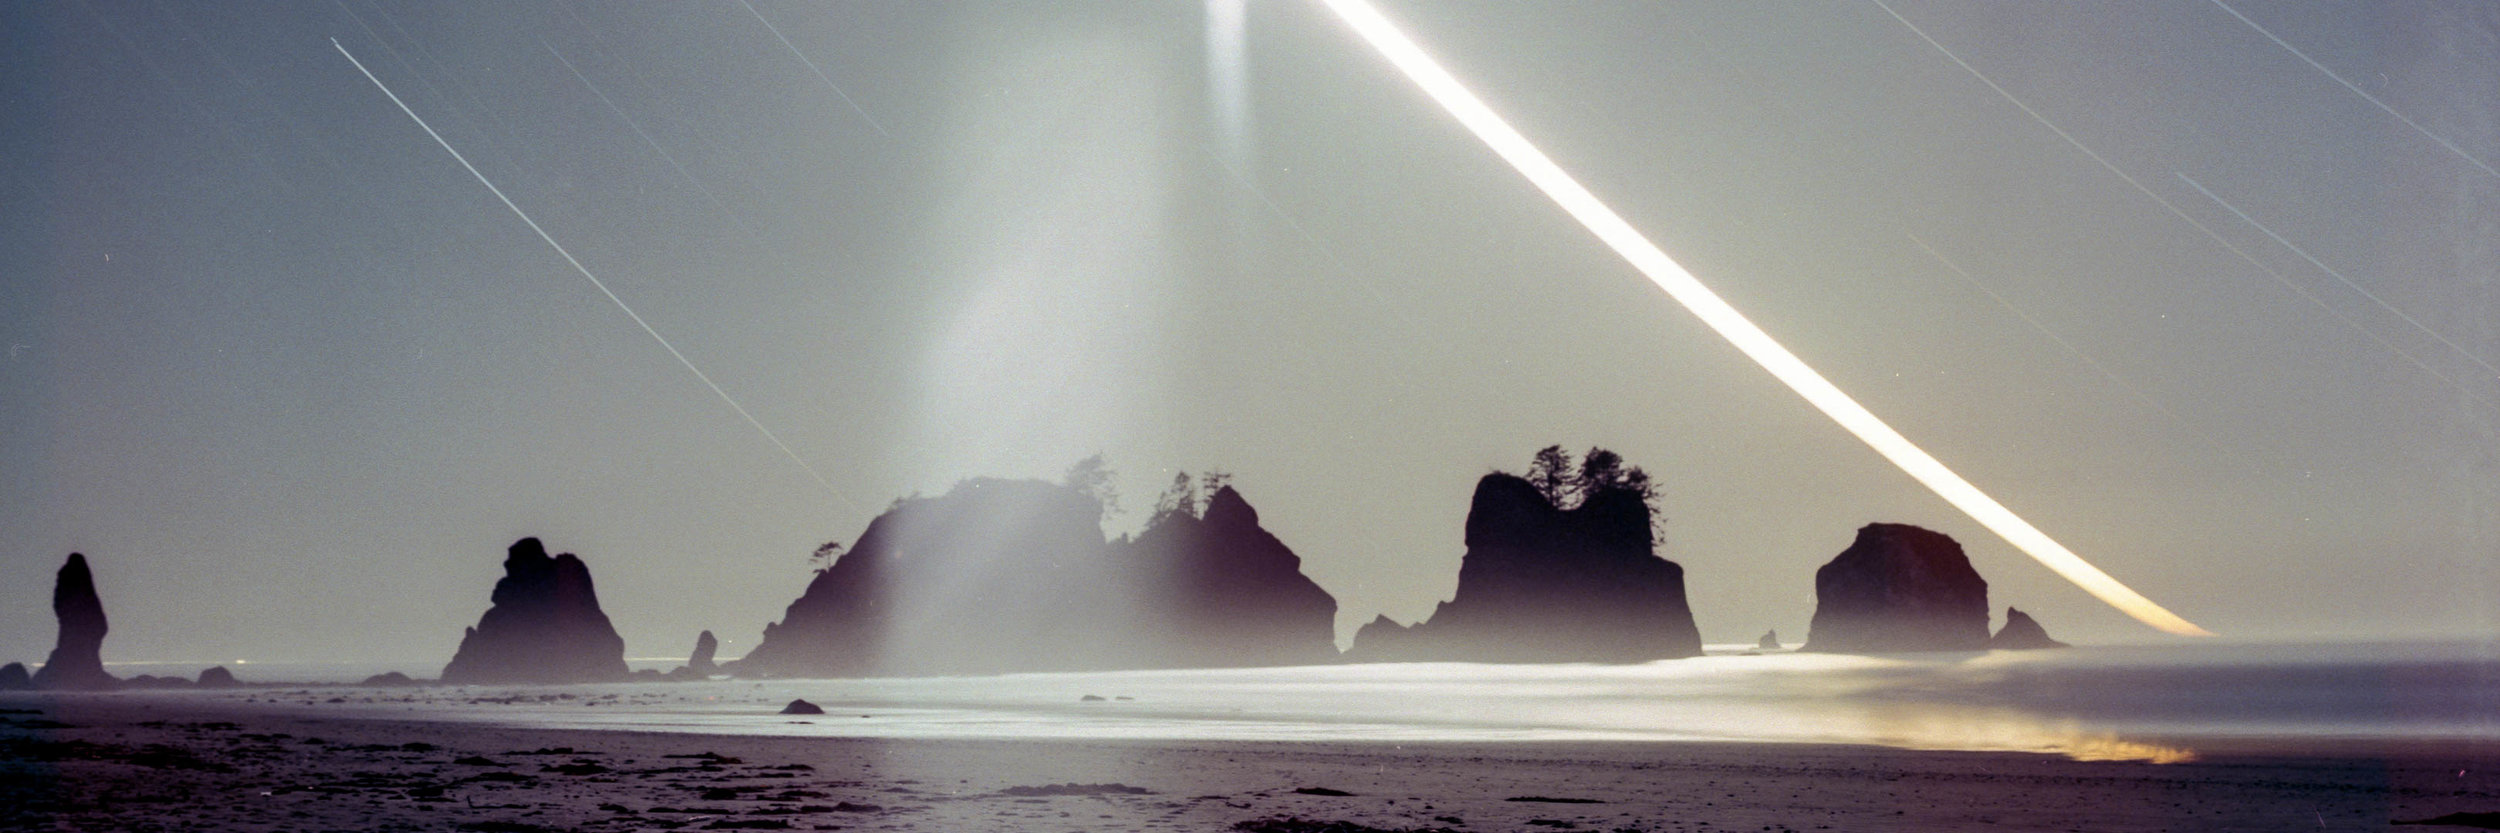
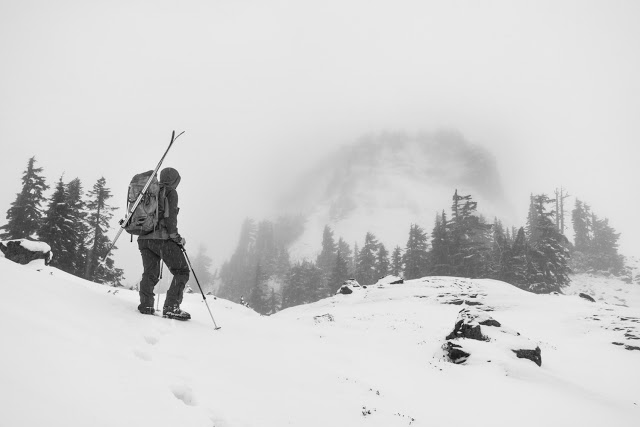
My time back in the states was no less busy than in the past, with ascents every weekend of 100 highest peaks, and numerous midweek trips to alpine locations – a typical weekday would see me leaving work and driving straight into the mountains for sunset, staying up for astrophotography, catching a few hours of sleep, and then waking up for sunrise before hiking back to my car and driving straight to work, often taking a conference call with Tanzania on the road.

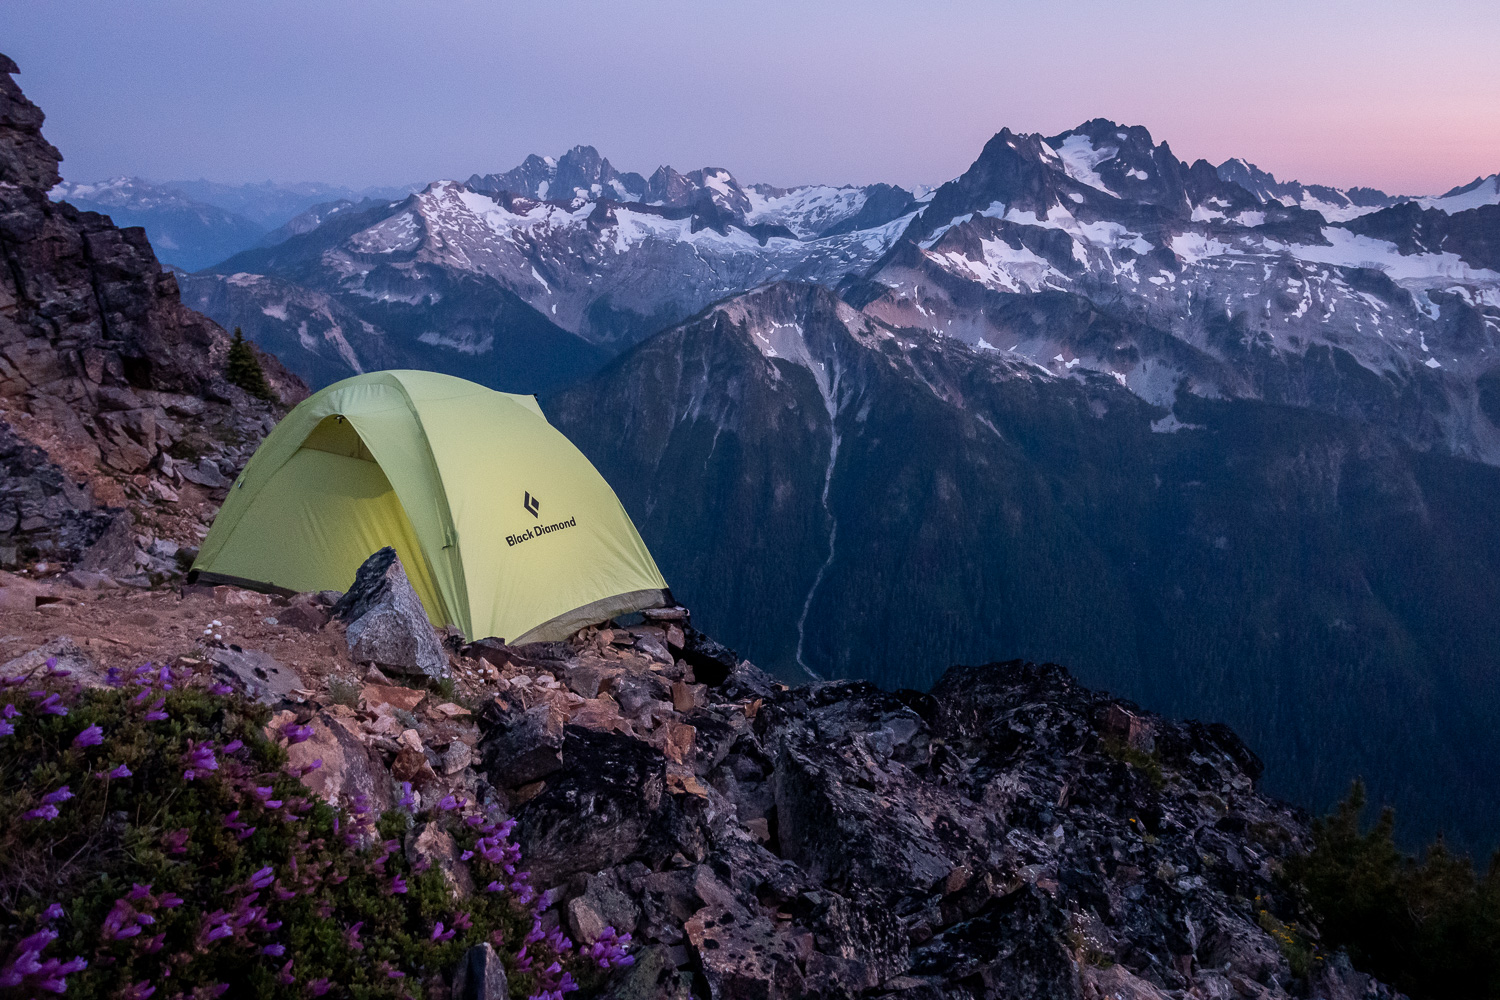
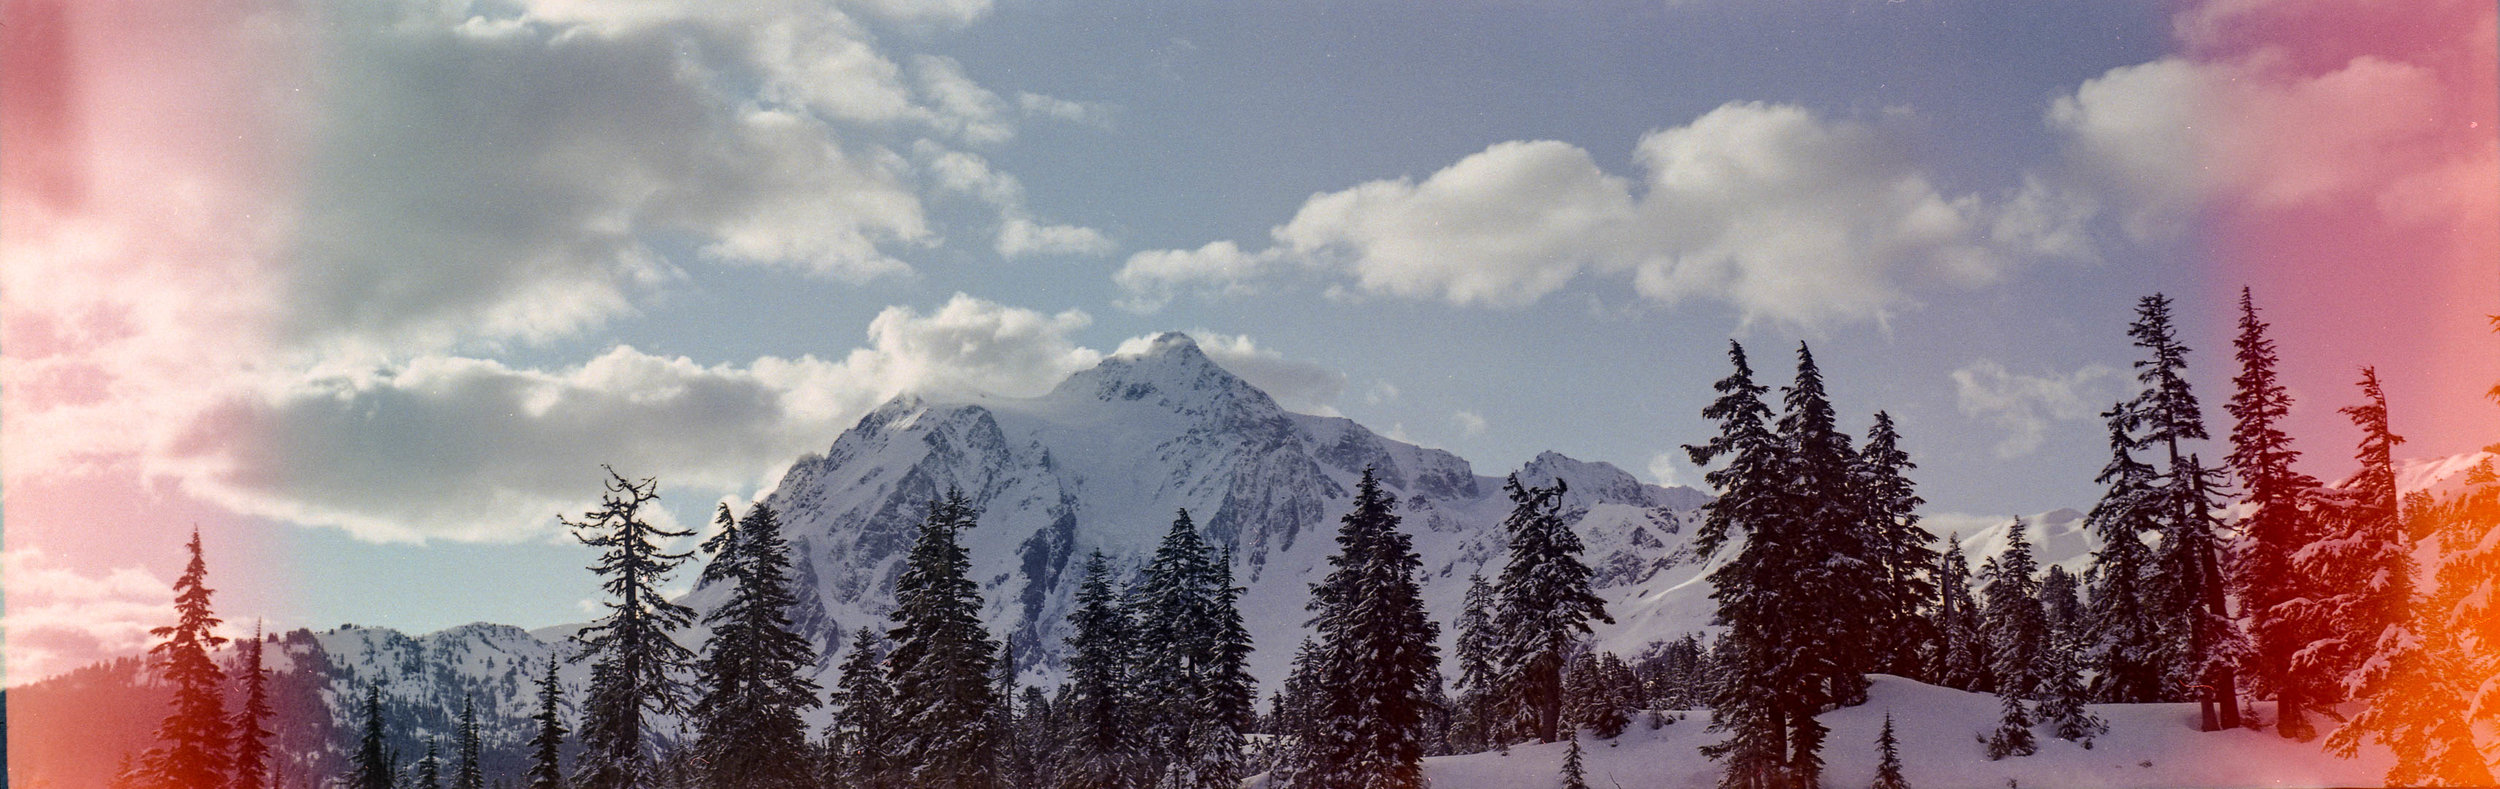
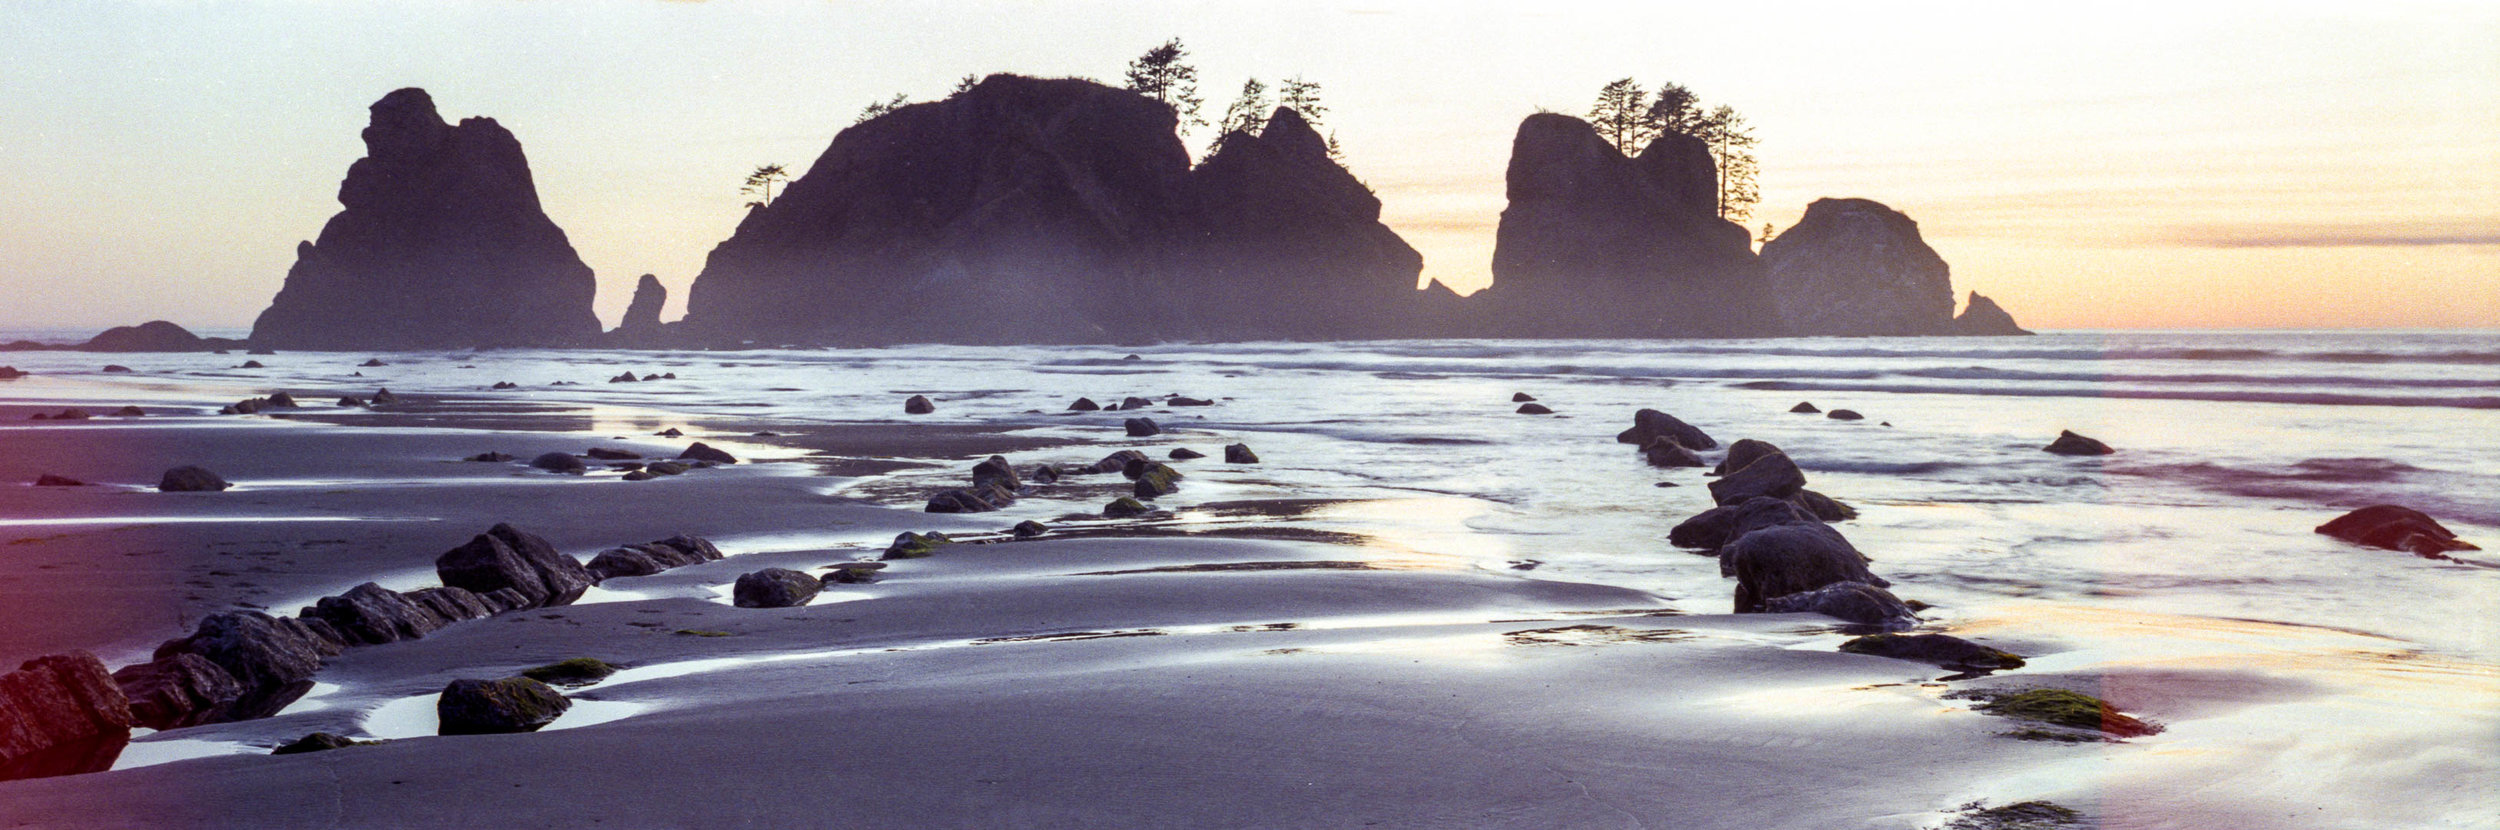
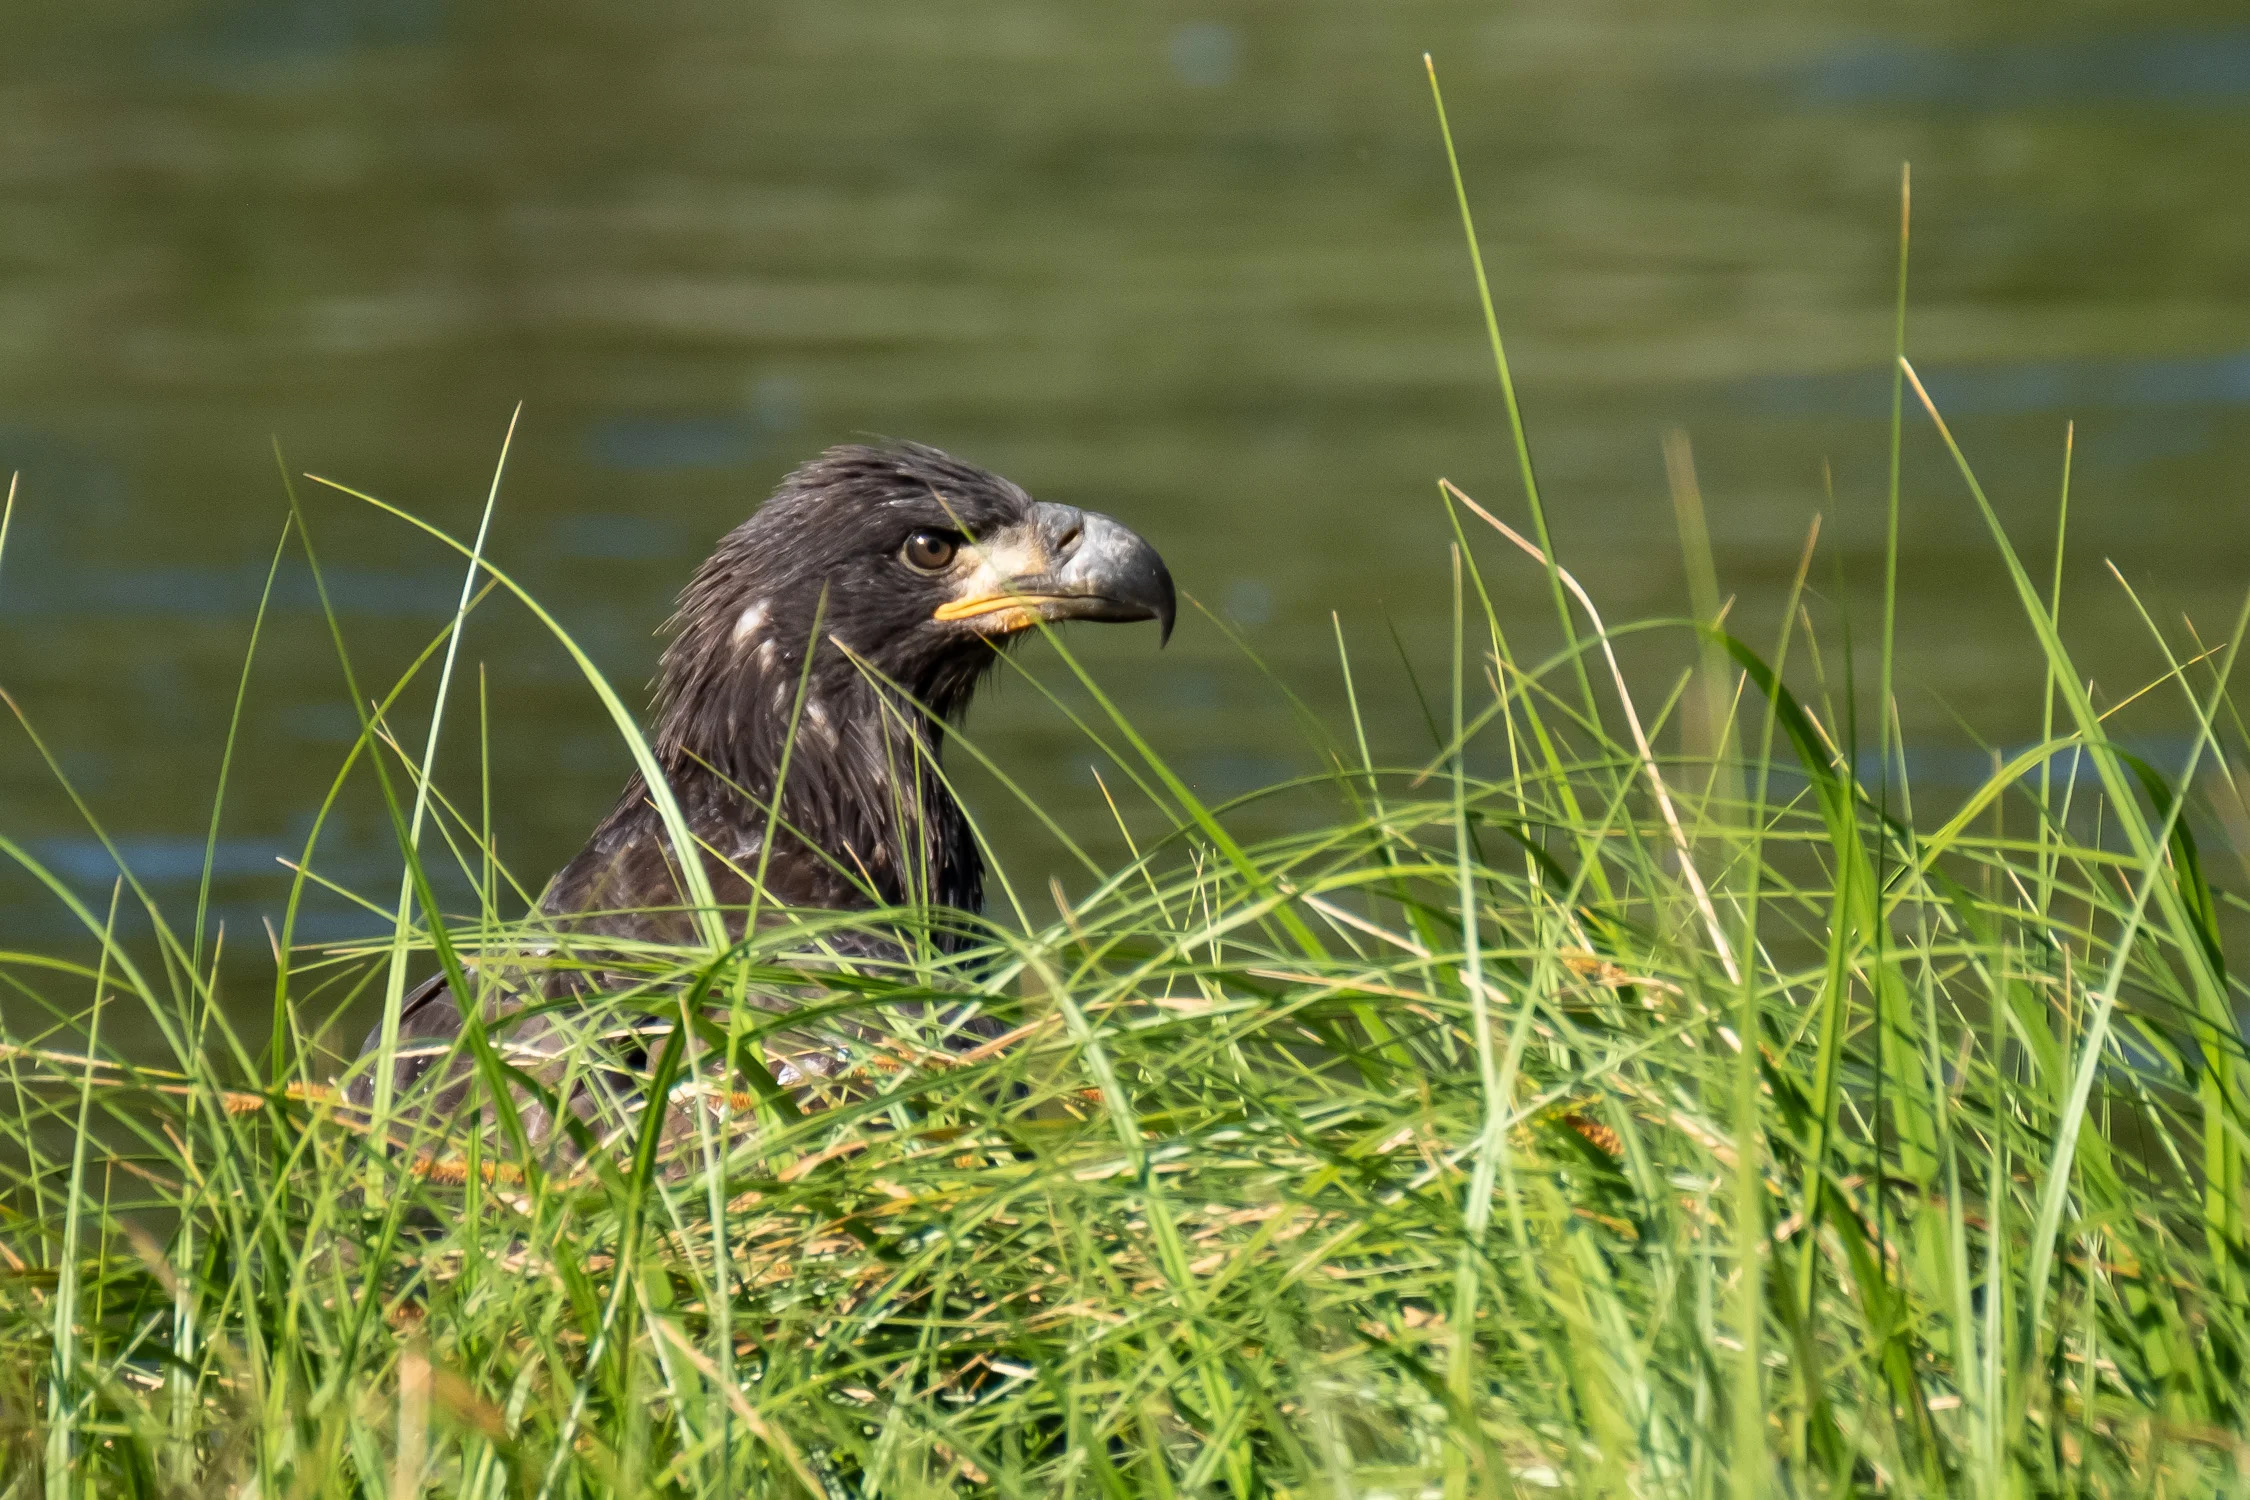
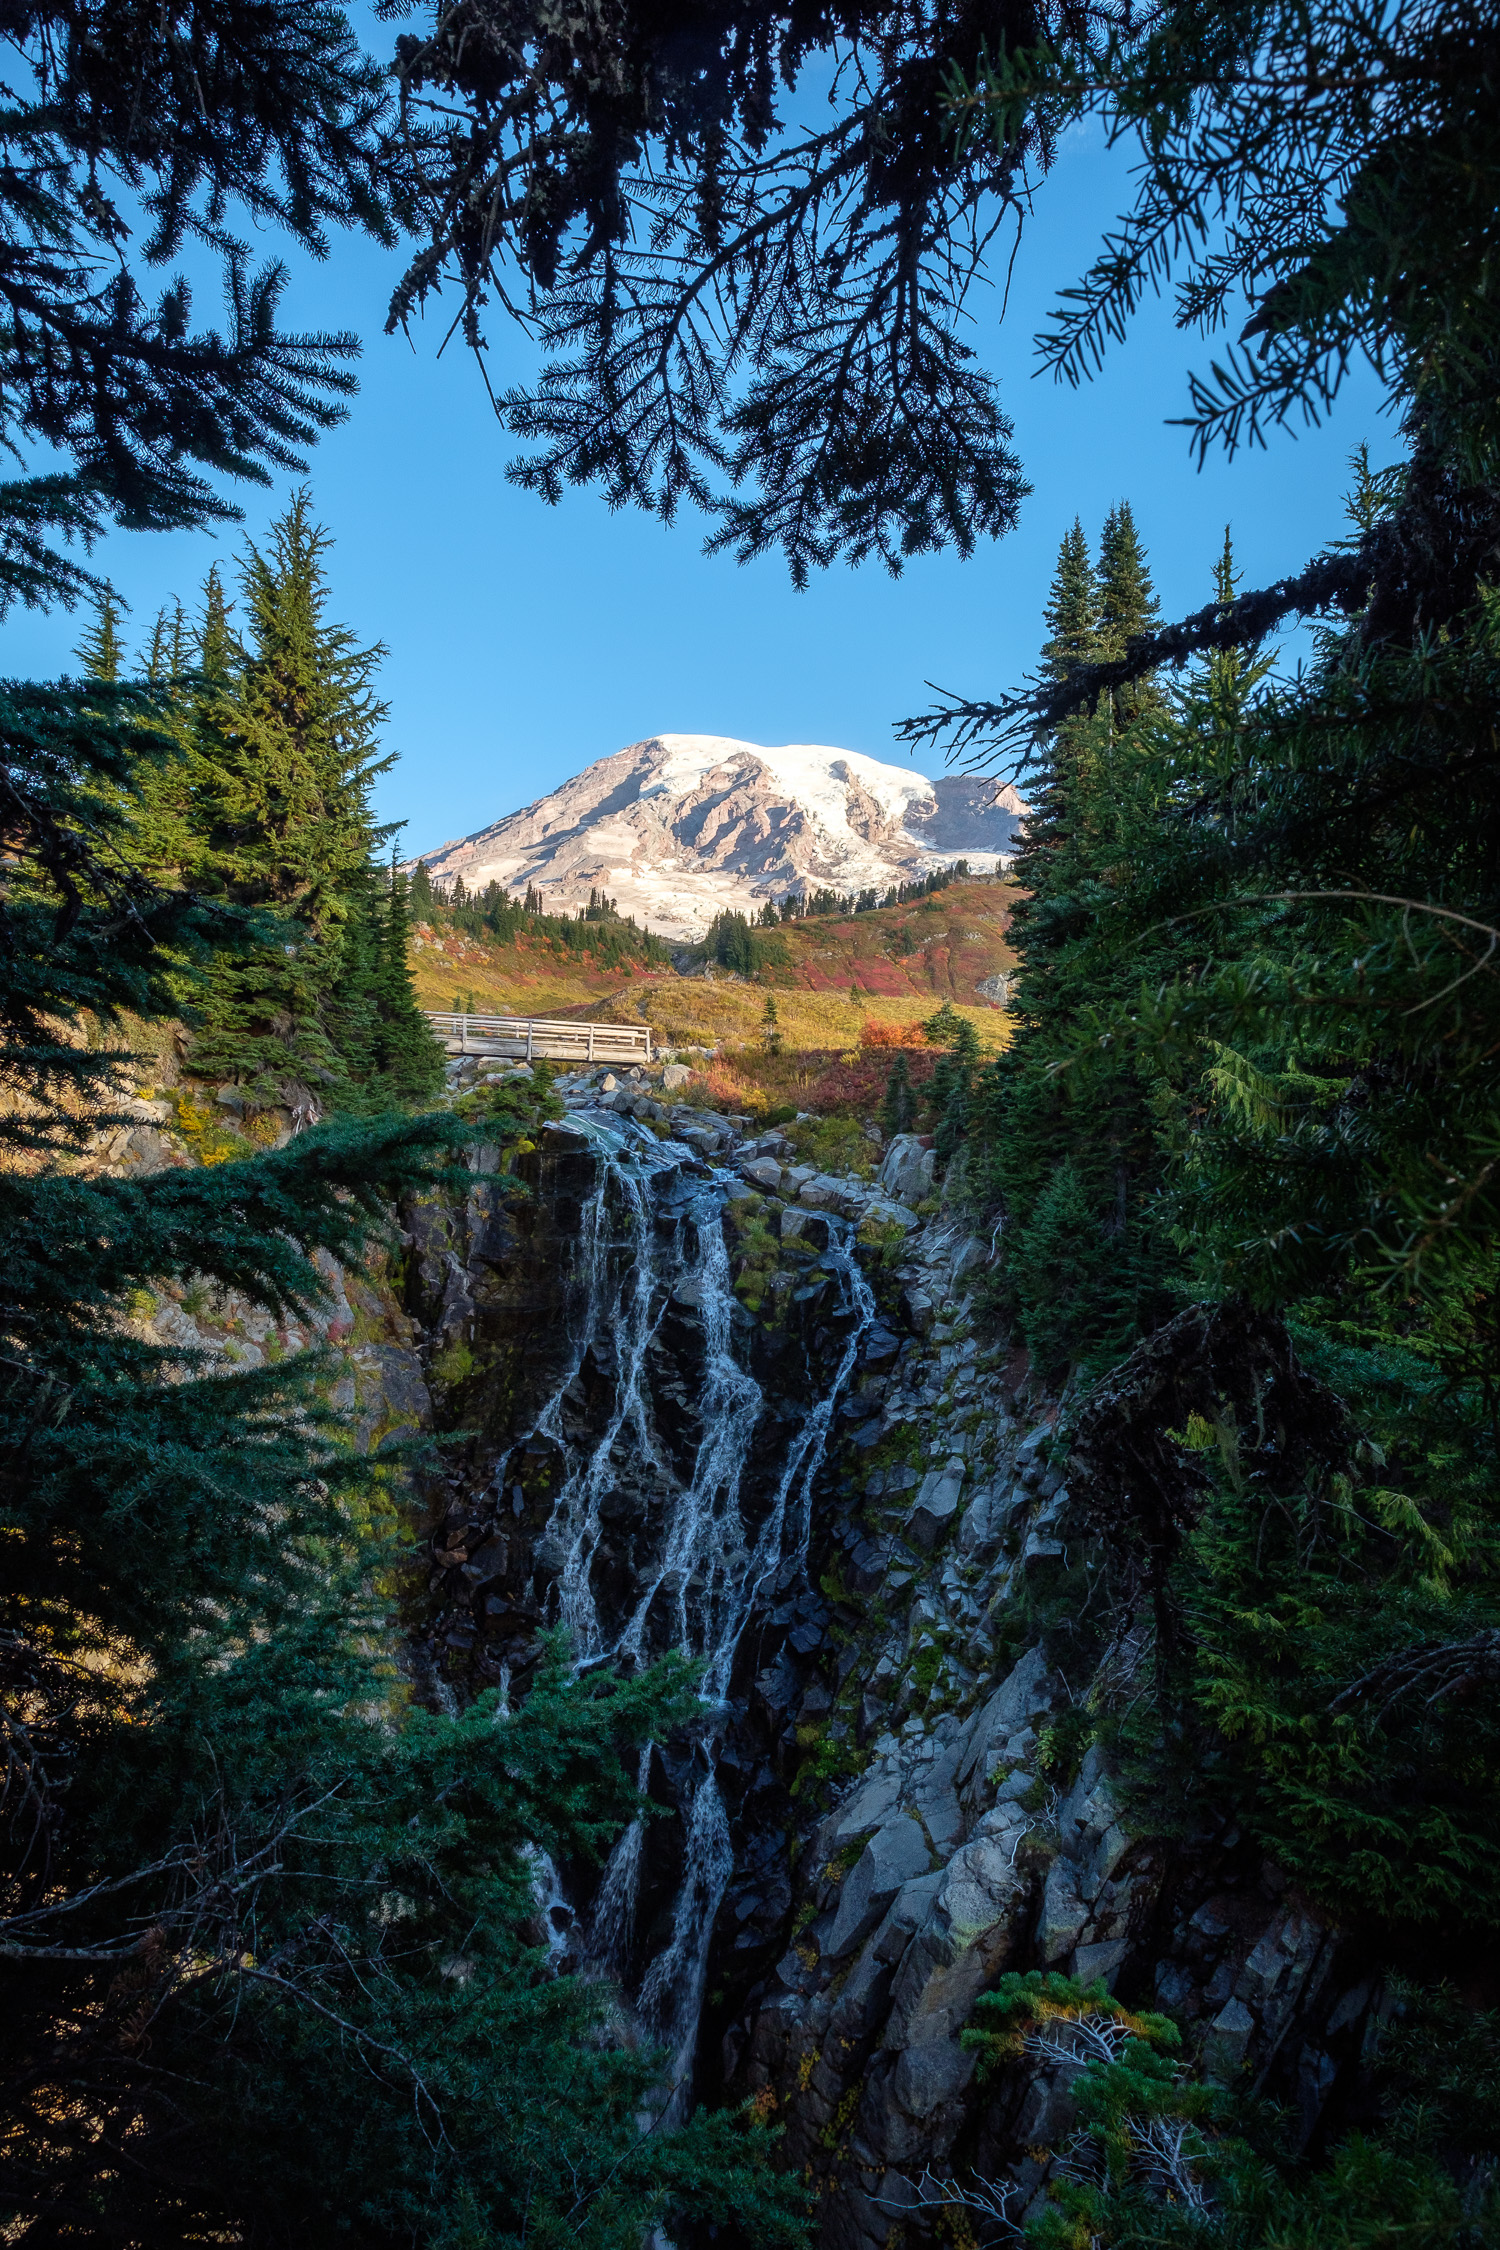
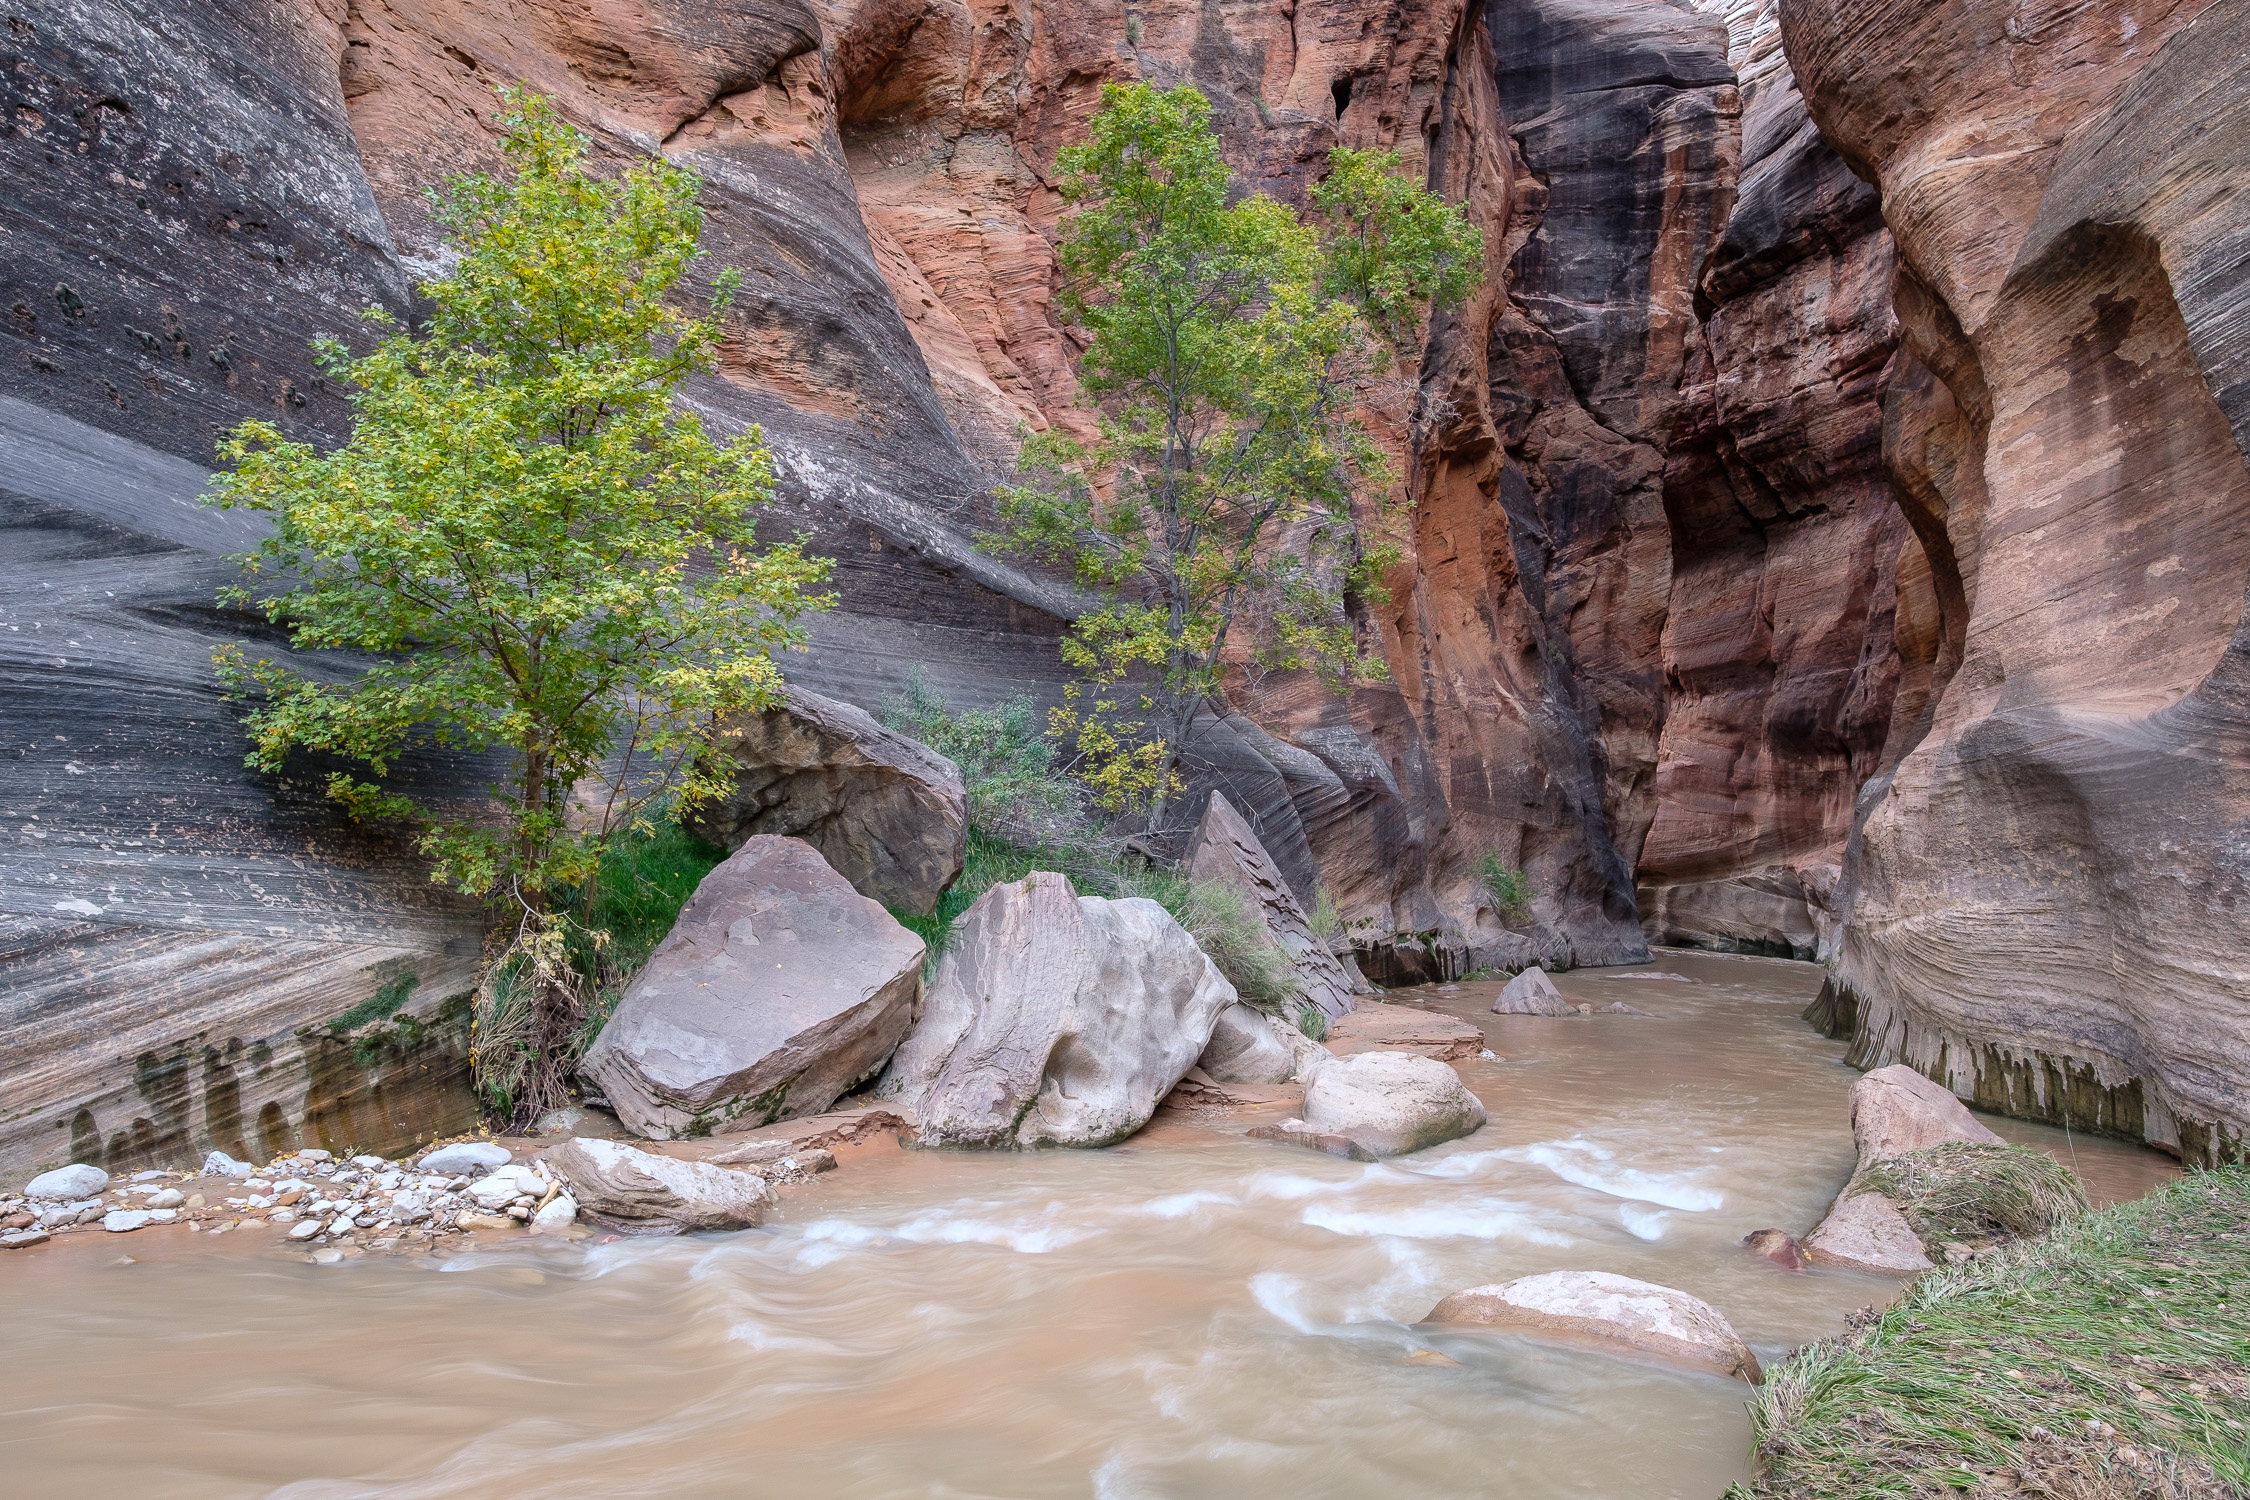
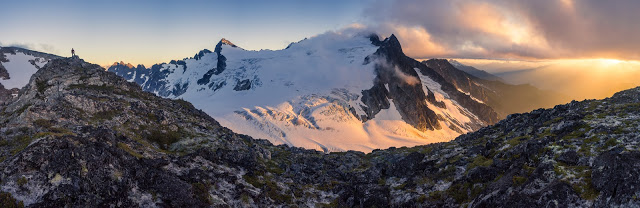
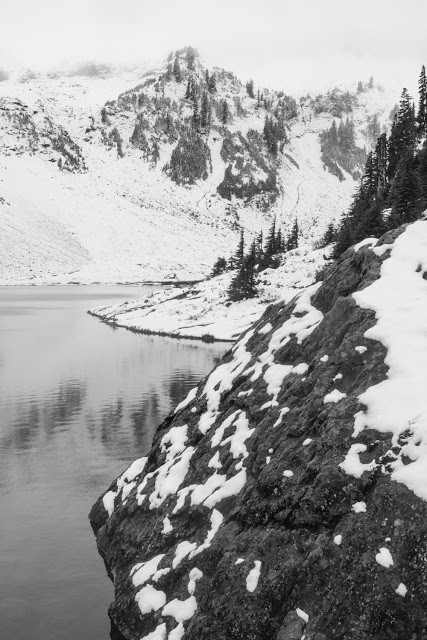
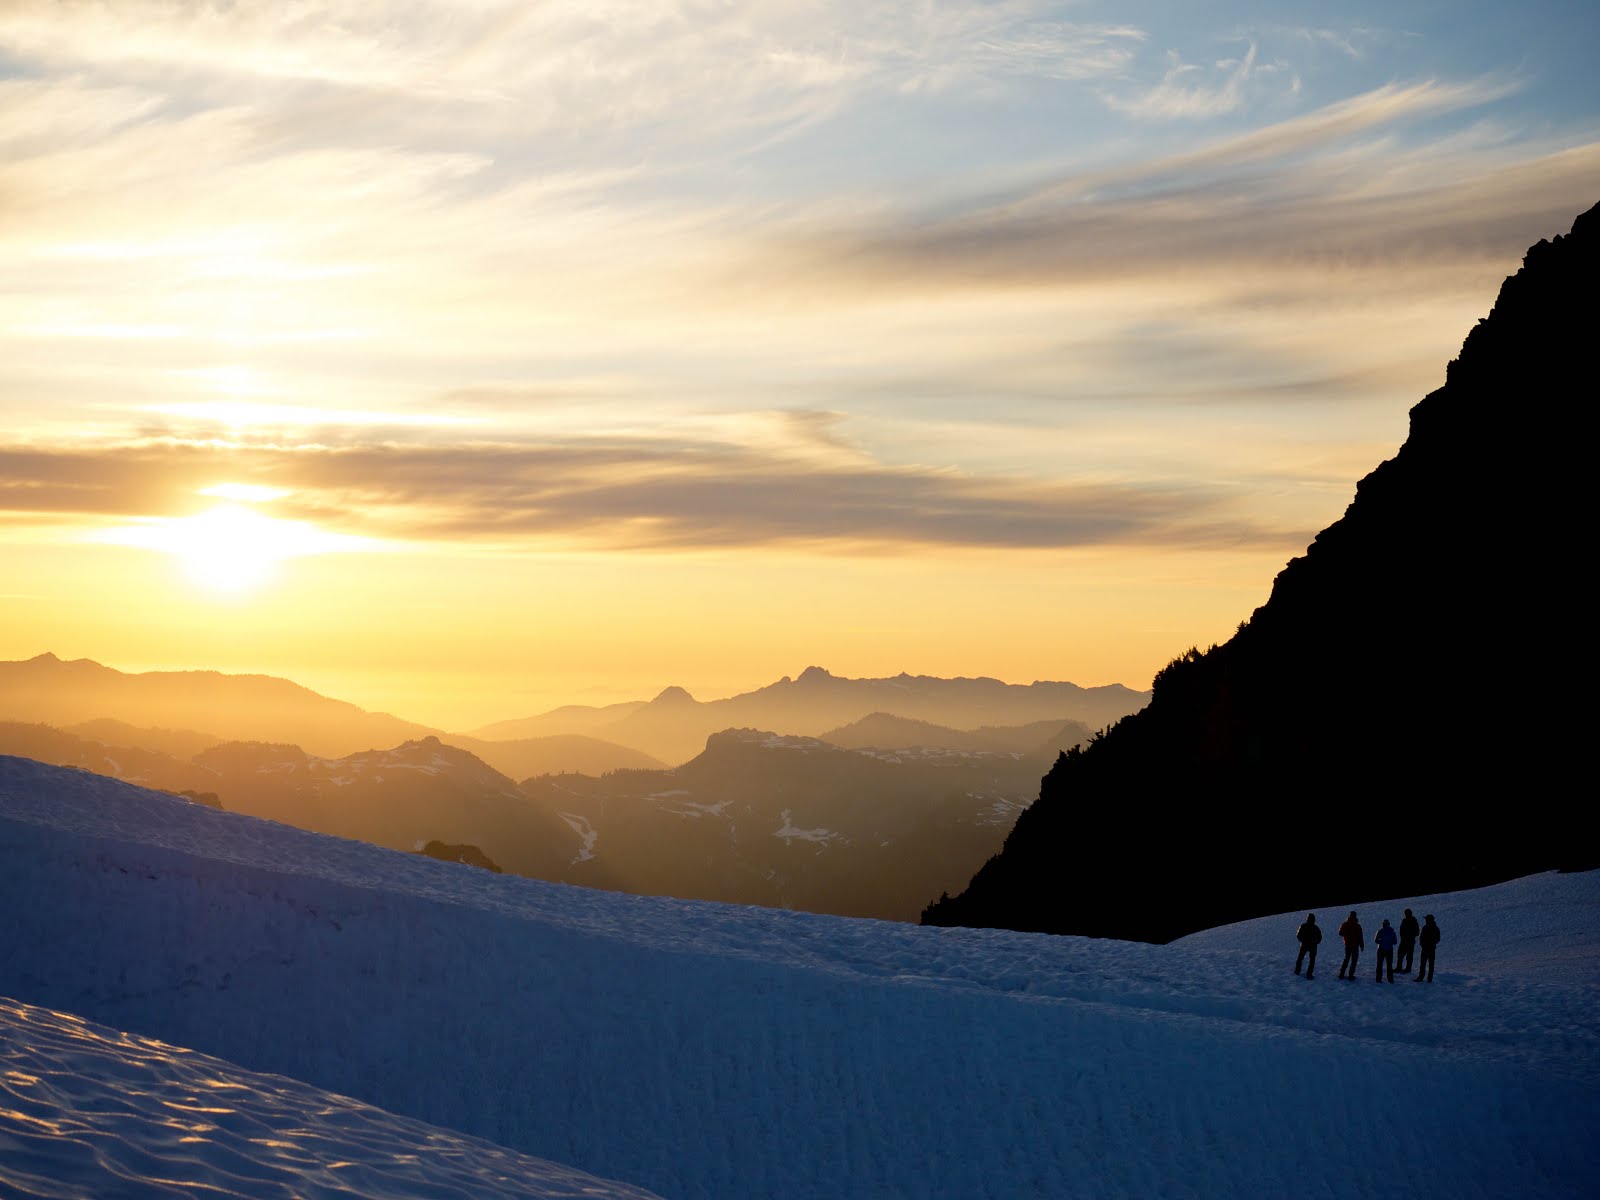
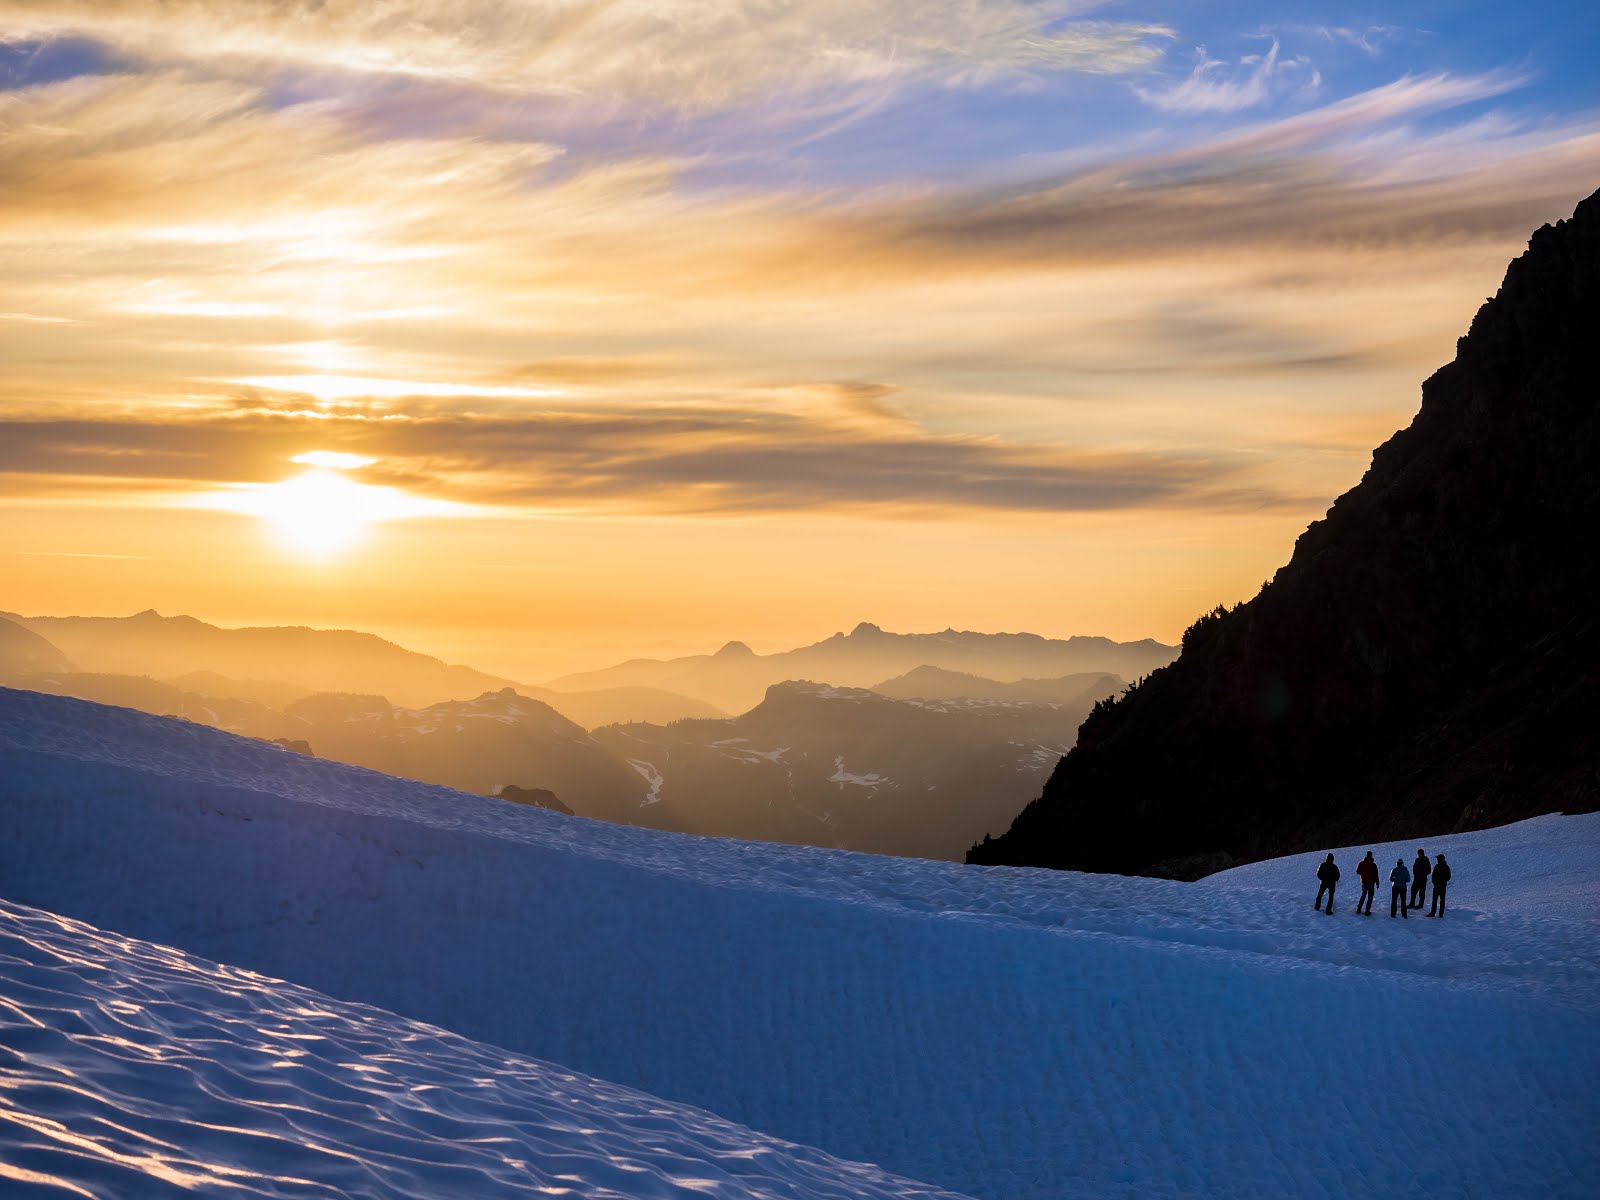
My summer was bookended by drives to and from Seattle, the former including a weeklong stop in Utah for a backpacking, joined by Adam and Dan, who flew in from opposite sides of the country to join me. I was delighted by some wonderful company on many of my trips, not only Adam and Dan, but also Margaret and Leah on a great trip to Tipsoo Lake, and Becca, who came up from the Bay Area for a long (and spectacular) weekend of peak-bagging in North Cascades National Park.

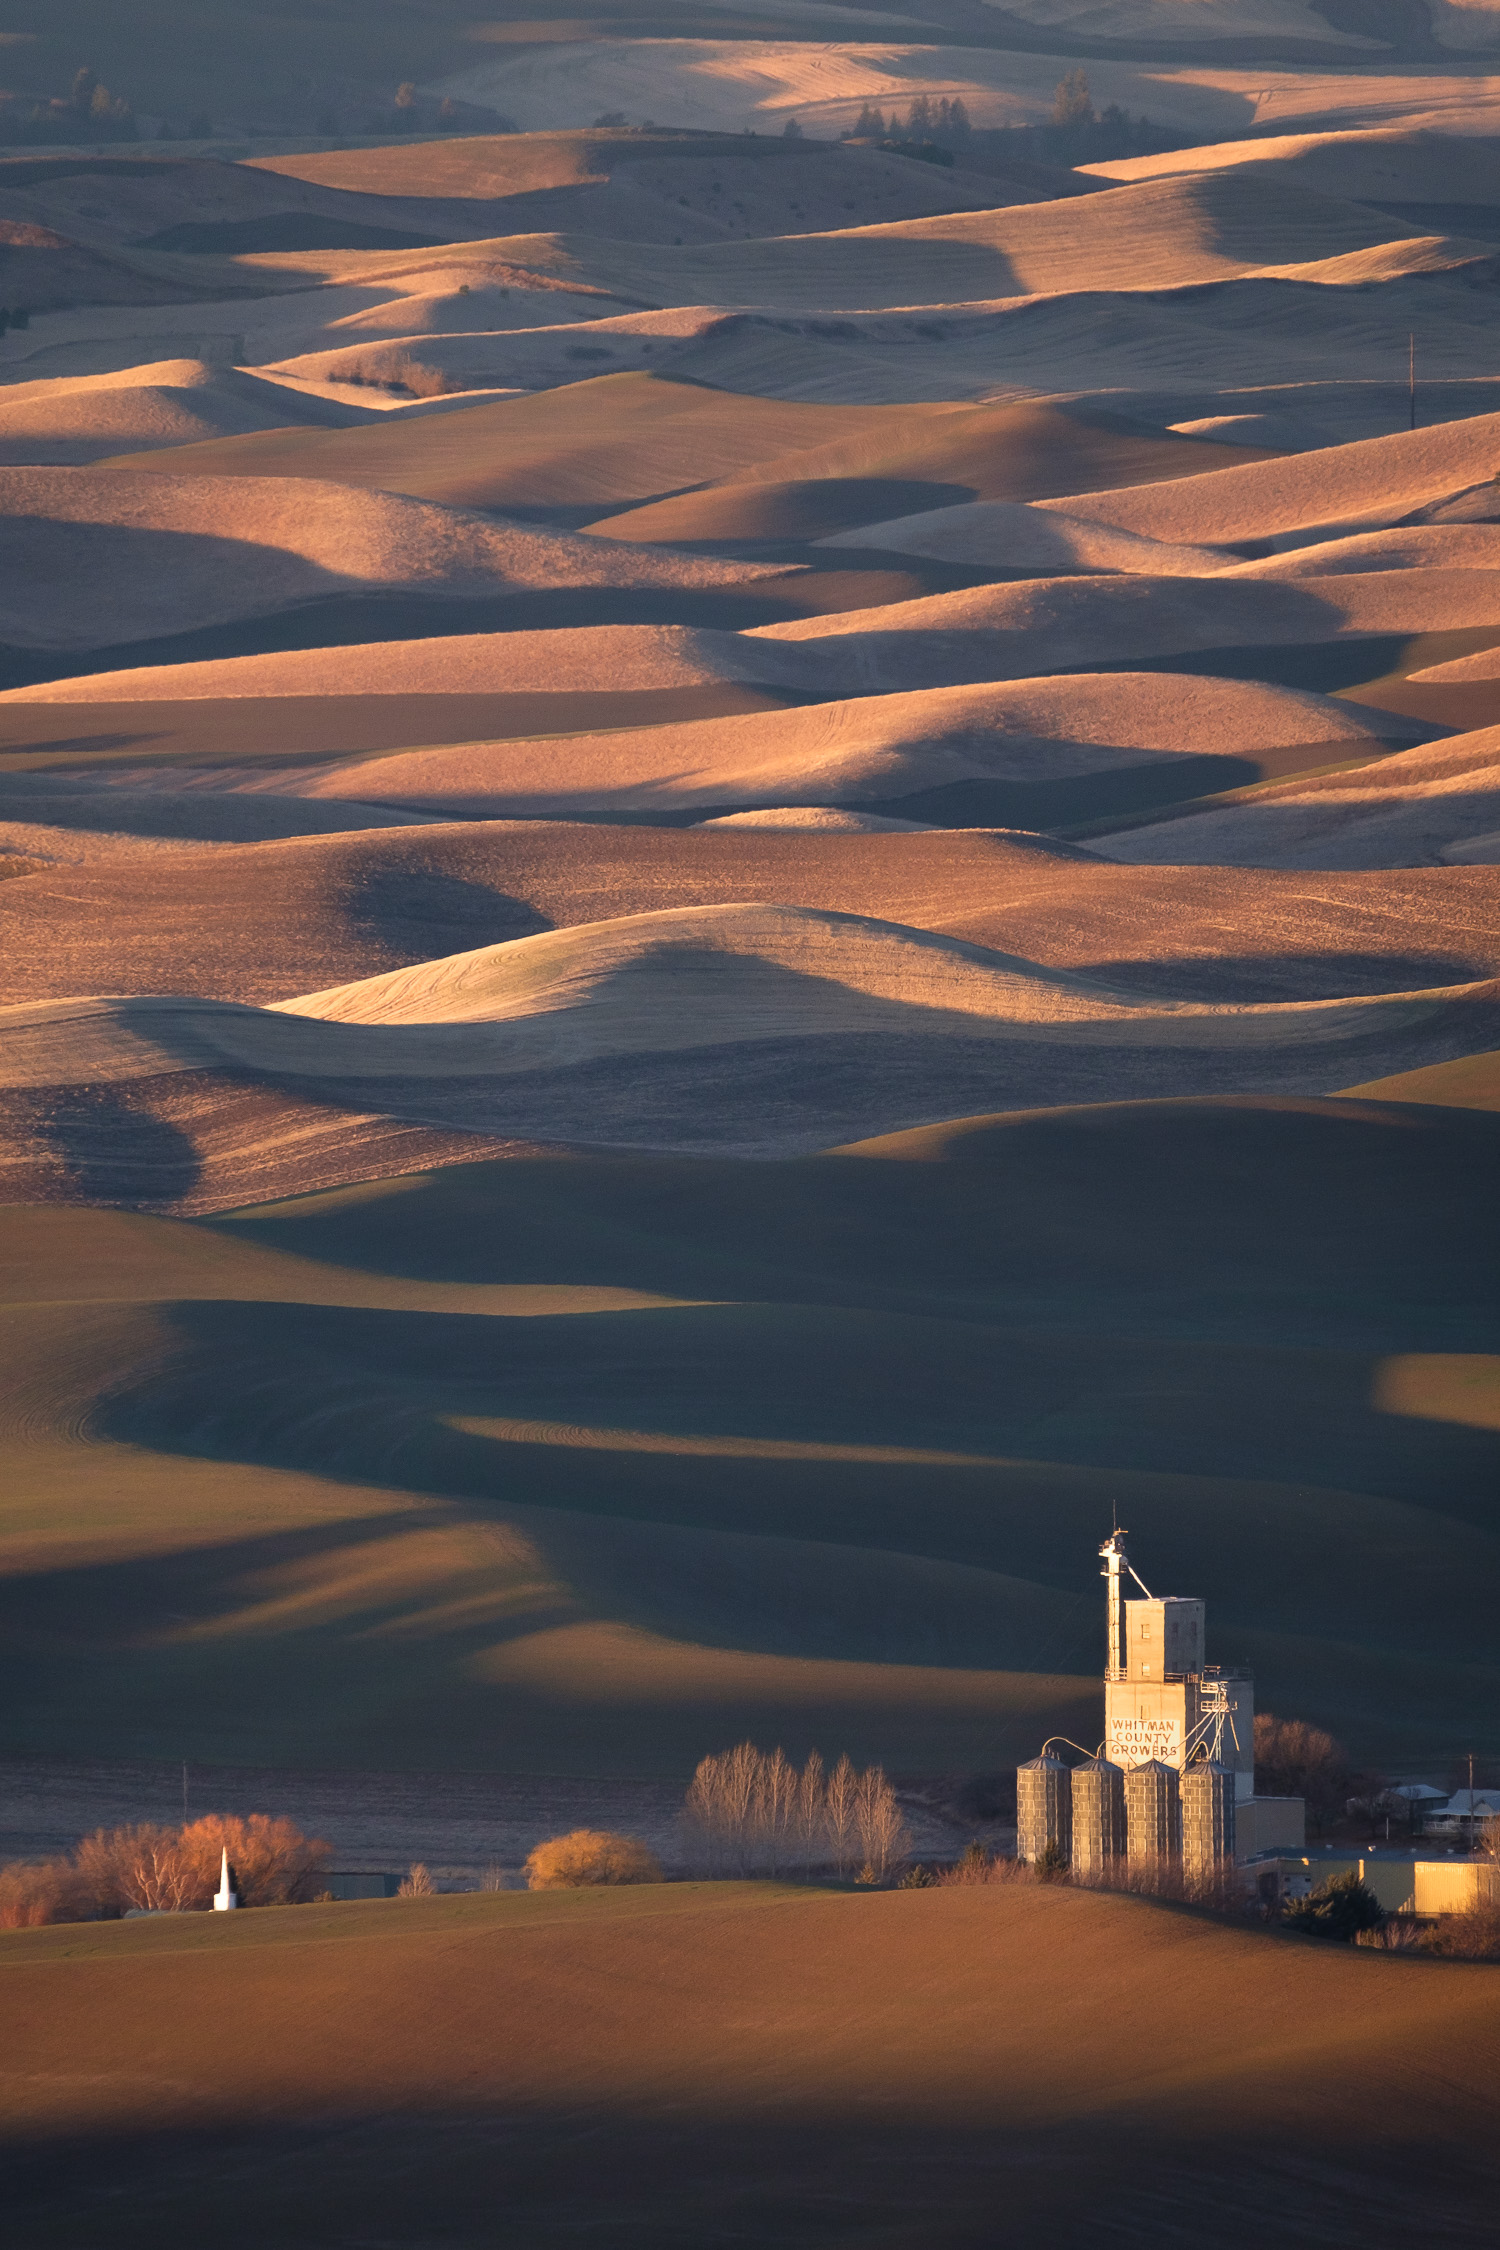
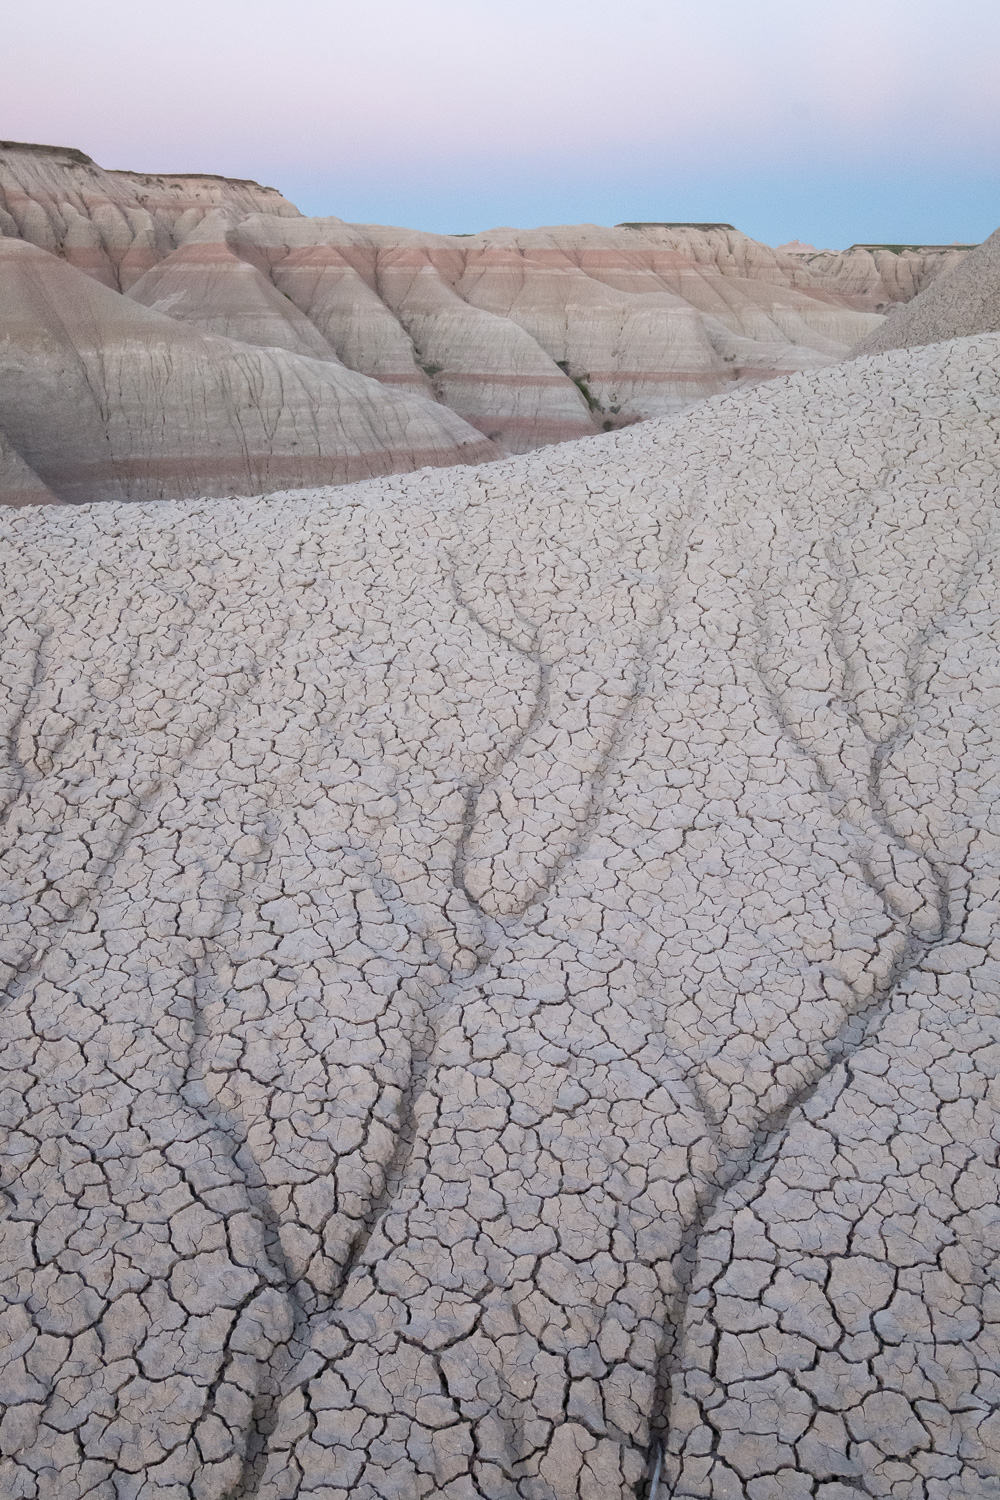
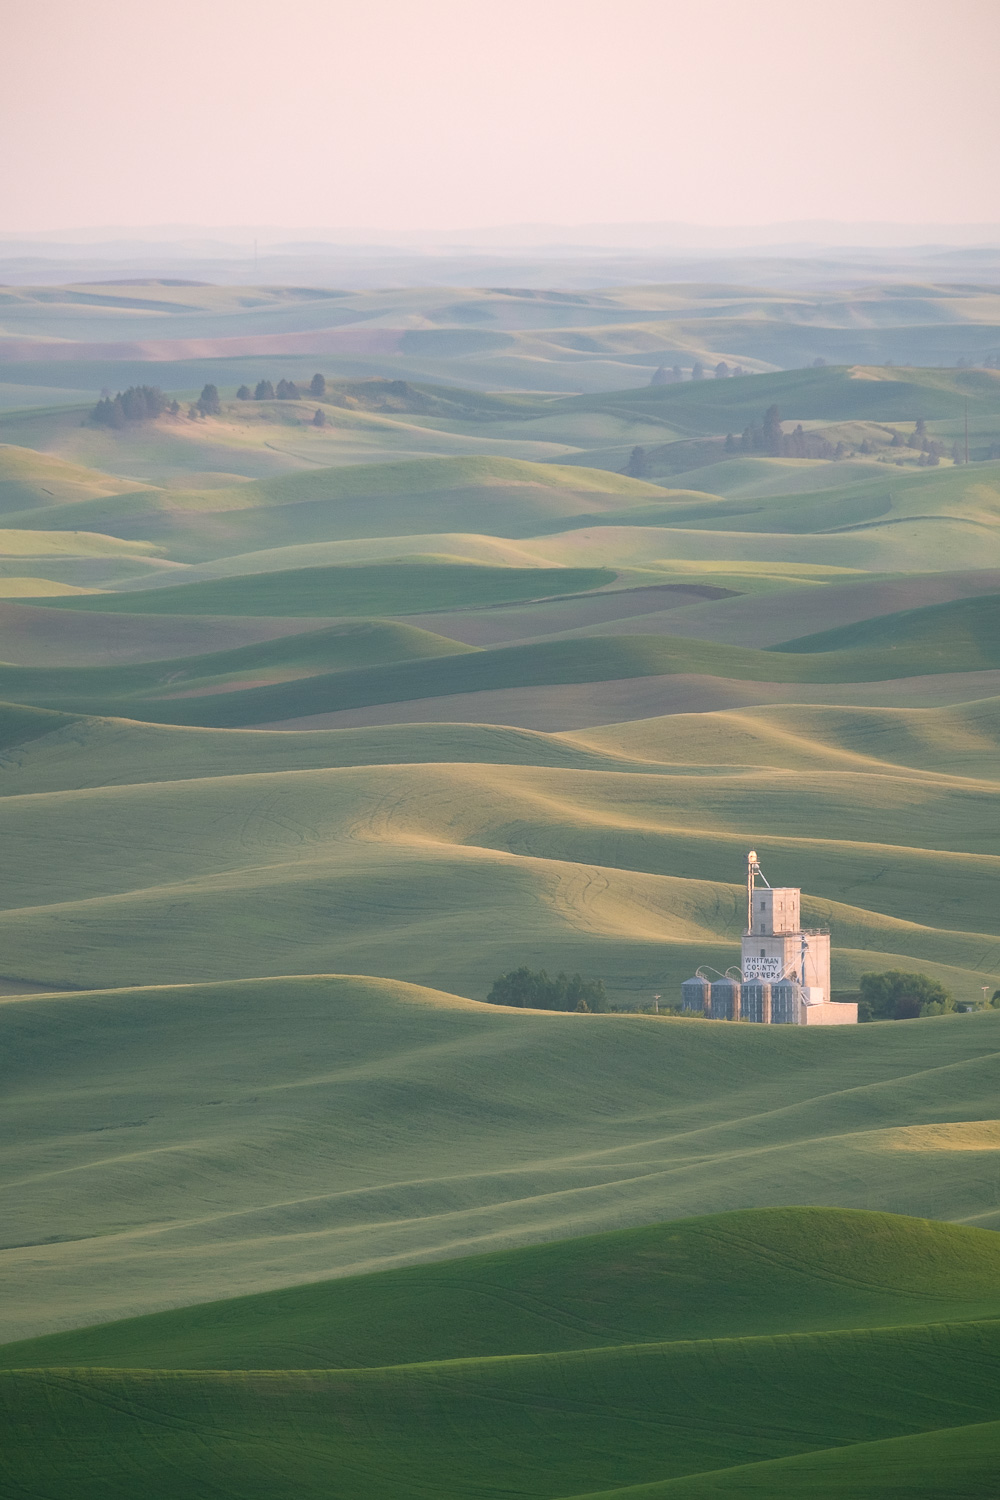
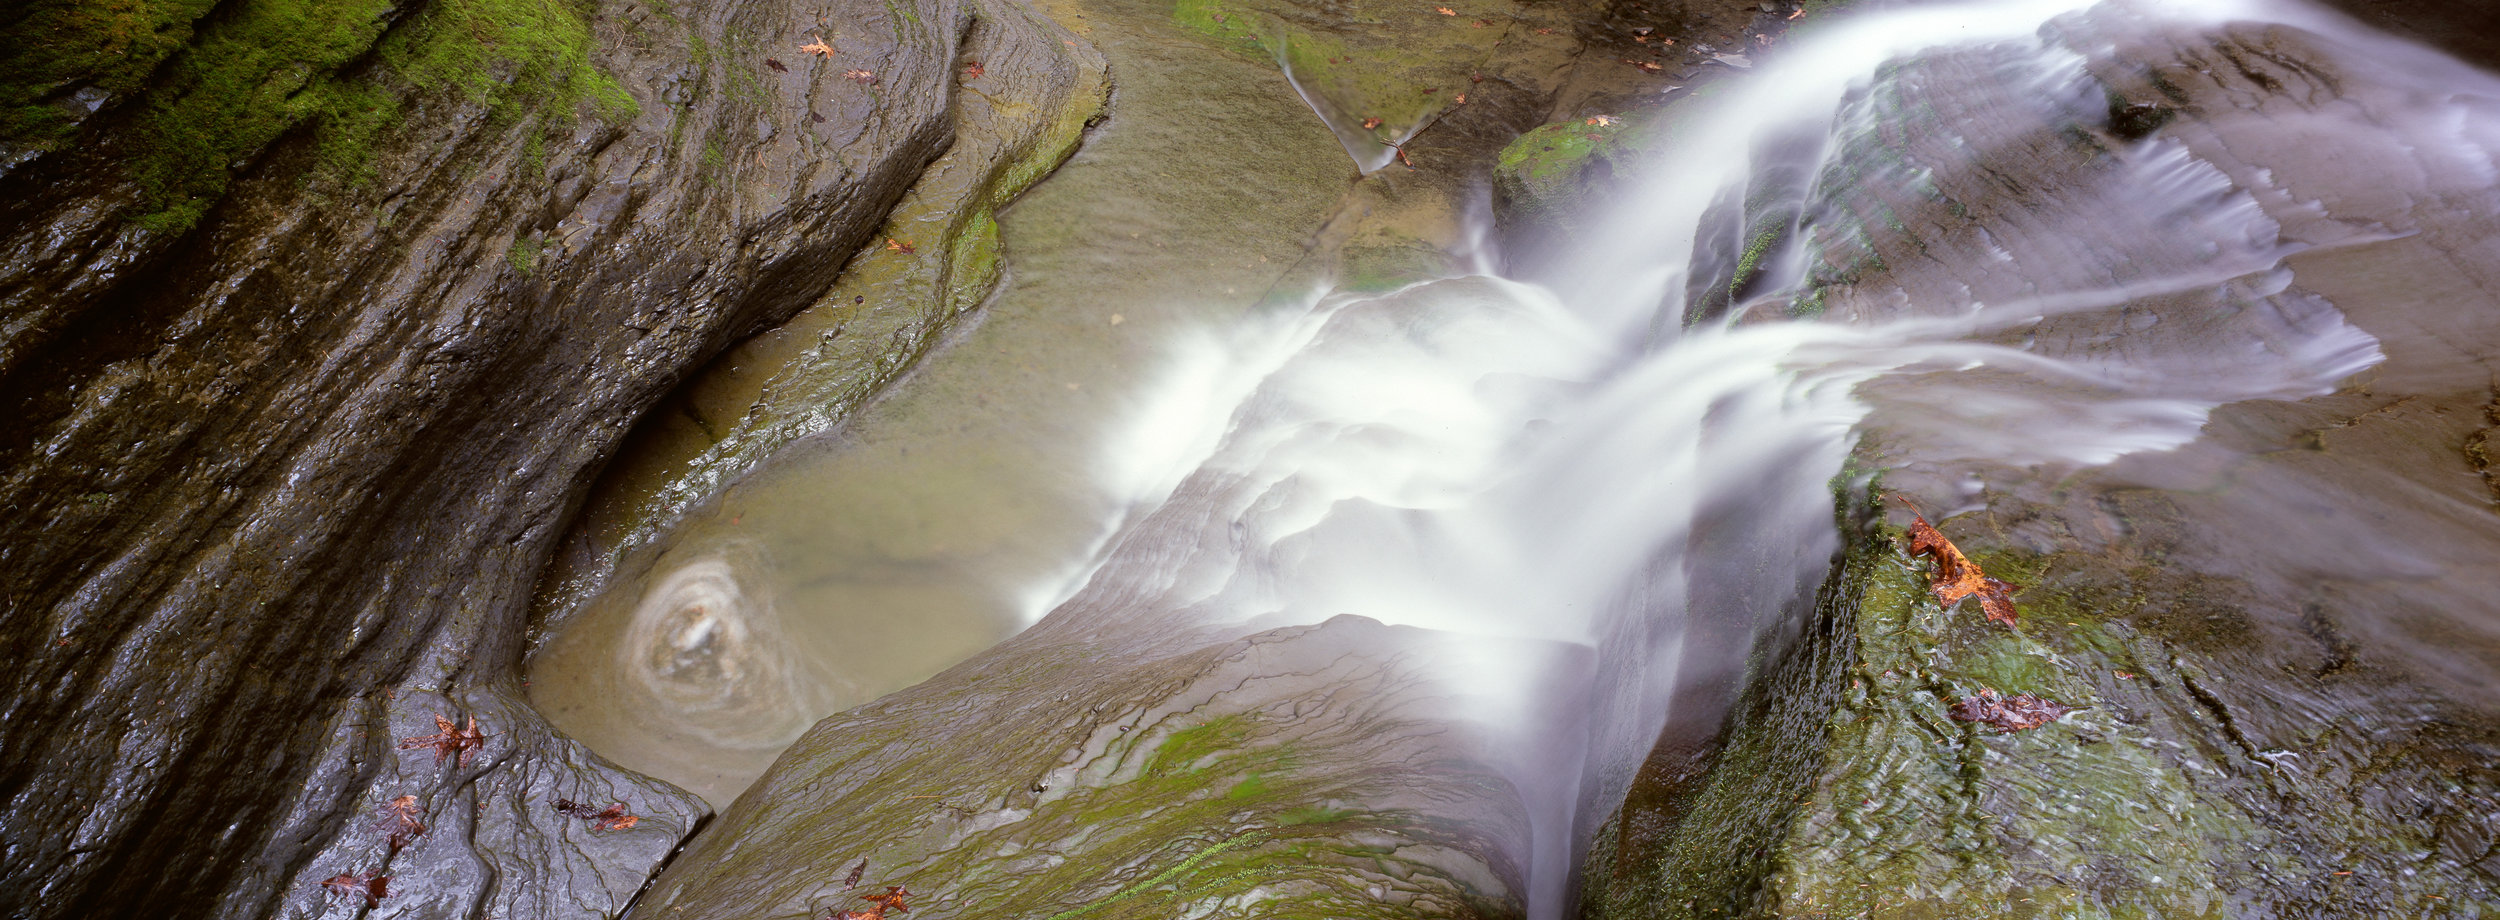
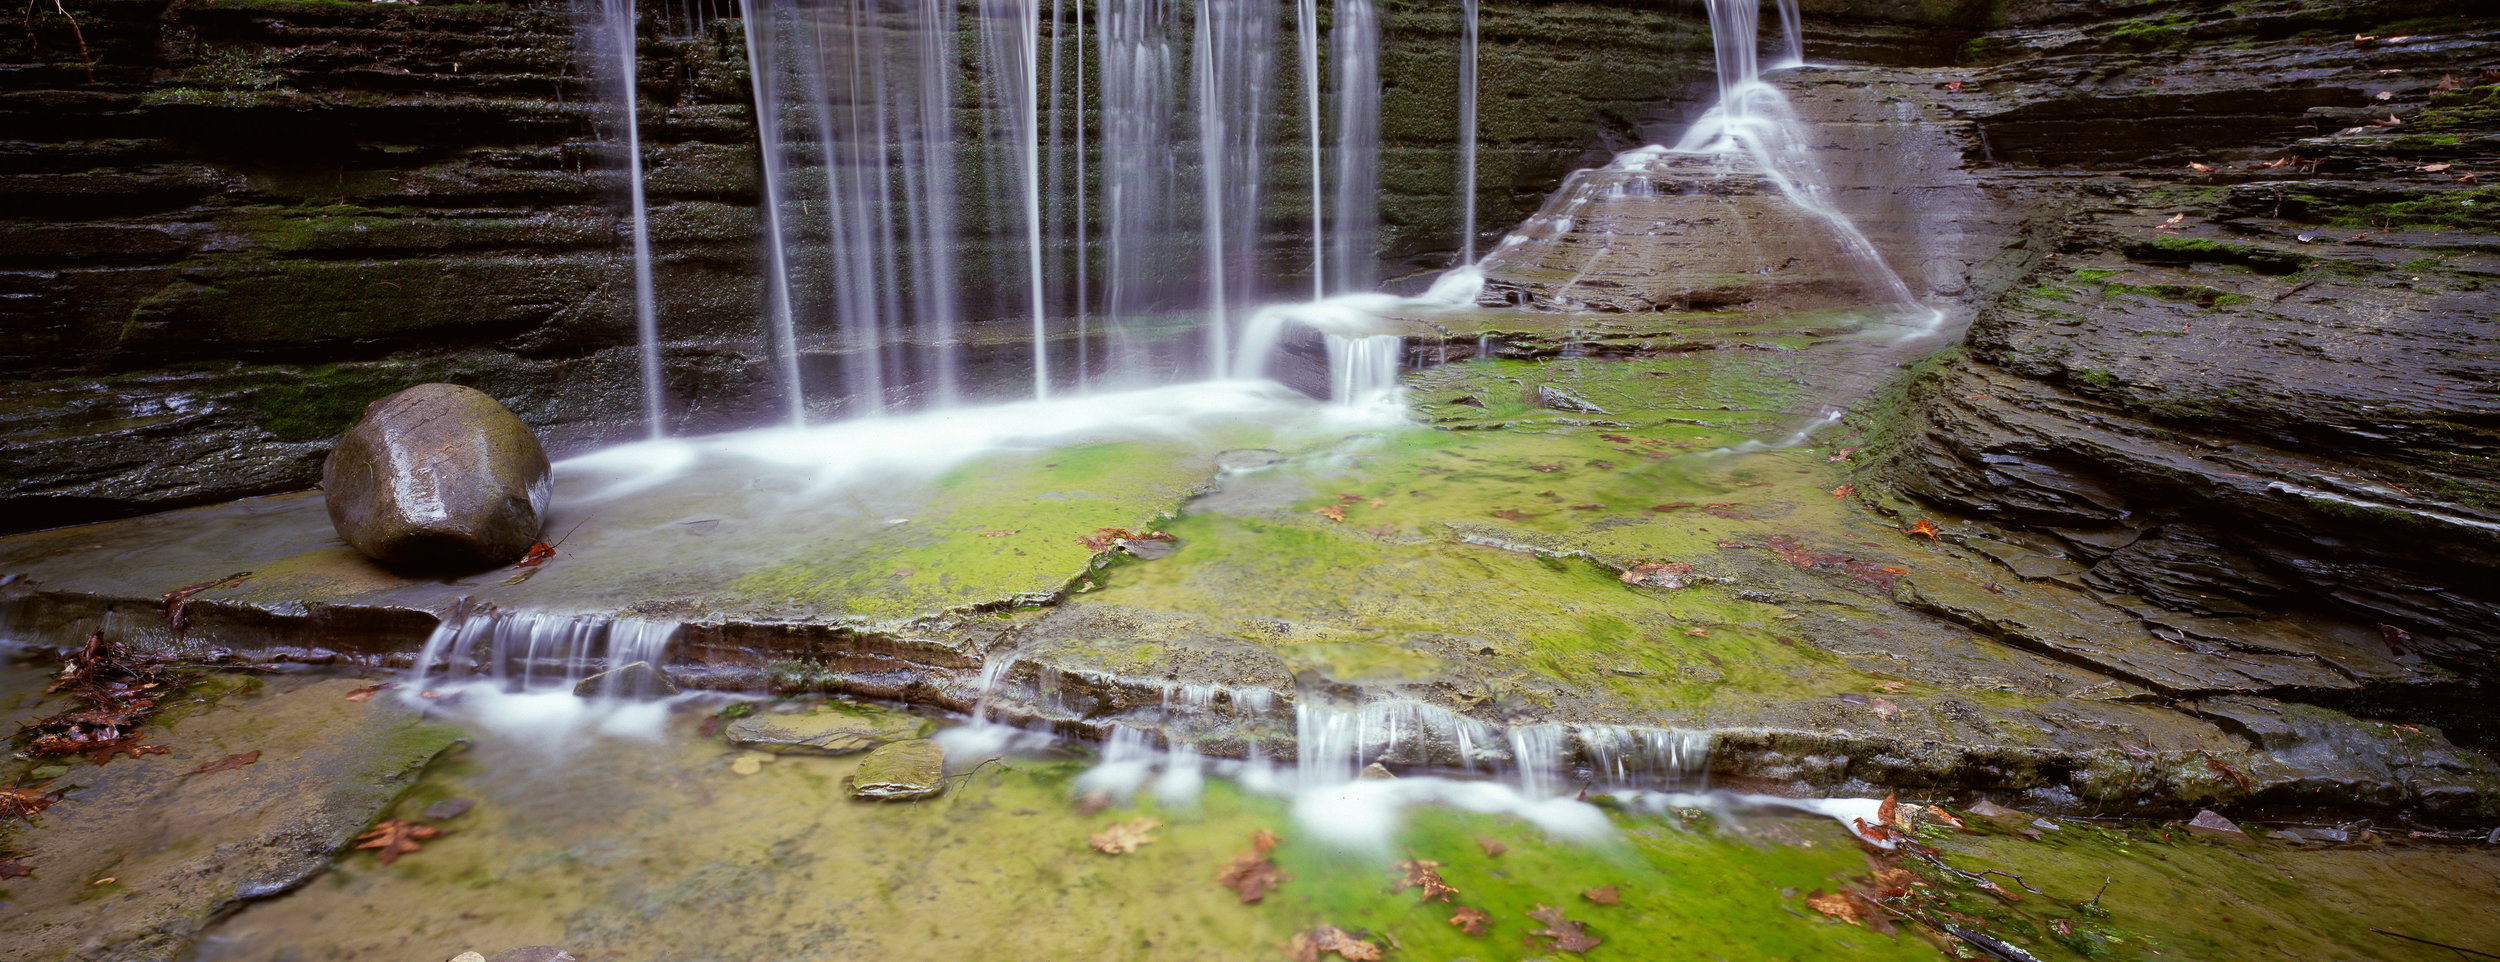
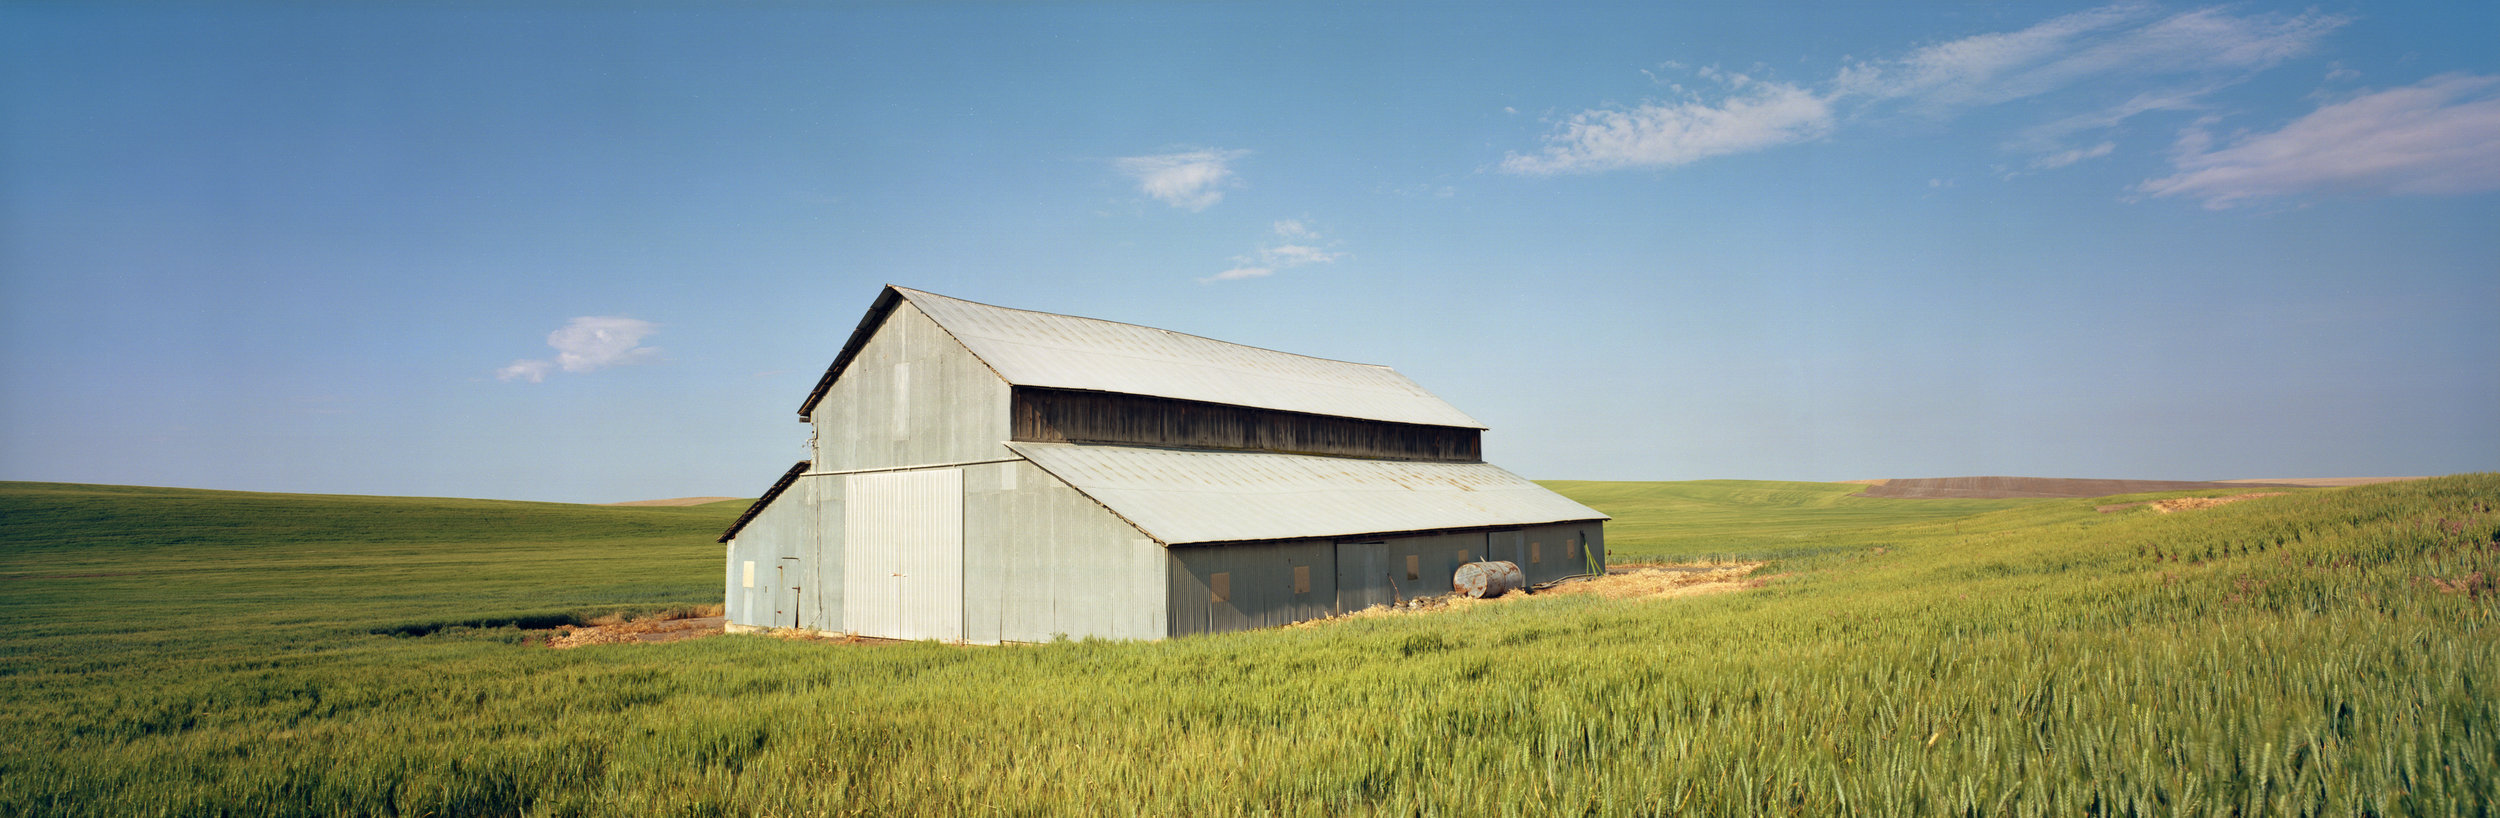
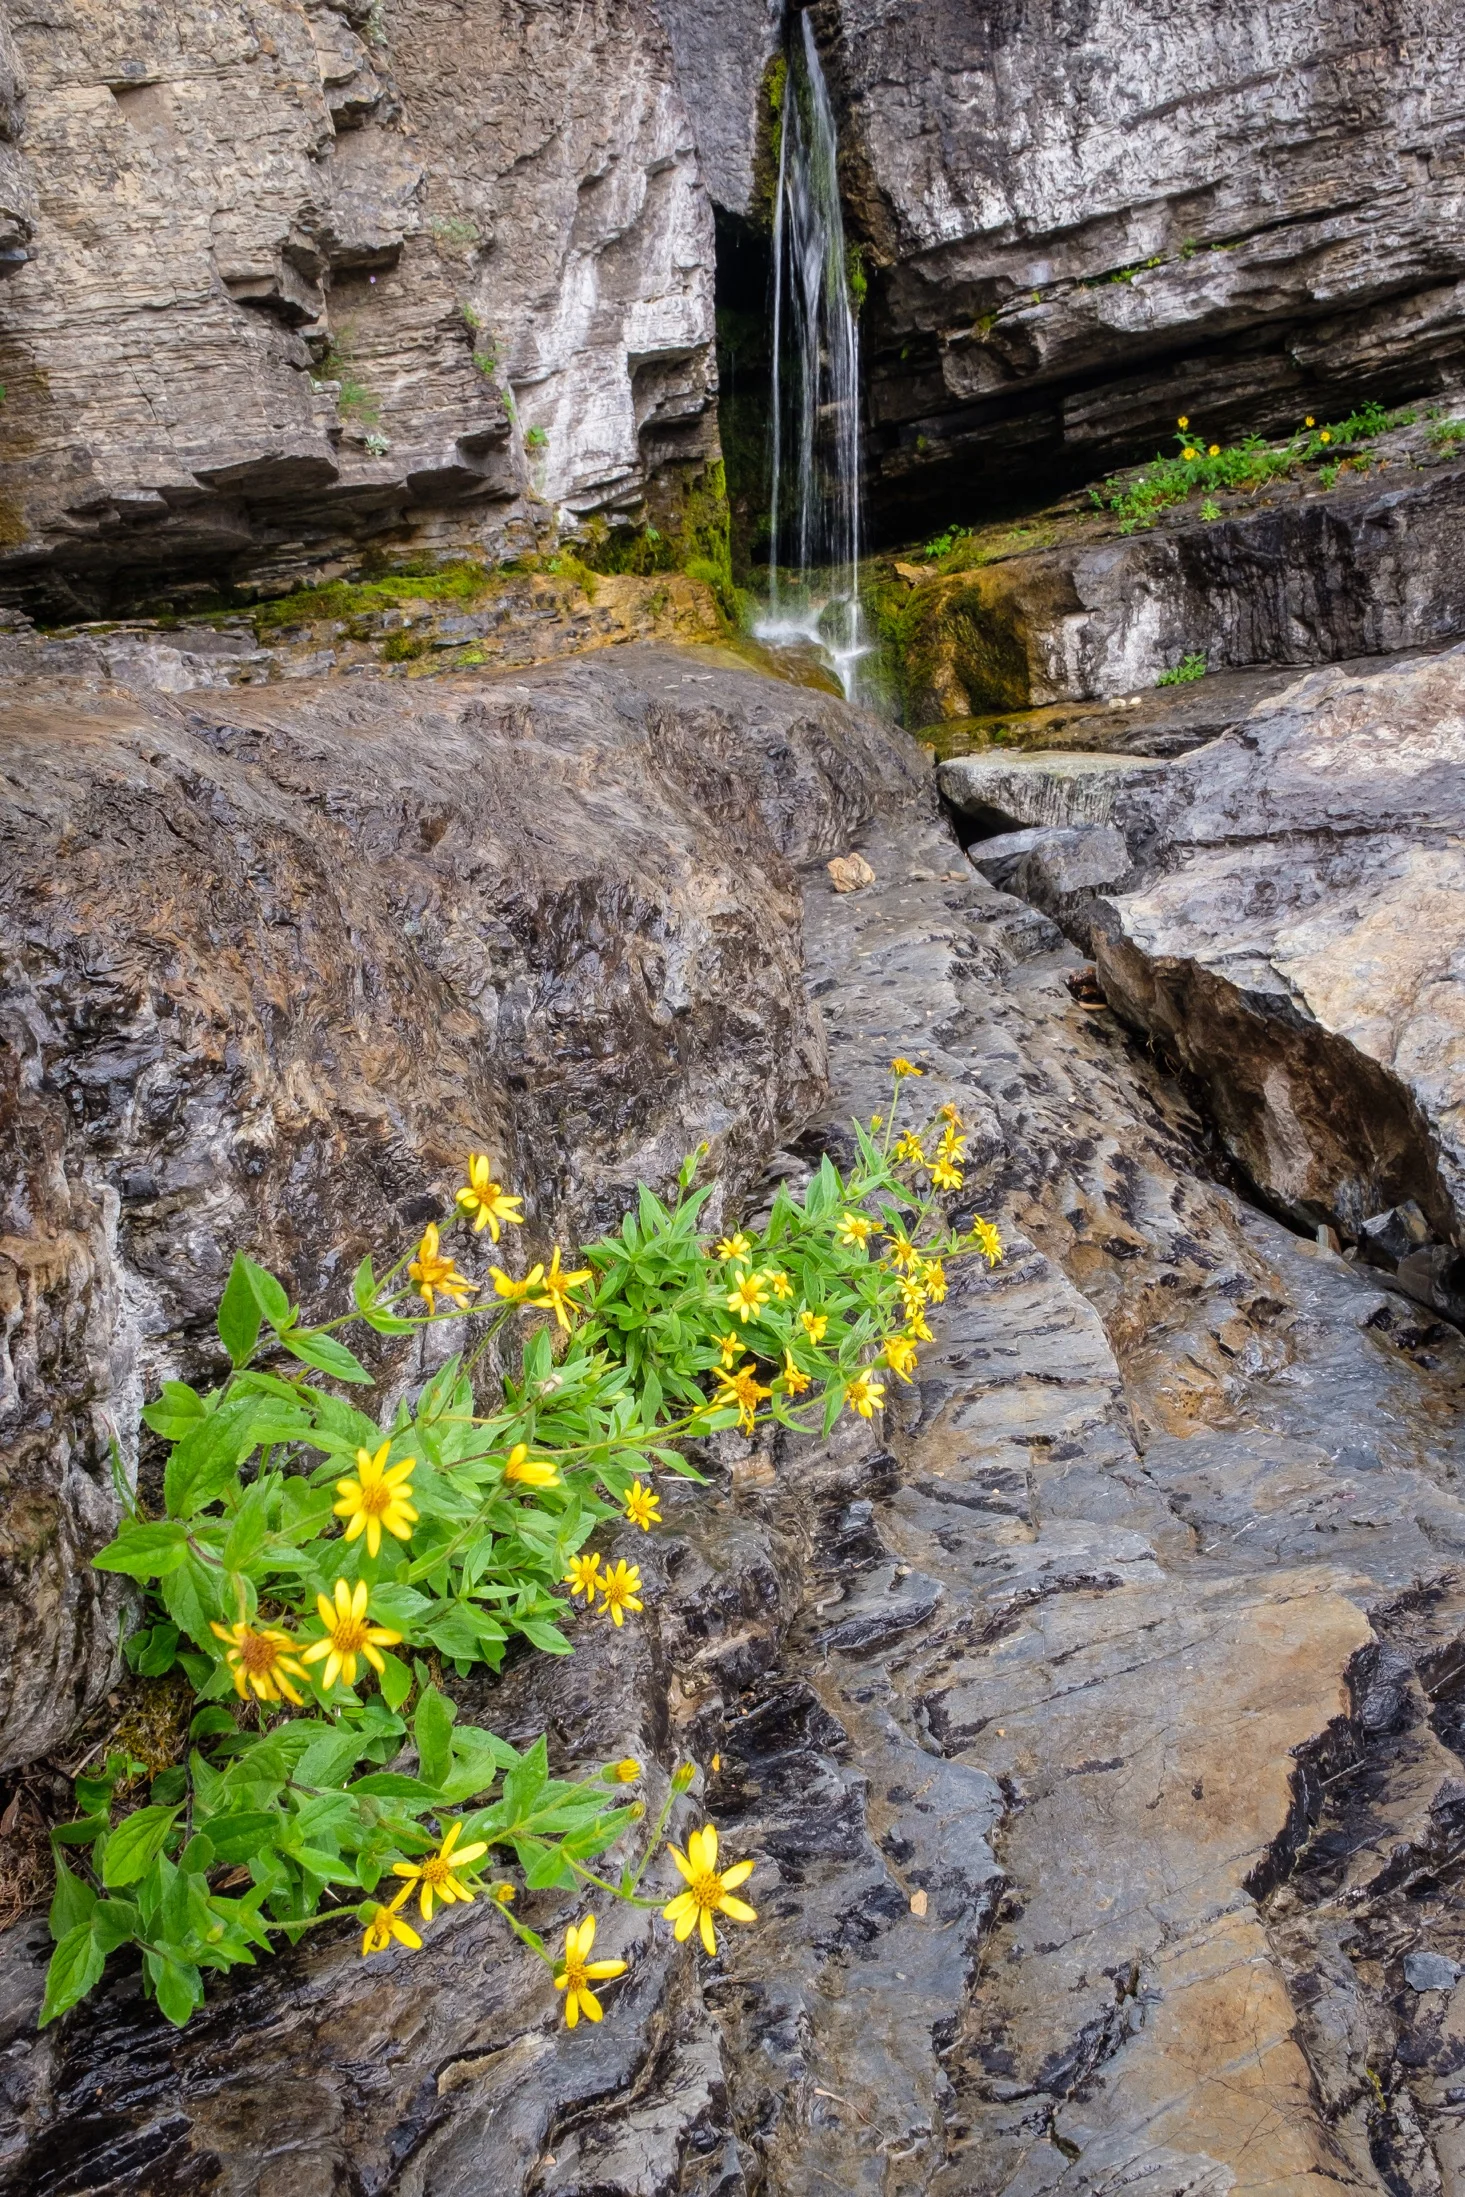
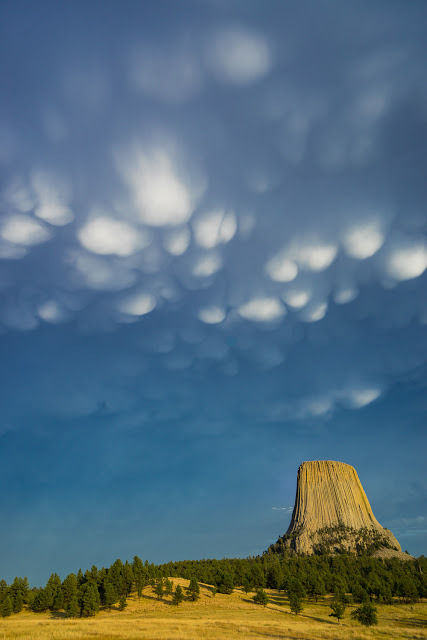
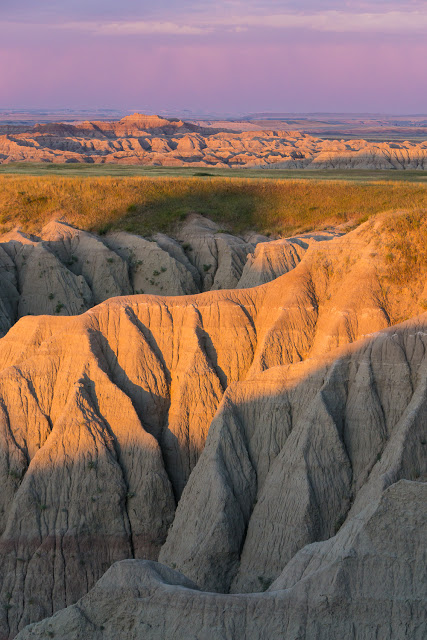
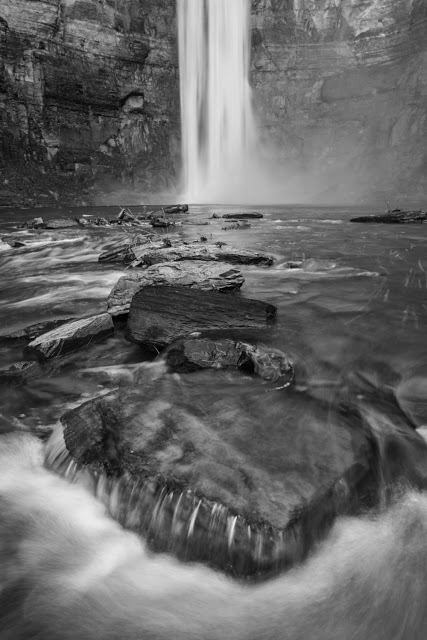
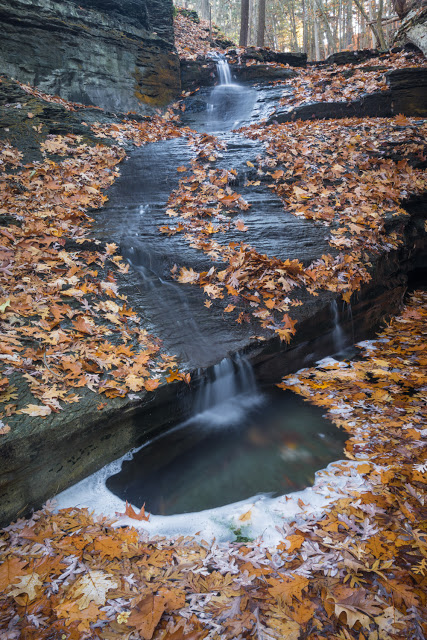
August proved a bit more challenging weather-wise, with thick smoke from British Columbia inundating both Seattle and the surrounding mountains, while my drive back to Ithaca was beset by fog, heavy rain, and general grossness. Despite this, I had a wonderful time, enjoying photographing waterfalls during my first visit to Glacier National Park, as well as revisiting some favorite spots from last year's drives, including Steptoe Butte in the Palouse, Devils Tower in Wyoming, and Badlands National Park in South Dakota.

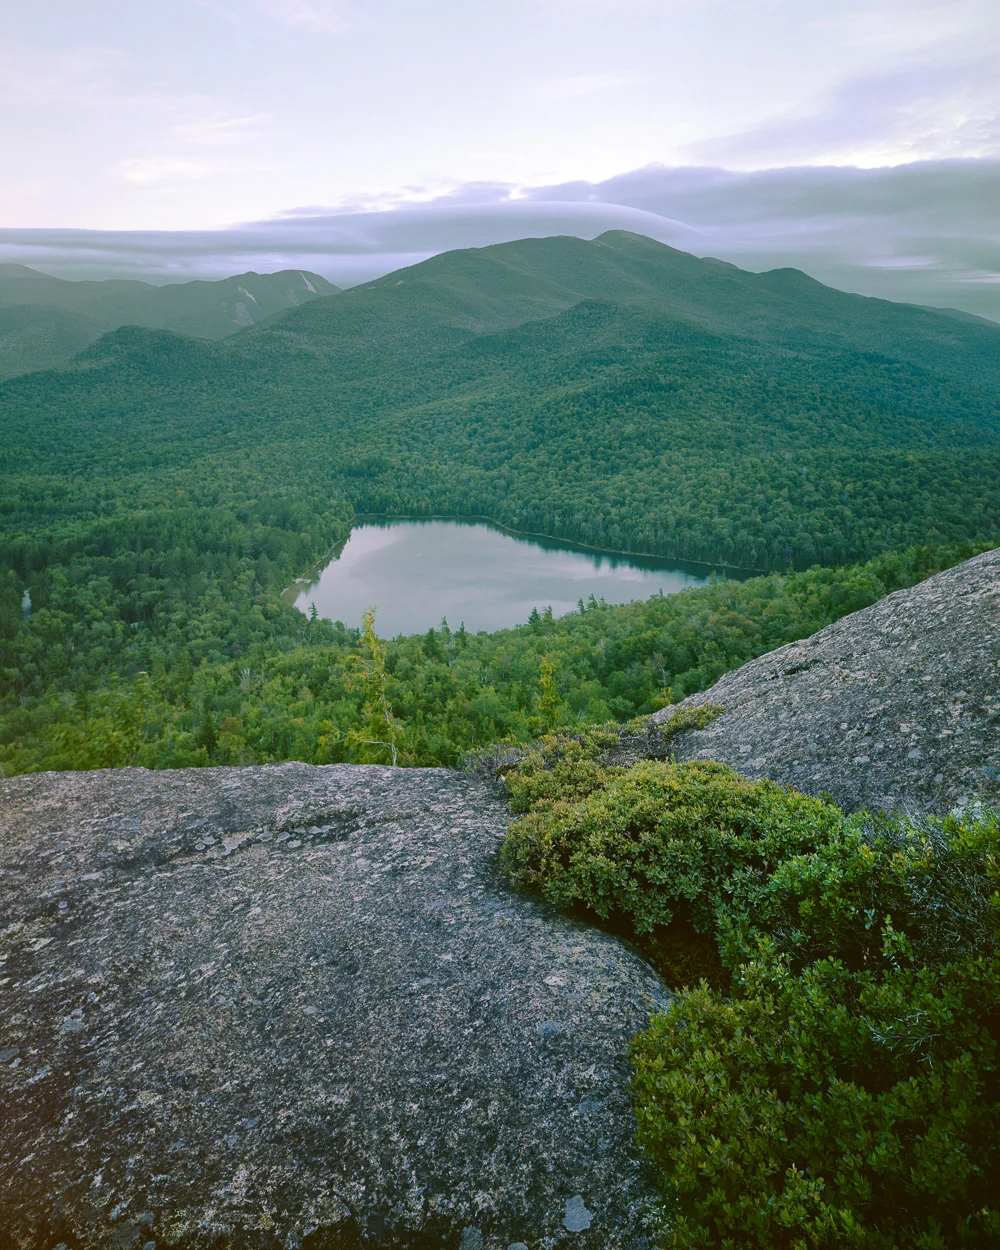
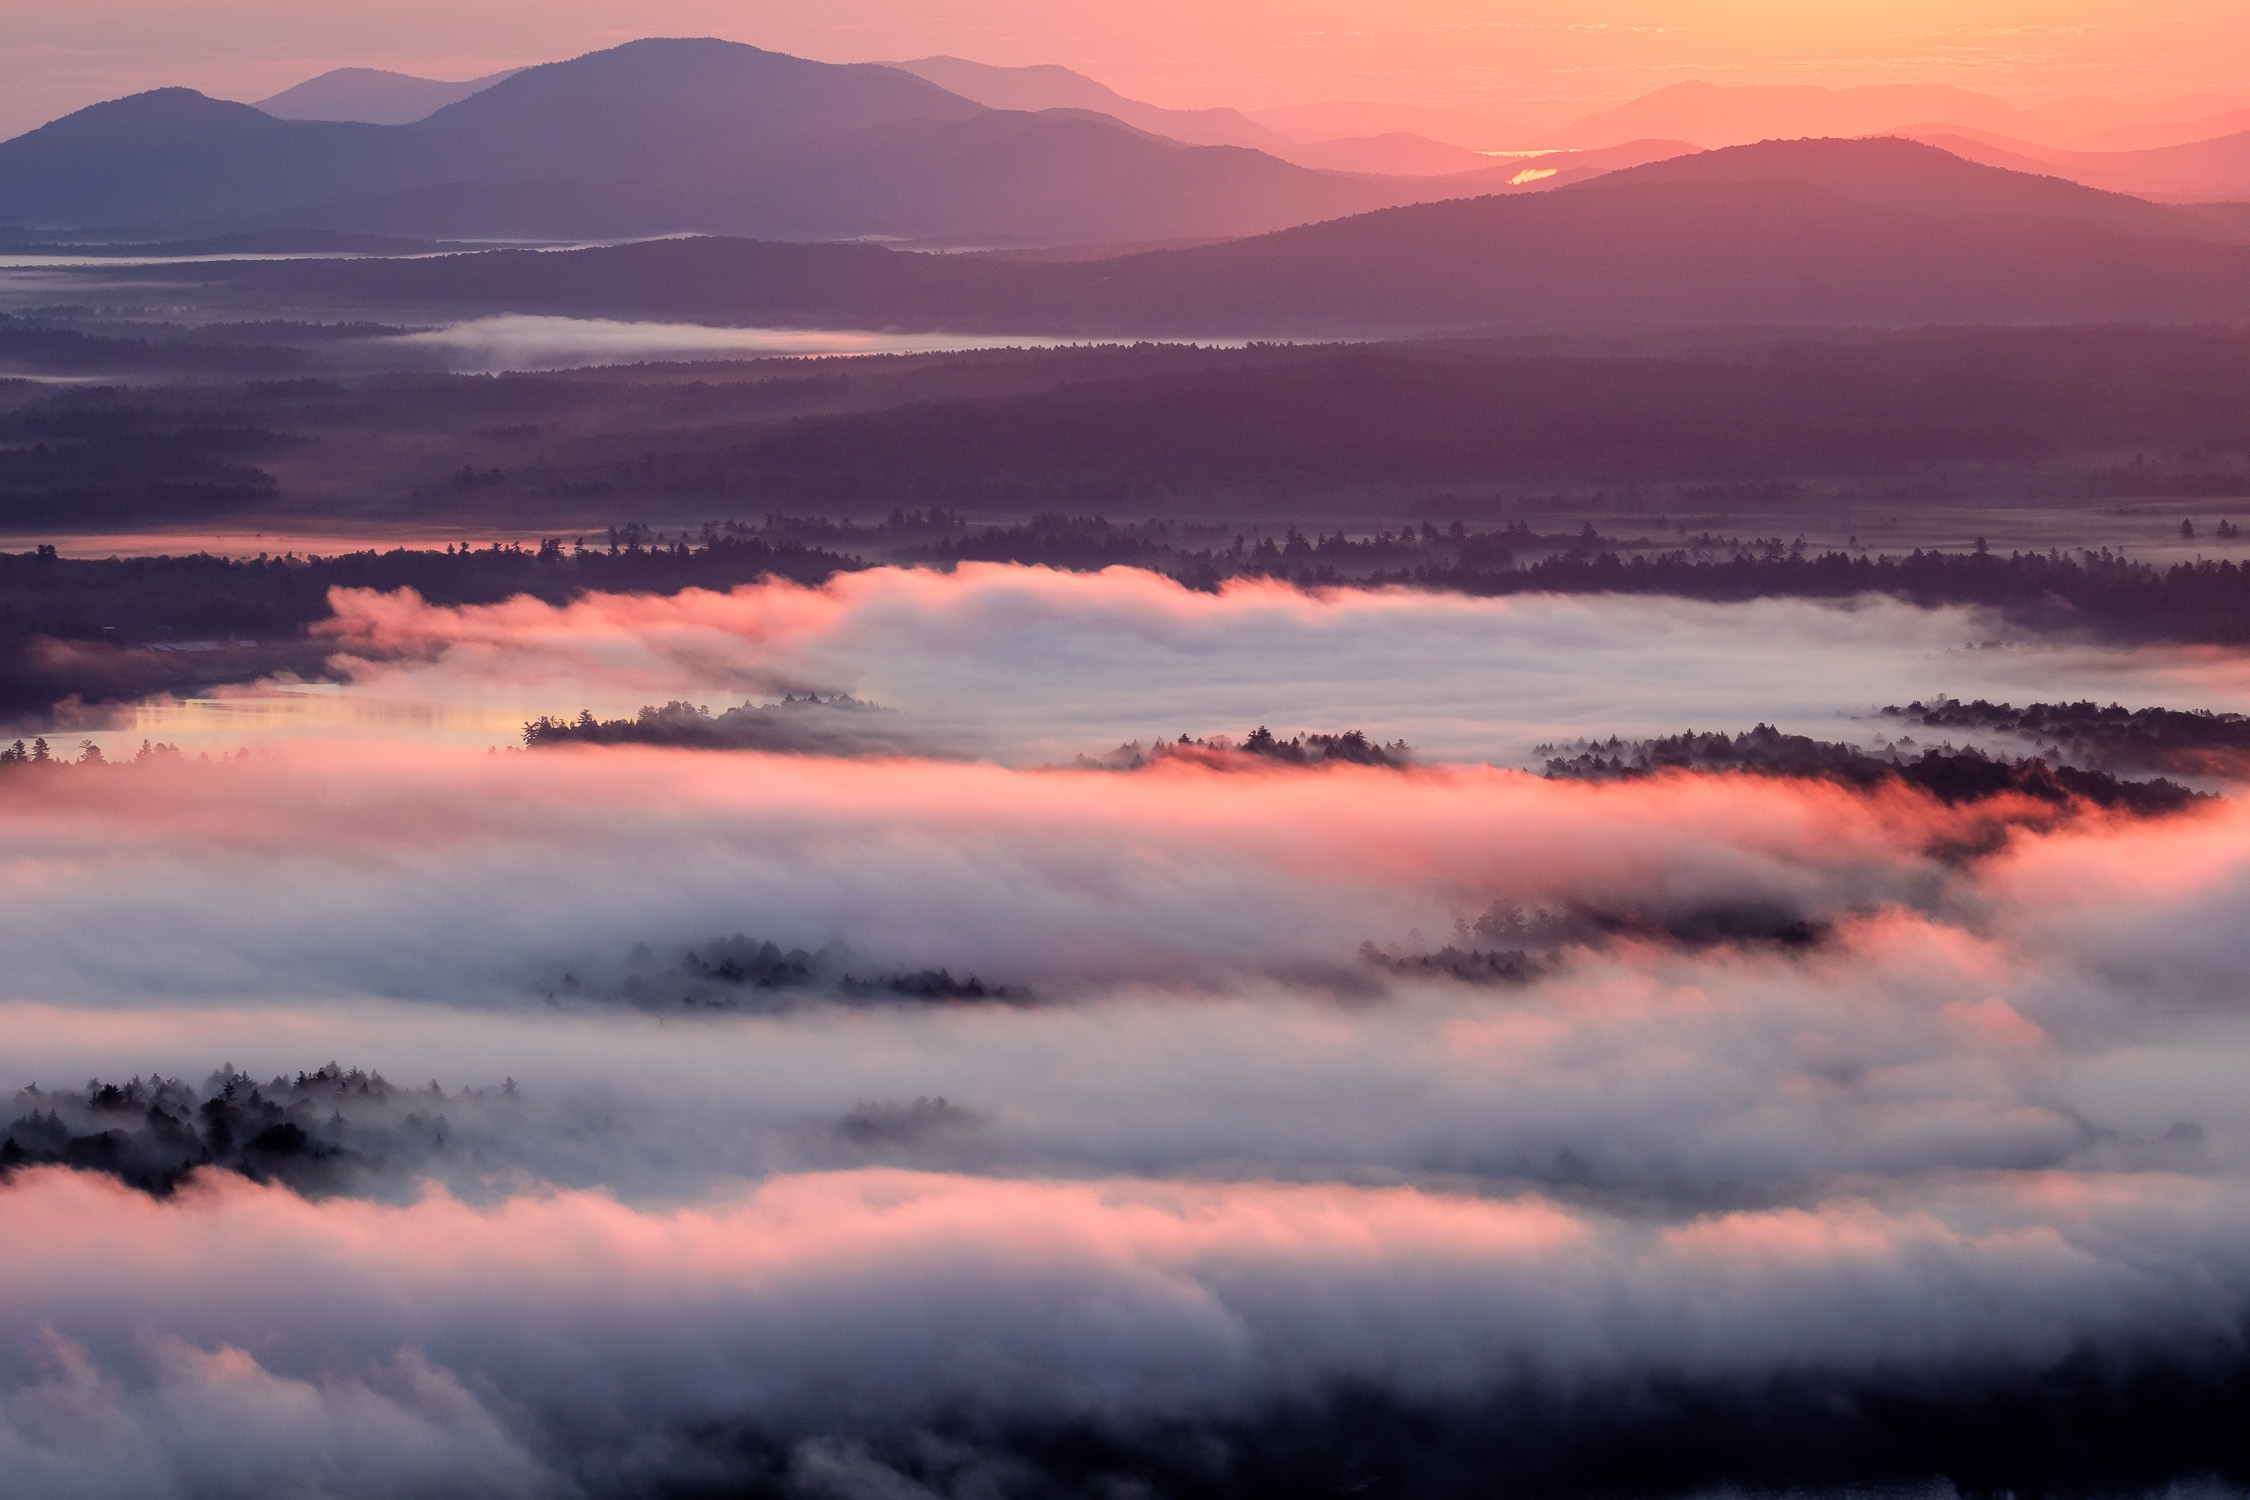
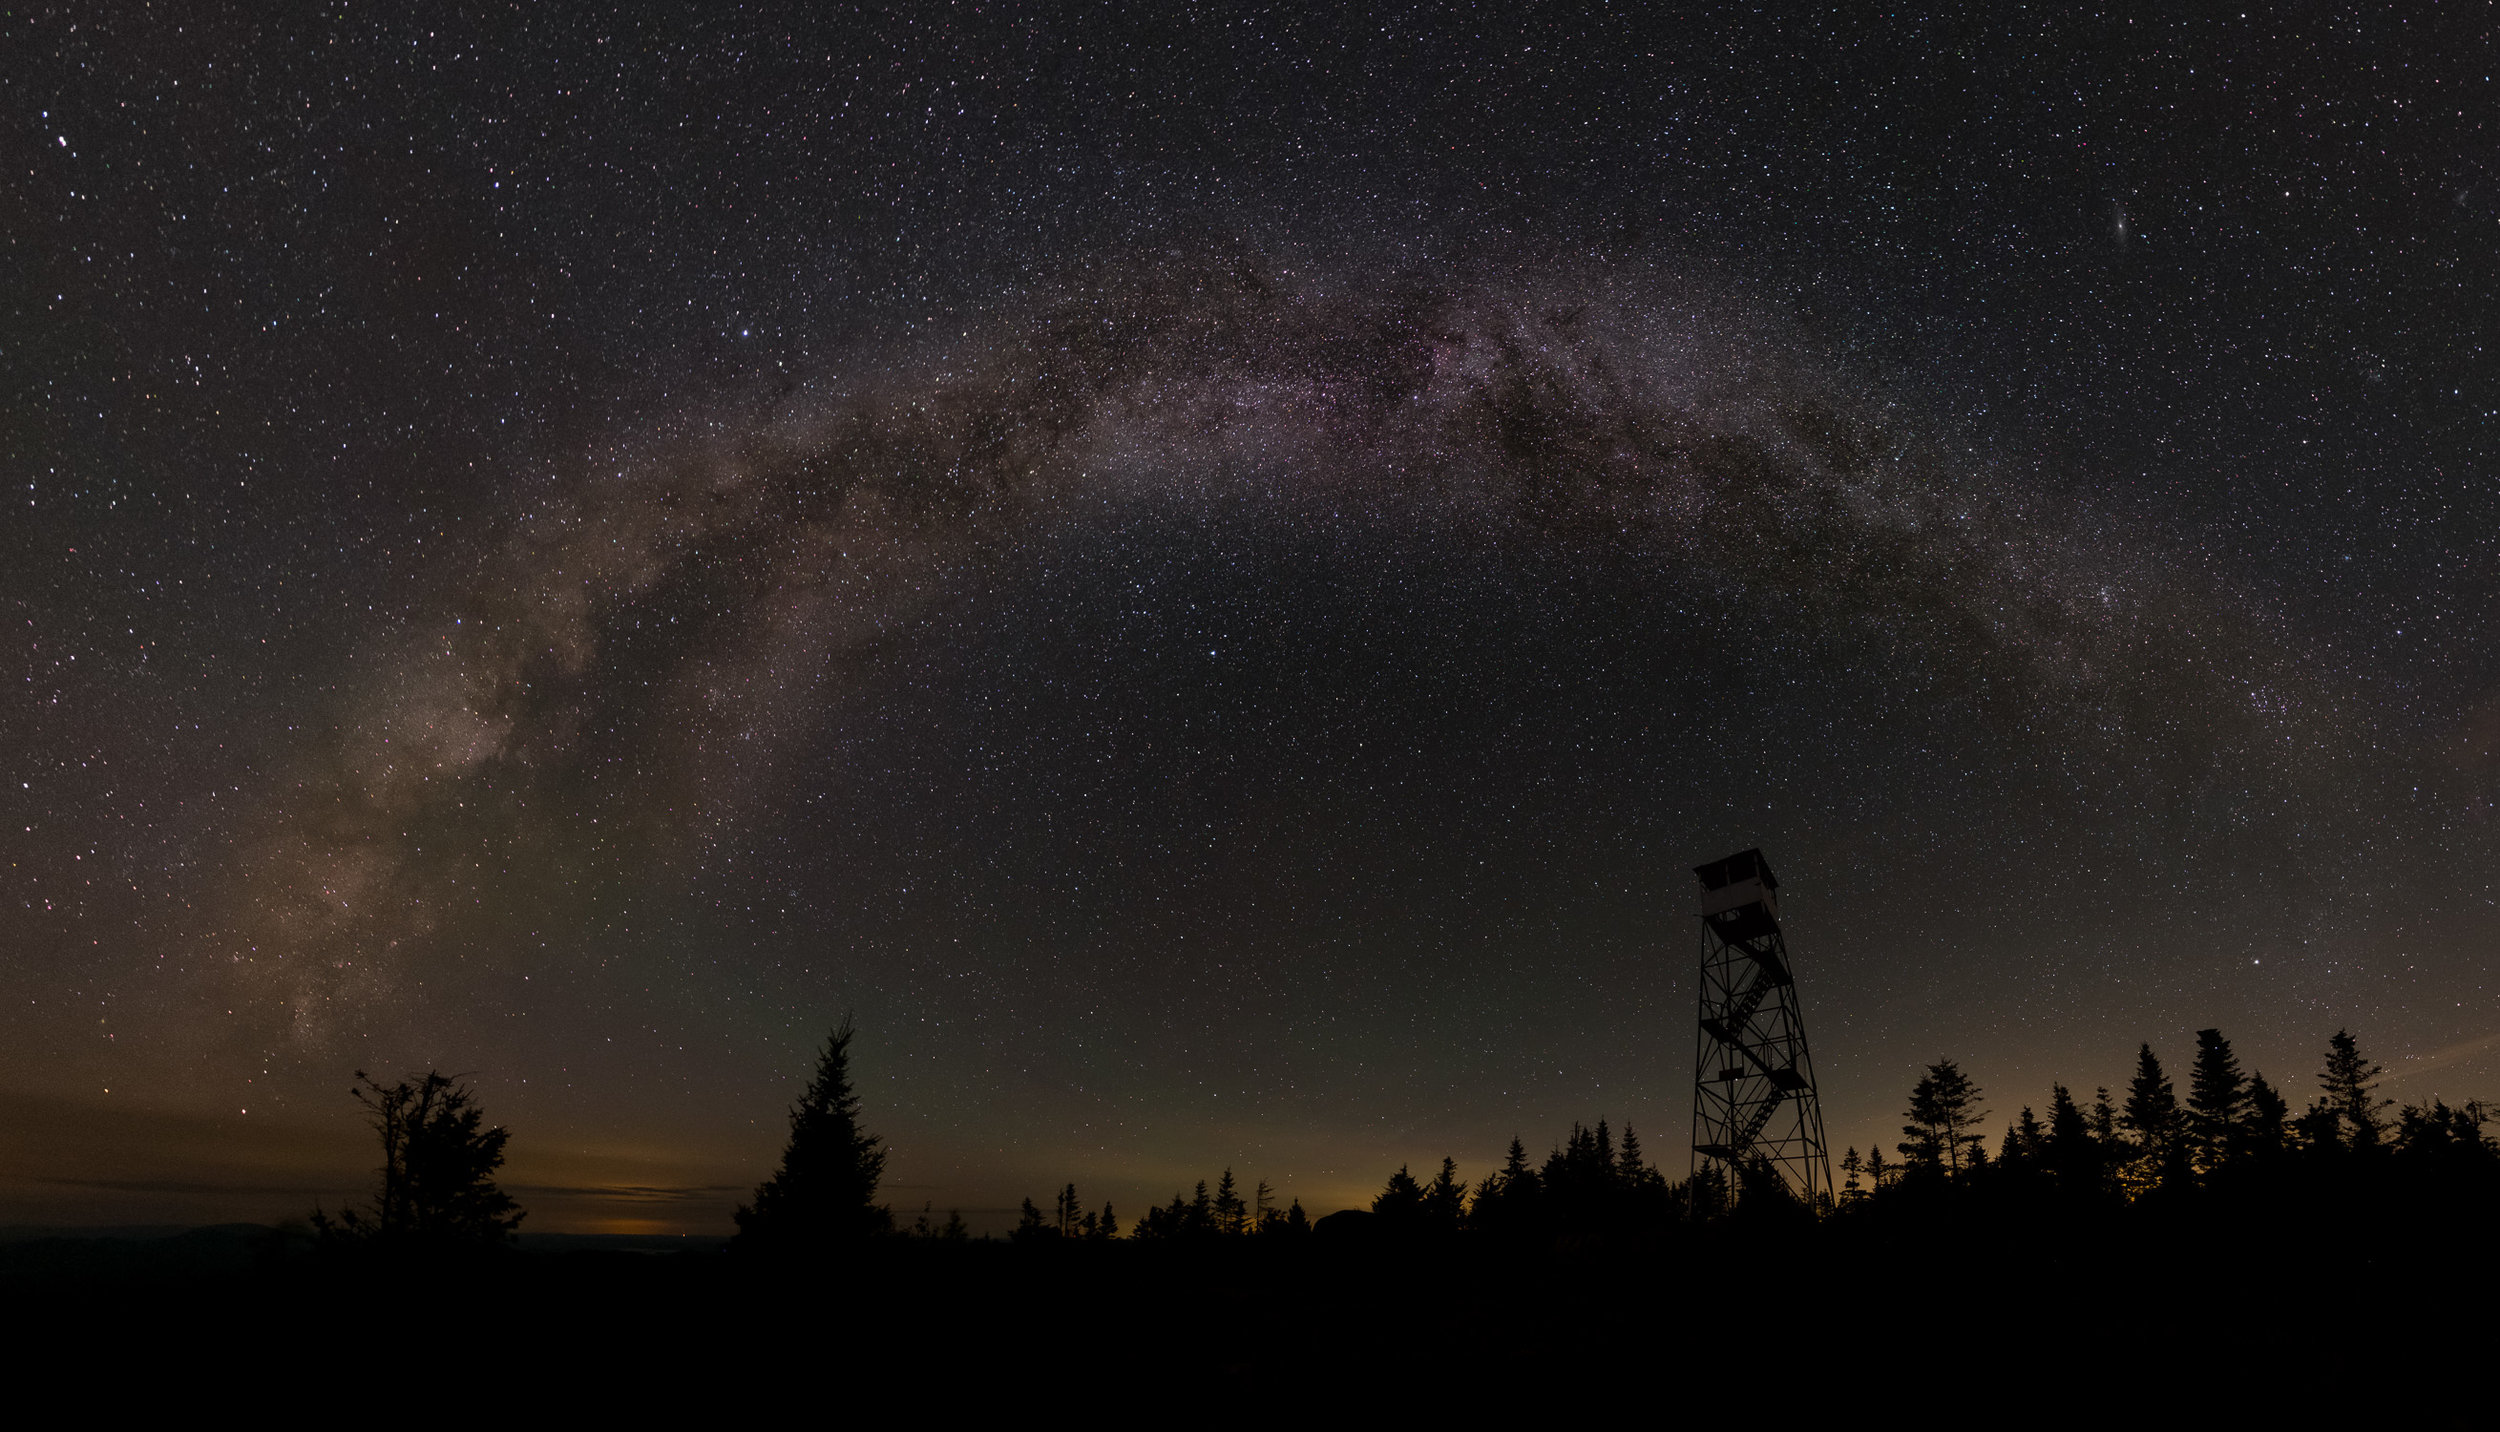
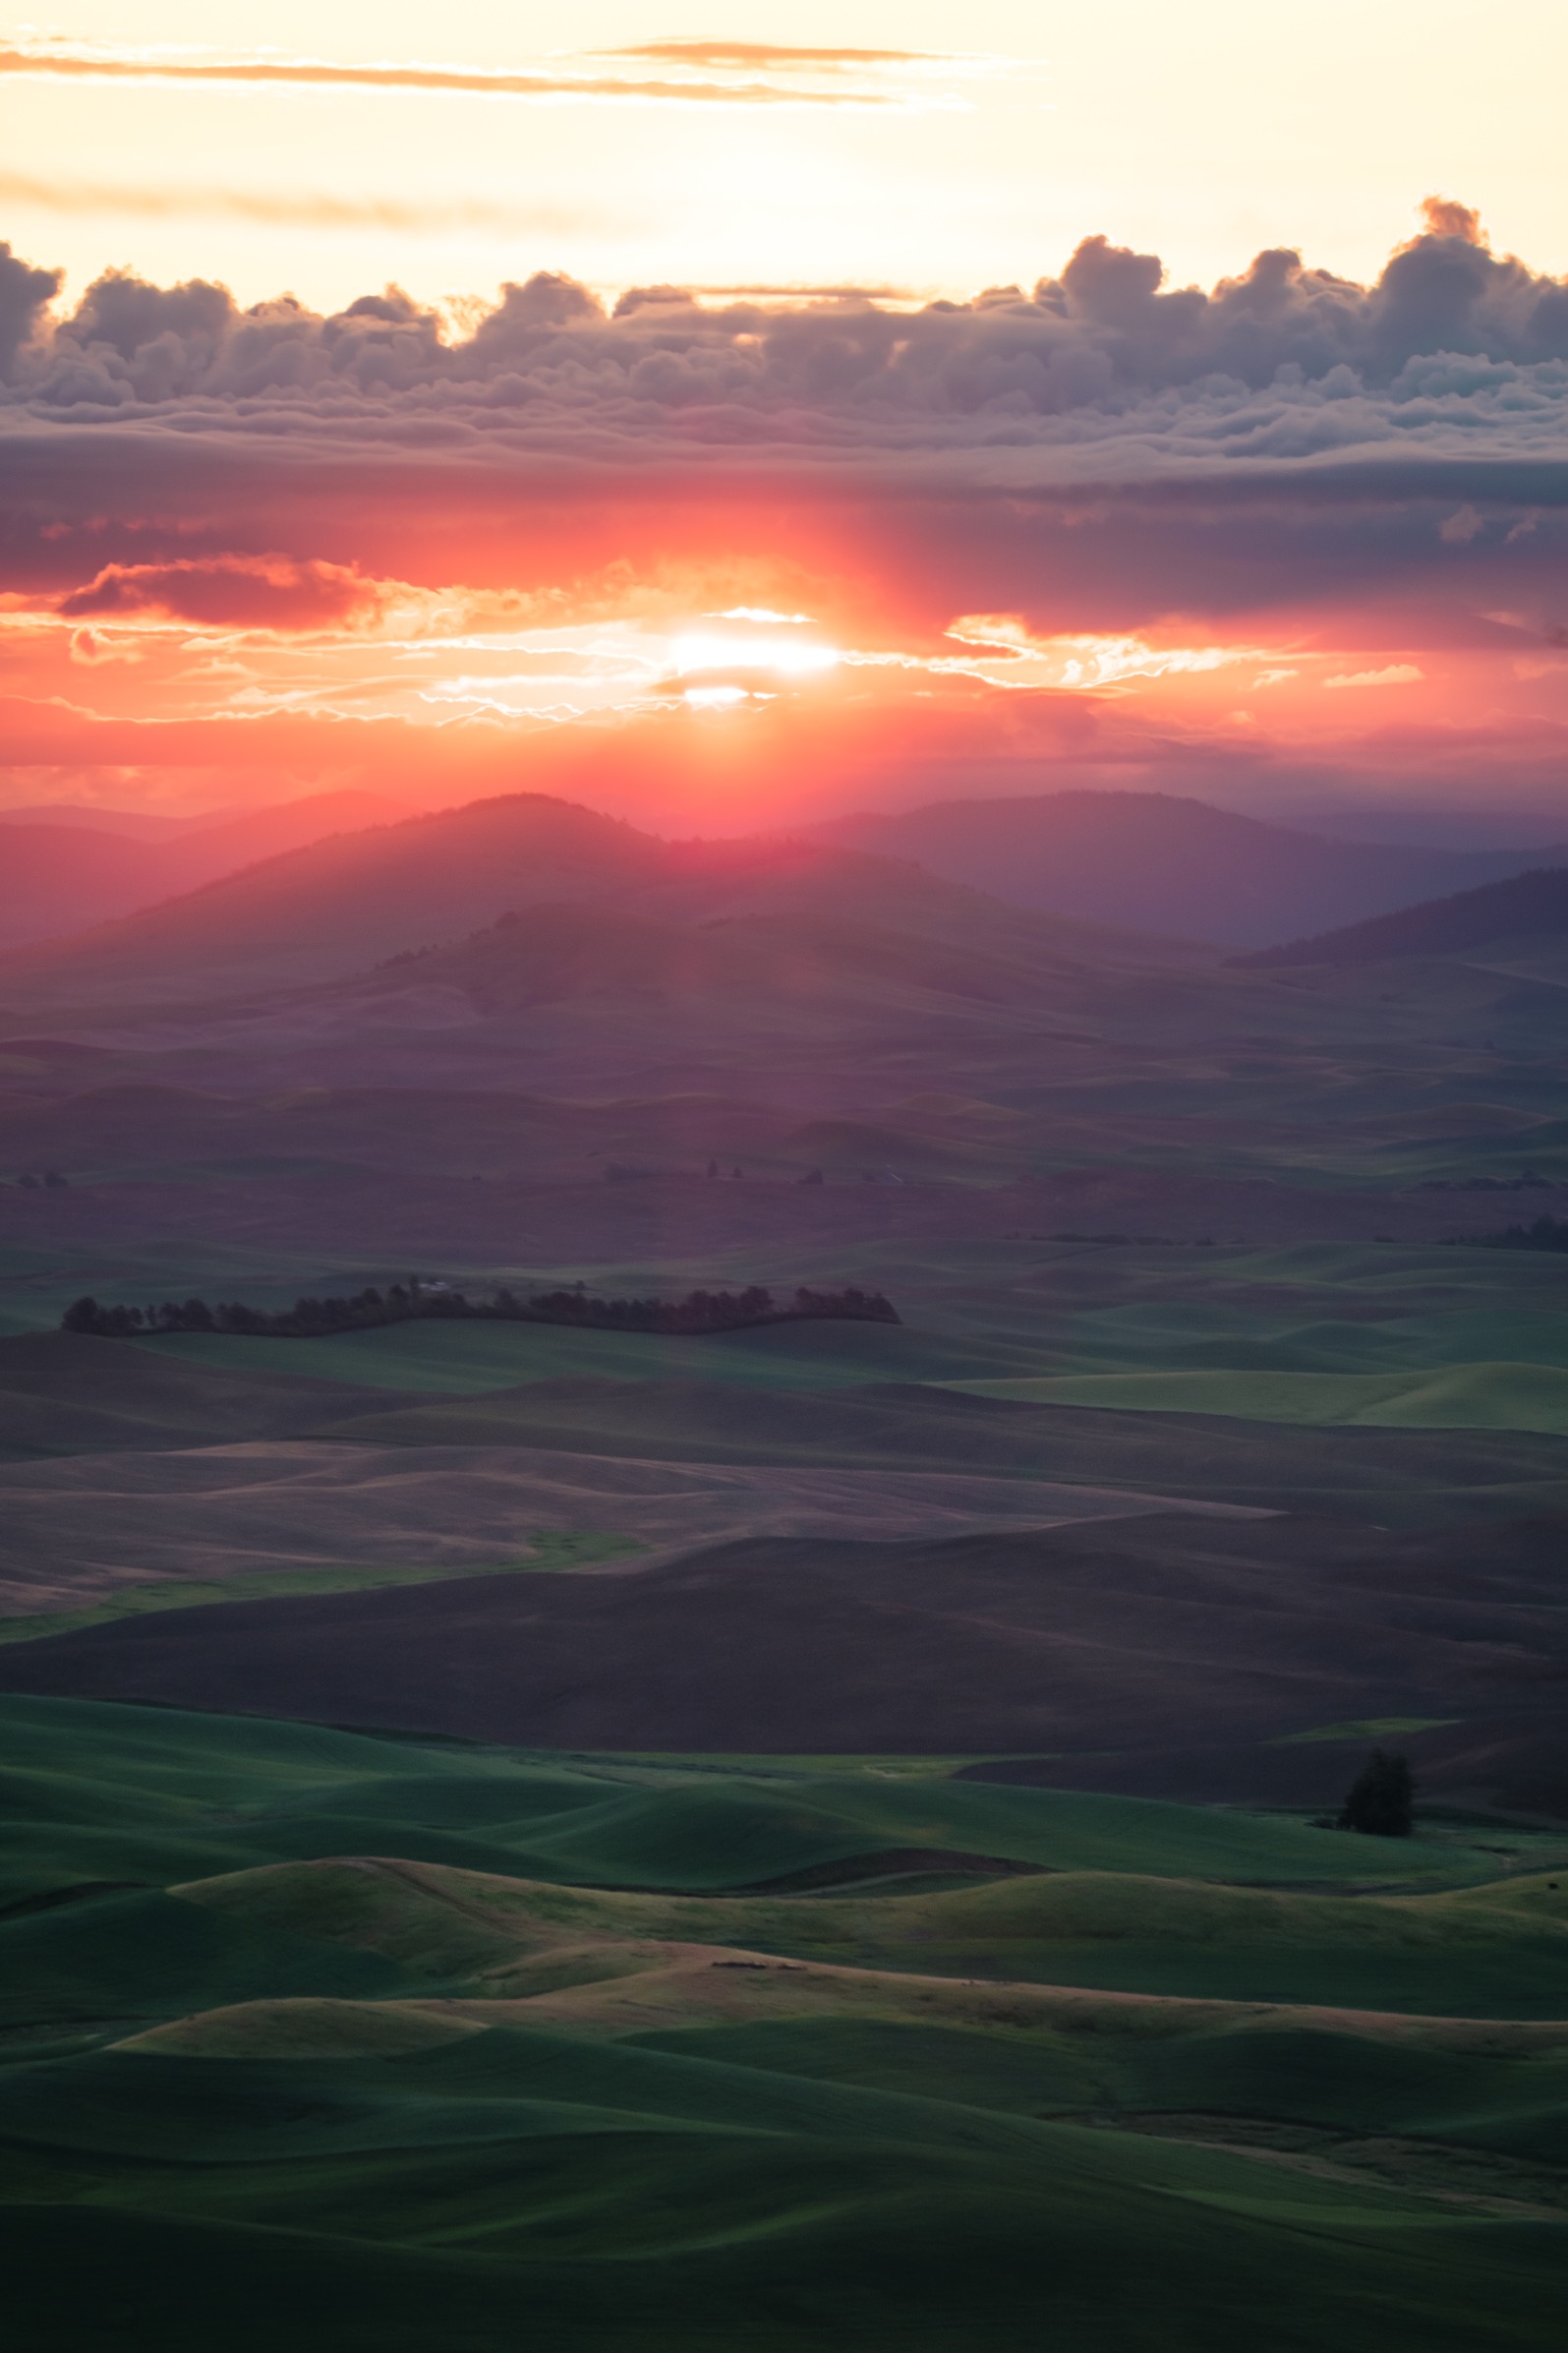
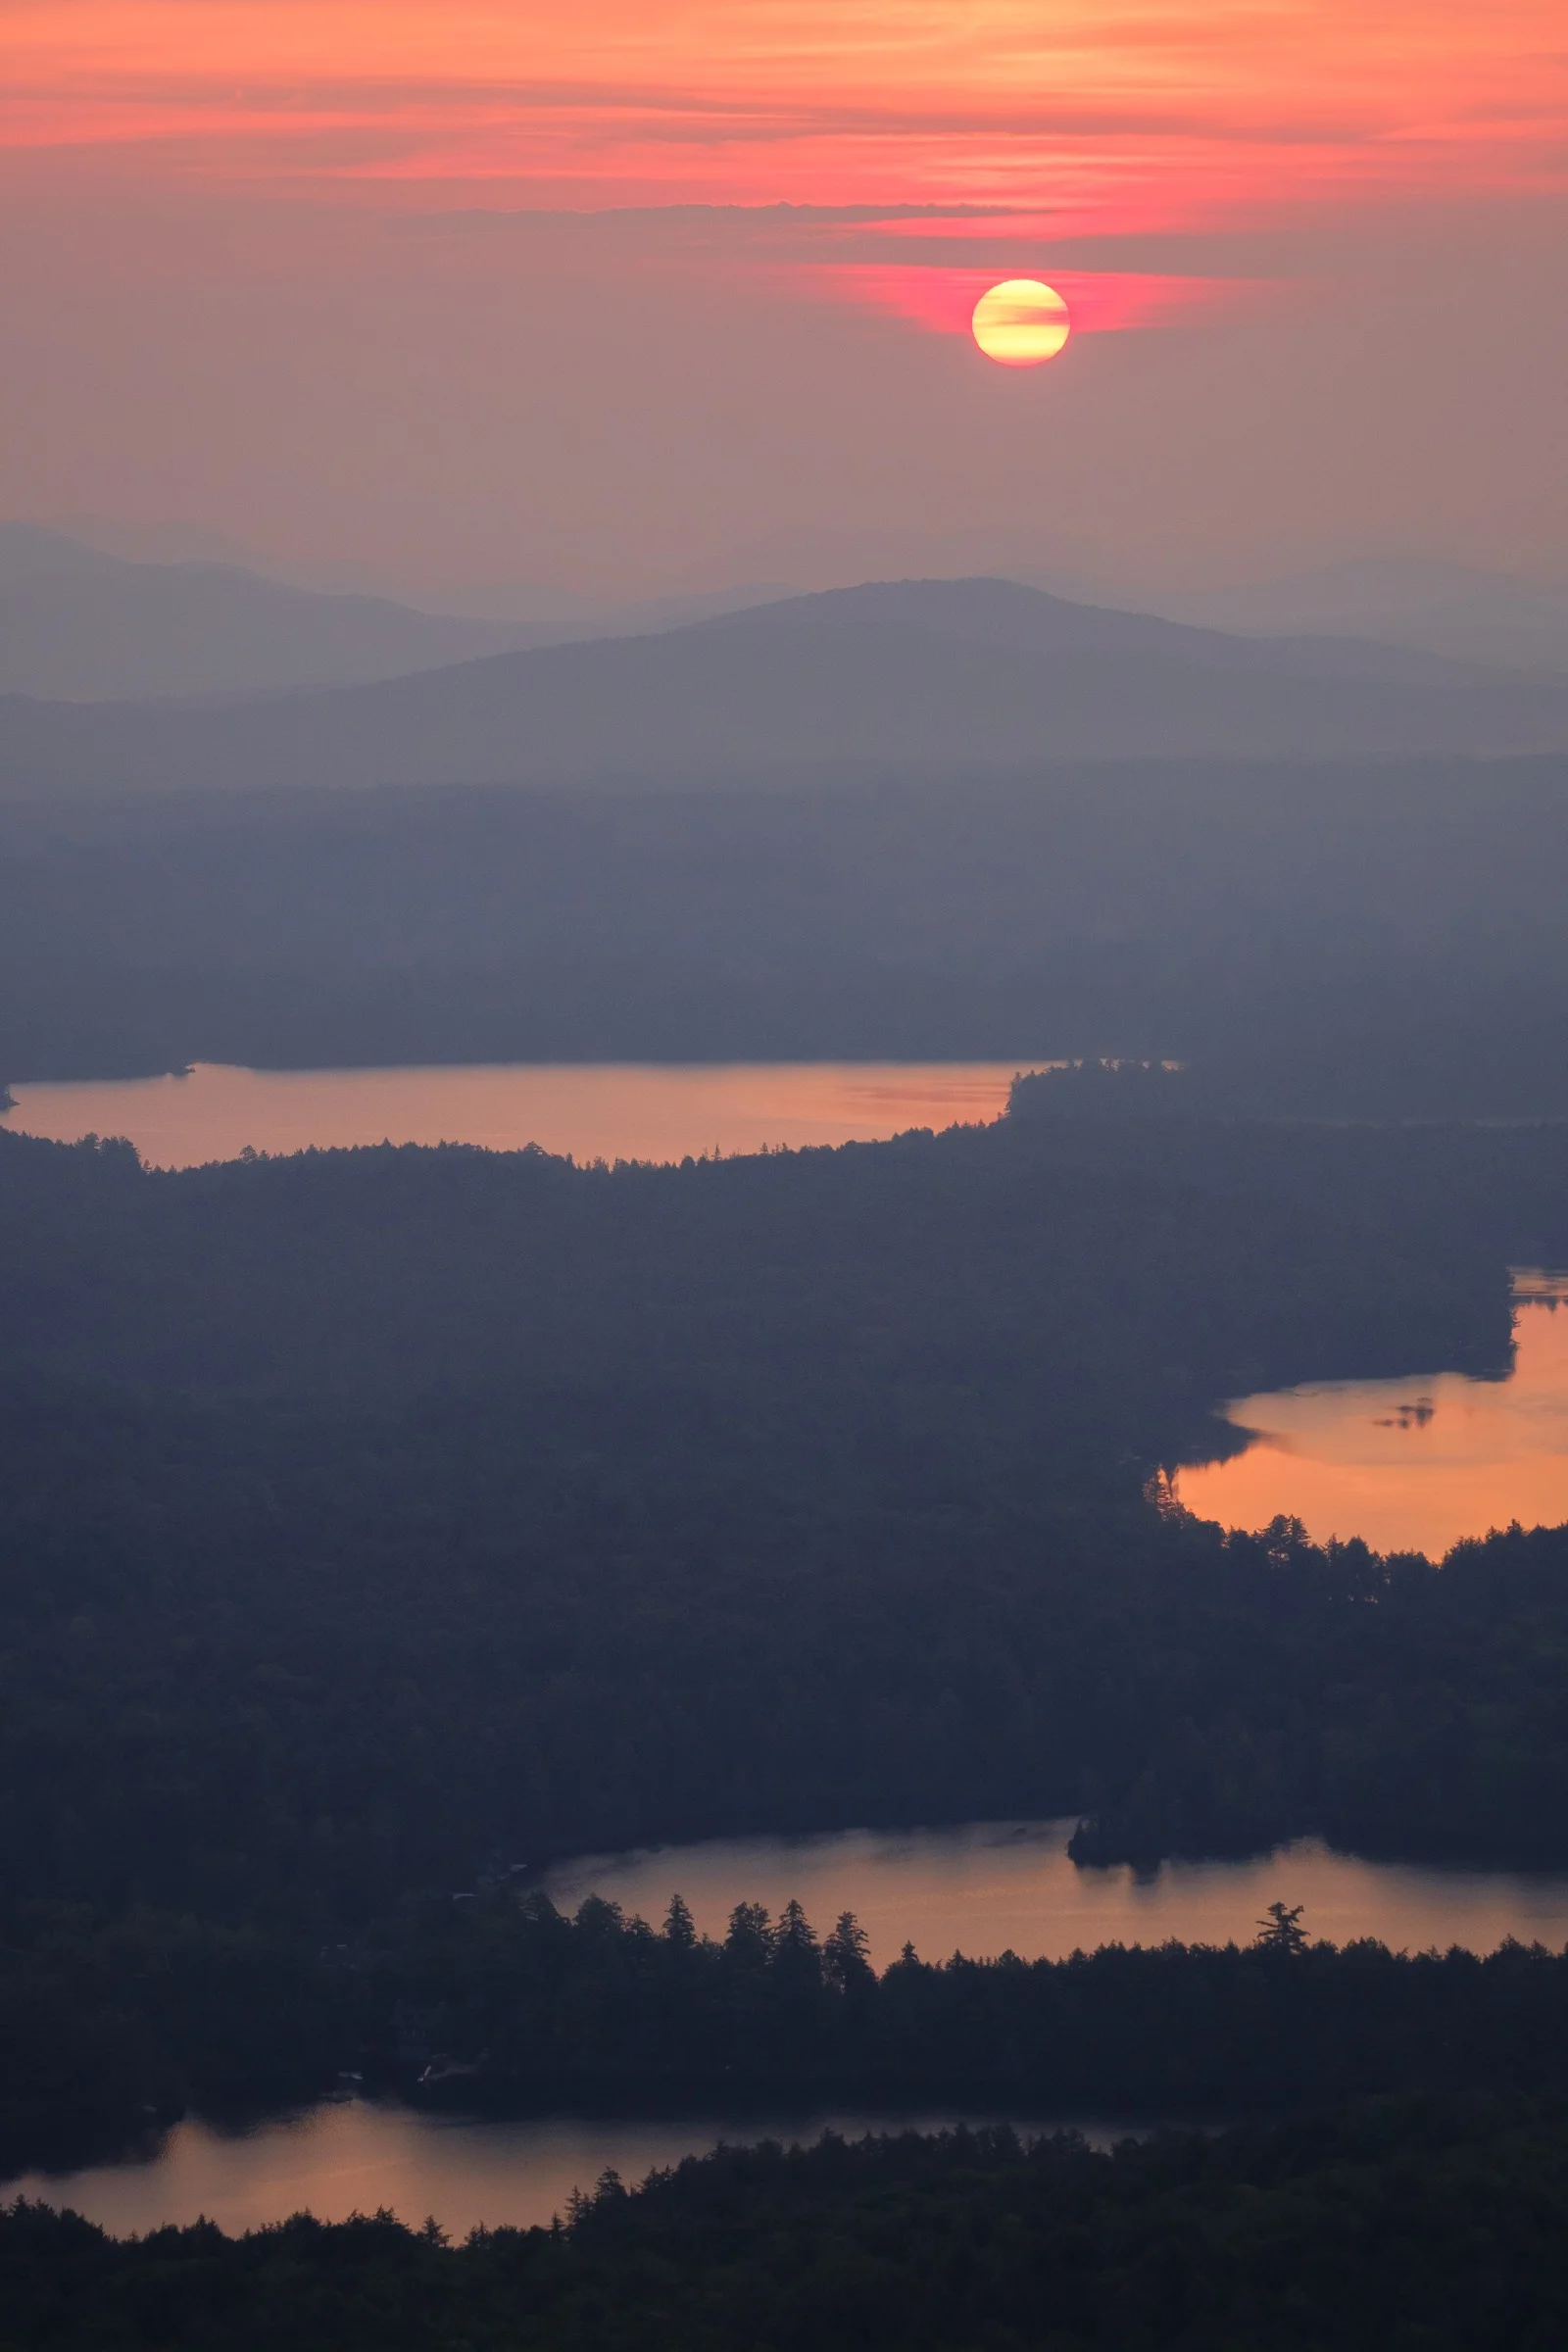
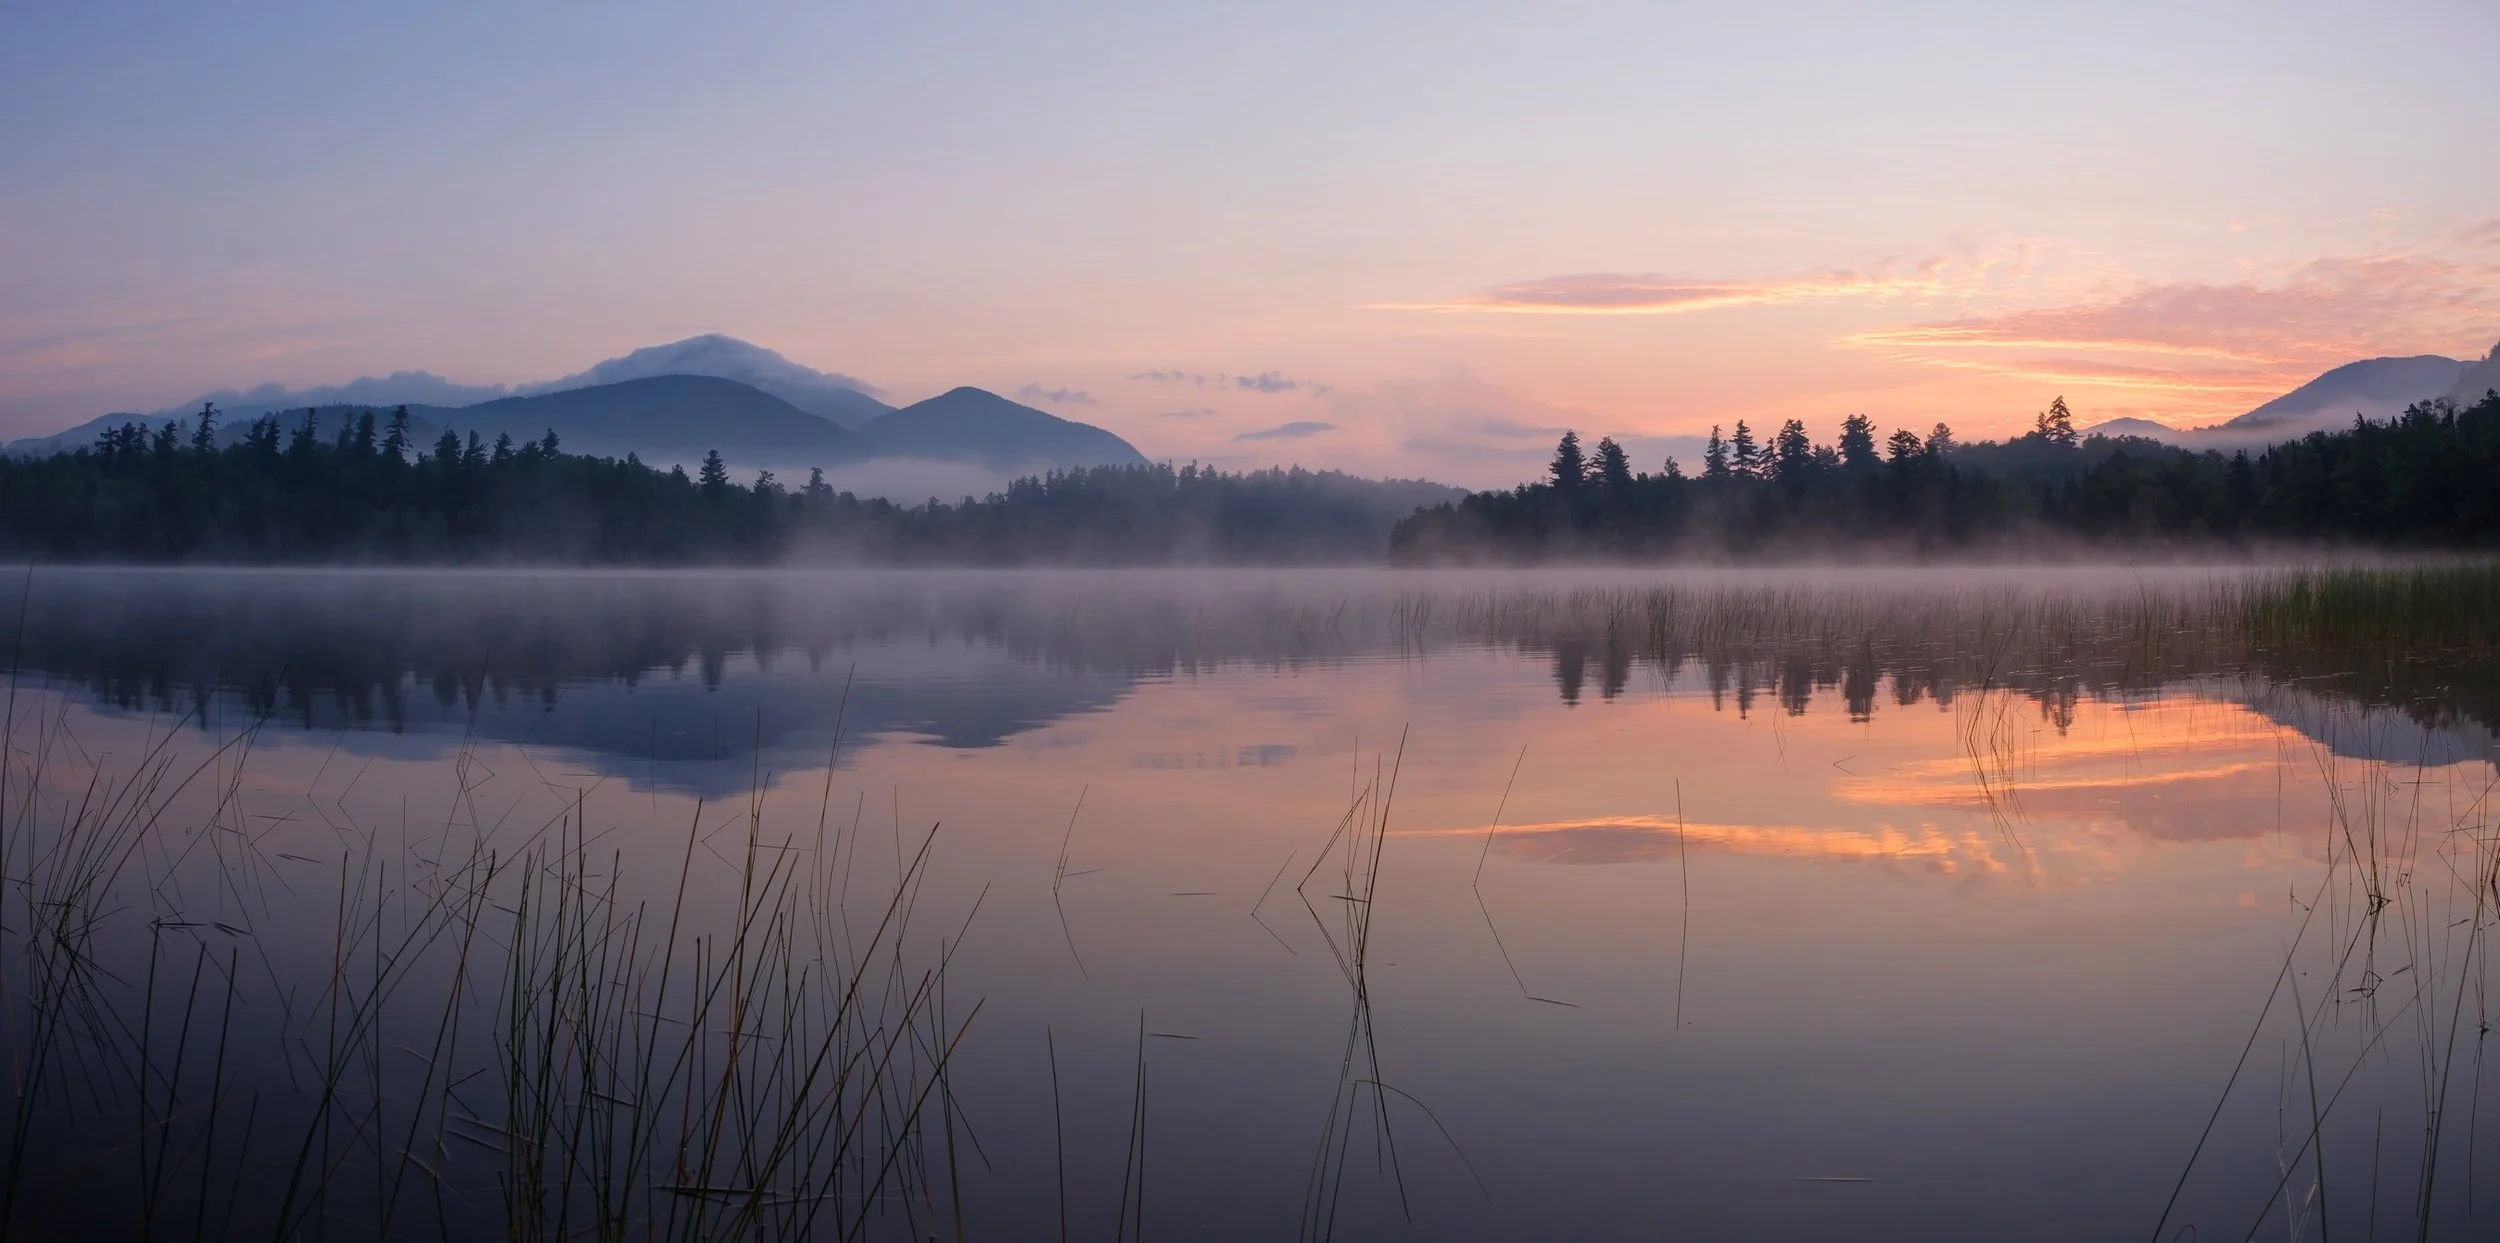
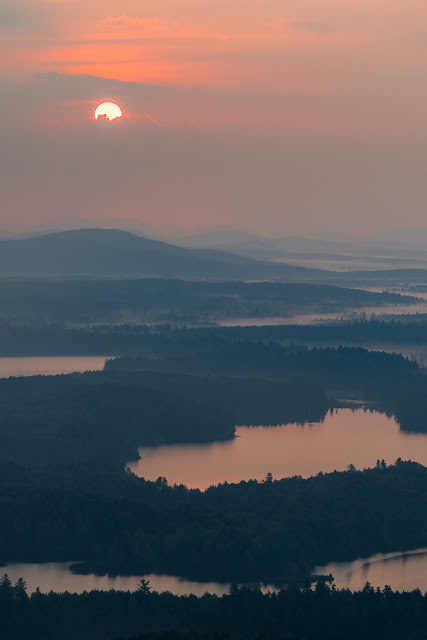
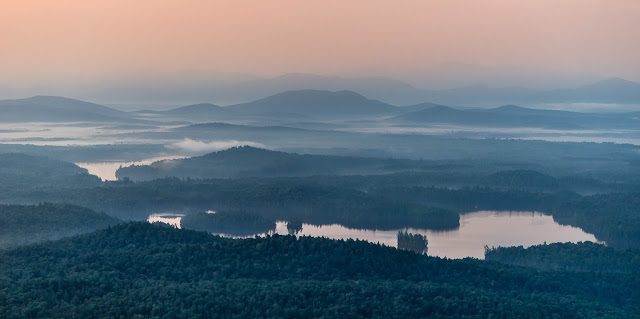
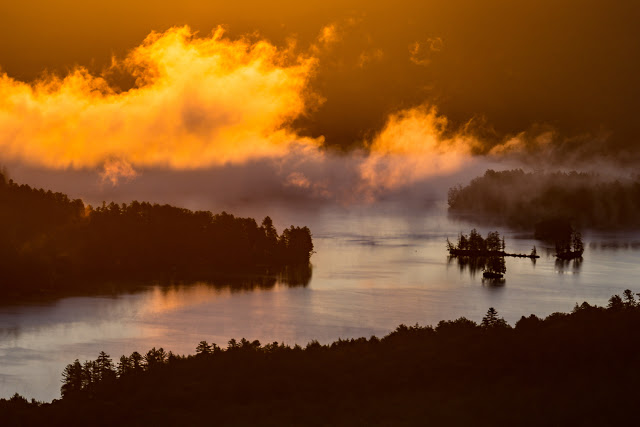
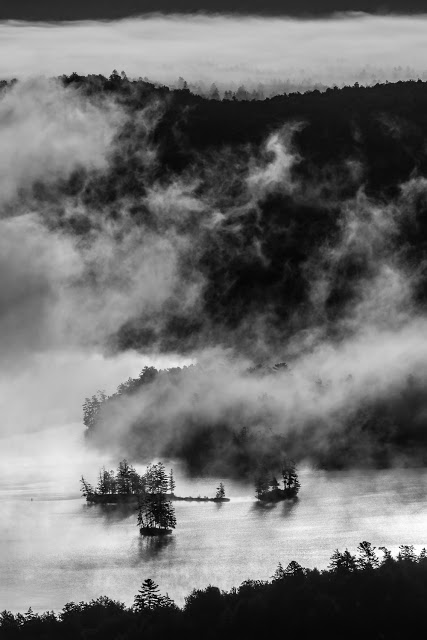
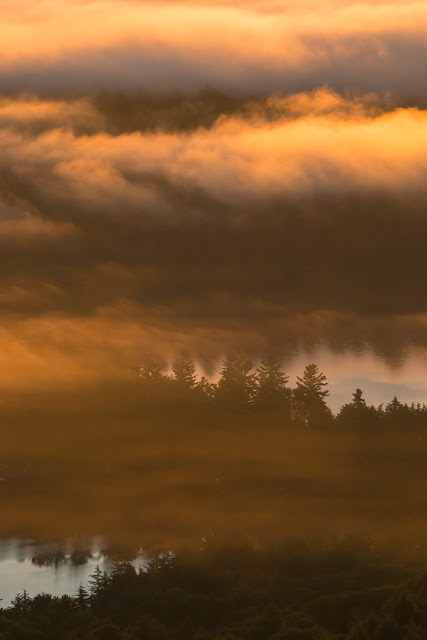
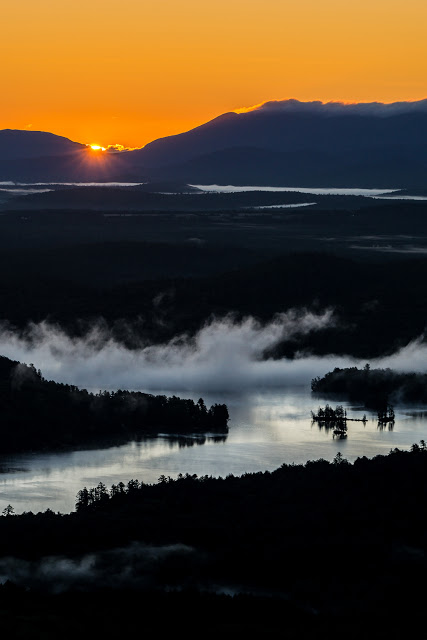
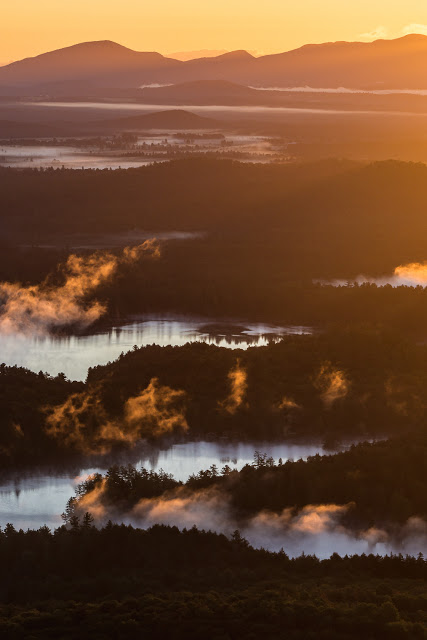
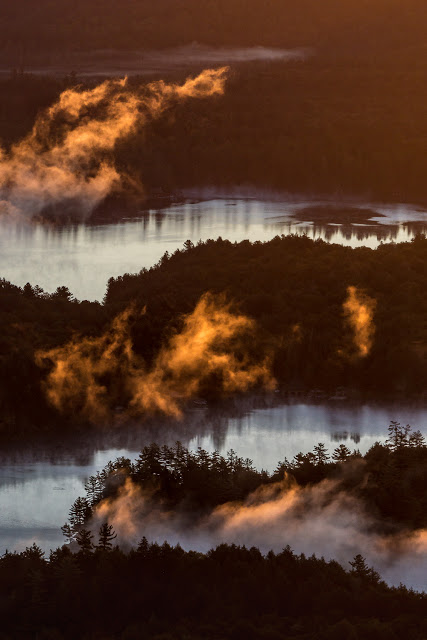
My summer ended with a week with family in the Adirondacks, where my bad weather luck followed me to the summit of Saint Regis Mountain twice, thankfully my third consecutive night camping there ended with a gorgeous sunrise over the numerous lakes and ponds that dot the area. Not wanting to leave the mountains, I opted for one final night with Dan at Connery Pond, having just 30 minutes to photograph the dawn before hopping in my car and driving straight to Ithaca in time for my first lecture of the fall semester.

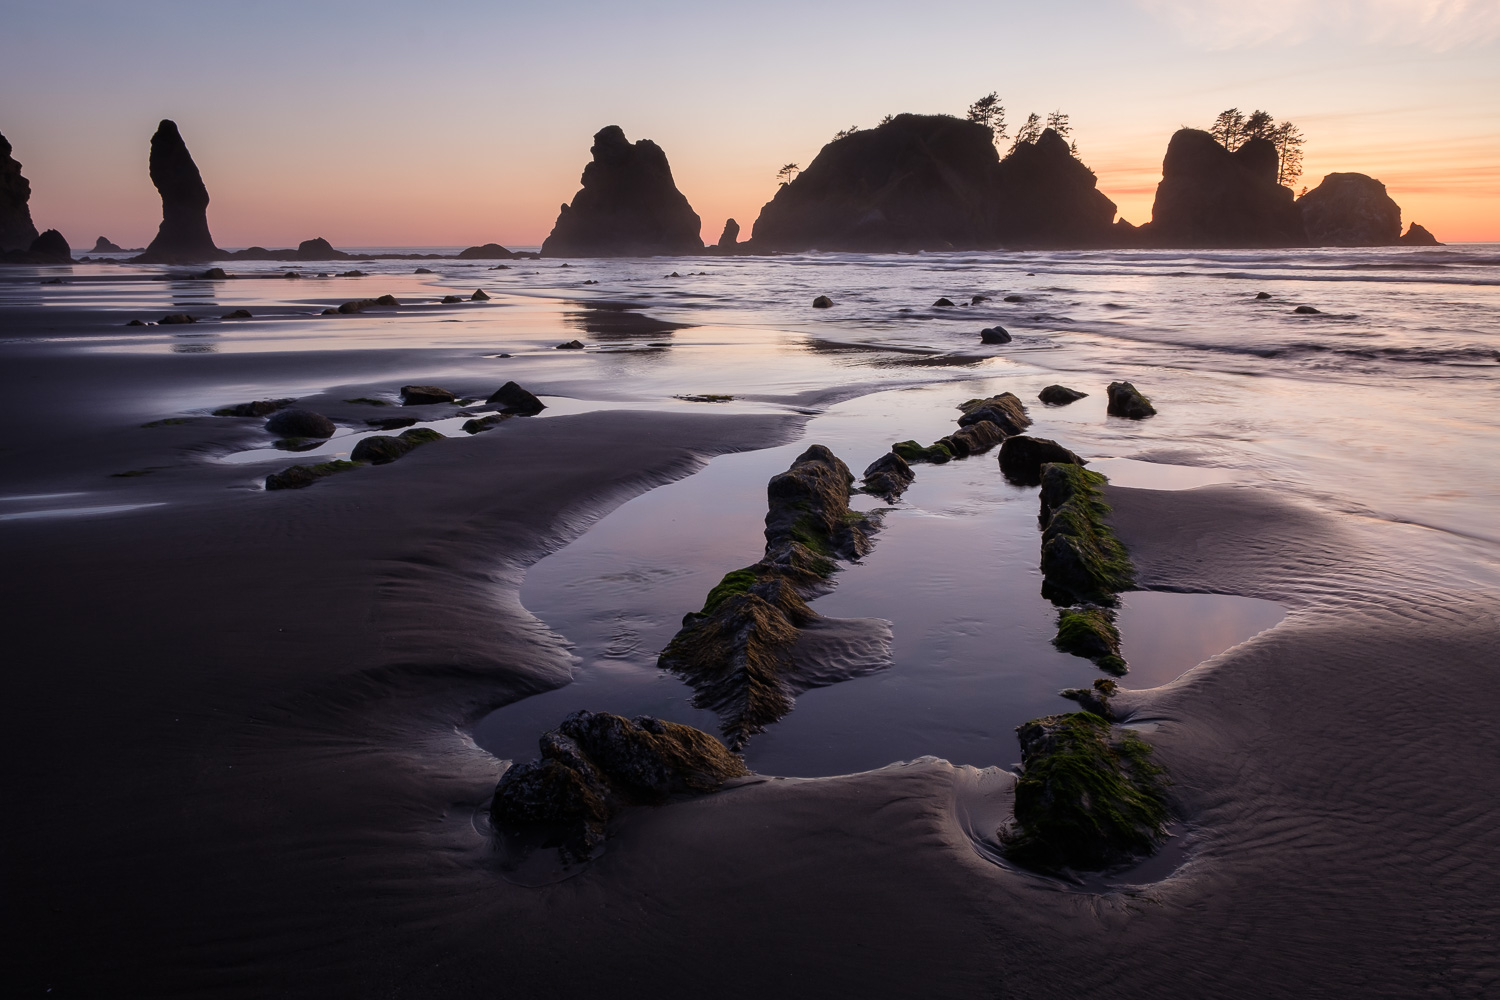
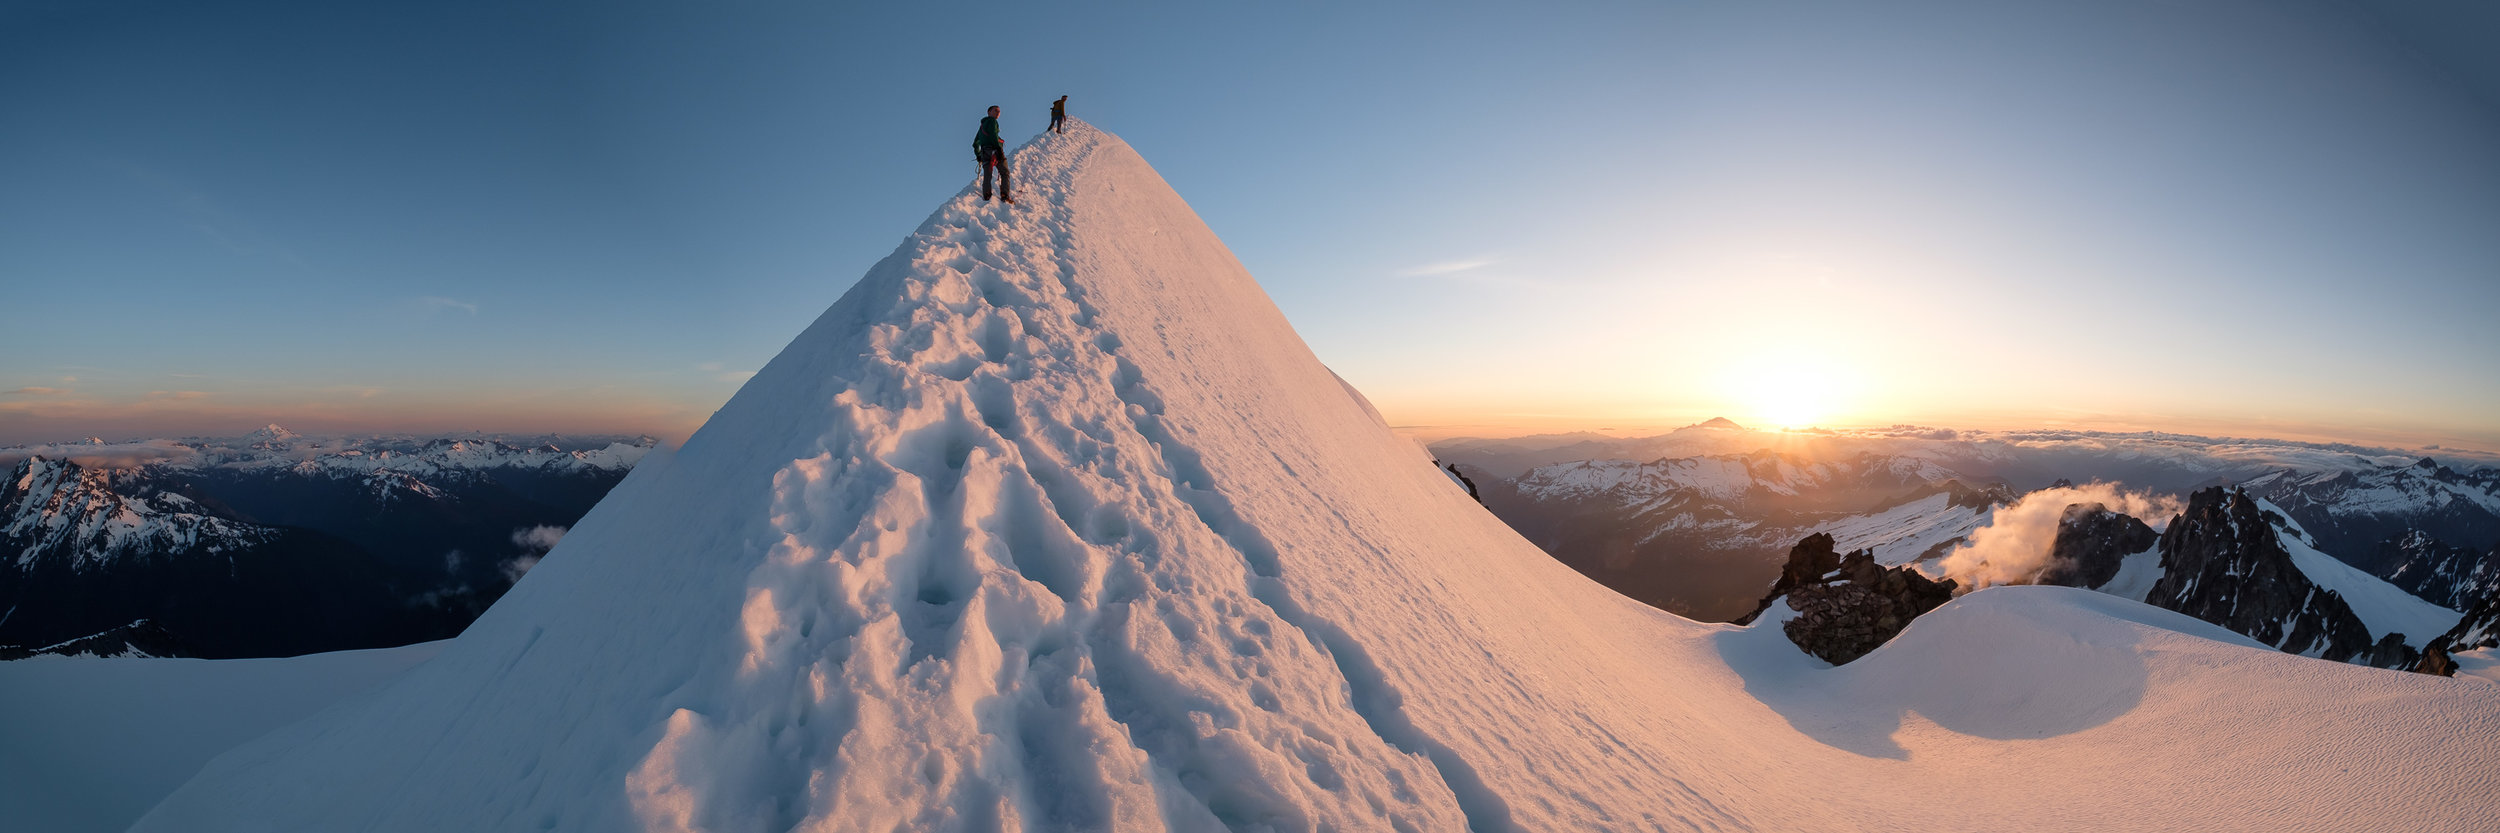
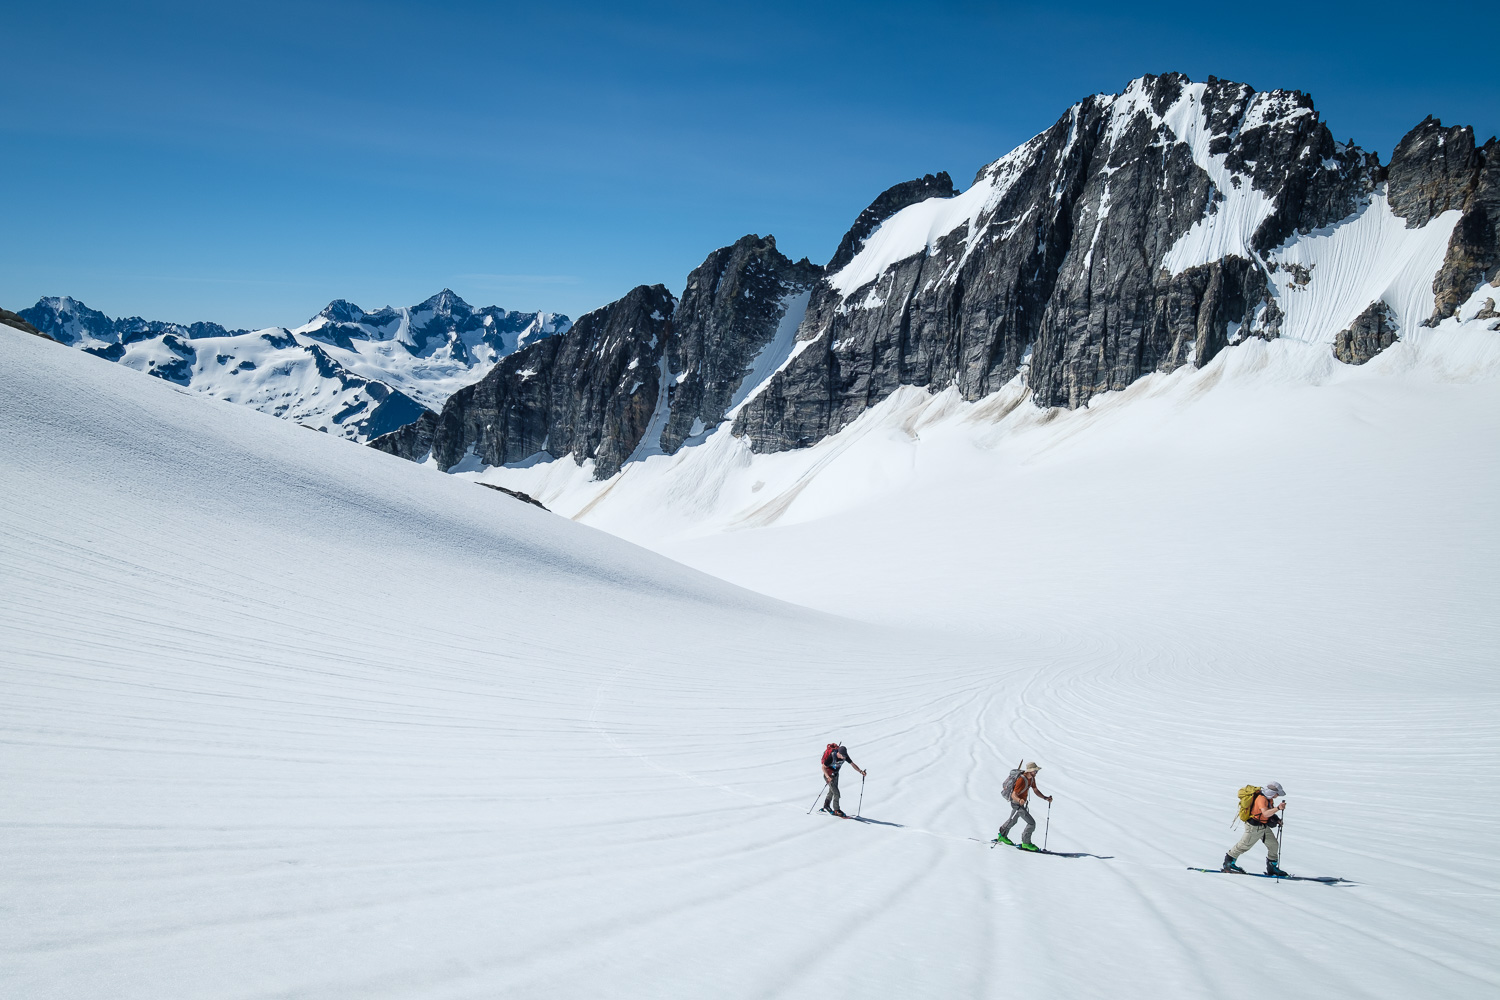
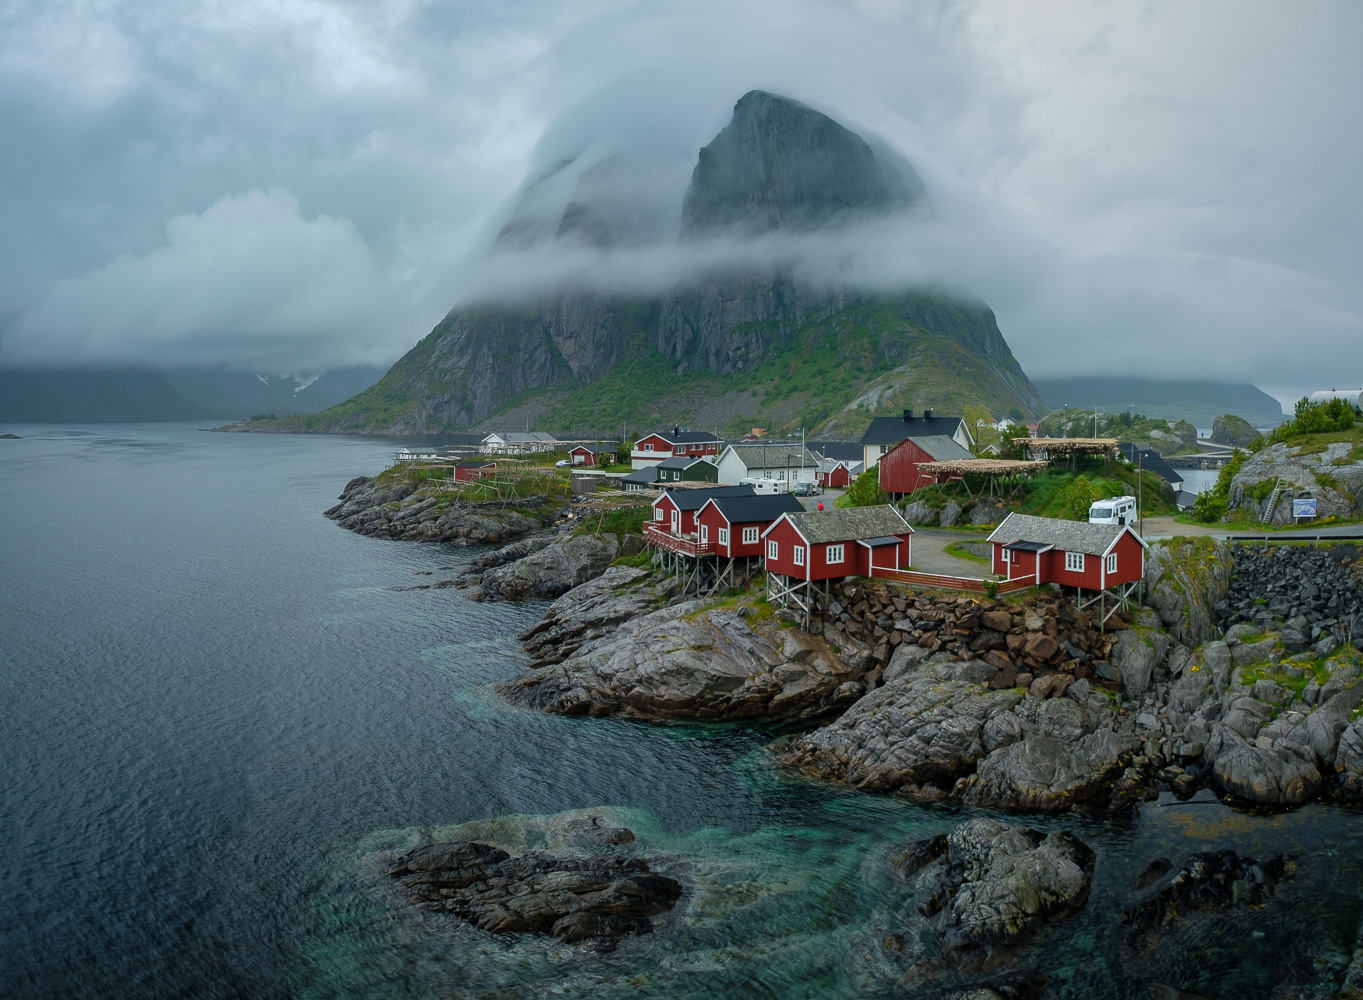
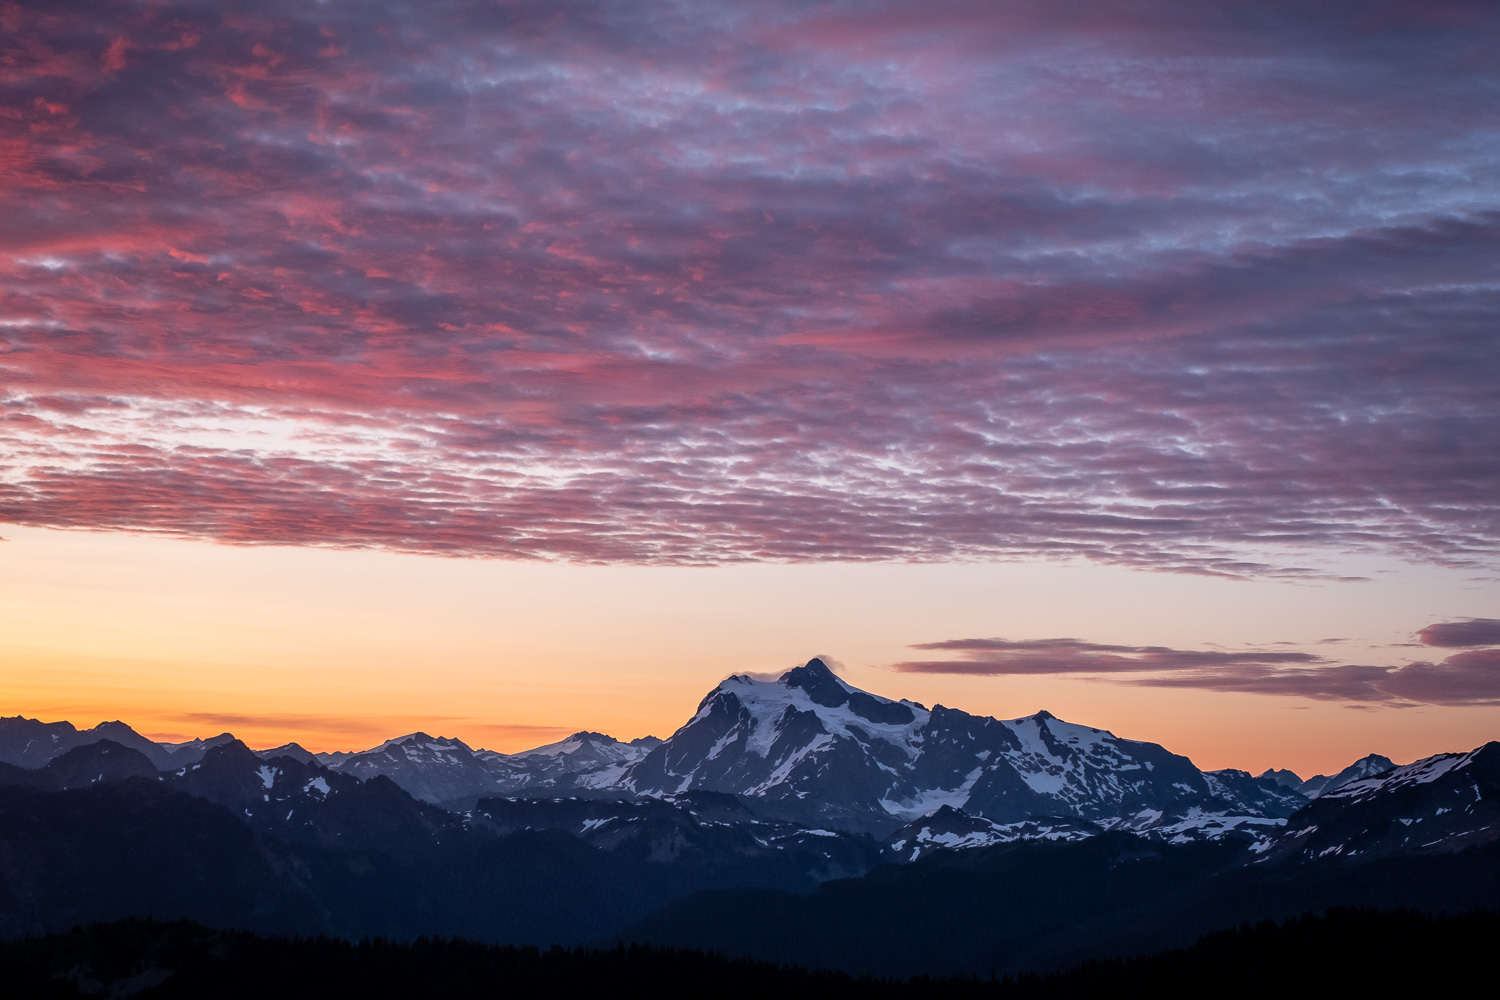
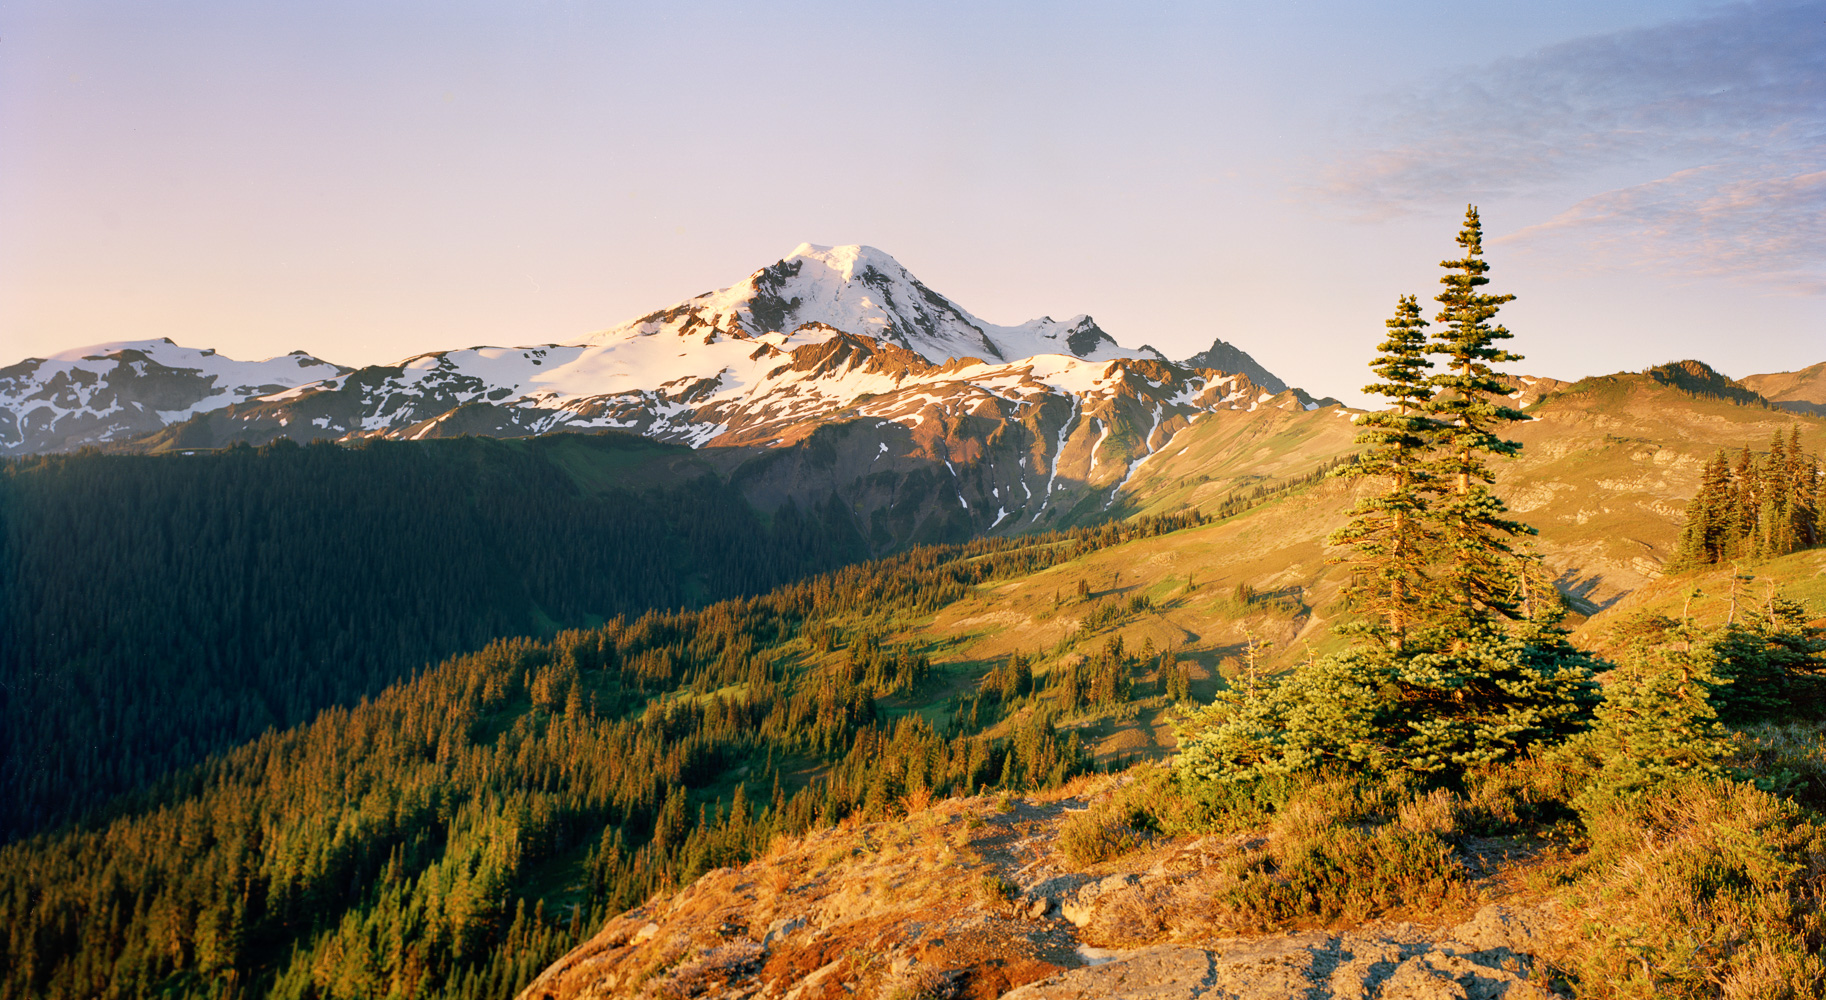
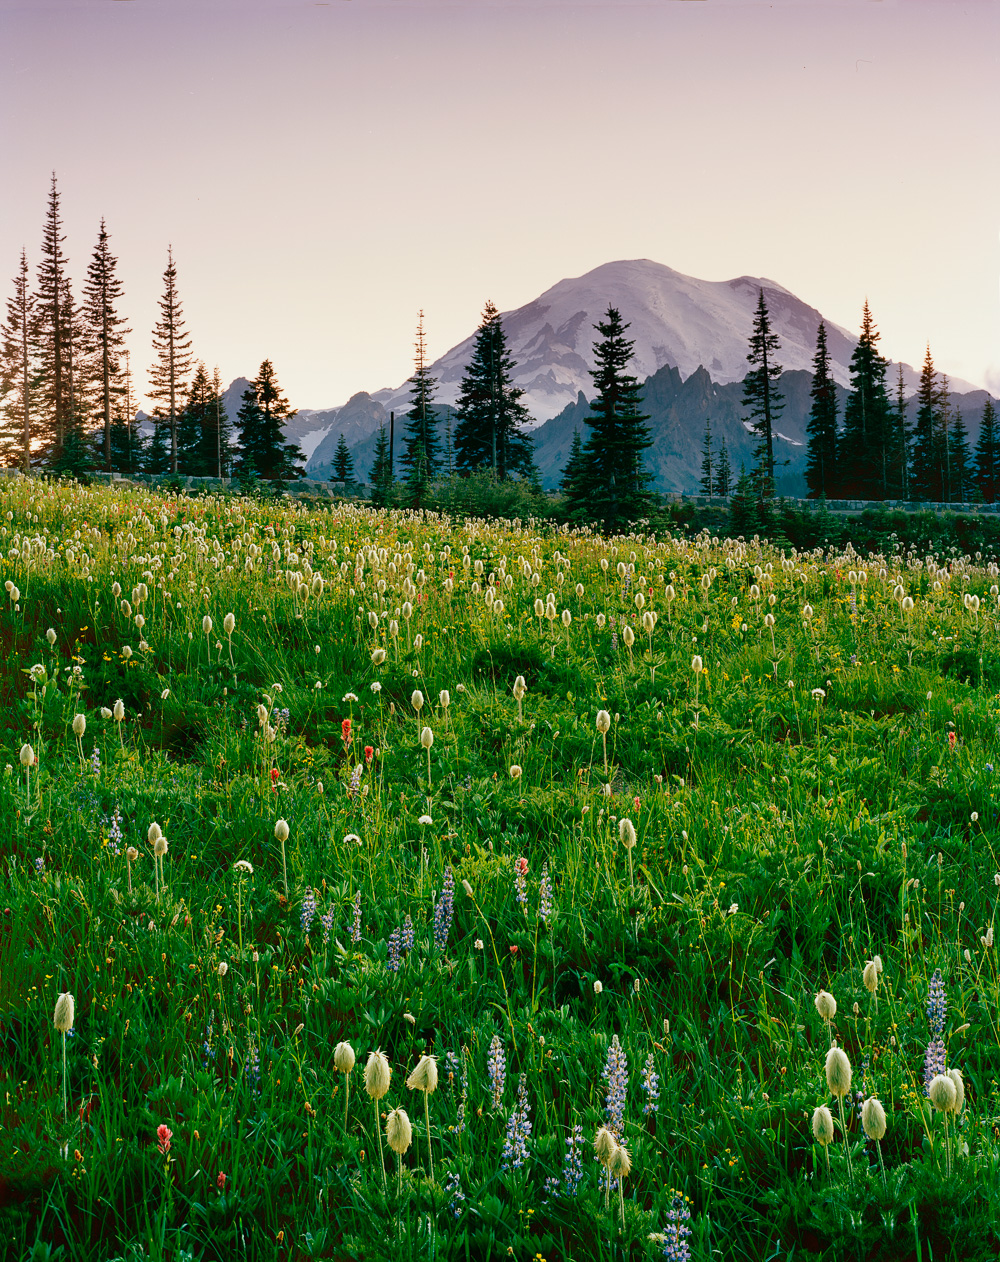
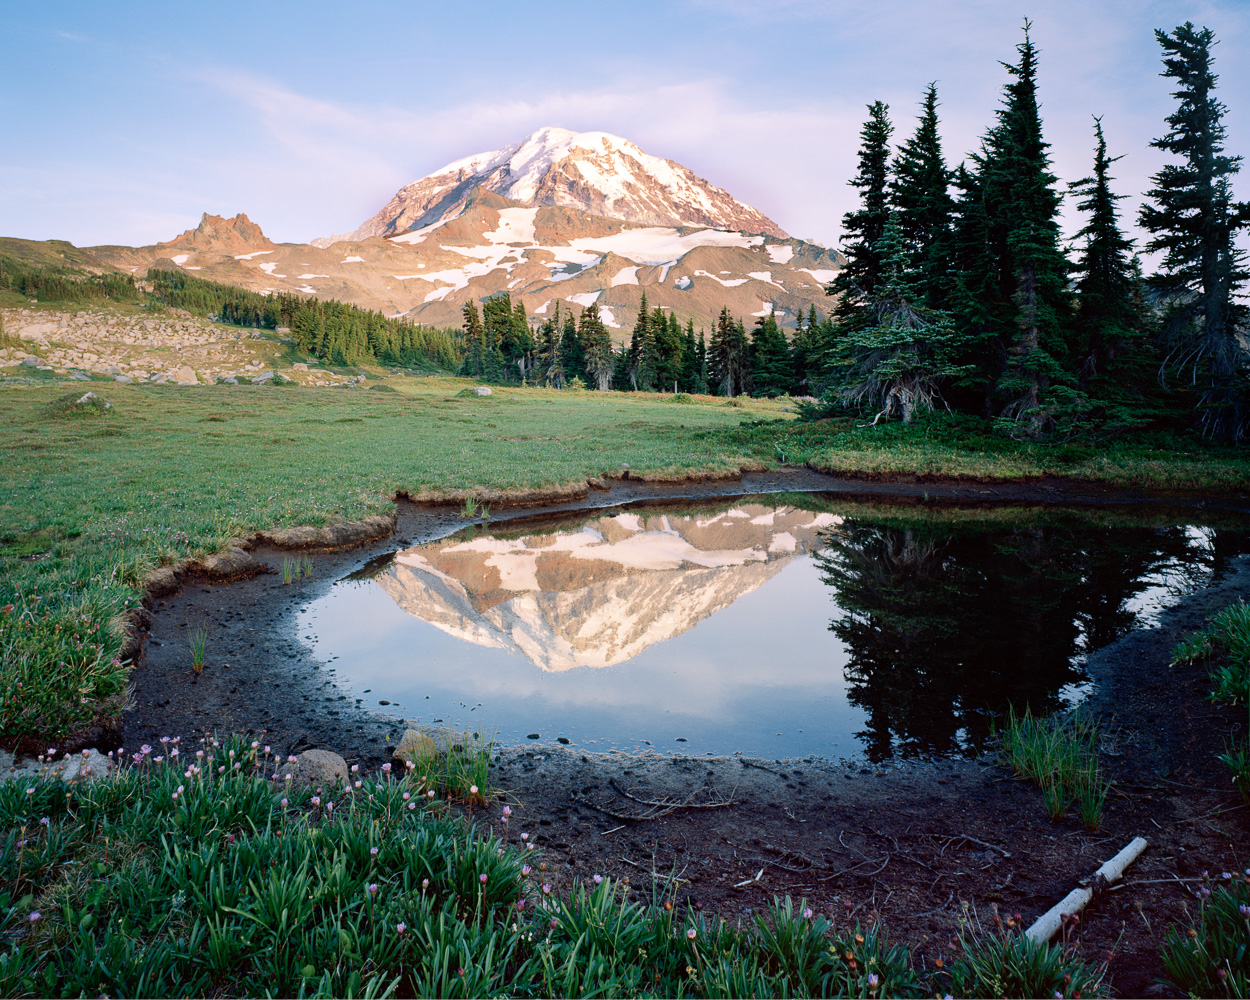
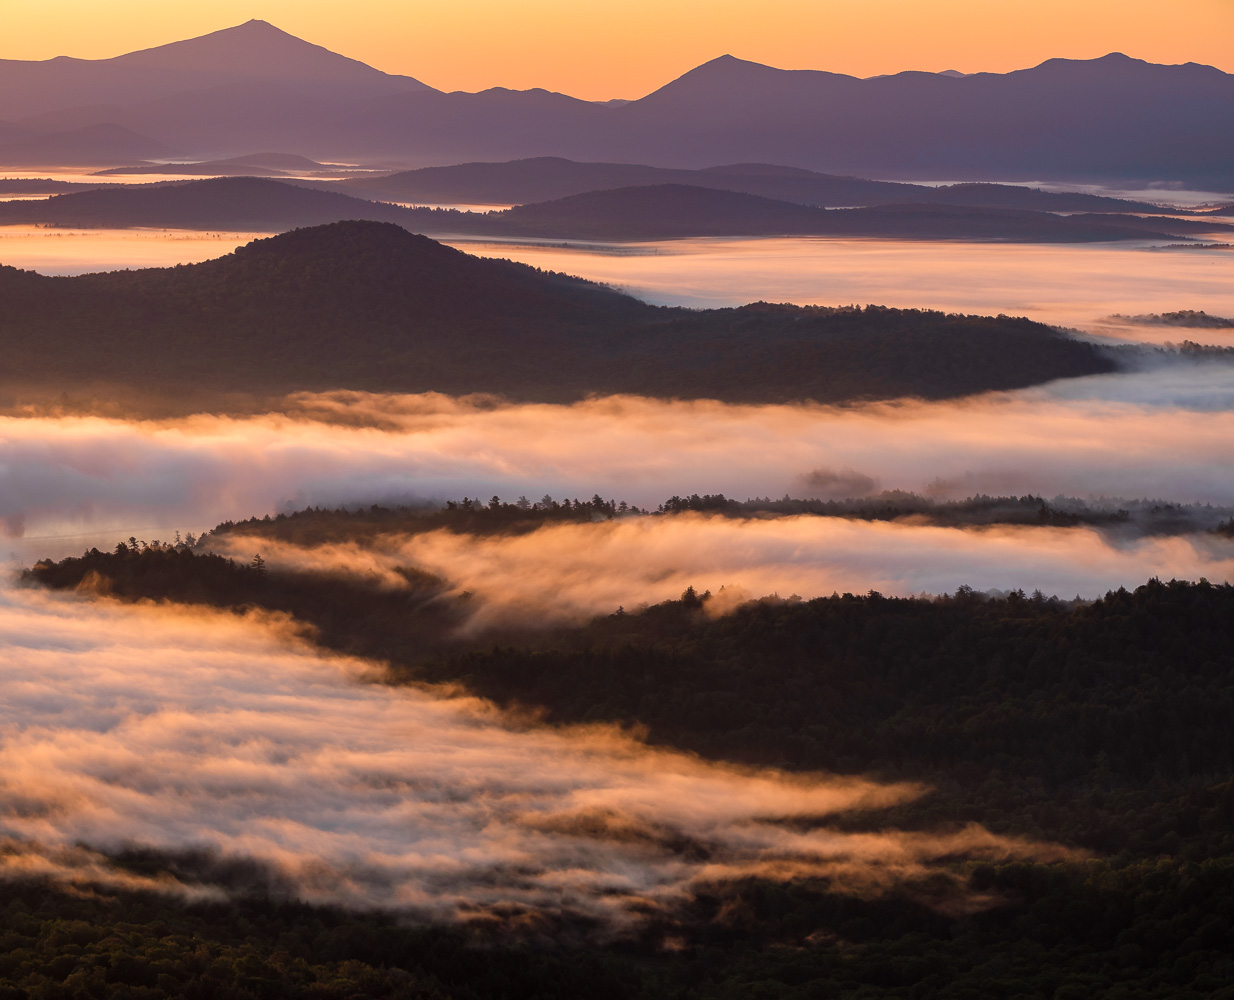
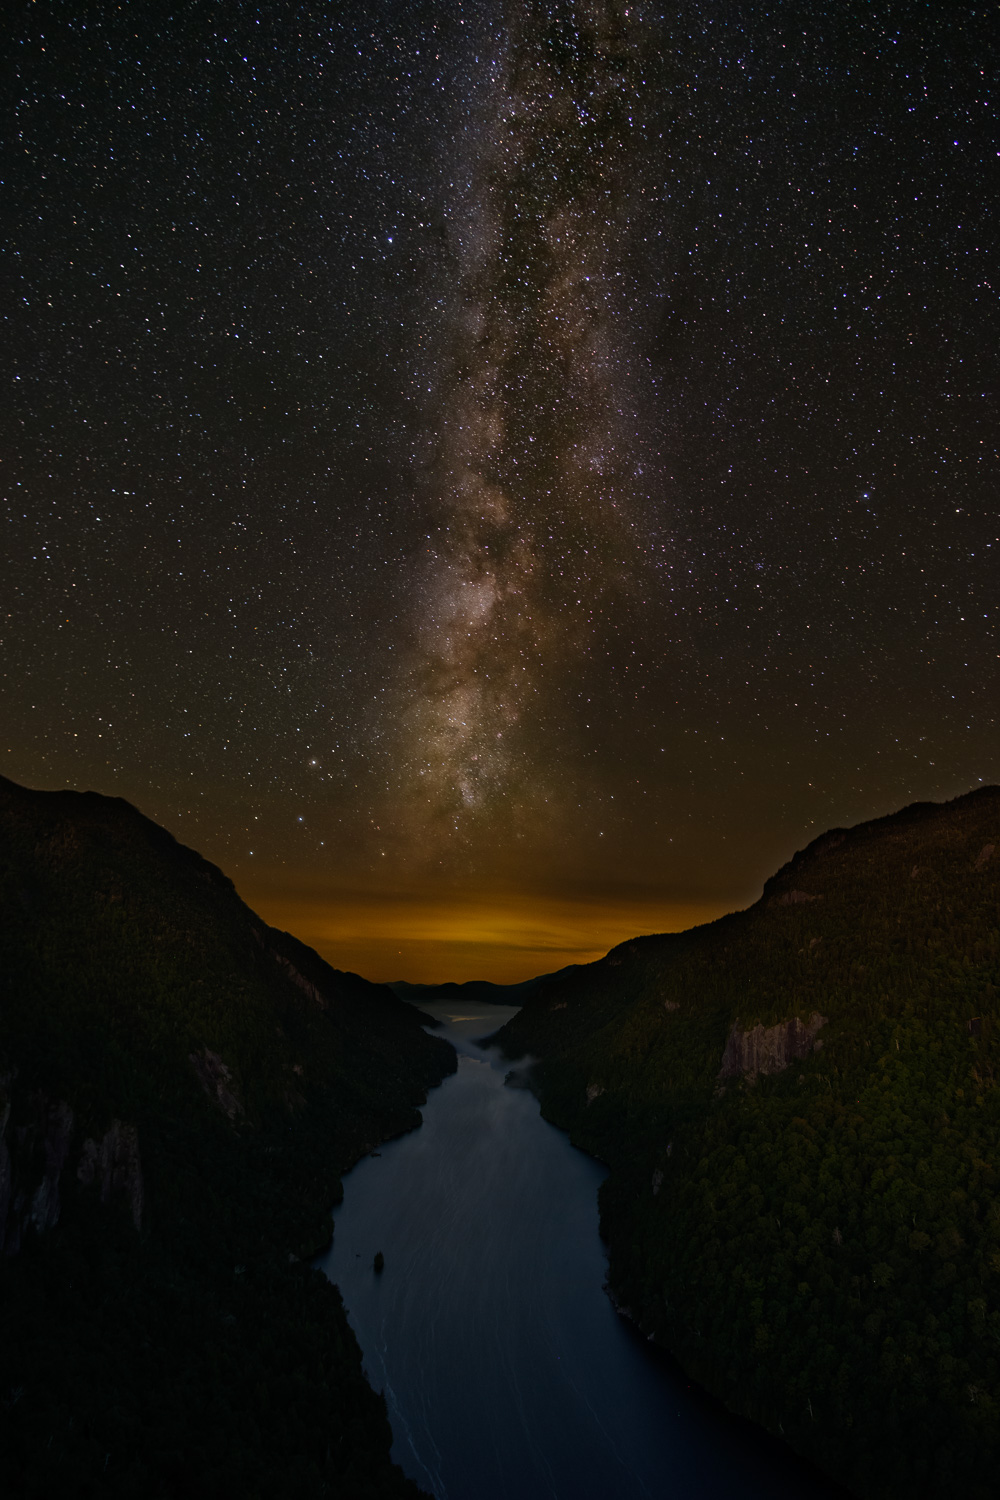
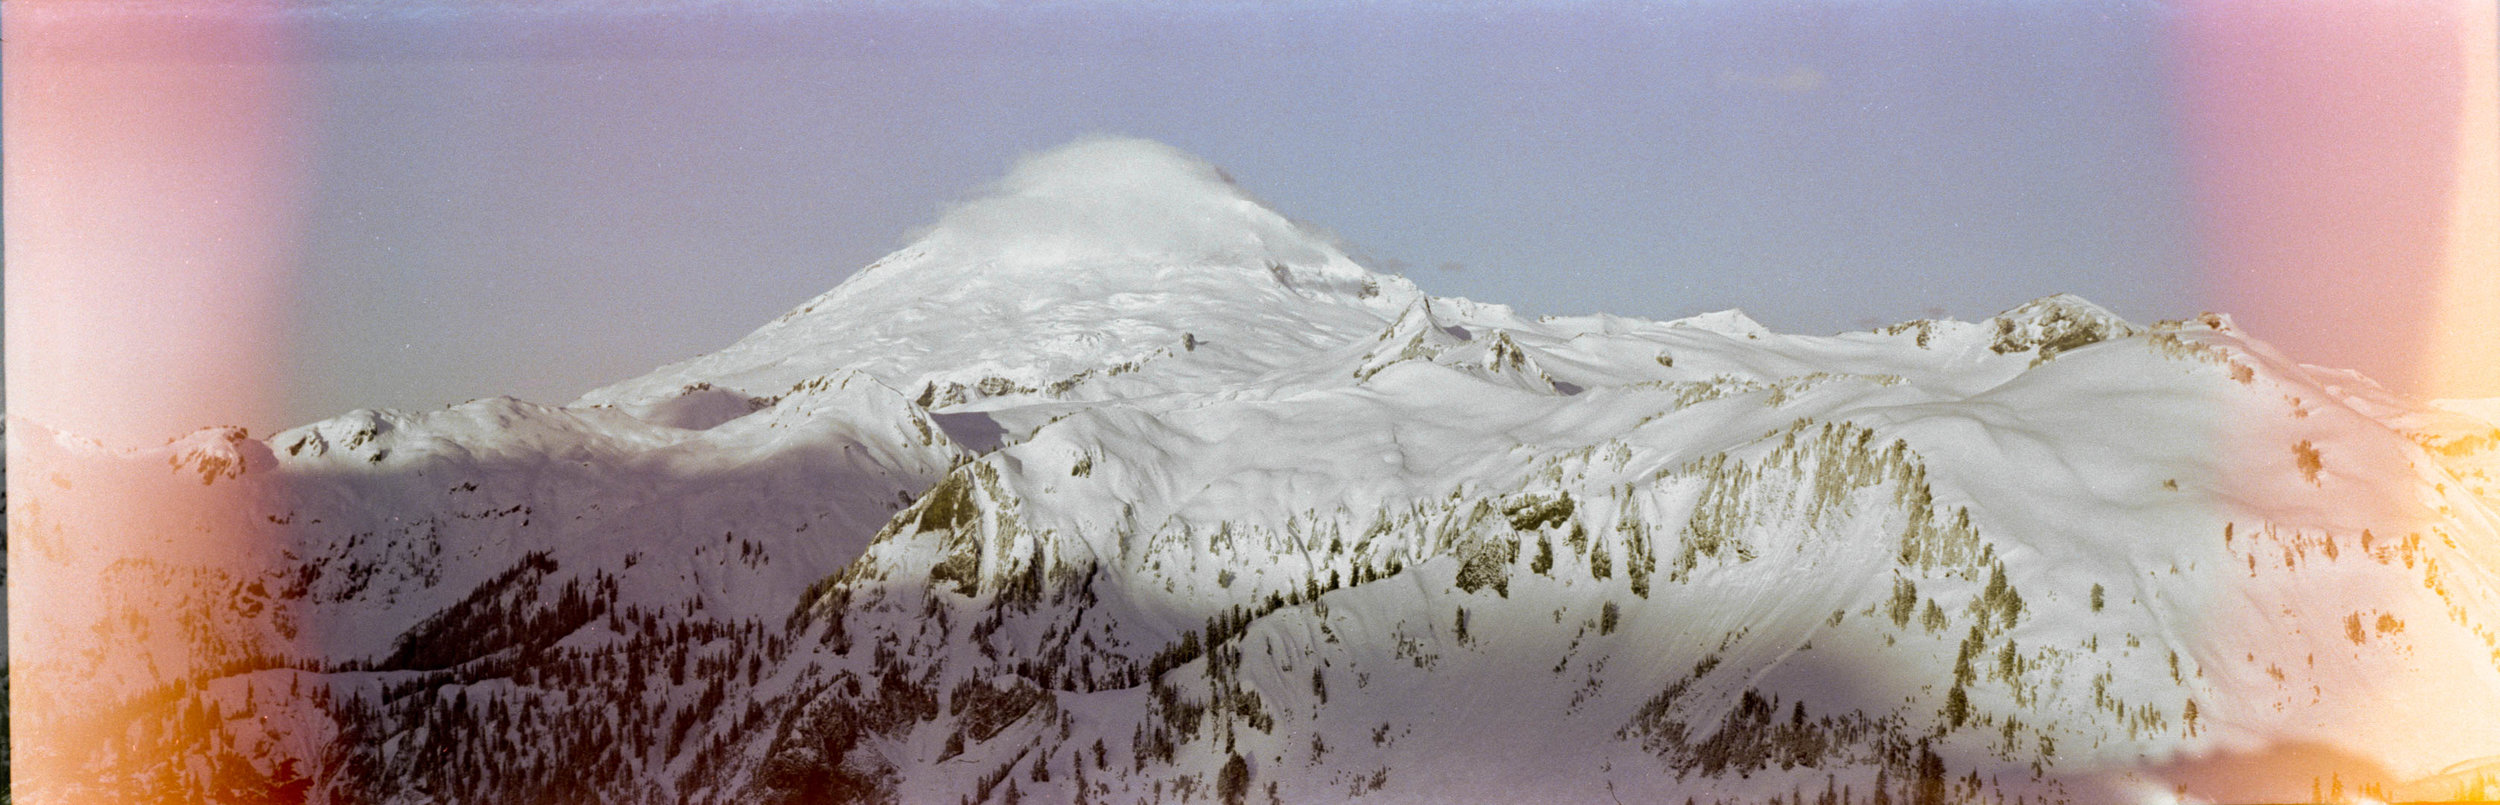
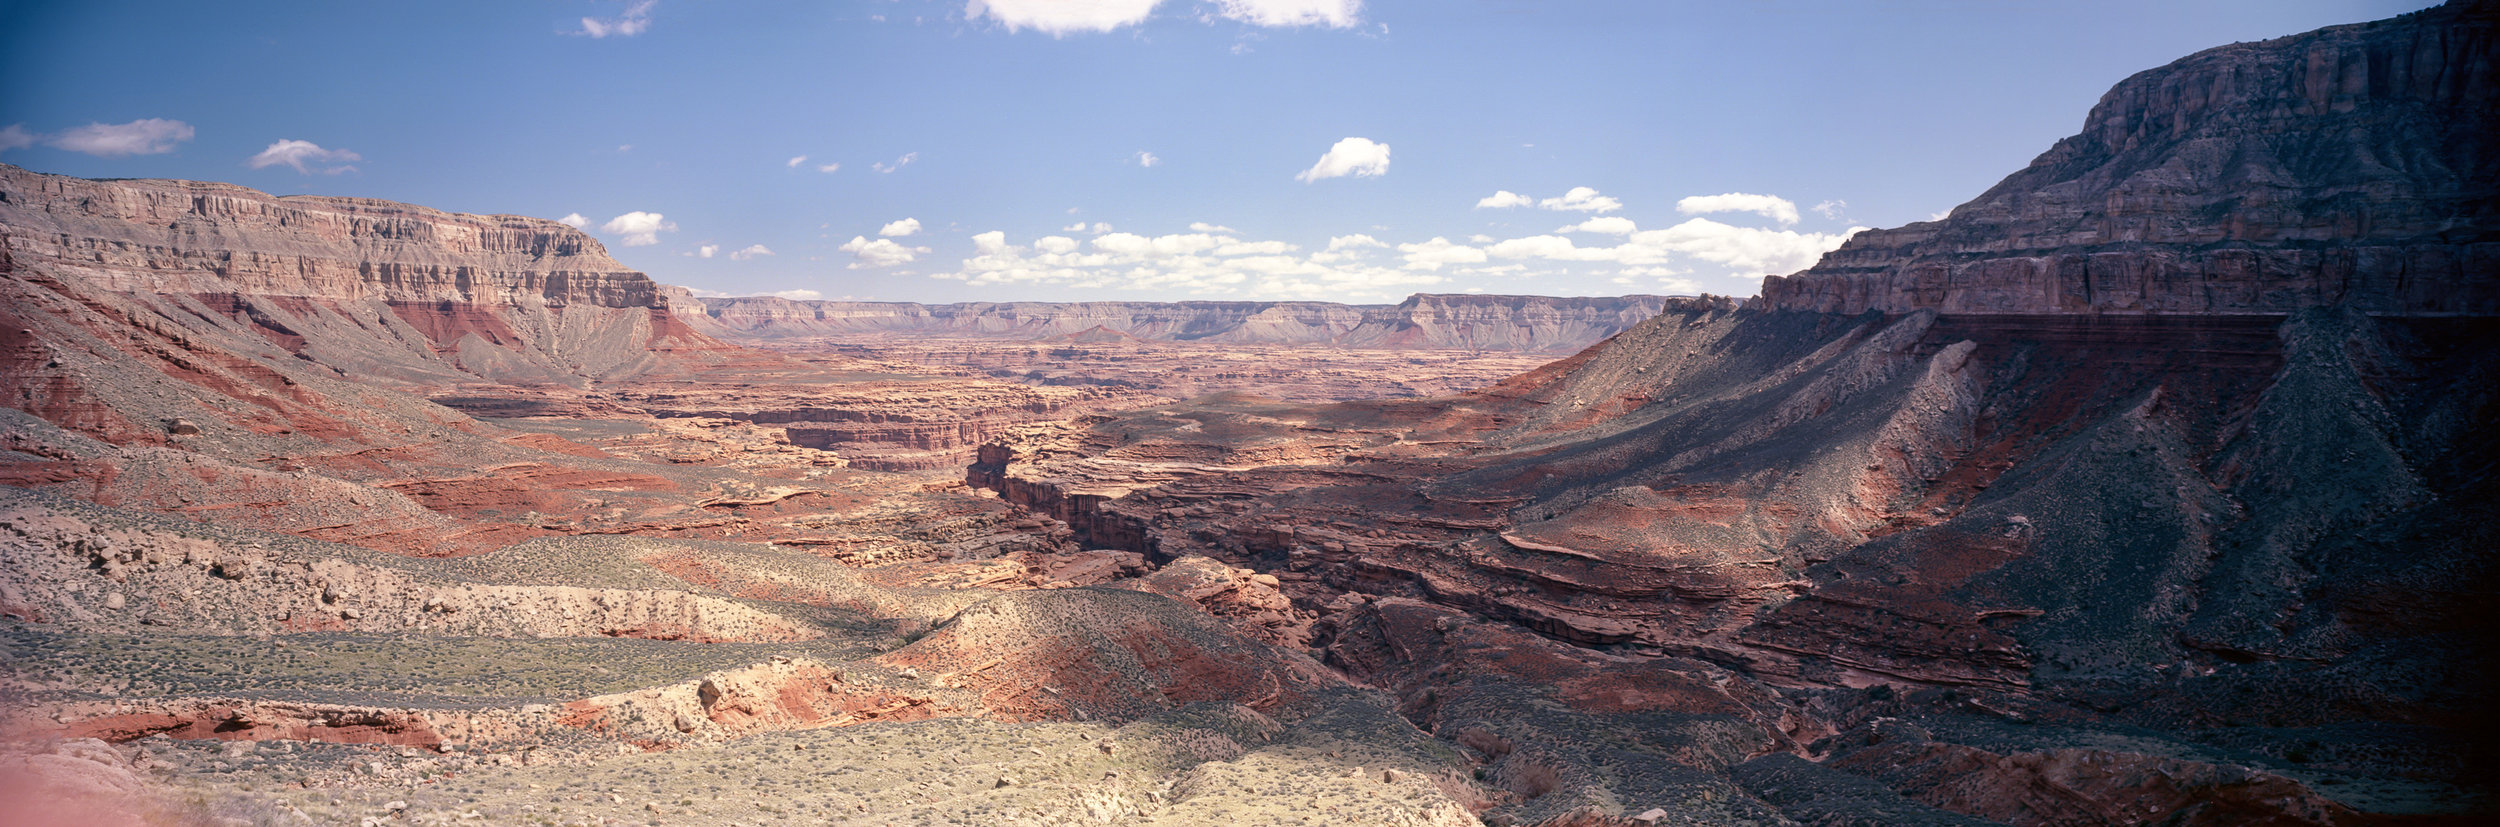
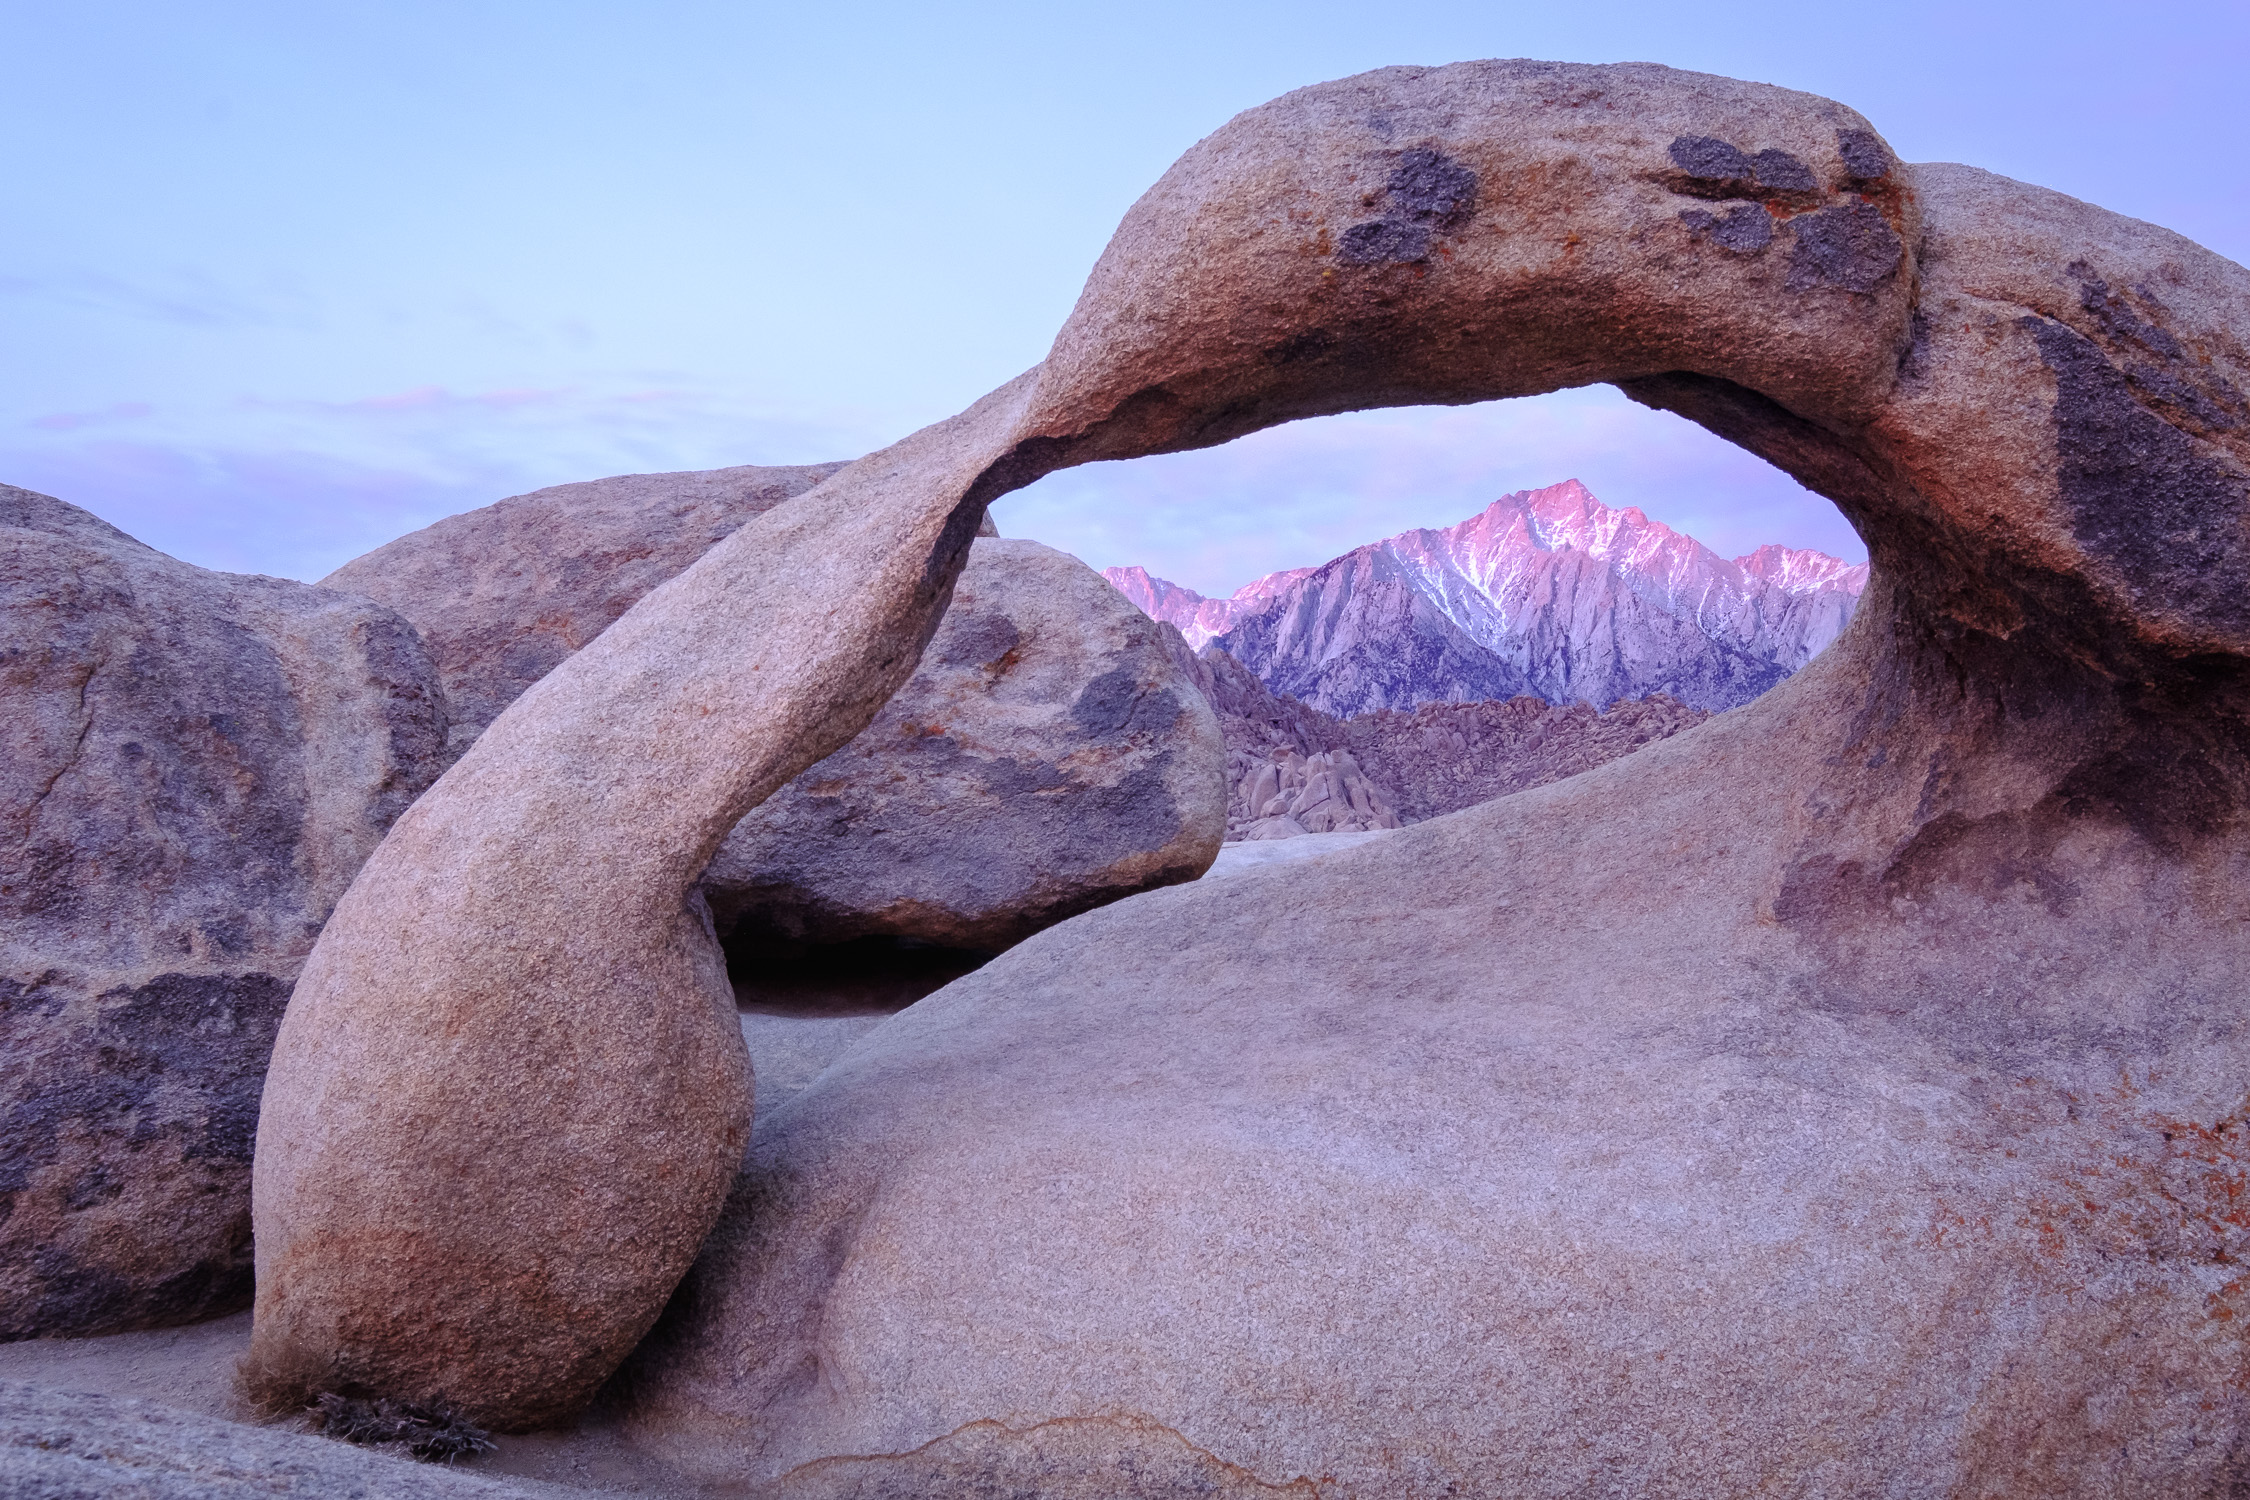
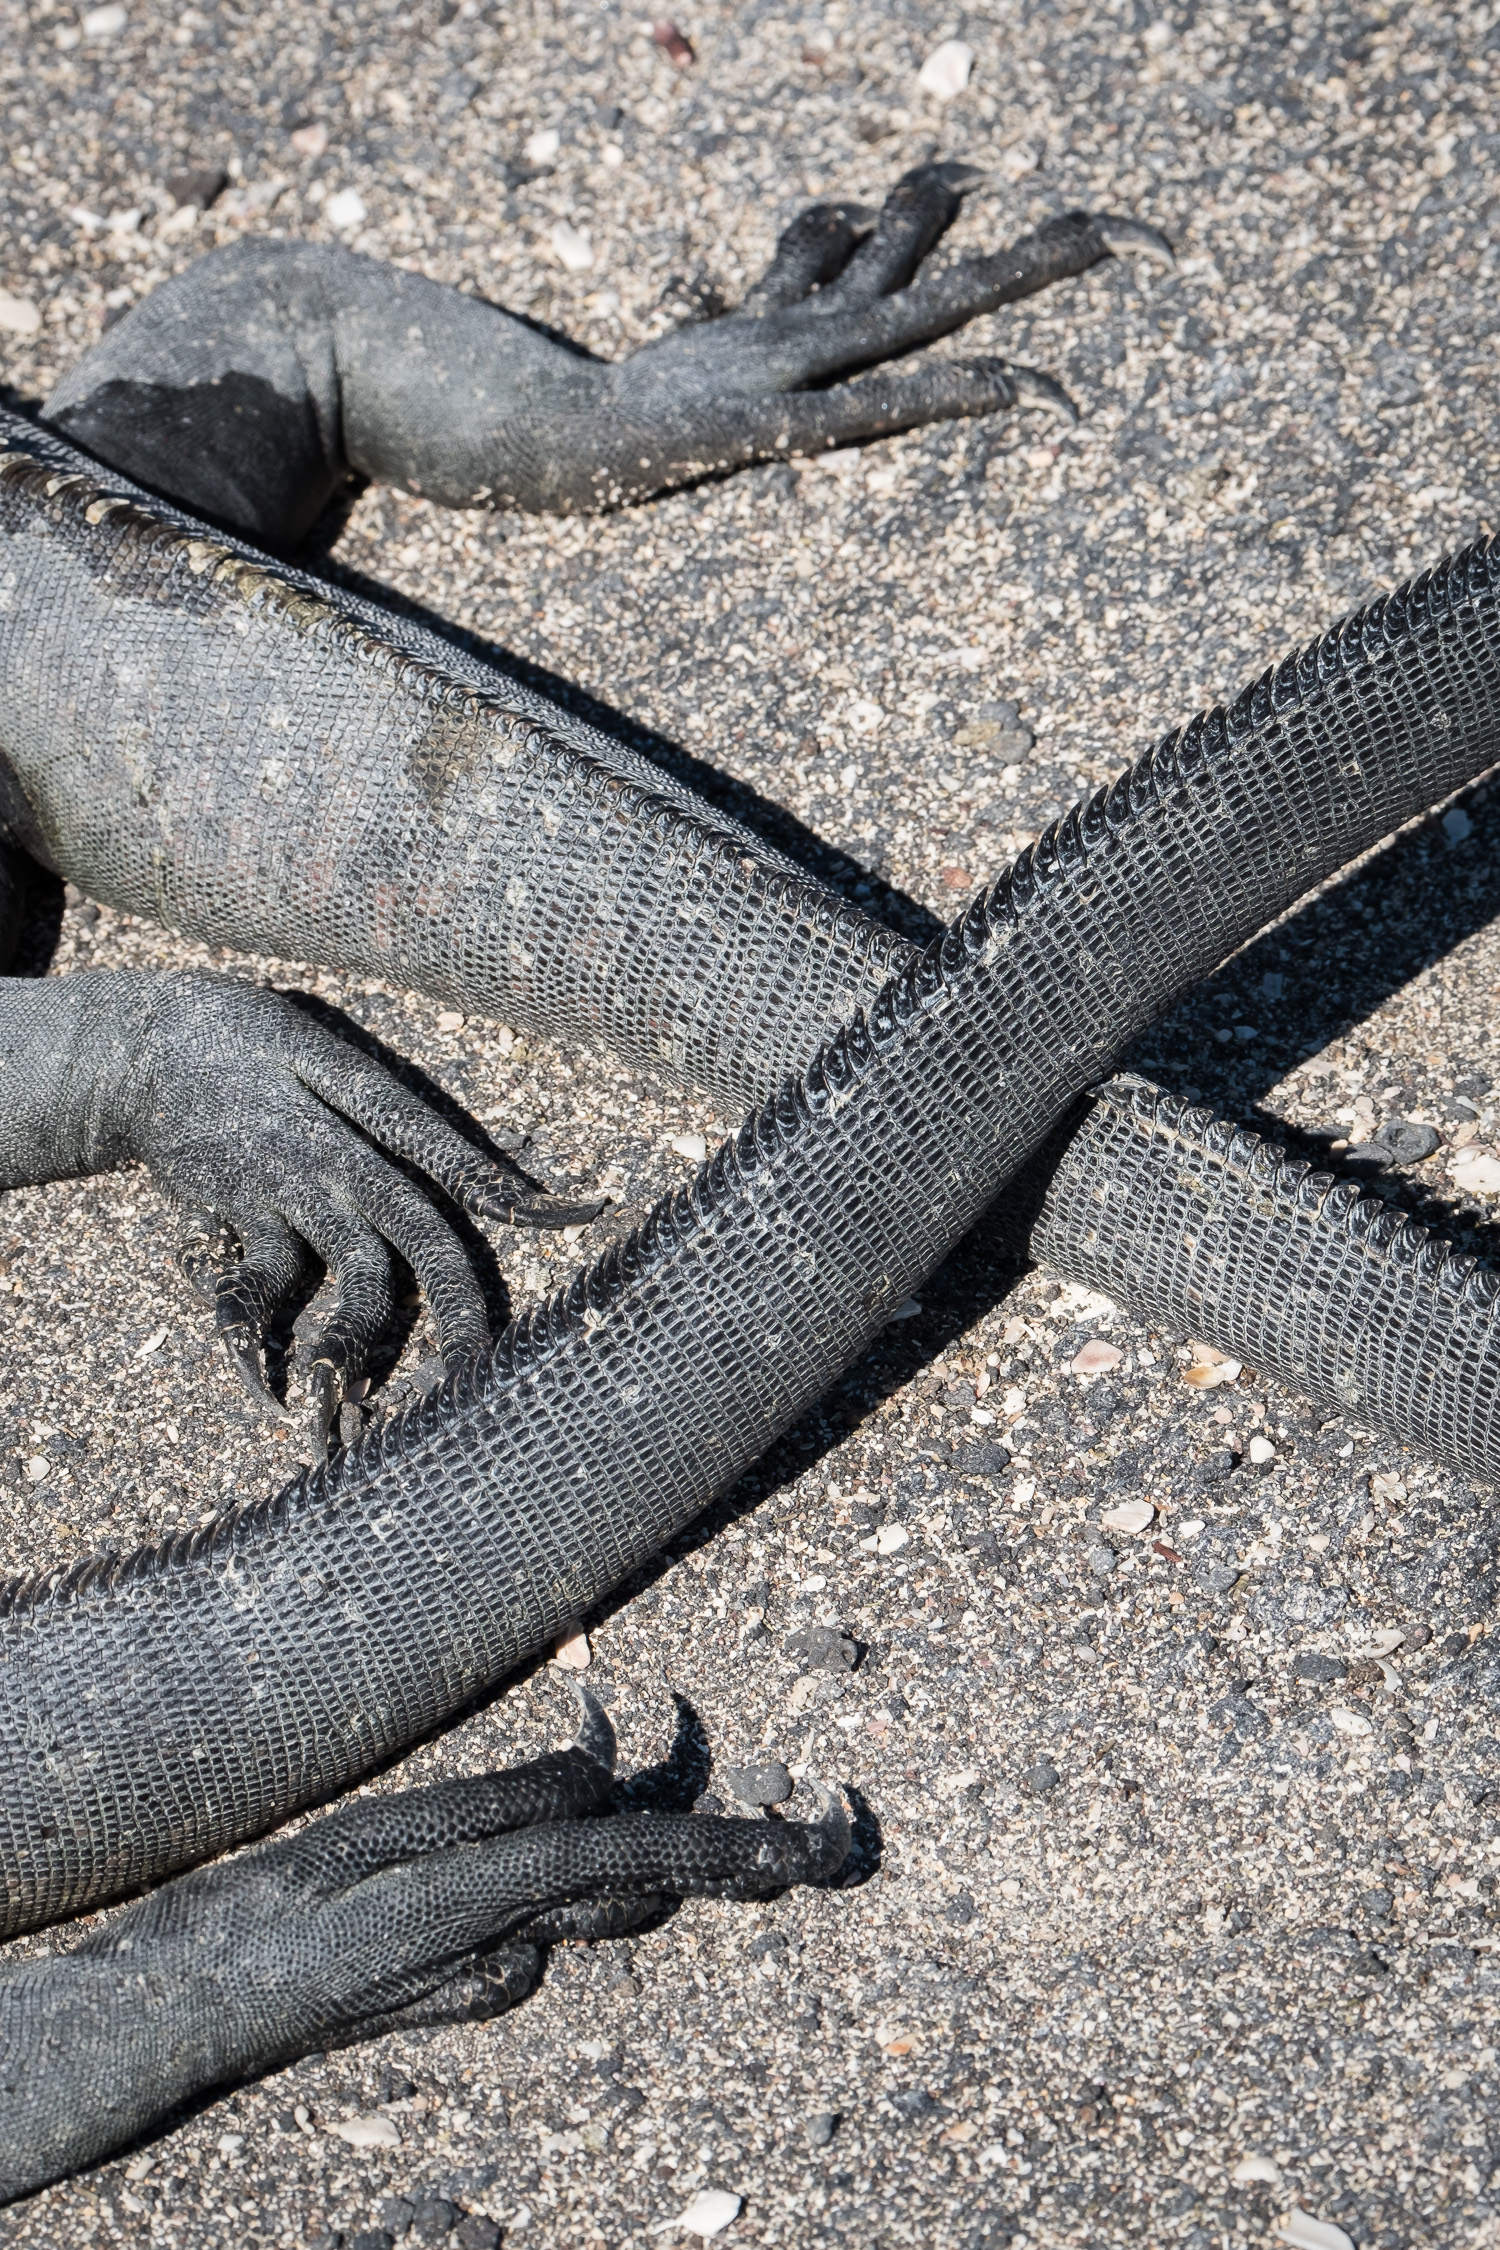
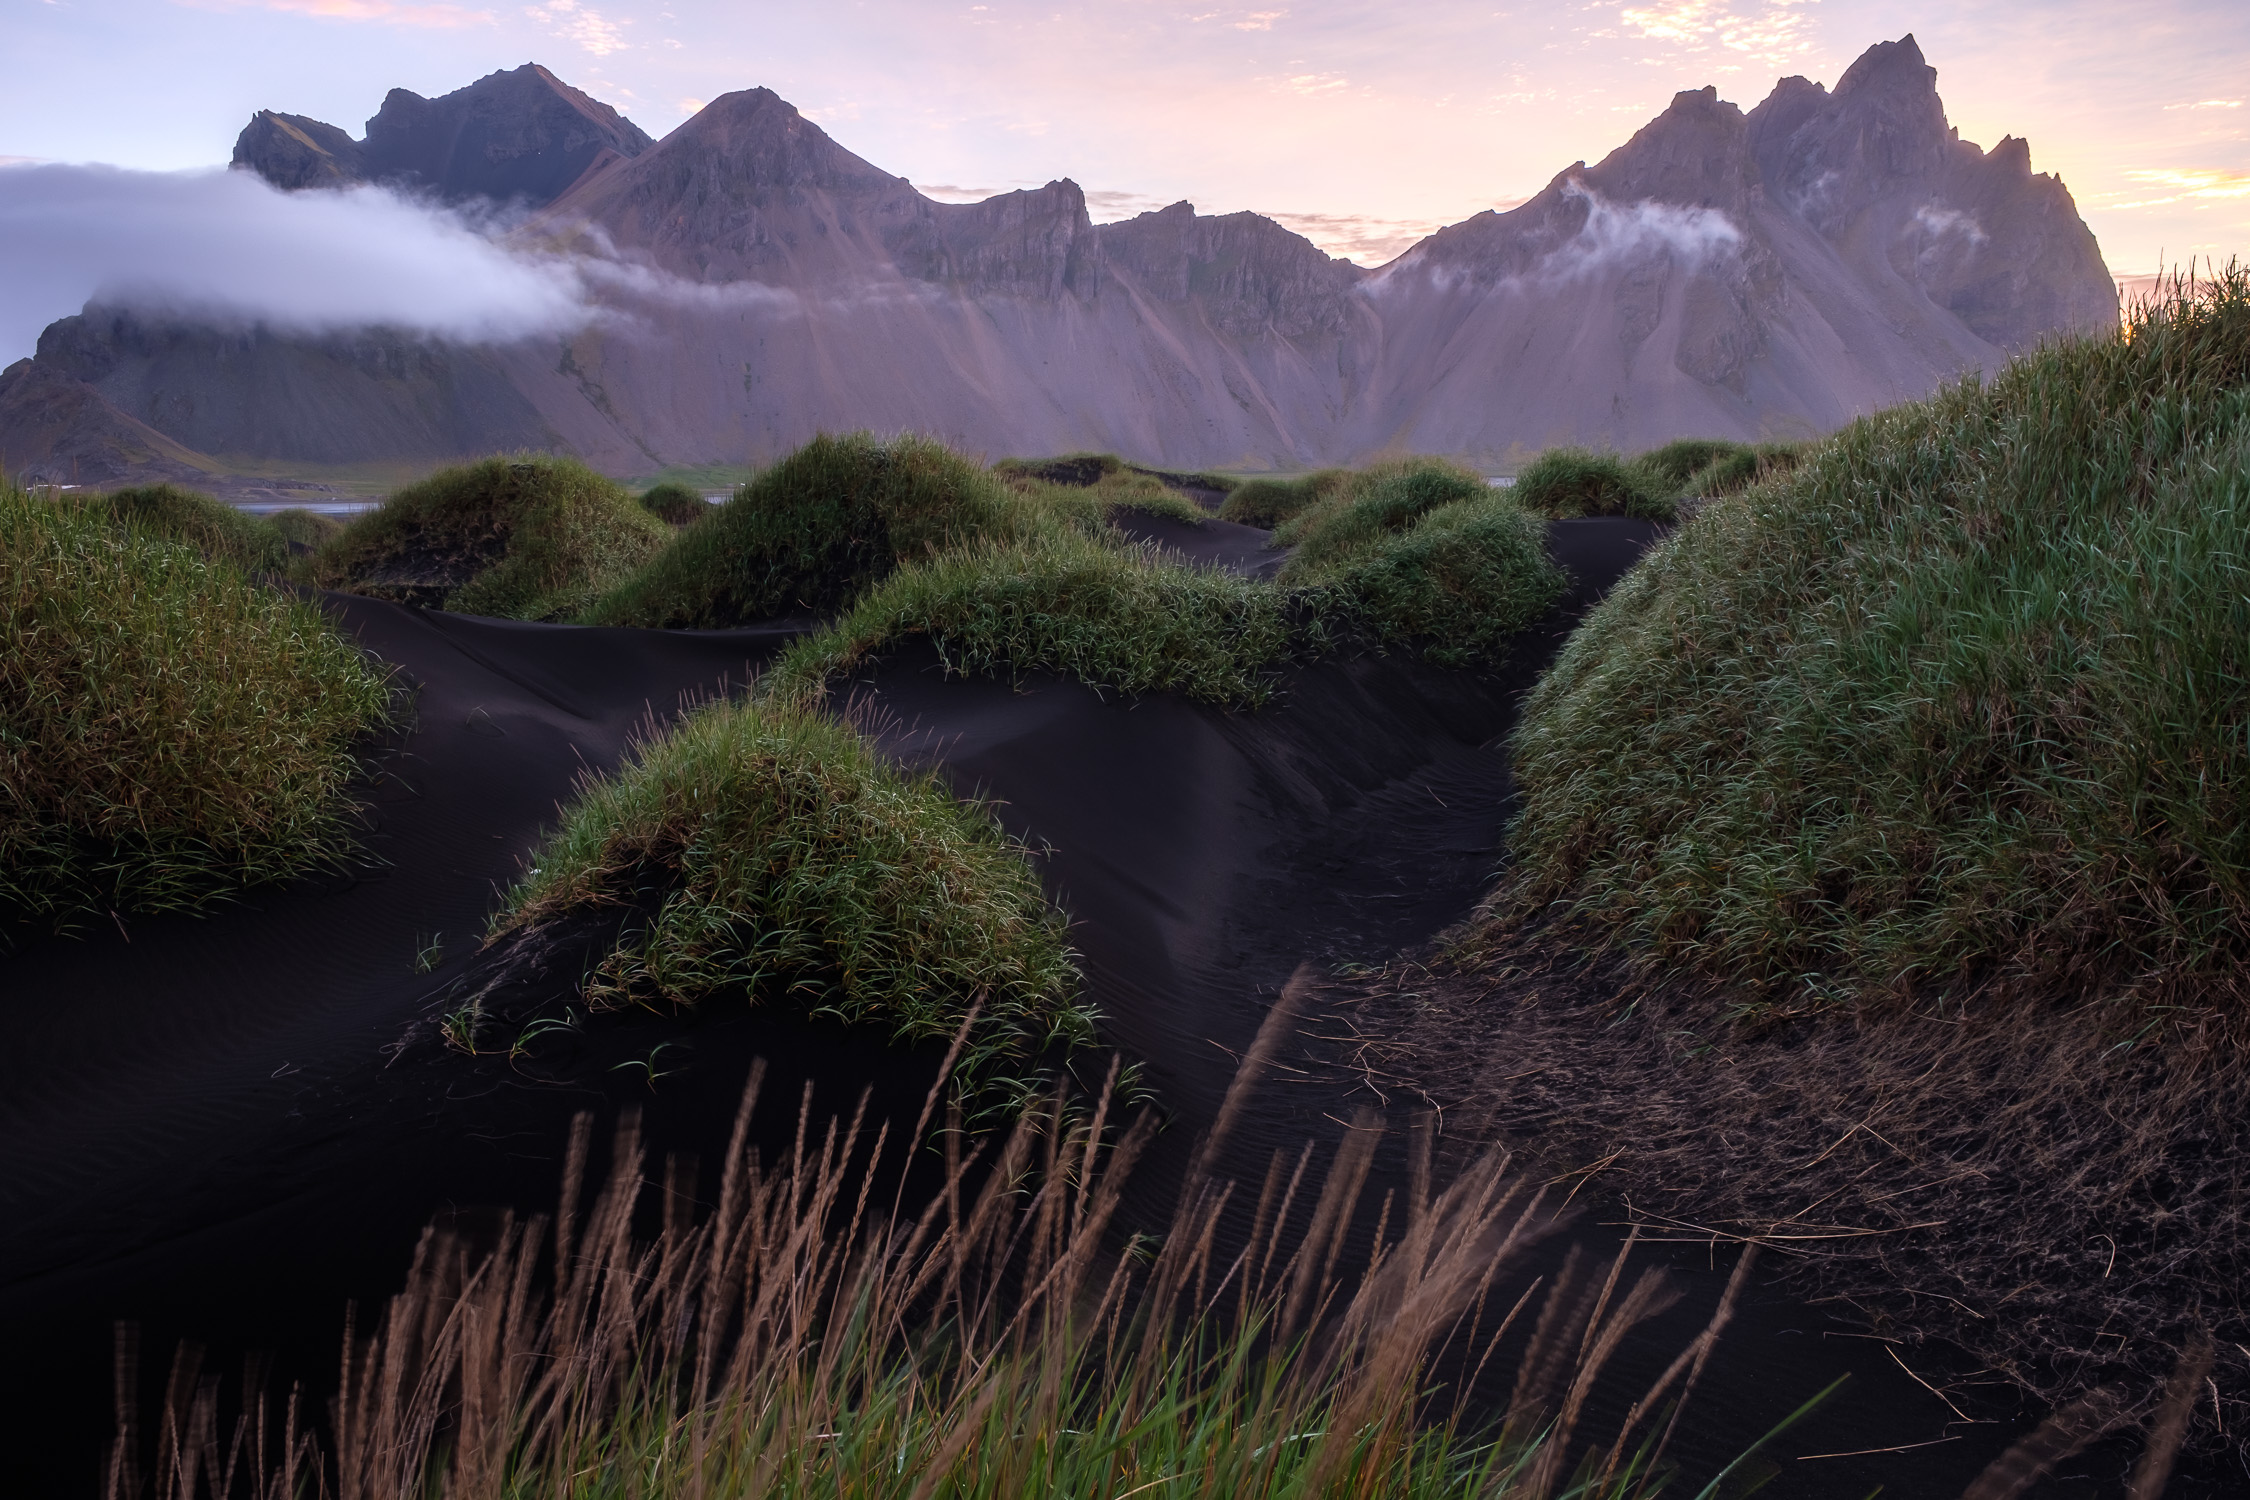
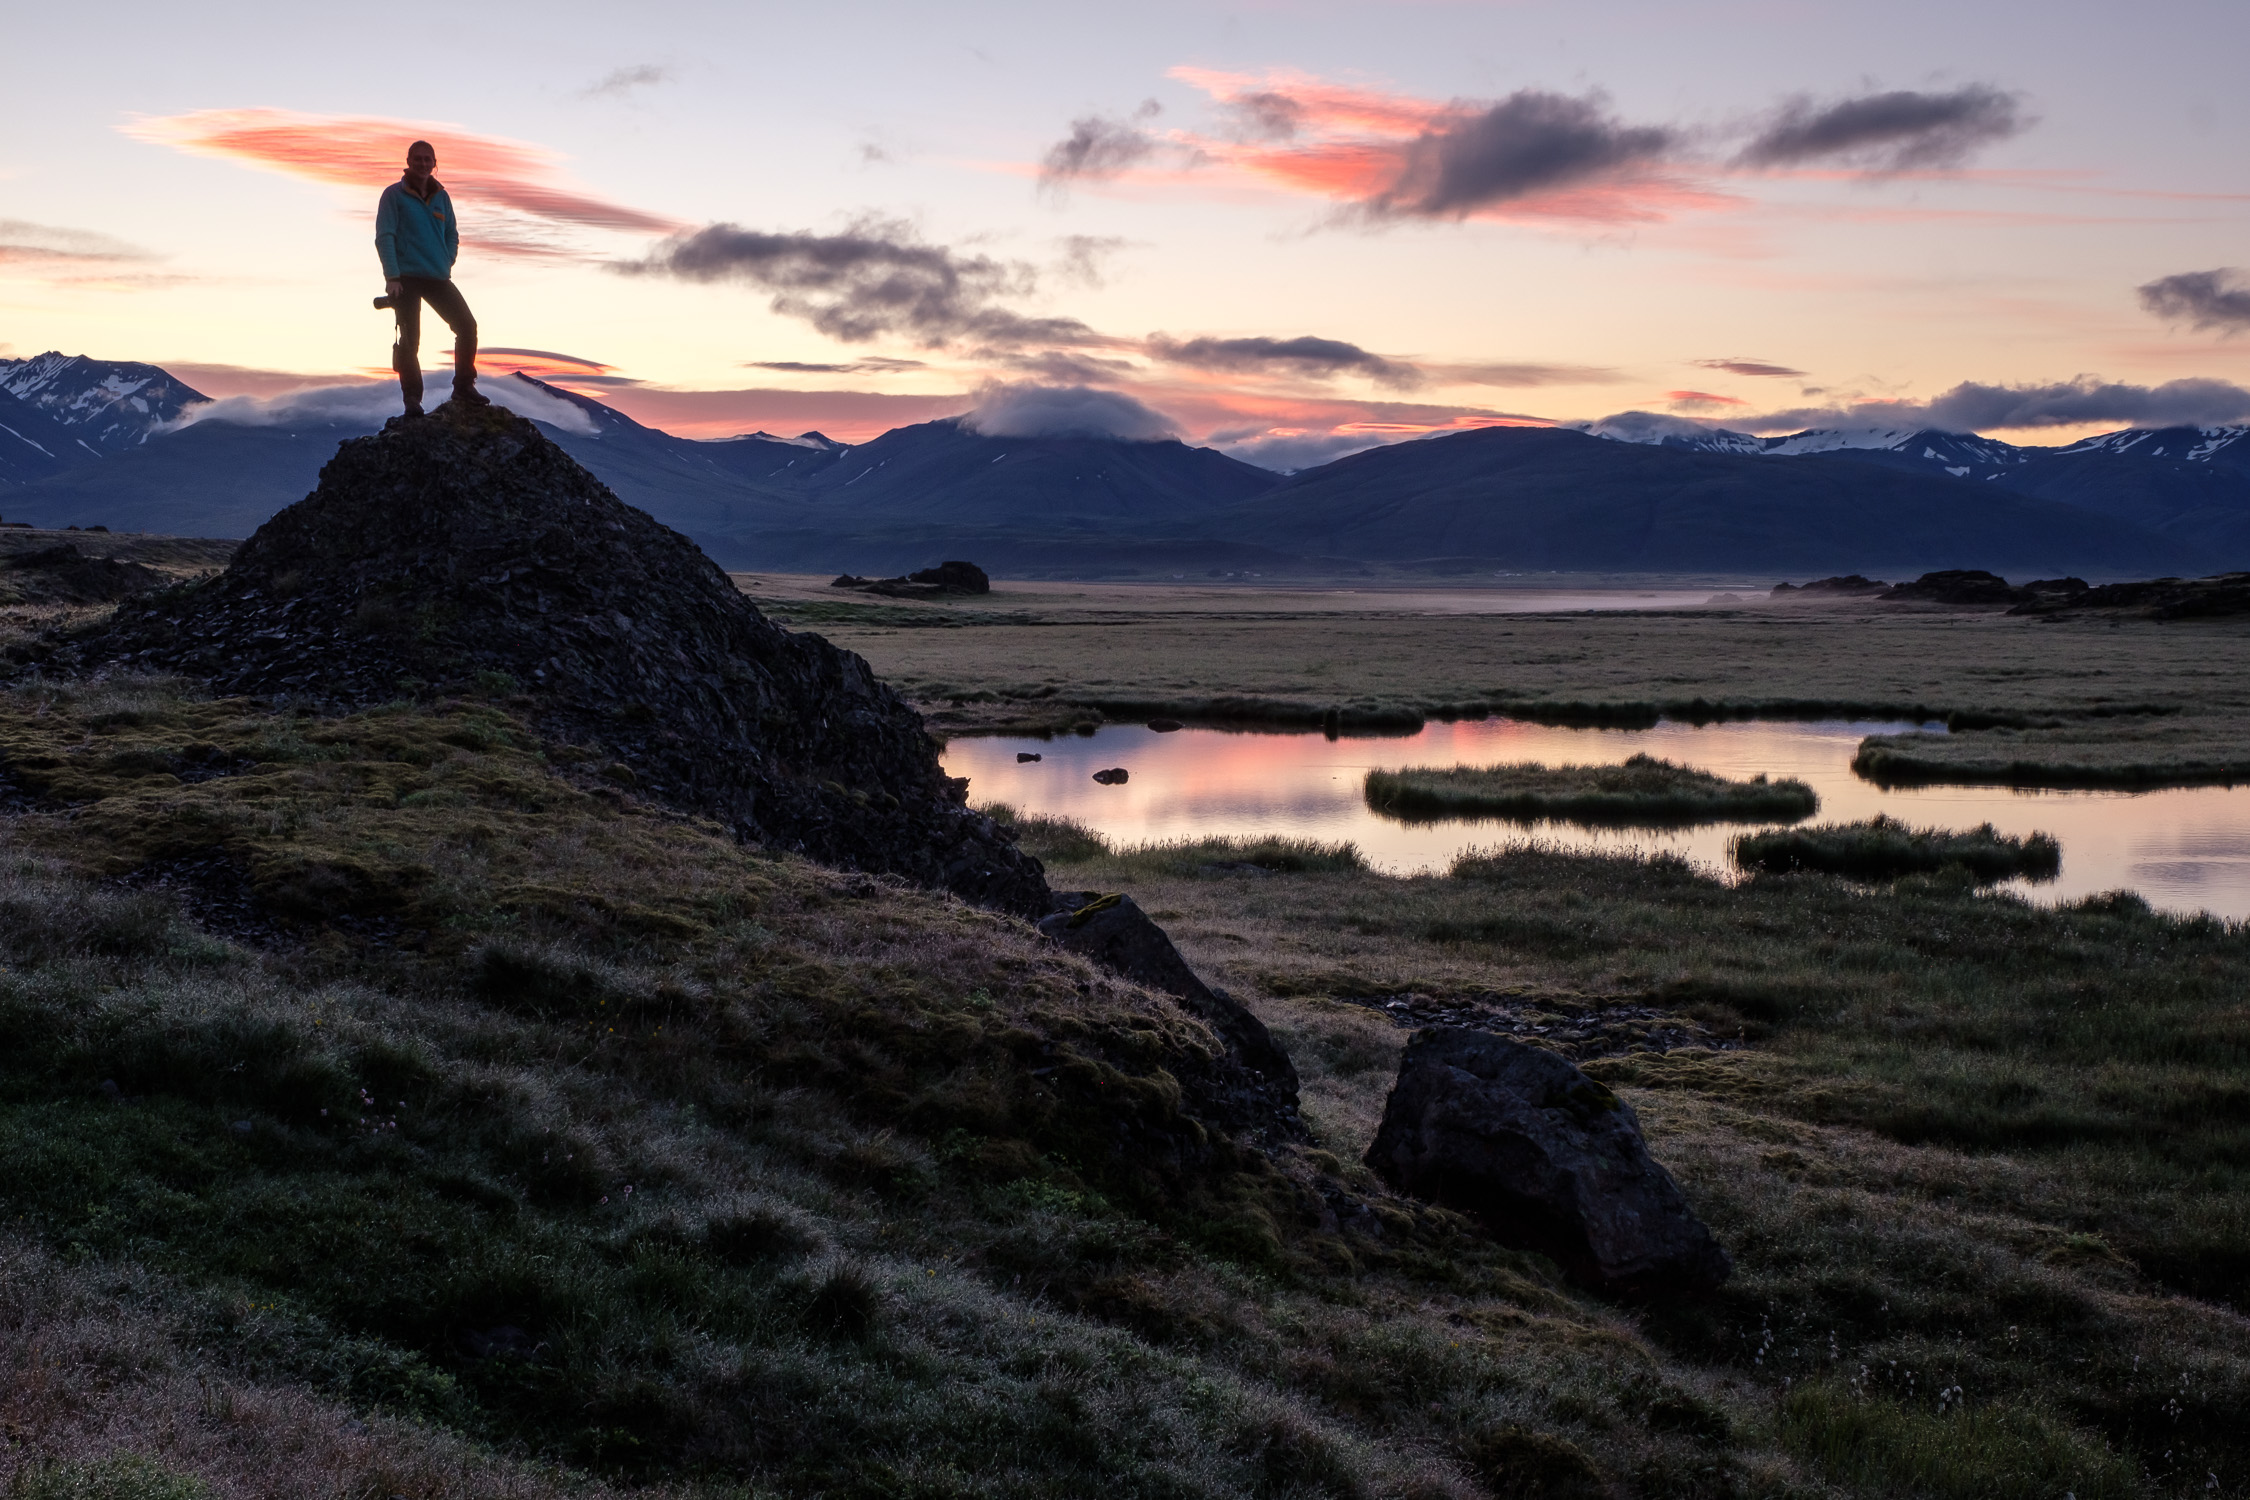
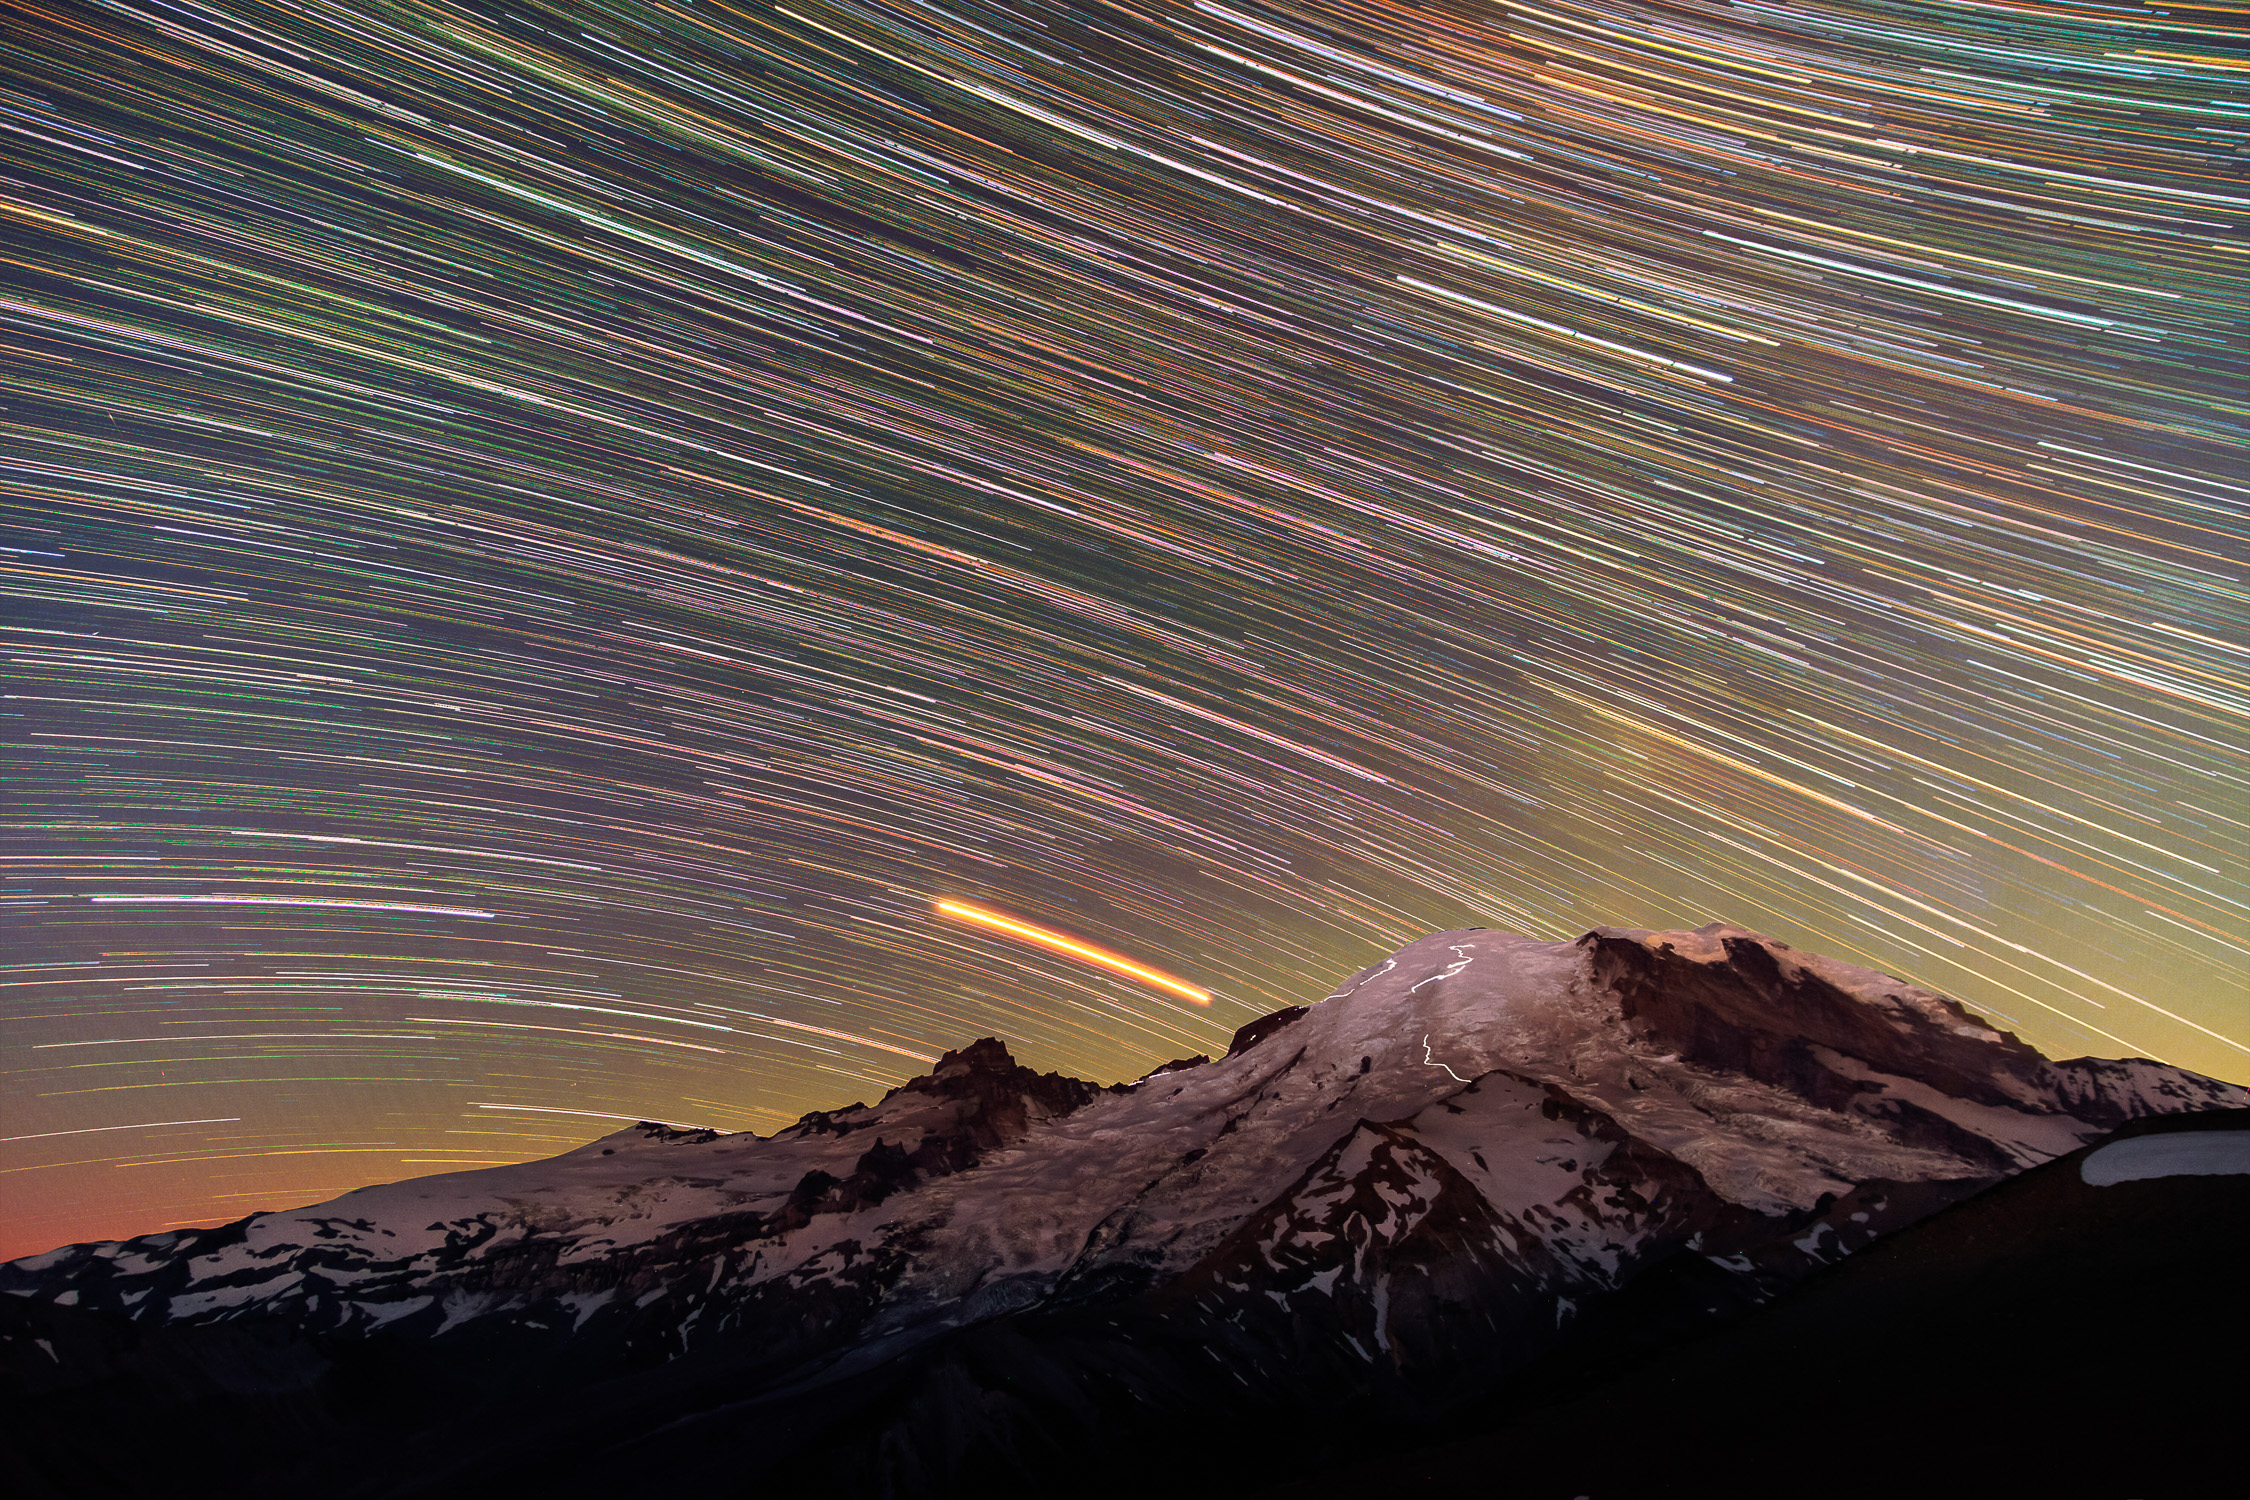
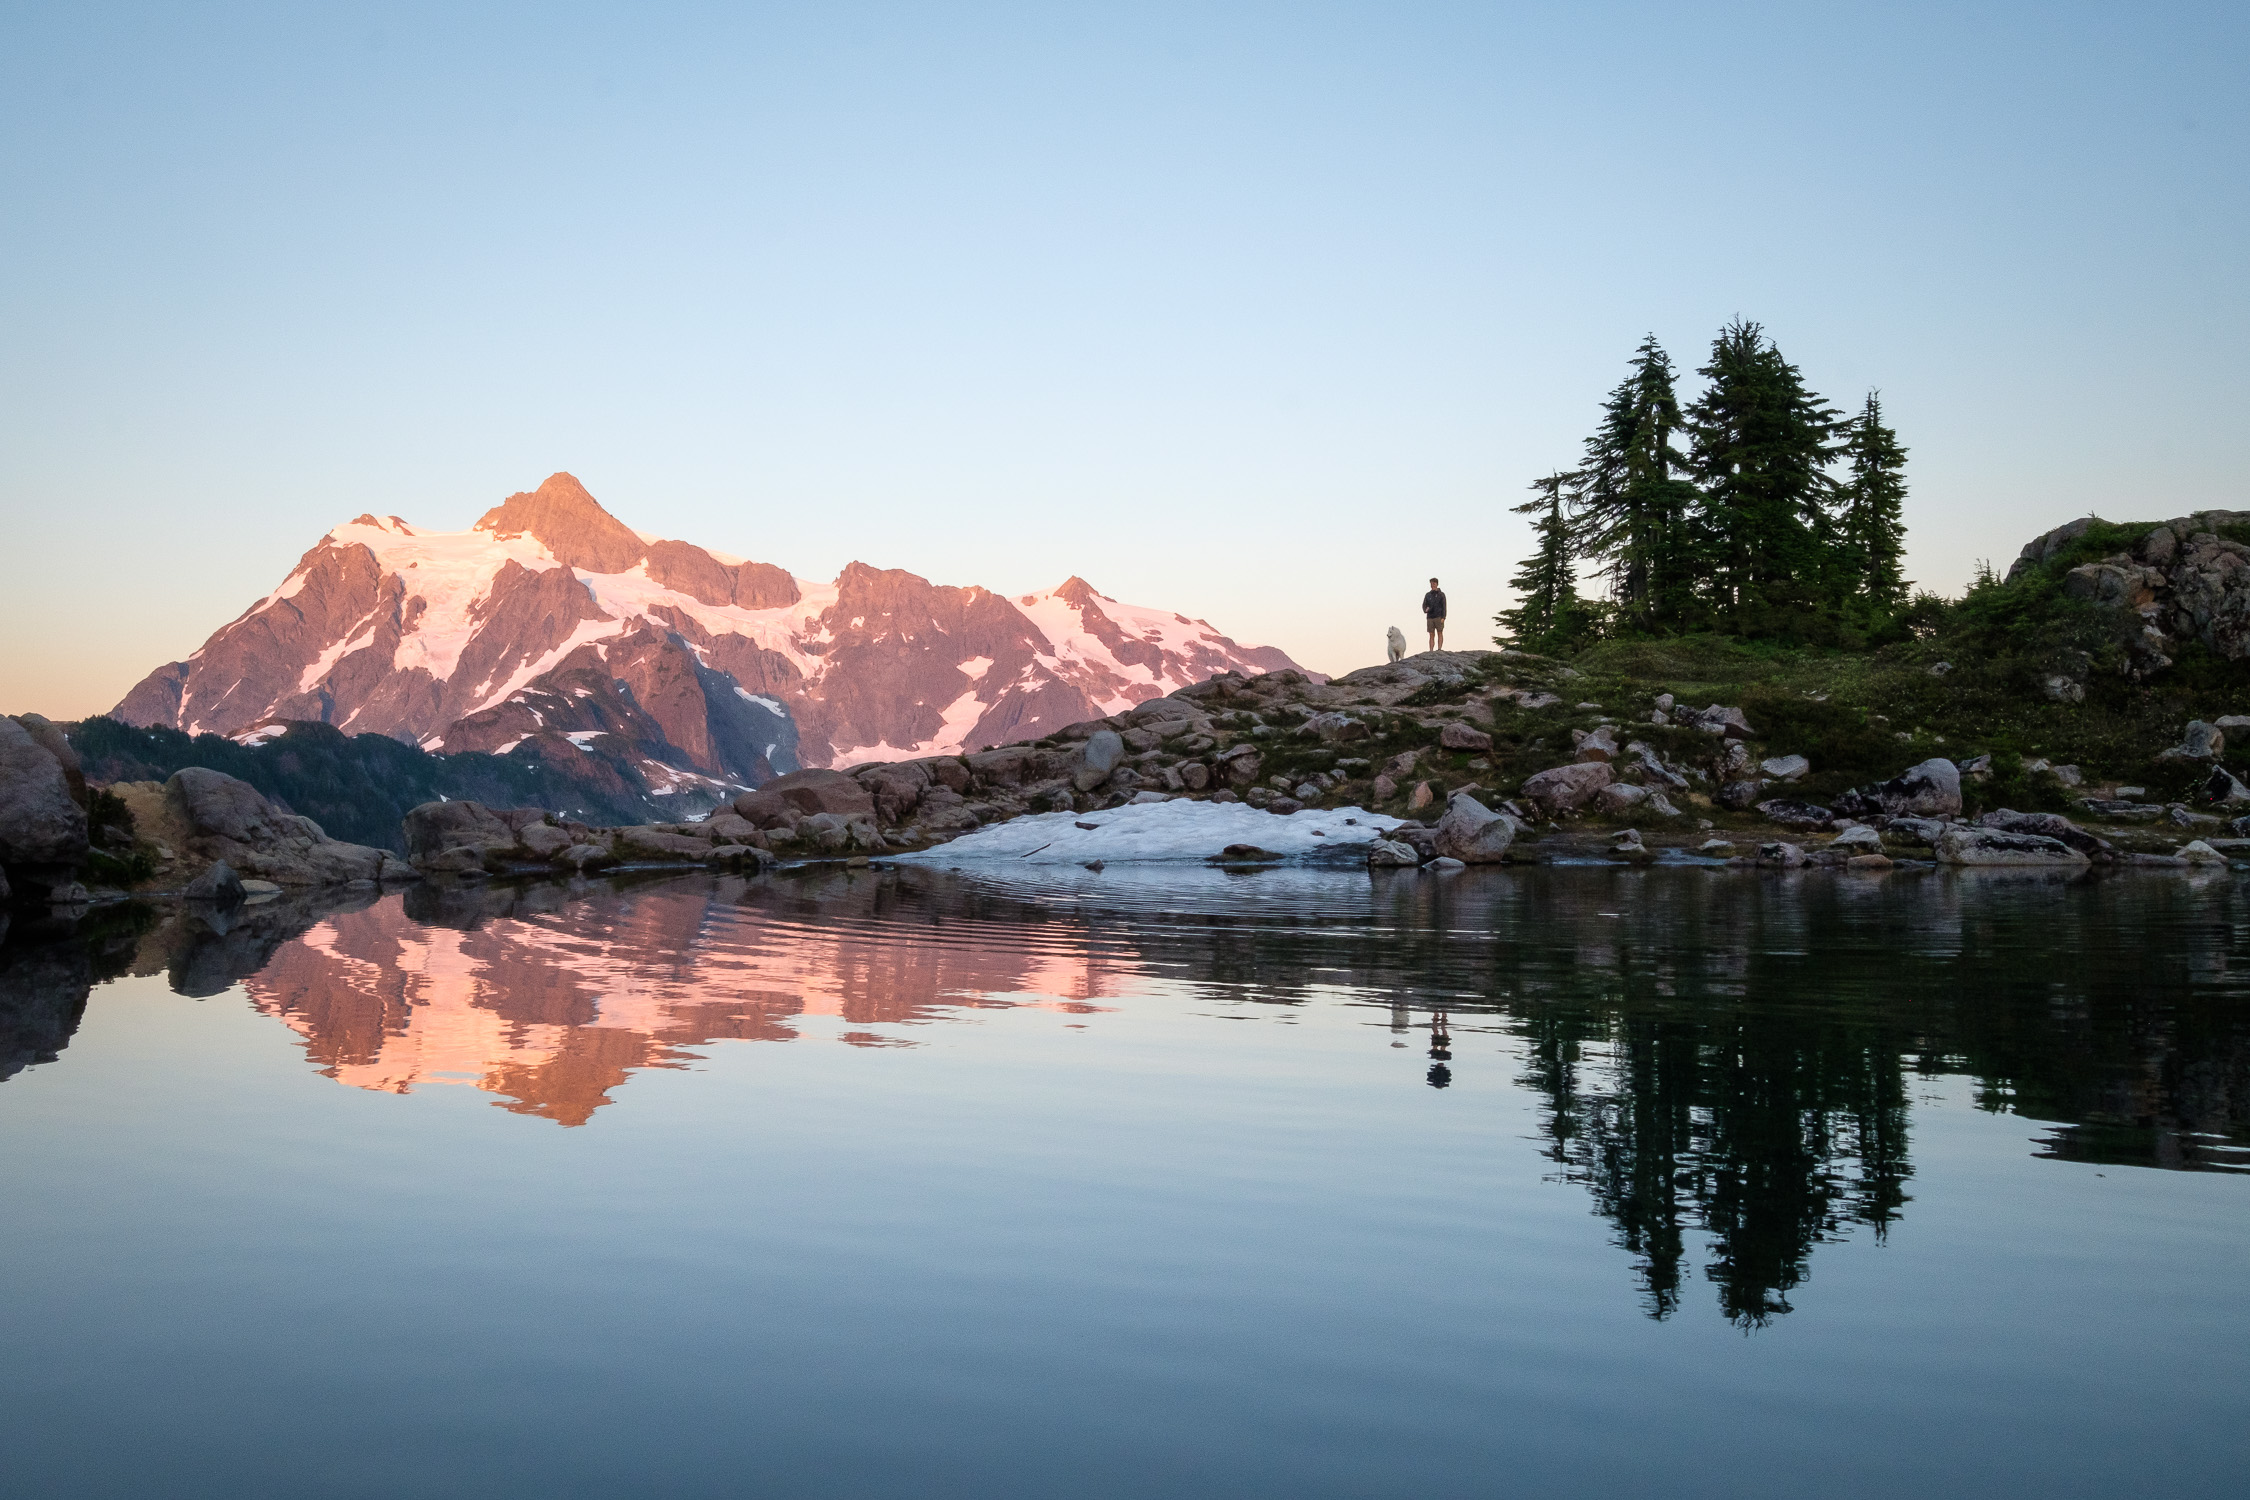
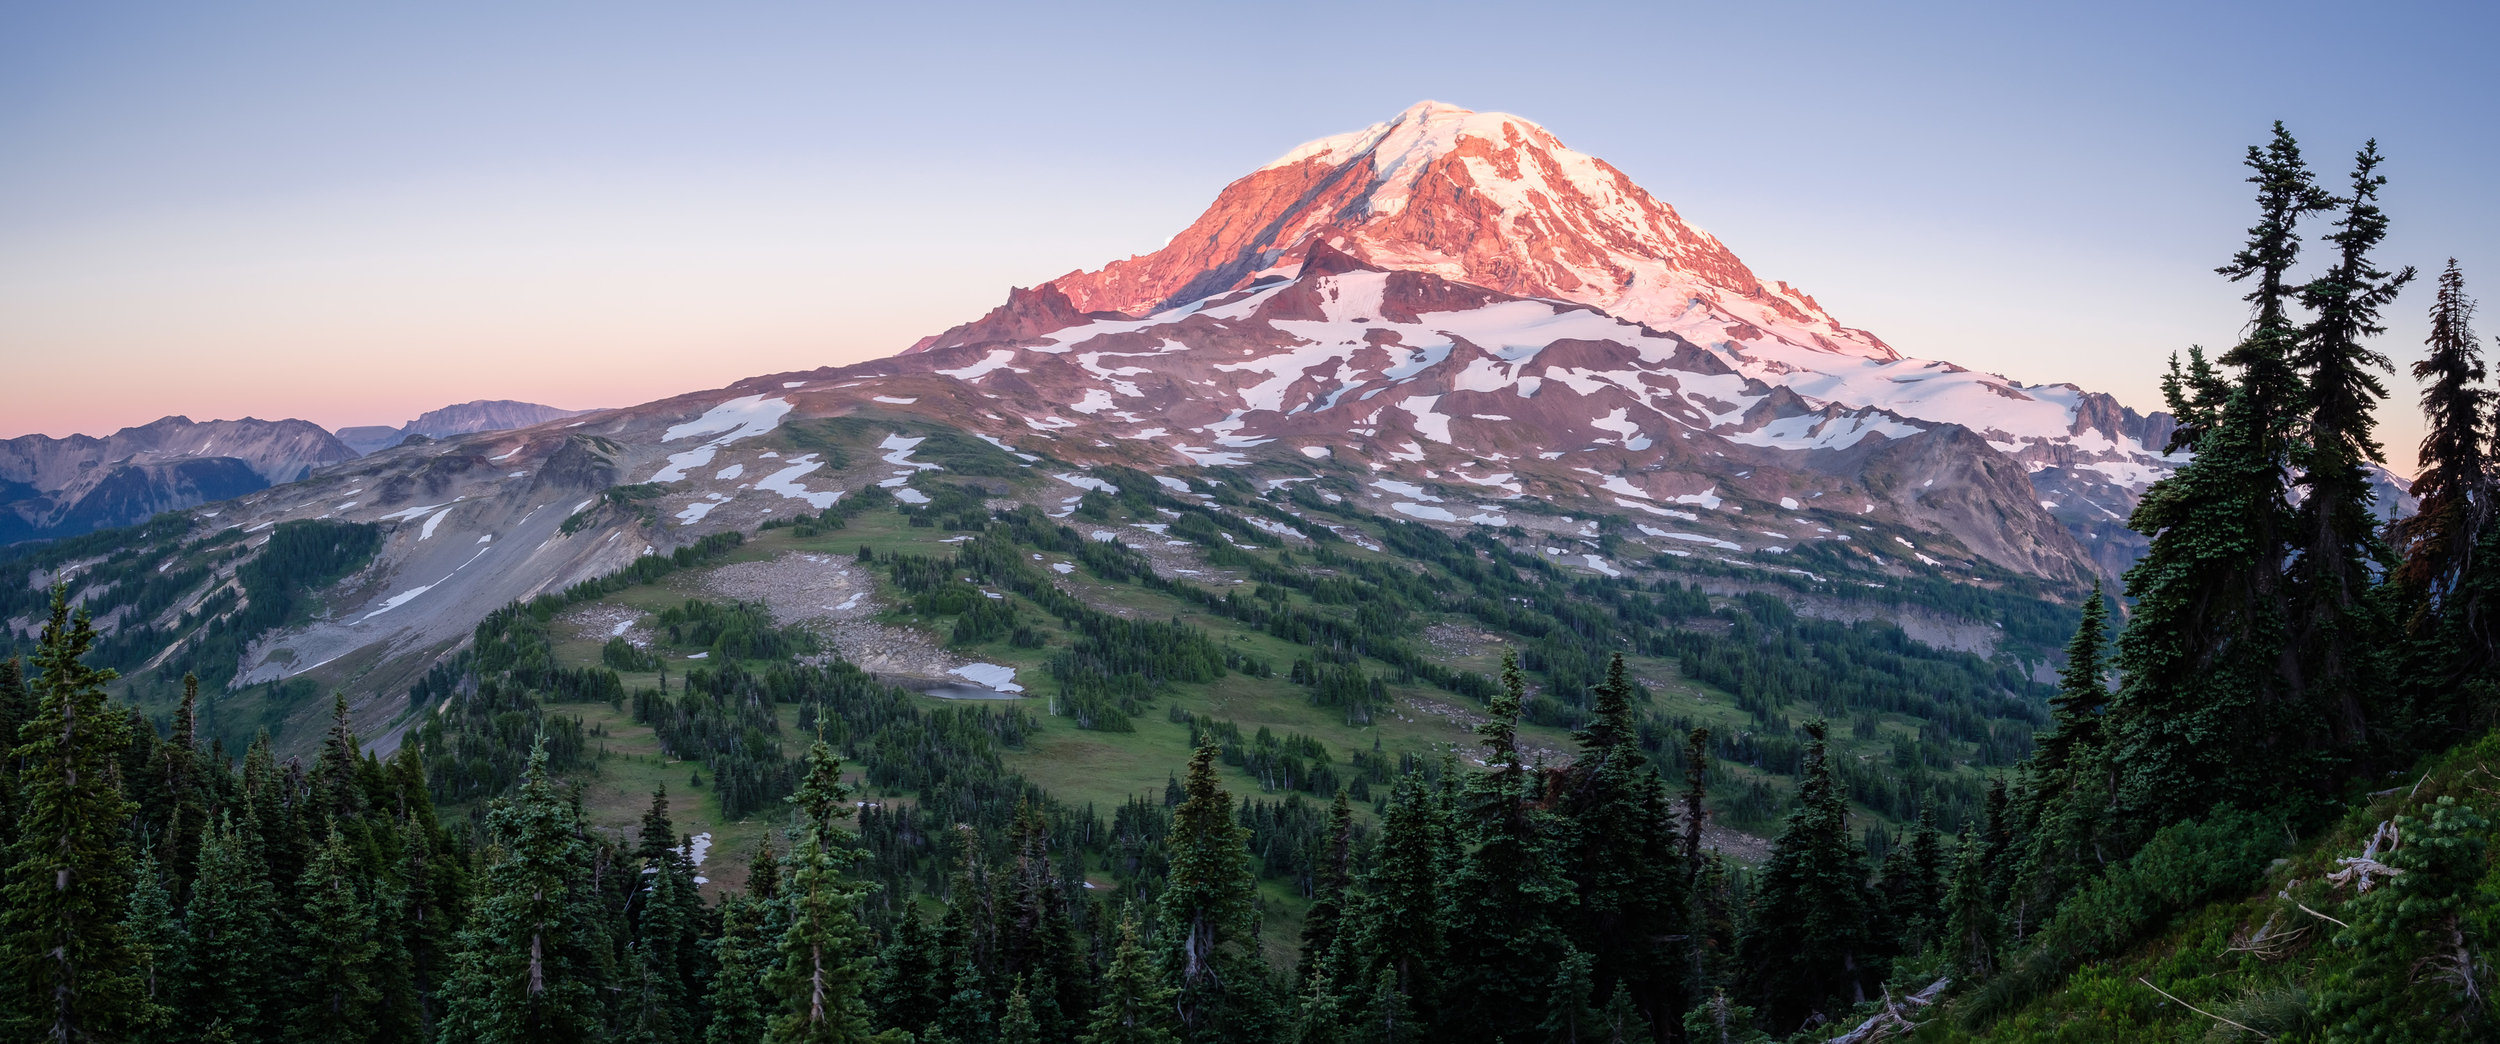
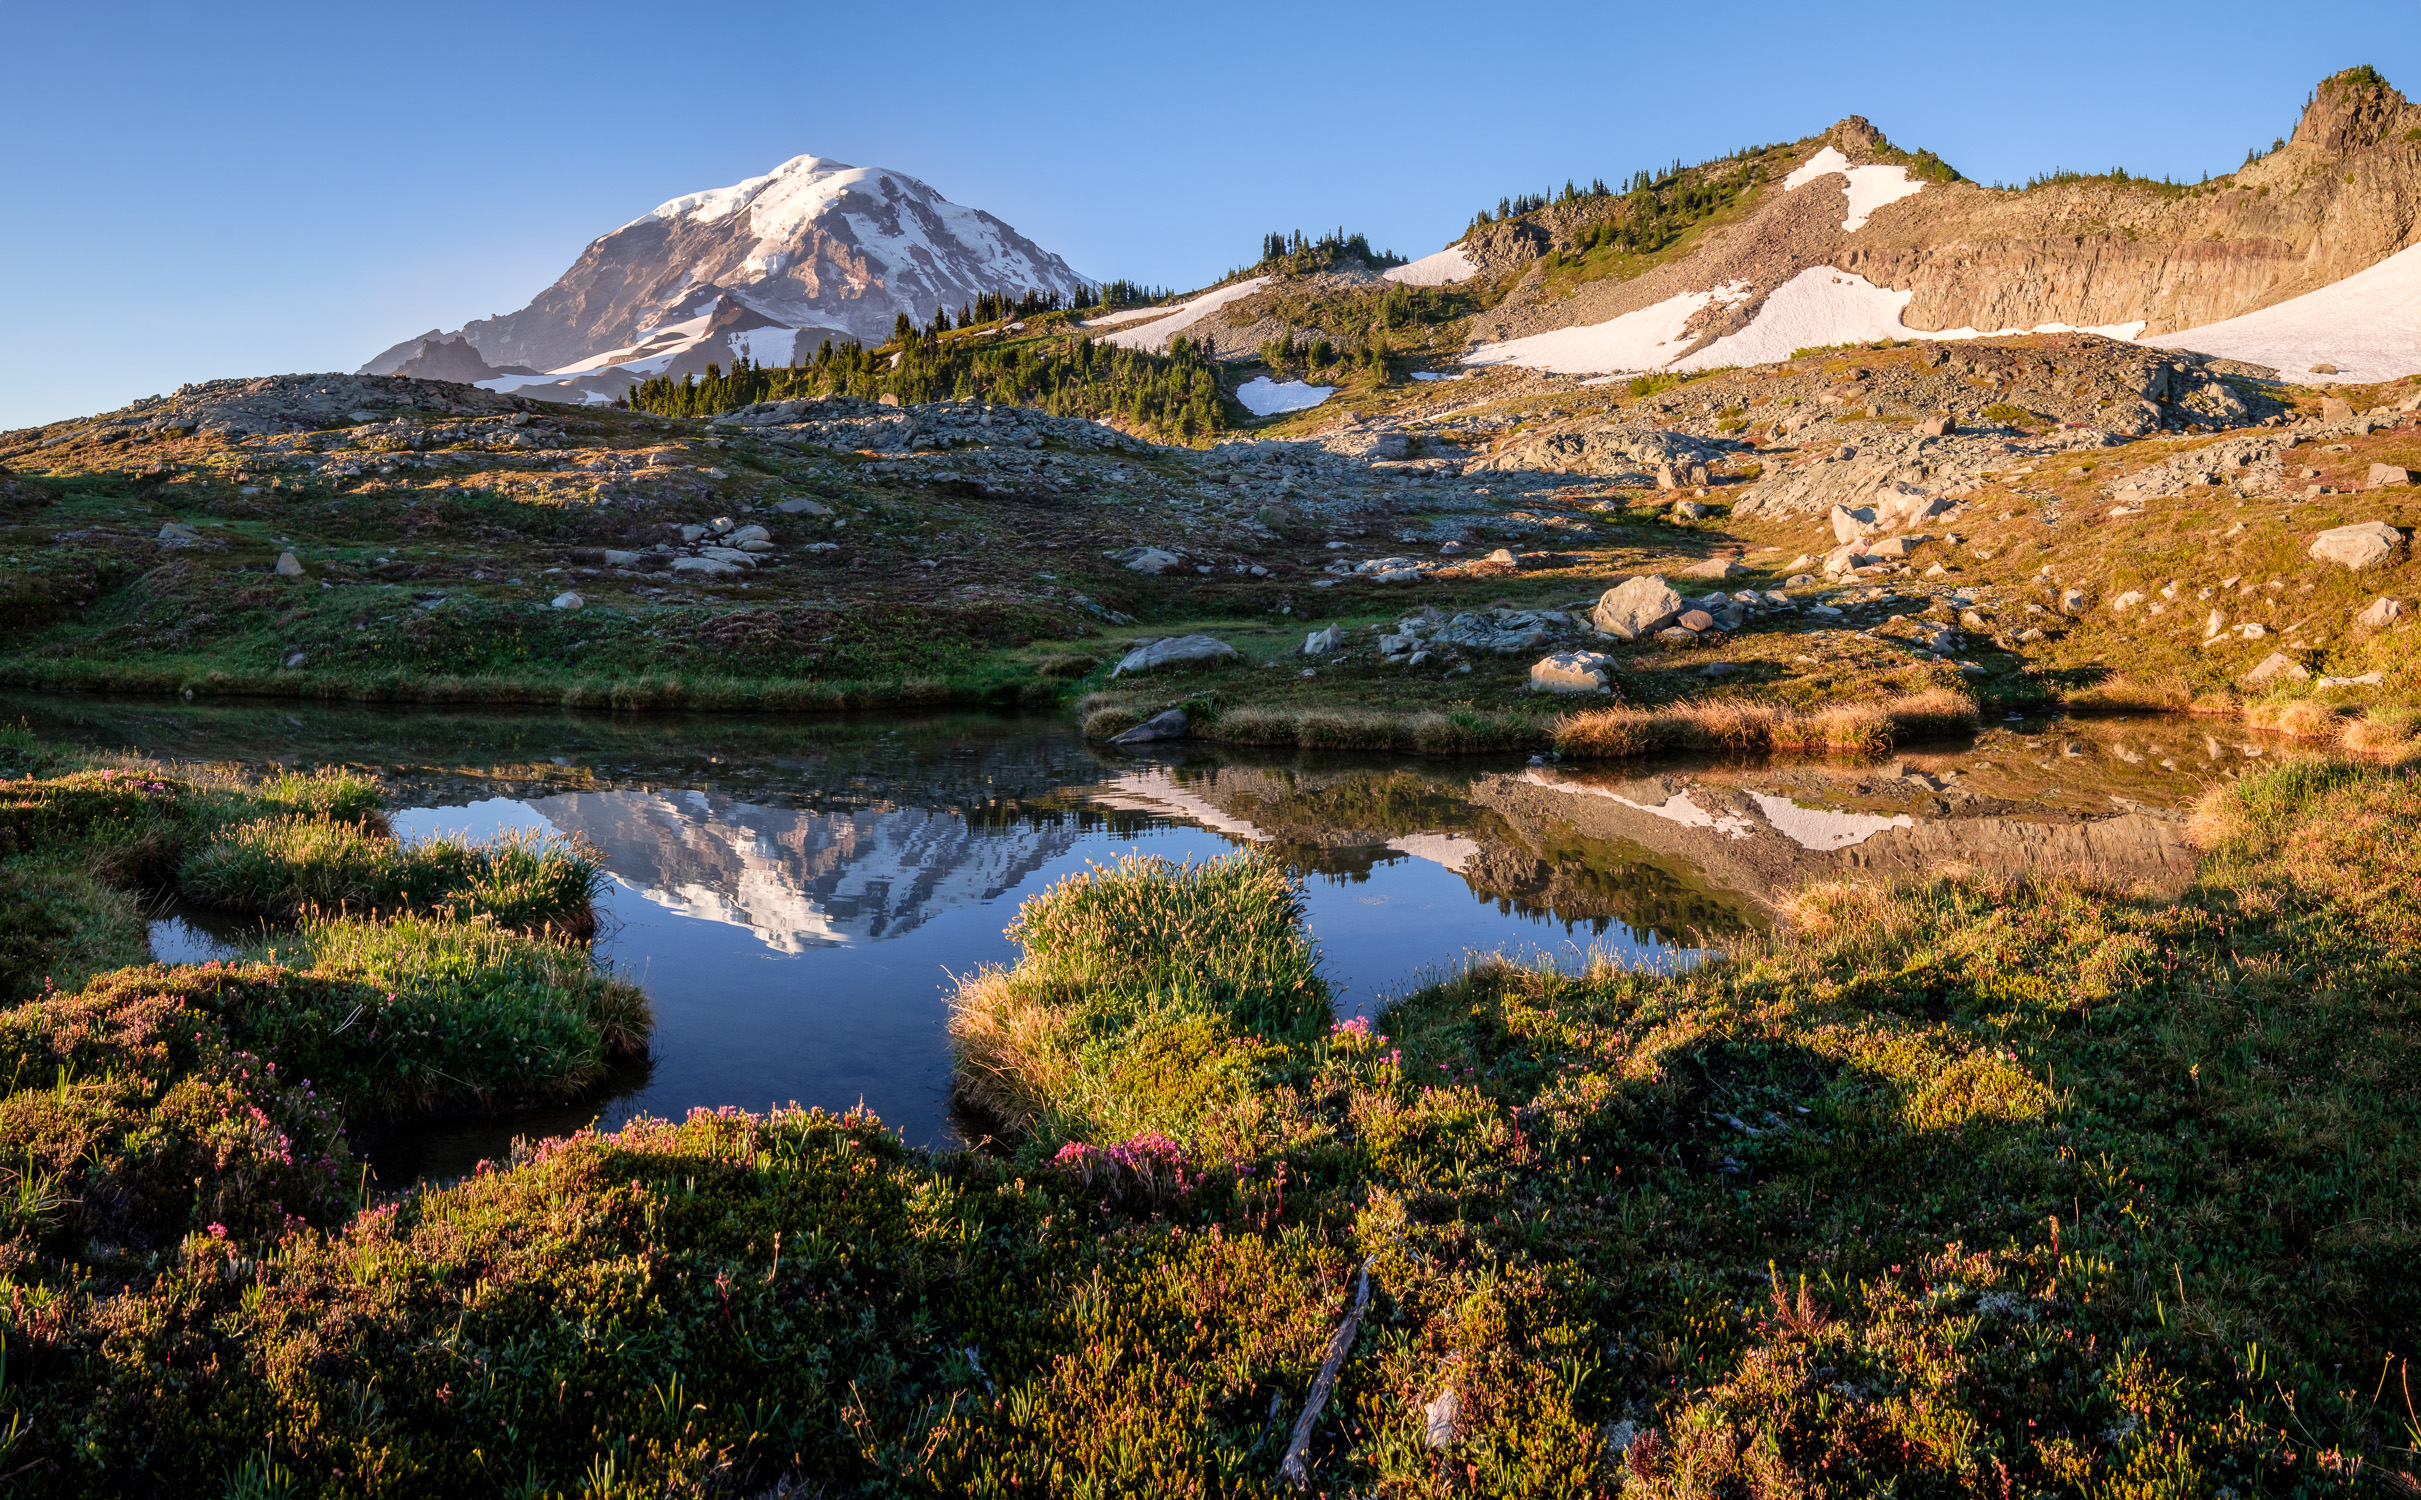
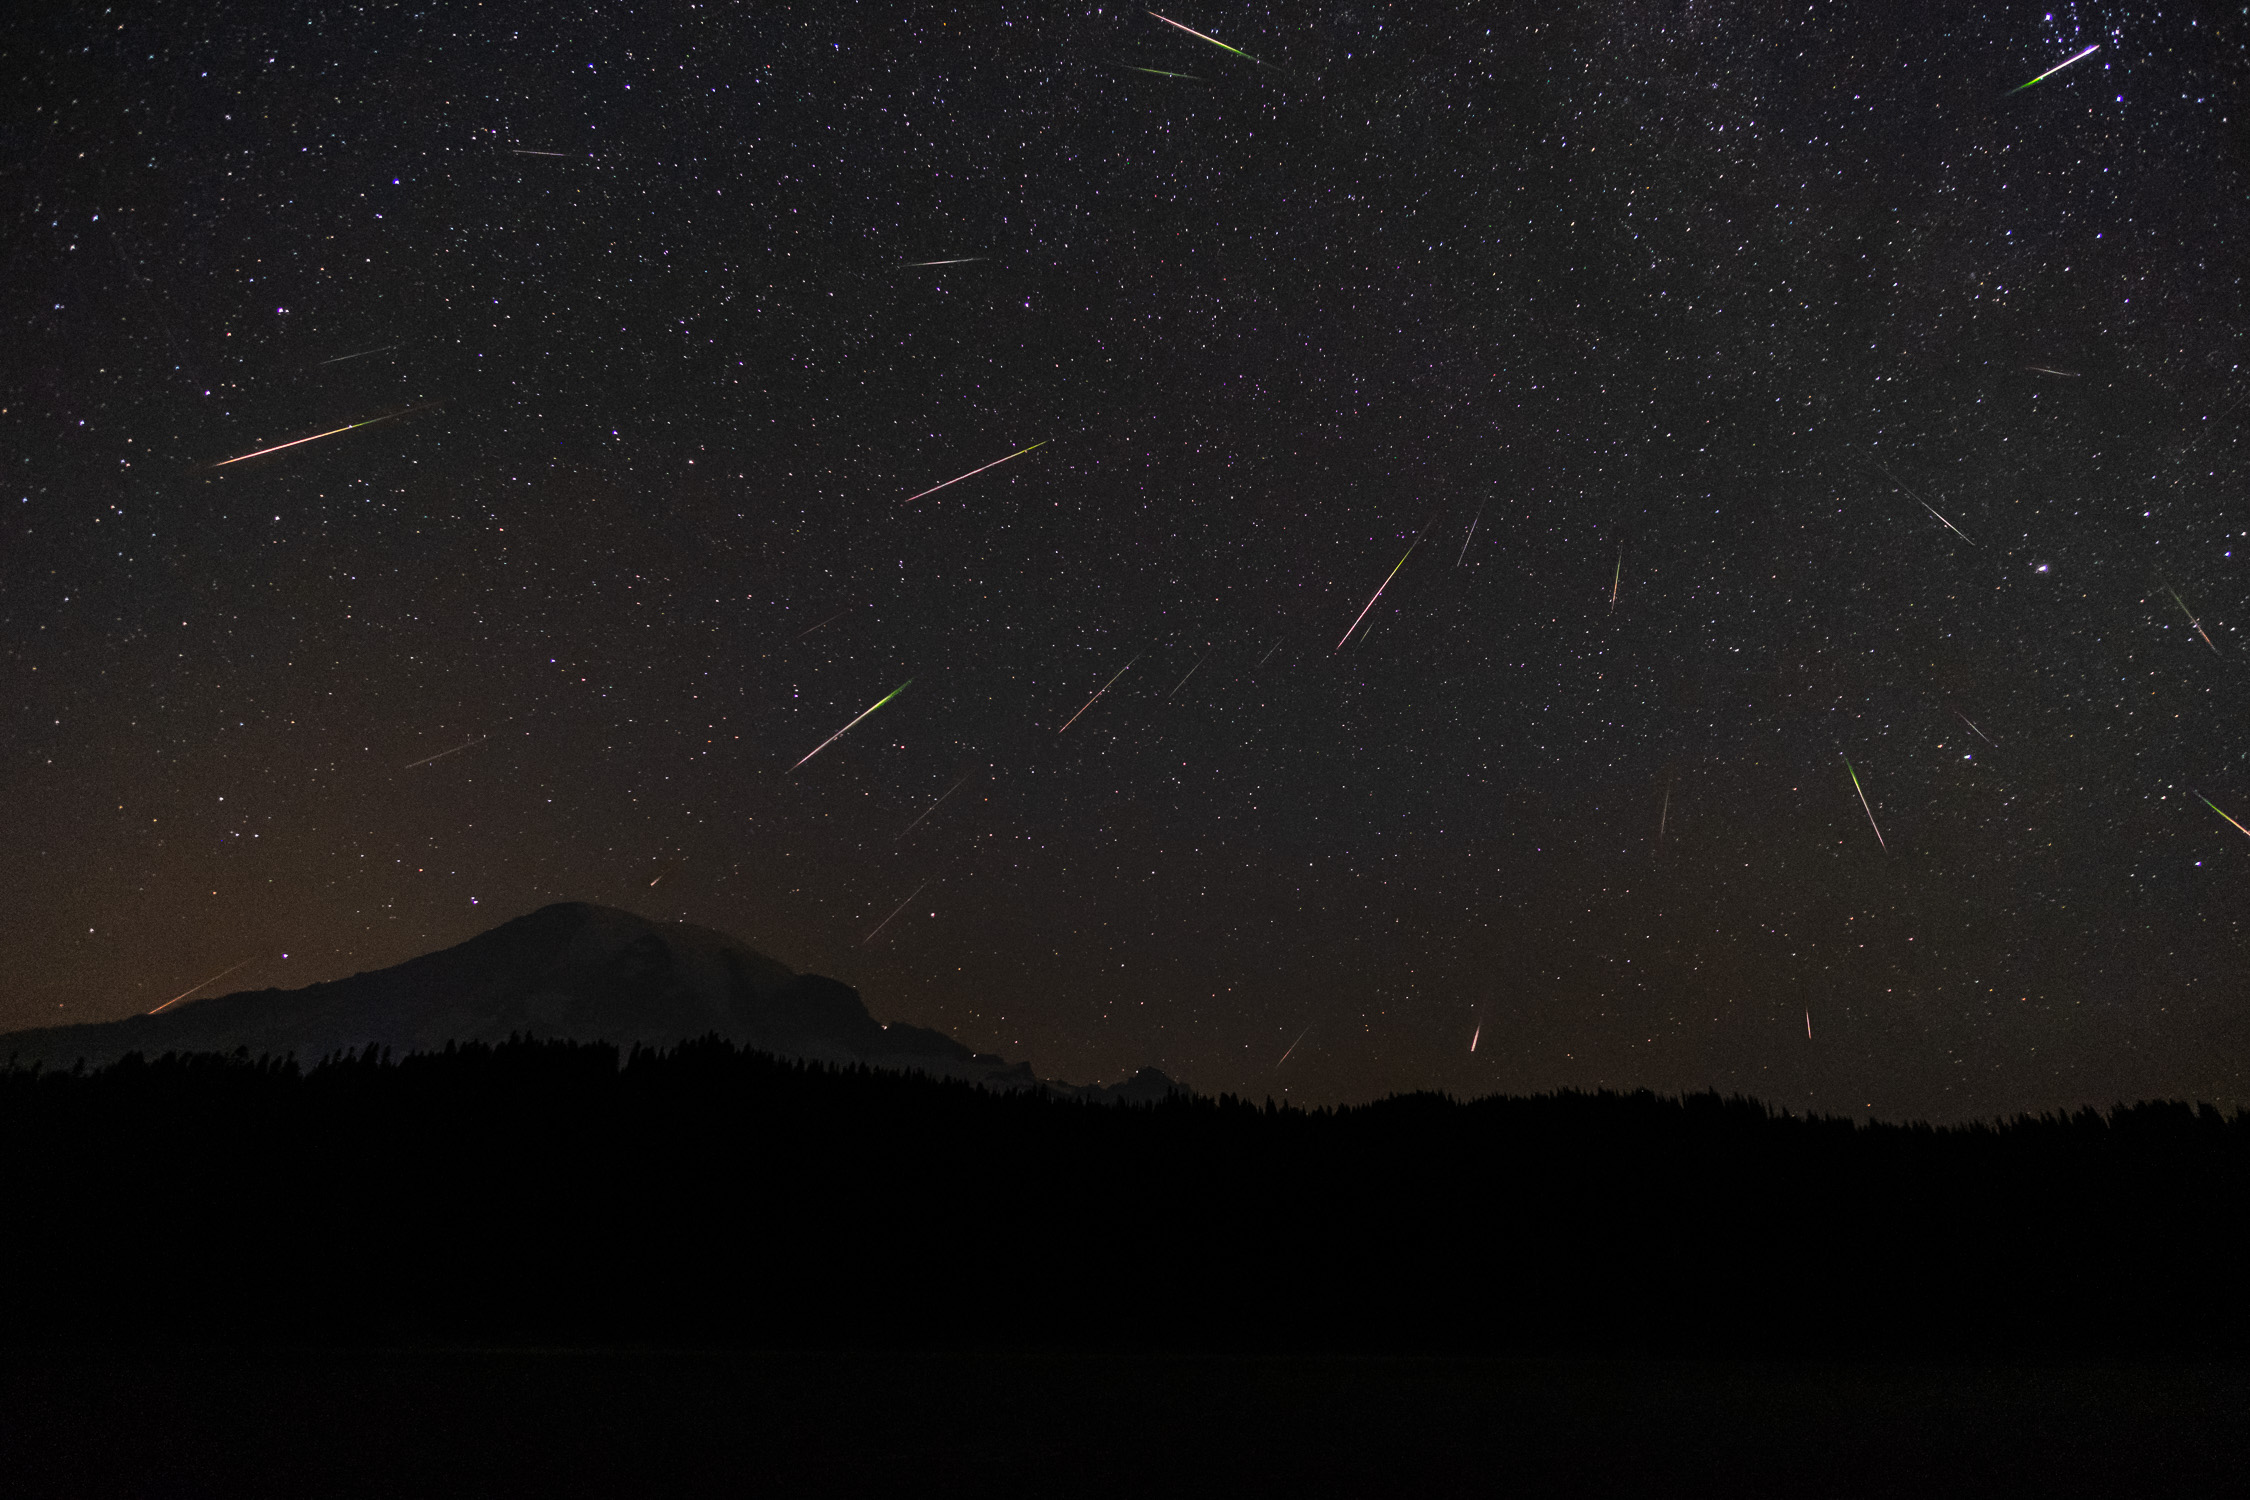
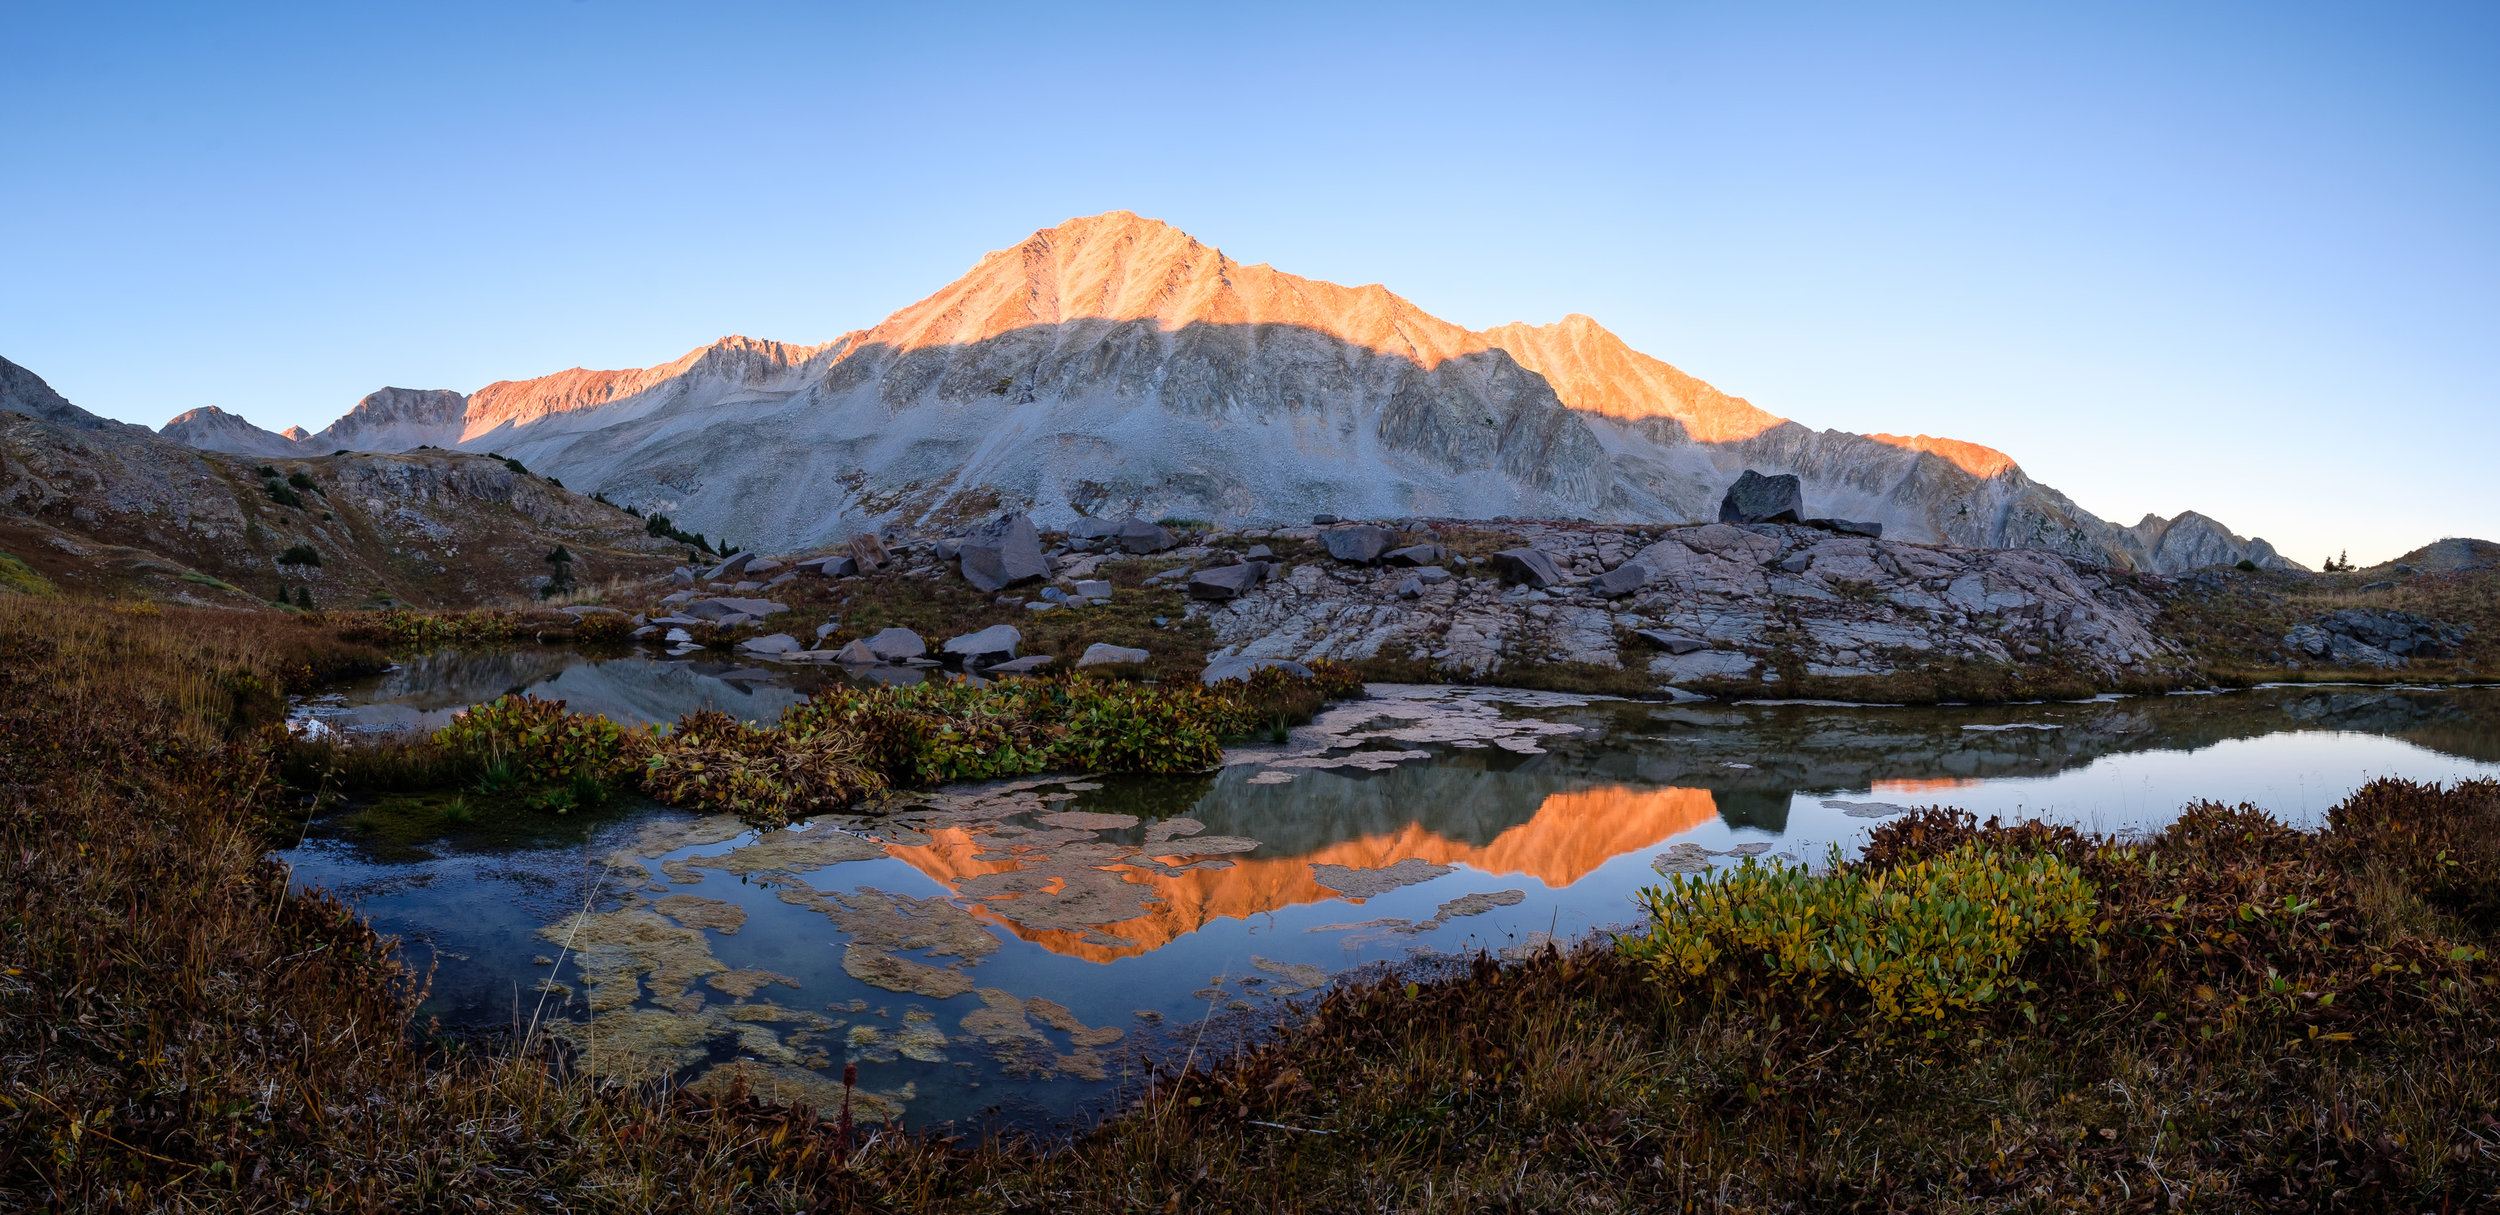
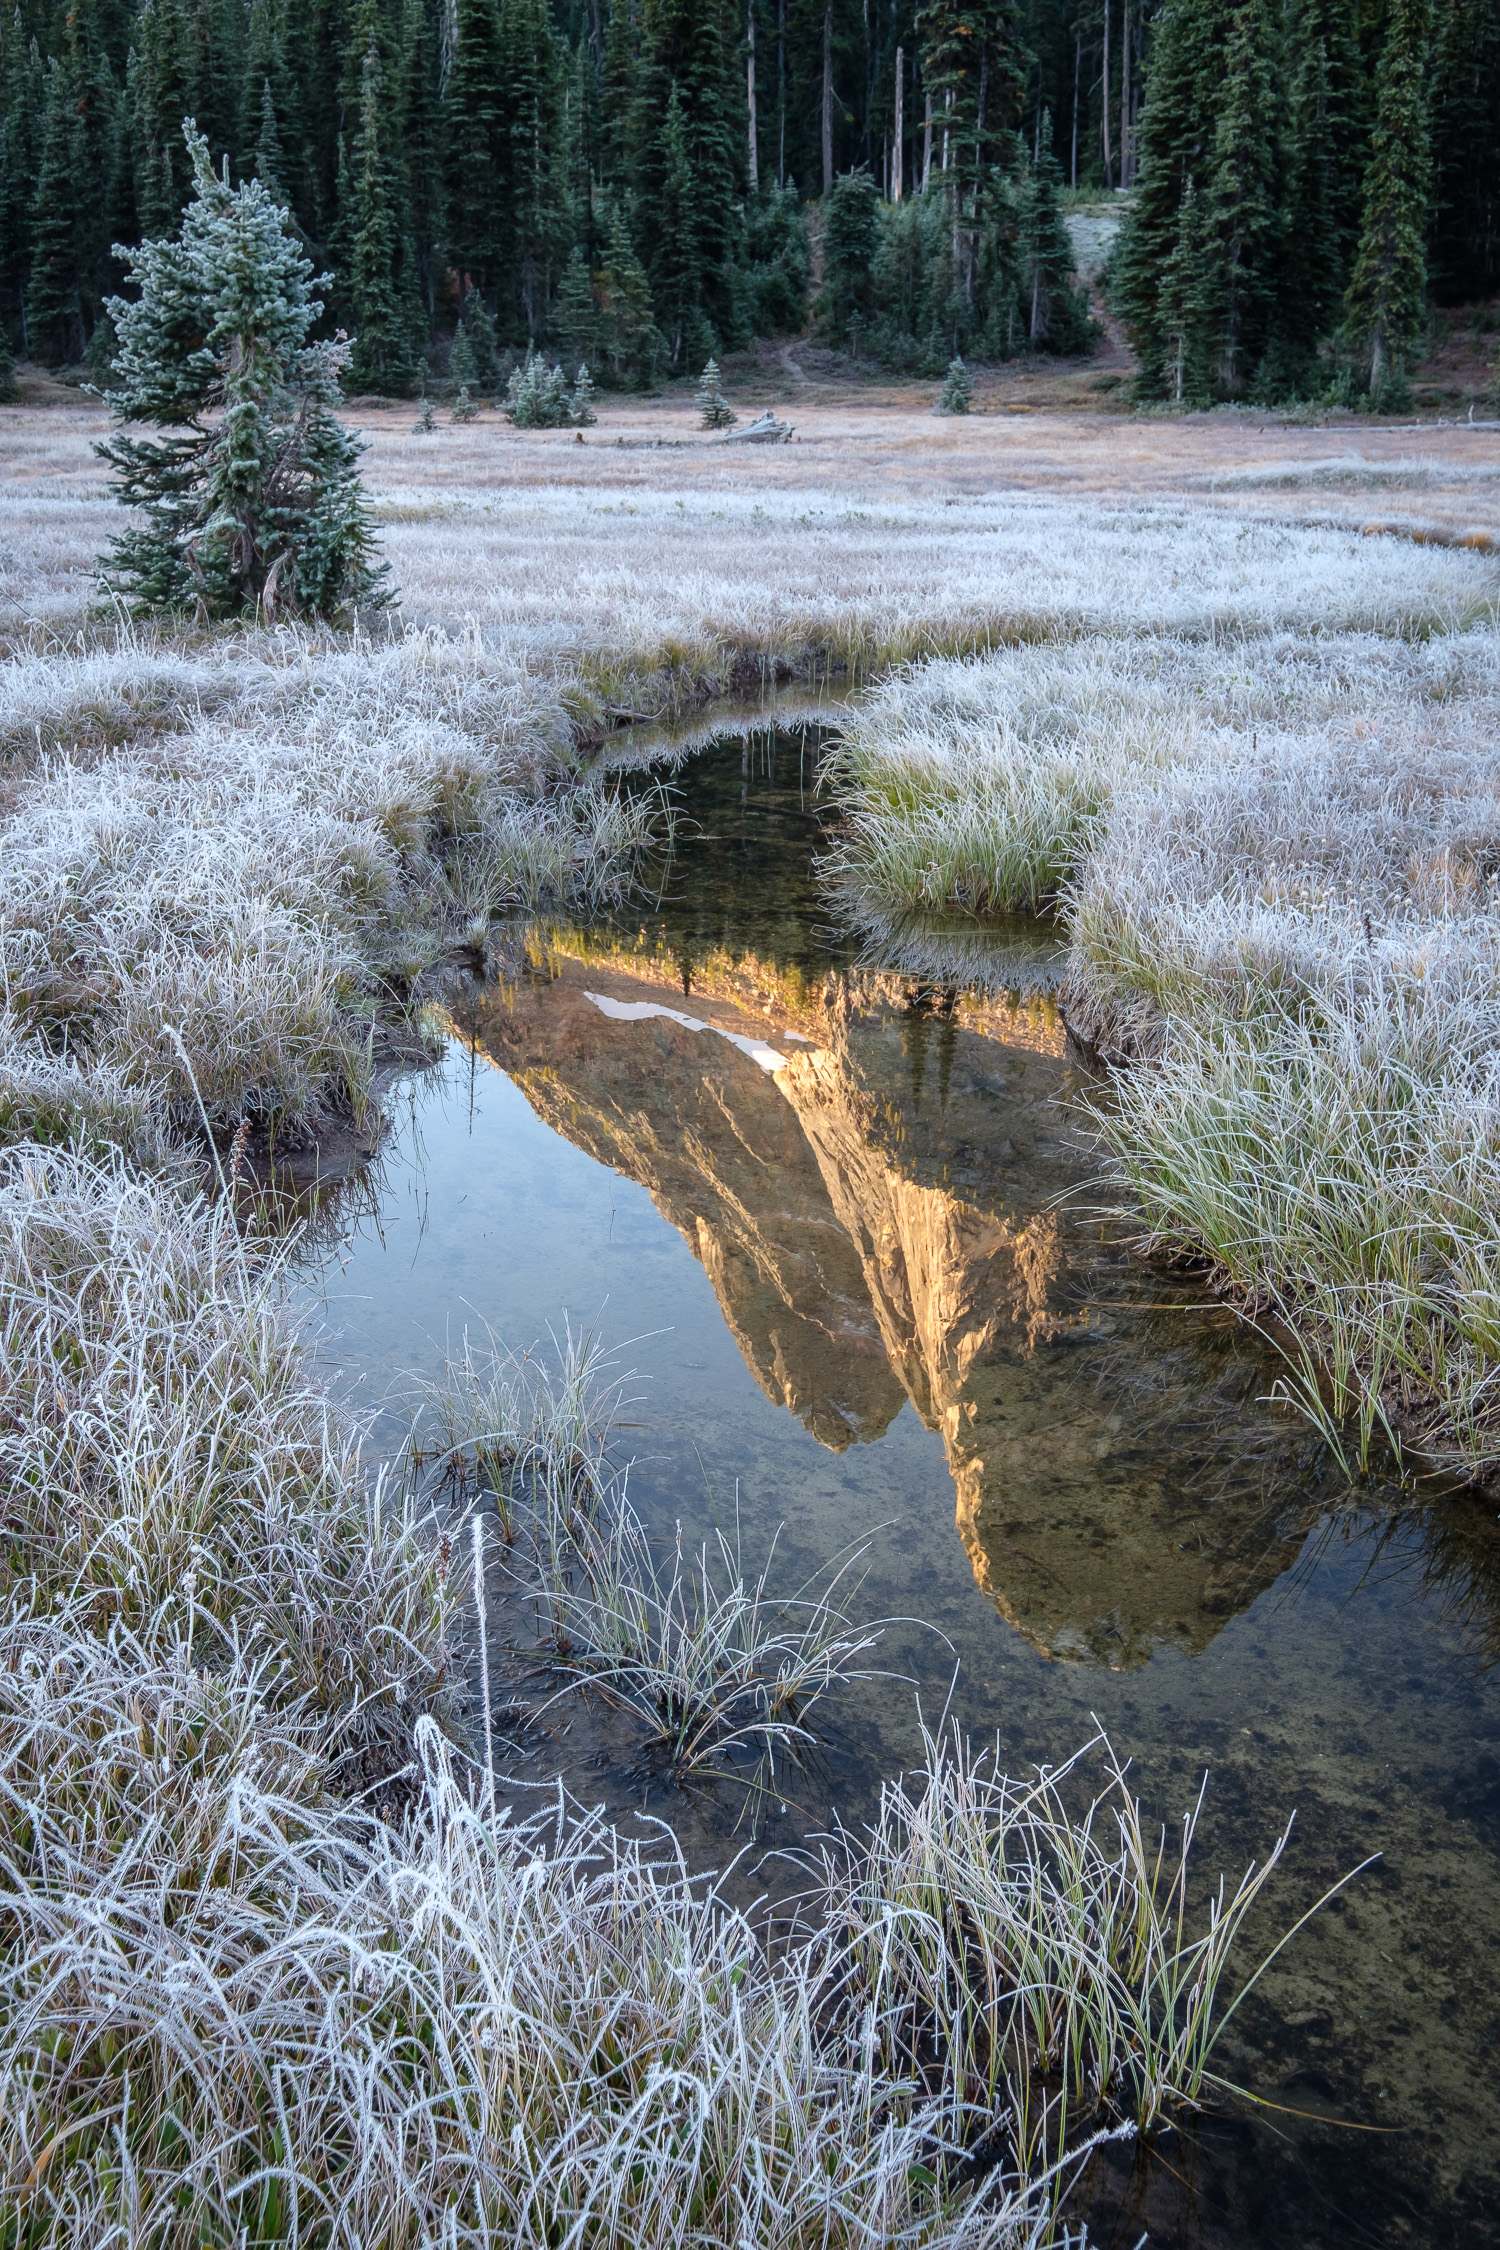
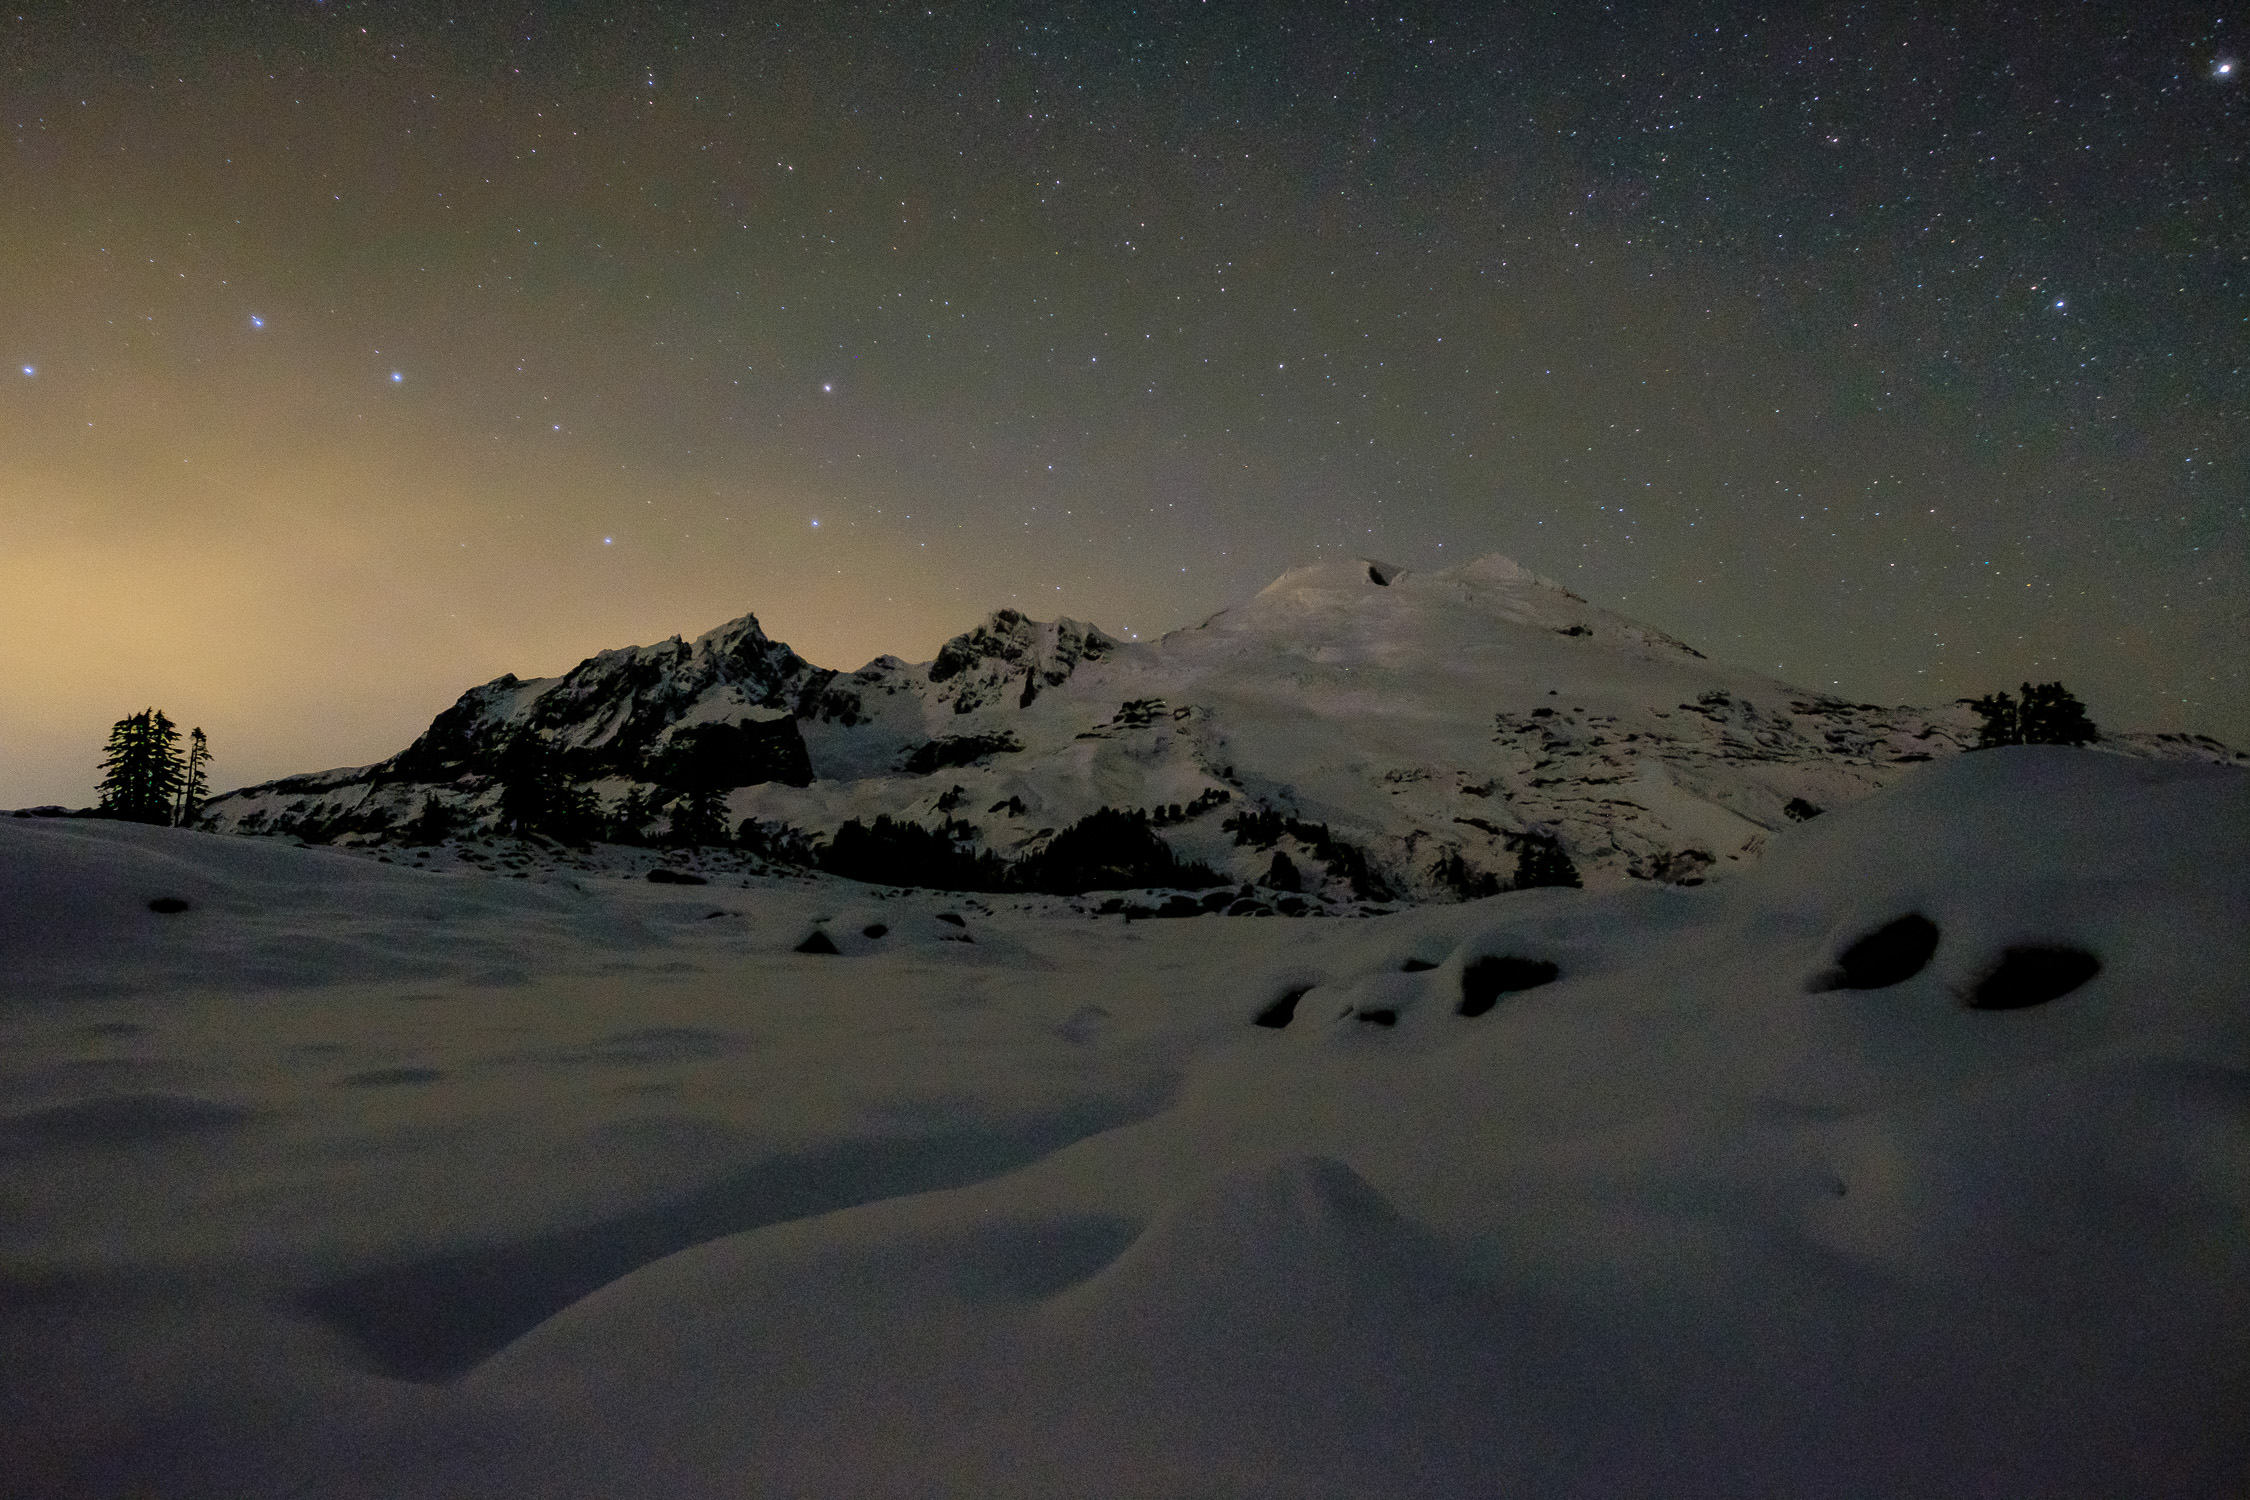
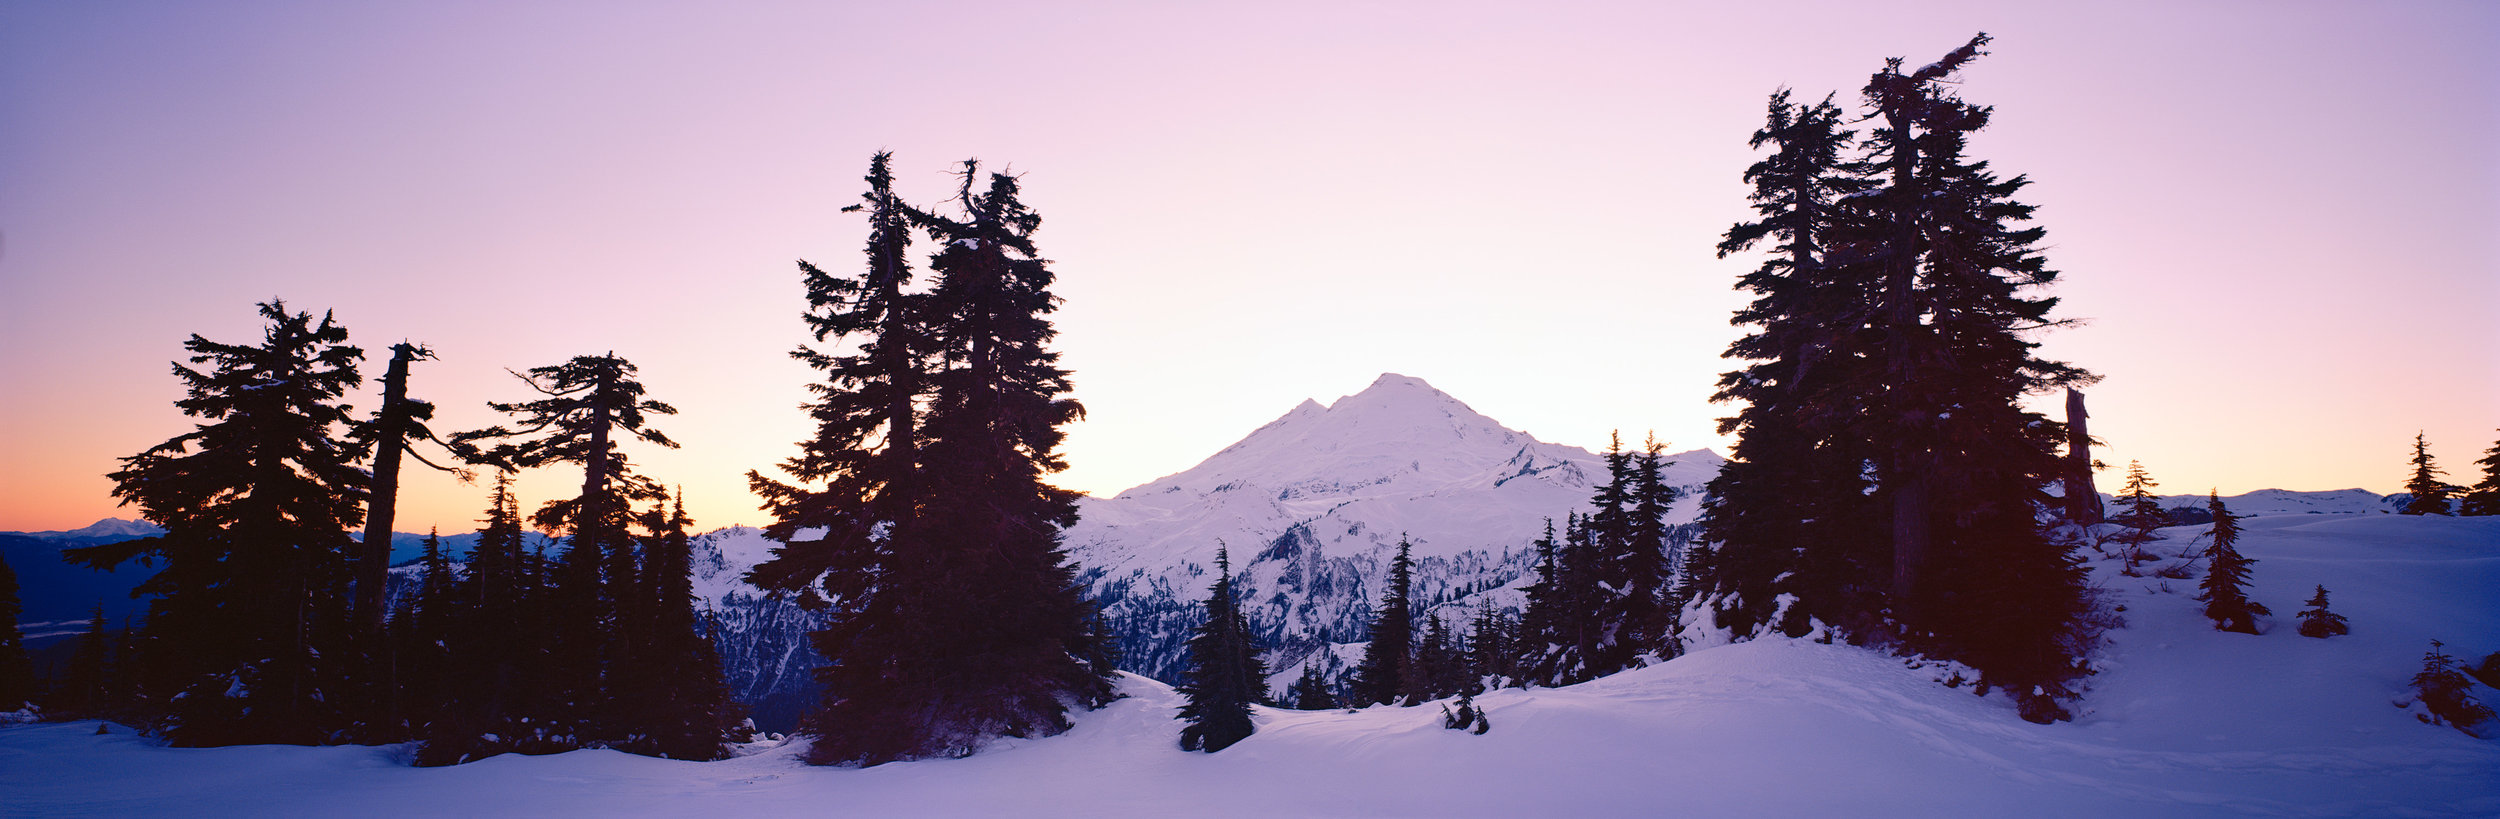
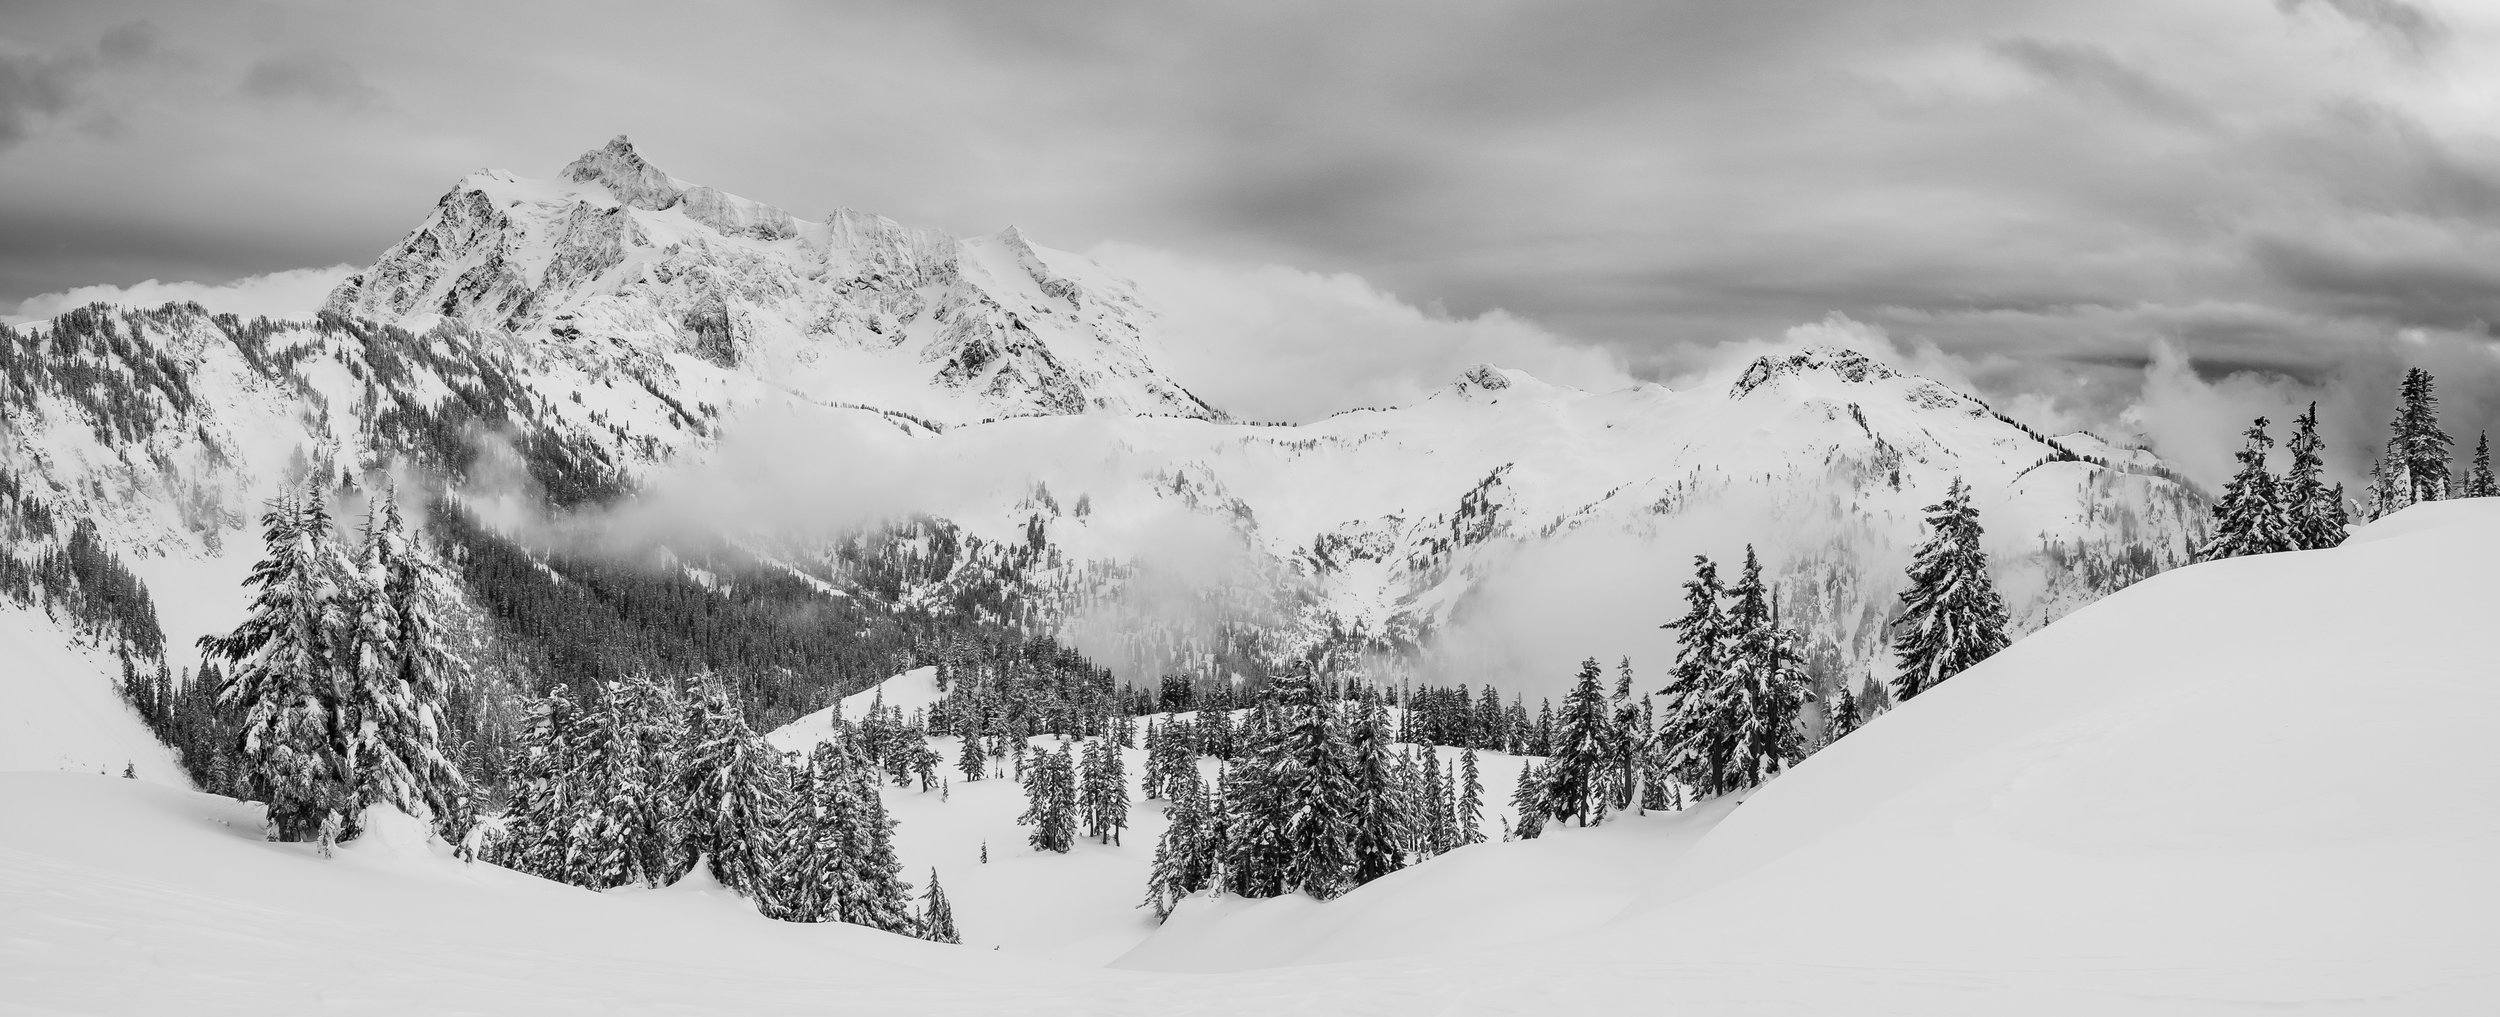
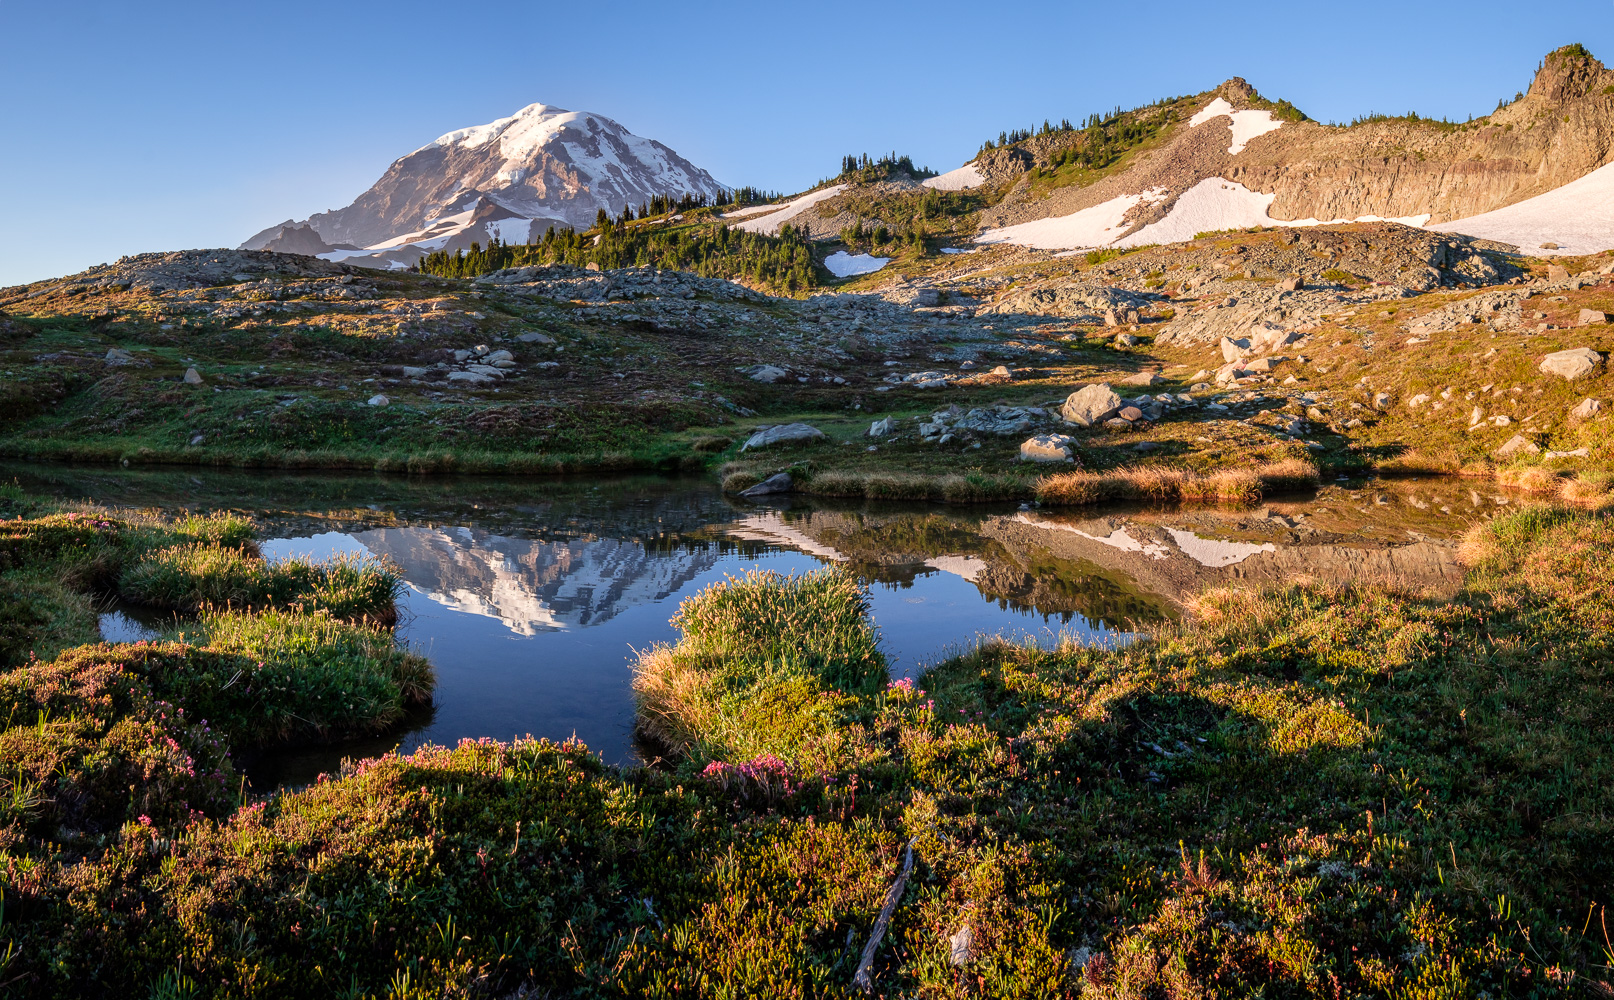
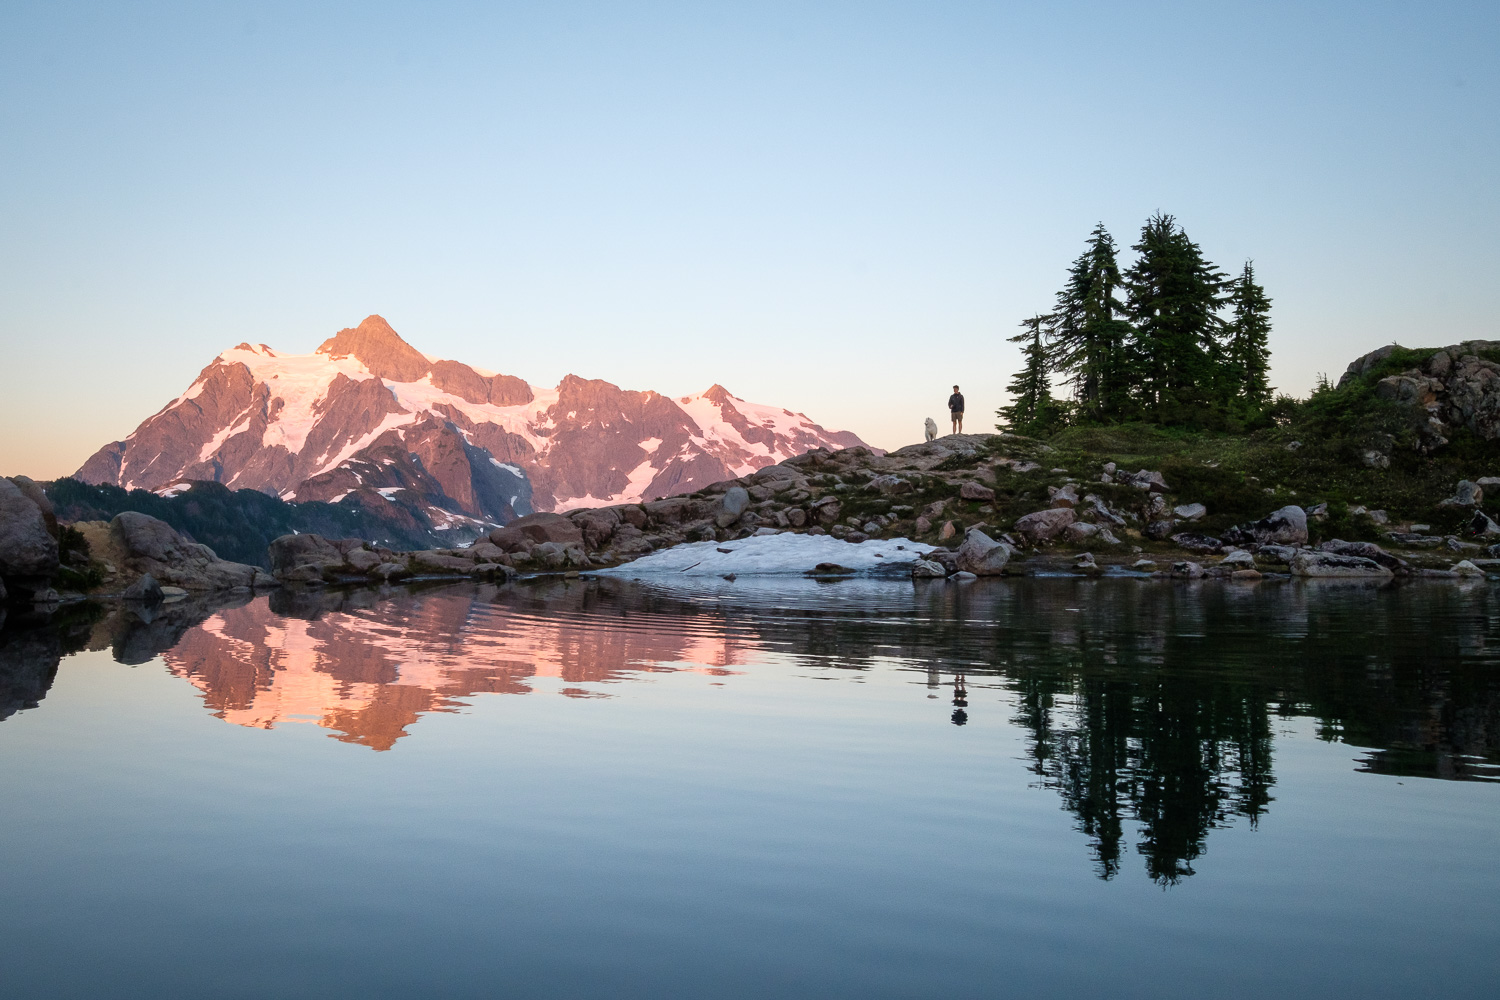
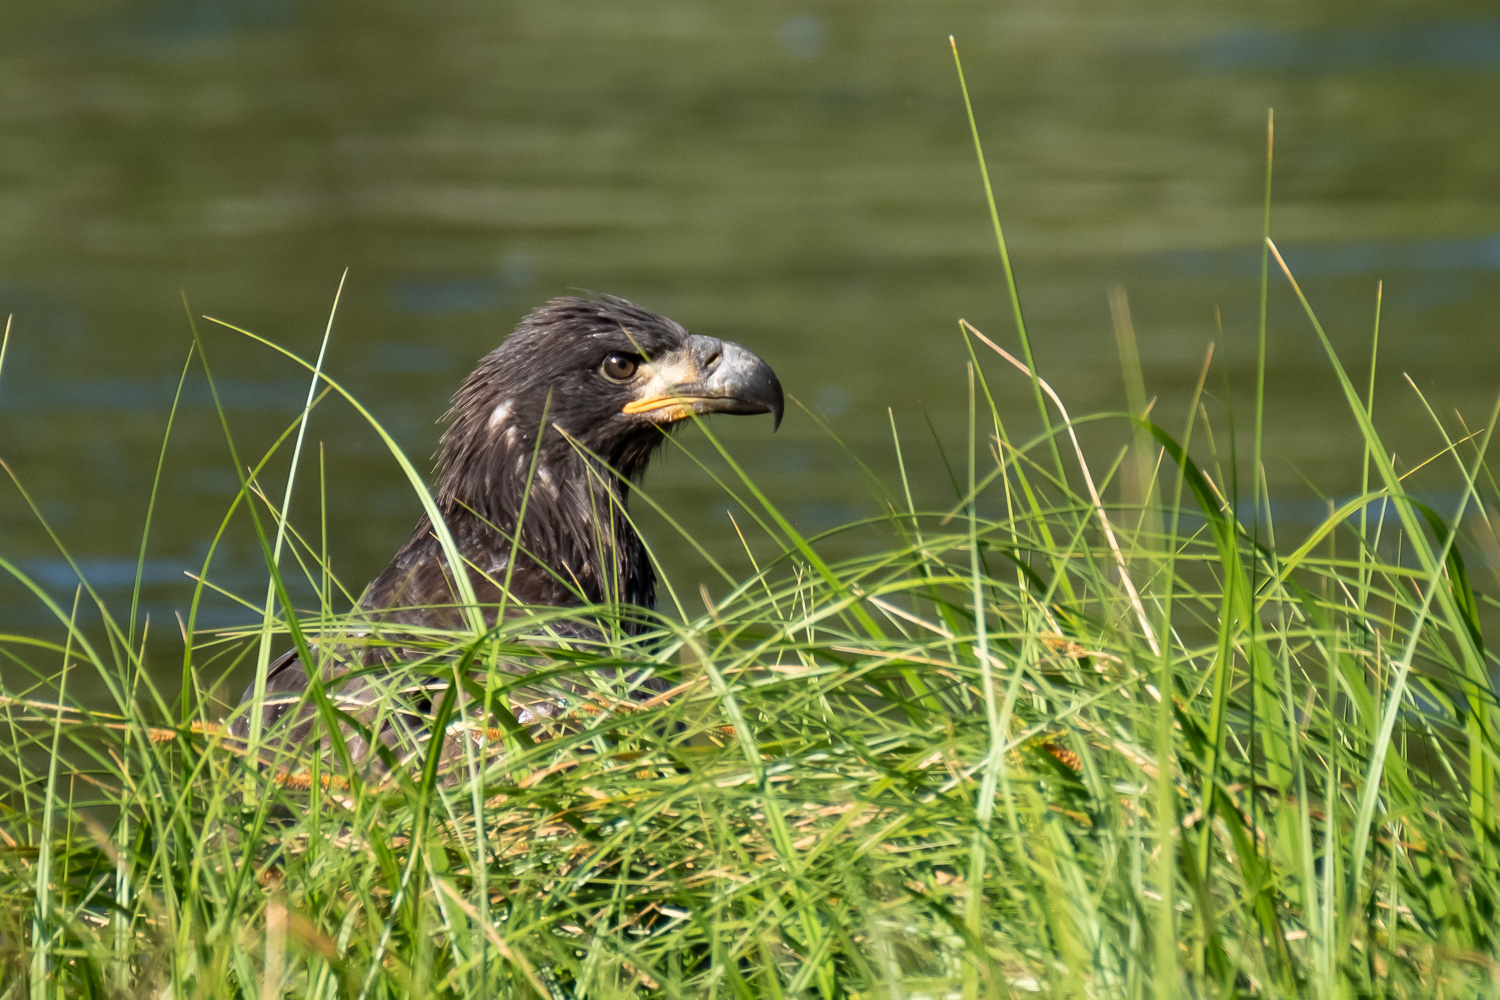
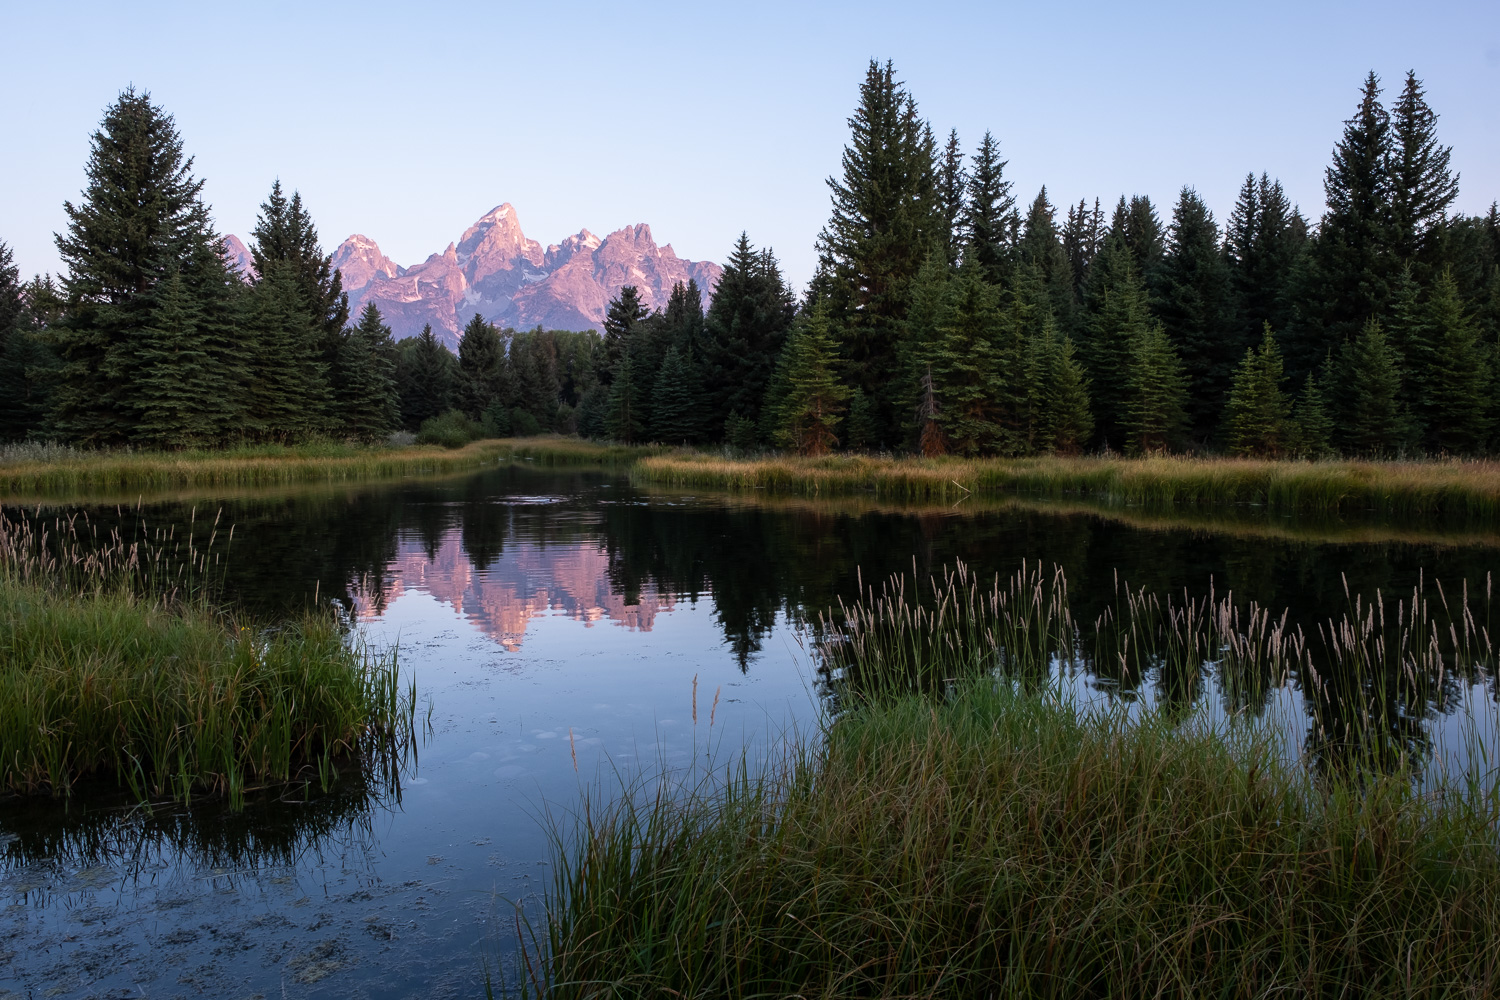
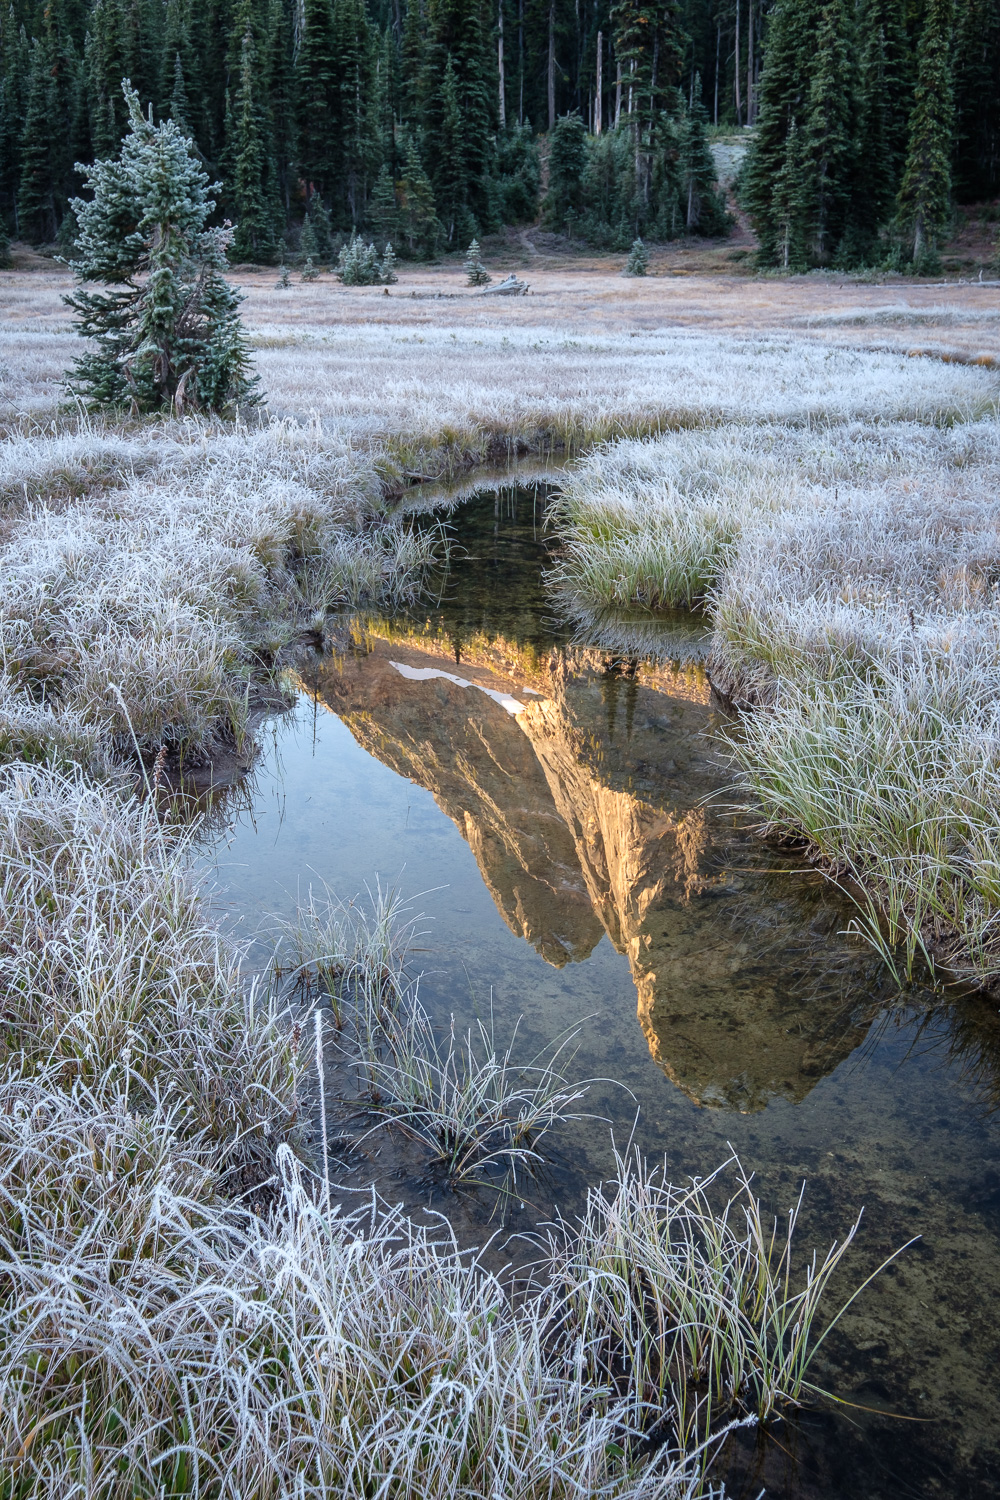
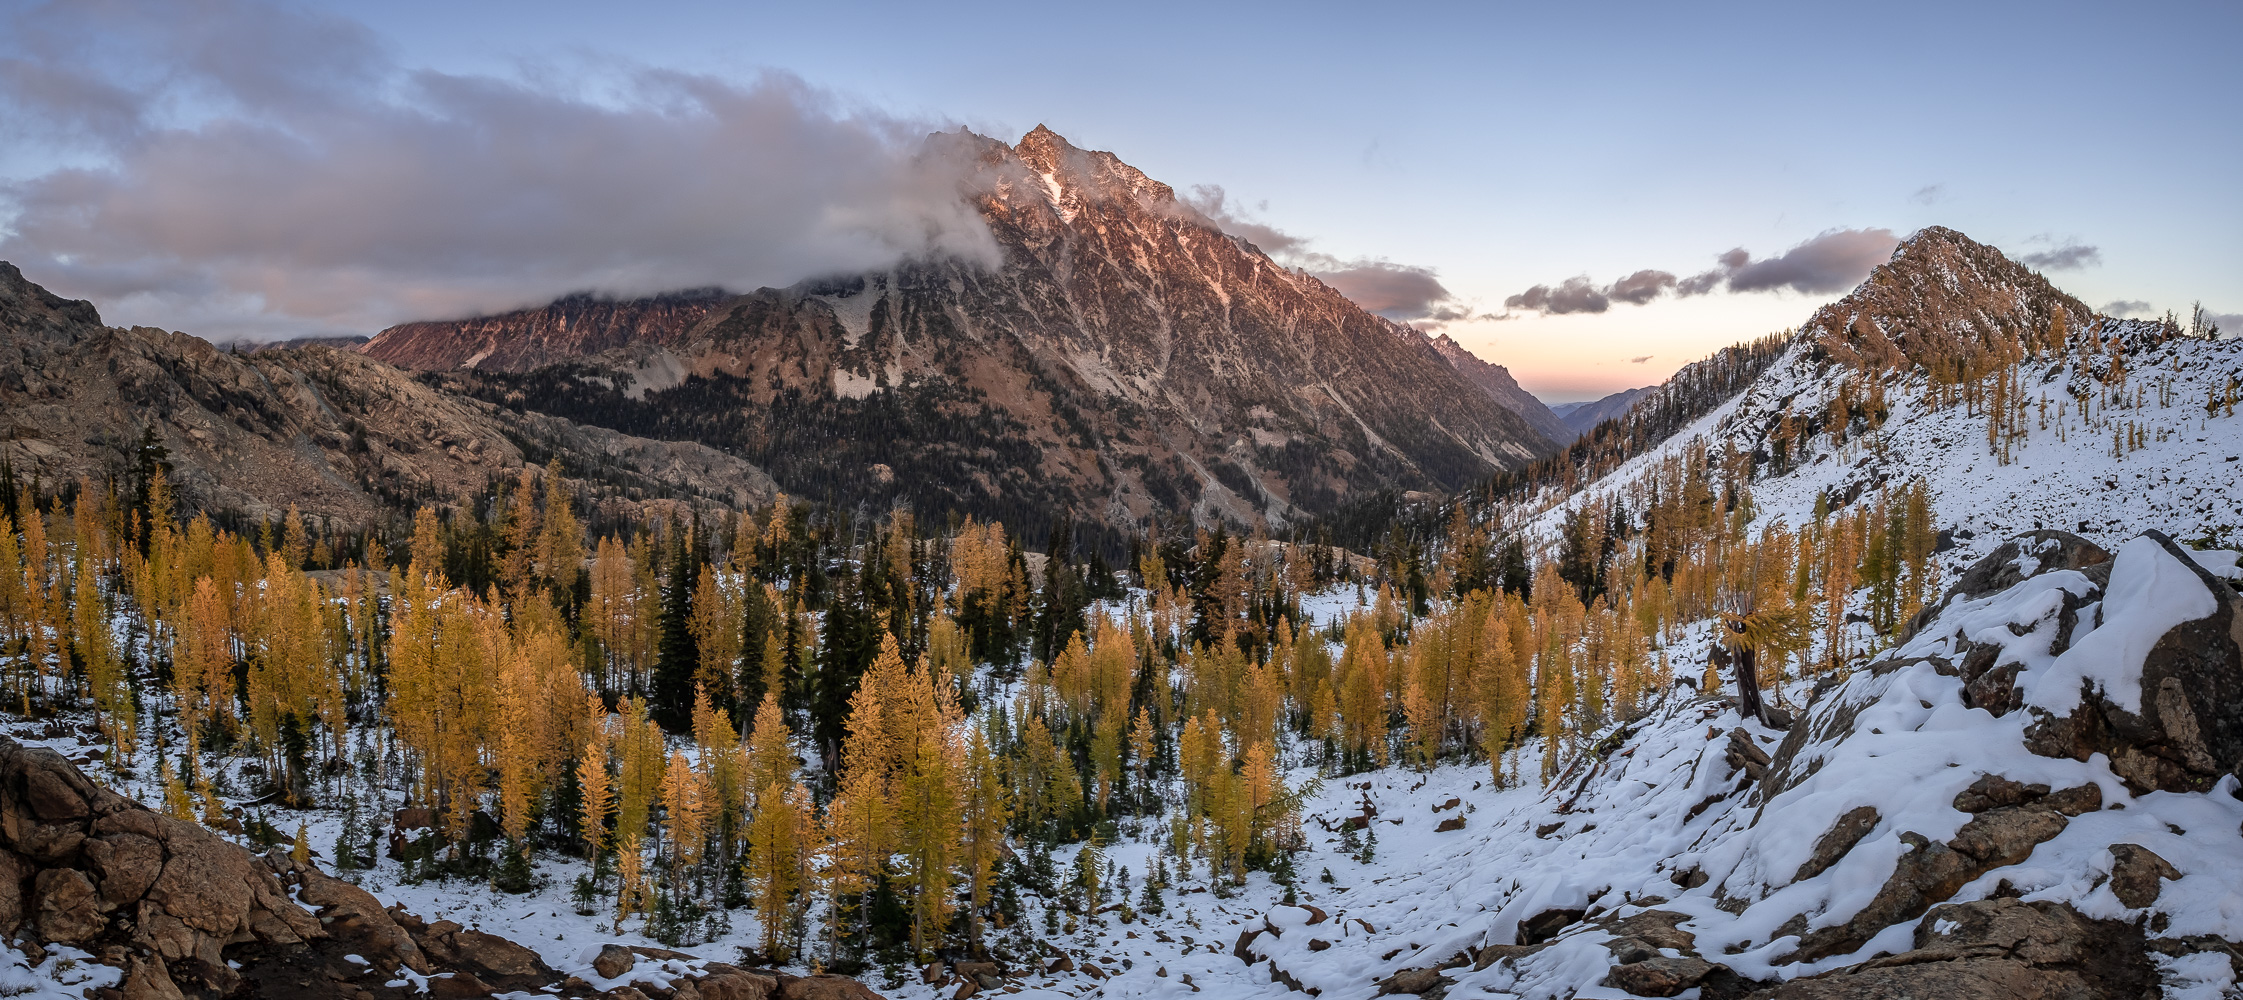
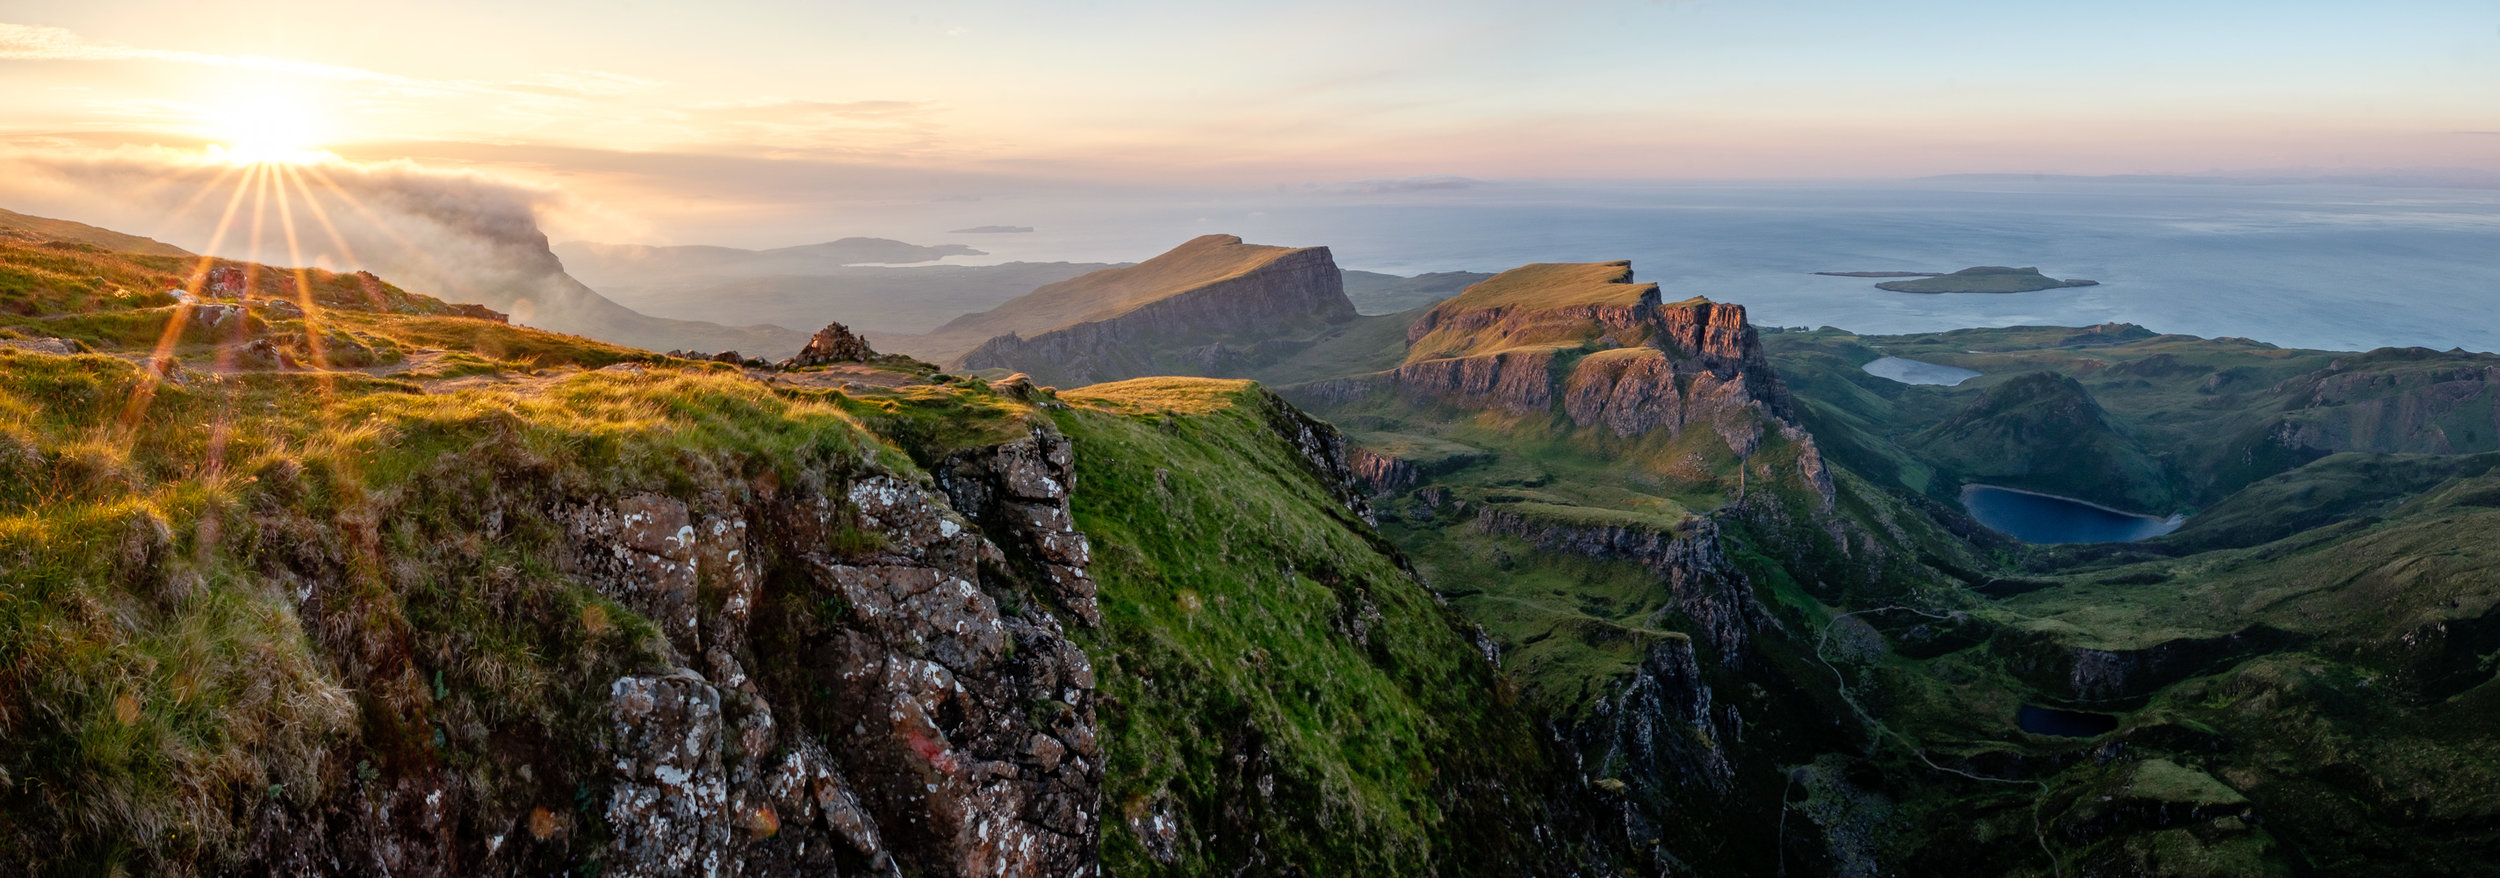
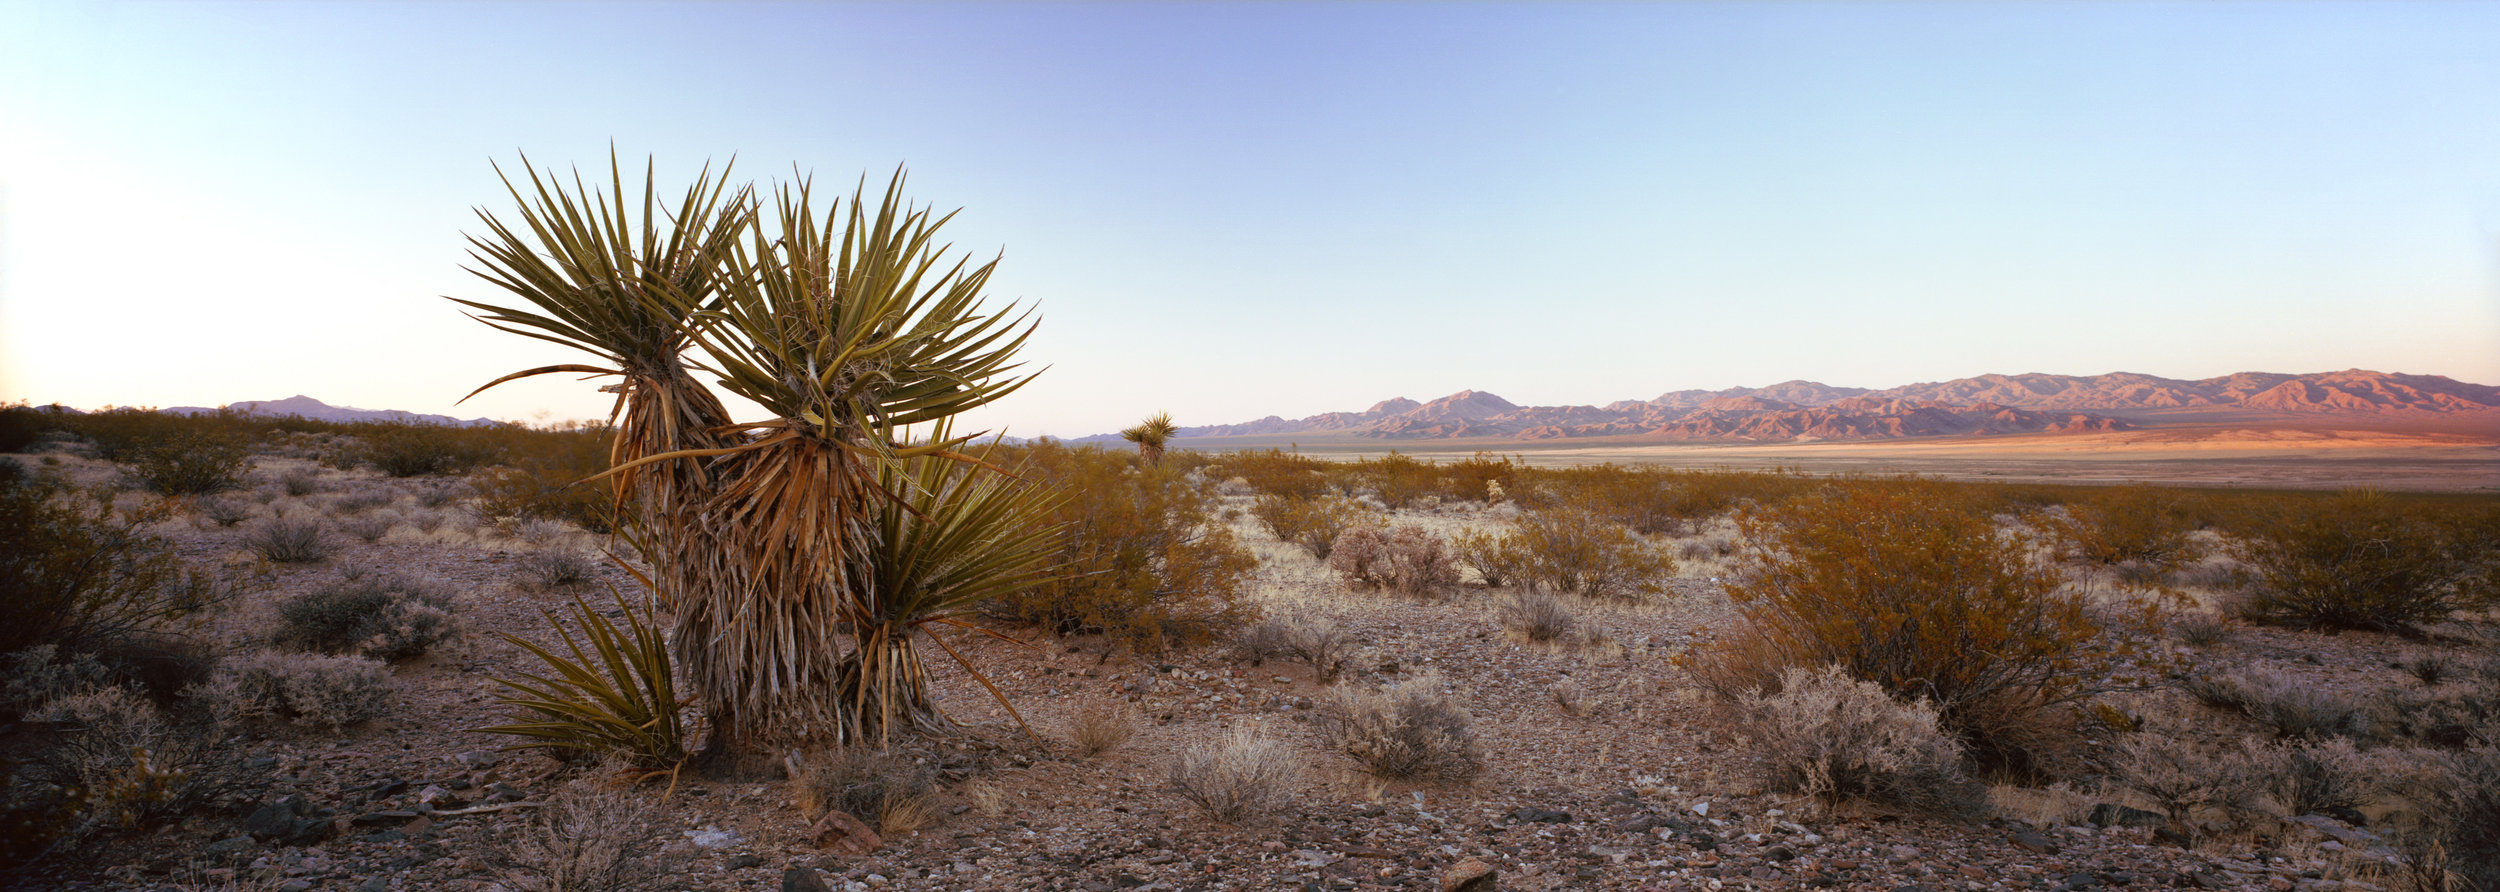
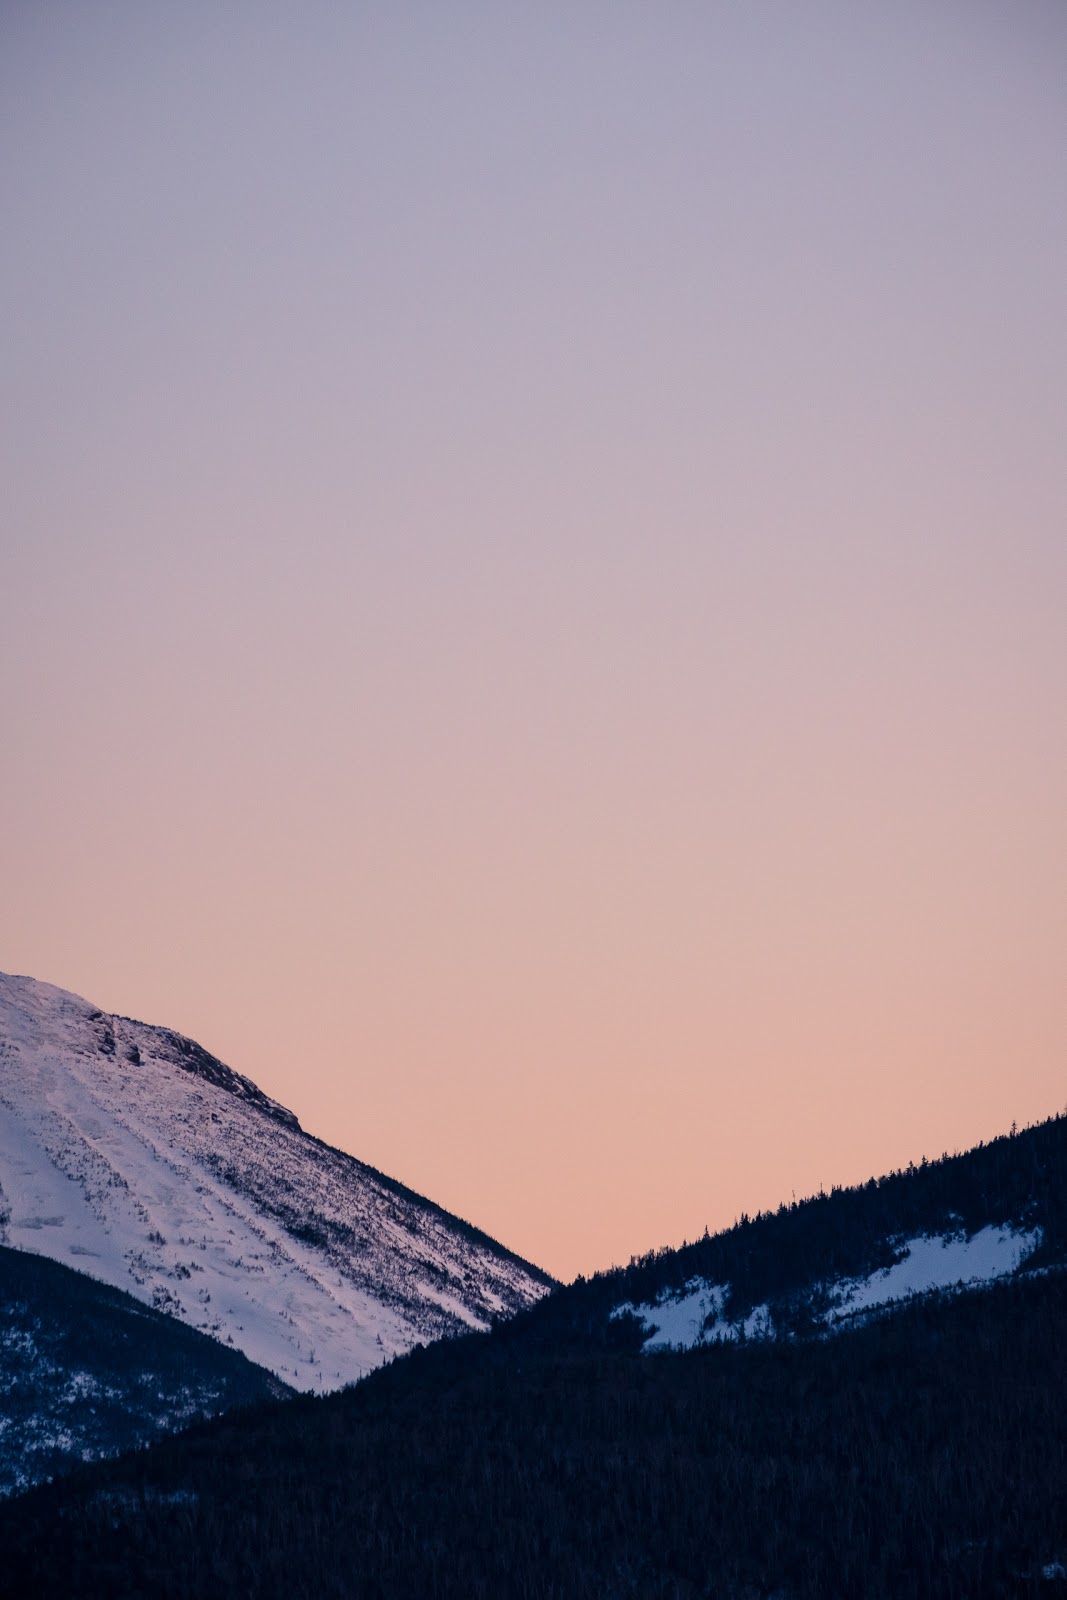
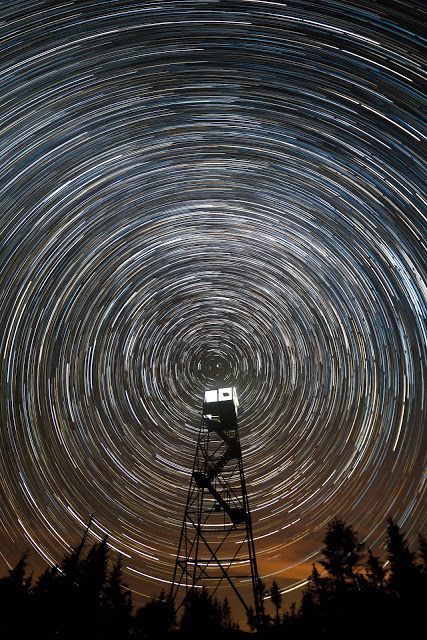
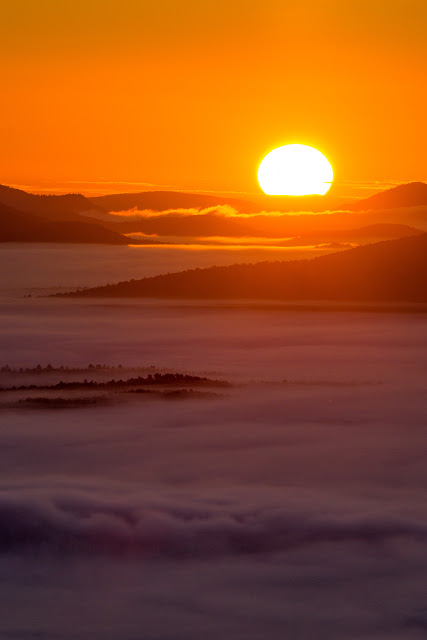
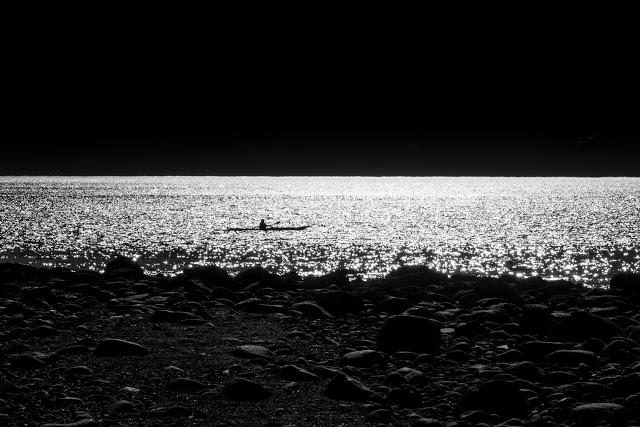
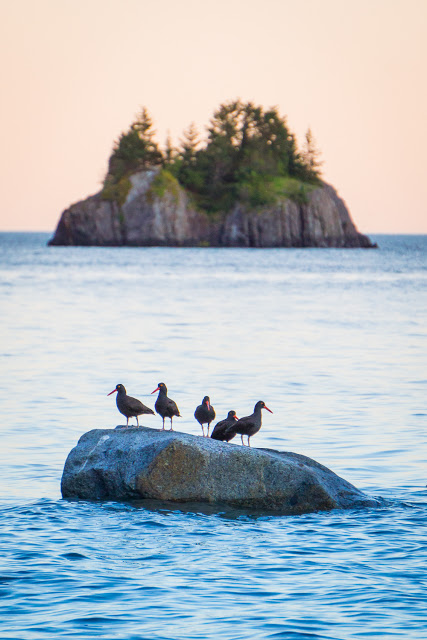
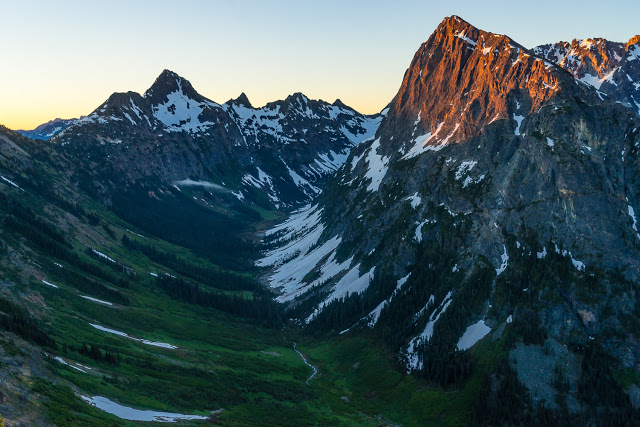
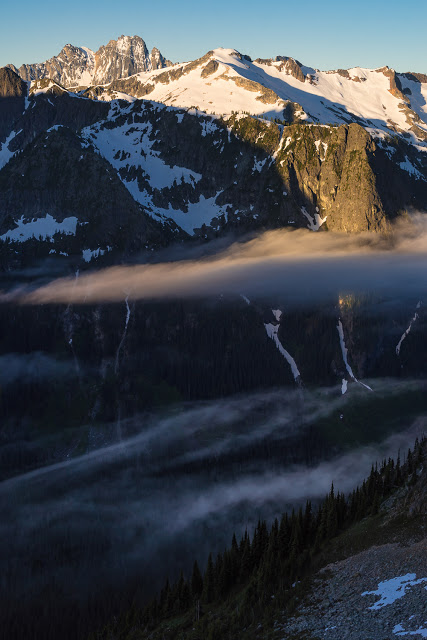
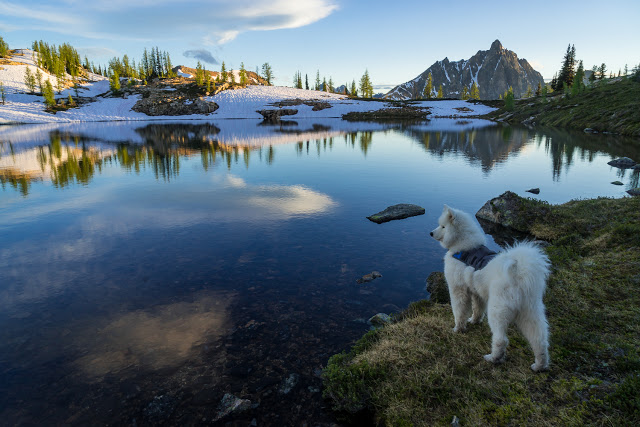
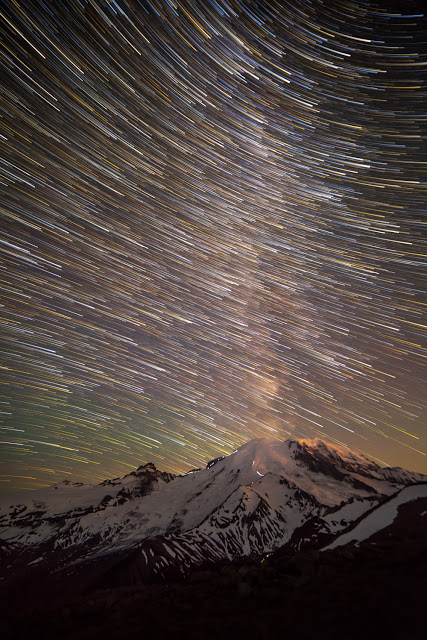
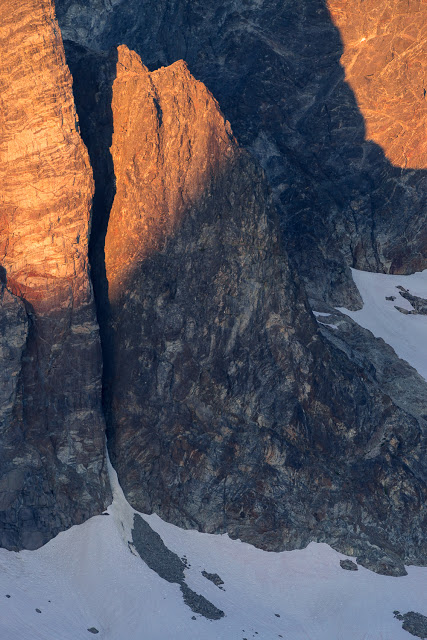
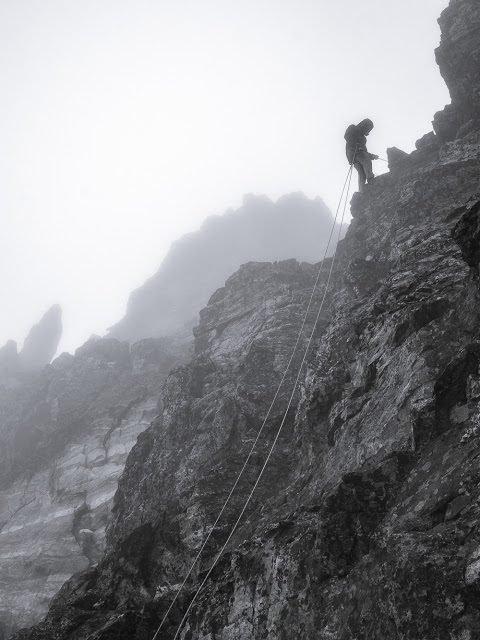
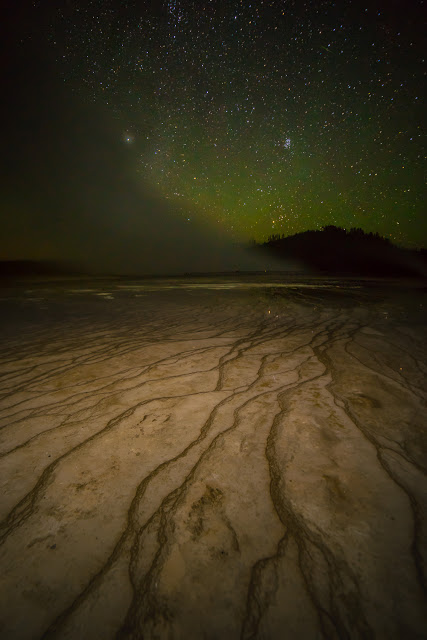
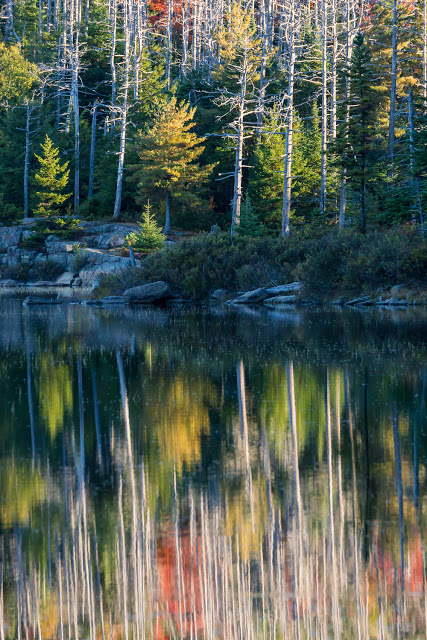
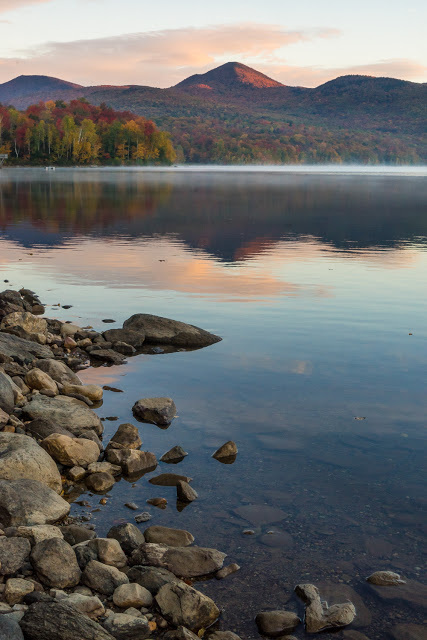
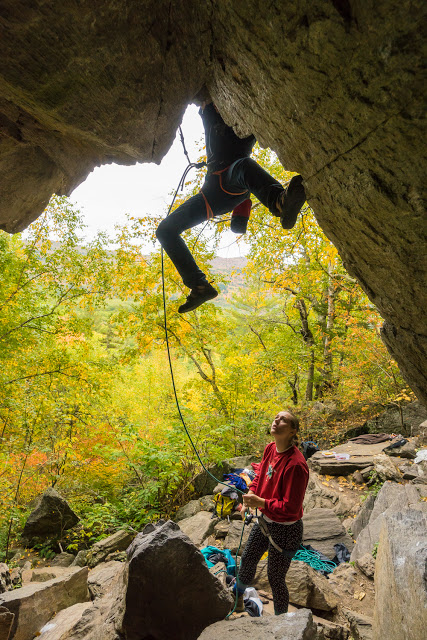
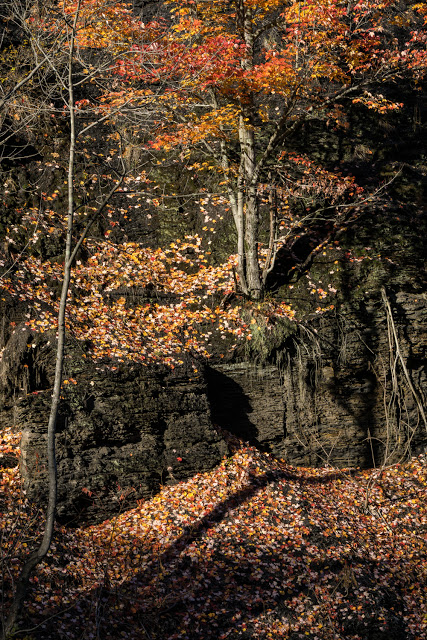
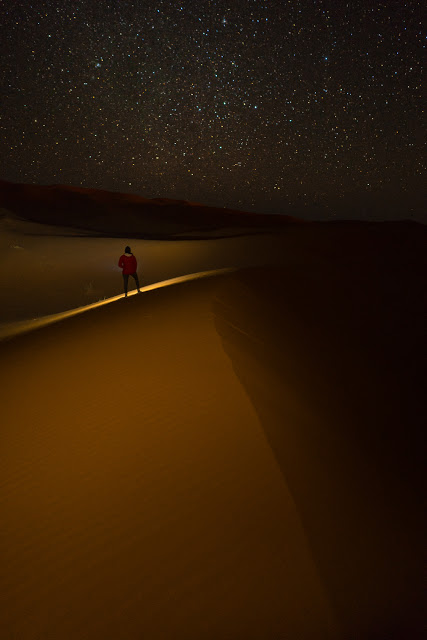
Per tradition, I put together some numbers about my various shenanigans. Between leaving Ithaca in May, and returning to Ithaca in August, managed to spend 60 days in the mountains, with 21 various trips. I spent 32 nights camping, compared to the 35 nights I spent in my own bed in Seattle. Between my drives to and from school, my travel in Tanzania, and my trips to the mountains, I drove a wince-inducing 11,839 miles, paling in comparison only to the 20,296 miles I flew. More encouragingly, I hiked 214.52 miles, climbing 82,325 vertical feet in the process. I summited 30 named peaks, including 12 more of the Bulger Peaks, putting me at 63 out of the 100 highest mountains in Washington State. The real fun, of course, came from the 7021 photos I took, averaging one photo every 19 minutes! This only slightly misleading statistic places a concerning emphasis on quantity over quality, and I wouldn't want you to misjudge my priorities, so let's just look at my favorite 45 photographs.

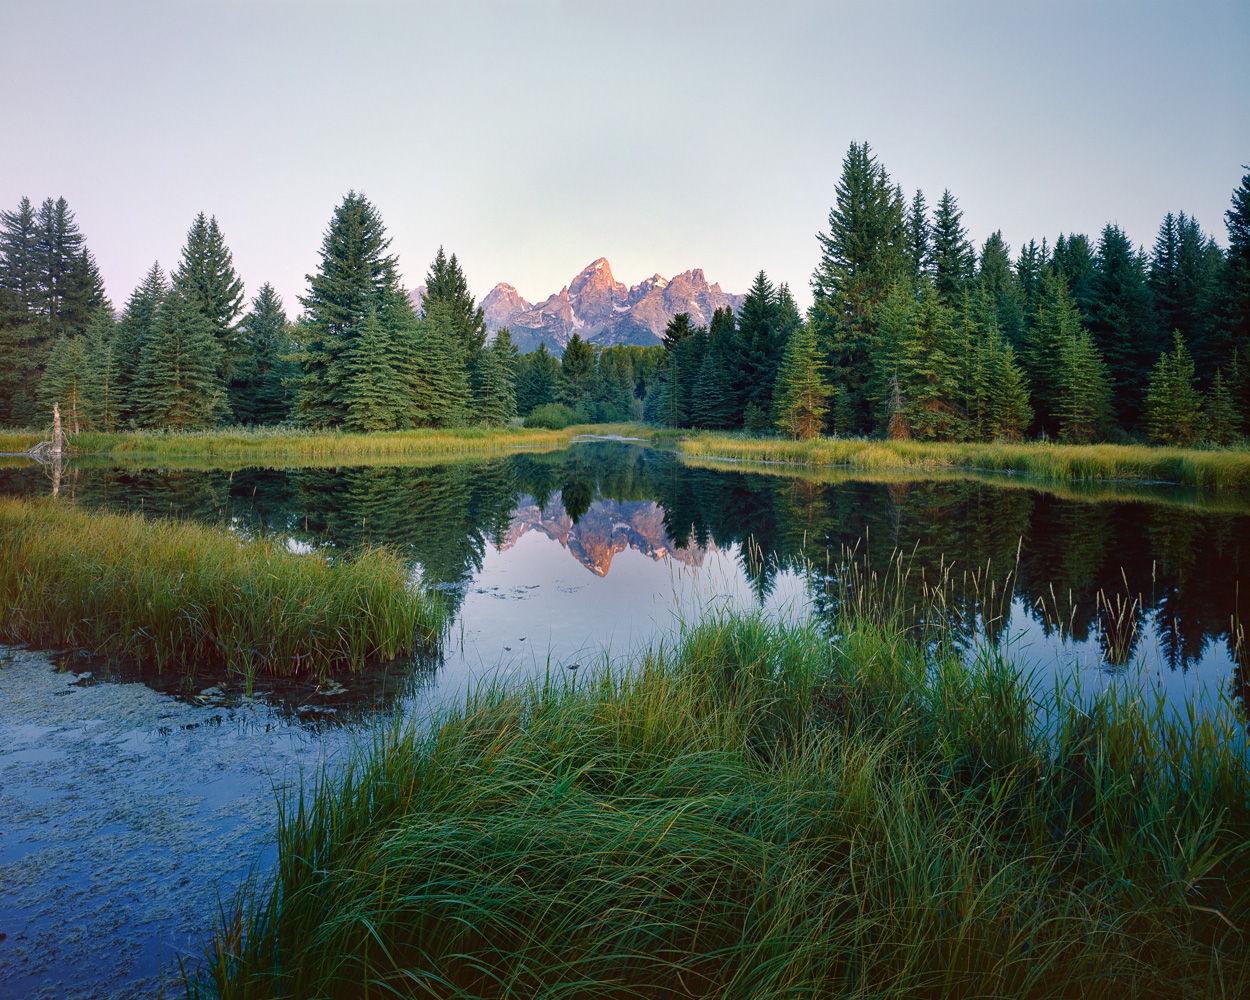
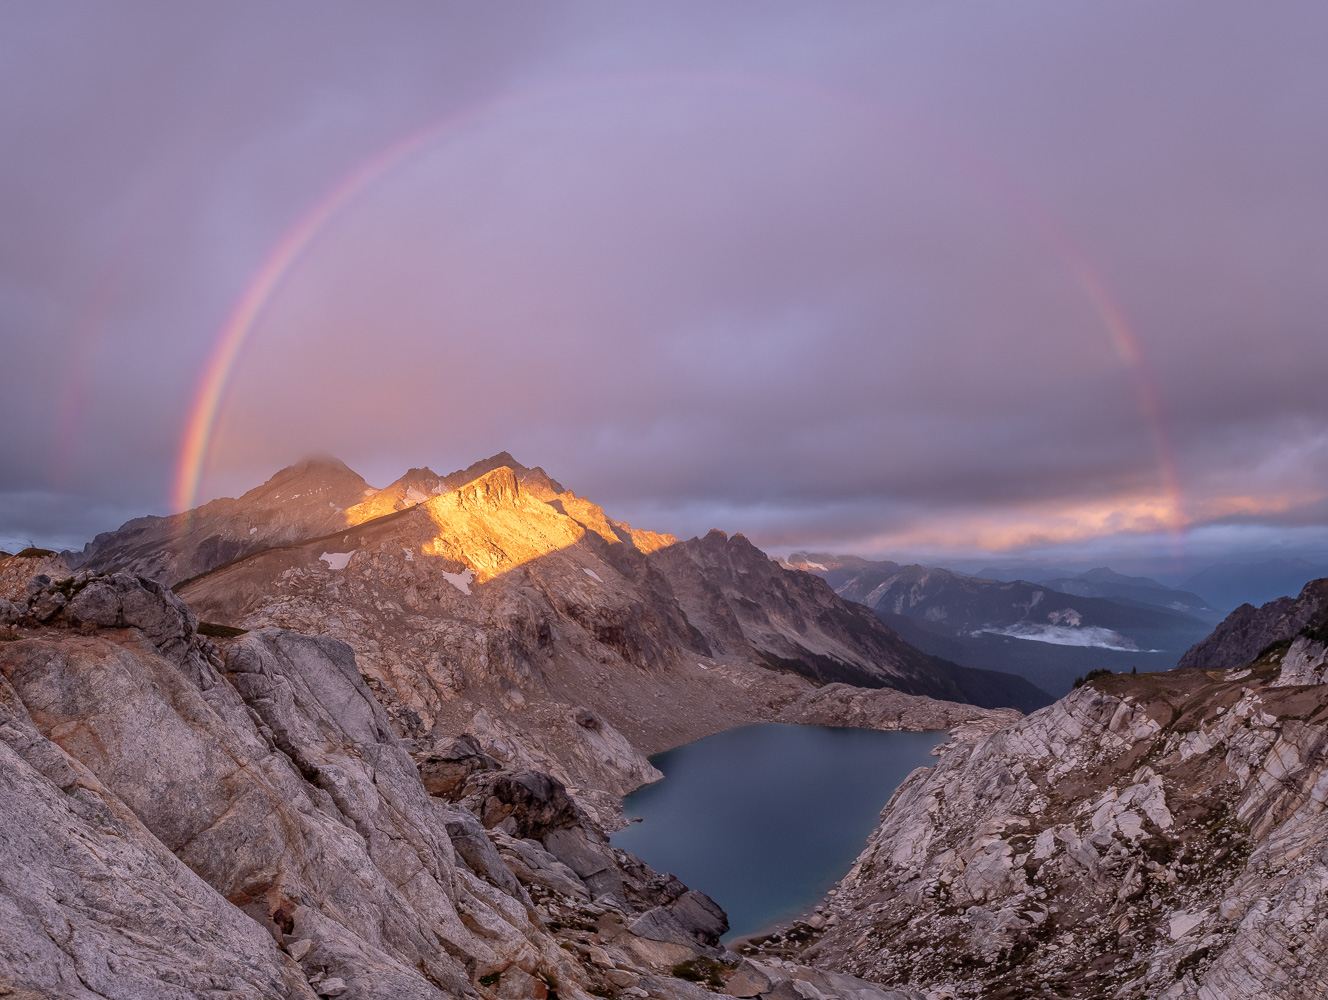
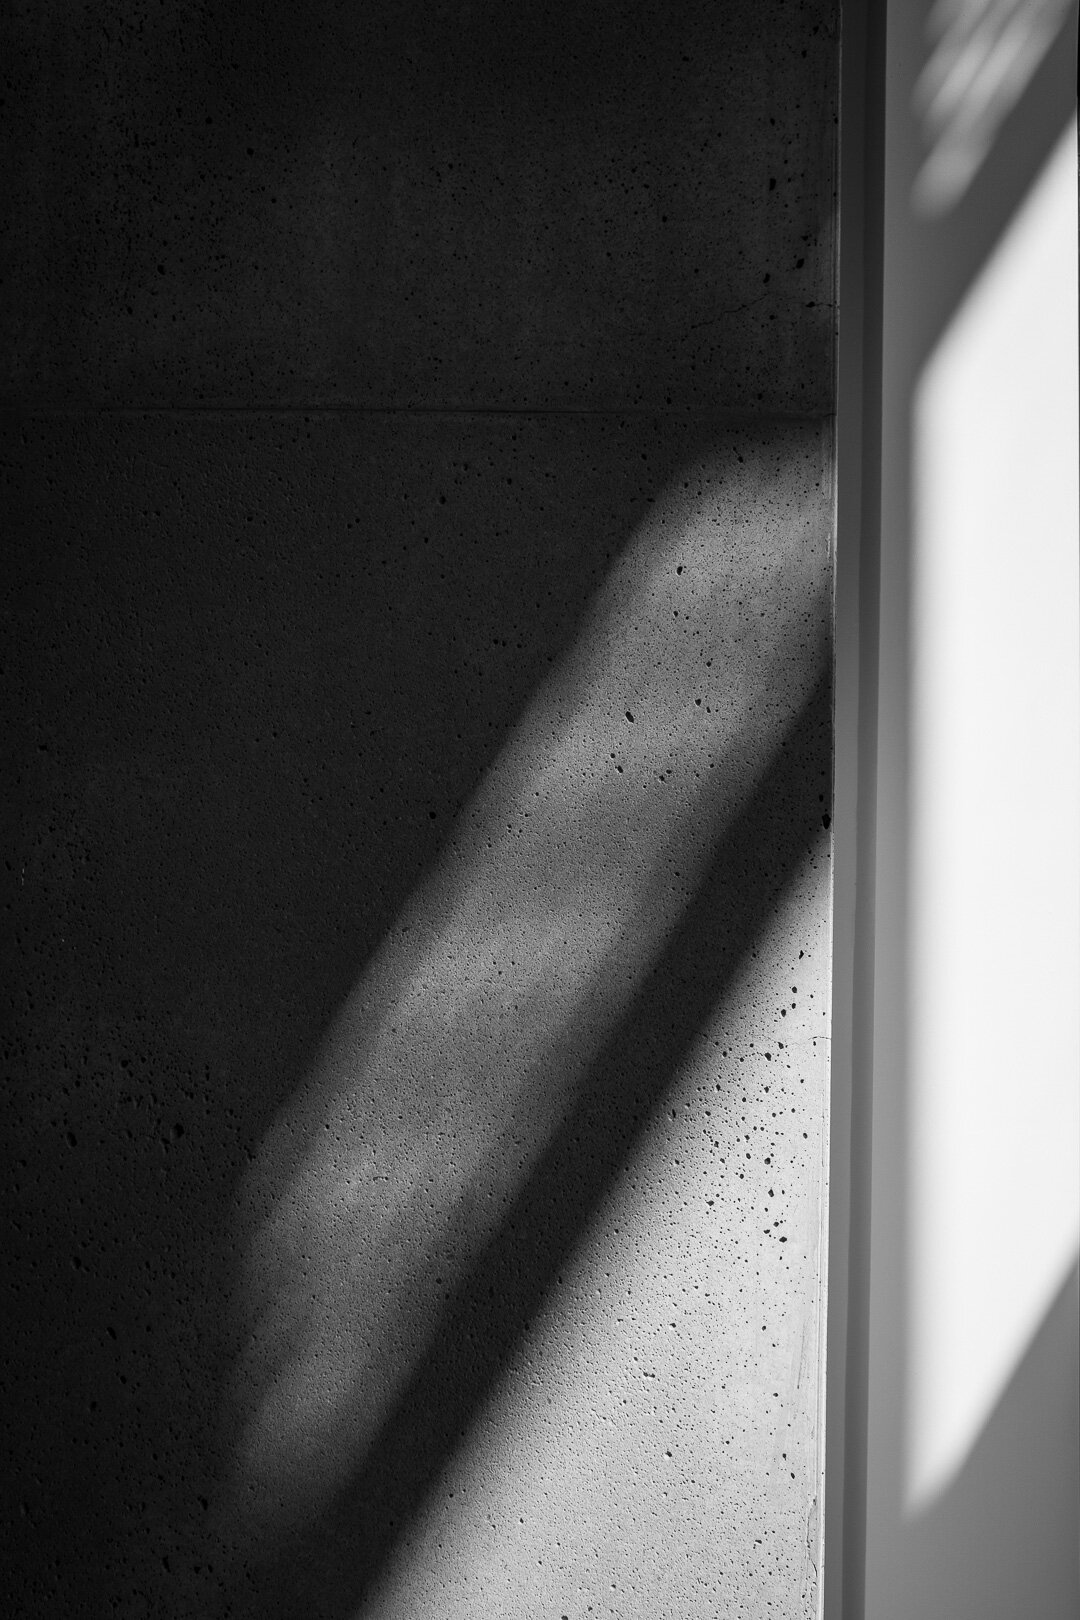
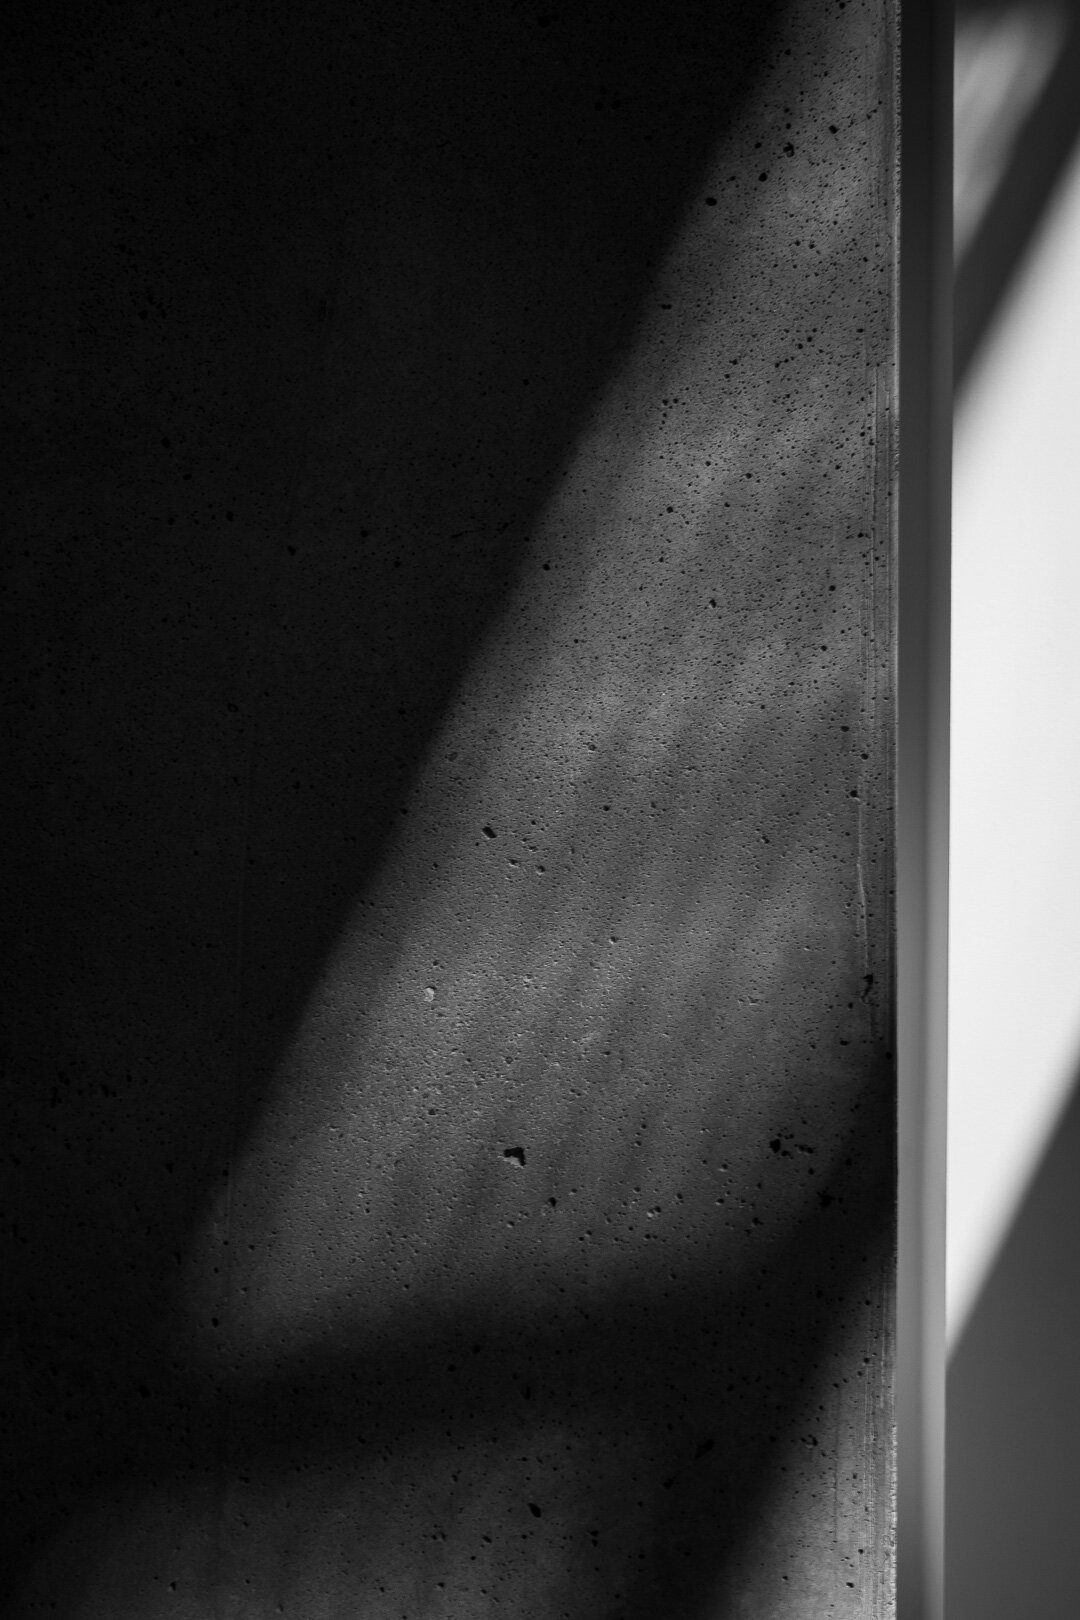
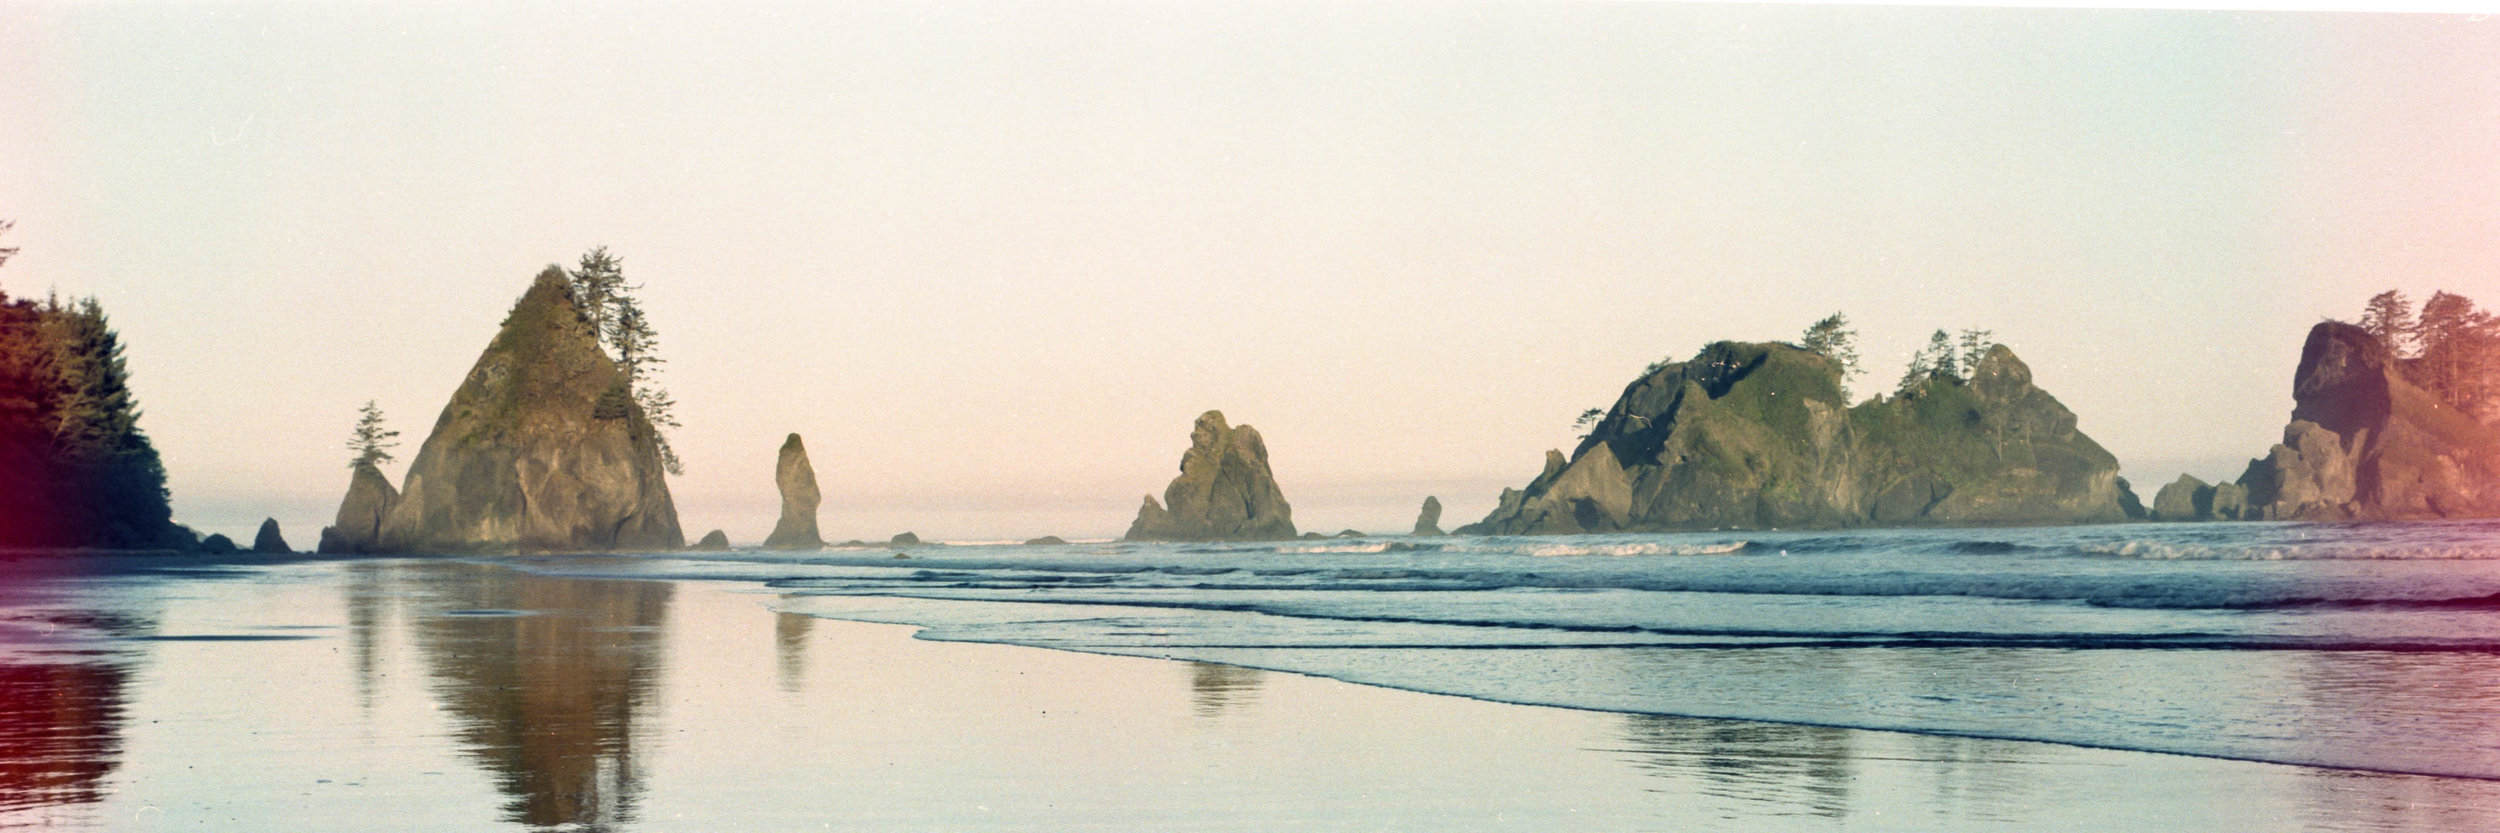
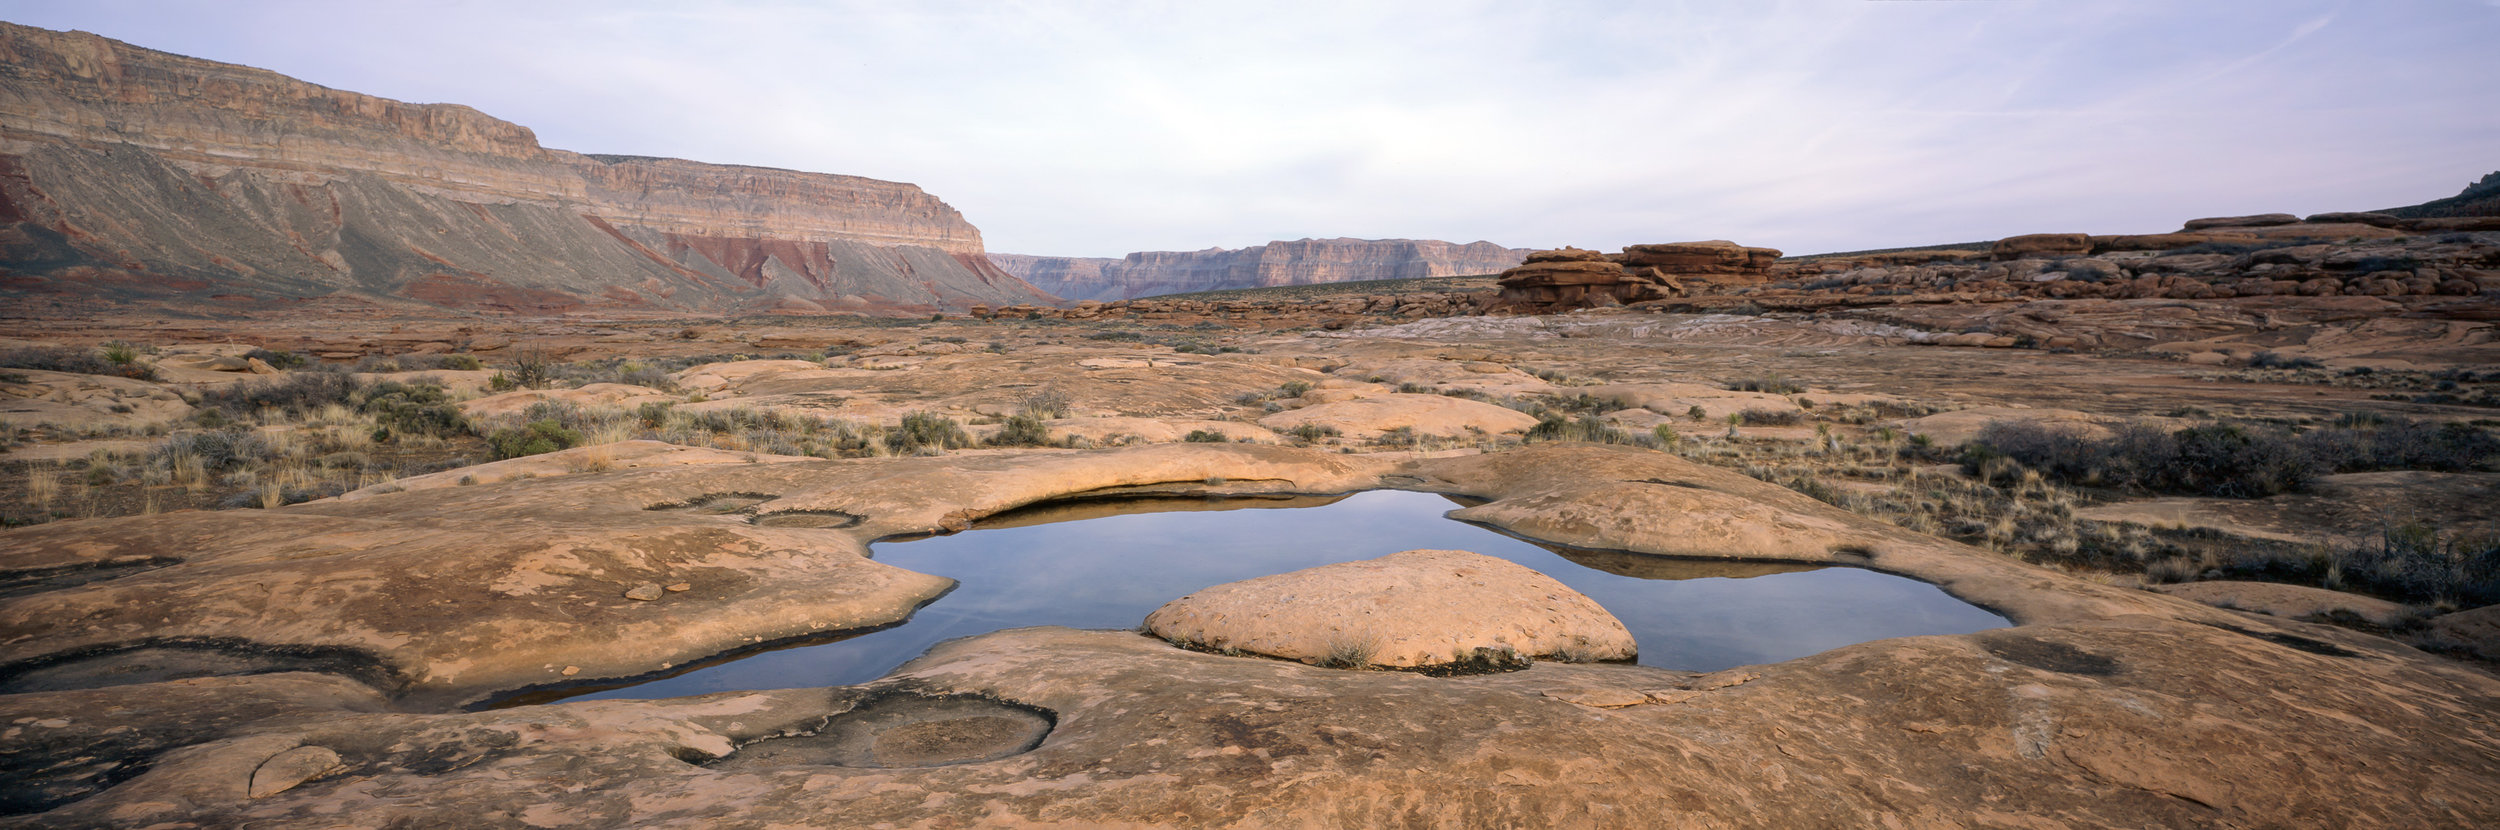
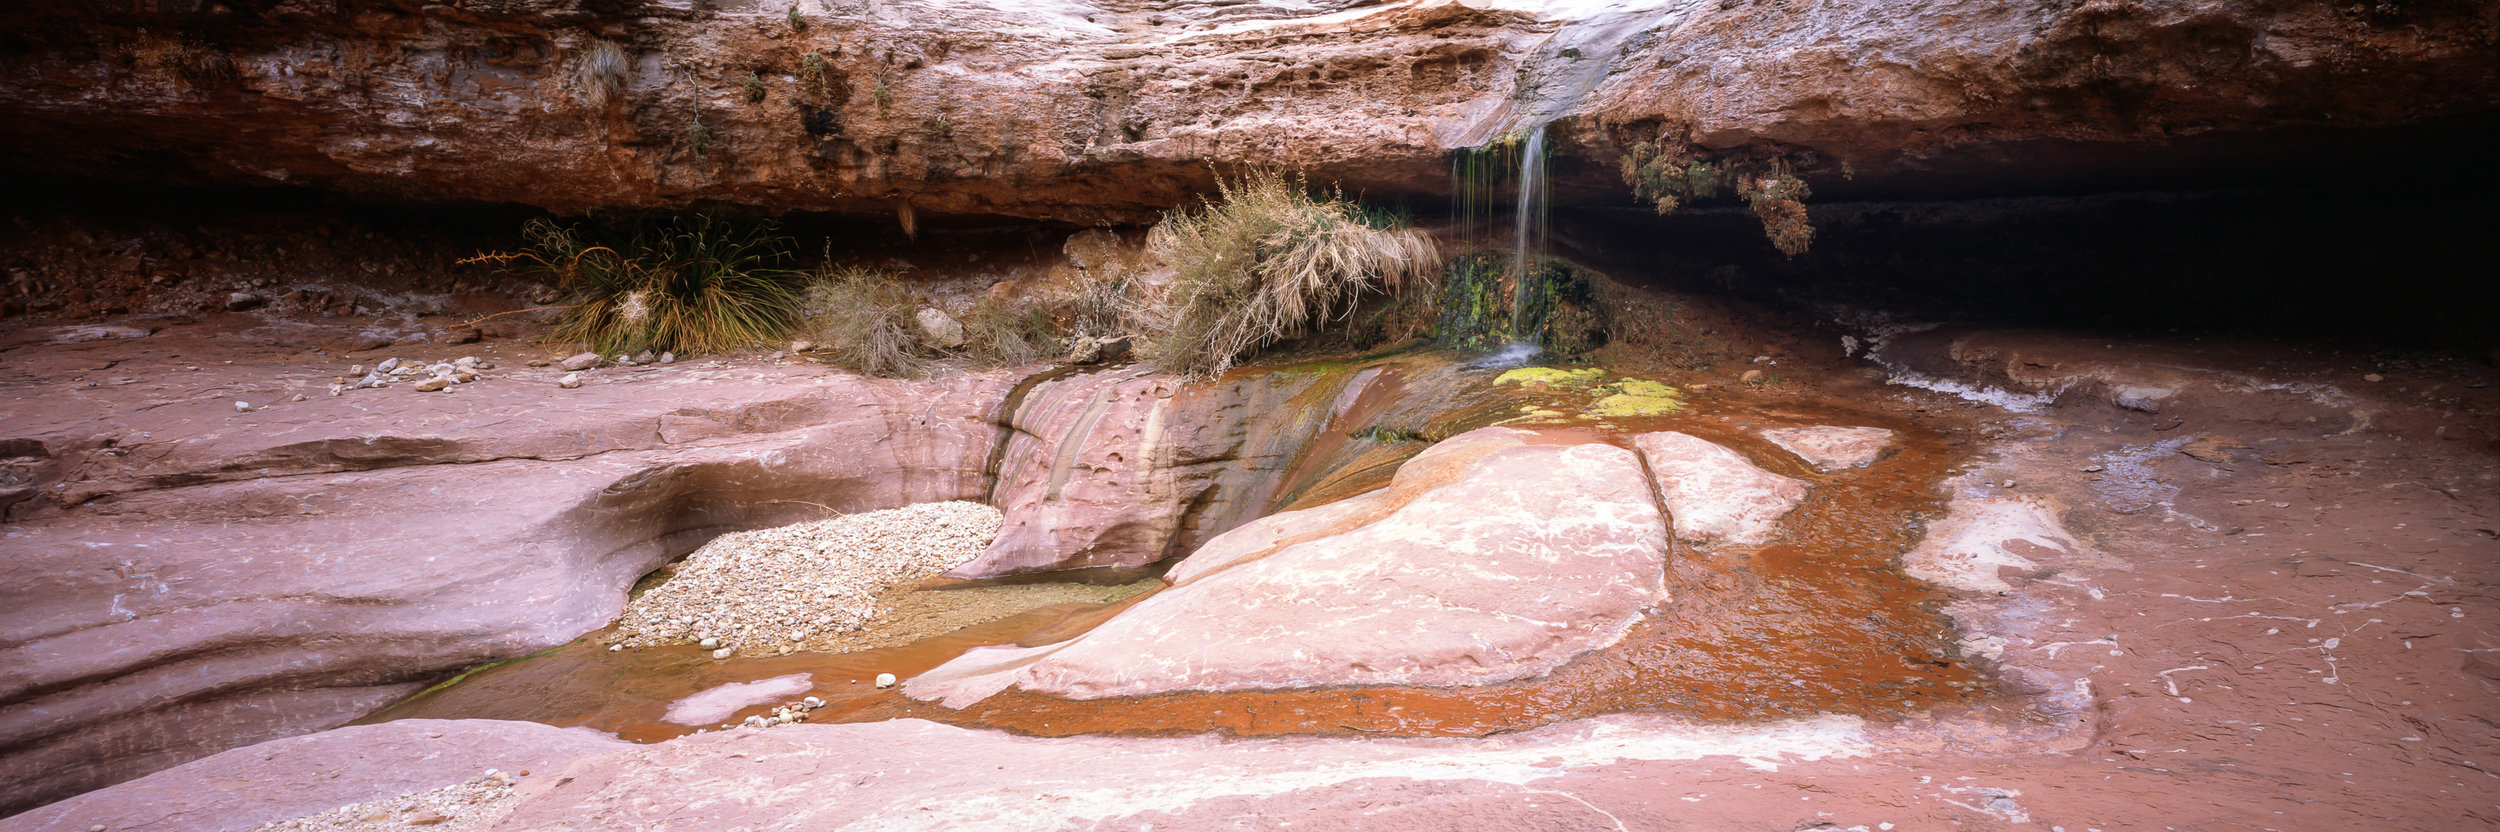
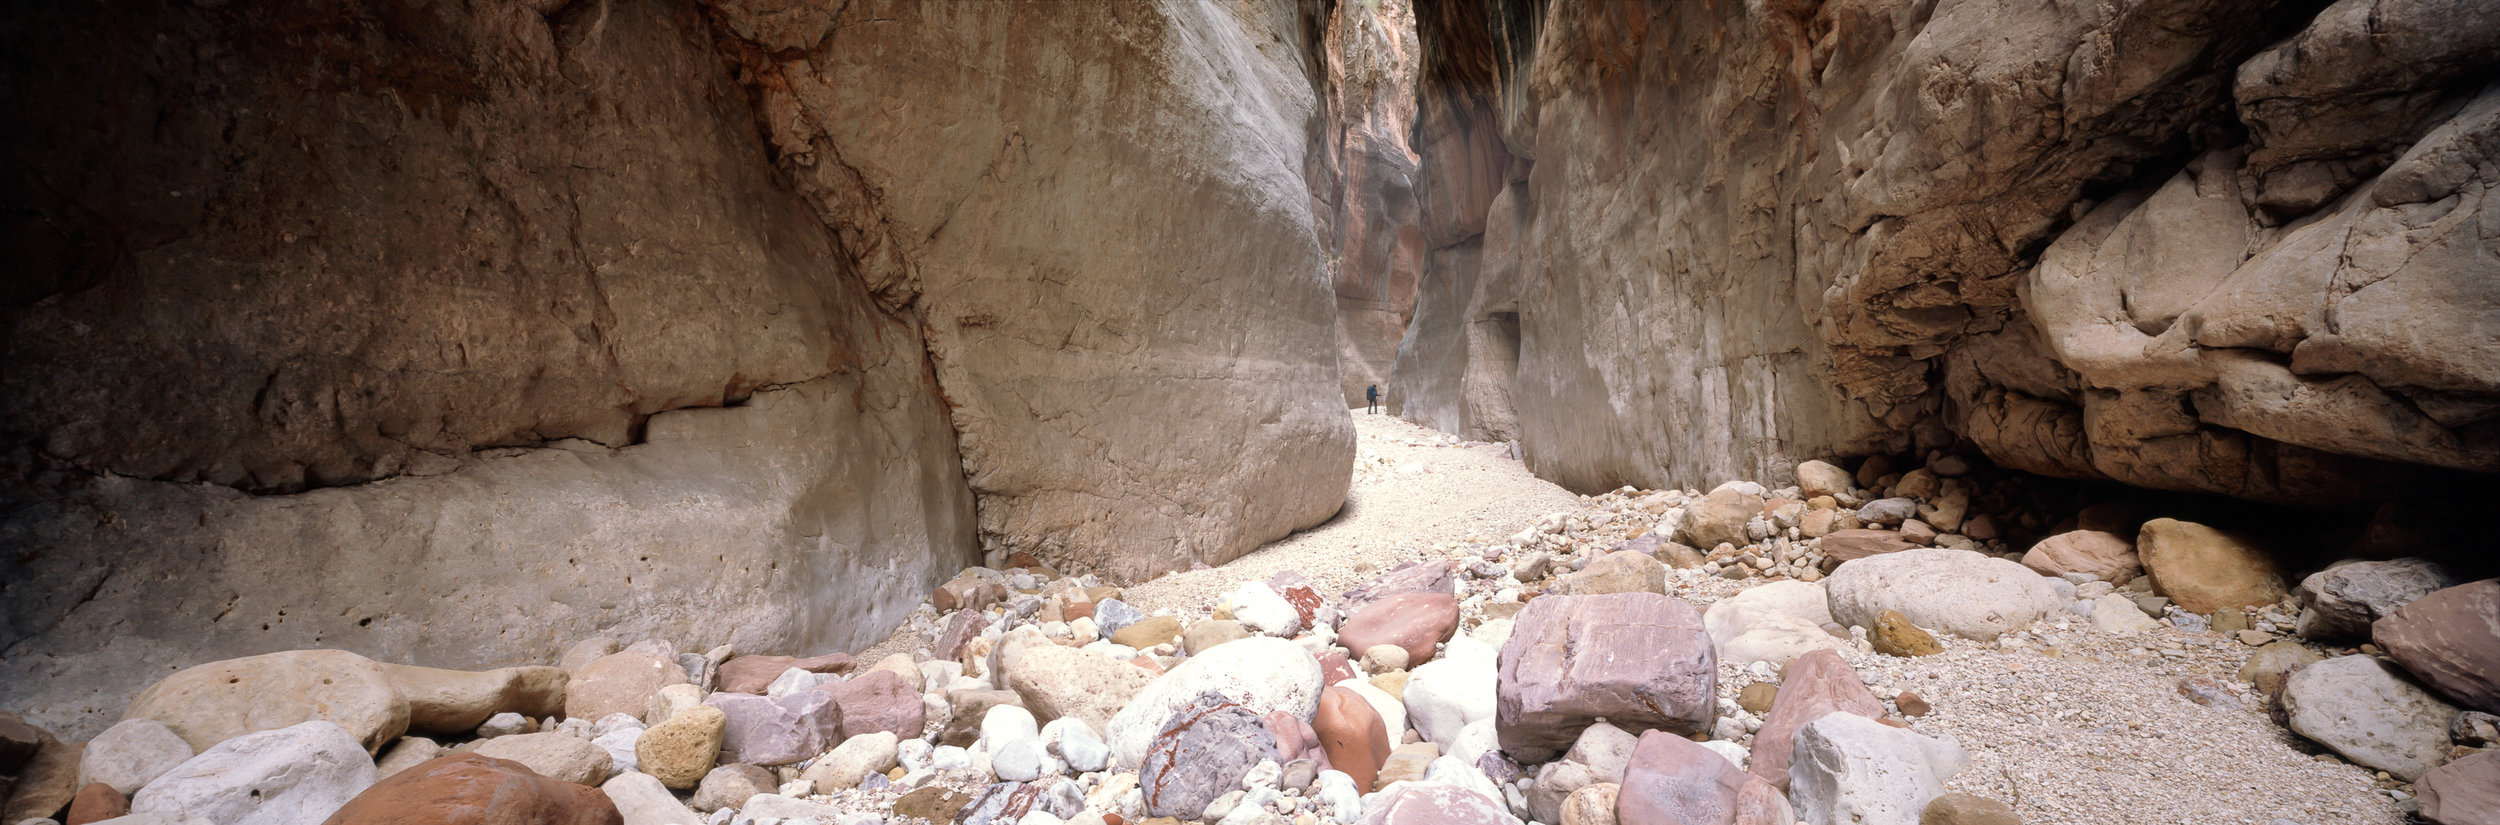
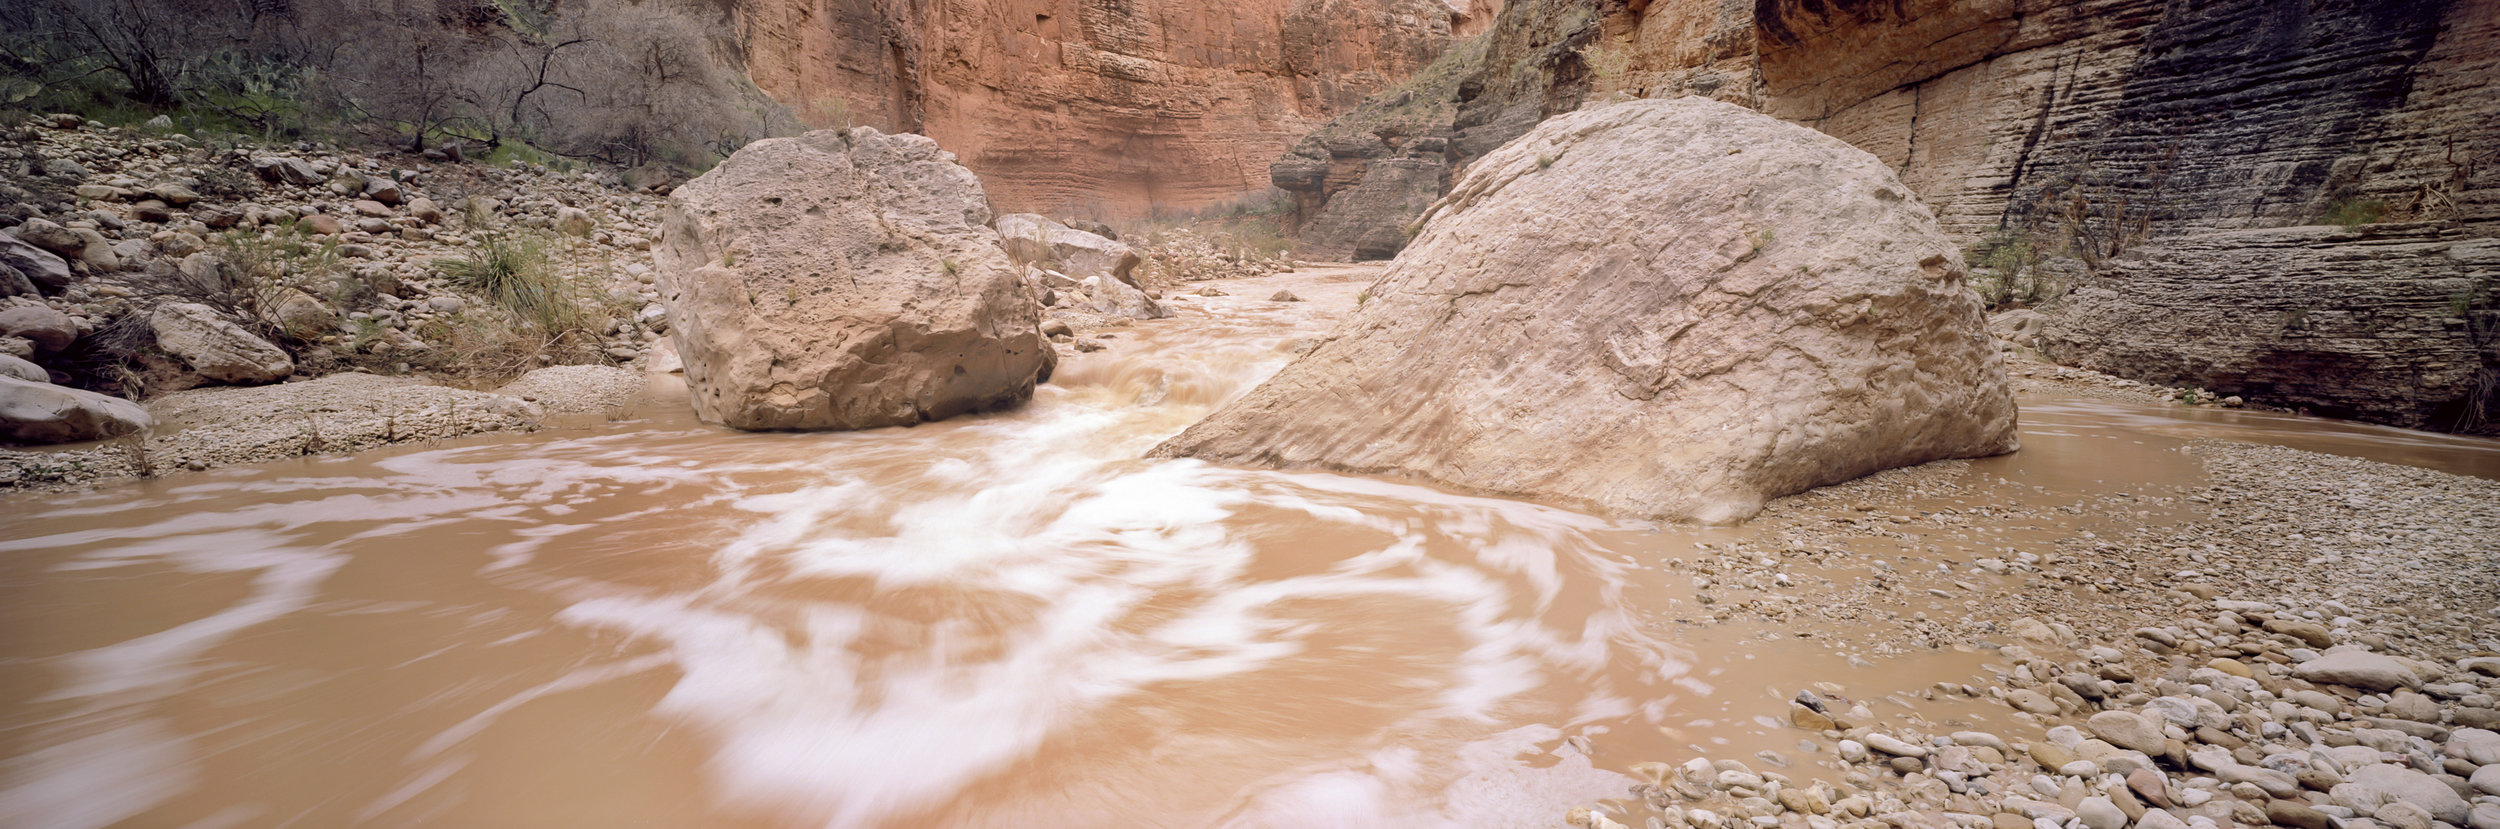
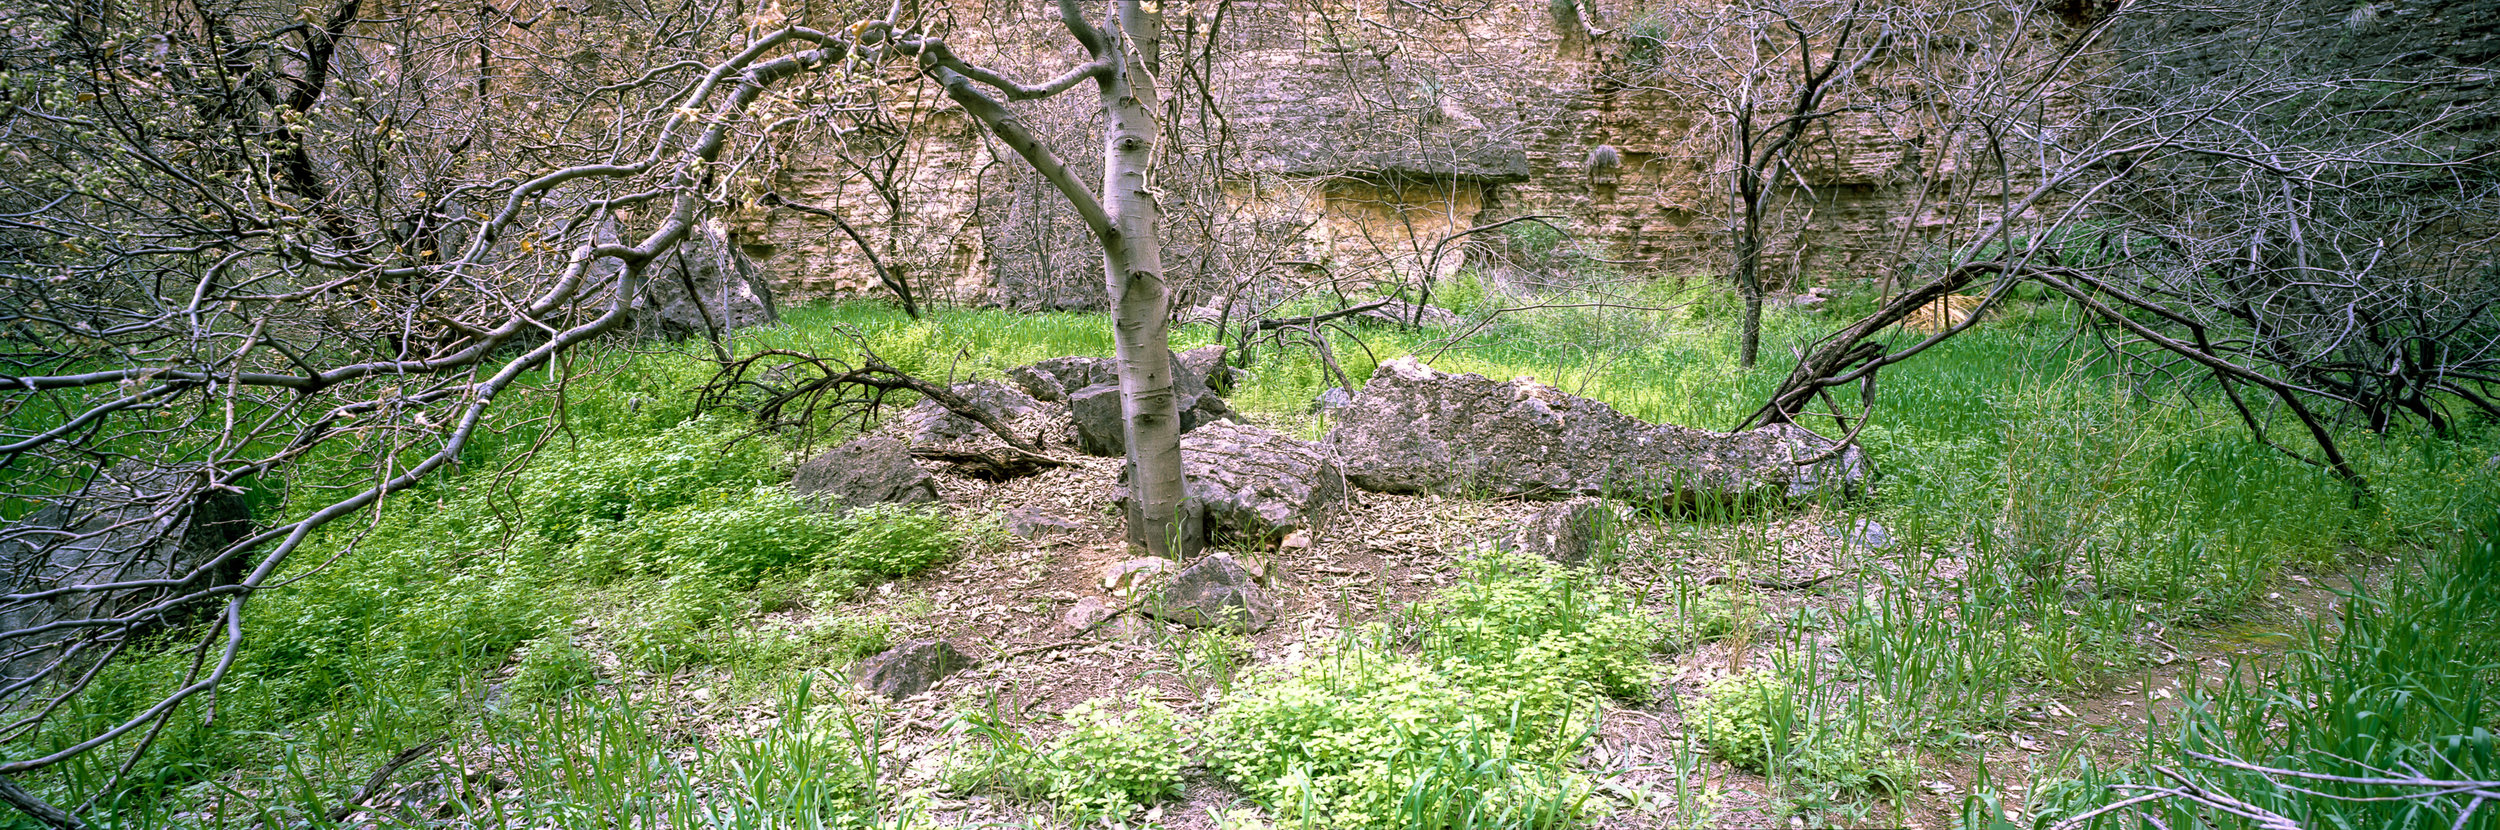
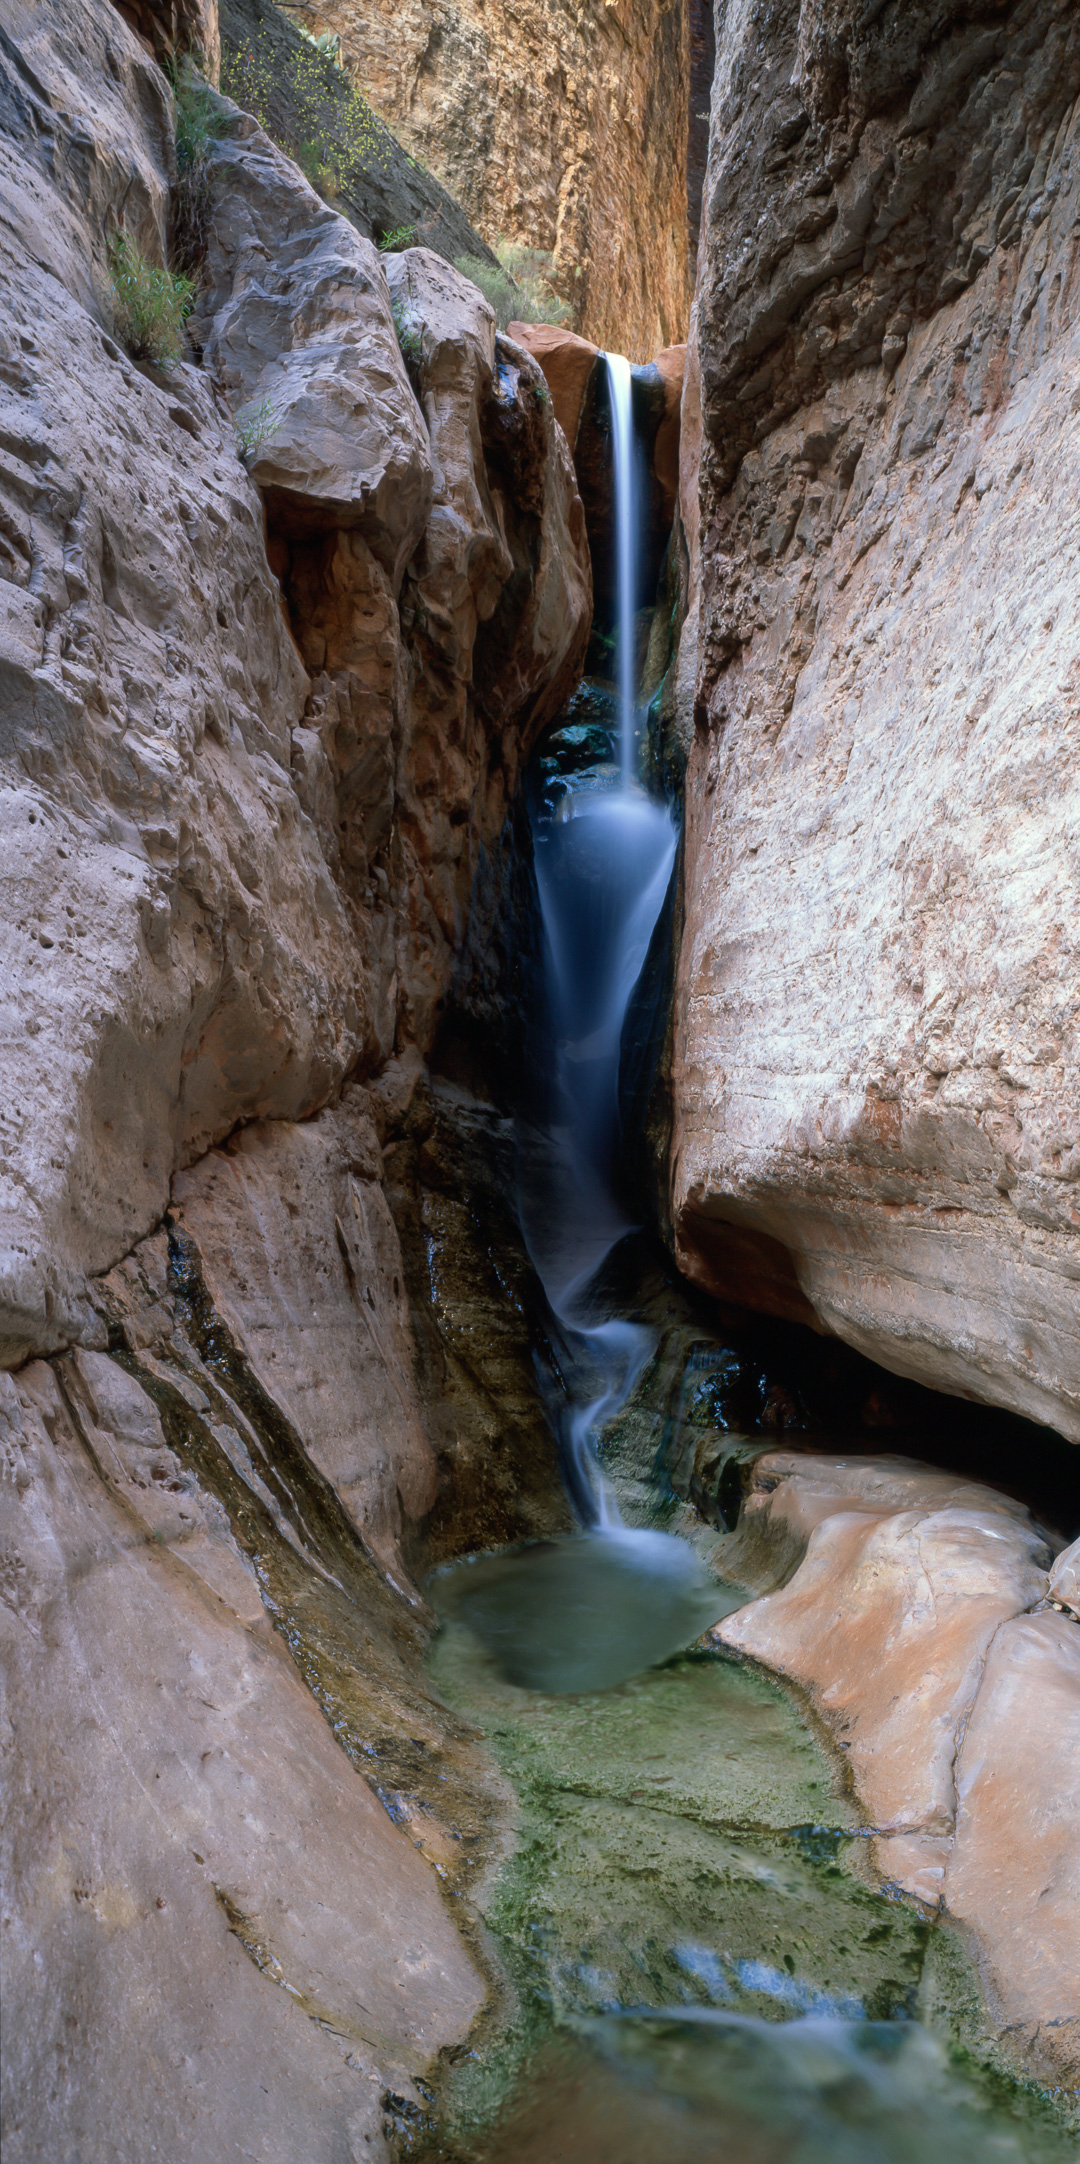
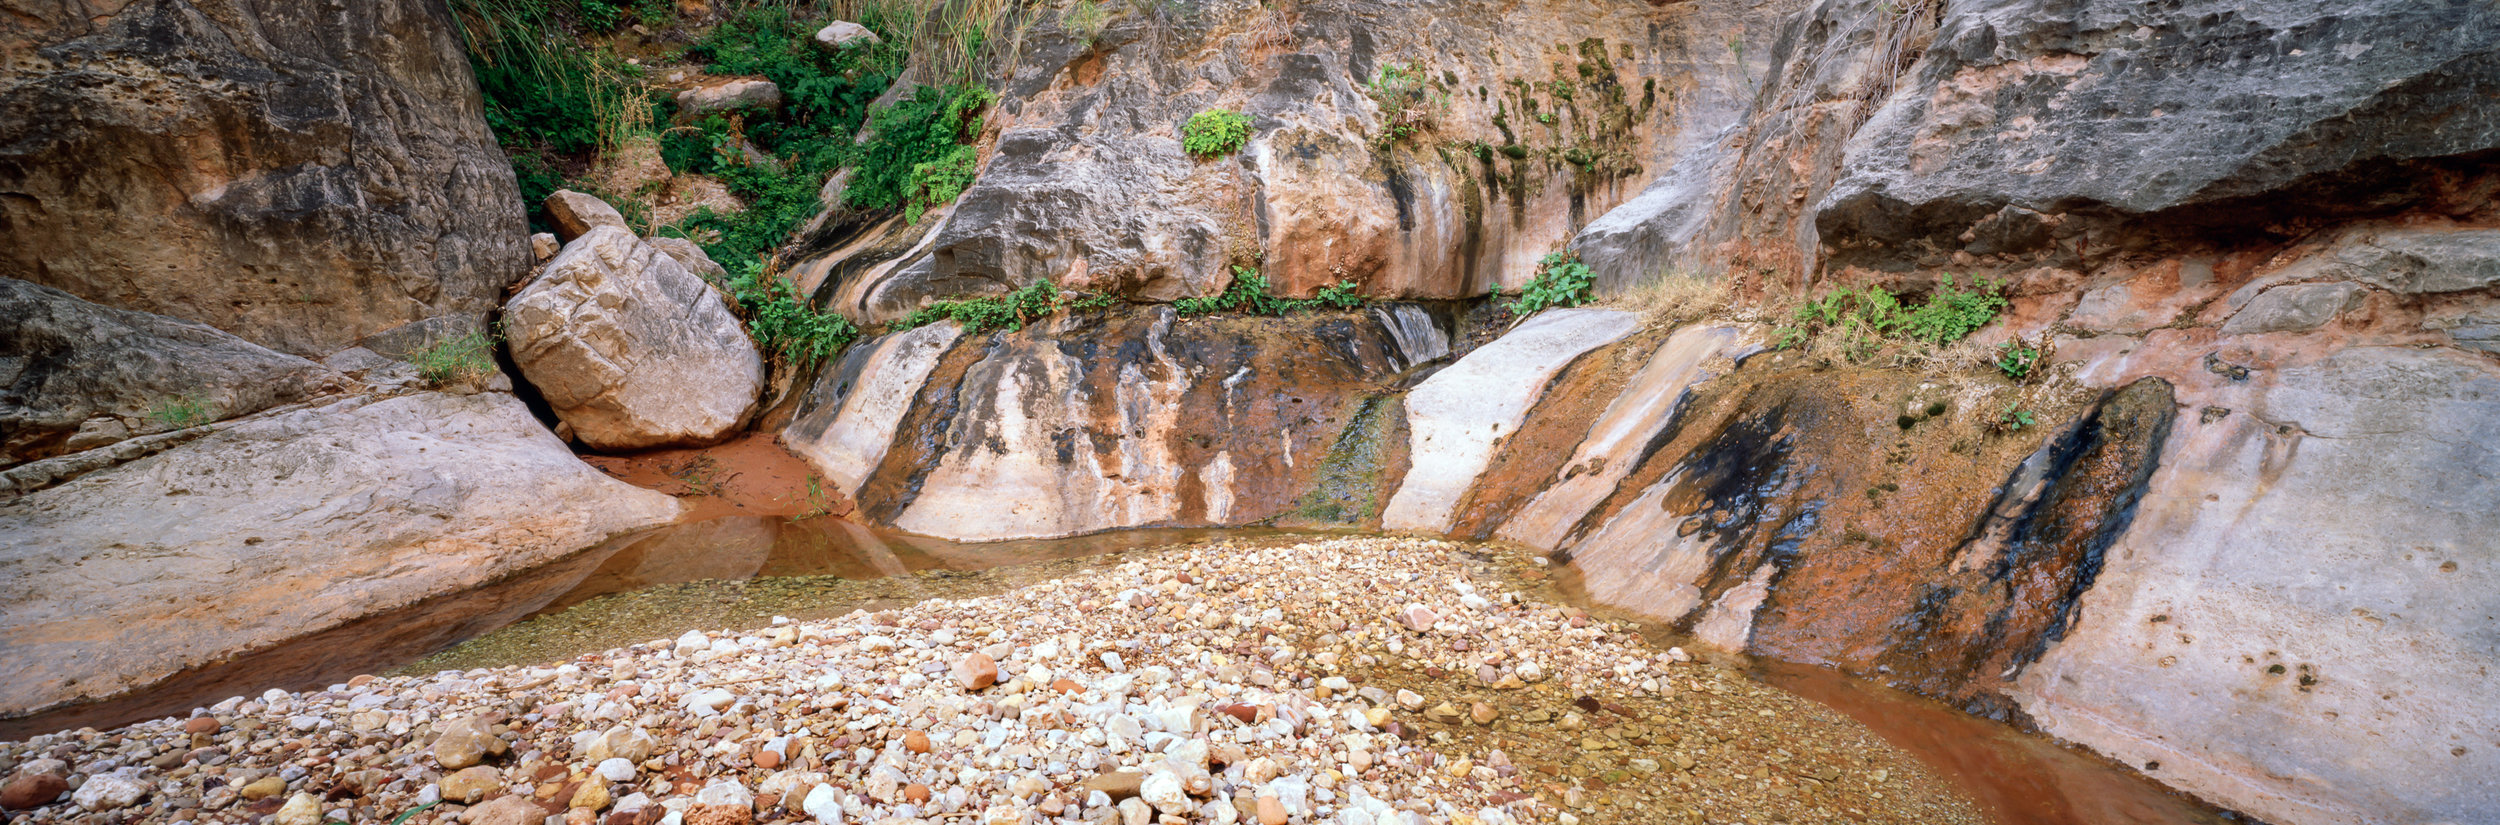
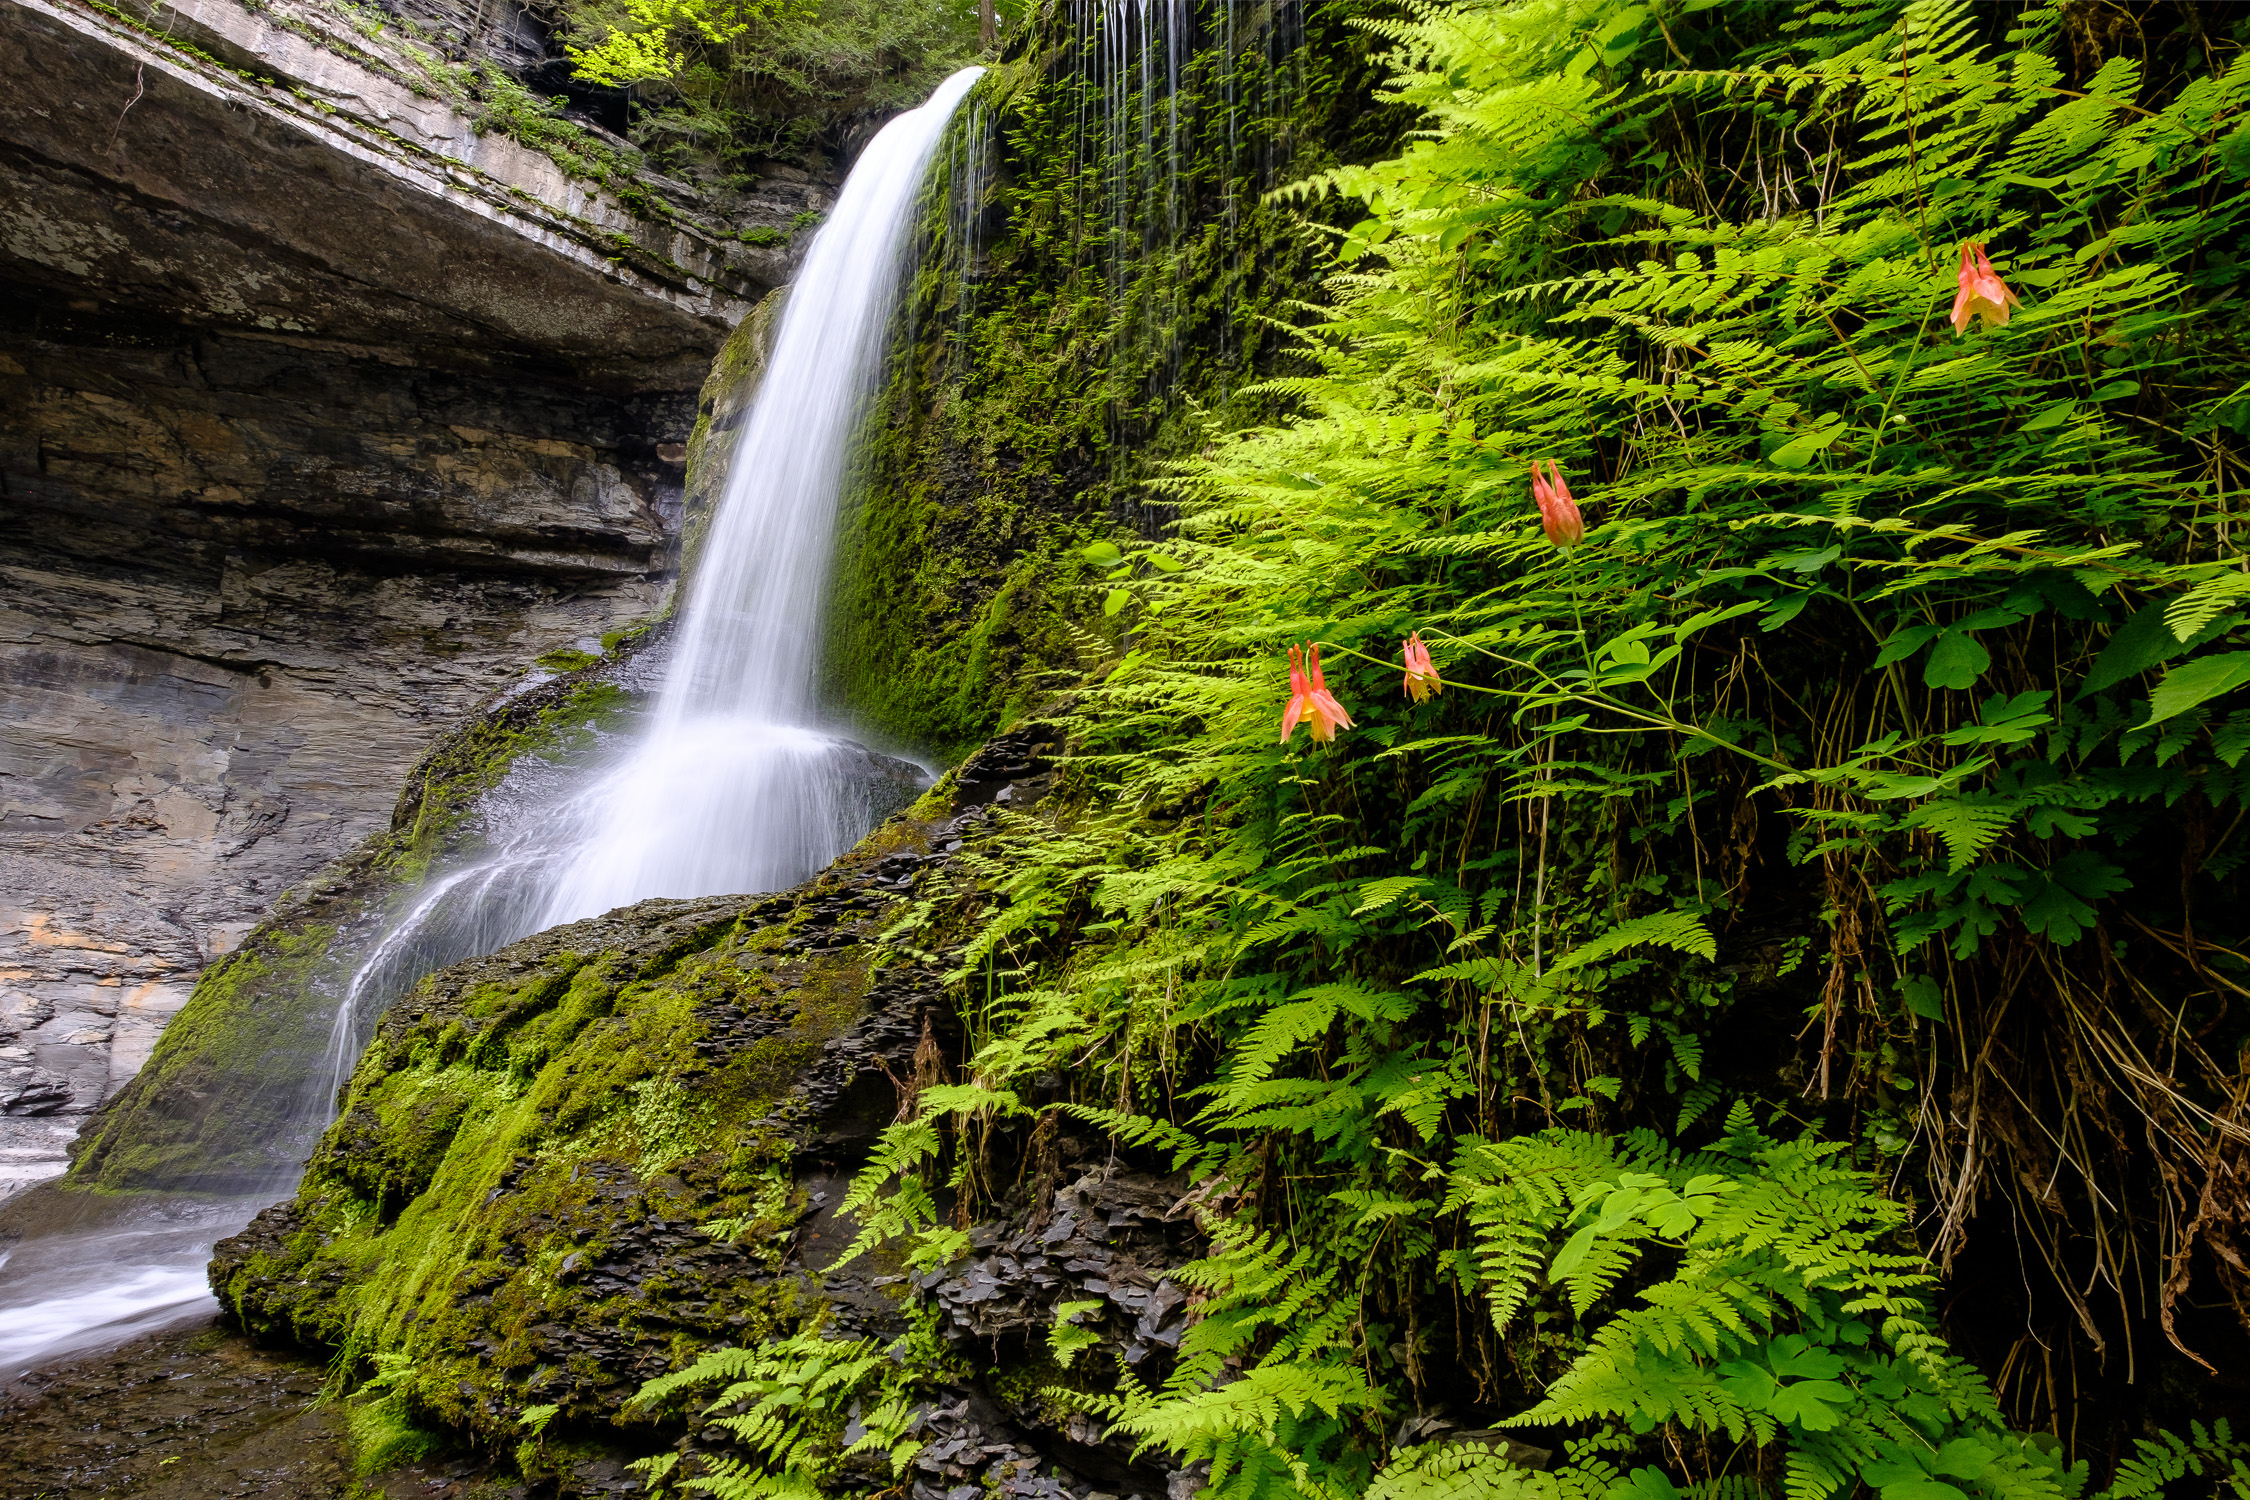
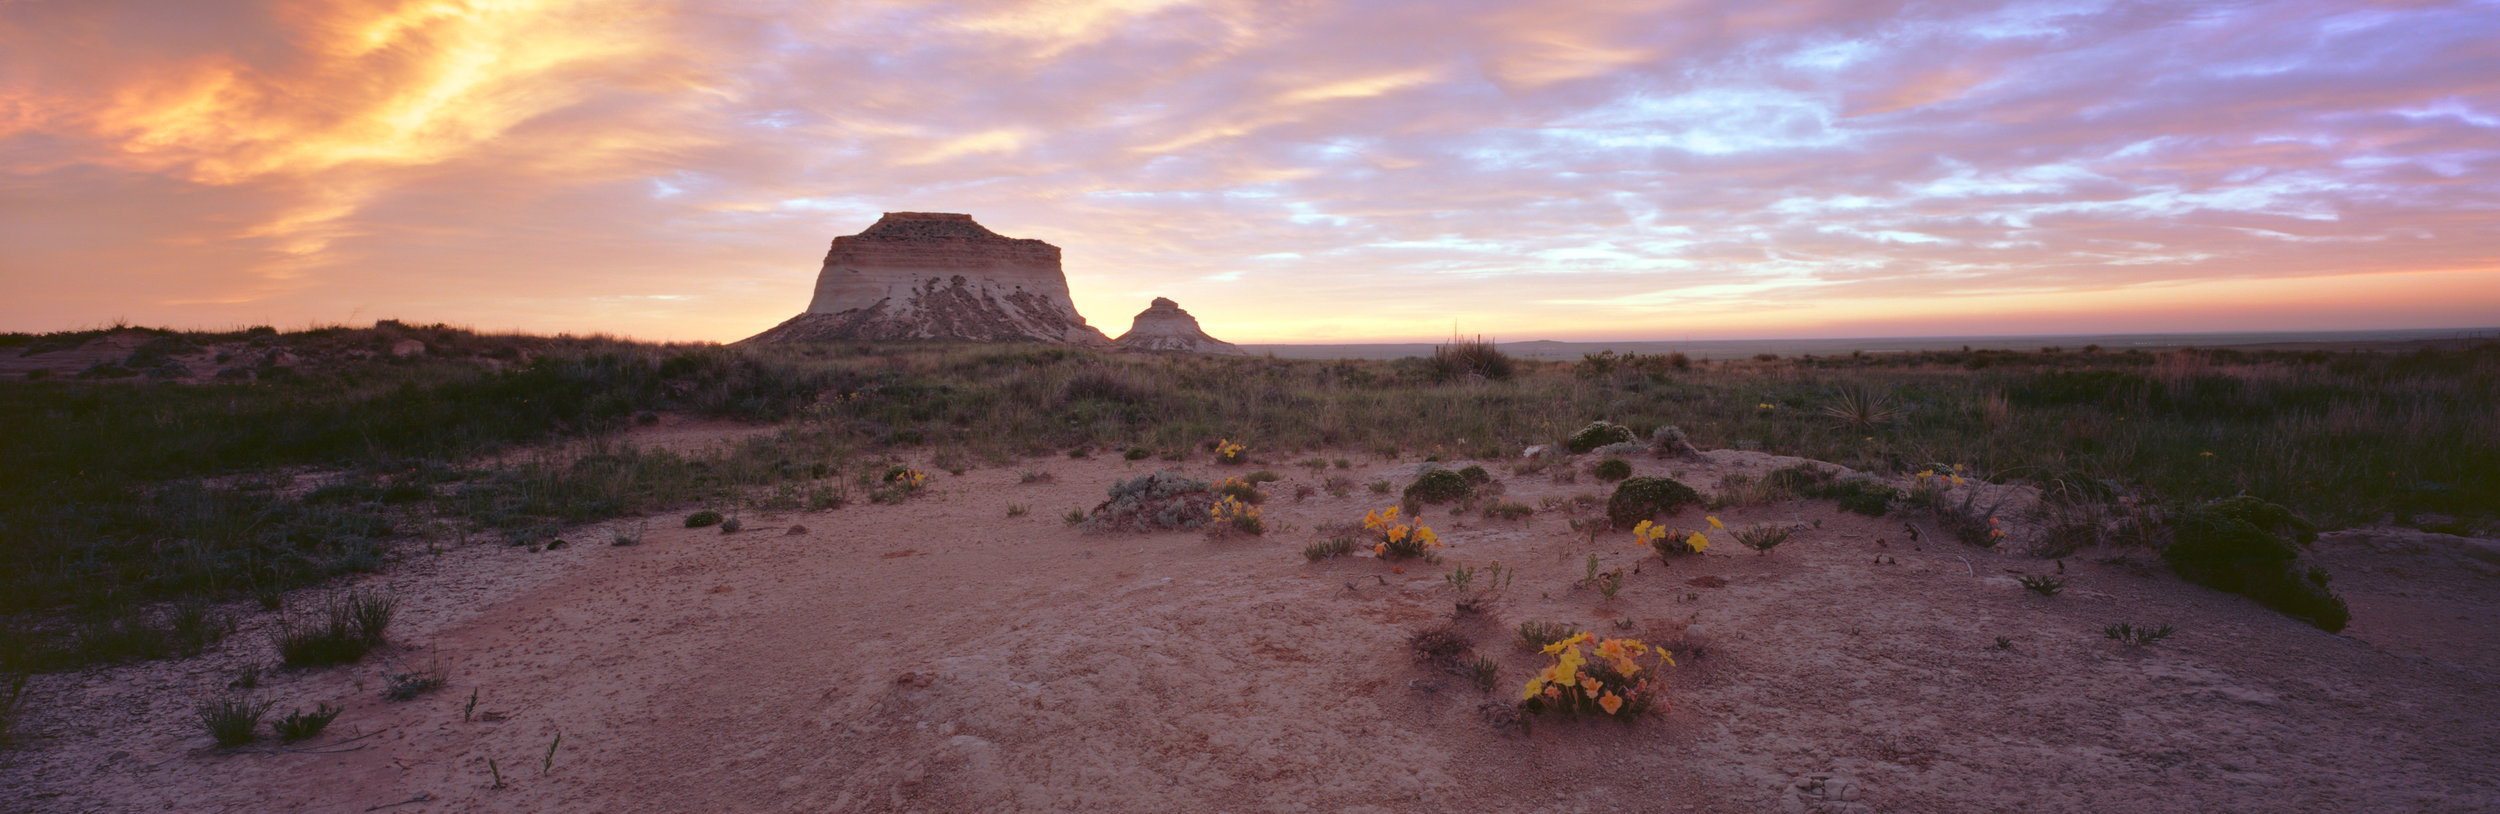
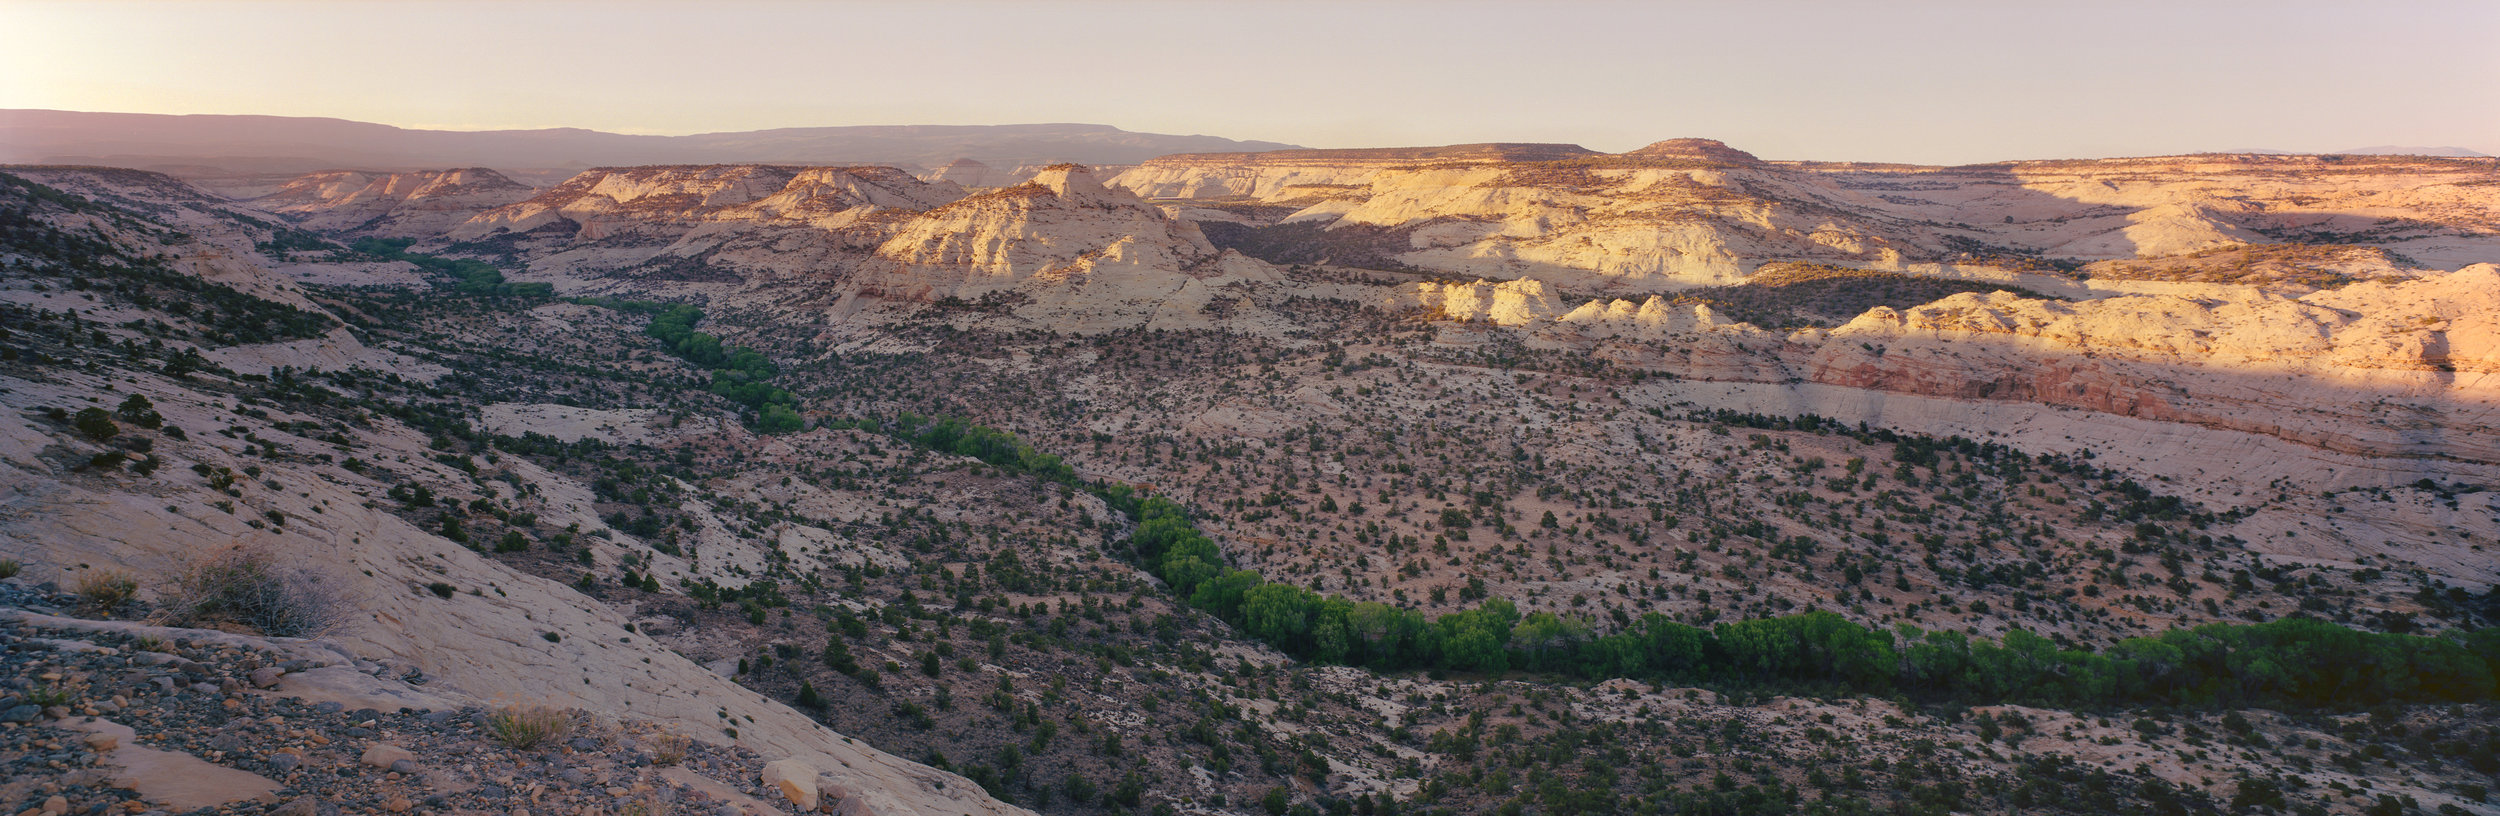
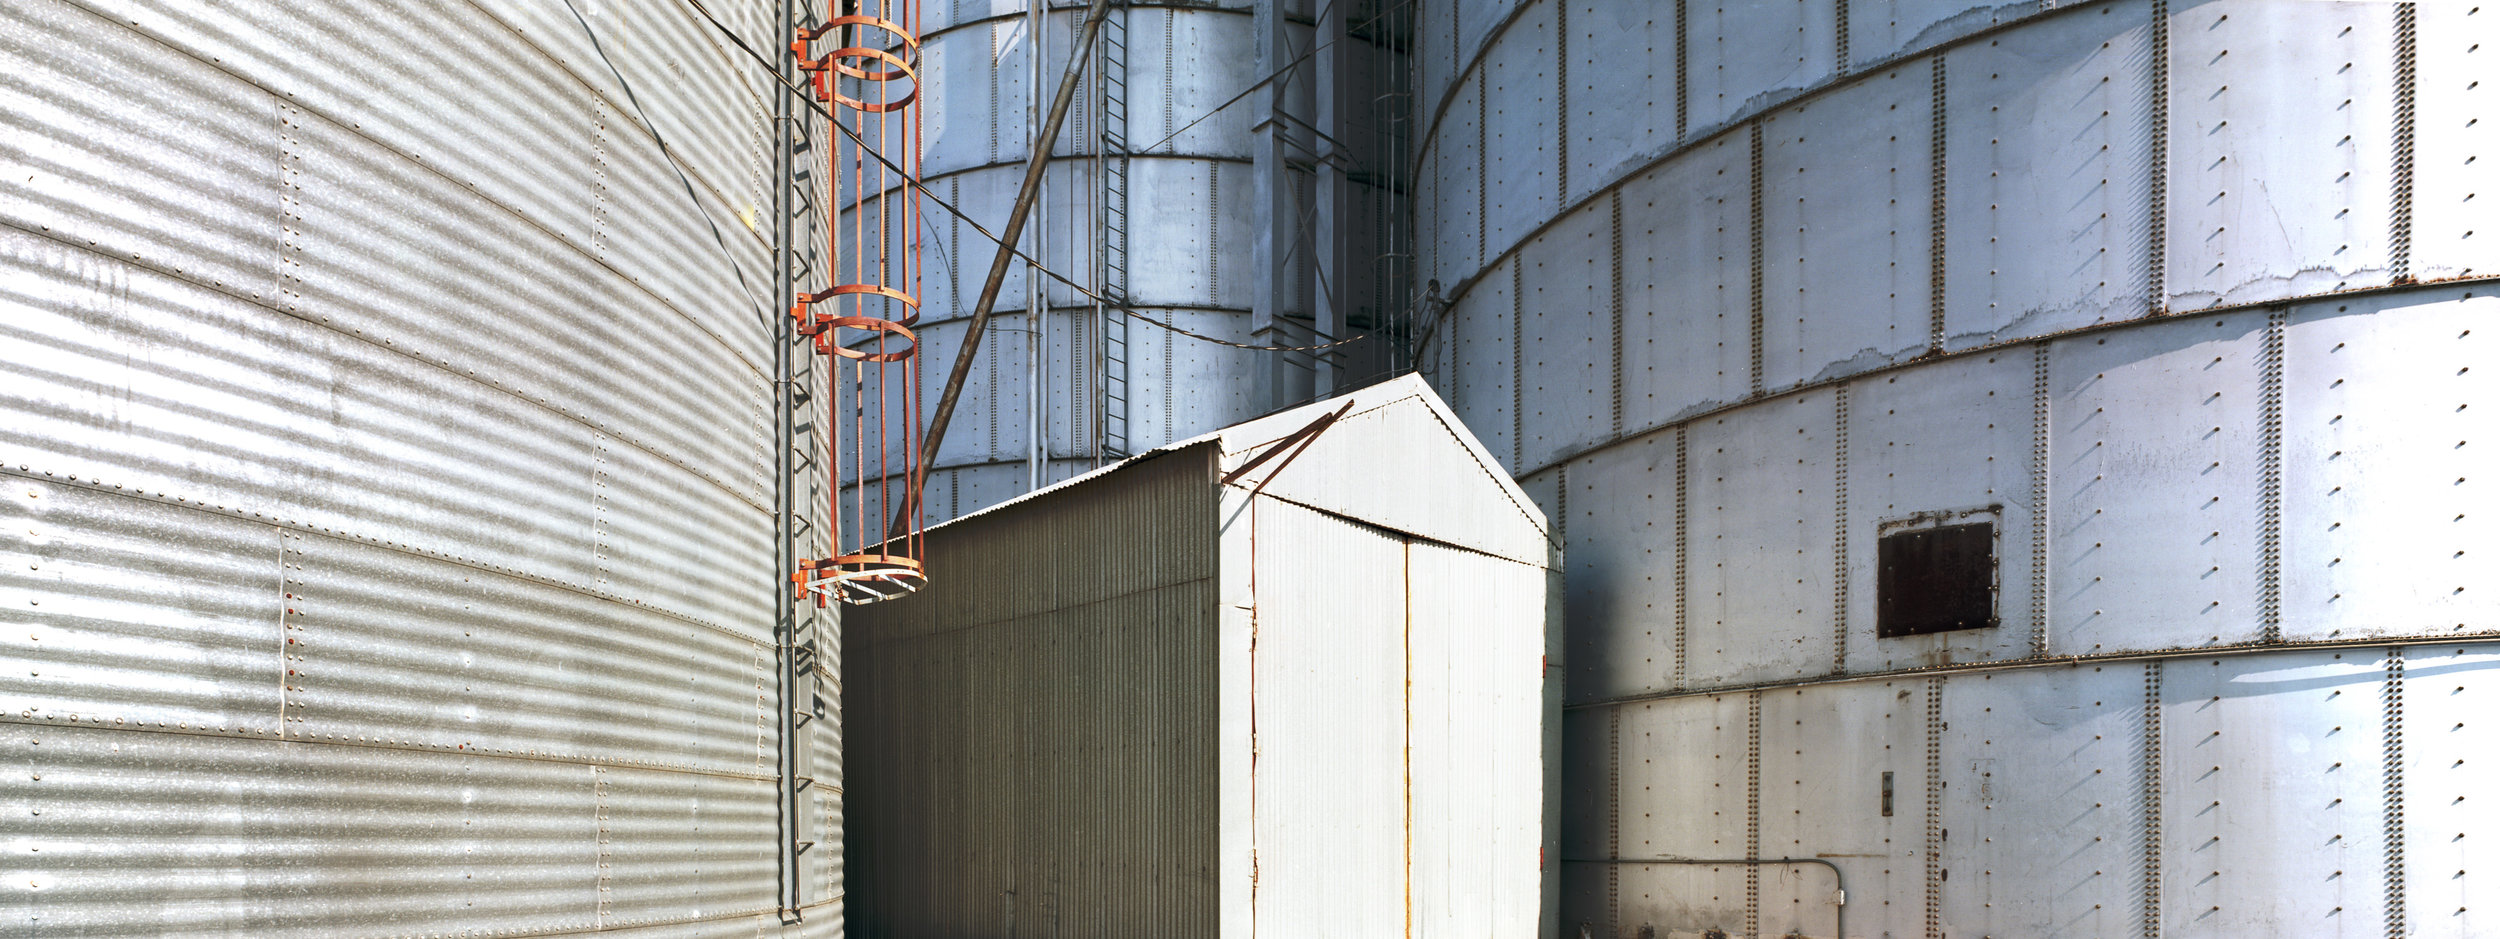
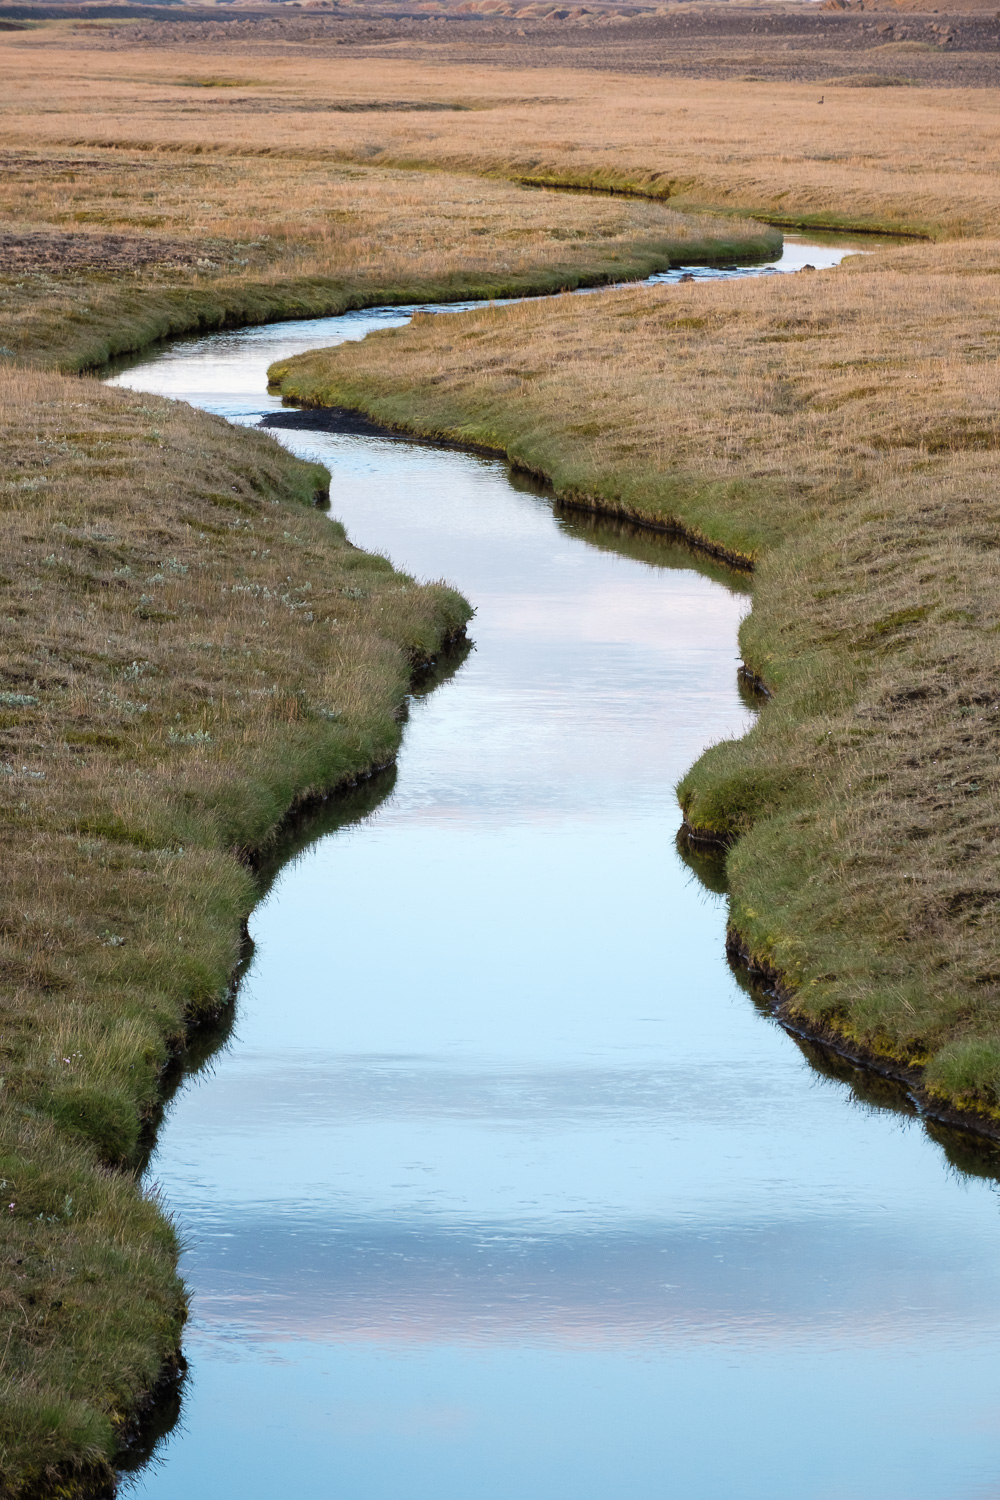
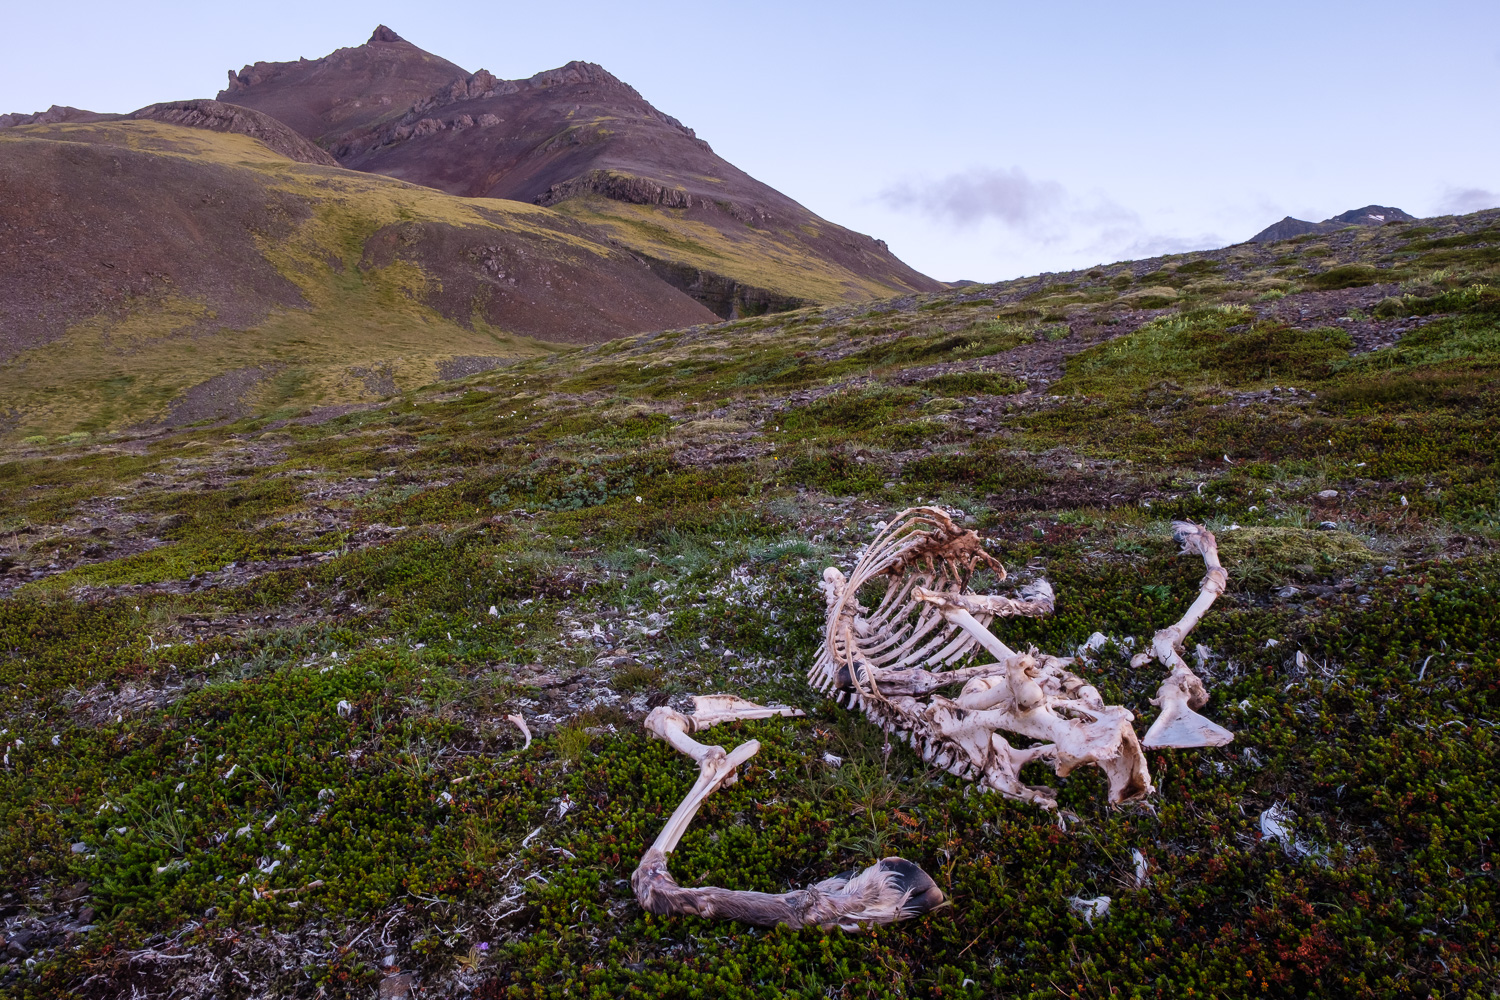
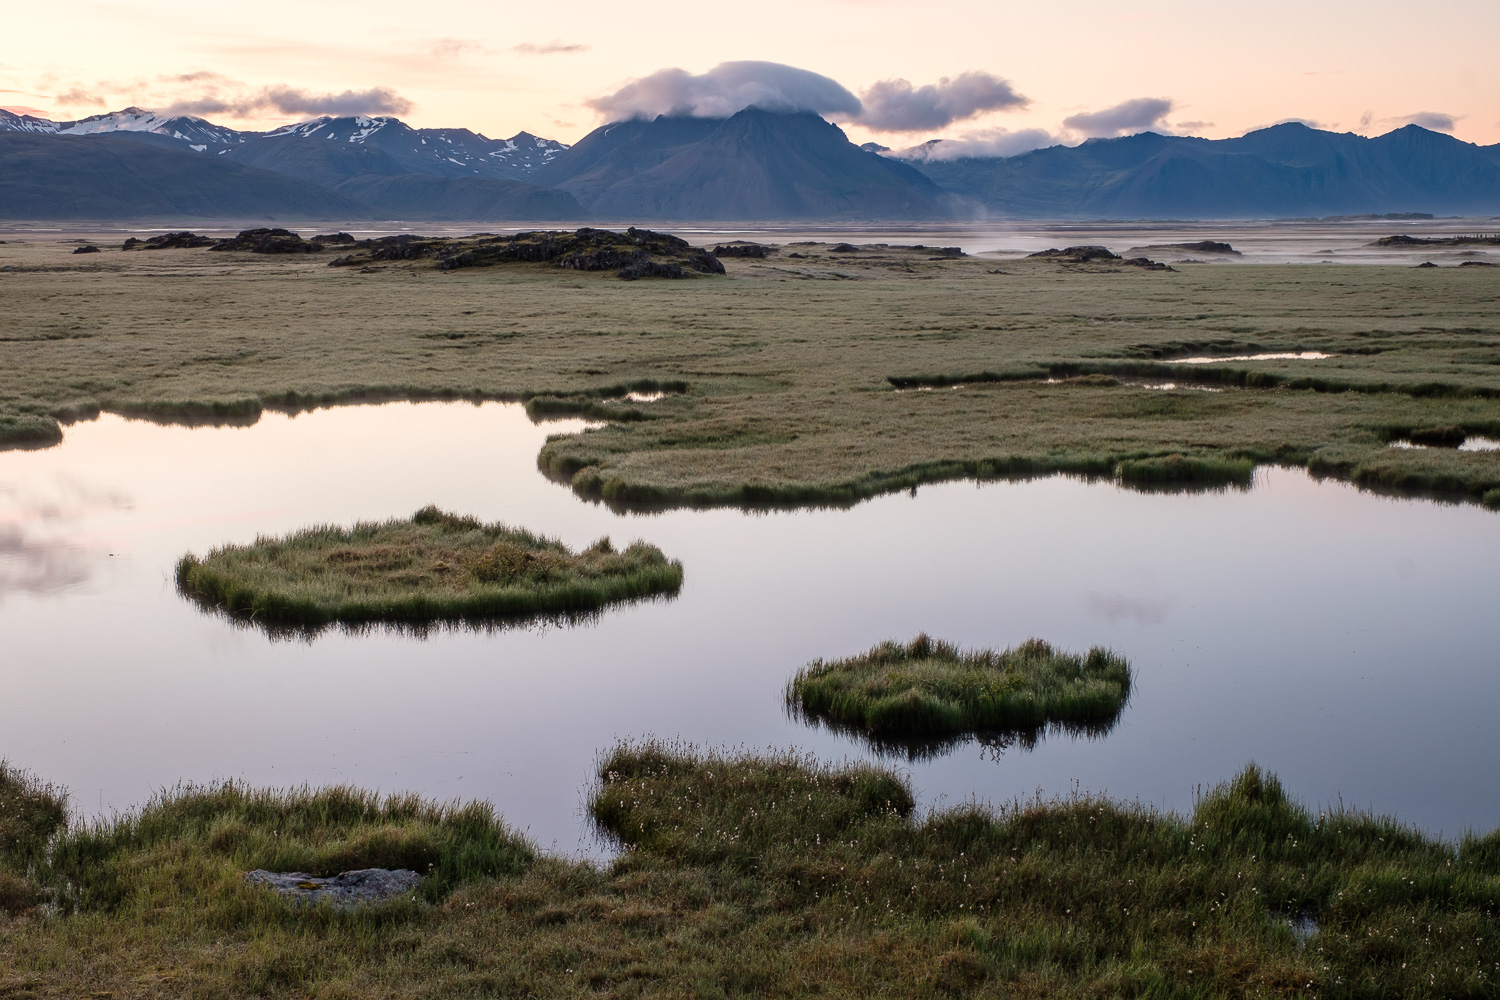
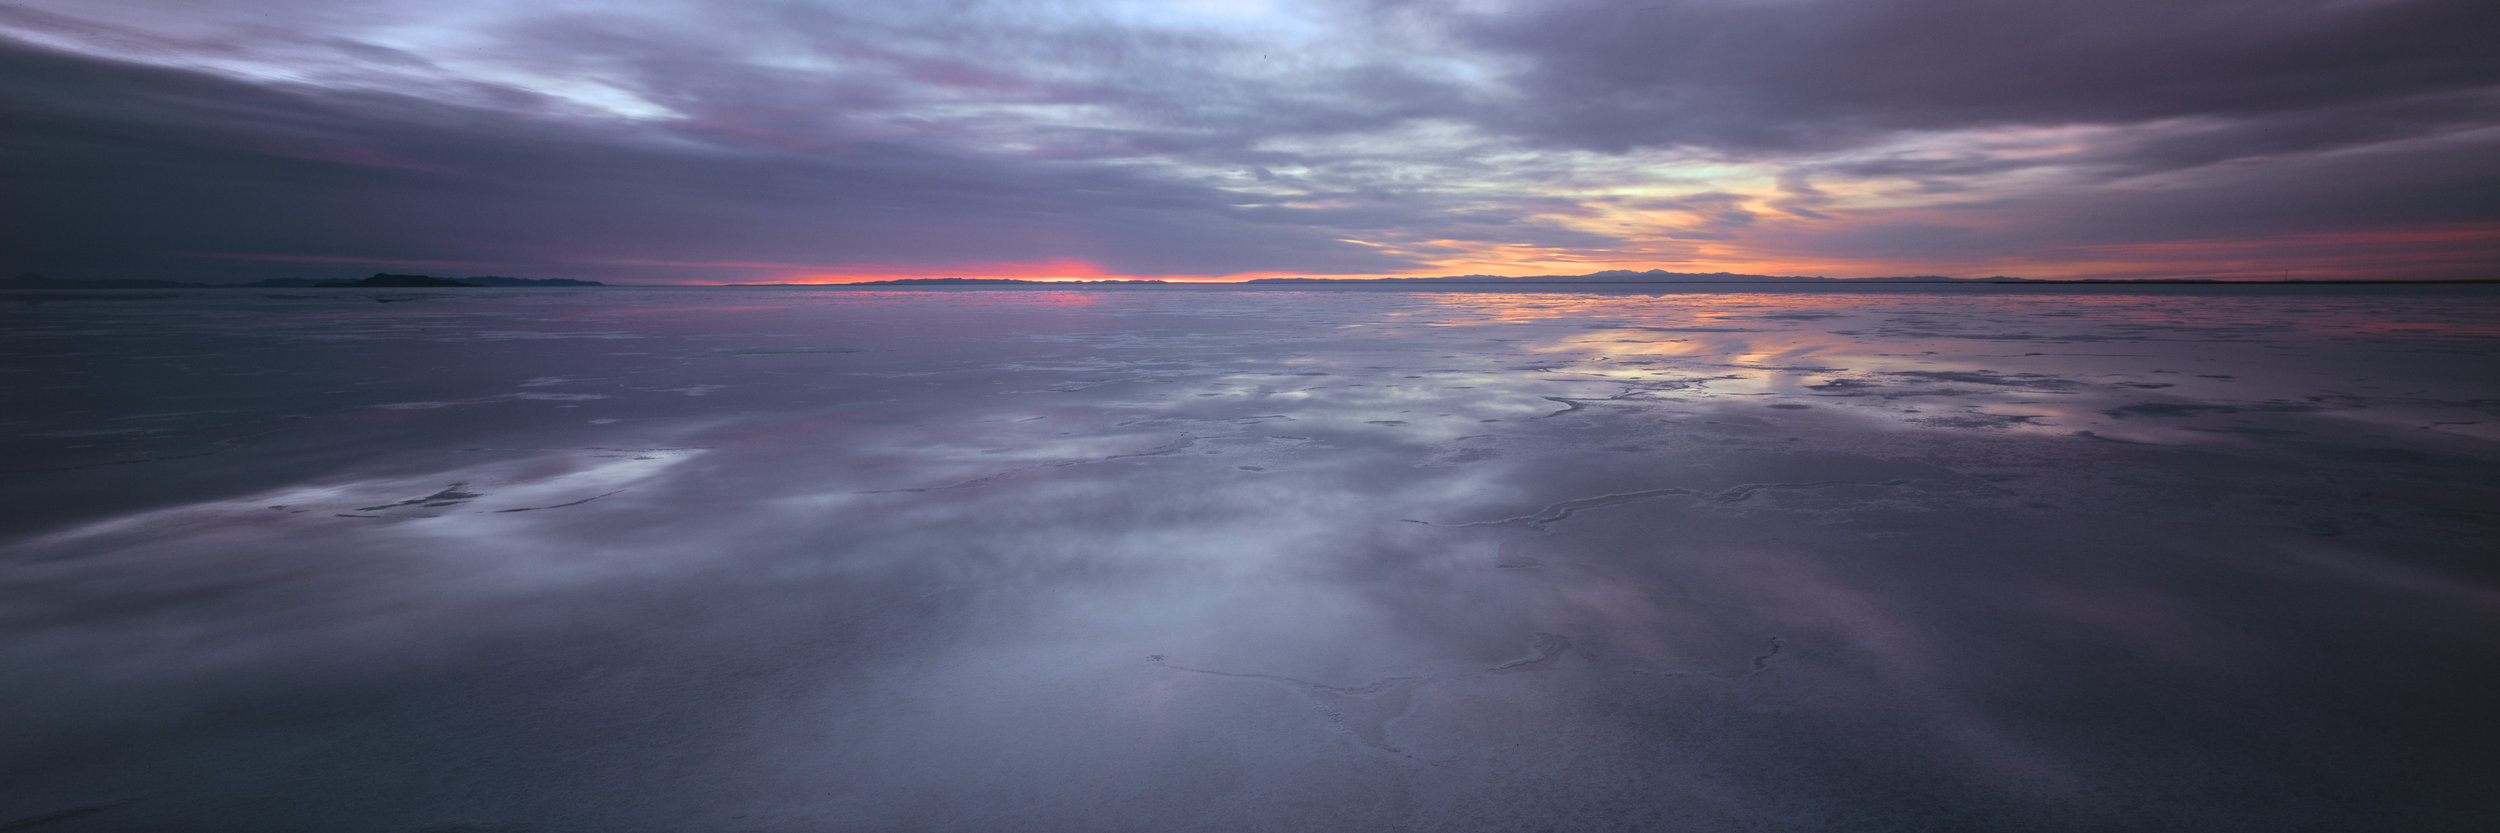
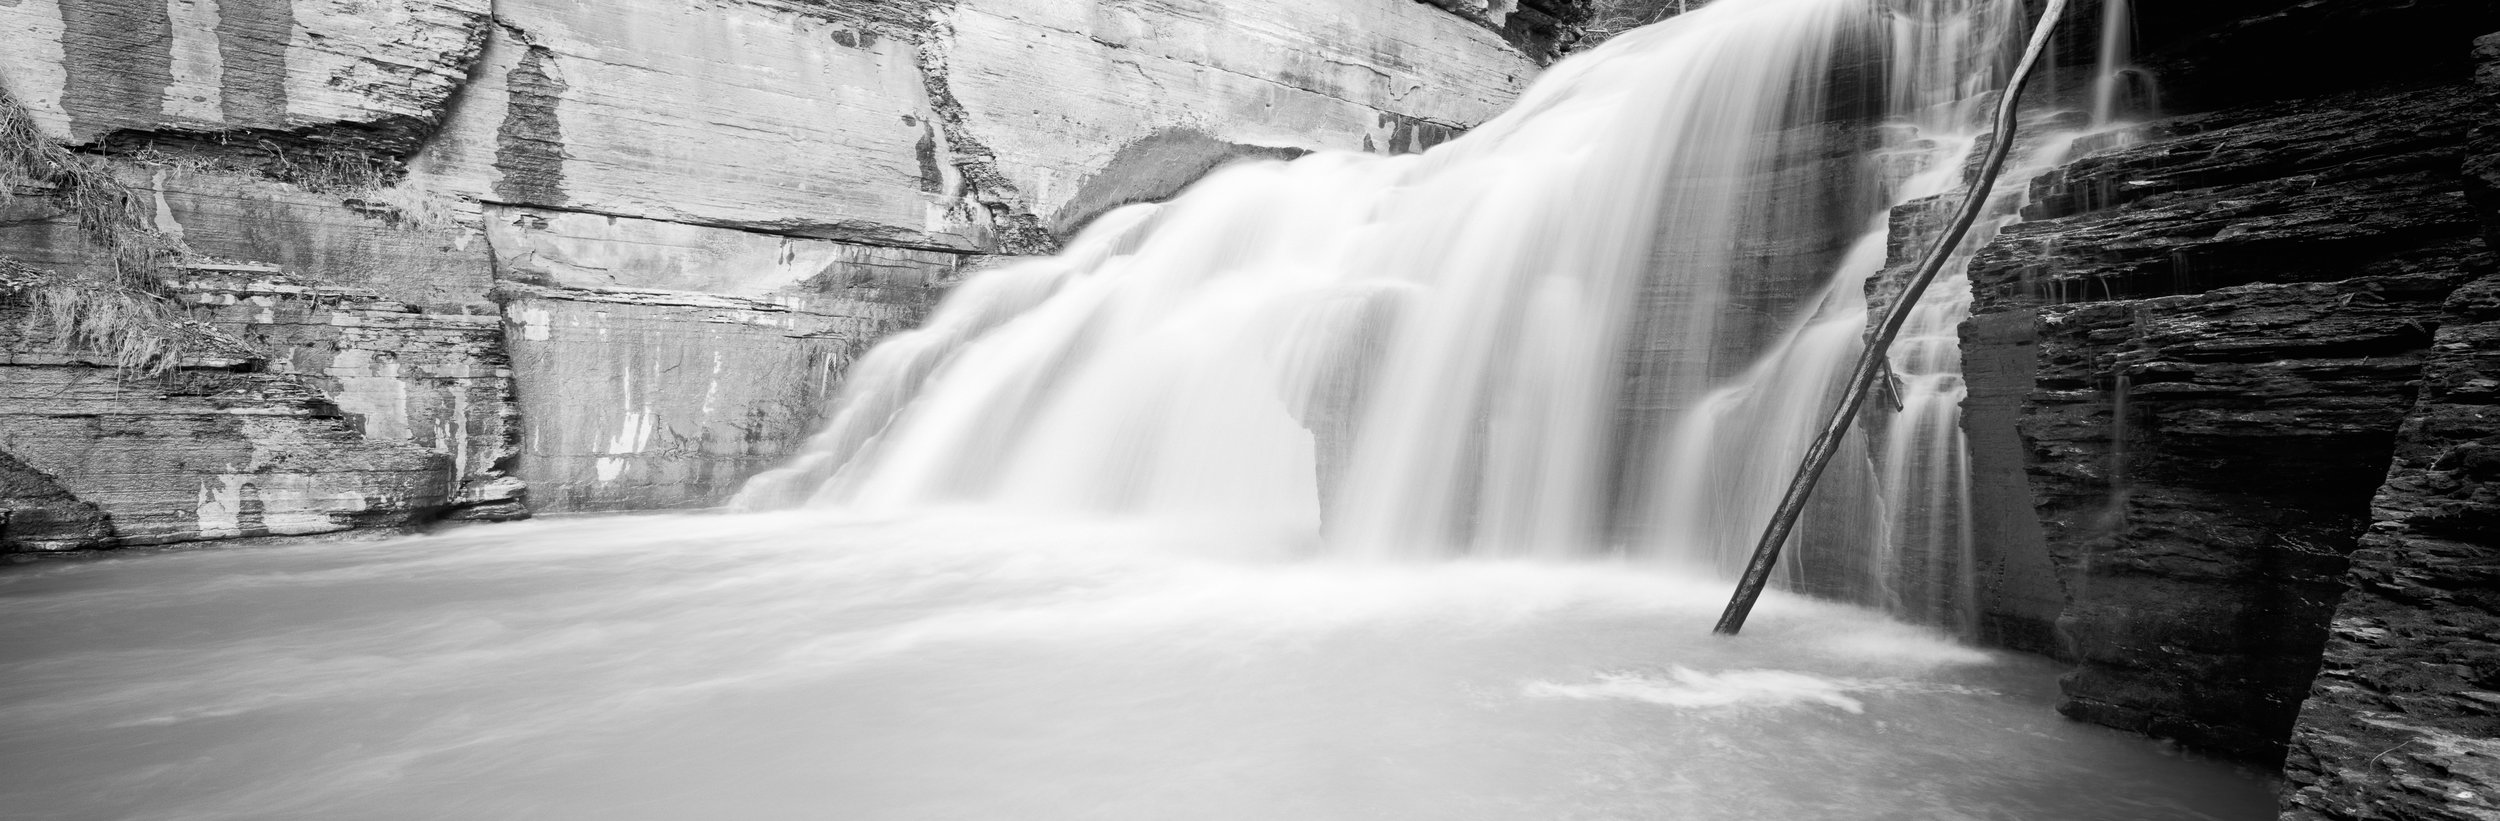
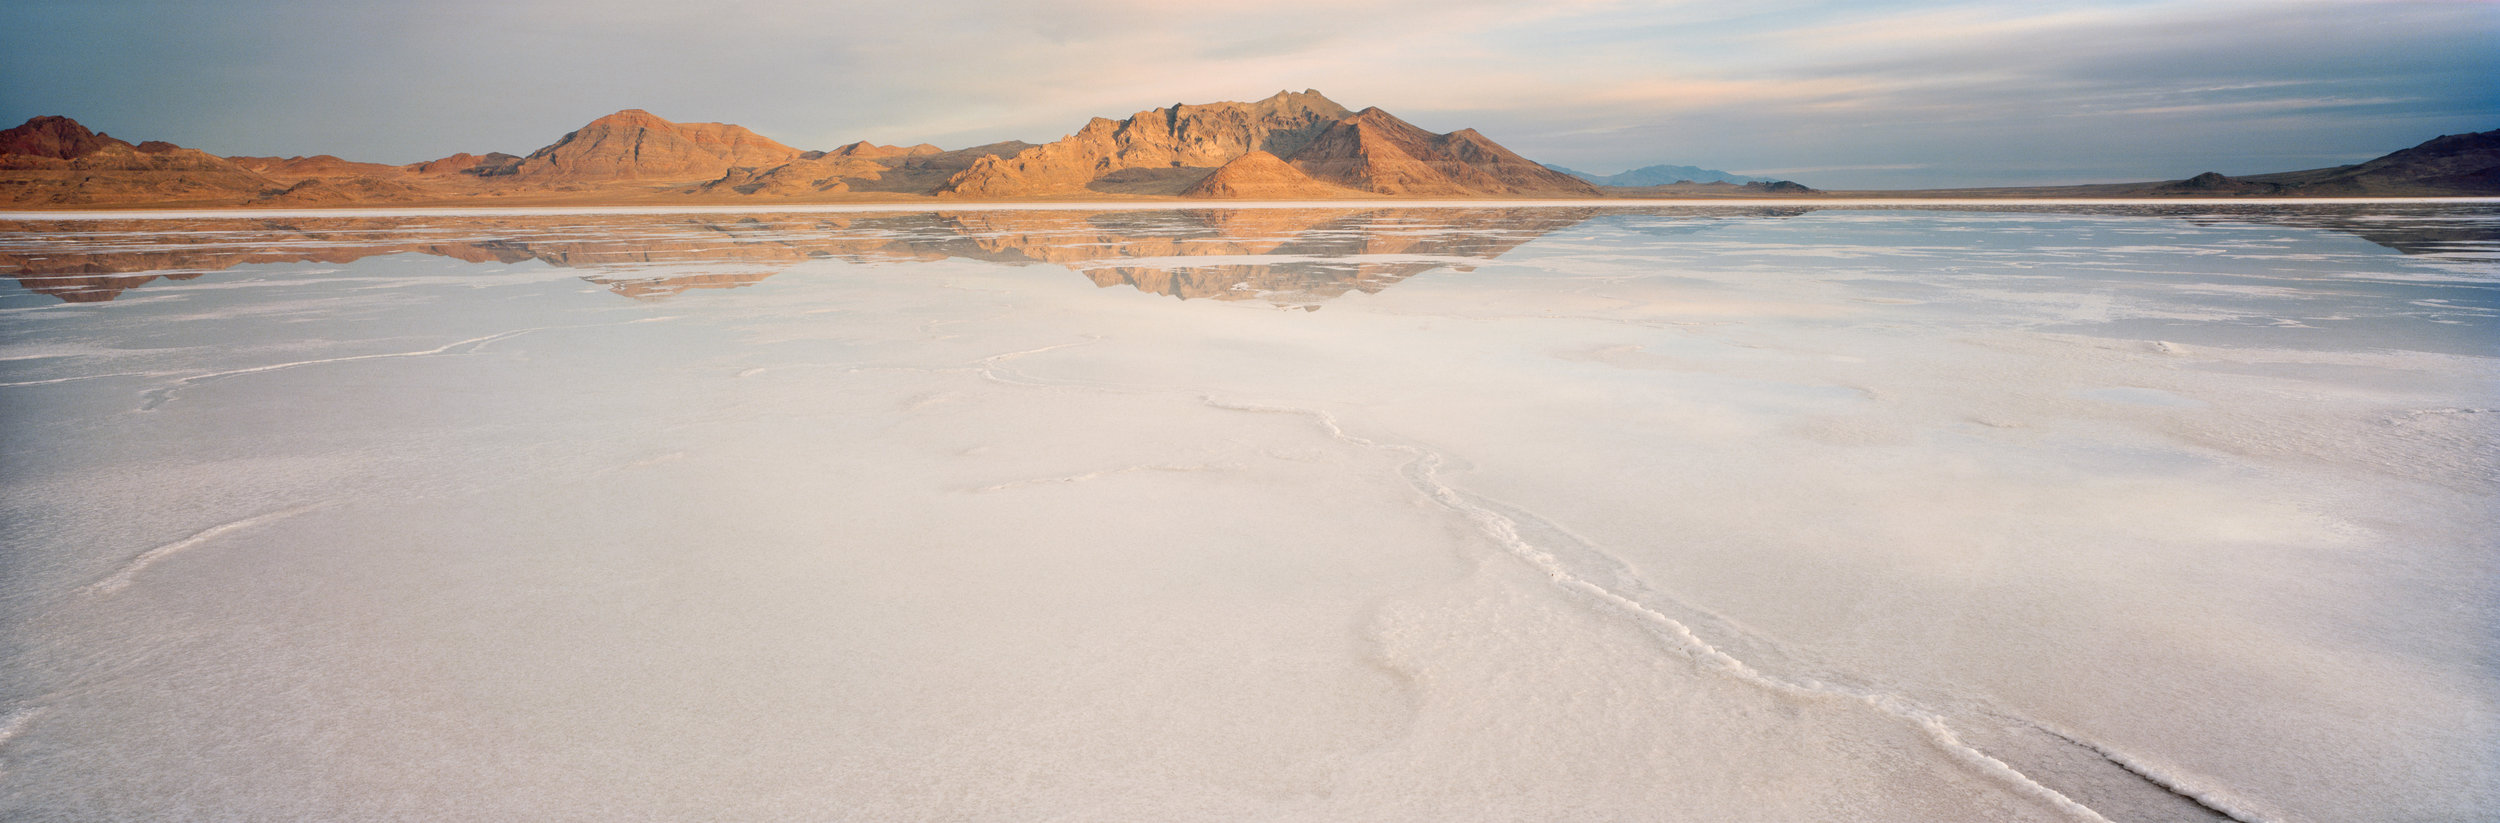
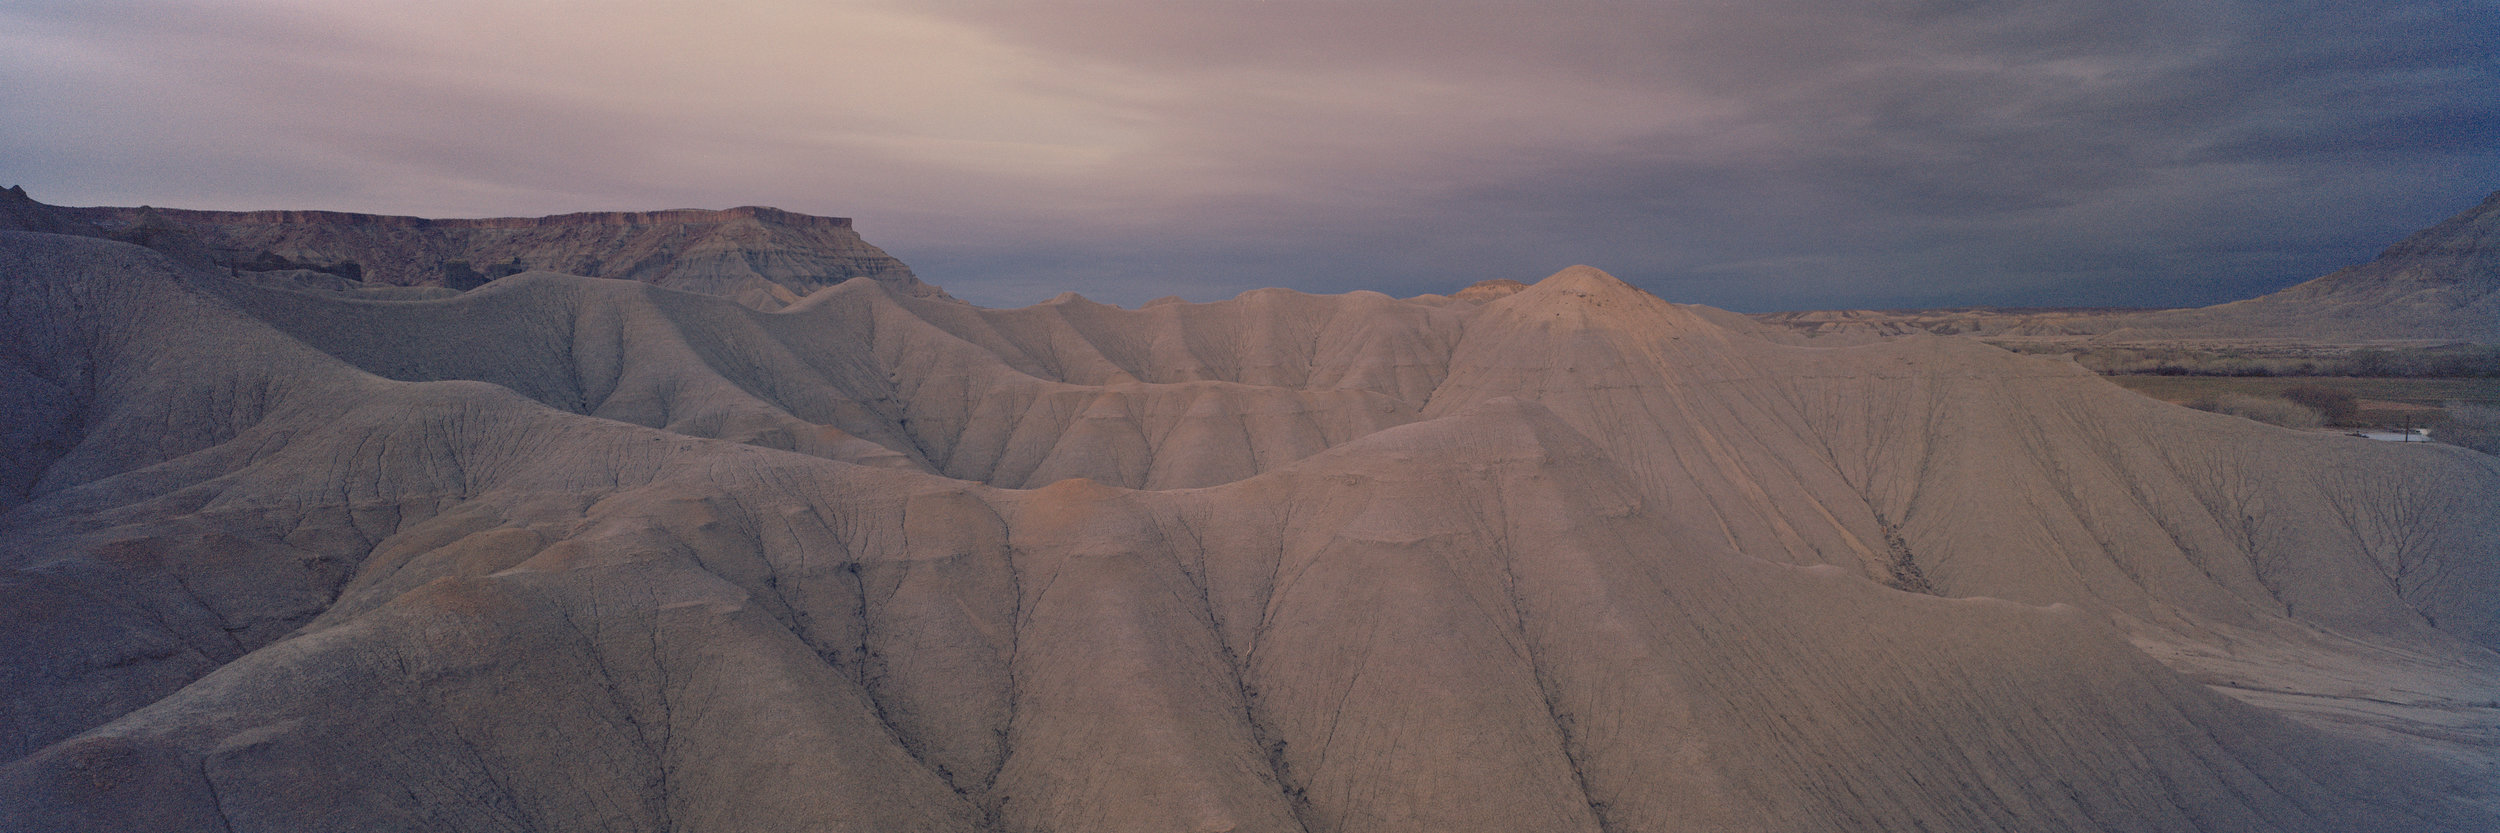
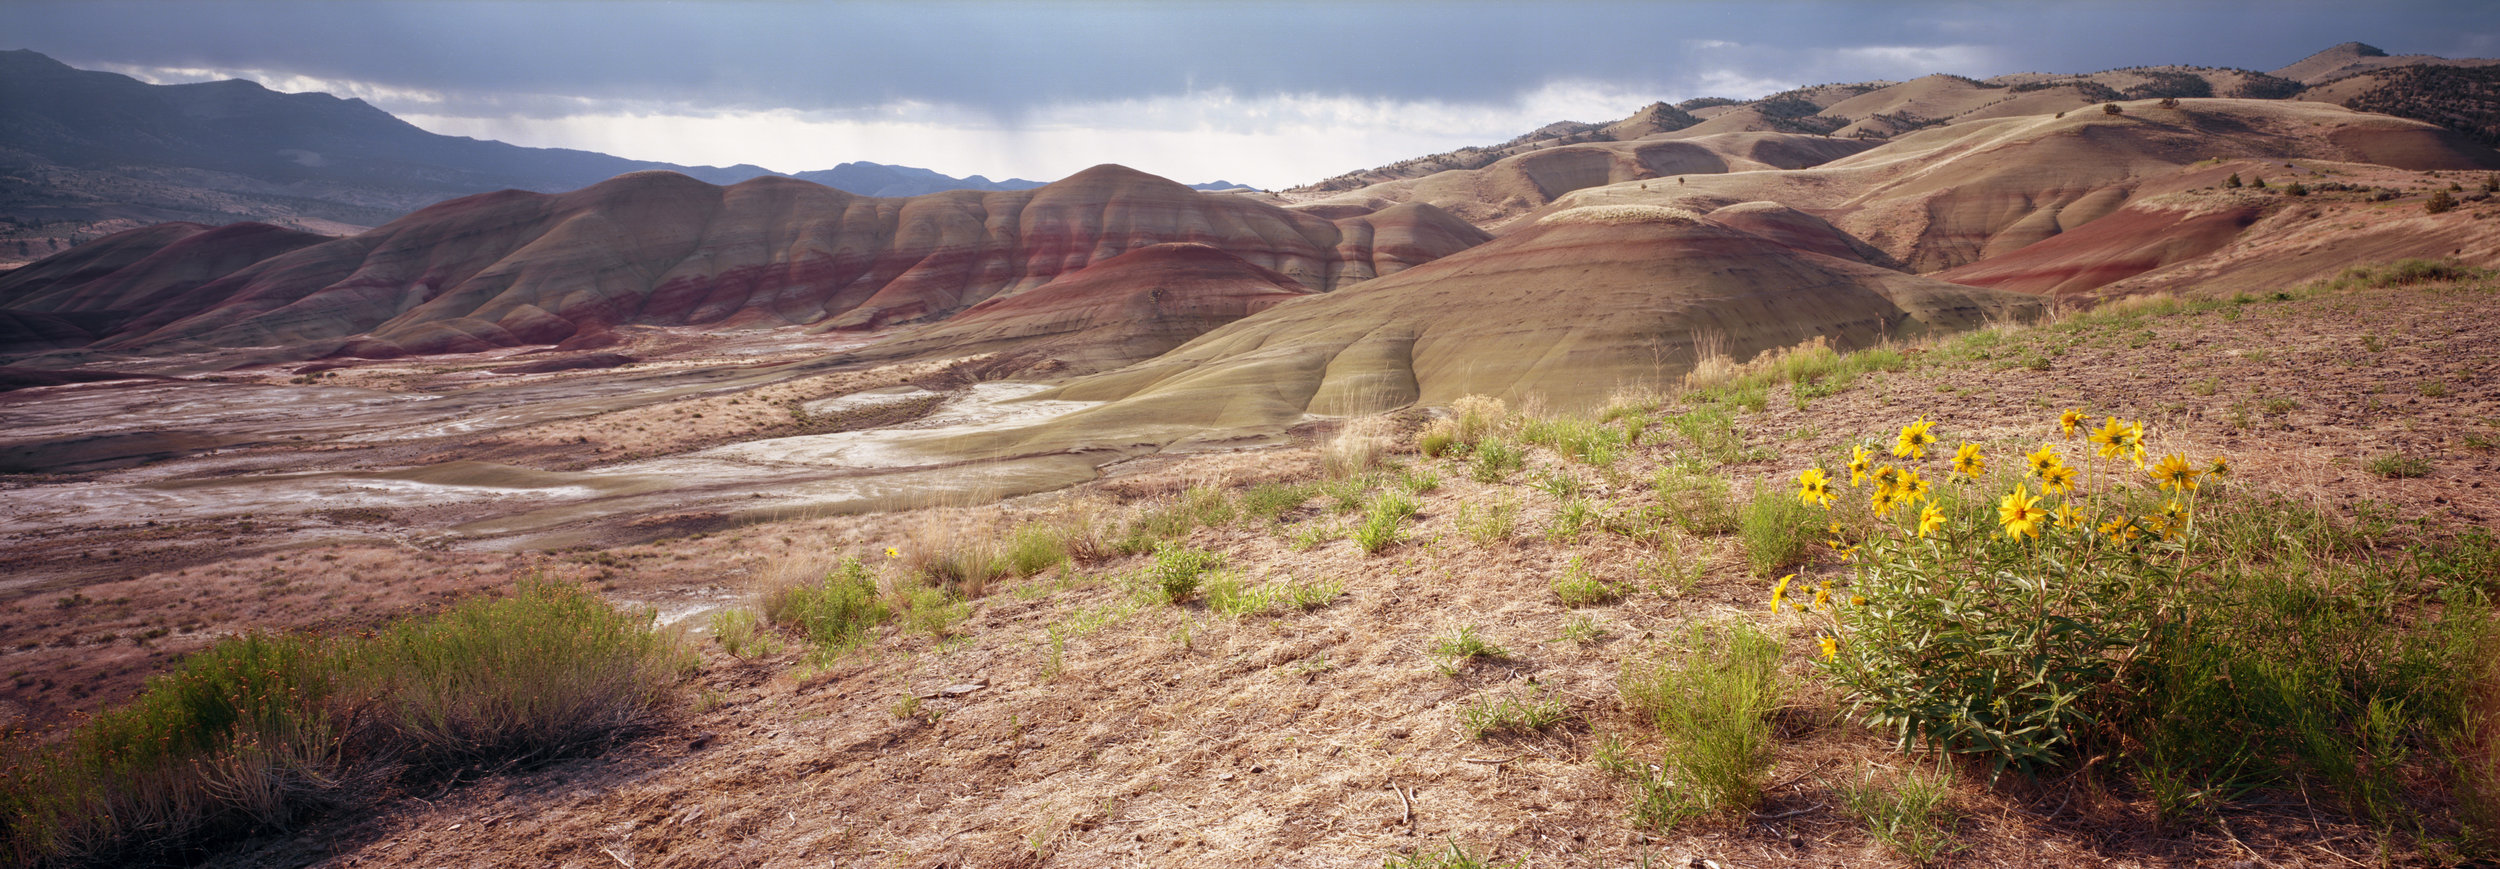
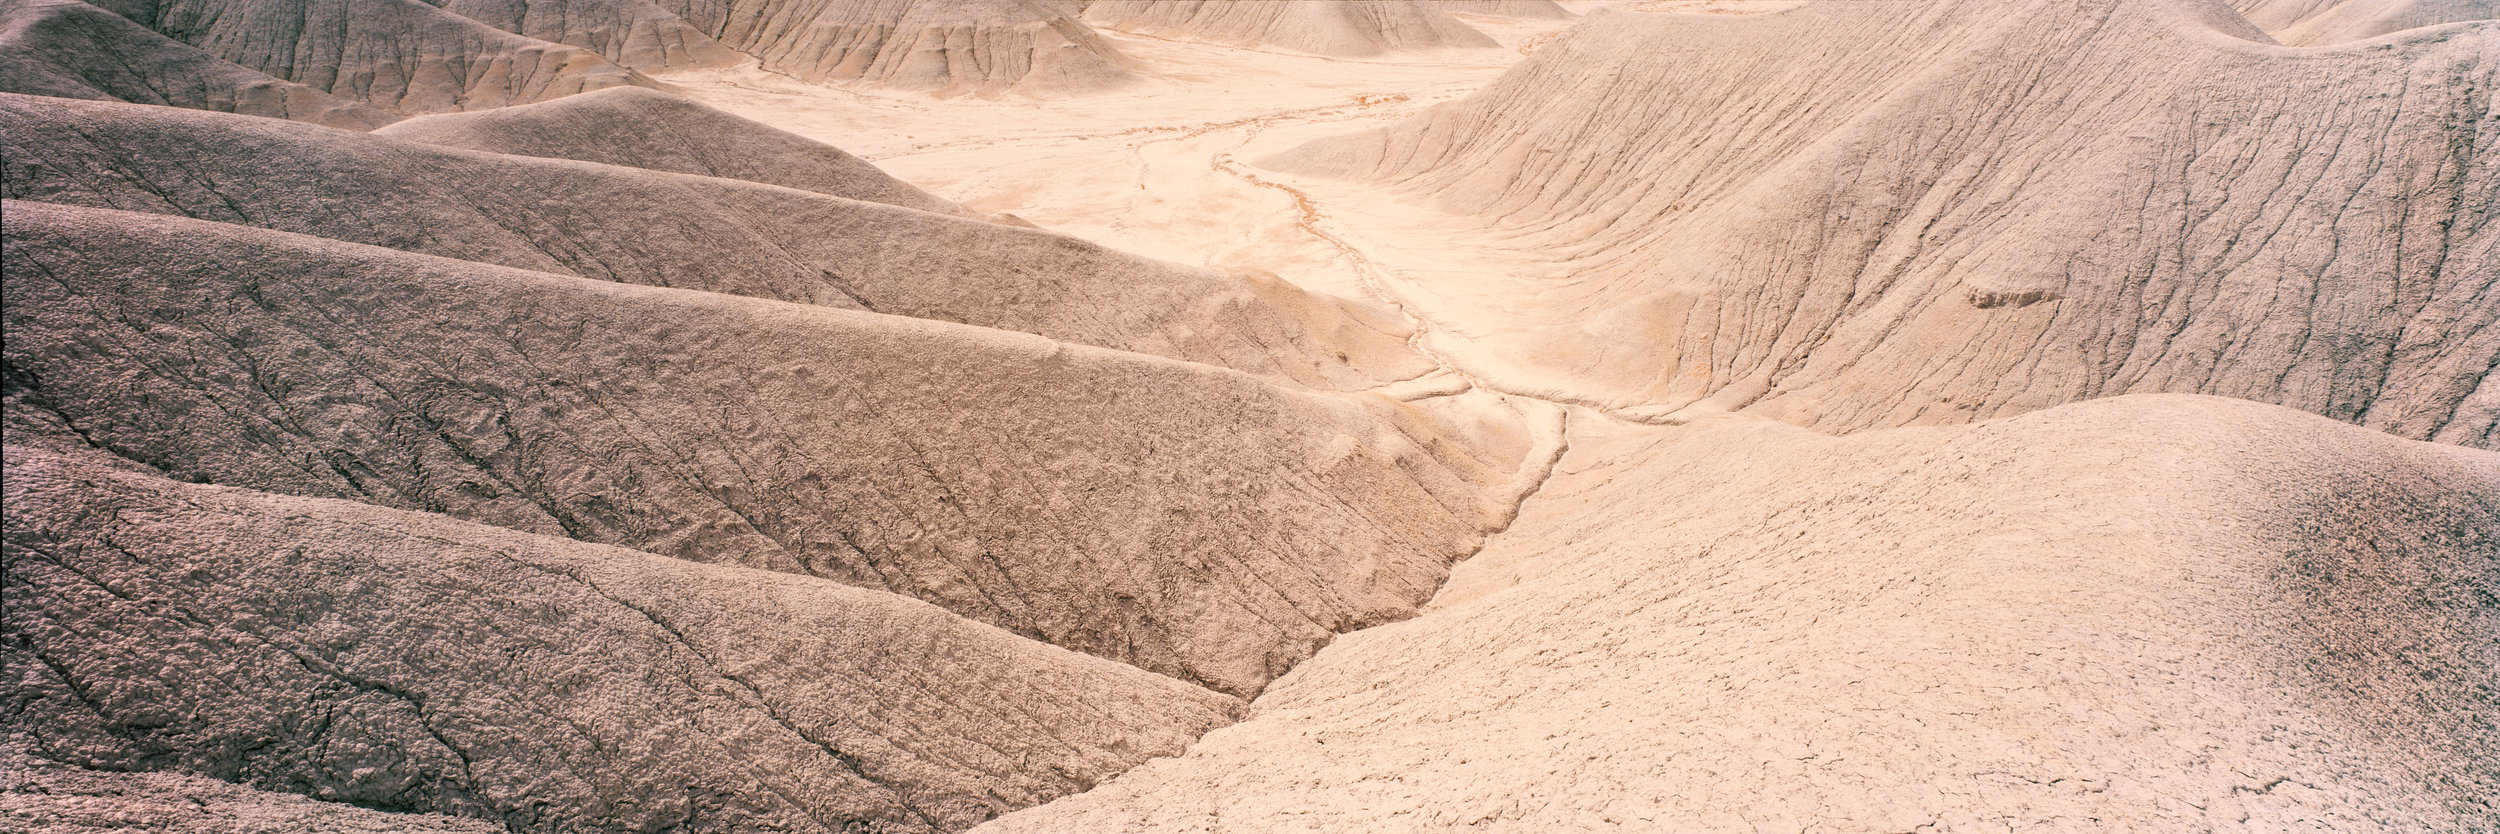
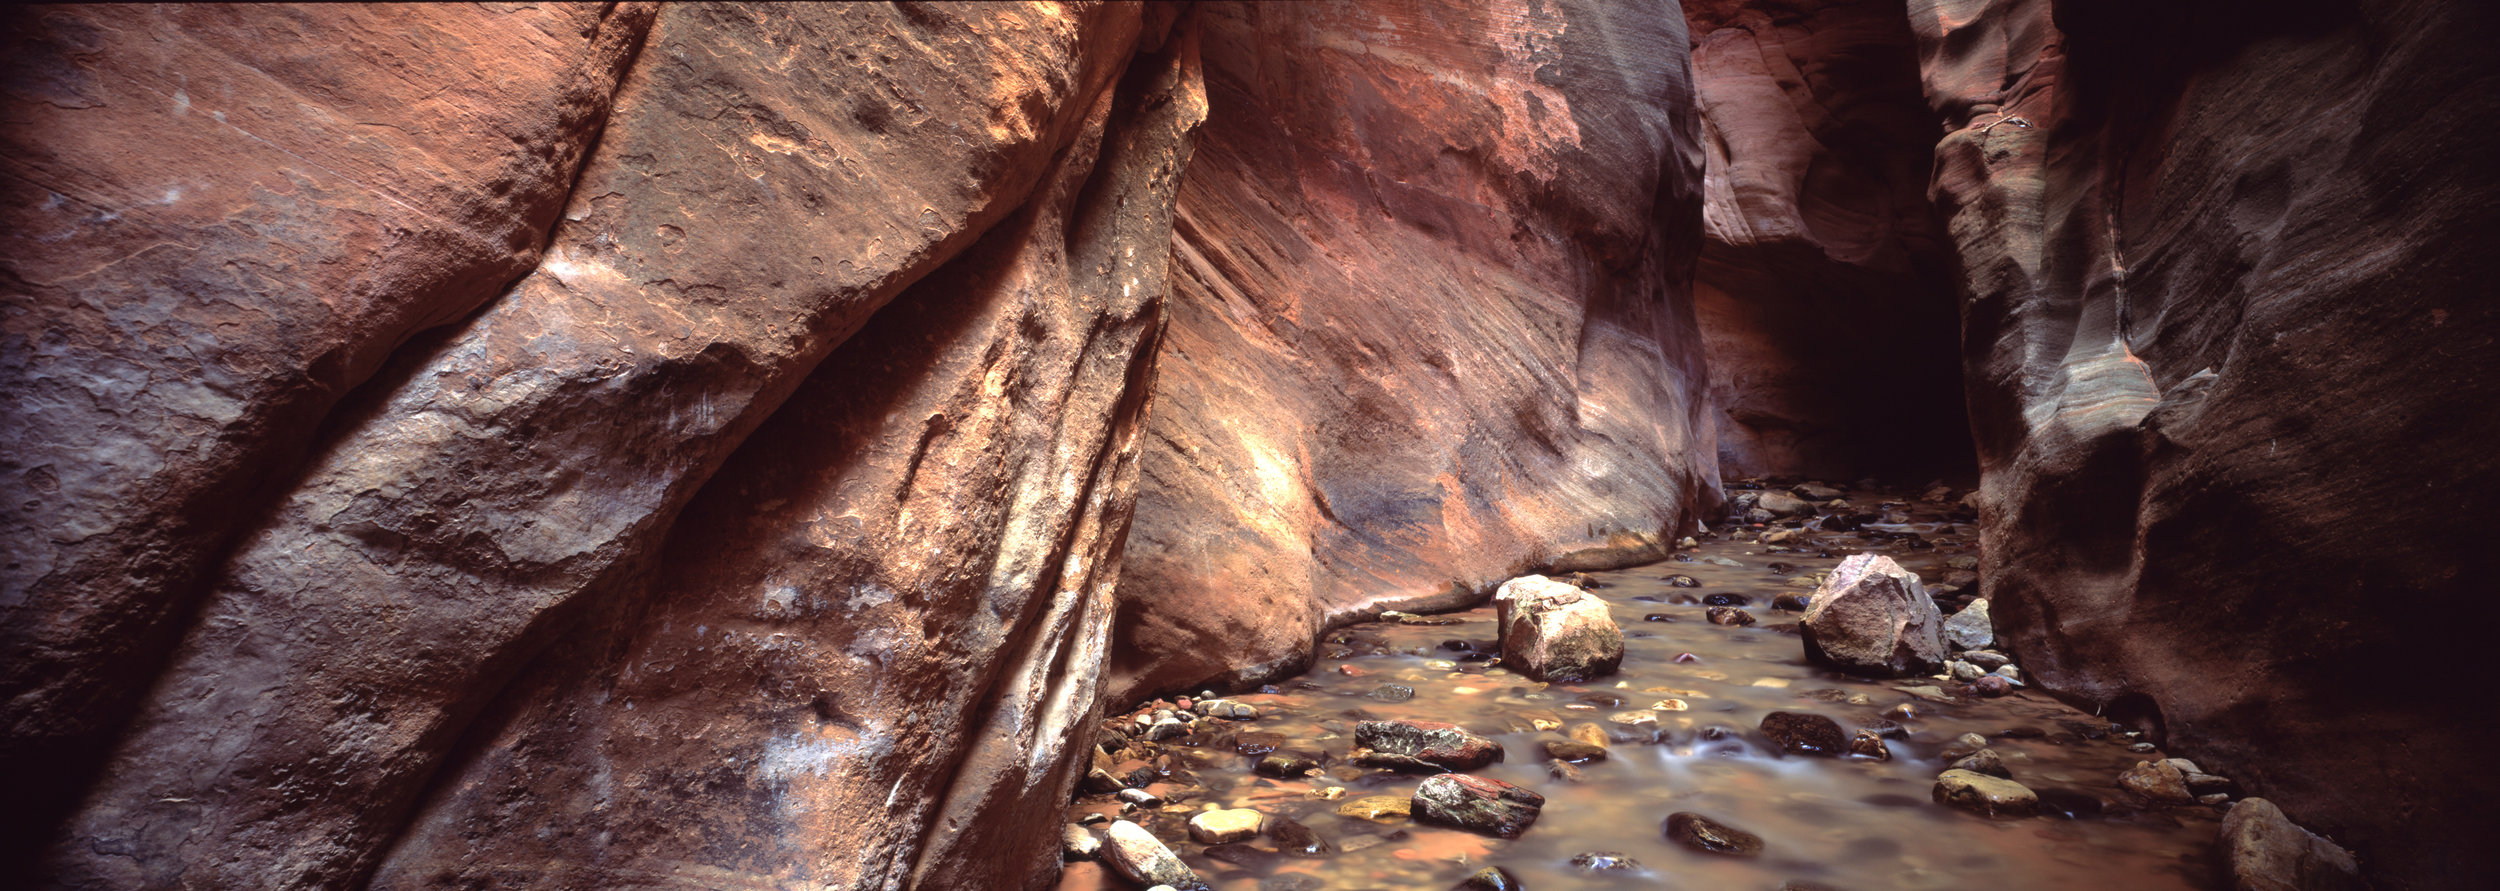
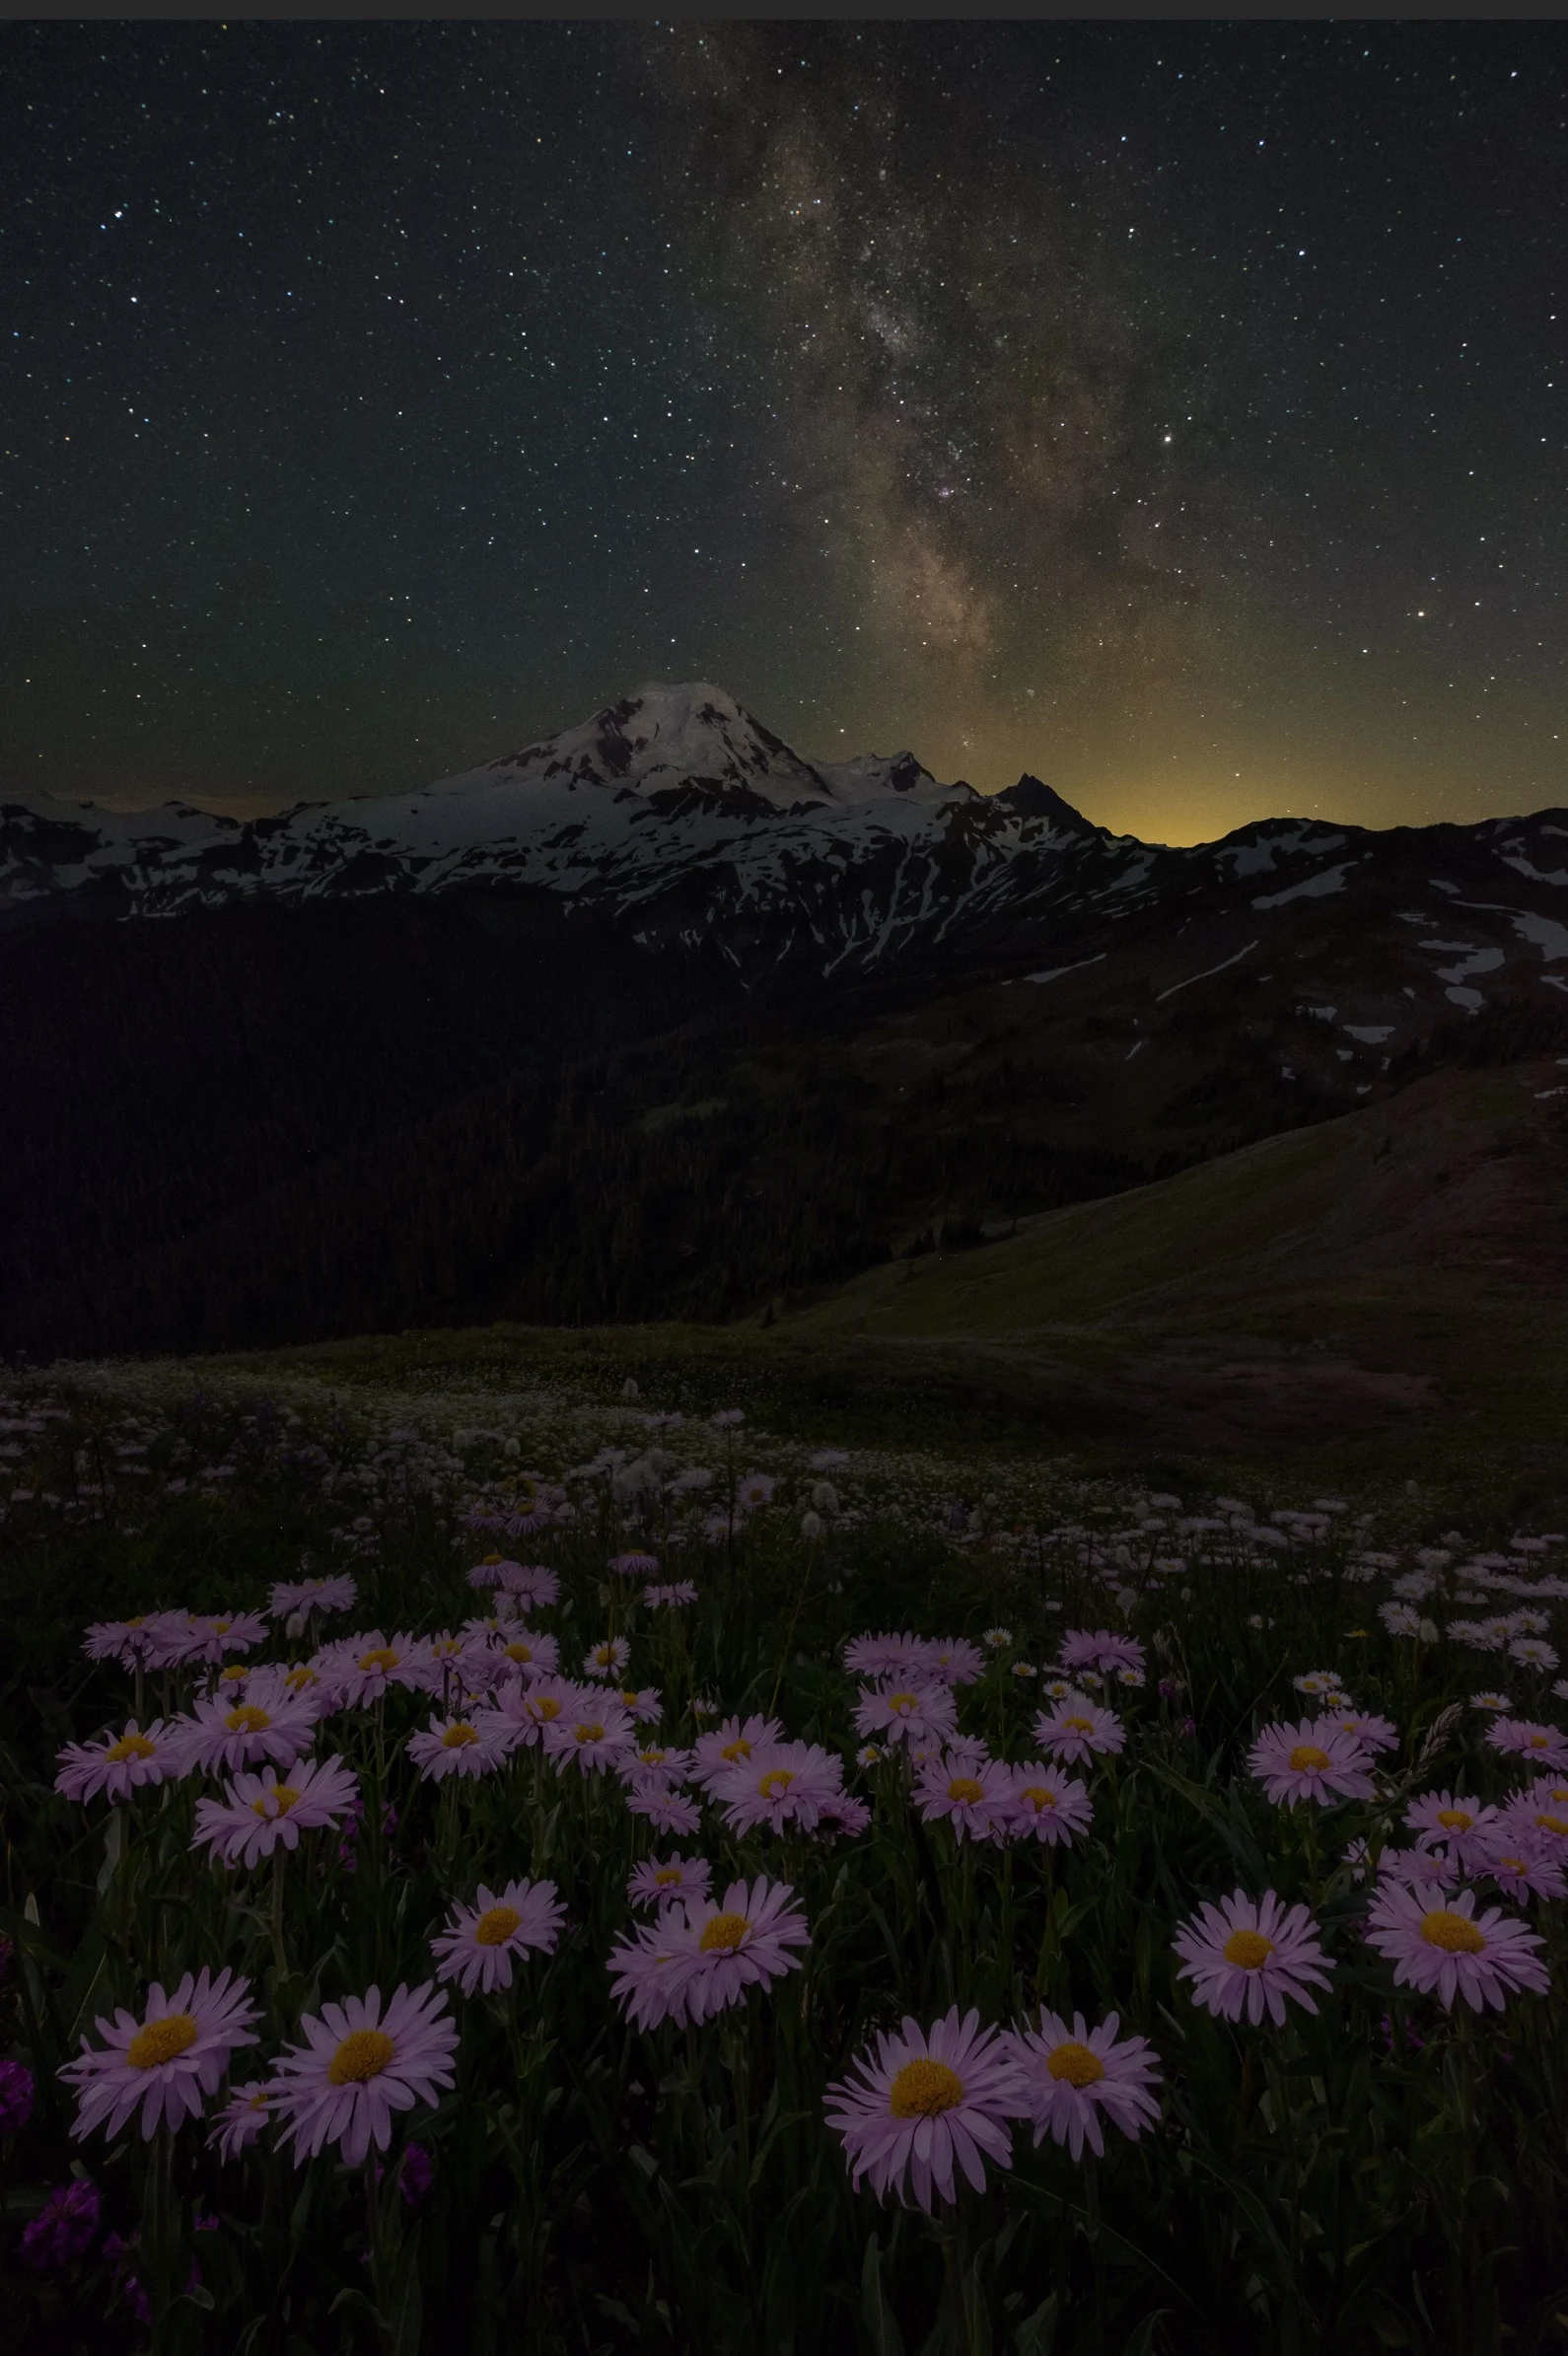
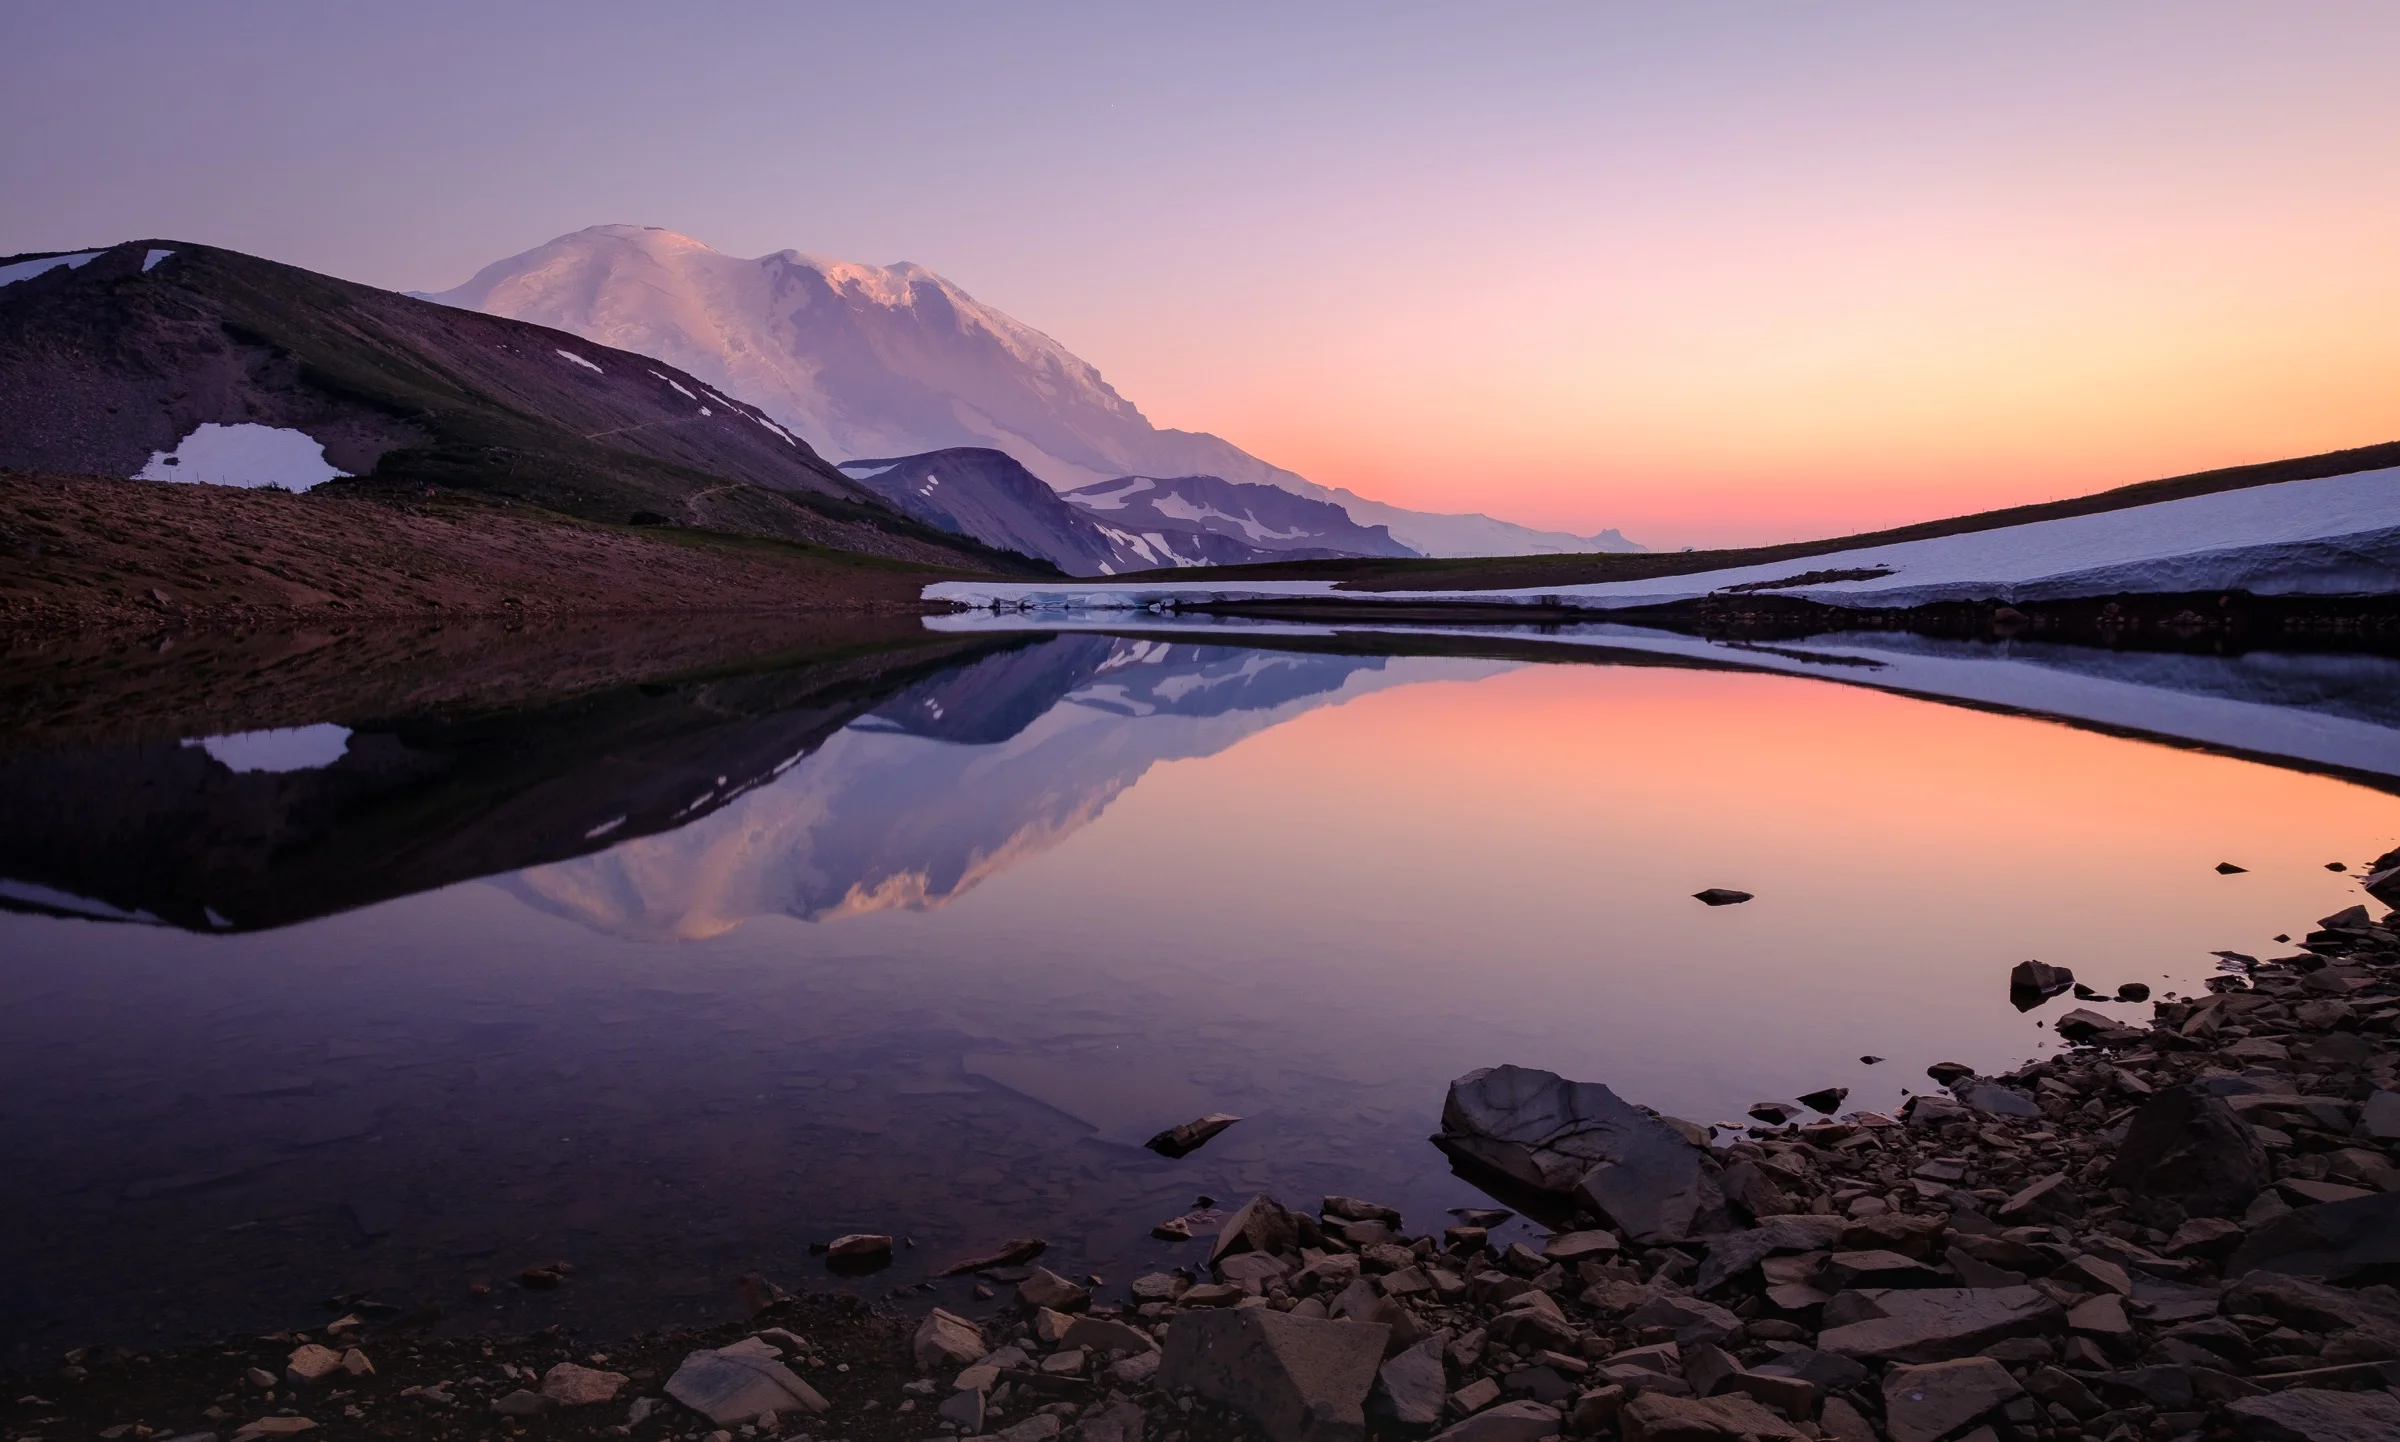
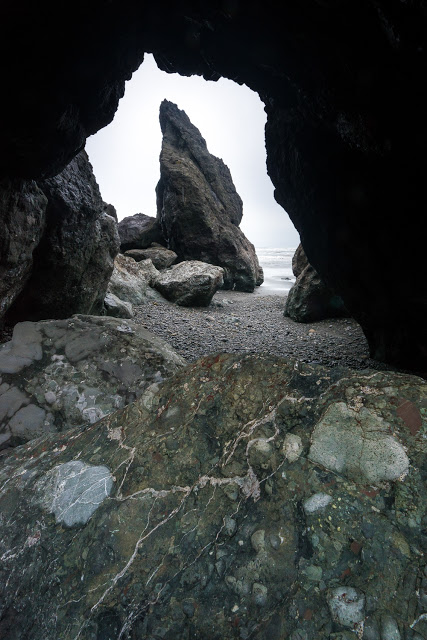
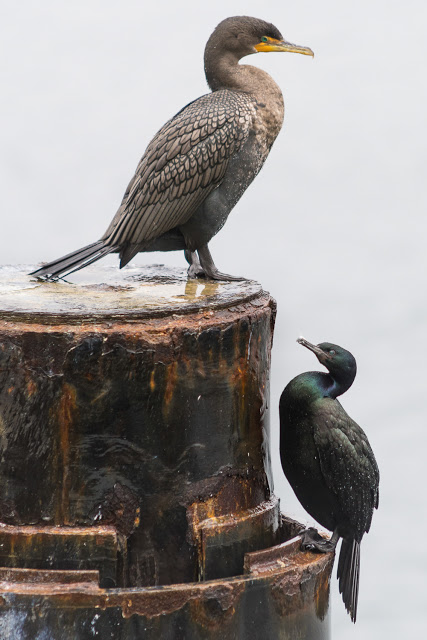
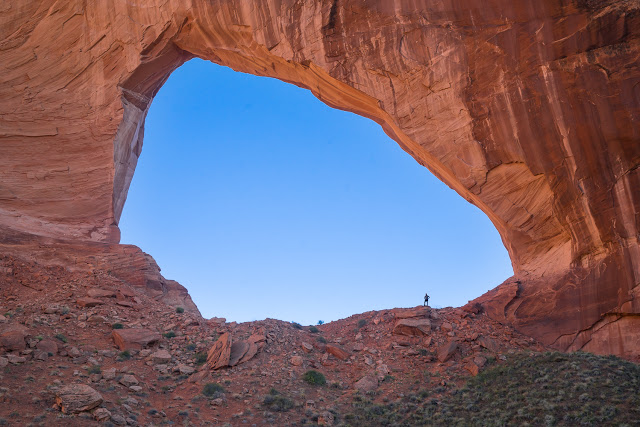
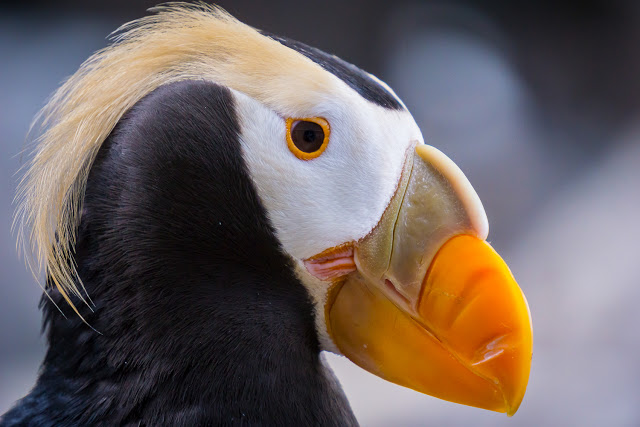
Click on any image below to view a larger size. Captions and full-resolution downloads are available

here

. Please contact me before printing or editing any of these images.

Photoessay: Adirondack Blue Hour Scenes

The hour after sunset is when you can find some of the most beautiful and varied tones and colors in the darkening sky. It's a more nuanced beauty than the direct light and bright colors of the setting sun, but it's still my favorite time to be in the mountains – the air is still and cool, and most other people have headed back to their cars or off to camp. I, on the other hand, love to linger on the mountaintops as long as I can, hiking back down by headlamp. Here are four images taken with a telephoto lens from the summit of Mt. Jo over the Adirondack High Peaks.

Photoessay: Sunrises from Saint Regis Mountain

Star trails behind the St. Regis Mountain Fire Lookout.

Many of you know how much I love my nights on top of Saint Regis mountain – the past two summers I've probably spent a combined 15 nights camping up there.  Even though I've spent so much time in the same place, I keep on coming back because every morning is different. The patterns formed by the fog on the hundreds of lakes and ponds, the shape of the clouds and rising mist, and the light are never the same. It's always a treat to fall asleep gazing up at the stars, and then wake up to my phone's alarm a few minutes before dawn and climb up into the fire-lookout (pictured above) with a telephoto lens and start snapping away. I picked out a handful of my favorite sunrise photos to share – please enjoy.
You can click on the images to view them full-size.


Belated: My Favorite Images from 2016, or, a Year in Photos


Hey Friends, I know I'm a little bit late to the party here, but I would like to share with you my favorite images from 2016. I spent quite some time selecting these photographs in particular – as you may imagine, there were quite a few to chose from! Last year I said that I intended to take fewer photos and emphasize quality over quantity, but it would appear that I didn't quite make that happen – In 2016, I took 18,321 photos, averaging to one photo every 29 minutes! That's an increase of 8.6% over 2015's 16,868 images.

On the more positive side, I'm pleased to report that I managed to not destroy a single camera or lens in 2016, a decrease of 100% from 2015! Less great, though, is that I managed to have all of my gear stolen not once but twice, from both my house as well as my car – consider this a reminder to stay up to date on backups and make sure your gear is insured!

With so many images to choose from, selecting my favorites to include in this post was, as you might expect, quite a challenge! I thoroughly enjoy looking back through my photos (and this is something I'm pledging to do more often), because it offers an opportunity to reflect upon my strengths and weaknesses as a photographer. I feel like this year I progressed the most in terms of composition and post-processing. My compositions feel more dynamic, and, I notice, seem to take even more advantage of the unique perspectives that are possible when using lenses on the far ends of the focal length spectrum, both very wide-angle and extremely telephoto. I feel that my skill in black and white photography has also improved, as well, and I've become more comfortable increasing the contrast in post, something which really makes the tones stand out and takes full advantage of the possibilities of monochromes. I also notice that this year many of my images are stitched composites of several photos – I find that I really enjoy the way that super wide-aspect panoramas emphasize the vastness of some of the landscapes that I was lucky enough to visit in 2016.

Of course, there's always room for growth, and in particular this year I feel like I've spent even more time admiring the works of those photographers who both humble and inspire me – my pseudo-namesake Galen Rowell perhaps comes to mind first, as a master who effectively created the genre of what we would now call "adventure photography." In 2017, I would like to focus more on improving my photographic eye for compositions, and especially my ability to multitask in an alpine environment, to be able to think creatively and make great photos while also focussing on staying safe and achieving my mountaineering objectives. As mentioned earlier, I also would like to be more deliberate with my compositions, as well. Decreasing my tendency to shoot every possible angle and pick the best later will require me do a better job of visualizing the image before I click the shutter, but will also, in the long run, make me more efficient as a photographer and reduce the burden of culling and post-processing.

For me, selecting these images has been a much-appreciated opportunity not only for self-reflection but also to fondly reminisce over the wonderful times and adventures of the year, with good friends as well as alone. I've greatly enjoyed all of the urban photography that I've done, but I've chosen to limit these images to mostly ones of the wilderness in order to tell the story of my 2016 through my favorite photographs. As always, your thoughts and comments are greatly appreciated.

Skiing with Adam over winter break was good bonding and good fun as we both encouraged one another to jump off of even bigger rocks!
Please find the rest of the images below the fold. Click on images to view them at full size.

Over break I also enjoyed getting out on trips by myself, be it backcountry ski camping by Mt. Baker or visiting Ruby Beach on a rainy day, as in the photo here.


Spring break was spent on an absolutely fantastic backpacking trip with Dad in the Escalante River wilderness in Southern Utah.

And then finally come the end of May I was back in the Cascades, working on my 100 Highest List Peaks. This is my camp at Gnome Tarn, with the silhouette of Prusik Peak in the background.

In July our family departed for the Kenai Peninsula in Alaska... 
...where we Kayaked the incredible fjords!


I don't really consider myself a wildlife photographer, but I really loved the way these Oystercatchers mirrored the island behind them.

Back in the Cascades it was back to bagging list peaks, in some stunning alpine environments! This was sunset on Mt Arriva above the Upper Fisher Creek drainage...

...and sunrise the next morning from the same camp! Goode is visible in the background.

Ellie tagged along on some adventures, like hiking the PCT to Snowy Lakes.

I was also working full time at the UW Computer Science department, but that didn't stop me from making some midweeknight jaunts to the mountains, including catching sunset on Mt. Rainier....

...and then watching climbers on the Emmons Glacier under the Milky Way.

By far the most meaningful trip of the summer was with Dad into the Spickard-Redoubt range to tackle his last two remaining 100 highest, the Mox Peaks.

We had perfect weather for our ascent of Hard Mox, the first peak we climbed....

...but the weather turned to absolute shit for our climb of "Easy" Mox, making its ascent one of the more harrowing in both of our climbing careers.

Afterwards, we headed with Margaret to the more-travelled yet equally stunning Snowfield range, where we enjoyed some of the best sunsets and sunrises of the summer.

Finally, come August, I waved goodbye to the Cascades and headed off alone in a newly purchased Subaru towards Ithaca. This was my last sunrise in Washington State, at Steptoe Butte, looking into Idaho.

I enjoyed the Perseid Meteor Shower from Yellowstone, and managed to avoid capture after illegally sleeping in my car at Grand Prismatic Spring.

Heading east, I watched an amazing thunderstorm followed by Mammatus Clouds at Devil's Tower.

In the Dakotas I visited Badlands National Park for the first time....

...and decided that I need to return!

After 5.5 days of solo driving, I finally arrived at my grandmother's camp in the Adirondacks, and faithfully climbed up to the top of St. Regis Mountain for one of my favorite summer traditions, camping at the fire lookout on the summit.

I spent at least 3 or 4 nights up there this summer, and each morning the patterns of the fog are always uniquely beautiful.

As summer turned into fall and classes picked up in Ithaca, I found myself escaping back to the Adirondacks more and more frequently, loving the fall colors, crisp air, and stunning sunrises.

I also enjoyed making some more abstract images – the reflections of sunlit trees and fall foliage at Crane Mountain Pond were especially interesting. 
Over Fall Break, I travelled with Adam and Becca through Vermont, camping at Chittenden Reservoir, on our way to New Hampshire. I'm especially fond of this image because it was featured by REI on their Instagram feed.

In New Hampshire, the three of us enjoyed 4 days of fantastic climbing at Rumney, amidst beautiful surroundings. 
My last trip to the Adirondacks of the fall was an overnight at Indian Head, overlooking Lower Ausable Lake, one of the most stunning views in the High Peaks. I'm especially fond of this spot because it's one of the first spots I ever camped with Becca, during a Fall Break trip our Freshman year.


With the leaves in the mountains having mostly fallen, I turned my attention back to exploring the Finger Lakes, enjoying several trips to Taughannock Falls, the highest waterfall east of the Rockies.

Taughannock Gorge

I also was delighted to return to Lick Brook, one of the first places around Ithaca that I explored, and still one of my most frequently revisited. It's so fun to see how the same place changes through the years and the seasons, and it's an enjoyable challenge to try and photograph these changes.

In November I flew back to Seattle for a quick weekend, but still was able to sneak in a quick backcountry skiing trip with Duncan up by Mt. Baker.


On the hike back to the car, I loved the way that Bagley Lake looked, draped in snow and cloud. 

Thanksgiving Break brought a wonderful trip to Arizona with Becca's family, where a few uncharacteristically damp days in Sedona were unable to dampen our spirits. Sunrise the last morning greeted us with bluebird skies, and the previous days' rainfall offered plenty of full potholes for interesting reflections.


Sunset at Saguaro National Park was also delightful, despite a ranger hounding us to get out of the park. 
Back in Seattle, Duncan and I headed into Silver Basin with Ellie to camp in the middle of an impressive winter storm, waking up to almost 8 inches of fresh snow on our tent.


In Ithaca for final exams, I found myself captivated by the black and white compositions found in the many gorges, with stark contrast between the dark, wet rock and the lighter tones of flowing water.
The final adventure of the year was a big one, with our whole family journeying to Morocco for two weeks at the end of December. The highlight for me was spending Christmas Eve camping in the sand dunes near the border with Algeria, an environment totally new to me. While the sunrise Christmas morning was absolutely stunning,  it was the clarity of the night sky that stands out to me the most. Even though December isn't normally the most ideal time for astrophotography, Leah and I enjoyed staying up late exploring the dunes together and photographing the stars.